
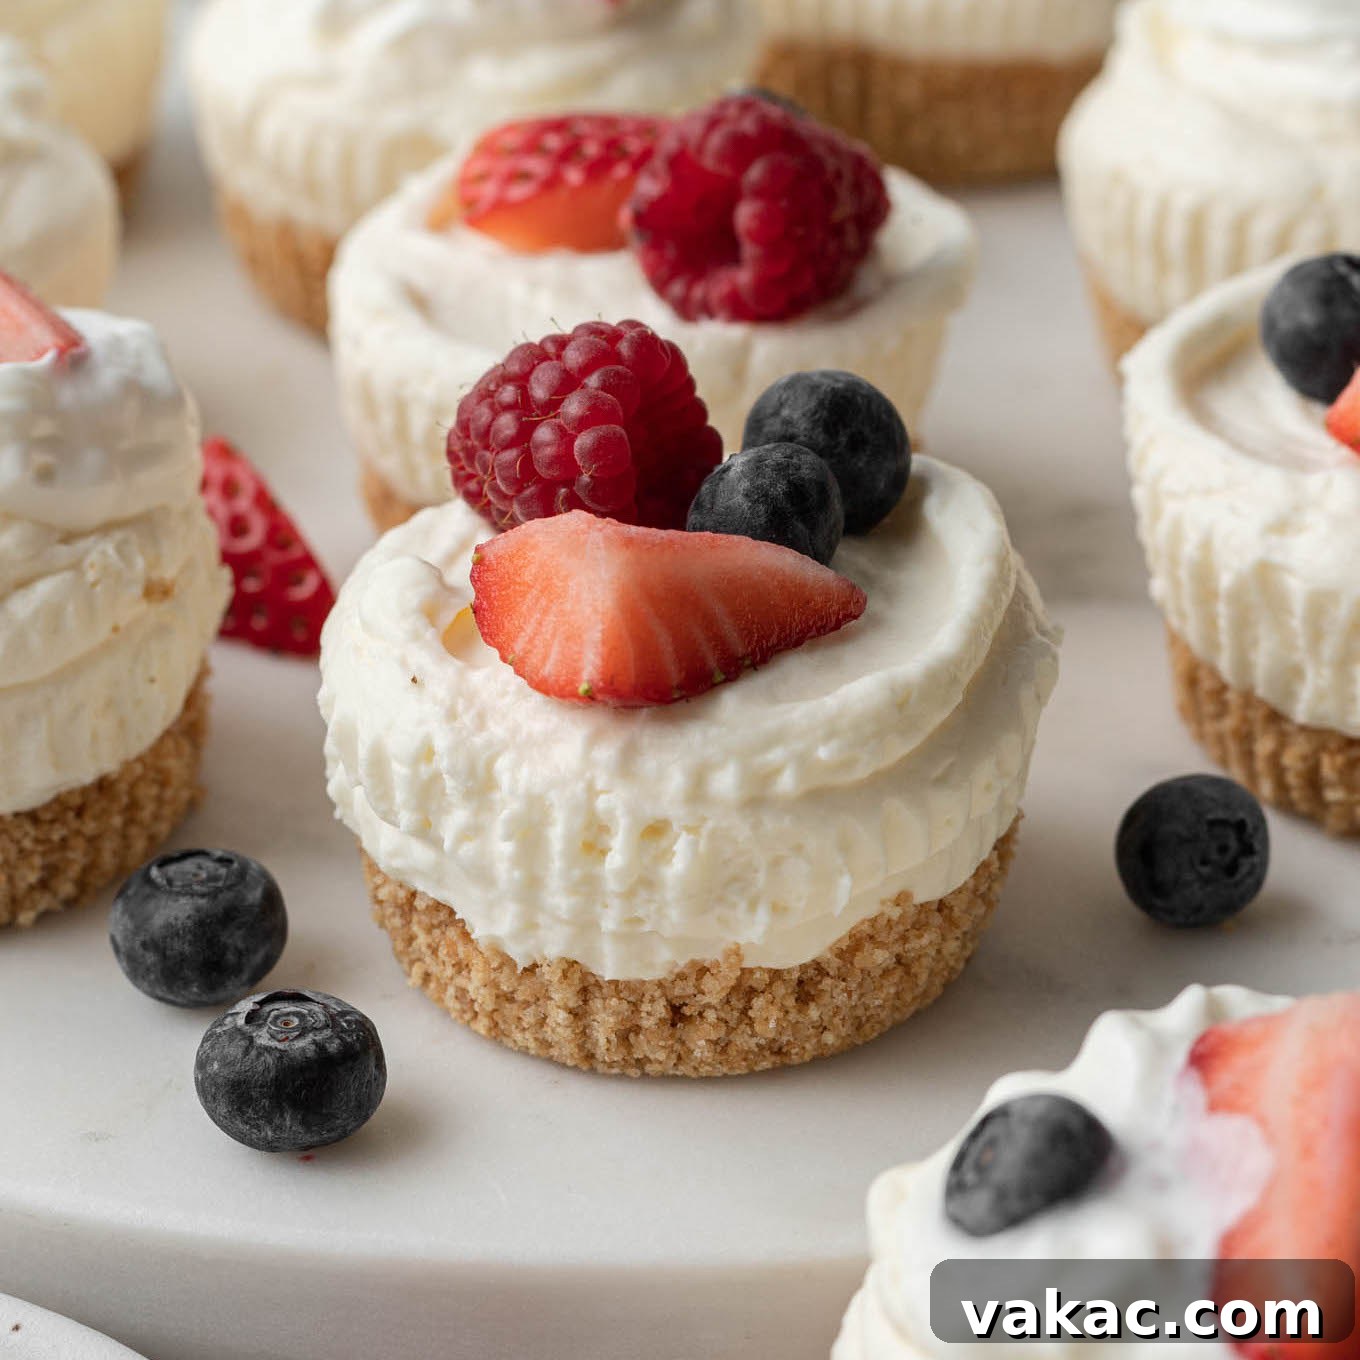
Effortless Elegance: The Ultimate Guide to No-Bake Mini Cheesecakes
Searching for a dessert that combines stunning presentation with incredible ease? Look no further than no-bake mini cheesecakes. These delightful individual treats are the epitome of convenience and charm, making them an ideal make-ahead dessert for everything from elegant dinner parties to casual family gatherings. Perfectly portioned and requiring absolutely no oven time, they simplify dessert preparation while promising rave reviews every single time.
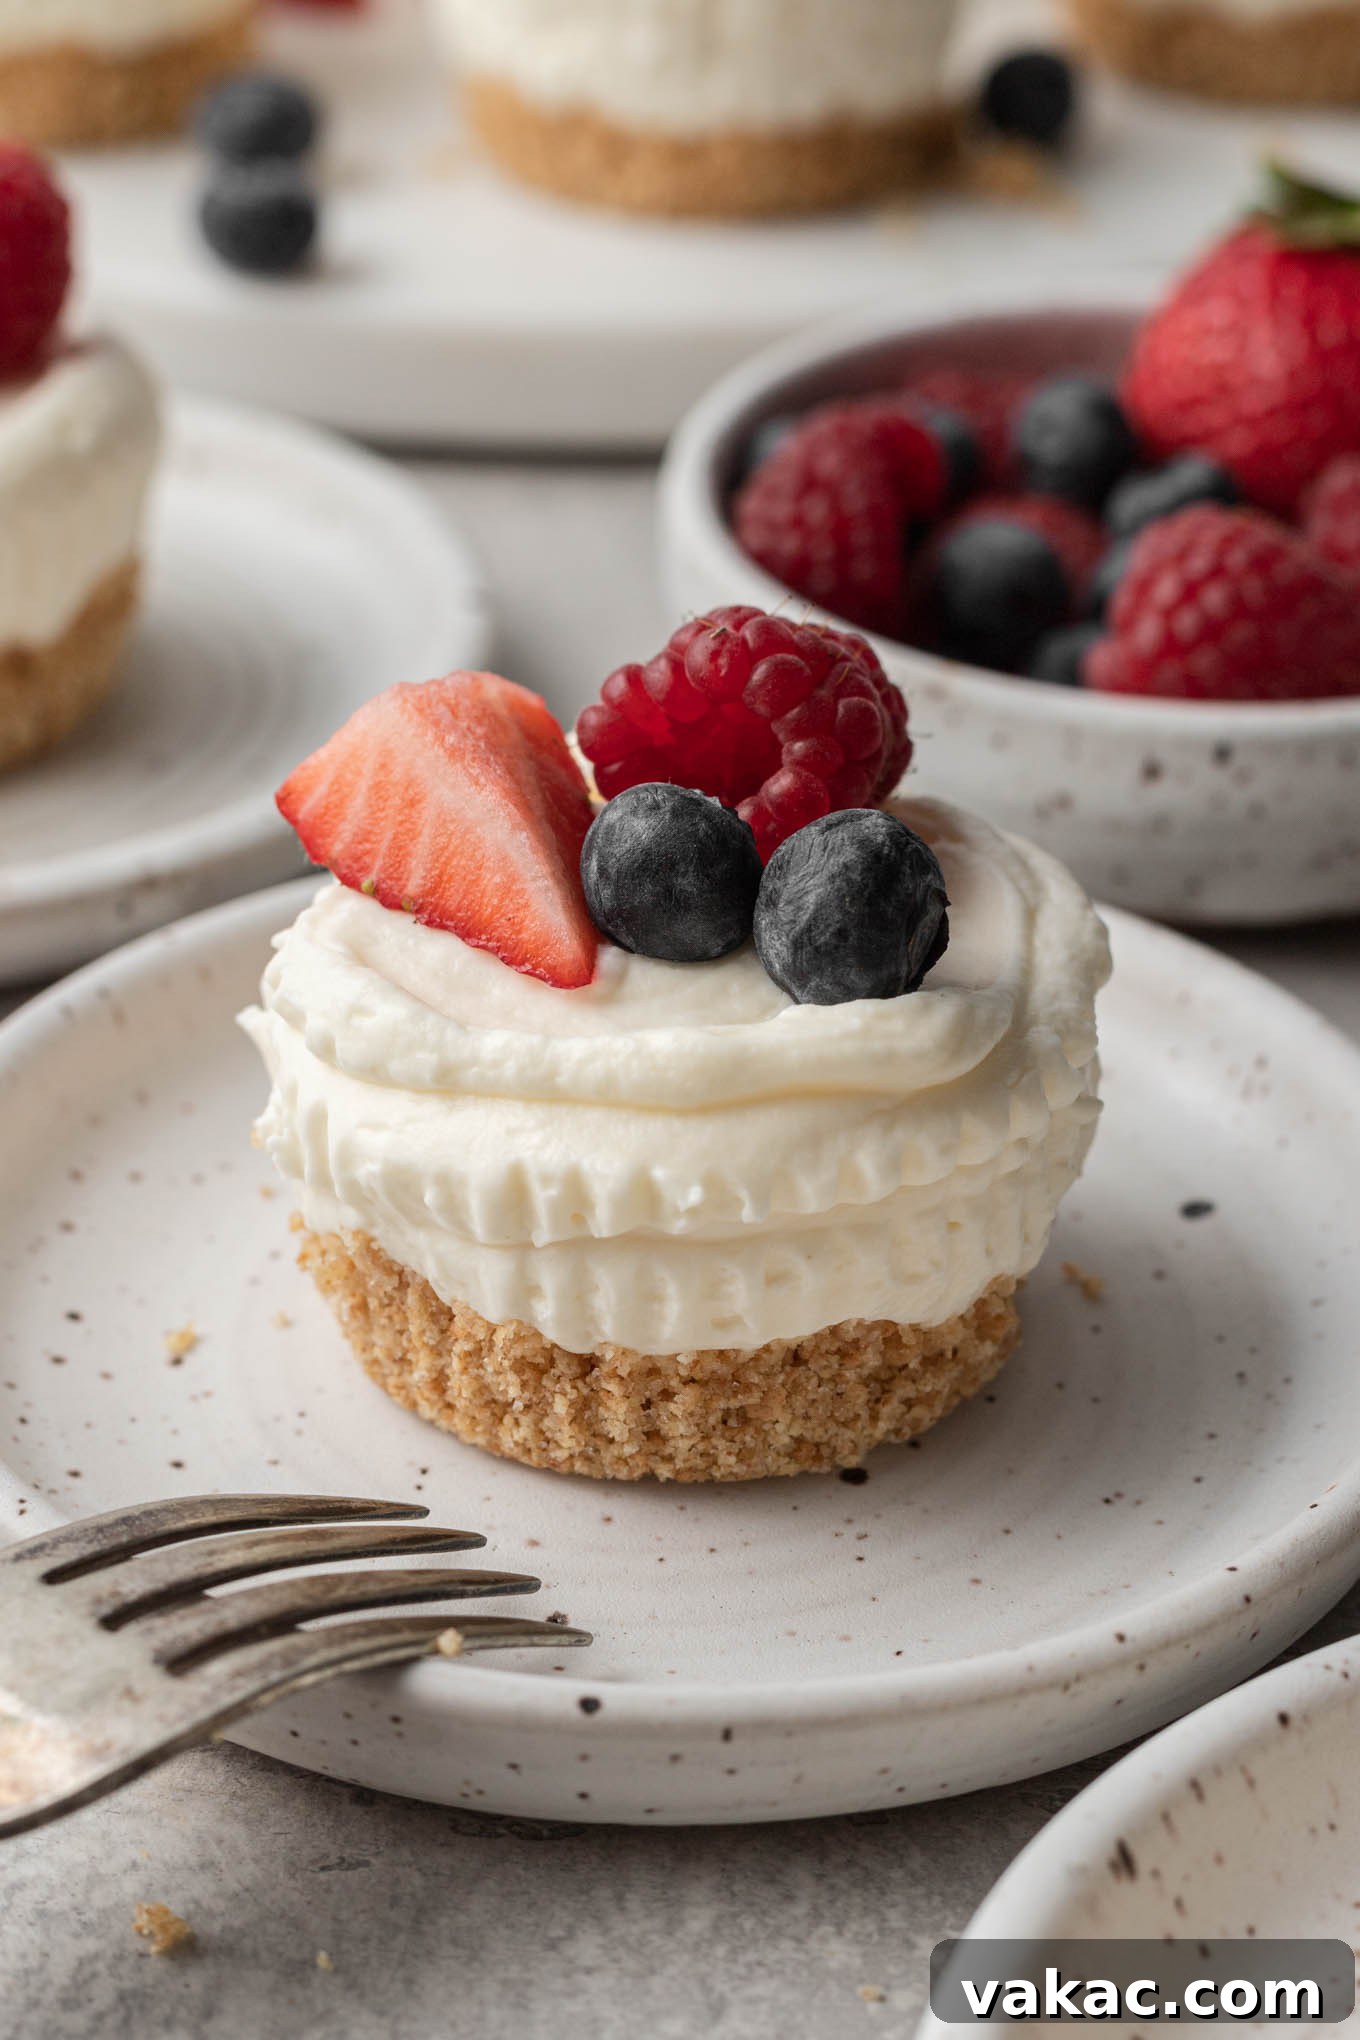
Why You’ll Absolutely Love These No-Bake Mini Cheesecakes
While classic baked cheesecakes undeniably hold a special place in our hearts, the prospect of turning on the oven, especially during the sweltering summer months, can often be a deterrent. These ingenious no-bake mini cheesecakes provide the perfect solution, offering all the creamy indulgence of a traditional cheesecake without the heat or the laborious fuss of baking.
Imagine whipping up a batch of decadent desserts that are ready to impress with minimal effort and no oven required! This recipe isn’t just about avoiding the oven; it’s about embracing convenience and versatility. These mini wonders are fantastic for make-ahead planning, as they can be fully assembled a day or two in advance. This frees up your valuable time on the day of your event, allowing you to focus on other preparations or simply relax.
Furthermore, their individual serving size makes portion control effortless and ensures a beautiful, mess-free presentation for each guest. Serving is incredibly simple: once chilled, they easily pop out of the muffin pan, especially when made in cupcake liners. And perhaps best of all, cleanup is remarkably quick and easy. Whether you’re hosting a sophisticated dinner party, a lively summer barbecue, or simply craving a sweet, stress-free treat, these no-bake mini cheesecakes deliver a perfect balance of rich flavor and ultimate convenience. Their smooth, tangy filling atop a crisp graham cracker crust is a combination that’s universally adored, and the potential for customization with an array of toppings is truly endless.
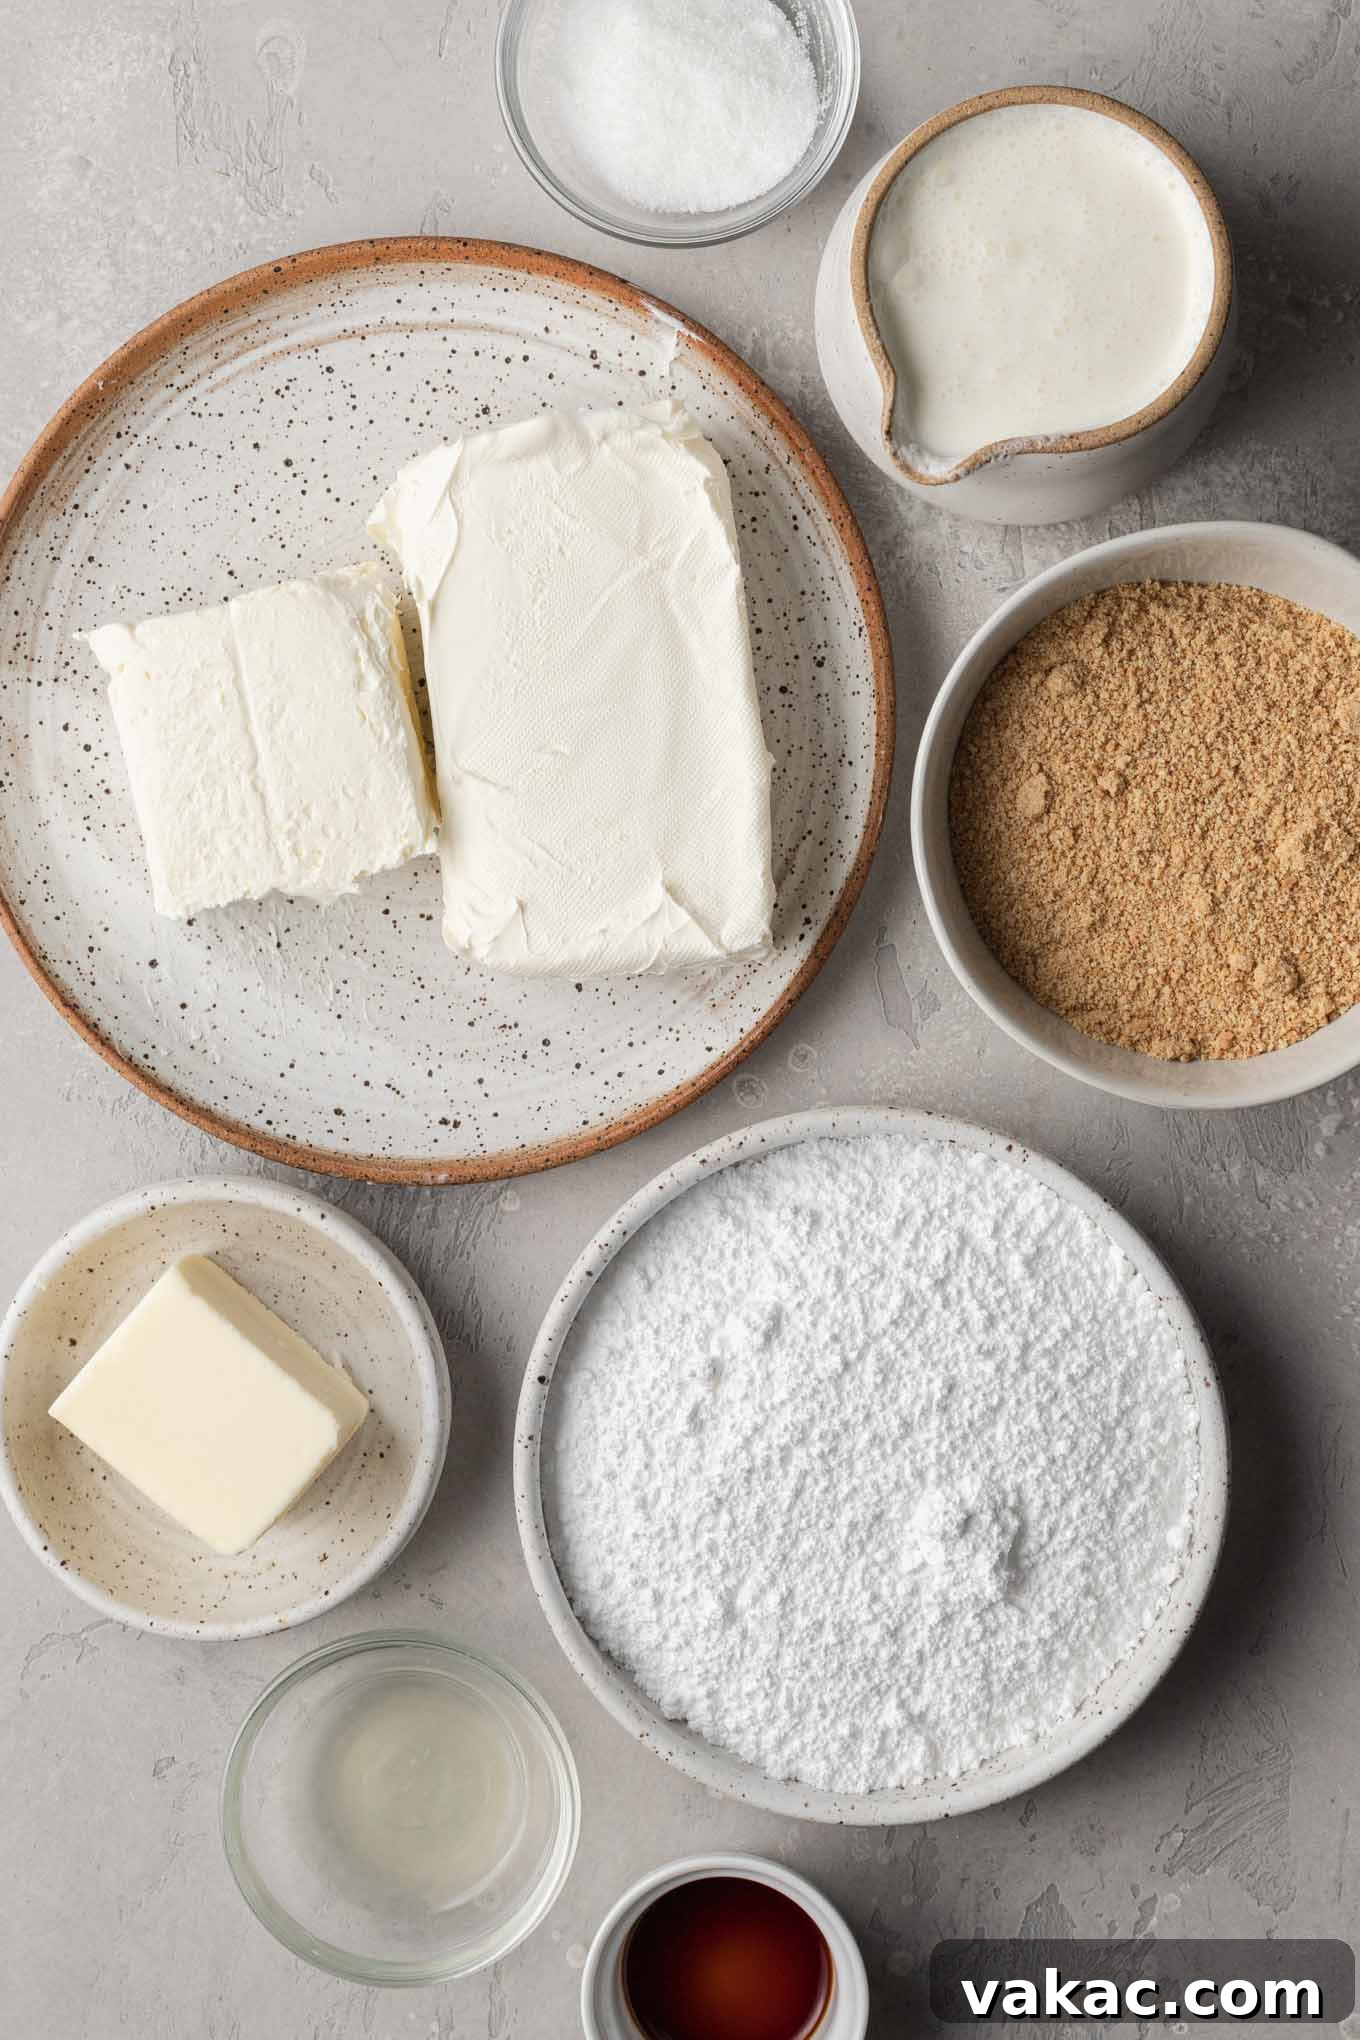
Essential Ingredients for Your Perfect No-Bake Mini Cheesecakes
Crafting these delightful individual cheesecakes relies on a relatively short but incredibly important list of ingredients. To achieve the best possible texture and flavor, it is crucial to select and prepare each component with care. Let’s explore what makes each of these ingredients so vital to the success of your no-bake treats:
- Graham Crackers: These form the crunchy, buttery foundation of our cheesecake crust. While you can conveniently buy pre-crushed graham cracker crumbs, crushing your own often yields a fresher taste and a more desirable texture. For this recipe, you’ll need approximately six full sheets of graham crackers to produce the ¾ cup of crumbs required. If graham crackers are not readily available in your region, or if you wish to experiment with different flavors, crushed digestive biscuits, vanilla wafers, or even chocolate Oreo cookies make excellent, flavorful alternatives for the crust.
- Unsalted Butter: Essential for binding the graham cracker crumbs together, ensuring your crust is perfectly stable and doesn’t crumble apart. Melting the butter and thoroughly mixing it with the crumbs helps create a cohesive crust that holds its shape beautifully once chilled, without becoming overly greasy.
- Granulated Sugar: A small amount of granulated sugar is added to the graham cracker crust to provide a touch of sweetness, balancing the richness of the butter and crackers.
- Cream Cheese: This is arguably the most critical ingredient, forming the creamy, tangy heart of any cheesecake. It is absolutely imperative to use full-fat, brick-style cream cheese for this recipe. Avoid any cream cheese spreads sold in tubs, as their softer consistency, higher water content, and different stabilizers will prevent your cheesecakes from firming up correctly. For optimal smoothness and ease of mixing, ensure your brick-style cream cheese is completely softened to room temperature before you begin. This prevents unsightly lumps and ensures a silky-smooth, uniform filling.
- Powdered Sugar (Confectioners’ Sugar): In contrast to granulated sugar, powdered sugar is finely milled and contains a small amount of cornstarch. This specific characteristic is key for no-bake fillings because it dissolves effortlessly into the cream cheese mixture, guaranteeing a smooth texture free from any graininess. Furthermore, the inherent cornstarch in powdered sugar acts as a gentle thickening agent, contributing significantly to that perfectly firm yet delightfully creamy cheesecake consistency.
- Fresh Lemon Juice: Just a small squeeze of fresh lemon juice works wonders by brightening and enhancing the overall flavors of the cheesecake filling. It elegantly cuts through the richness of the cream cheese, adding a subtle tang that elevates the entire taste profile without making the cheesecake overtly taste like lemon. Freshly squeezed lemon juice is always recommended over bottled for its vibrant and authentic flavor.
- Pure Vanilla Extract: A beloved staple in almost any dessert, high-quality pure vanilla extract adds a warm, aromatic depth that perfectly complements the creamy, slightly tangy notes of the cheesecake. Opt for a good quality pure vanilla extract for the best and most impactful flavor.
- Cold Heavy Whipping Cream: This ingredient is absolutely critical for achieving a light, airy, and stable cheesecake filling. It is essential to use heavy cream with a high fat content, typically at least 36% or higher. The higher fat content is vital for whipping the cream to stiff peaks, which in turn provides the necessary structure, body, and luxurious richness to the cheesecake filling. Always keep your heavy cream well-chilled until the moment you are ready to whip it for the best results.
Step-by-Step Guide: Crafting Your No-Bake Mini Cheesecakes to Perfection
Making these no-bake mini cheesecakes is a wonderfully straightforward and enjoyable process. You’ll appreciate that there’s no need for intermediate chilling steps, which means you can assemble them quite quickly. The most critical part of this recipe is allowing ample chilling time for the final assembled cheesecakes to firm up perfectly before serving. Follow these steps for flawless results:
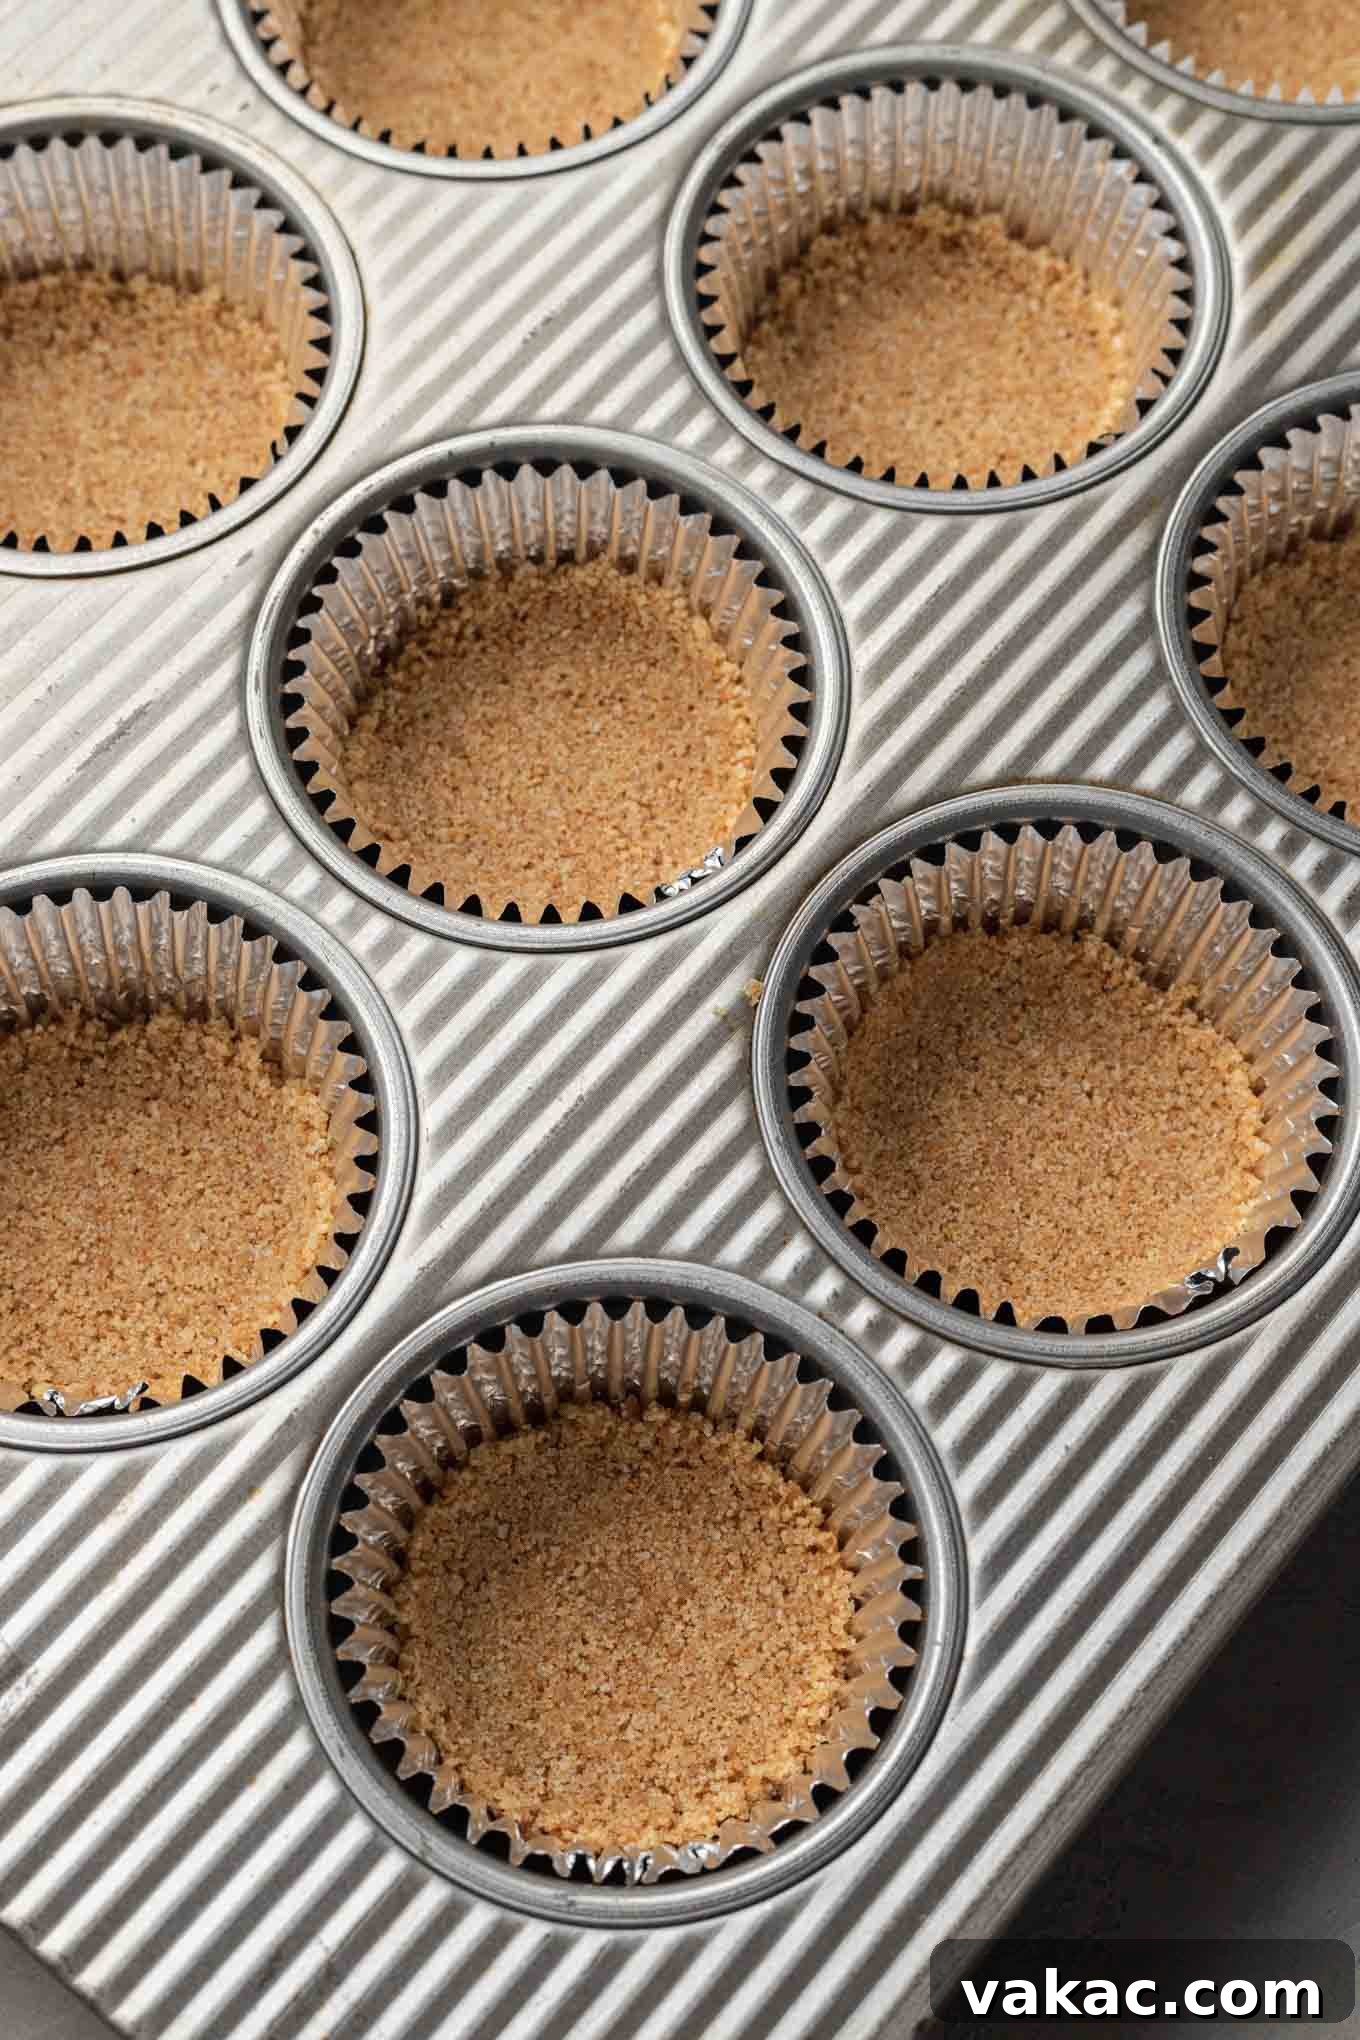
- Prepare Your Muffin Pan: Begin by lining a standard 12-cup muffin pan with cupcake liners. This simple yet essential step serves two important purposes: it prevents the cheesecakes from sticking to the pan, ensuring they can be removed easily and remain intact, and it contributes to a cleaner, more attractive individual presentation. Choose sturdy liners for best results.
- Create the Graham Cracker Crust: In a medium-sized mixing bowl, combine your crushed graham cracker crumbs, granulated sugar, and melted unsalted butter. Stir these ingredients thoroughly until all the crumbs are evenly moistened and resemble wet sand. This even coating of butter is crucial for a cohesive and stable crust. Divide this mixture evenly among the 12 prepared cupcake liners, aiming for approximately a heaping tablespoon in each. Use the bottom of a ¼-cup measuring cup or a small, flat object (like a shot glass) to firmly press the crust mixture down into each liner. Compacting the crust well is absolutely essential for it to hold its shape and provide a sturdy base once chilled. Set the muffin pan aside while you prepare the filling.
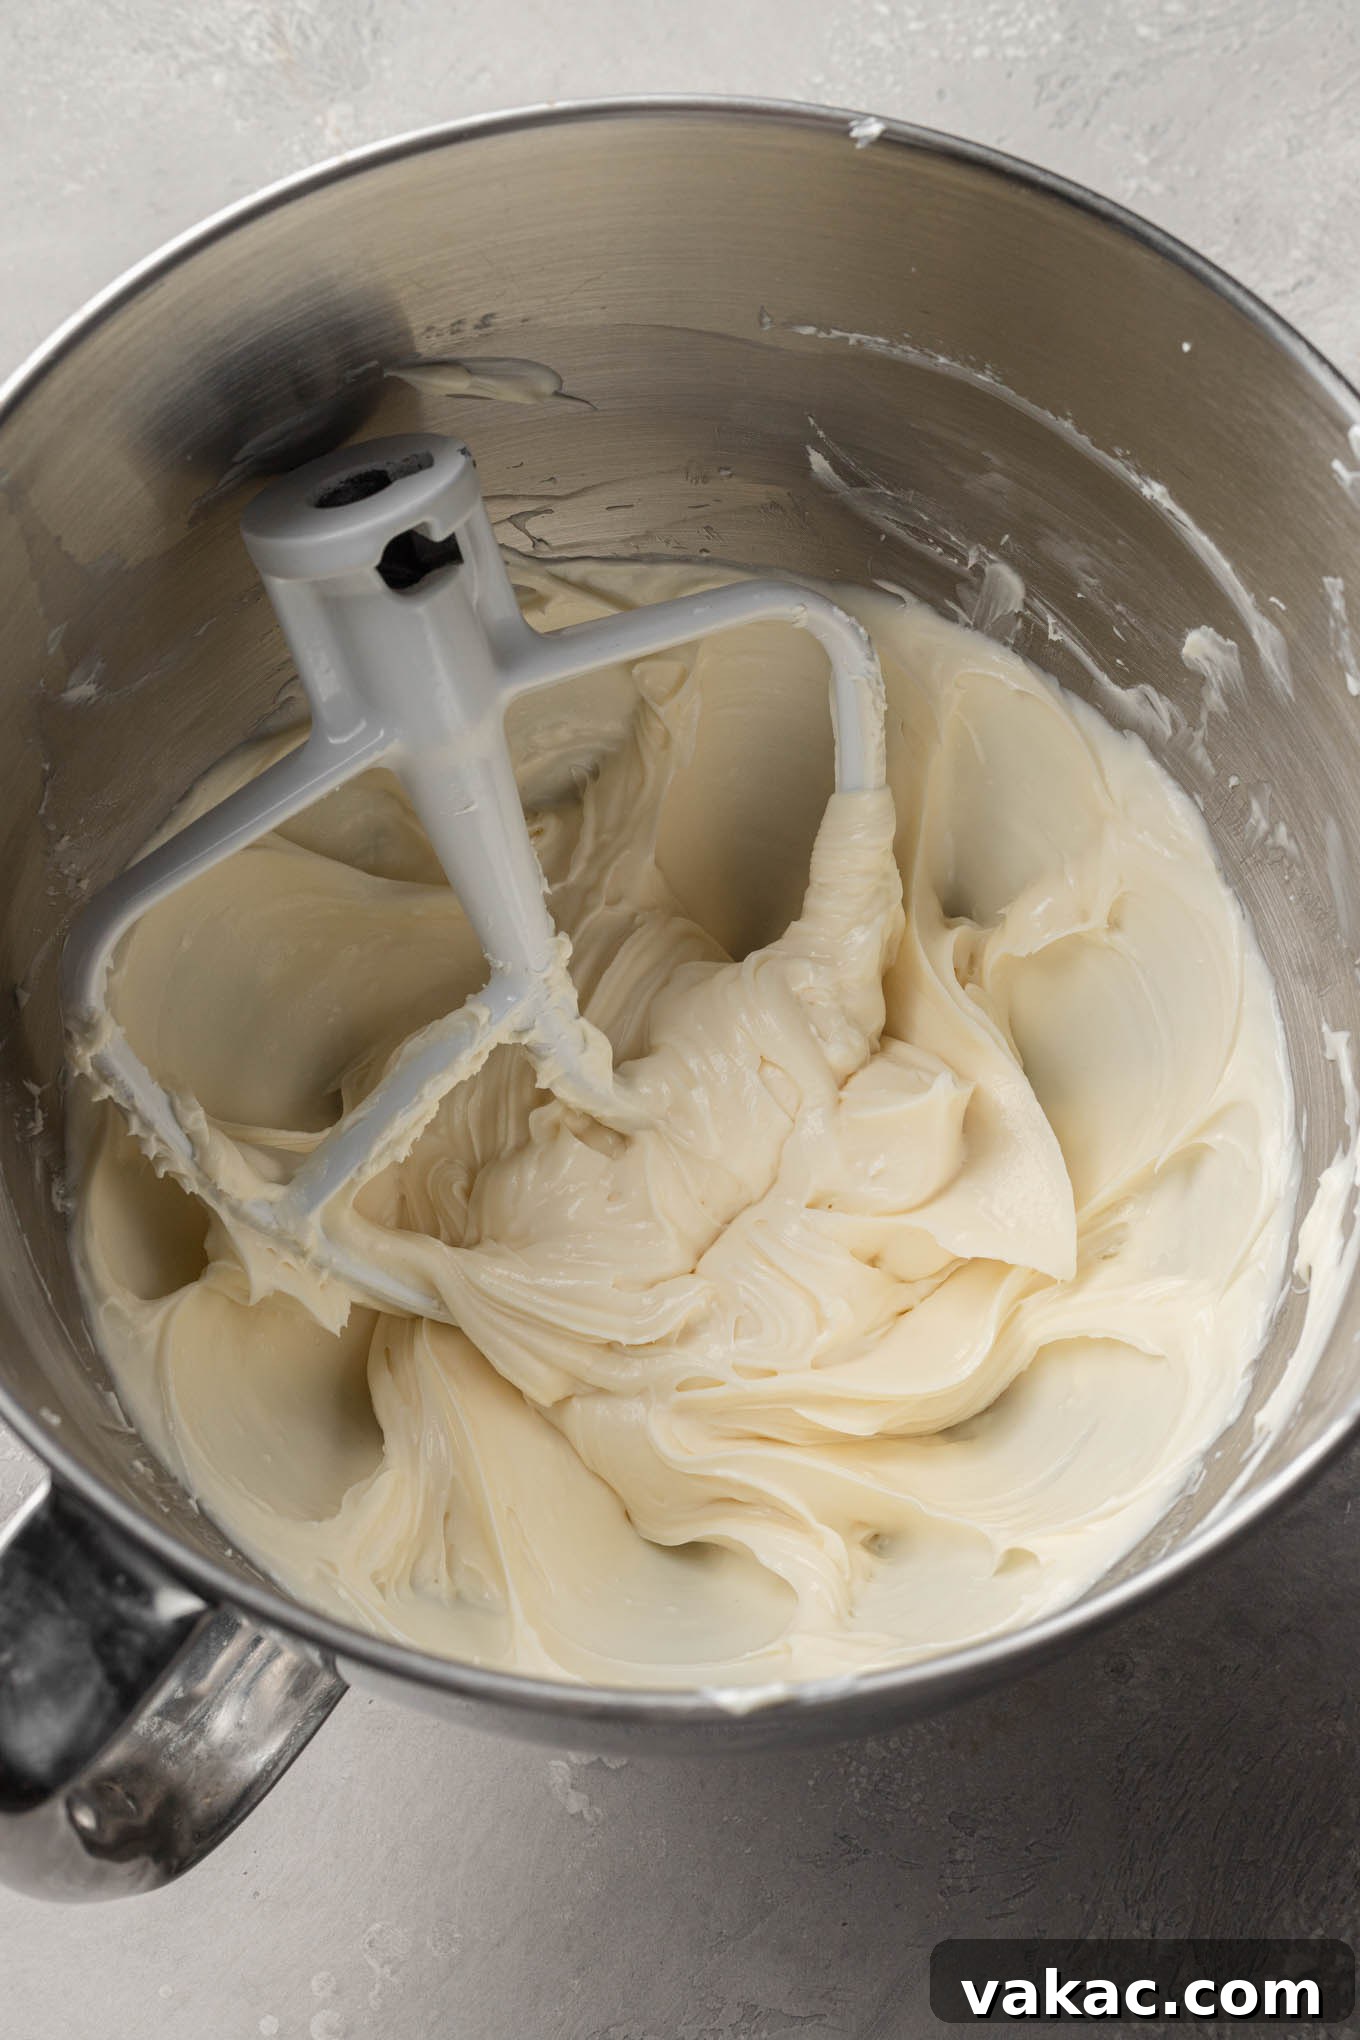
- Prepare the Silky Cheesecake Filling: For the smoothest and most lump-free filling, we recommend using a stand mixer fitted with a paddle attachment. Alternatively, a large mixing bowl with a handheld electric mixer will also work effectively. First, beat the softened cream cheese on medium speed for 1 to 2 minutes until it is perfectly smooth, light, and entirely free of any lumps. This initial beating is key. Next, add the powdered sugar, fresh lemon juice, and pure vanilla extract. Continue mixing on medium speed until all ingredients are fully combined and the mixture is uniformly smooth, stopping occasionally to scrape down the sides and bottom of your mixing bowl with a rubber spatula. This ensures everything is incorporated evenly and prevents unmixed pockets of sugar or cream cheese. Set this mixture aside.
- Whip the Heavy Cream to Perfection: In a separate, clean, and preferably chilled mixing bowl, pour the cold heavy whipping cream. Using a handheld mixer or a stand mixer with a whisk attachment, start mixing on low-medium speed for about 30 seconds to 1 minute. Gradually increase the speed to medium-high and continue mixing until stiff peaks form. Stiff peaks mean that when you lift the beaters out of the bowl, the whipped cream stands straight up and holds its shape without collapsing. It should be firm but still smooth. Be careful not to over-whip, as this can cause the cream to become granular or even turn into butter.
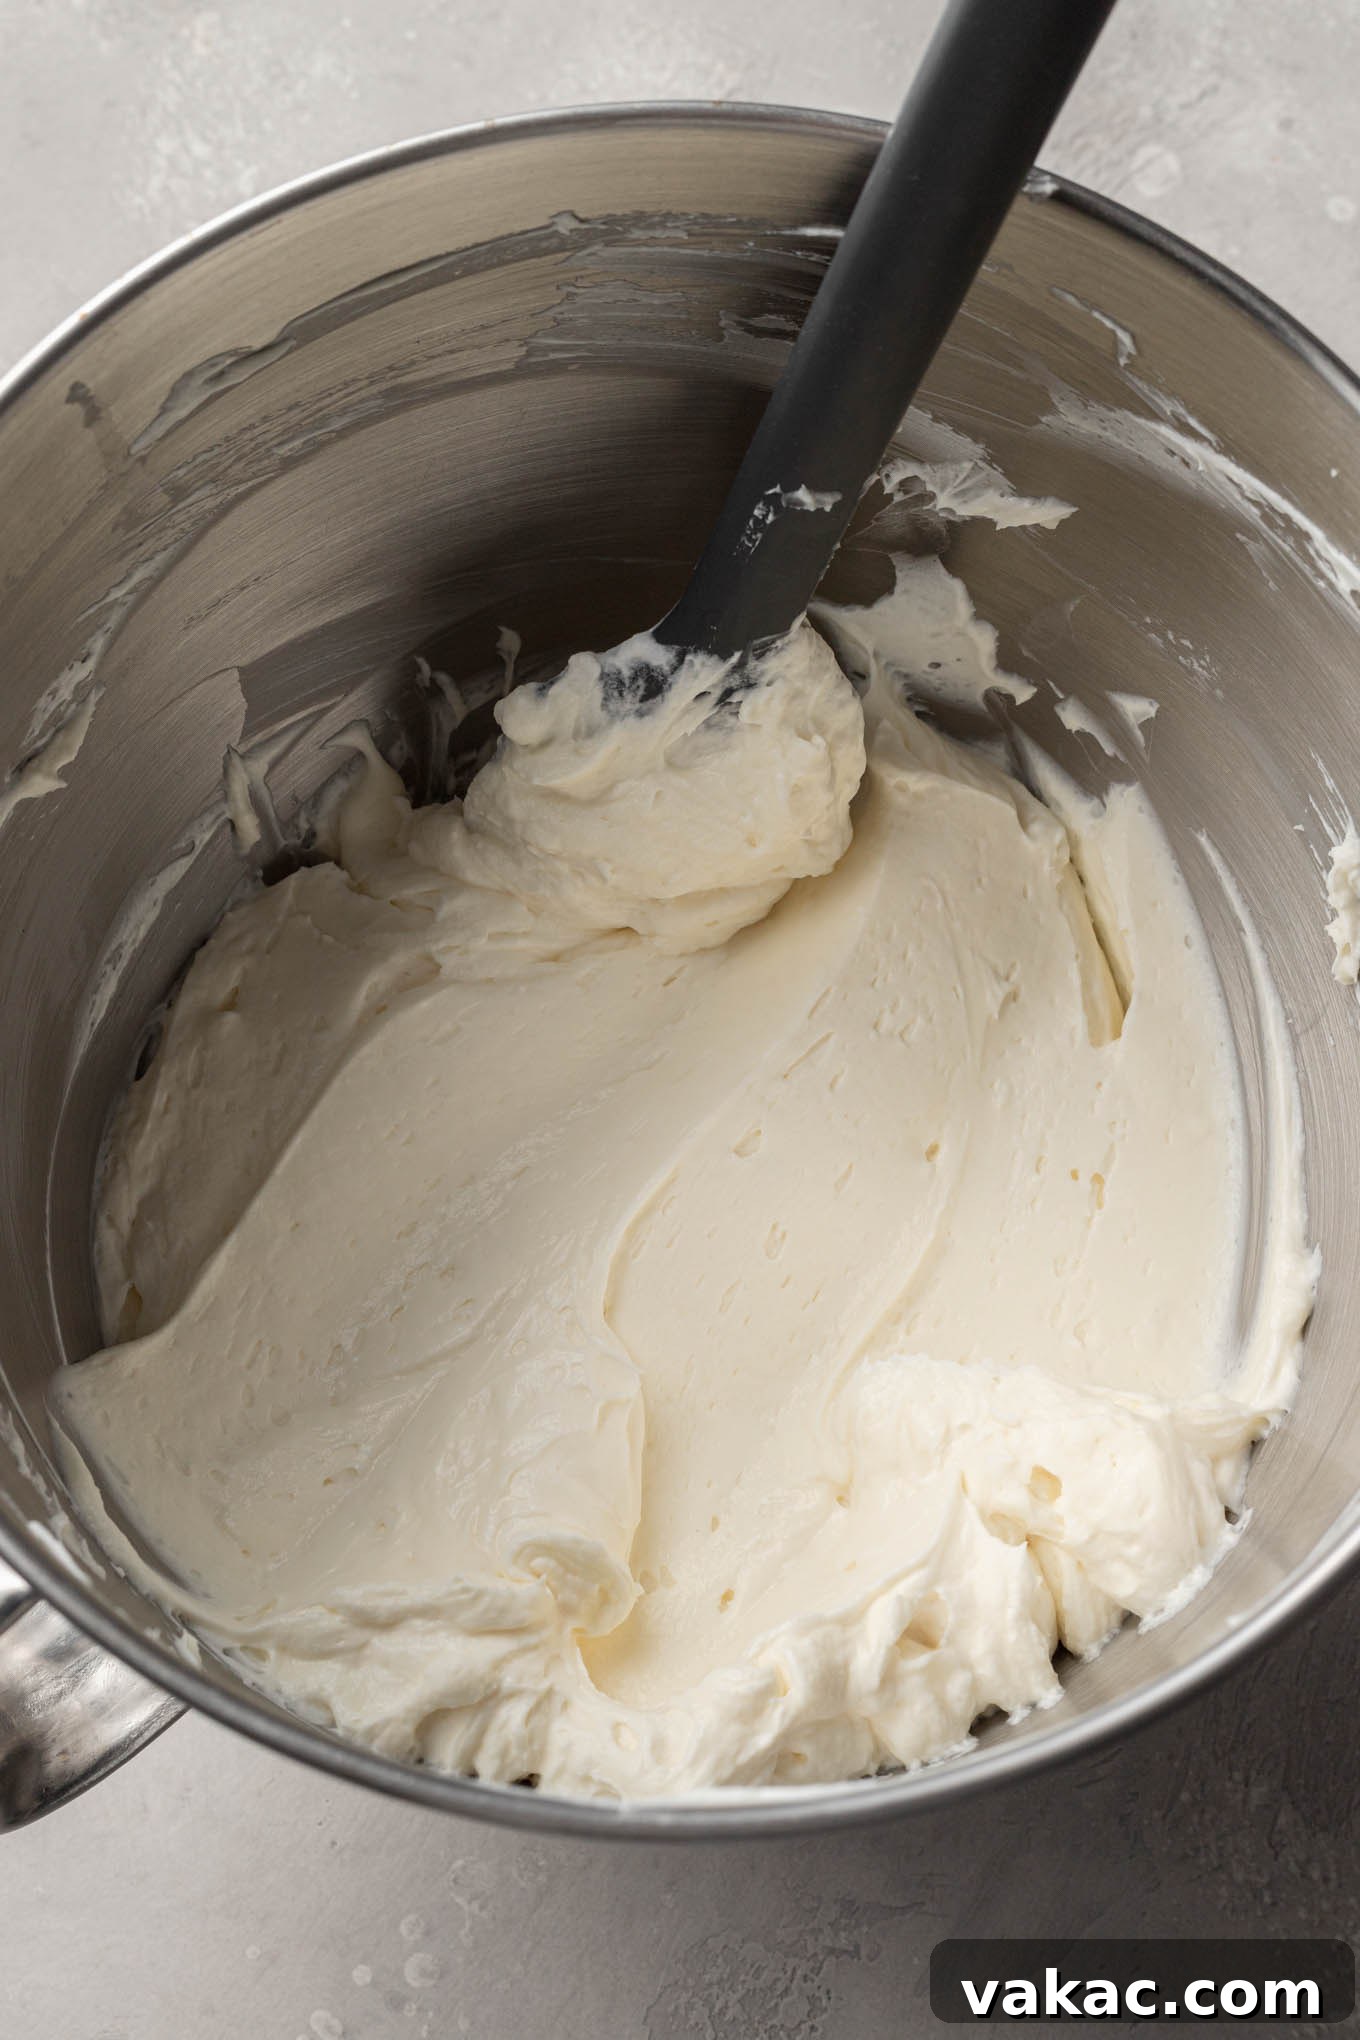
- Gently Fold in the Whipped Cream: This step requires a delicate touch to maintain the airiness and light texture of the whipped cream, which contributes significantly to the cheesecake’s final consistency. Add about half of the whipped cream to the cream cheese mixture. Using a rubber spatula, gently fold it in using a cut-and-fold motion until just combined. Then, add the remaining whipped cream and continue to fold gently until the mixture is uniform, light, and airy. Avoid overmixing at this stage, as this can deflate the whipped cream and result in a denser, less desirable filling.
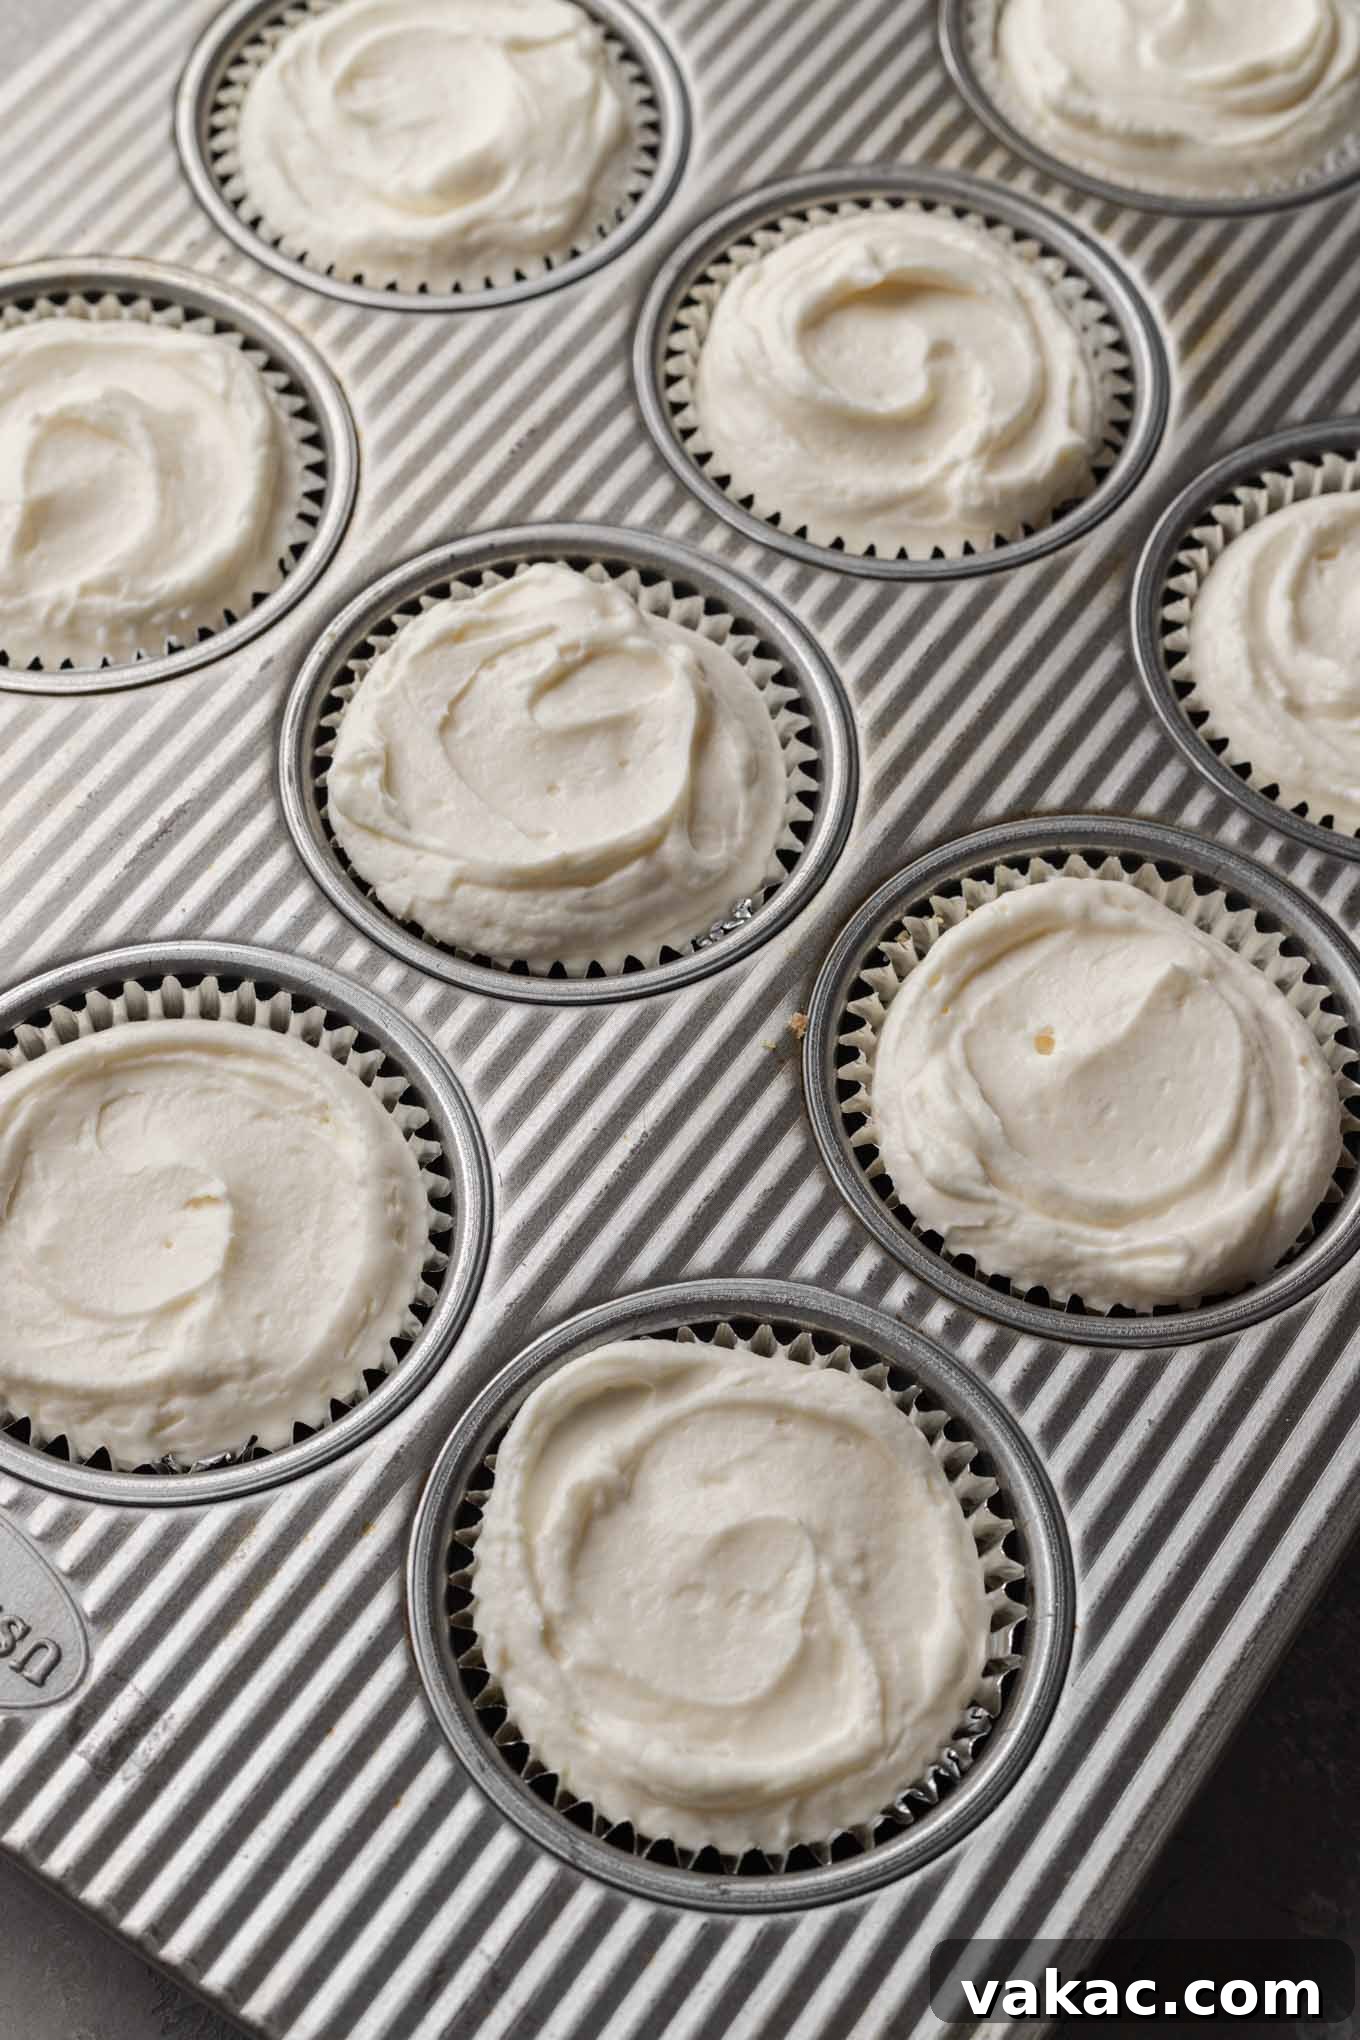
- Assemble Your Mini Cheesecakes: Carefully transfer the cheesecake filling into a large piping bag. You can use a large round tip for a professional look, or simply cut off about a ¾-inch end of the bag for a generous opening. Evenly pipe the filling into each of the 12 prepared crusts, generously filling them almost to the top. A piping bag offers the neatest and most controlled distribution, ensuring a beautiful dome on each cheesecake. However, you can also use a spoon or a cookie scoop for a slightly more rustic yet equally delicious look. Ensure the filling is spread evenly over each crust.
- Chill for Optimal Firmness: Once all cheesecakes are assembled, cover the muffin pan tightly with plastic wrap. This is important to prevent any odors from the refrigerator from affecting their delicate flavor and to keep the surface from drying out. Transfer the pan to the refrigerator and chill for a minimum of 3 hours. For the absolute best and firmest results, chilling them overnight (8-12 hours) is highly recommended. This crucial step allows the filling to set completely, ensuring your mini cheesecakes are perfectly firm and hold their shape beautifully.
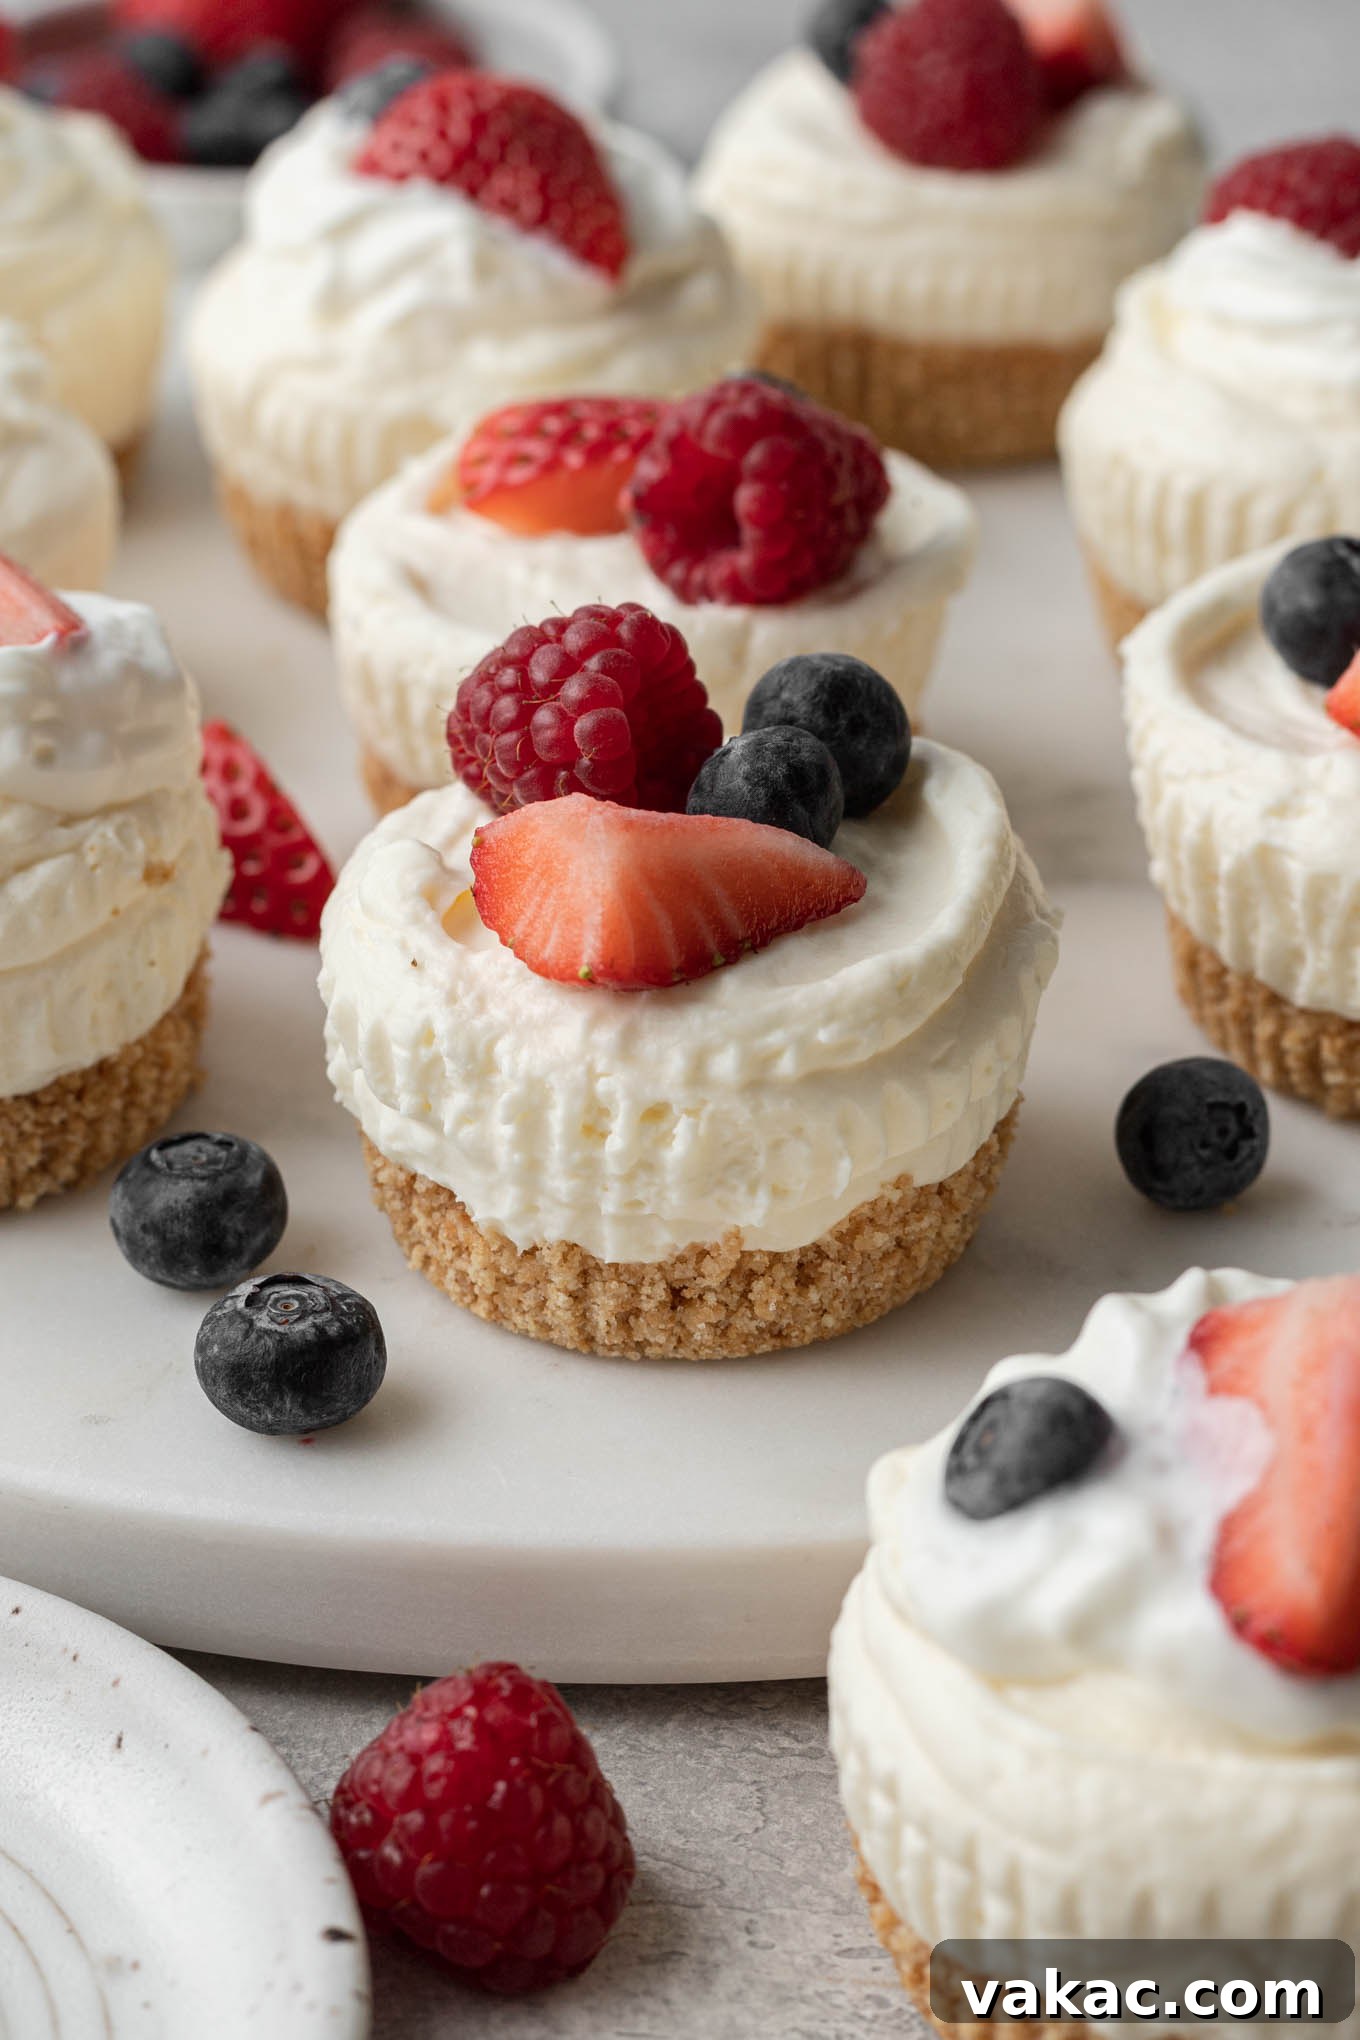
- Serve and Enjoy: When you are ready to serve, carefully remove the chilled cheesecakes from the muffin pan. Gently peel away the cupcake liners, add your chosen delicious toppings, and delight in these irresistible, easy-to-make desserts!
Frequently Asked Questions About No-Bake Mini Cheesecakes
While this recipe is meticulously designed and scaled specifically for mini, individual cheesecakes, the quantity of filling might not be quite enough to fill a standard large cheesecake pan adequately. For a full-sized dessert, the ingredient ratios (especially for setting) might need adjustment. If you prefer to make a single, larger no-bake cheesecake, I highly recommend seeking out a dedicated no-bake cheesecake recipe that is specifically developed and scaled for a larger format. These recipes are formulated to ensure proper setting and balance of flavors in a bigger pan.
If your cheesecake filling is softer than desired, several factors could be at play:
- Insufficient Chilling Time: This is the most common reason. No-bake cheesecakes require a minimum of 3 hours in the refrigerator, but they often benefit immensely from chilling overnight (8-12 hours) to achieve optimal firmness. Patience is truly key here!
- Incorrect Cream Cheese Type: Using spreadable cream cheese from a tub instead of the denser, full-fat, brick-style cream cheese is a frequent mistake. The higher moisture content and different stabilizers in spreadable varieties make them unsuitable for achieving a firm, stable no-bake filling. Always opt for the bricks!
- Issues with Whipped Cream:
- Under-whipped: If the heavy cream wasn’t whipped to stiff peaks, it won’t provide enough structure and airiness to the filling, resulting in a softer texture.
- Over-mixed during folding: Conversely, if the whipped cream was over-mixed when gently folding it into the cream cheese mixture, it can deflate, leading to a less stable and airy texture. Fold gently until just combined.
Absolutely, yes! Refrigeration is critical for two primary reasons. Firstly, it allows the cheesecake filling to fully set and firm up to the desired, scoopable consistency. Without adequate chilling, your cheesecakes will be too soft and messy to serve. Secondly, because the filling is primarily made with dairy products (cream cheese and heavy cream), all assembled cheesecakes and any leftovers must be stored in an airtight container in the refrigerator to maintain their freshness, texture, and food safety.
Yes, these mini cheesecakes freeze beautifully, making them even more convenient! To freeze them, first ensure the cheesecakes are completely chilled and firm (without any fresh toppings). Place them on a baking sheet and freeze until solid, which typically takes about 1-2 hours. Once fully frozen, transfer them to an airtight freezer-safe container or a heavy-duty freezer bag. They can be stored in the freezer for up to 1 month without significant loss of quality. When you’re ready to enjoy them, thaw the cheesecakes in the refrigerator for several hours or preferably overnight, then add your favorite fresh toppings just before serving.
These no-bake mini cheesecakes are exceptionally well-suited for make-ahead preparation, which is one of their greatest advantages. You can assemble them completely (again, without any fresh or delicate toppings) up to 2-3 days in advance. Store them tightly covered with plastic wrap or in an airtight container in the refrigerator. This advance preparation makes them an ideal dessert for entertaining, as it significantly reduces your workload on the day of your event, allowing you to be a more relaxed host.
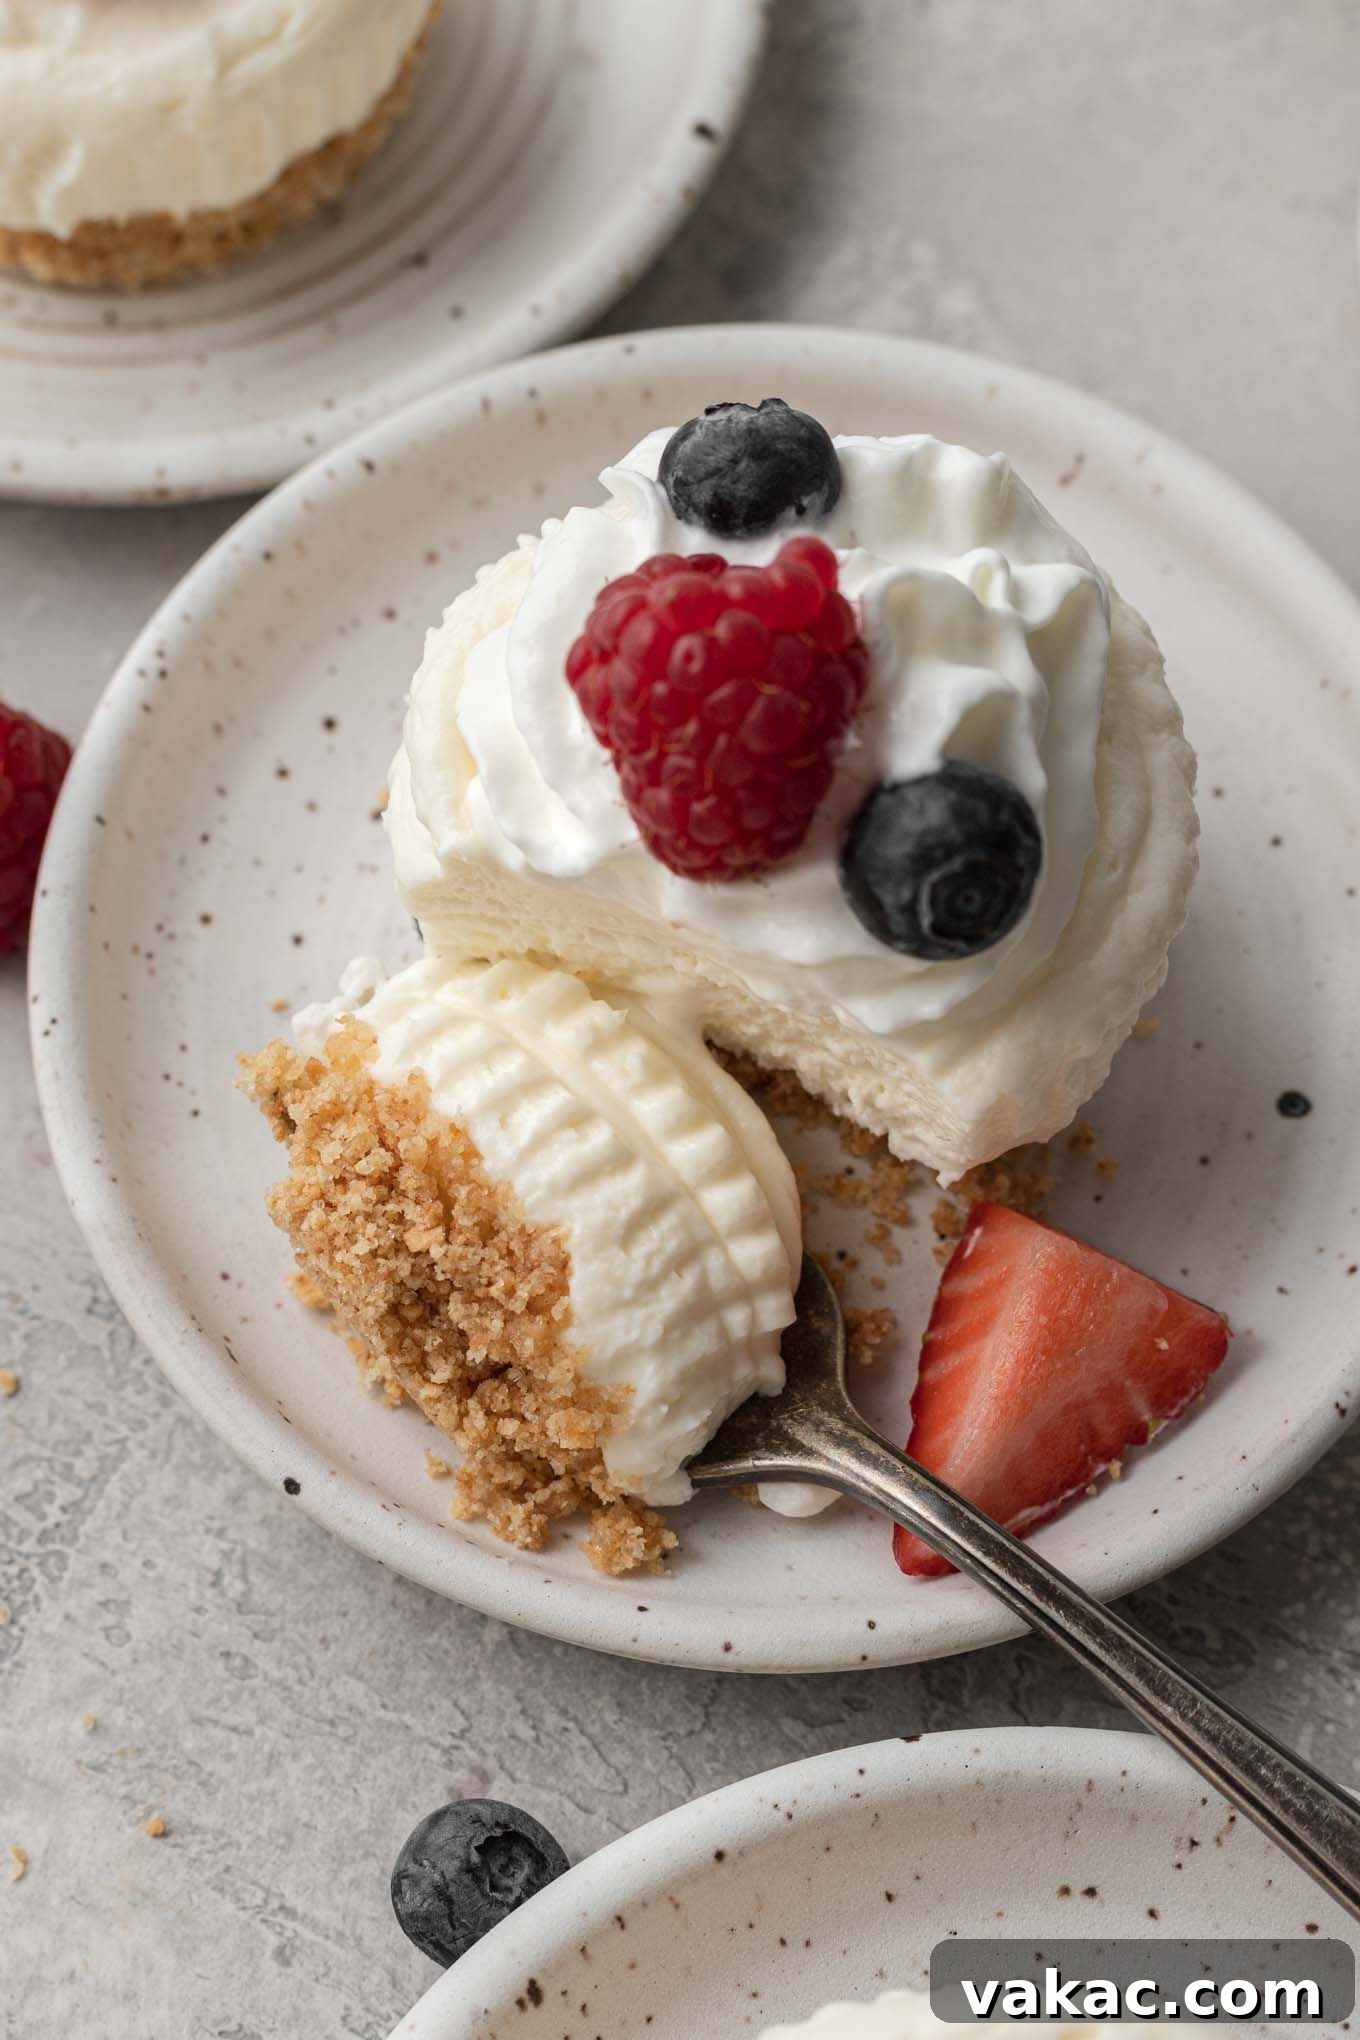
Delightful Topping Options for Your Mini Cheesecakes
While these individual no-bake cheesecakes are undeniably delicious and satisfying on their own, they also serve as a perfect, versatile canvas for a wide array of exquisite toppings. Customizing them allows you to perfectly match any event theme or personal preference, adding an extra layer of flavor, texture, and visual appeal that will impress your guests.
- Fresh Seasonal Fruit: This is a timeless and universally popular choice. Vibrant berries such as strawberries, raspberries, blueberries, and blackberries offer a beautiful burst of color and a refreshing tartness that perfectly complements the rich, creamy cheesecake. Sliced kiwi, peaches, cherries, or mangoes also make excellent and visually appealing seasonal additions.
- Homemade Whipped Cream: Light, airy, and delicately sweet, a generous dollop of freshly made whipped cream is a simple yet incredibly elegant topping. It enhances the cheesecake’s creamy texture and adds a touch of luxurious lightness.
- Rich Hot Fudge Sauce: For all the chocolate aficionados, a warm, glossy drizzle of homemade hot fudge sauce adds a deeply luxurious and decadent touch that is simply irresistible.
- Tangy Homemade Lemon Curd: If you truly enjoy a more pronounced citrus flavor, a spoonful of vibrant, zesty lemon curd will provide a delightful sweet-tart contrast that brightens every bite.
- Sweet Homemade Strawberry Sauce: A homemade strawberry sauce, bursting with the fresh, sun-ripened flavor of berries, is a fantastic way to elevate your cheesecakes with a fruity sweetness.
- Luscious Homemade Blueberry Sauce: Similarly, a homemade blueberry sauce offers a wonderfully sweet, slightly tart, and deeply flavorful topping that pairs beautifully with the creamy base.
- Silky Chocolate Ganache: A smooth, glossy, and intensely chocolatey ganache provides a sophisticated and deeply satisfying chocolate experience.
- Decadent Salted Caramel Sauce: The rich, buttery notes of salted caramel, with its perfect balance of sweet and savory, pair wonderfully with the creamy cheesecake, creating a truly irresistible combination.
- Chopped Nuts: A sprinkle of finely chopped toasted pecans, walnuts, or almonds can add a lovely crunch and an earthy, nutty flavor that complements the sweetness.
- Toasted Coconut Flakes: For a delightful tropical twist and an interesting textural contrast, toasted coconut flakes are an excellent choice.
- Chocolate Shavings or Chips: A simple yet satisfying sprinkle of dark, milk, or white chocolate shavings, or mini chocolate chips, adds an easy chocolate element.
For your next gathering, consider setting up a “cheesecake topping bar” where guests can personalize their own mini cheesecakes. This interactive element makes dessert even more fun, engaging, and memorable for everyone!
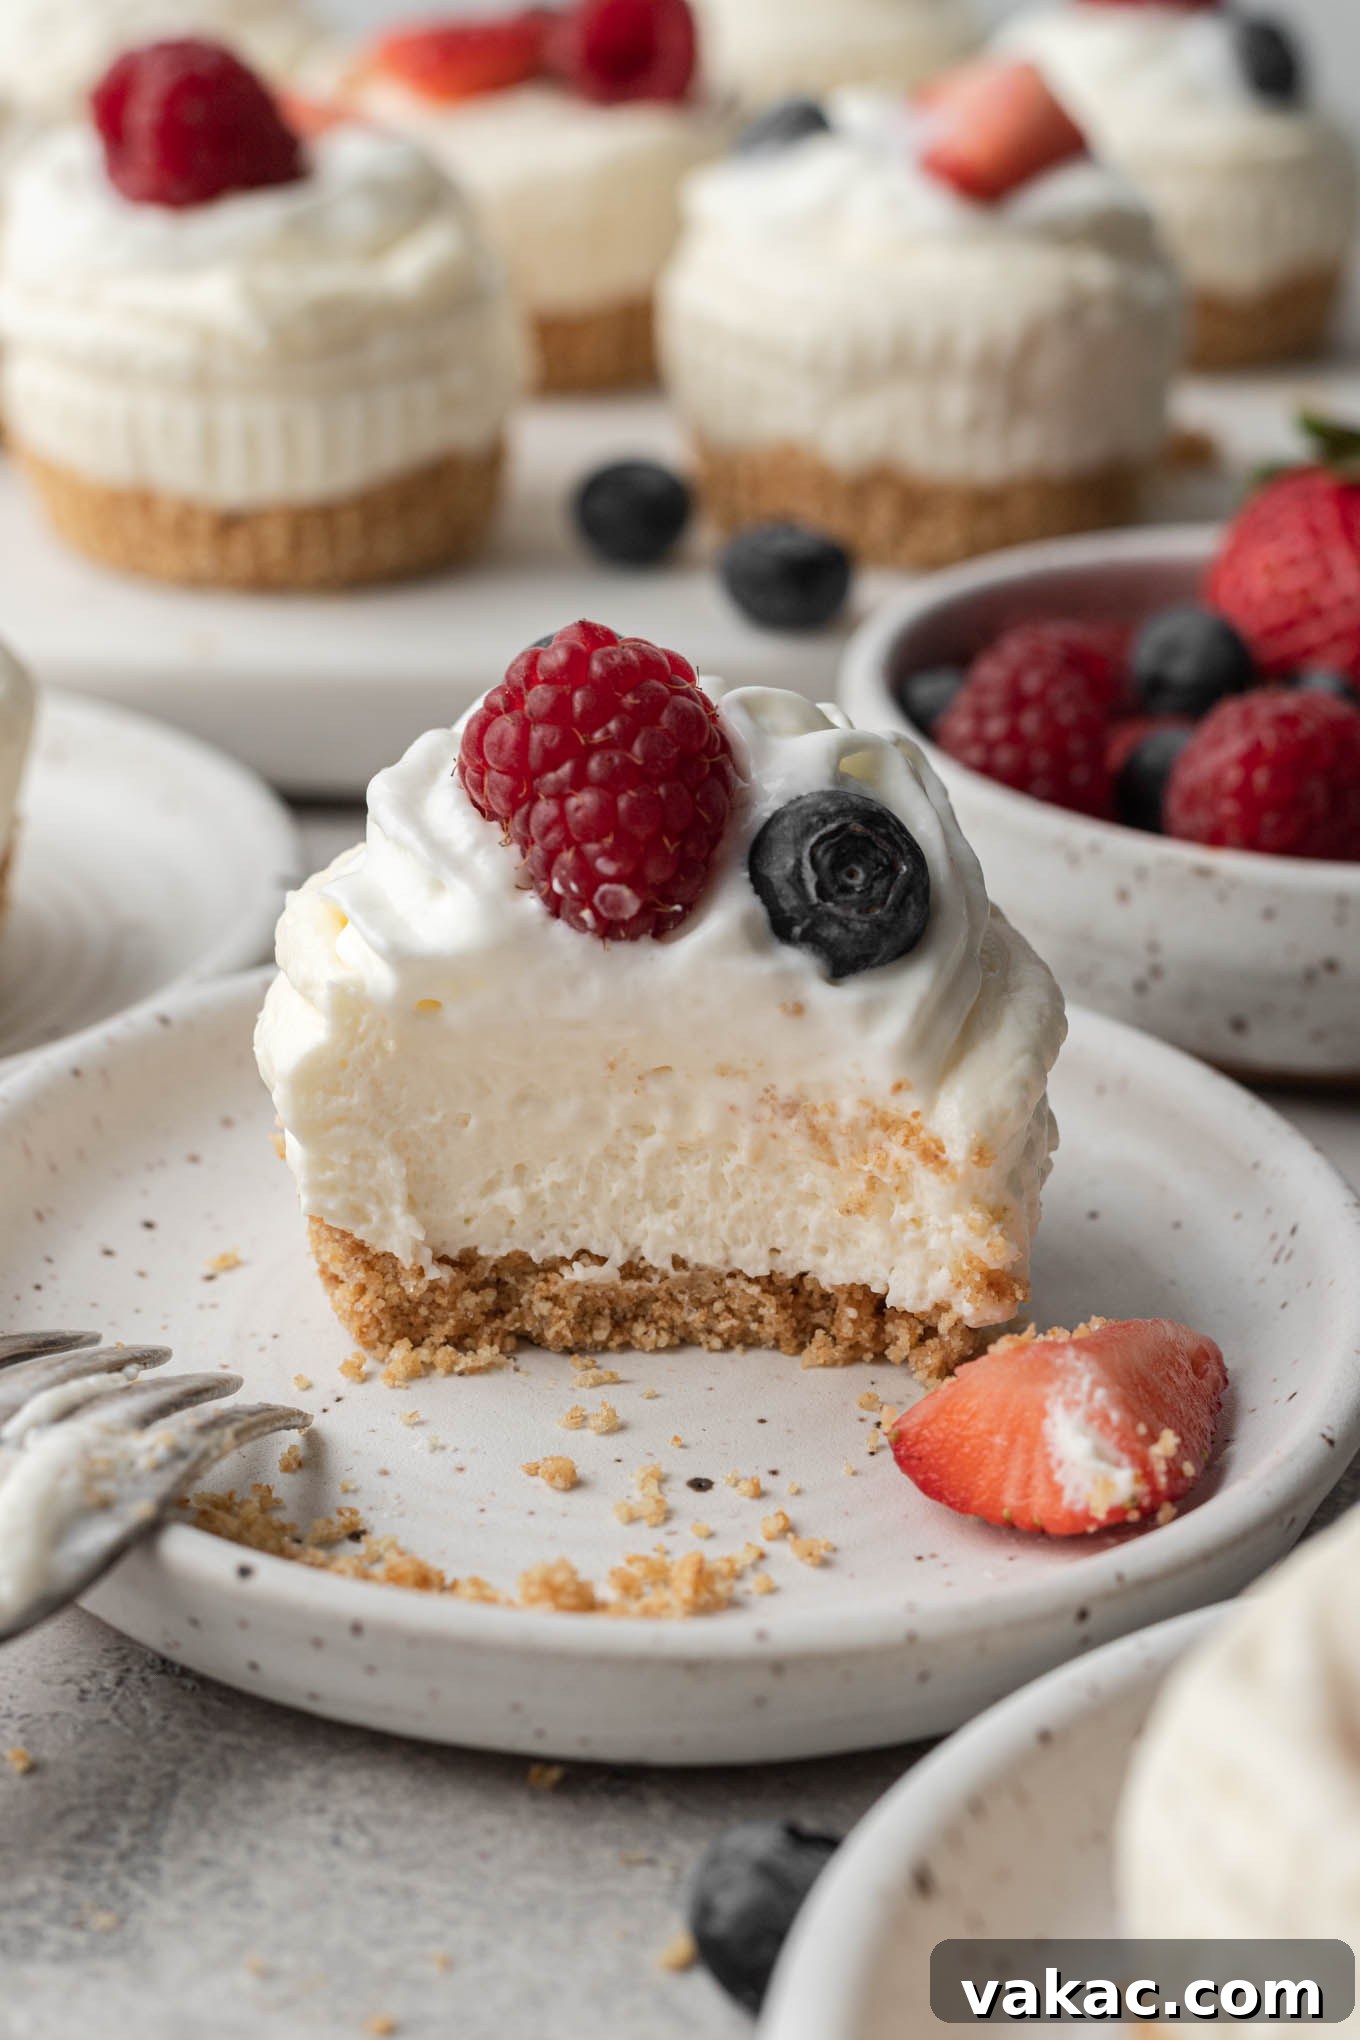
Expert Tips for No-Bake Cheesecake Success
Achieving perfectly set and delicious no-bake mini cheesecakes is simple when you follow these expert tips:
- Optional Baked Crust for Extra Sturdiness: While these are wonderfully “no-bake” cheesecakes, if you desire a slightly sturdier, crispier, and more intensely flavored crust, you have the option to briefly bake the graham cracker crusts. After firmly pressing the crumbs into the muffin liners, bake them for 5 minutes in a preheated oven at 350°F (175°C). It is absolutely crucial to let them cool completely to room temperature before adding the cheesecake filling; otherwise, the warm crust could melt the filling. This step is entirely optional but can add a delightful textural dimension.
- Achieve Thicker, More Stable Whipped Cream: For truly stable and wonderfully thick whipped cream that holds its shape beautifully within your cheesecake filling, consider chilling your mixing bowl and whisk attachment (or electric hand mixer beaters) in the freezer for about 5 to 10 minutes before whipping the heavy cream. The cold surfaces significantly help the cream whip faster and achieve a firmer, more resilient consistency.
- Mind the Filling Volume: This particular recipe yields enough filling to generously fill each cupcake liner all the way to the top, resulting in substantial and satisfying mini cheesecakes. If you prefer a slightly smaller individual portion or wish to have some delicious extra filling, feel free to use a little less per cheesecake. Any leftover filling makes an absolutely divine fruit dip or a simple, indulgent treat enjoyed on its own!
- Room Temperature Ingredients are Key: Always ensure your brick-style cream cheese is at proper room temperature (softened) before you begin mixing. This is fundamental for achieving a perfectly smooth, lump-free filling that incorporates easily and thoroughly with the other ingredients. Cold cream cheese will result in a clumpy, difficult-to-mix mixture and a less desirable final texture.
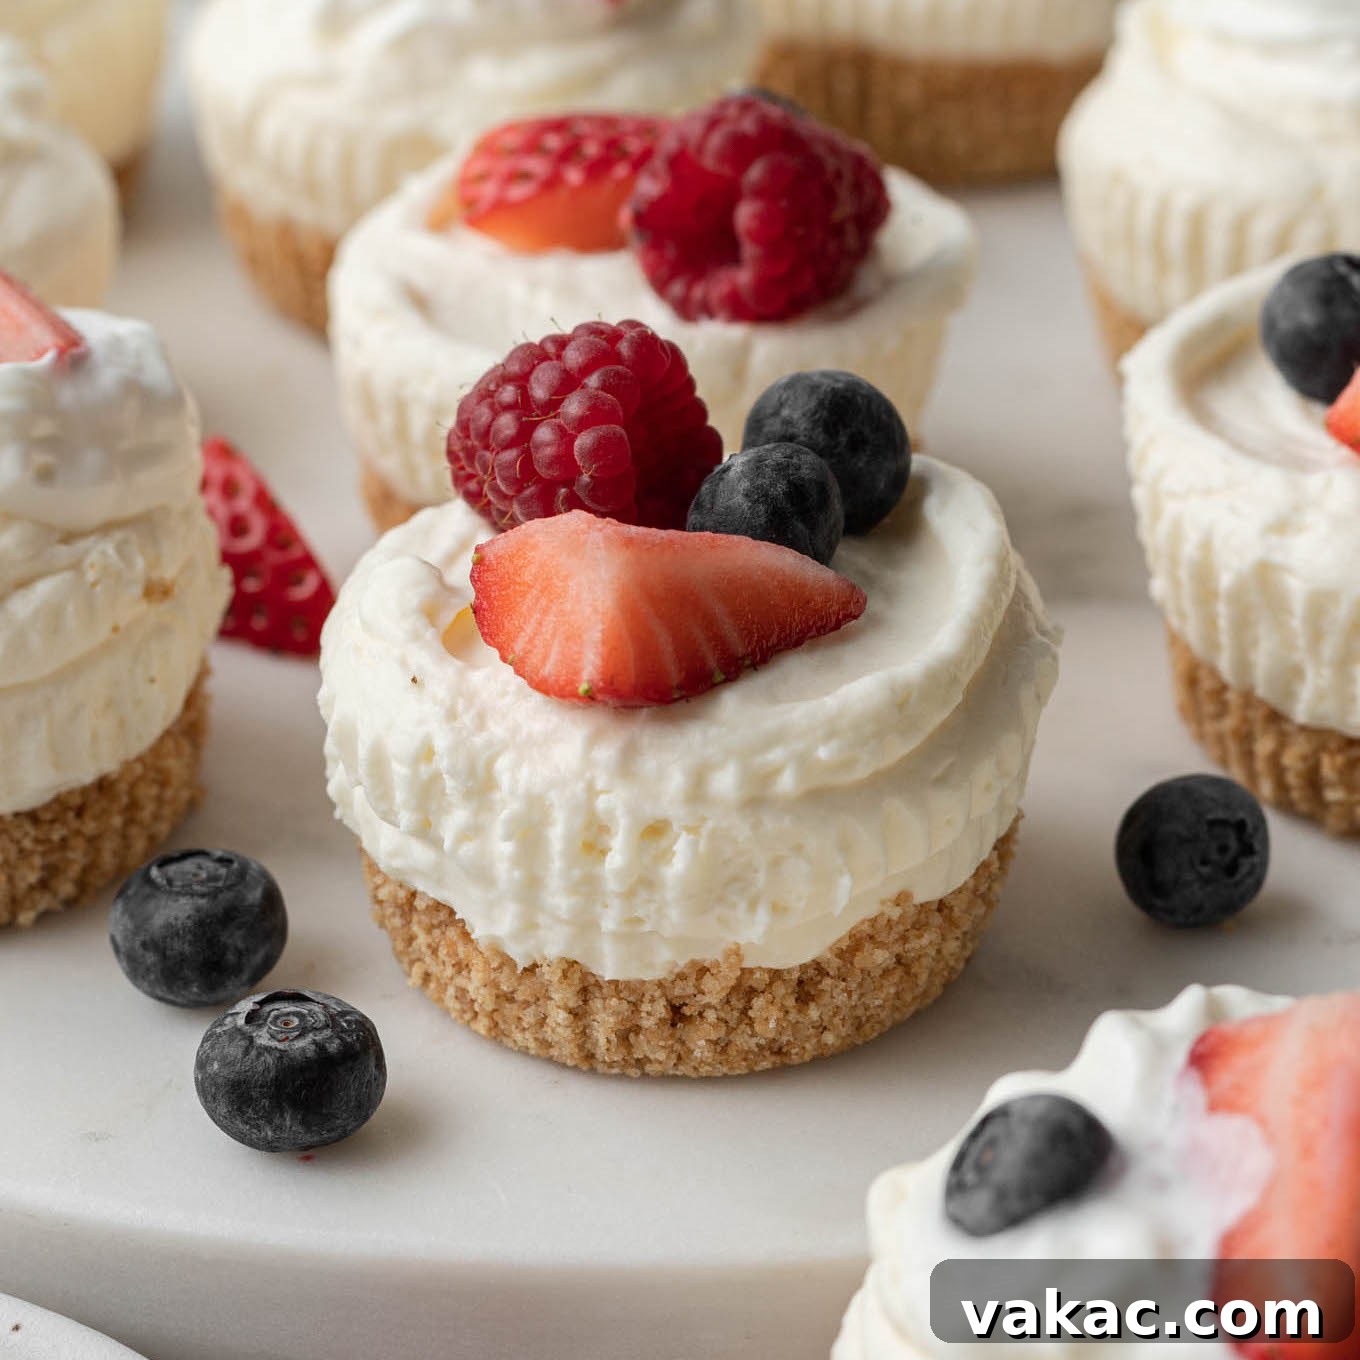
No-Bake Mini Cheesecakes
35 mins
3 hrs
3 hrs 35 mins
Pin Recipe
Ingredients
12 cheesecakes
Graham Cracker Crust
- ¾ cup crushed graham cracker crumbs (about 6 full-sheets, 90 grams)
- 2 tablespoons granulated sugar (25 grams)
- 3 tablespoons unsalted butter melted (45 grams)
No-Bake Cheesecake Filling
- 12 ounces brick-style cream cheese softened (340 grams)
- ¾ cup powdered sugar (90 grams)
- 1 ½ teaspoons fresh lemon juice
- ½ teaspoon pure vanilla extract
- 1 cup cold heavy whipping cream (240 ml)
Instructions
- To make the graham cracker crust: Line a standard muffin pan with 12 cupcake liners and set aside.
- Combine the graham cracker crumbs and granulated sugar in a medium-sized mixing bowl and stir until well combined. Add the melted butter and mix until all of the crumbs are moistened.
- Evenly distribute the mixture between all 12 cupcake liners, a little over one tablespoon per liner. Use the bottom of a ¼ cup measuring cup to firmly pack the crust down into each liner. Set aside while you prepare the filling.
- To make the filling: In the bowl of a stand mixer fitted with the paddle attachment, or in a large mixing bowl using a handheld mixer, beat the cream cheese for 1 to 2 minutes or until smooth. Add the powdered sugar, lemon juice, and vanilla extract and mix until fully combined, stopping to scrape down the sides of the bowl as needed. Set aside.
- Add the heavy whipping cream to a separate mixing bowl. Using a handheld mixer or stand mixer fitted with the whisk attachment, mix on low-medium speed for 30 seconds to 1 minute then increase the speed to medium and continue mixing until stiff peaks form.
- Gently fold half of the whipped cream into the cream cheese mixture until just combined, then fold in the remaining whipped cream until fully combined.
- Scoop the filling into a large piping bag and cut the end off. Evenly distribute the filling between all 12 cupcake liners by piping it on top of the crust. You should end up filling each one all the way to the top. Alternatively you can scoop the mixture into each liner with a spoon or cookie scoop, but I find the piping bag much easier!
- Cover tightly and transfer to the refrigerator to chill for at least 3 hours (or even overnight).
- When ready to serve, remove from the pan, add your favorite toppings, and enjoy!
Notes
Storage Instructions: Cheesecakes may be stored in an airtight container in the fridge for up to 4 days.
Freezing Instructions: To freeze, place chilled cheesecakes (without toppings) on a baking sheet and freeze until solid. Once solid, transfer to an airtight freezer-safe container for up to 1 month. Thaw in the refrigerator before serving.
More Mini Cheesecake Recipes to Try!