
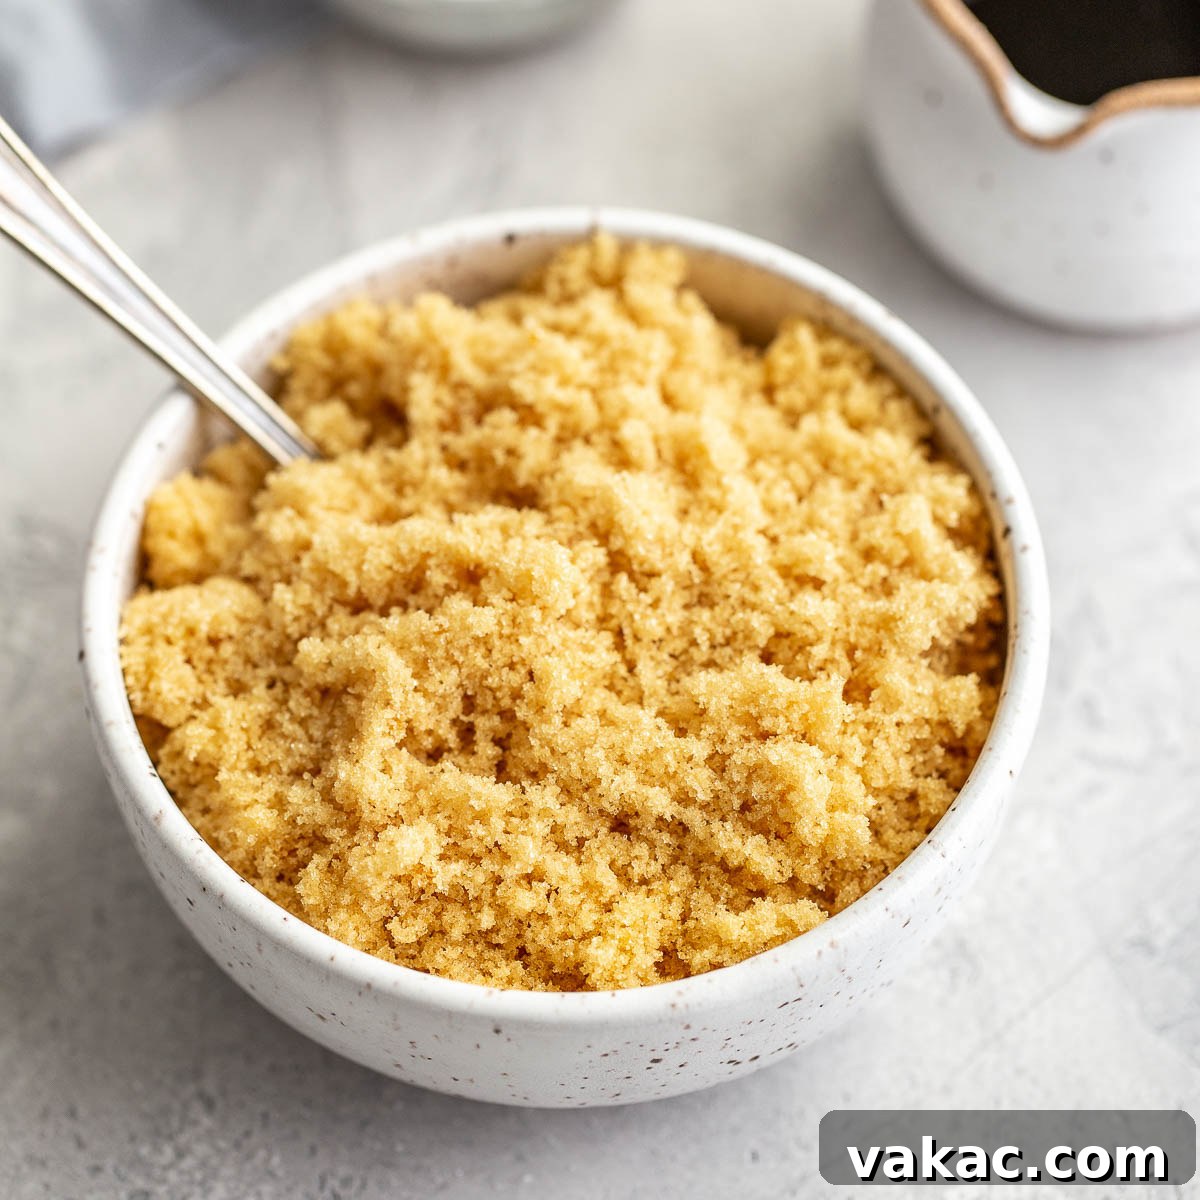
Ever find yourself mid-baking, only to discover you’re completely out of brown sugar? It’s a common culinary dilemma that can halt your cookie production or derail your delicious dessert plans. But what if we told you that a perfect brown sugar substitute is just two everyday ingredients away? This comprehensive guide will not only show you how to effortlessly make your own rich, flavorful brown sugar right in your kitchen but also dive deep into its importance, variations, and clever tips for storage and use. Get ready to elevate your baking with this simple yet essential homemade ingredient!
What Exactly Is Brown Sugar? Understanding This Baking Essential
Often considered a staple in most pantries, brown sugar plays a crucial role in countless recipes, from chewy cookies to moist cakes. But beyond its distinctive color and sweet taste, what is brown sugar, fundamentally? In essence, refined brown sugar is simply granulated white sugar with molasses added back into it. This seemingly minor addition makes all the difference.
The traces of molasses are responsible for brown sugar’s characteristic hue, ranging from a light golden brown to a deep, dark caramel. More importantly, molasses imparts a unique flavor profile – a subtle, warm caramel or toffee note that distinguishes it from plain white sugar. Beyond flavor, molasses also adds a significant amount of moisture. This moisture is what gives baked goods made with brown sugar their desirable chewy texture and helps keep them soft and tender for longer. It also contributes to a slightly acidic pH, which can react with baking soda to aid in leavening, giving certain recipes a lovely lift.
Understanding this composition reveals why brown sugar is not merely a sweetener but a functional ingredient that impacts flavor, texture, and moisture in your baking. If a recipe specifically calls for it, omitting it or substituting it with plain white sugar will inevitably alter the final product’s texture and taste. Therefore, learning how to create a reliable substitute is an invaluable skill for any home baker.
Why Make Your Own Brown Sugar Substitute?
You might be wondering why bother making brown sugar when you can simply buy it from the store. The reasons are compelling, offering convenience, control, and often a fresher product:
- Emergency Baking Solutions: The most immediate benefit is solving that classic “oops, I’m out!” moment. No need for a last-minute dash to the grocery store when your baking inspiration strikes.
- Cost-Effectiveness: If you frequently bake and keep granulated sugar and molasses on hand, making your own brown sugar can be more economical in the long run than purchasing pre-packaged brown sugar, especially if you need different varieties (light or dark).
- Unparalleled Freshness: Store-bought brown sugar can sometimes harden over time due to exposure to air. When you make your own, it’s fresh and perfectly soft, ready to be incorporated into your recipe.
- Customization and Control: This DIY method gives you complete control over the intensity of your brown sugar. Easily adjust the amount of molasses to create light brown sugar for delicate recipes or dark brown sugar for more robust flavors.
- Simple Ingredients, No Surprises: You know exactly what goes into your brown sugar – just pure granulated sugar and molasses. No added anti-caking agents or other obscure ingredients found in some commercial products.
- Empowering Kitchen Skill: Learning to make foundational ingredients like brown sugar builds confidence and expands your culinary repertoire, making you a more resourceful and versatile baker.
Essential Ingredients for Homemade Brown Sugar
This recipe truly embodies simplicity, requiring only two key ingredients. While the list is short, selecting the right type of molasses is crucial for achieving the desired flavor and texture.
-
Molasses: This is the star ingredient that transforms ordinary white sugar.
- Unsulfured Molasses is Key: Always opt for unsulfured molasses. Sulfured molasses contains sulfur dioxide, which is used as a preservative, and can impart a slightly chemical or bitter taste to your brown sugar. Unsulfured varieties are generally sweeter and have a cleaner flavor profile, making them ideal for baking. Popular brands like Grandma’s Molasses are excellent choices and widely available.
- Avoid Blackstrap Molasses: While also a type of molasses, blackstrap molasses is a byproduct of the third boiling of sugar syrup, resulting in a very thick, dark, and intensely bitter flavor. Its robust, almost medicinal taste is generally too strong for most baked goods where brown sugar is called for, overpowering other flavors. Reserve blackstrap for specific savory recipes or health tonics where its distinct bitterness is desired.
- Understanding Molasses Grades: Lighter molasses (like Barbados molasses) has a milder flavor, while darker varieties (excluding blackstrap) offer a richer, more pronounced caramel note. For a balanced homemade brown sugar, a good quality regular (light or dark) unsulfured molasses is perfect.
-
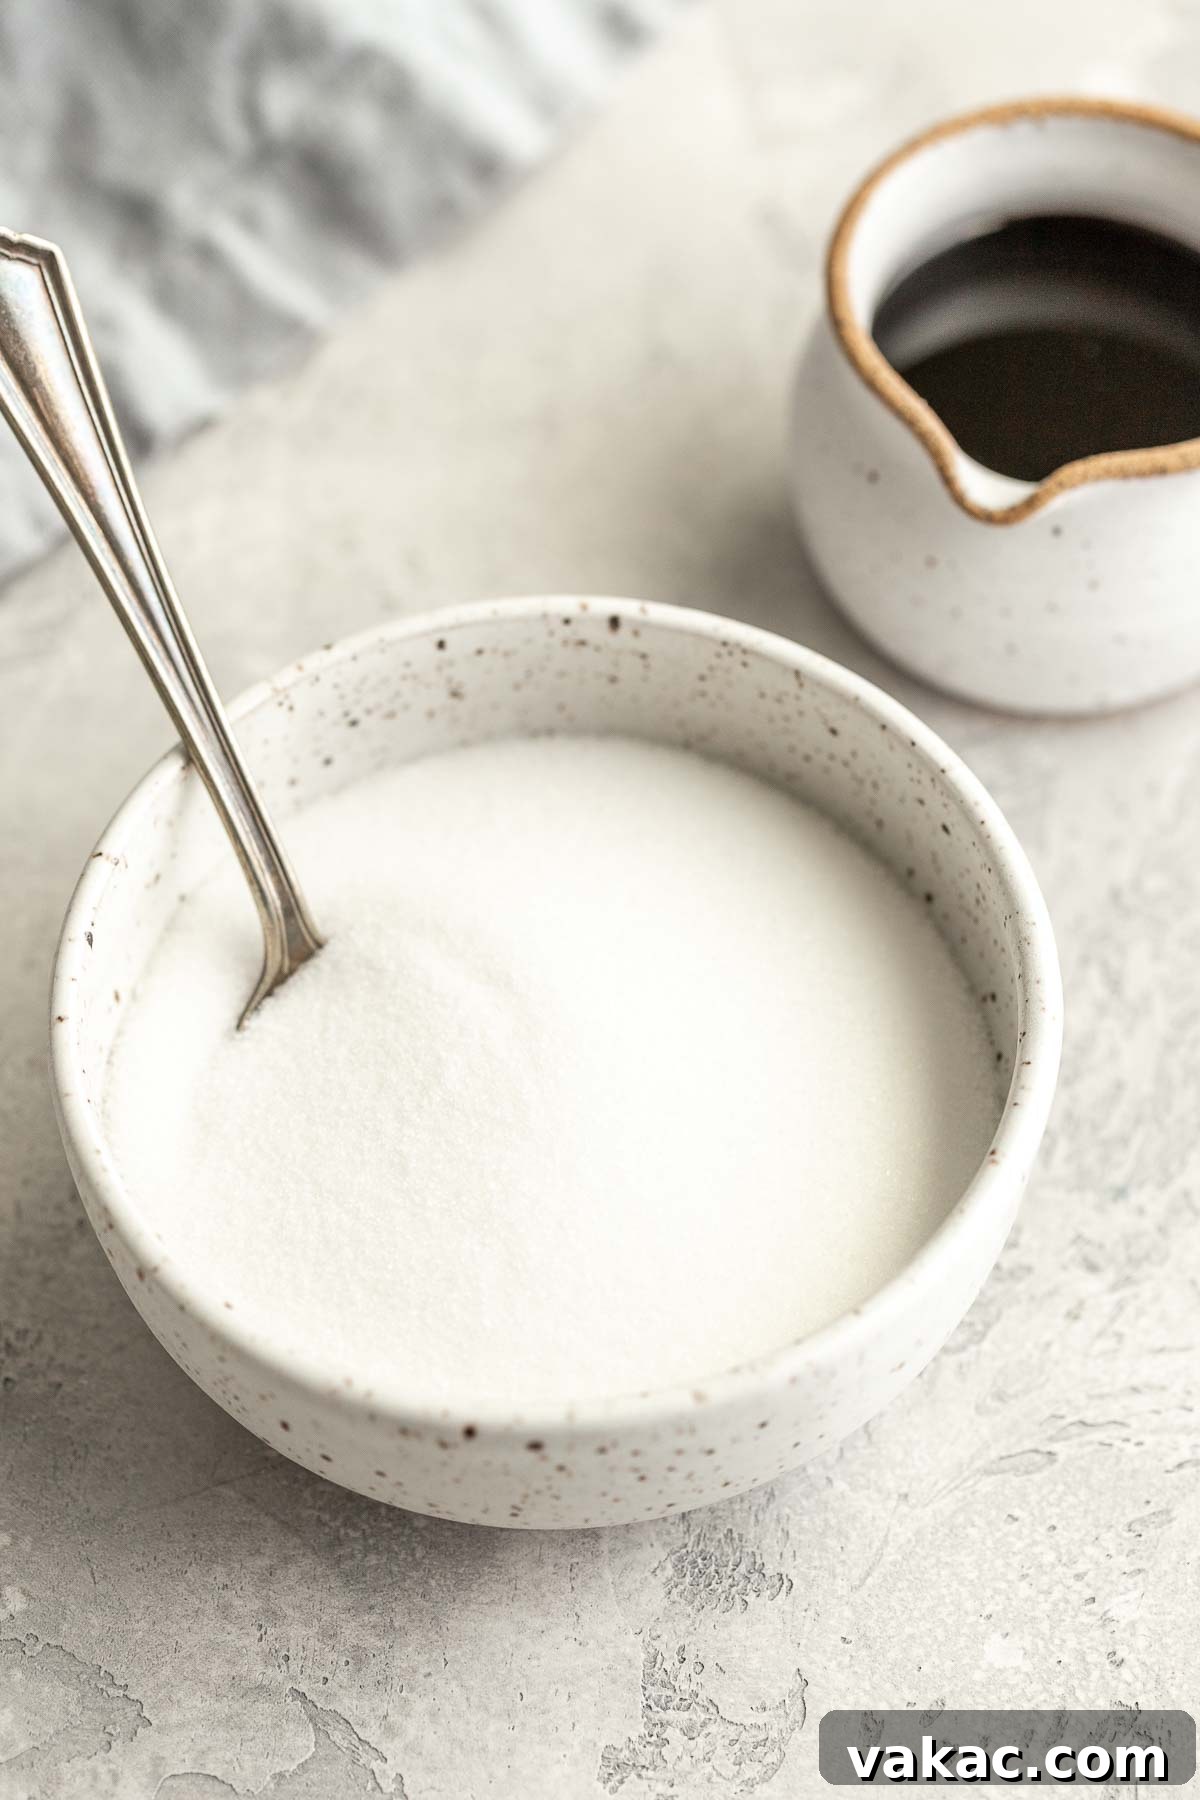
Granulated Sugar: Also commonly referred to as white sugar, this forms the base of your brown sugar.
- Standard White Sugar: Regular granulated sugar works perfectly. There’s no need for special types like superfine or caster sugar, as the mixing process will coat the crystals evenly.
- Quantity: This recipe typically calls for 1 cup of granulated sugar, yielding about 1 cup of brown sugar. However, you can easily scale this up or down to meet your specific needs. Just remember to adjust the amount of molasses proportionally.
By using these two simple ingredients correctly, you’ll unlock the secret to fresh, flavorful brown sugar anytime you need it.
Step-by-Step Guide: Crafting Your Own Brown Sugar
Making brown sugar at home is incredibly straightforward, so much so that once you try it, you’ll wonder why you ever hesitated. The process is quick, requires minimal effort, and yields fantastic results every time. Here’s how to do it:
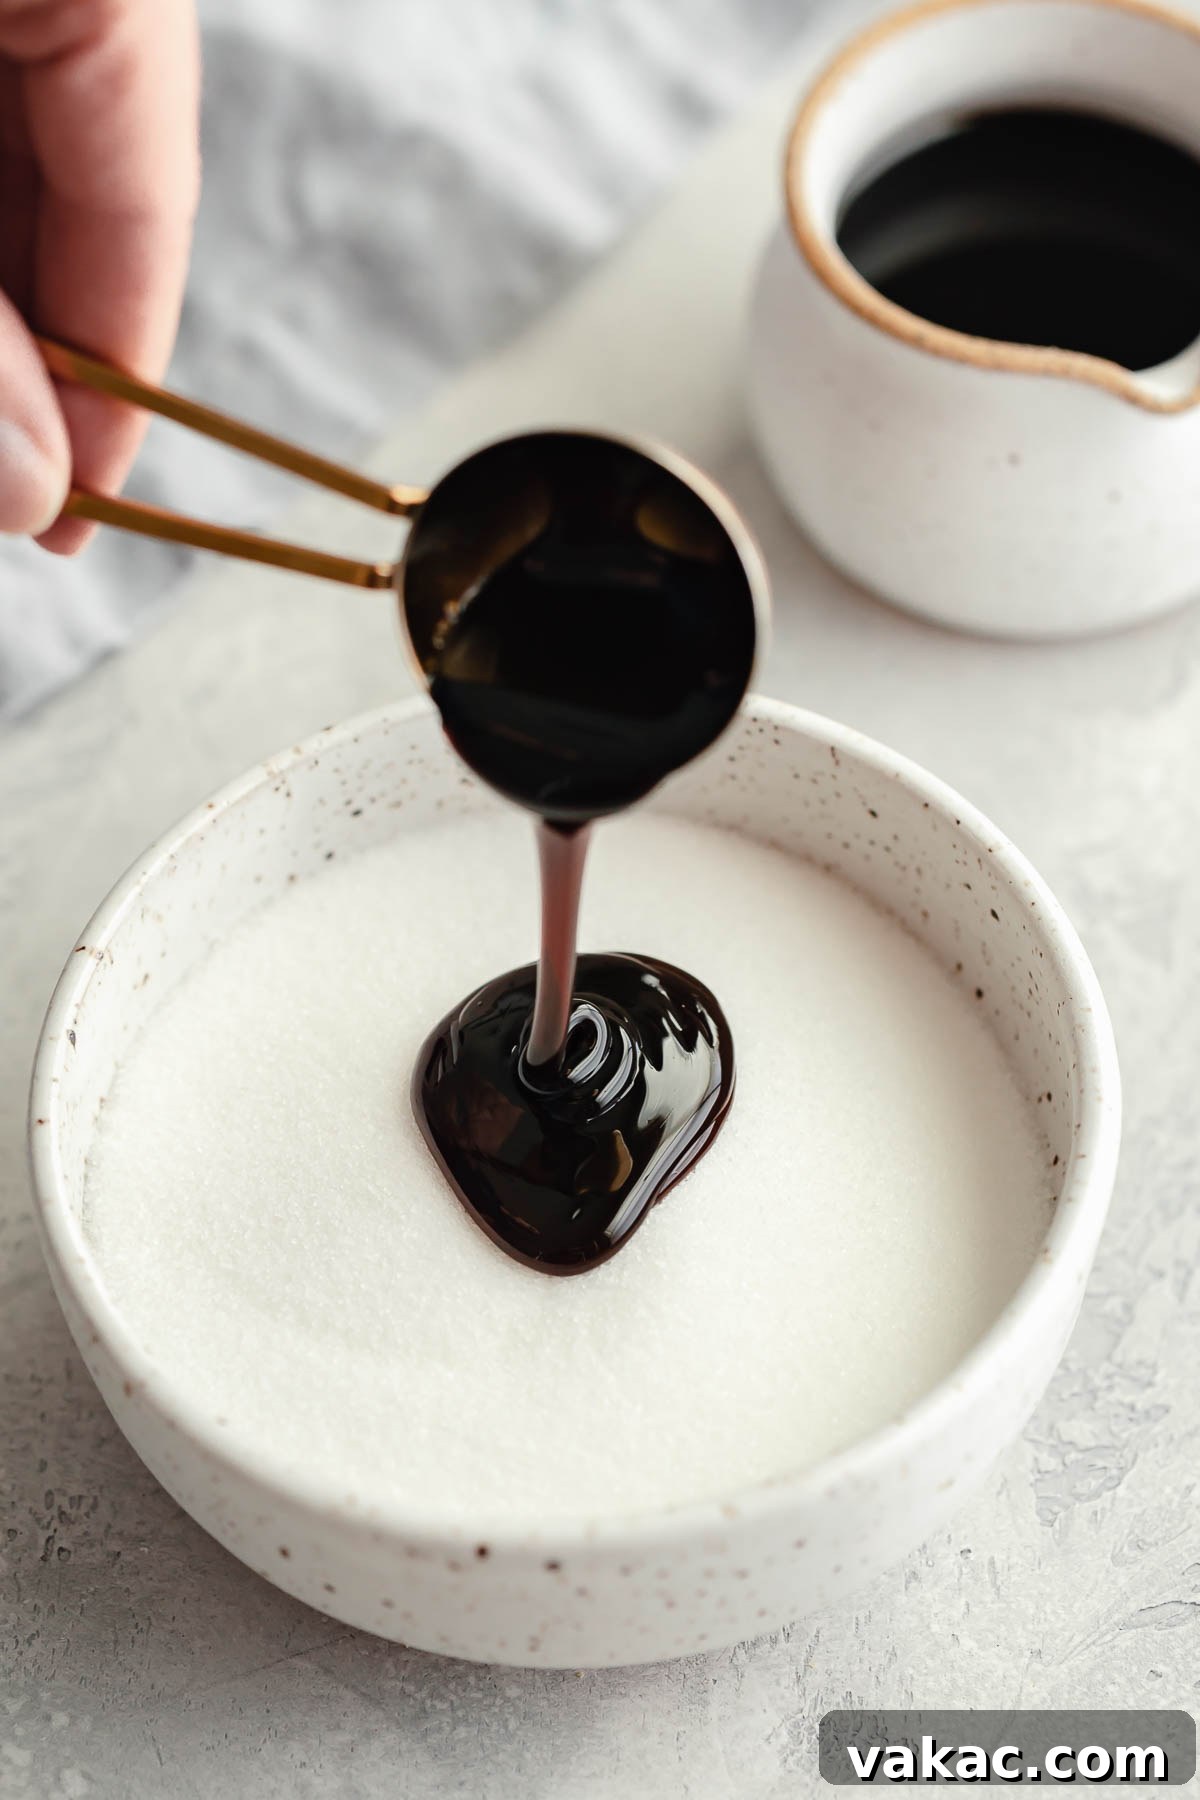
- Measure Your Ingredients: Start with 1 cup of granulated white sugar in a medium-sized mixing bowl. For light brown sugar, you’ll add 1 tablespoon of unsulfured molasses. If you prefer dark brown sugar, increase the molasses to 2 tablespoons.
- Combine and Mix: Pour the measured molasses directly over the granulated sugar. Now comes the mixing! While you can use a sturdy spoon, a fork is often more effective for breaking up clumps initially. For a truly homogenous mix, your hands are actually your best tools. Yes, it can get a little sticky, but it allows you to feel the sugar and ensure every crystal is coated.
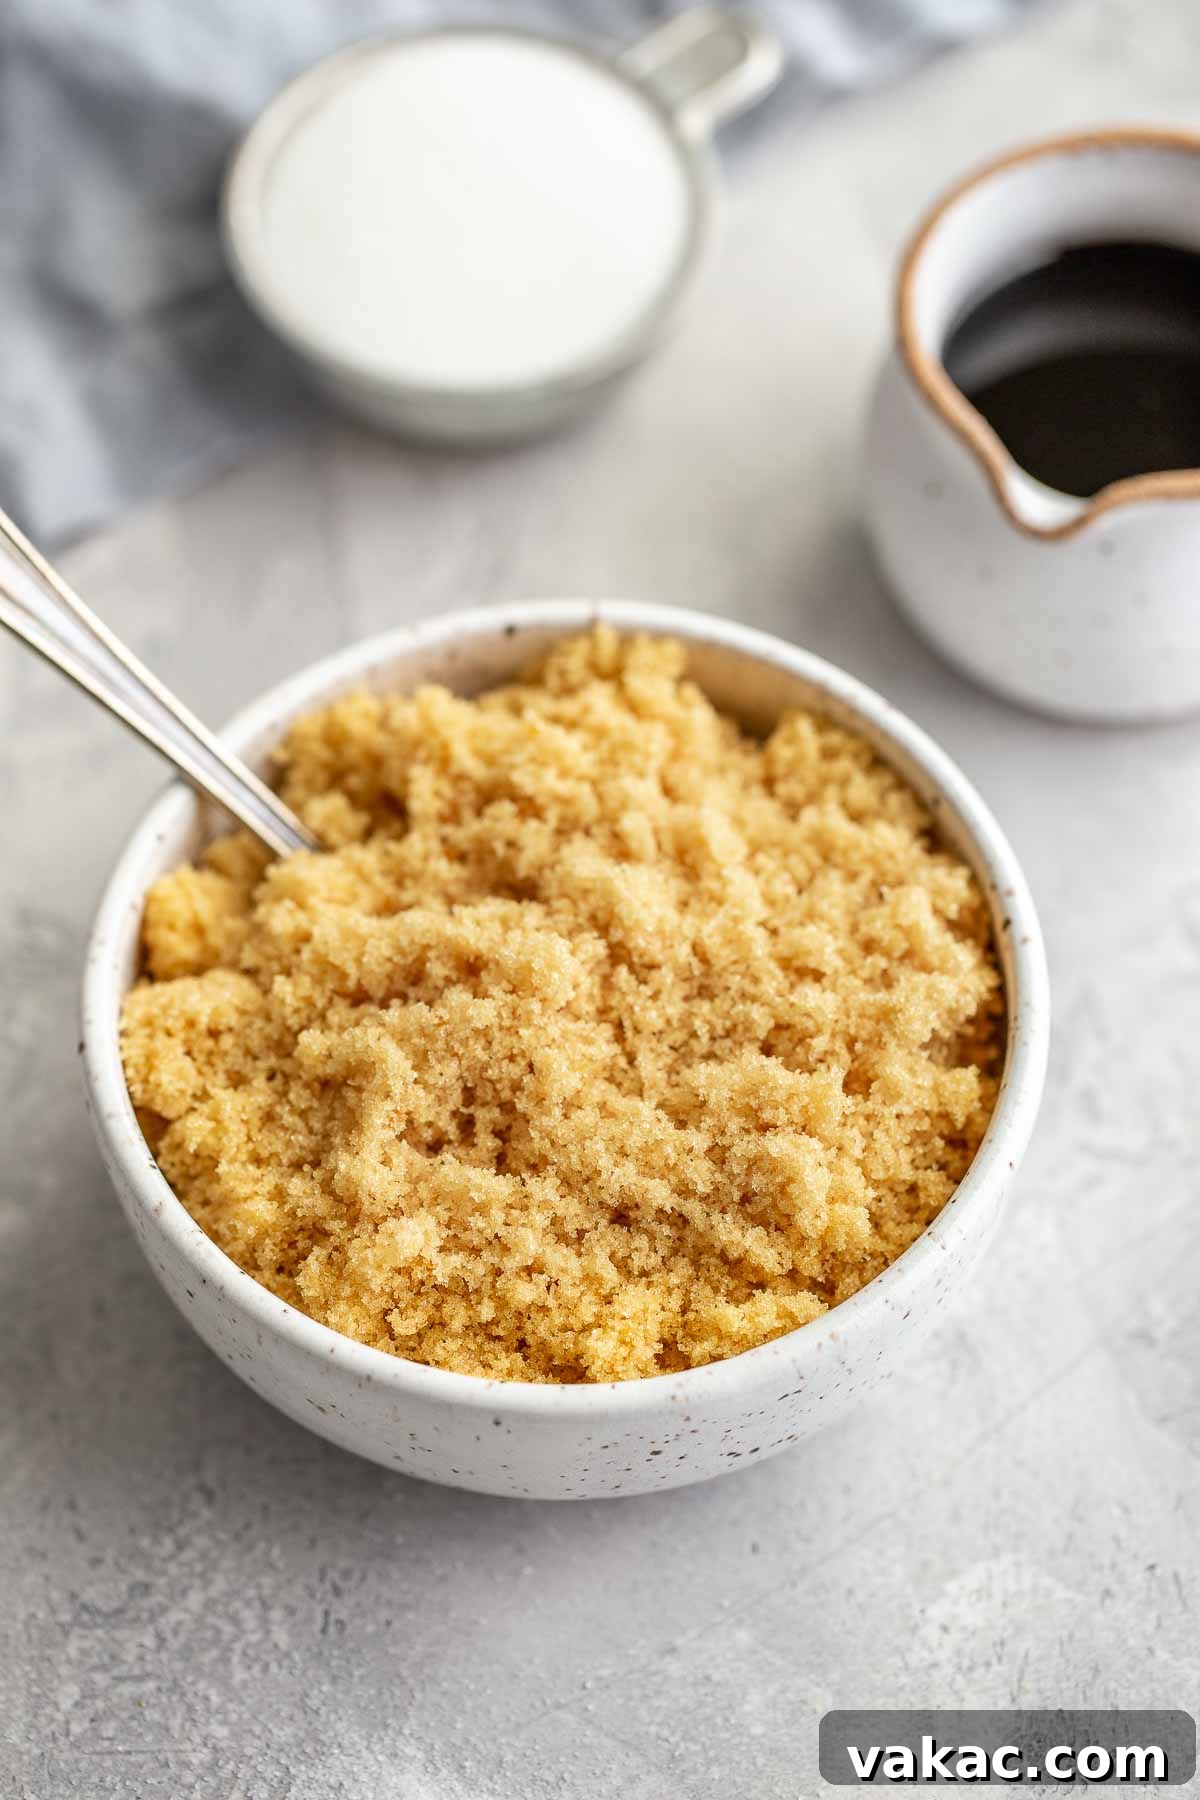
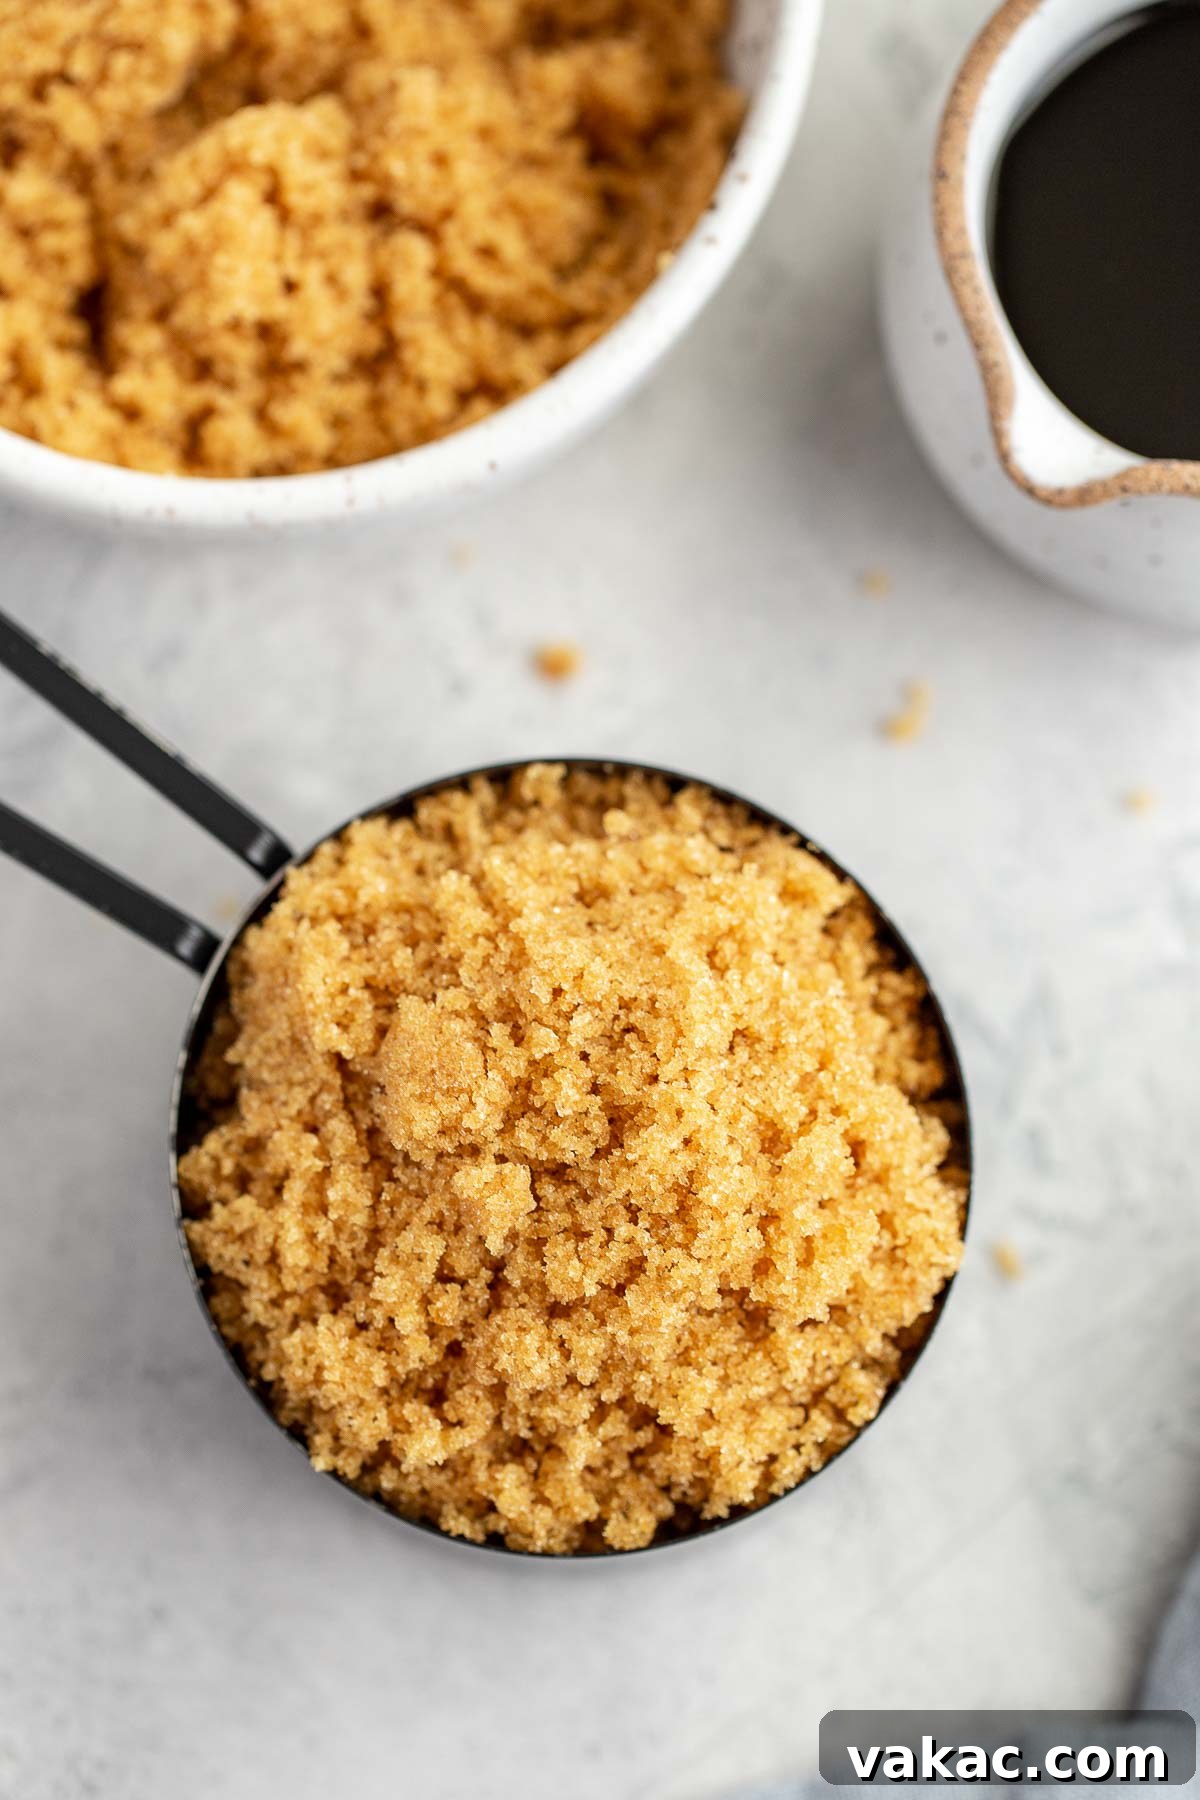
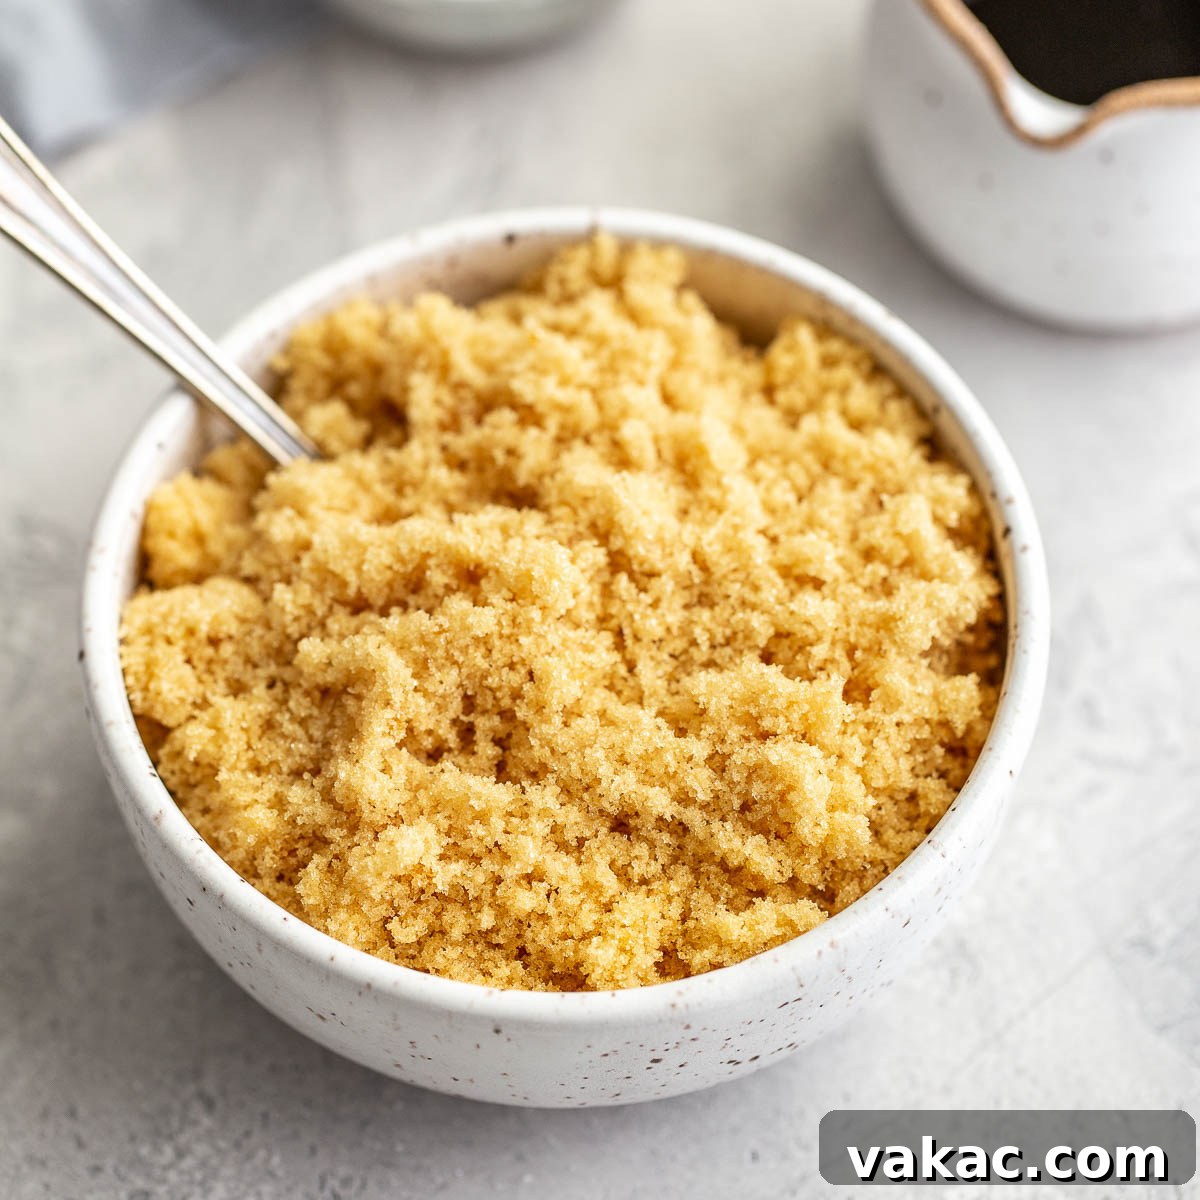
- Achieve the Right Consistency: Begin by stirring or mashing the molasses into the sugar. The sugar will appear clumpy and perhaps unevenly colored at first. Continue to mix, mash, and rub the molasses into the sugar. You’ll notice the sugar gradually transform, absorbing the molasses and becoming uniformly brown, moist, and wonderfully fluffy. This process typically takes just 1 to 3 minutes of active mixing. Keep going until there are no streaks of white sugar and the texture is consistent throughout, resembling store-bought brown sugar.
- Immediate Use or Storage: Your homemade brown sugar is now ready to be used immediately in your favorite recipes. It will perform exactly like its store-bought counterpart. If you’re not using it right away, simply transfer it to an airtight container for future baking adventures.
This simple technique puts the power of customization and convenience directly into your hands, ensuring you never have to compromise on your baking again due to a missing ingredient.
Understanding Light vs. Dark Brown Sugar
The difference between light and dark brown sugar lies solely in the amount of molasses incorporated, which significantly impacts both flavor and moisture content. Knowing how to adjust this ratio allows you to tailor your homemade brown sugar precisely to your recipe’s needs.
- For Light Brown Sugar: This variety contains less molasses, typically about 3% by weight. The result is a milder, more delicate caramel flavor and a lighter color. Light brown sugar is versatile and often preferred in recipes where you want a subtle sweetness and a tender texture without overpowering other flavors. Think of classic chocolate chip cookies, sugar cookies, or lighter cakes and quick breads. To achieve this, use 1 tablespoon of unsulfured molasses per 1 cup of granulated sugar.
- For Dark Brown Sugar: Containing a higher percentage of molasses, usually around 6% by weight, dark brown sugar boasts a much richer, more robust, and pronounced caramel flavor. Its deeper color and higher moisture content make it ideal for recipes that benefit from a bolder taste and a chewier, more moist texture. It’s fantastic in gingerbread, fruitcakes, BBQ sauces, marinades, or any recipe where that deep, treacly flavor can shine. To make dark brown sugar, simply add 2 tablespoons of unsulfured molasses per 1 cup of granulated sugar.
This flexibility is one of the greatest advantages of making your own brown sugar, allowing you to fine-tune your ingredients for optimal baking results every time.
Frequently Asked Questions About Brown Sugar
Storage Instructions for Homemade Brown Sugar
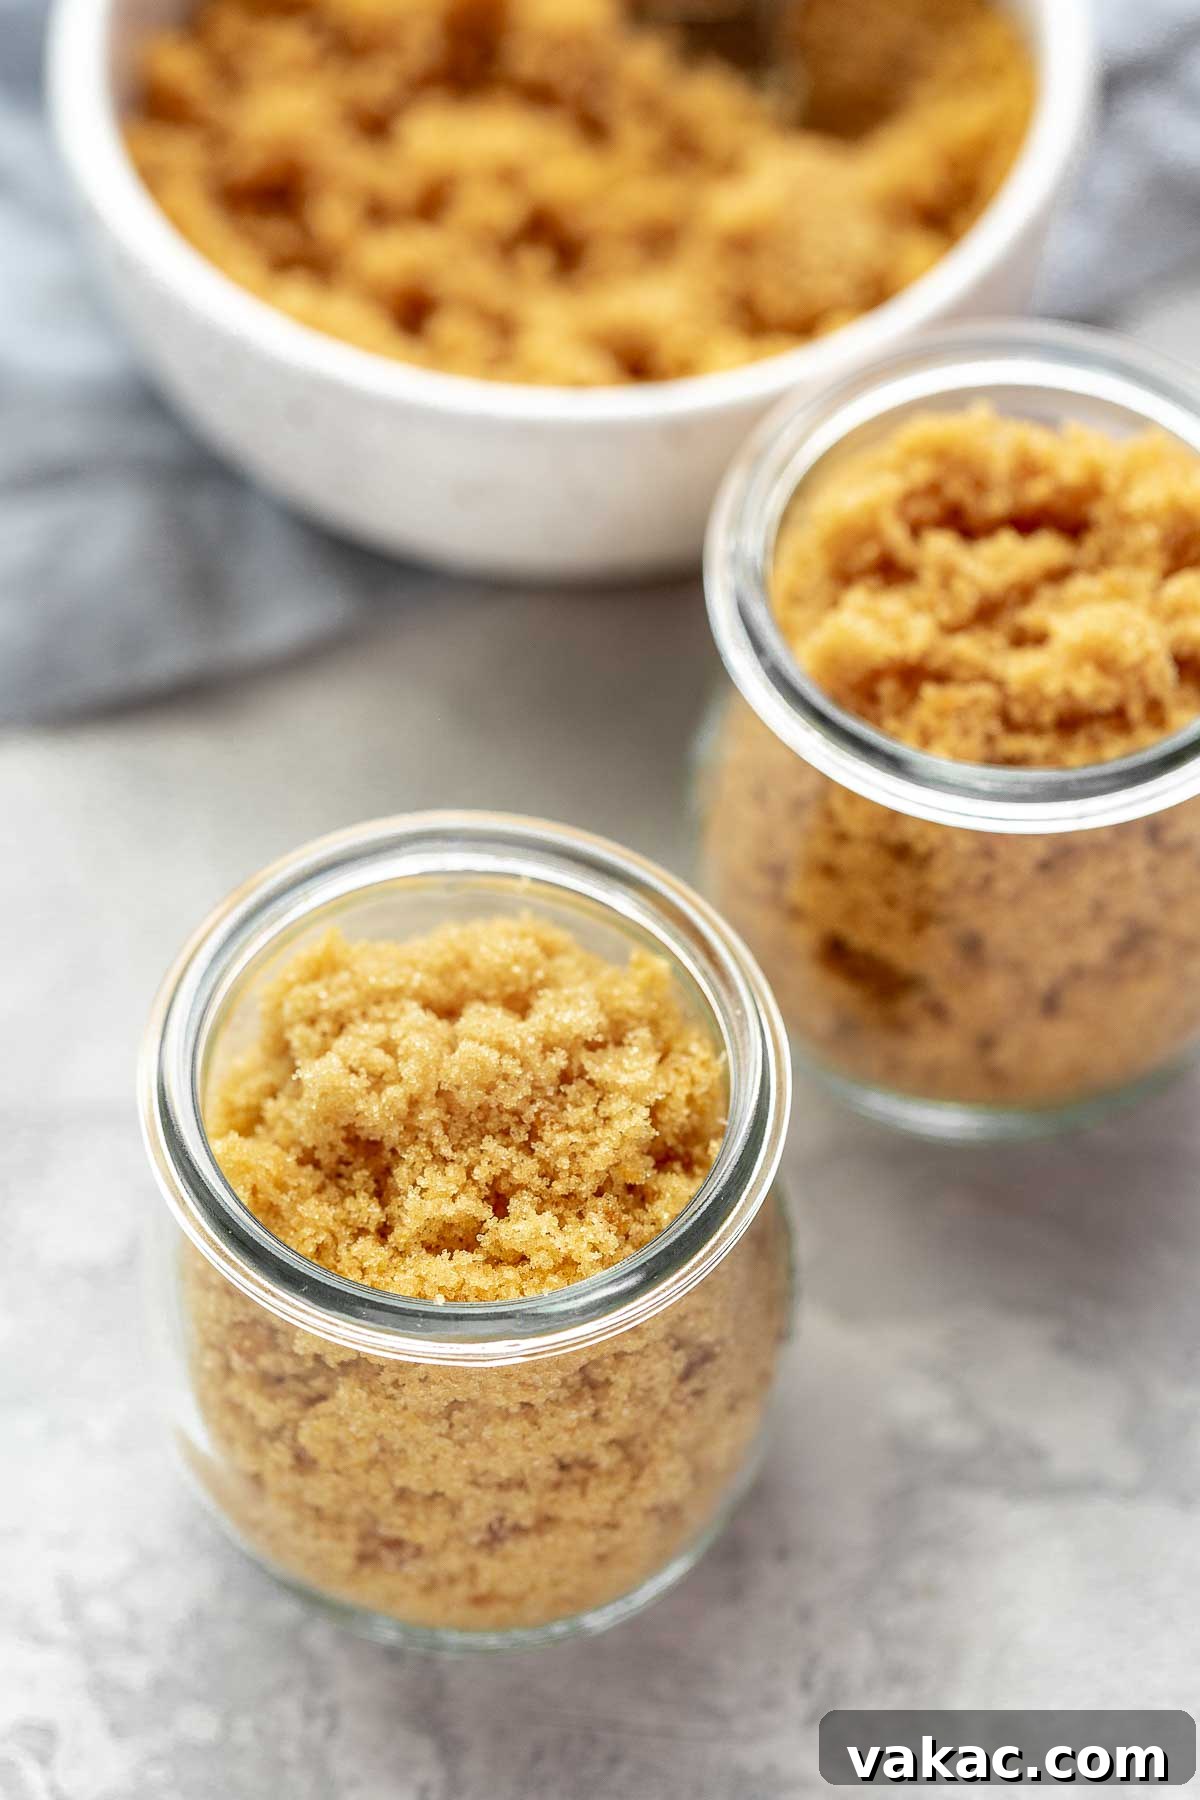
Proper storage is essential to maintain the freshness and soft texture of your homemade brown sugar. The main enemy of brown sugar is air, which causes it to lose moisture and harden. To ensure it stays soft and usable for as long as possible:
- Airtight Container is a Must: Always store brown sugar in a truly airtight container. This could be a jar with a tight-fitting lid, a plastic container with a secure seal, or even a heavy-duty zip-top bag with all the air squeezed out.
- Room Temperature: Keep your container in a cool, dry place at room temperature, away from direct sunlight or extreme heat fluctuations. Refrigeration is generally not recommended as it can accelerate hardening and cause condensation.
- Shelf Life: Stored correctly, homemade brown sugar will last indefinitely from a safety perspective, similar to granulated sugar. However, for optimal freshness and texture, it’s best to use it within a few months.
Does Brown Sugar Go Bad?
In the traditional sense of “going bad” or spoiling, brown sugar typically does not. Since it’s a sugar product, its high sugar content acts as a natural preservative, preventing microbial growth. Therefore, you won’t find mold or spoilage on properly stored brown sugar. However, it will harden over time if exposed to air. This hardening doesn’t mean it’s unsafe to eat; it simply makes it difficult to measure and incorporate into recipes. Always check for any off-smells or signs of actual spoilage (which are rare) before use, but a hard brick of brown sugar is usually just a texture issue.
How Do You Keep Brown Sugar Soft and Prevent Hardening?
Keeping brown sugar soft is key to easy baking. Here are several effective methods:
- The Bread/Marshmallow Trick: Place a slice of fresh bread or a few soft marshmallows directly into your airtight container of brown sugar. The sugar will absorb moisture from the bread or marshmallows, keeping it soft. Replace the bread every few days as it dries out, or replace marshmallows when they harden.
- Terra Cotta Disk: Many bakers swear by special terra cotta disks designed for this purpose. Simply soak the disk in water for about 20-30 minutes, pat it dry, and then place it in your brown sugar container. The porous clay slowly releases moisture, keeping the sugar soft for weeks or even months. Re-soak the disk when the sugar starts to harden again.
How to Soften Hardened Brown Sugar That’s Already a Brick?
Don’t despair if your brown sugar has turned into a rock-hard lump! It’s usually salvageable:
- Microwave Method: Place the hardened brown sugar in a microwave-safe bowl. Dampen a paper towel (it should be moist, not dripping wet) and place it over the sugar. Microwave on high for 10-20 second bursts. After each burst, check the sugar and use a fork to break up any clumps. Be careful not to overheat, as it can melt the sugar.
- Oven Method: Preheat your oven to its lowest setting (around 200°F or 90°C). Place the hardened brown sugar in an oven-safe dish. Add a small bowl of water alongside it in the oven to create a moist environment. Turn off the oven and let the sugar sit in the warm, humid environment for 20-30 minutes, or until soft.
- Bread/Marshmallow Overnight: For a hands-off approach, place a slice of fresh bread or a few marshmallows in an airtight container with the hardened sugar. Seal it tightly and let it sit overnight. The sugar will typically absorb enough moisture to soften significantly by morning.
Expert Tips for Perfect Homemade Brown Sugar
- Choose the Right Molasses: As highlighted earlier, always opt for unsulfured molasses for the best flavor. Sulfured molasses can introduce an undesirable bitter note to your homemade brown sugar. Grandma’s Molasses is a widely recommended brand for its consistent quality.
- Steer Clear of Blackstrap Molasses: This type of molasses is too strong and bitter for general baking applications where brown sugar is typically used. Its robust flavor will dominate and potentially ruin the delicate balance of your baked goods.
- Mixing is Key: Don’t be afraid to get your hands dirty! While a fork or spoon works, using your hands is often the most efficient way to ensure the molasses is thoroughly incorporated into every crystal of sugar. It allows you to feel when the sugar has achieved that uniformly moist and fluffy texture, indicating it’s perfectly mixed.
- Start Small, Scale Up: If it’s your first time, try making a small batch (e.g., 1 cup) to get a feel for the process. Once you’re comfortable, you can easily scale the recipe up to make larger quantities as needed. Just maintain the correct molasses-to-sugar ratio.
- Experiment with Ratios: While 1-2 tablespoons of molasses per cup of sugar are standard, feel free to experiment slightly with the molasses amount to find your perfect balance of flavor and moisture. A little more for extra richness, a little less for a very subtle hint.
Creative Uses for Your Versatile Homemade Brown Sugar!
Having a fresh supply of brown sugar on hand opens up a world of culinary possibilities beyond just cookies. Its unique caramel notes and moist texture make it a fantastic ingredient in both sweet and savory applications:
- Classic Baked Goods: Naturally, it’s perfect for enhancing the chewiness and flavor of classics like Brown Butter Chocolate Chip Cookies, Carmelitas, Classic Banana Bread, and Butterscotch Cookies.
- Pies and Crisps: It adds depth to fruit fillings, especially in dishes like Cinnamon Apple Crisp or pecan pie.
- Marinades and Glazes: Brown sugar is a secret weapon in savory cooking! Use it to create sweet and tangy glazes for ham, salmon, or chicken, or incorporate it into BBQ sauces and dry rubs for a touch of caramelization and flavor.
- Breakfast Staples: Sprinkle it over oatmeal or yogurt, stir it into pancake or waffle batter, or use it to make a delicious cinnamon roll filling.
- Beverages: A spoonful can sweeten coffee or tea with a richer flavor than white sugar. It’s also excellent in homemade syrups for cocktails.
- Crumble Toppings: Essential for fruit crumbles, crisps, and streusels, providing that desirable golden, slightly chewy topping.
Don’t limit yourself! Once you have a steady supply of fresh, homemade brown sugar, you’ll find countless ways to incorporate its delicious flavor into your daily cooking and baking.
How To Make Brown Sugar
10 mins
10 mins
Pin Recipe
Ingredients
1 cup
- 1 cup (200 grams) granulated sugar
- 1 to 2 tablespoons unsulfured molasses
Instructions
-
Combine the granulated sugar and 1 tablespoon of molasses (for light brown sugar) or 2 tablespoons of molasses (for dark brown sugar) in a large bowl and mix until well combined. If needed, use a fork or your hands to work the molasses into the sugar.
-
Store in an airtight container at room temperature.
American
Dessert
Danielle Rye