
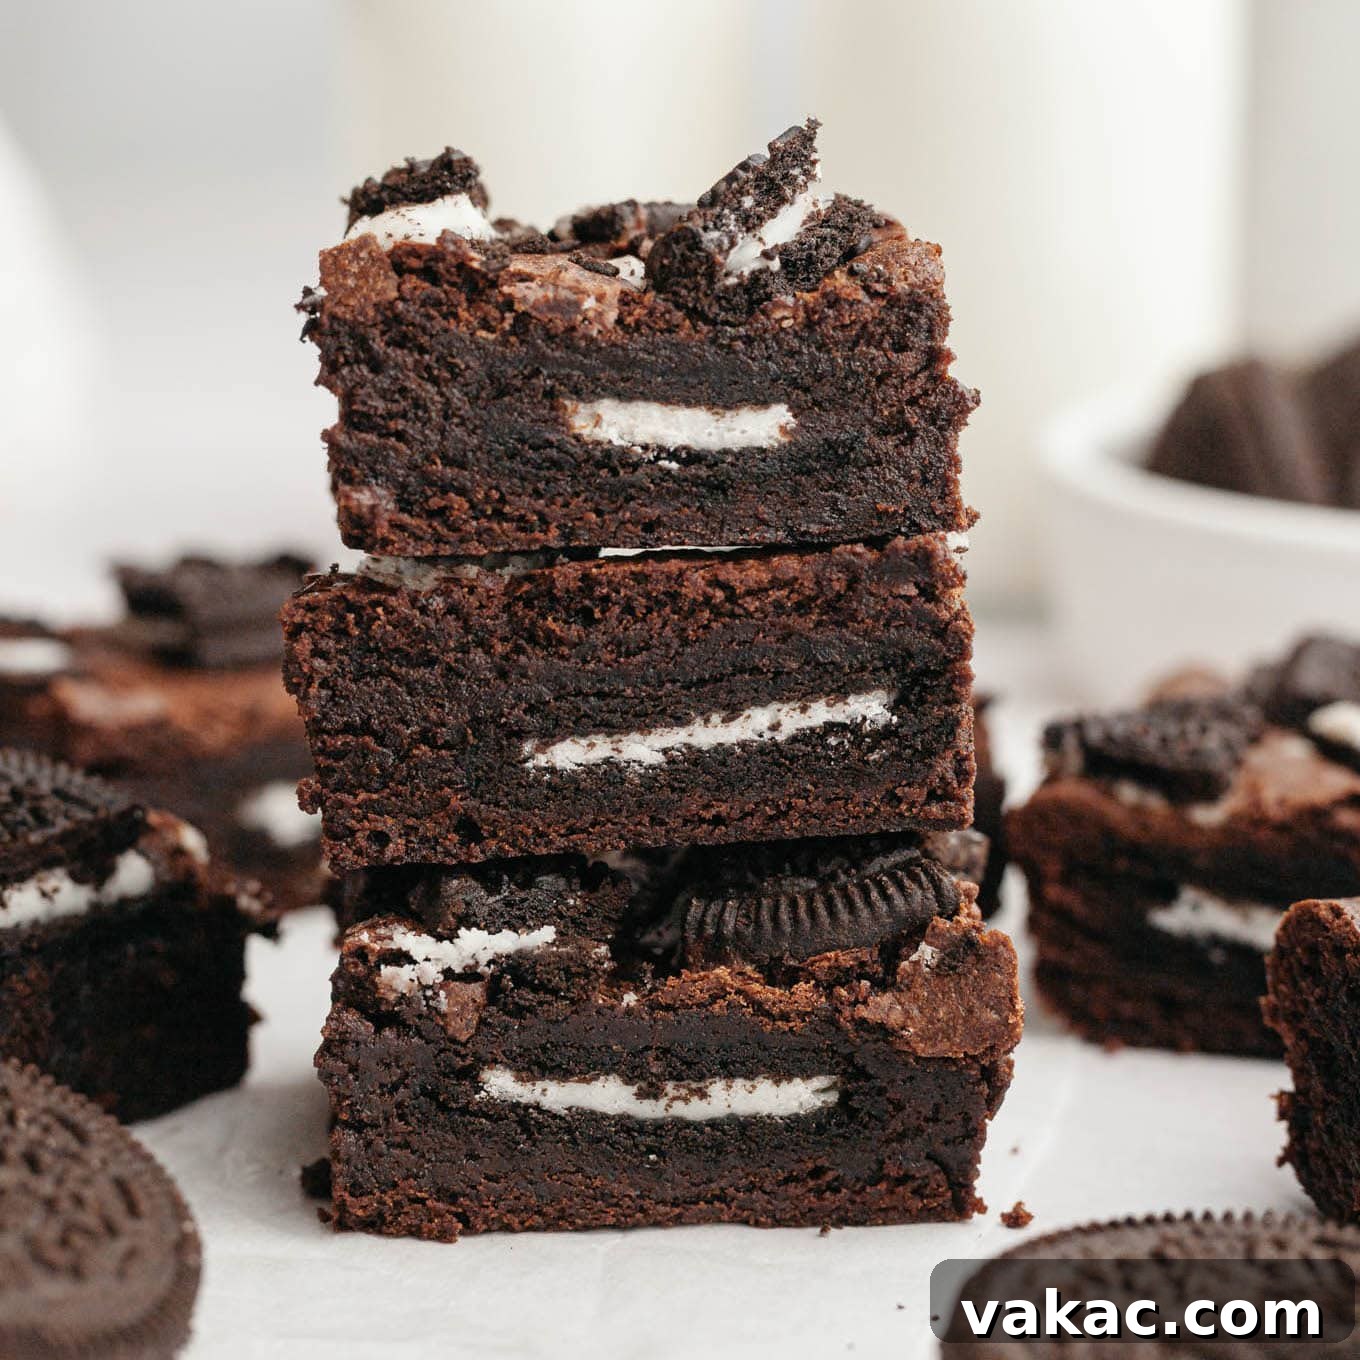
Welcome to the ultimate guide for crafting the most decadent, fudgy, and utterly irresistible Oreo brownies you’ll ever bake. These aren’t just any brownies; they are a celebration of intense chocolate flavor and iconic cookie perfection, designed to satisfy even the most profound sweet cravings. Our easy, one-bowl recipe ensures a stress-free baking experience, while delivering a profound chocolate flavor that is beautifully complemented by the delightful crunch and creamy goodness of Oreo cookies. Get ready to impress with minimal effort and maximum deliciousness!
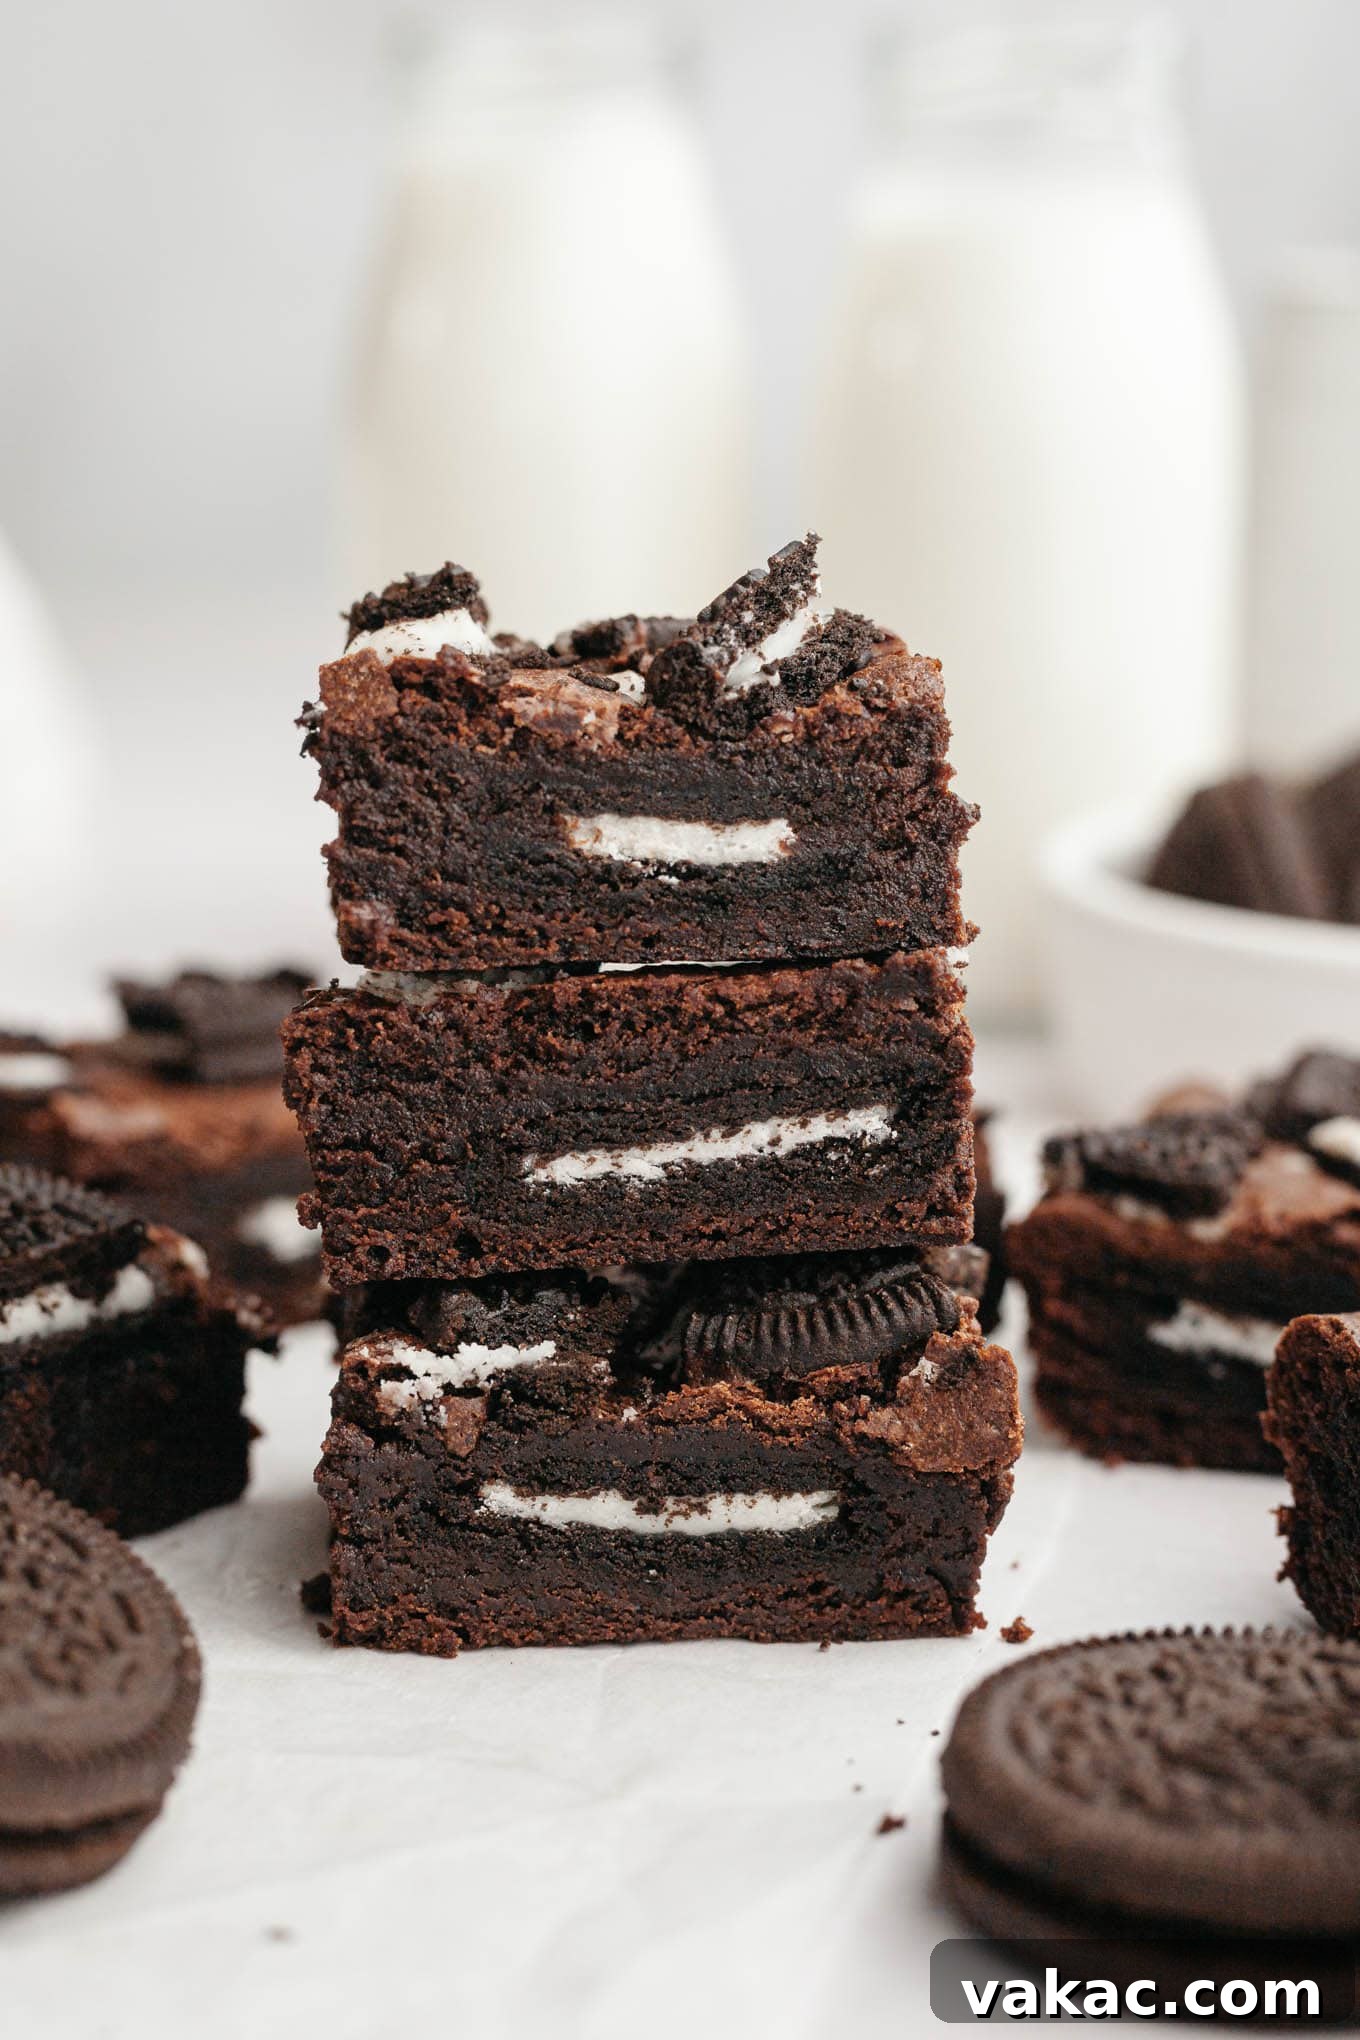
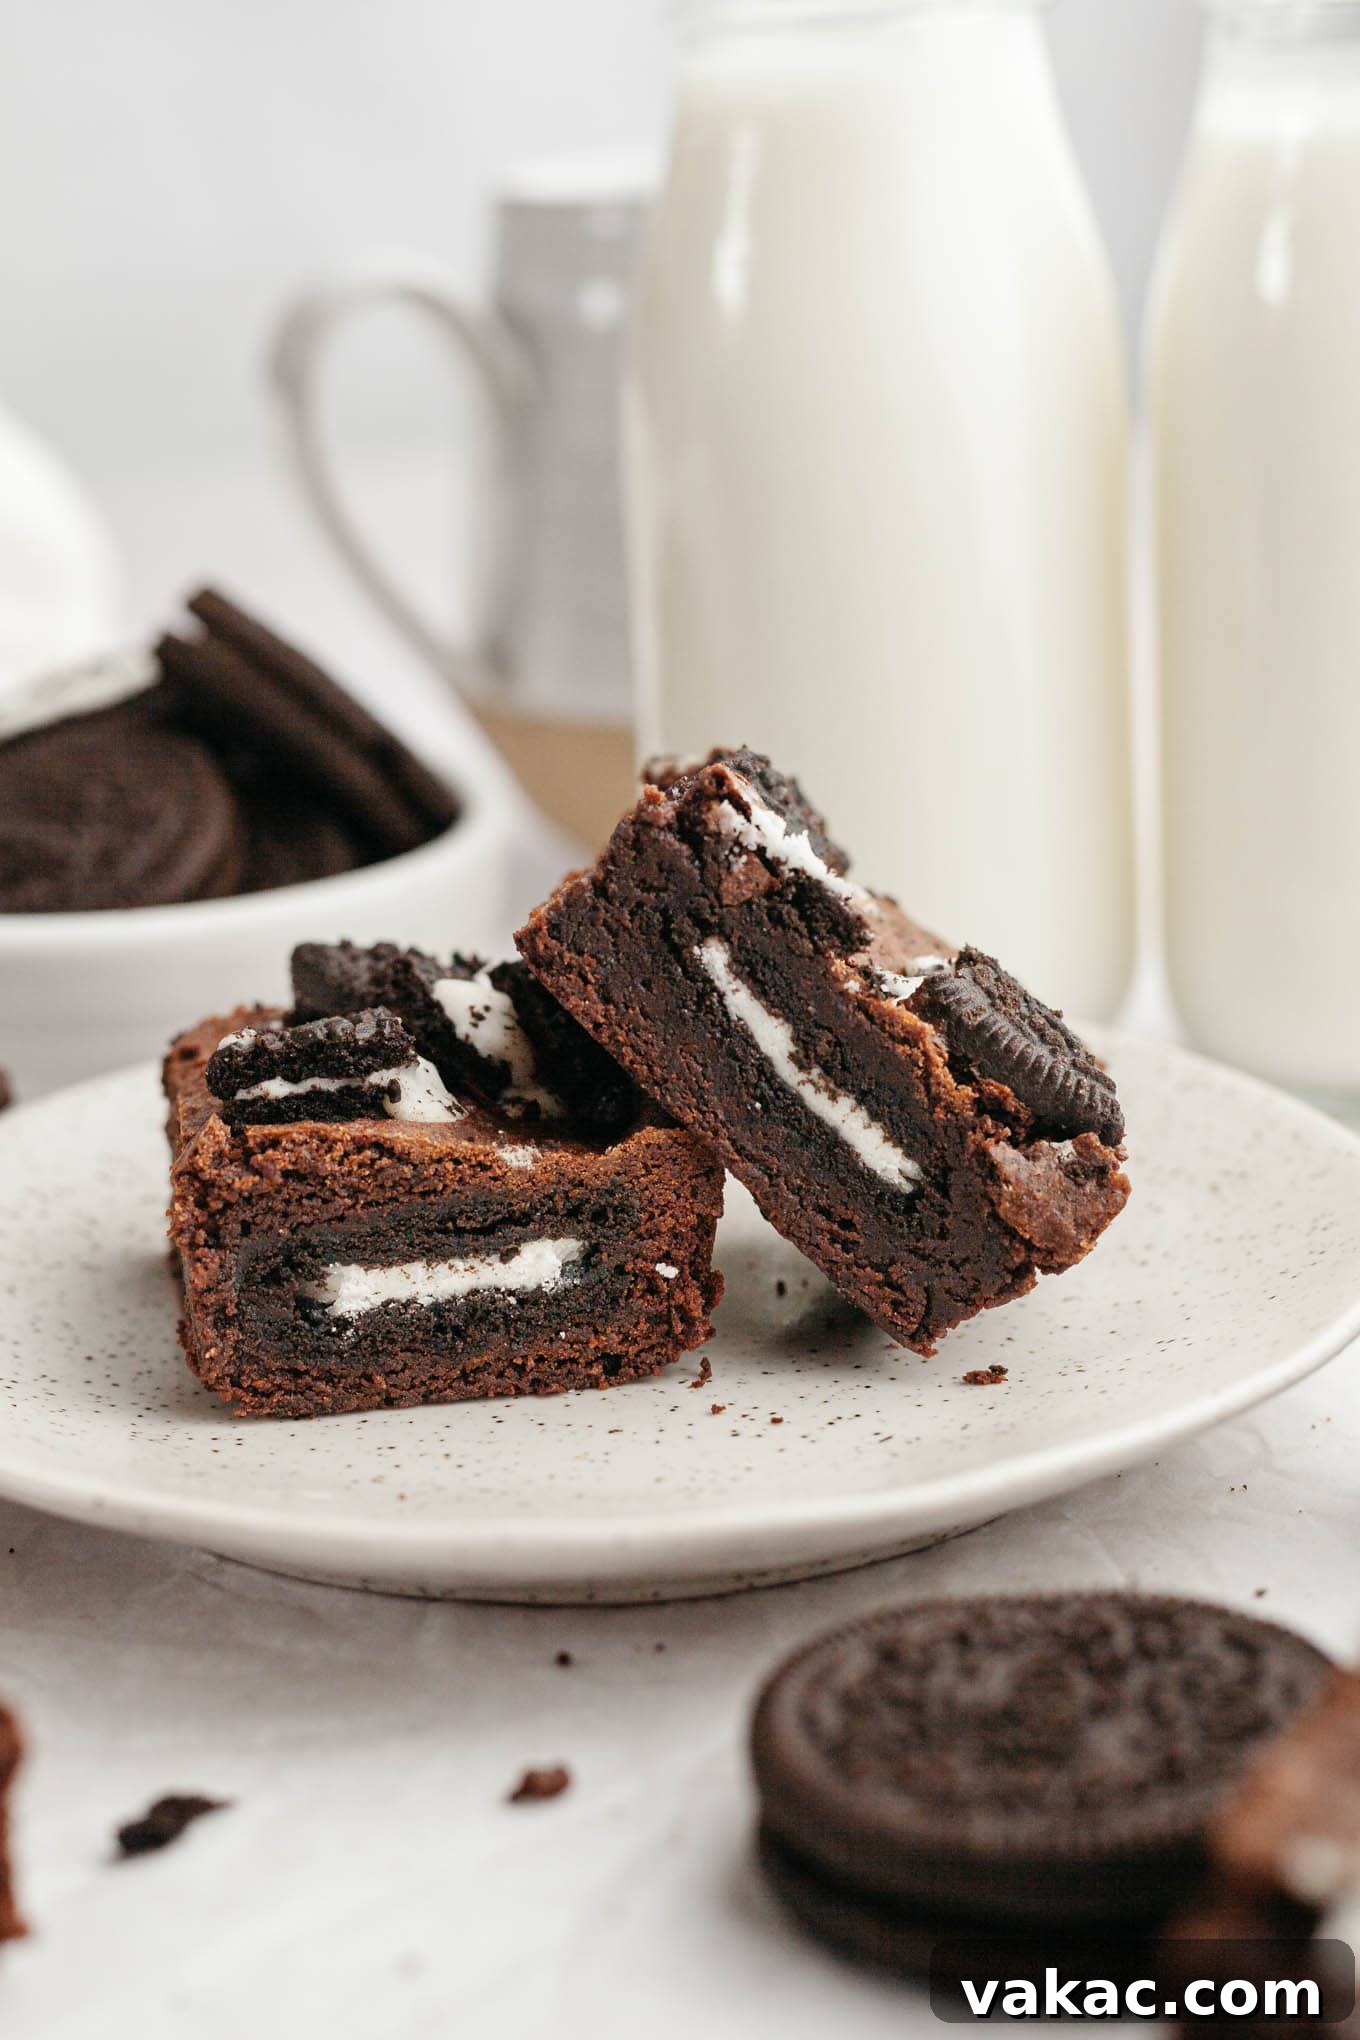
What makes these Oreo stuffed brownies truly stand out? It’s the harmonious blend of two chocolate powerhouses: rich cocoa powder and luxurious melted semi-sweet chocolate. This dynamic duo guarantees an unparalleled depth of flavor and that signature fudgy, dense texture we all adore in a perfect brownie. But the magic doesn’t stop there. Imagine biting into a moist, intensely chocolatey brownie to discover a hidden layer of whole Oreo cookies, offering a delightful surprise with every chew. And for an extra layer of texture, visual appeal, and even more Oreo flavor, crushed cookies are sprinkled generously on top, creating a masterpiece that’s as beautiful as it is delicious.
This recipe is engineered for both simplicity and success. Forget about excessive cleanup and complicated steps; everything comes together effortlessly in just one mixing bowl. It’s the ideal project for bakers of all skill levels, promising a stunning dessert that looks and tastes like it came from a gourmet bakery, but was made right in your kitchen with just a few basic ingredients and minimal fuss. Prepare to be amazed by the ease and deliciousness of these homemade treats!
Discover the Magic: Why These Oreo Brownies are a Must-Bake
Beyond their stunning appearance and incredible taste, these Oreo brownies offer several compelling reasons to make them your go-to recipe for any occasion:
- Unbeatable Double Chocolate Flavor: We utilize both high-quality cocoa powder and real melted semi-sweet chocolate, creating a complex, intensely chocolatey base that’s truly irresistible. This dual approach ensures maximum richness and a profound chocolate experience that will delight any chocoholic.
- Effortless One-Bowl Preparation: Say goodbye to a sink full of dishes! This streamlined recipe allows you to mix all ingredients in a single bowl, making your baking experience remarkably quick, convenient, and enjoyable. Less cleanup means more time to savor your delicious creations.
- Delightful Surprise Oreo Center: A generous layer of whole Oreo cookies is baked right into the middle of the brownies. This unexpected crunch and creamy filling take the classic brownie experience to a whole new level, offering a textural contrast that makes every bite exciting.
- Perfectly Fudgy and Dense Texture: Crafted to be exceptionally dense, moist, and wonderfully fudgy, these brownies achieve that coveted chewy interior and slightly crisp, crinkly top crust that brownie enthusiasts dream of. They hold their shape beautifully while melting in your mouth.
- Customizable and Versatile: While the classic Oreo flavor is a winner, feel free to experiment with different Oreo varieties (mint, peanut butter, golden) or add other mix-ins like chocolate chips, nuts, or a drizzle of caramel for a personalized touch.
- Crowd-Pleasing Dessert for Any Occasion: Whether you’re baking for a casual family treat, a festive holiday gathering, a potluck, or a special celebration, these Oreo brownies are a guaranteed hit. They combine two iconic desserts into one spectacular creation that’s universally loved and always impressive.
Watch Our Easy Recipe Video
Get a visual guide to making these amazing fudgy Oreo brownies! Watch our step-by-step video for expert tips and techniques to ensure your brownies turn out perfectly delicious and incredibly fudgy every time. Seeing the process unfold makes baking even easier and more enjoyable.
(Note: Please replace “YOUR_VIDEO_ID” with the actual YouTube video ID or a direct link to your recipe video for the embed to function.)
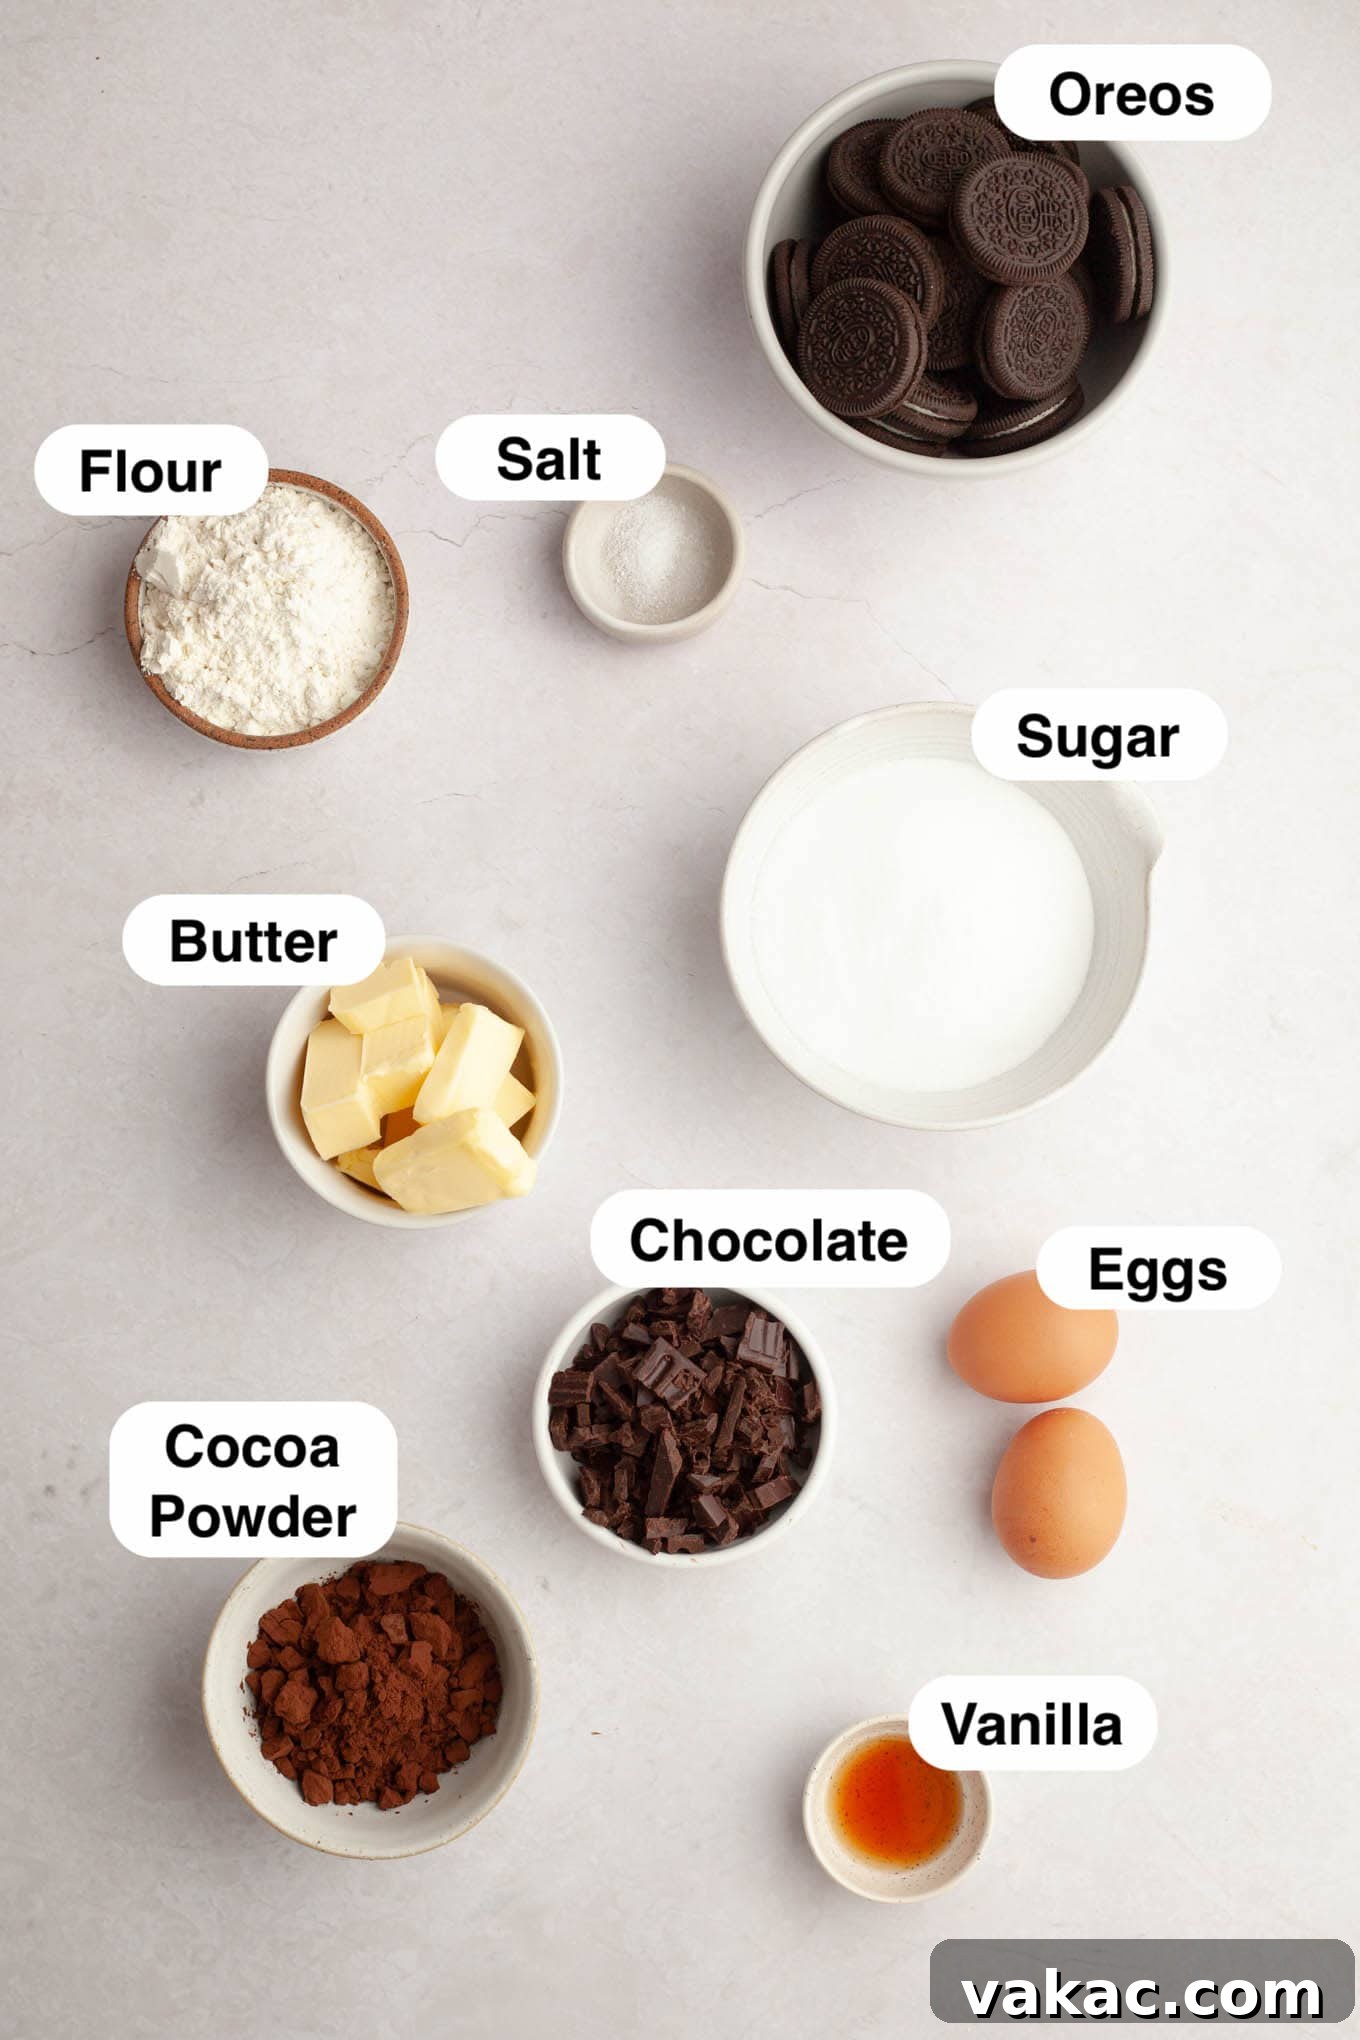
Essential Ingredient Notes & Smart Substitutions for Perfect Brownies
The secret to truly phenomenal fudgy Oreo brownies lies in selecting the right ingredients and understanding how each contributes to the final masterpiece. Here’s a detailed look at the key components of this recipe, along with tips for making the best choices:
Cocoa Powder: The Foundation of Deep Chocolate Flavor
For these brownies, you have the flexibility to use either natural or Dutch process cocoa powder. However, if you’re aiming for the deepest, richest, and most profound chocolate flavor, I highly recommend opting for Dutch process cocoa powder. Dutch process cocoa has been treated with an alkali to neutralize its acidity, resulting in a darker color, a smoother, less bitter chocolate taste, and a generally milder flavor profile. Brands like Ghirardelli and Rodelle are excellent choices for their quality and consistent results. Natural cocoa powder, on the other hand, is more acidic and reacts differently with leavening agents; it typically yields a lighter-colored brownie with a sharper, more intense chocolate tang. While both will work, Dutch process truly elevates the chocolate experience in these brownies, contributing to their signature dark hue and mellow richness. For a deeper dive into the nuances between these two types, explore our comprehensive guide on natural vs. Dutch process cocoa powder.
Chocolate: The Key to Unrivaled Fudginess
Initially, I based this recipe on my popular homemade fudgy brownie recipe. However, I soon discovered that the embedded Oreo cookies had a tendency to absorb some of the moisture from the brownie batter, potentially leading to a slightly drier texture. The ingenious solution? Incorporating additional melted semi-sweet chocolate while slightly reducing the cocoa powder content. This adjustment injects a powerful boost of moisture and richness, guaranteeing an incredibly fudgy brownie that perfectly cradles the Oreos without drying out. This “double chocolate” approach ensures a complex flavor profile and an unbelievably moist interior. While chocolate chips can be used in a pinch, I strongly advocate for using high-quality chocolate bars (such as Baker’s or Ghirardelli) that have been finely chopped. Chocolate bars melt much more smoothly and evenly, creating a silkier batter, and they provide a superior, more intense chocolate flavor, which is crucial for achieving the ultimate brownie experience. The quality of your chocolate directly impacts the richness, texture, and overall appeal of your final product.
Oreos: The Star of the Show and Its Variations
The beauty of these brownies lies in their versatility with the star ingredient: Oreo cookies! While I used classic regular Oreos for this recipe, feel absolutely free to unleash your creativity and experiment with any flavor or variety that tickles your fancy. Imagine the delicious possibilities: zesty Mint Oreos for a refreshing twist, creamy Peanut Butter Oreos for an extra layer of indulgence, or even Double Stuf Oreos for maximum creaminess! Golden Oreos would offer a delightful vanilla counterpoint. All these variations would be absolutely delightful and add a unique character to your brownies, making each batch a new adventure. An important note: there’s no need to meticulously separate the cream filling from the cookies. You’ll be using the entire Oreo, ensuring every bite is packed with that irresistible cookie and cream flavor. This simplifies the preparation, maximizes the Oreo goodness, and ensures you capture the full essence of the cookie.
Other Essential Ingredients for Perfect Brownies
- Unsalted Butter: This provides the foundational richness and helps create that tender, melt-in-your-mouth fudgy texture. Using unsalted butter allows you to control the overall salt content in the recipe, ensuring perfect flavor balance.
- Granulated Sugar: Beyond just sweetness, sugar plays a crucial role in the chemistry of brownies. It contributes significantly to the moistness, chewiness, and helps create that desirable thin, crinkly top crust that is the hallmark of a great brownie.
- Large Eggs: Eggs act as a vital binder, providing structure, emulsification, moisture, and additional richness to the brownie batter. Using room temperature eggs is crucial for smooth incorporation into the batter and preventing the melted butter from solidifying.
- Pure Vanilla Extract: A crucial flavor enhancer that complements and deepens the chocolate flavor. Good quality vanilla extract adds warmth and complexity, making the chocolate taste even more pronounced and delicious. Don’t skip it!
- All-Purpose Flour: When measured correctly (spooned and leveled, as detailed below), flour provides the necessary structure to hold the brownies together without making them dense or cakey. It’s about achieving the perfect balance between chewiness and fudginess.
- Salt: A small but mighty ingredient! A pinch of salt is absolutely vital for balancing the sweetness, cutting through the richness, and enhancing all the other flavors, especially bringing out the true essence of the chocolate.
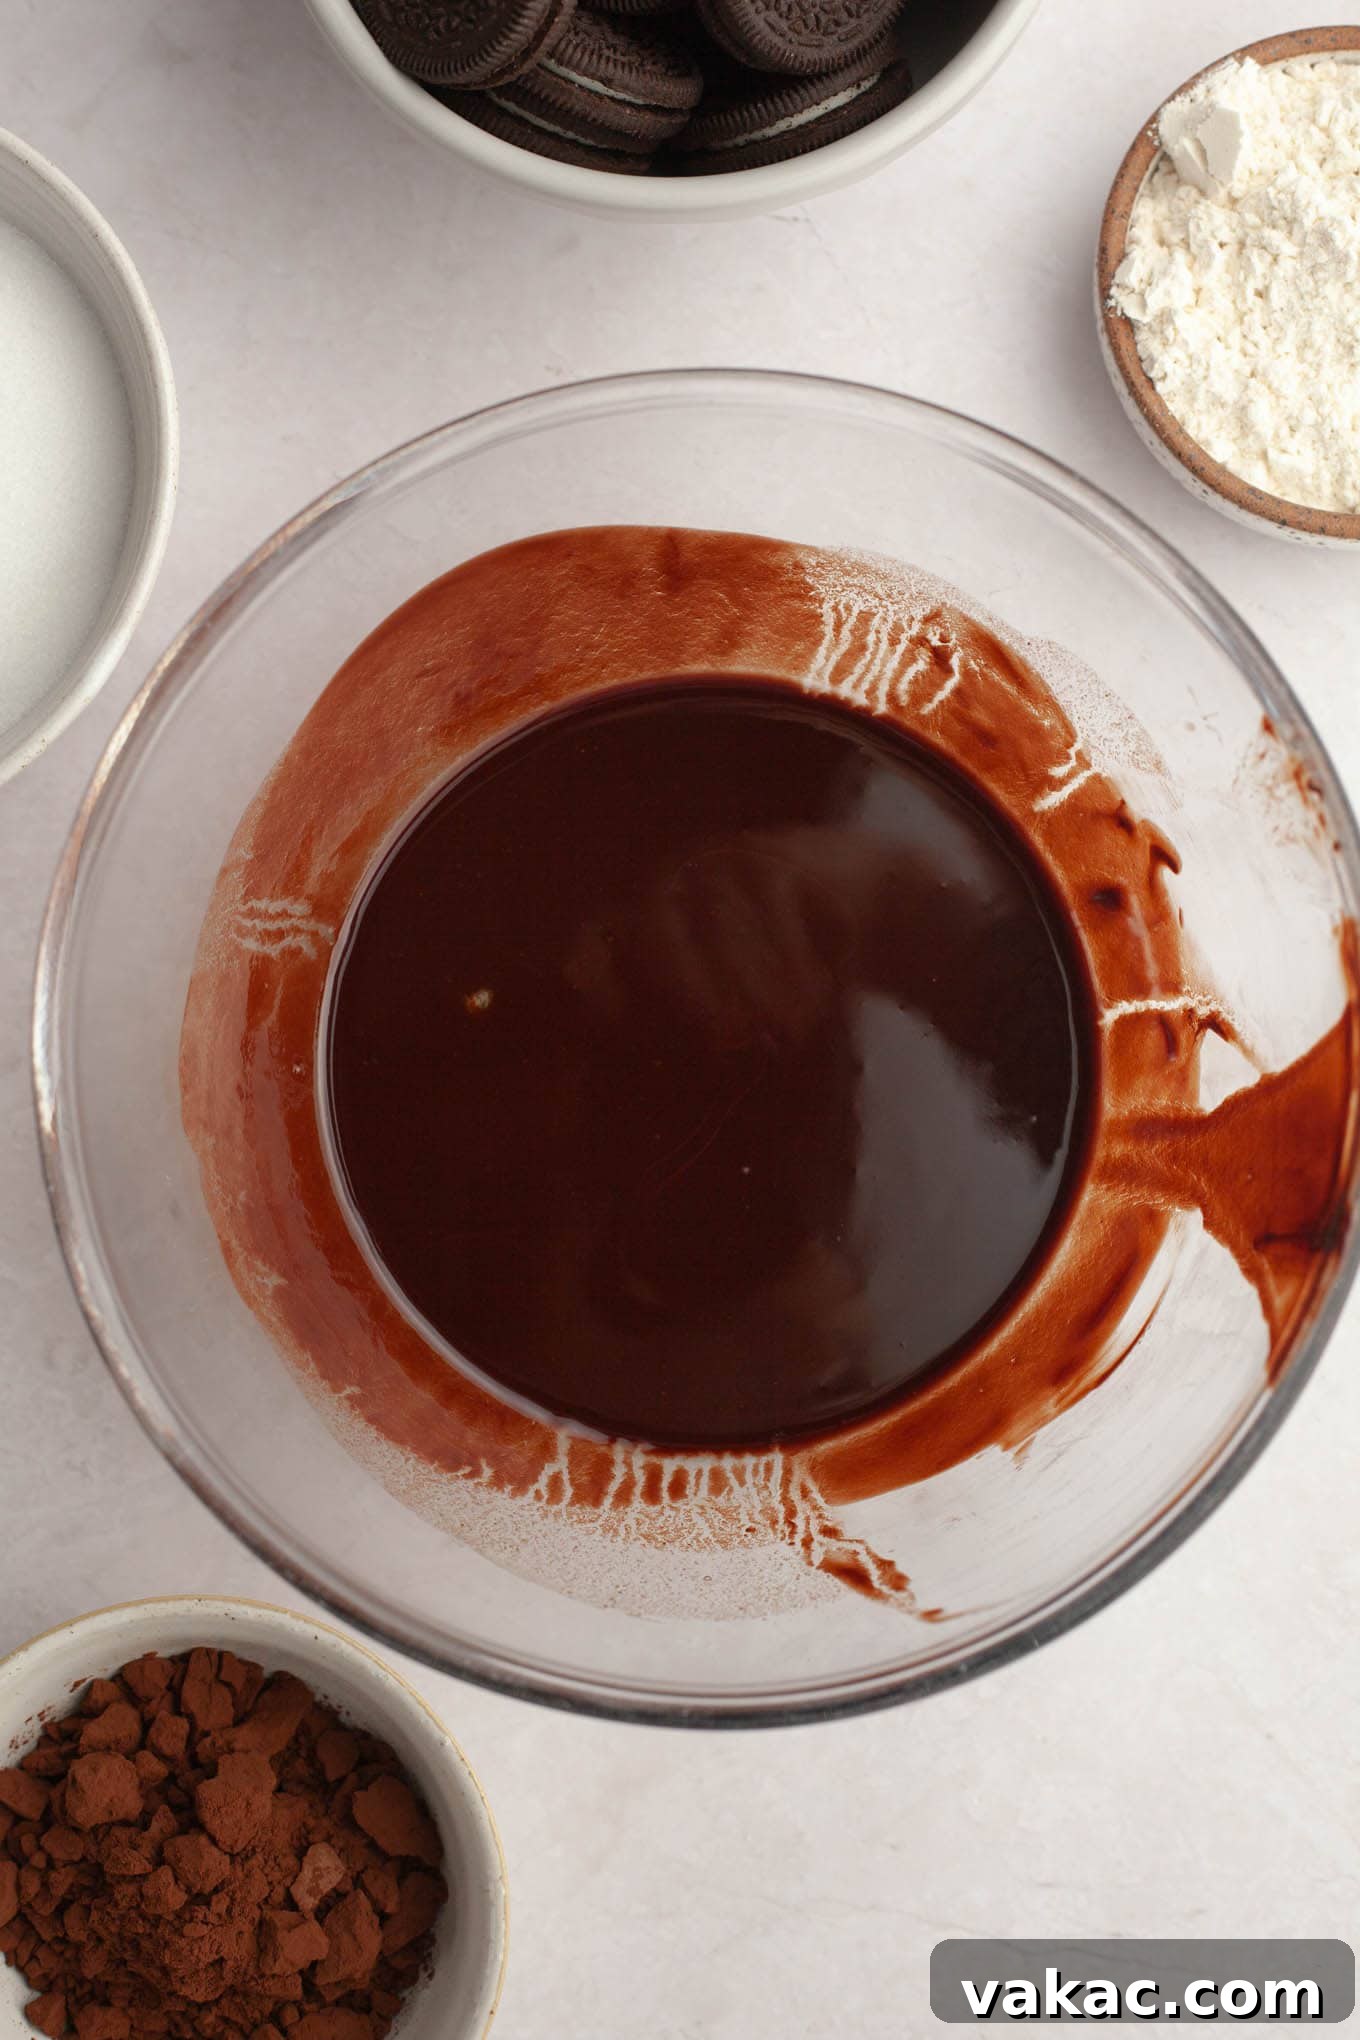
Expert Tips for Crafting the Ultimate Ultra-Fudgy Brownies
Achieving that perfect, rich, and incredibly fudgy brownie texture is an art, but with these proven tips, you’ll master it every time. These techniques are especially important when making Oreo stuffed brownies to ensure they remain moist, tender, and perfectly delicious.
- Ensure Room Temperature Eggs for Optimal Emulsification: This seemingly small detail makes a significant difference in the final texture of your brownies. Cold eggs, when added to a warm mixture of melted butter and chocolate, can cause the butter to seize up and solidify into small clumps, leading to a lumpy batter and a less uniform texture in your baked brownies. Room temperature eggs, however, incorporate smoothly and evenly into the batter, creating a more cohesive and emulsified mixture. This results in a consistently tender and fudgy brownie with that desirable crinkly top. If you’re short on time and need to quickly bring your eggs to room temperature, simply place them (still in their shells) in a bowl of warm (not hot!) water for 5 to 10 minutes before you start mixing.
- Master Flour Measurement for Ideal Fudginess: The ratio of fat to flour is paramount for achieving that desirable super fudgy texture. Too much flour will result in a cakey, dry brownie rather than the dense, moist treat we’re aiming for. To accurately measure your all-purpose flour, avoid scooping it directly from the container with your measuring cup, as this can compact the flour and add an extra 20-30% more than intended. Instead, gently spoon the flour into your dry measuring cup until it overflows, then level it off precisely with the flat back of a knife or a straight edge. This method ensures you use just the right amount of flour, contributing to an exquisitely fudgy result. For a visual guide and more detailed instructions, refer to our comprehensive post on how to measure flour correctly.
- The Golden Rule: Do Not Overbake Your Brownies: This is arguably the most crucial tip for ensuring fudgy brownies. Brownies continue to cook and set as they cool, so removing them from the oven just slightly underdone is key. The top should appear set and no longer wet, and a toothpick inserted into the center should come out with moist crumbs clinging to it, but no wet batter. If the toothpick comes out completely clean, your brownies are likely overbaked and will turn out dry and cakey. Remember, they will be very soft and might seem underbaked when they first emerge from the oven, which is perfectly normal. Resist the urge to poke and prod them too much; allow them to cool completely in the pan to achieve that ultimate fudgy density and perfect texture.
- Prep Your Pan Meticulously for Easy Removal: For easy removal and clean slices, always line your baking pan with parchment paper or foil, leaving a generous overhang on two opposite sides. This “sling” allows you to easily lift the cooled brownies out of the pan without damaging them. Don’t forget to generously spray the parchment or foil with nonstick cooking spray to prevent any sticking, ensuring a clean release.
- Cool Completely for the Best Texture and Slices: Patience is a virtue, especially with brownies! While warm brownies are undeniably delicious, they are too soft and fragile to cut cleanly. The texture will be gooey and crumbly, making neat squares impossible. Allow your brownies to cool completely in the pan, preferably on a wire rack, for at least 2-3 hours. For even cleaner slices and a firmer texture, chilling them in the refrigerator for an hour or two after they’ve reached room temperature is highly recommended. This firming-up process is essential for achieving those perfectly neat, distinct squares and the ideal fudgy density.
Choosing the Right Baking Pan: Metal vs. Glass vs. Dark
The type of baking pan you use can subtly but significantly affect the outcome of your Oreo brownies. Understanding the properties of different materials will help you achieve your desired results and ensure a consistently baked product.
You can successfully bake this recipe in either a glass or a light-colored metal pan. However, there are distinctions to consider in how each material conducts and retains heat:
- Glass Pans: Glass conducts heat more slowly and retains it for a longer duration compared to metal. This characteristic can lead to brownies that have slightly taller, crispier edges due to prolonged exposure to heat, and a center that might appear a little more sunken or undercooked if not adjusted for. If you opt for a glass pan, it’s generally recommended to reduce the oven temperature by about 25°F (approximately 15°C) and extend the baking time slightly to compensate for the slower heat transfer. Always keep a close eye on your brownies and rely on the toothpick test for doneness.
- Light-Colored Metal Pans: These are generally preferred by most bakers for brownies and other baked goods, as they conduct heat more evenly and quickly. This results in brownies that cook more uniformly from edge to center, with a consistent texture throughout – perfect for achieving that signature fudgy interior without overly crisp edges. Most baking recipes, including this one, assume the use of light-colored metal pans unless otherwise specified.
- Dark-Colored Metal Pans: It’s generally best to avoid dark-colored pans for brownies if possible. Dark materials absorb and retain more heat, which can cause the edges of your brownies to bake much faster and potentially become dry, tough, or even burnt before the center is fully cooked. If a dark pan is your only option, be sure to significantly reduce the oven temperature (by 25-50°F / 15-30°C) and monitor the brownies very closely from the start of the baking process to prevent overbaking.
For consistent, perfectly fudgy results with these homemade Oreo brownies, a light-colored metal pan is typically your best and most reliable choice.
Can I Easily Double This Oreo Brownie Recipe?
Absolutely! This recipe for Oreo stuffed brownies is very forgiving and scales up beautifully, making it perfect for feeding a larger crowd or simply ensuring you have plenty of delicious brownies on hand.
When doubling the recipe, you’ll want to use a larger 9×13-inch (23×33 cm) baking dish. Make sure to prepare your larger pan with parchment paper and nonstick spray just as meticulously as you would for the smaller one, ensuring the parchment paper overhang is sufficient for easy removal. The great news is that the bake time should remain roughly the same, typically falling between 30 to 35 minutes. However, because ovens can vary and a larger volume of batter might cook slightly differently, it’s always a good practice to start checking the brownies around the 30-minute mark. Look for the same indicators of doneness as with the smaller batch: a set top and a toothpick inserted into the center coming out with moist crumbs. Doubling the recipe is a fantastic and easy way to ensure there are enough fudgy Oreo treats for everyone to enjoy!
Achieving Perfectly Clean Cuts for Your Fudgy Brownies
Presenting beautifully cut, neat squares of your Oreo brownies is the final touch to an already impressive dessert. While the irresistible aroma of warm brownies might tempt you to cut into them immediately, patience is truly key here for achieving those coveted clean, sharp edges.
- The Golden Rule: Cool Completely: This cannot be emphasized enough. Warm brownies are incredibly fudgy and delicate, which means they will crumble, smear, and generally create a messy presentation if you try to slice them prematurely. For clean, sharp edges, you must allow the brownies to cool completely in the baking pan. Ideally, let them cool at room temperature for several hours (at least 2-3 hours, or even longer). For even firmer brownies and impeccably neat cuts, consider popping them into the refrigerator for an hour or two after they’ve reached room temperature. This cooling and firming-up process allows the brownies to fully set, making them much easier to handle and cut.
- Lift and Transfer: Once the brownies are thoroughly cooled and firm, use the parchment paper overhang (which you wisely left when lining the pan) to gently lift the entire slab of brownies out of the baking pan and onto a clean cutting board. This prevents any damage that might occur from trying to cut directly in the pan and gives you better leverage.
- The Right Tool for Precision: For the best results, use a large, very sharp knife – a chef’s knife with a long, thin blade or a dedicated slicing knife works perfectly. A sharp blade will glide through the brownies with minimal tearing or dragging, preserving their beautiful structure.
- The Ultimate Hack: Wipe Between Slices: This is the secret trick for achieving super clean, professional-looking cuts every single time. After each slice, run your knife under warm tap water, then wipe it completely dry with a clean kitchen towel. The warm, clean knife will slice through the next section of brownie with incredible ease, preventing sticky buildup and ensuring each square is as perfect and defined as the last. Repeat this warming and wiping process diligently for every single slice you make.
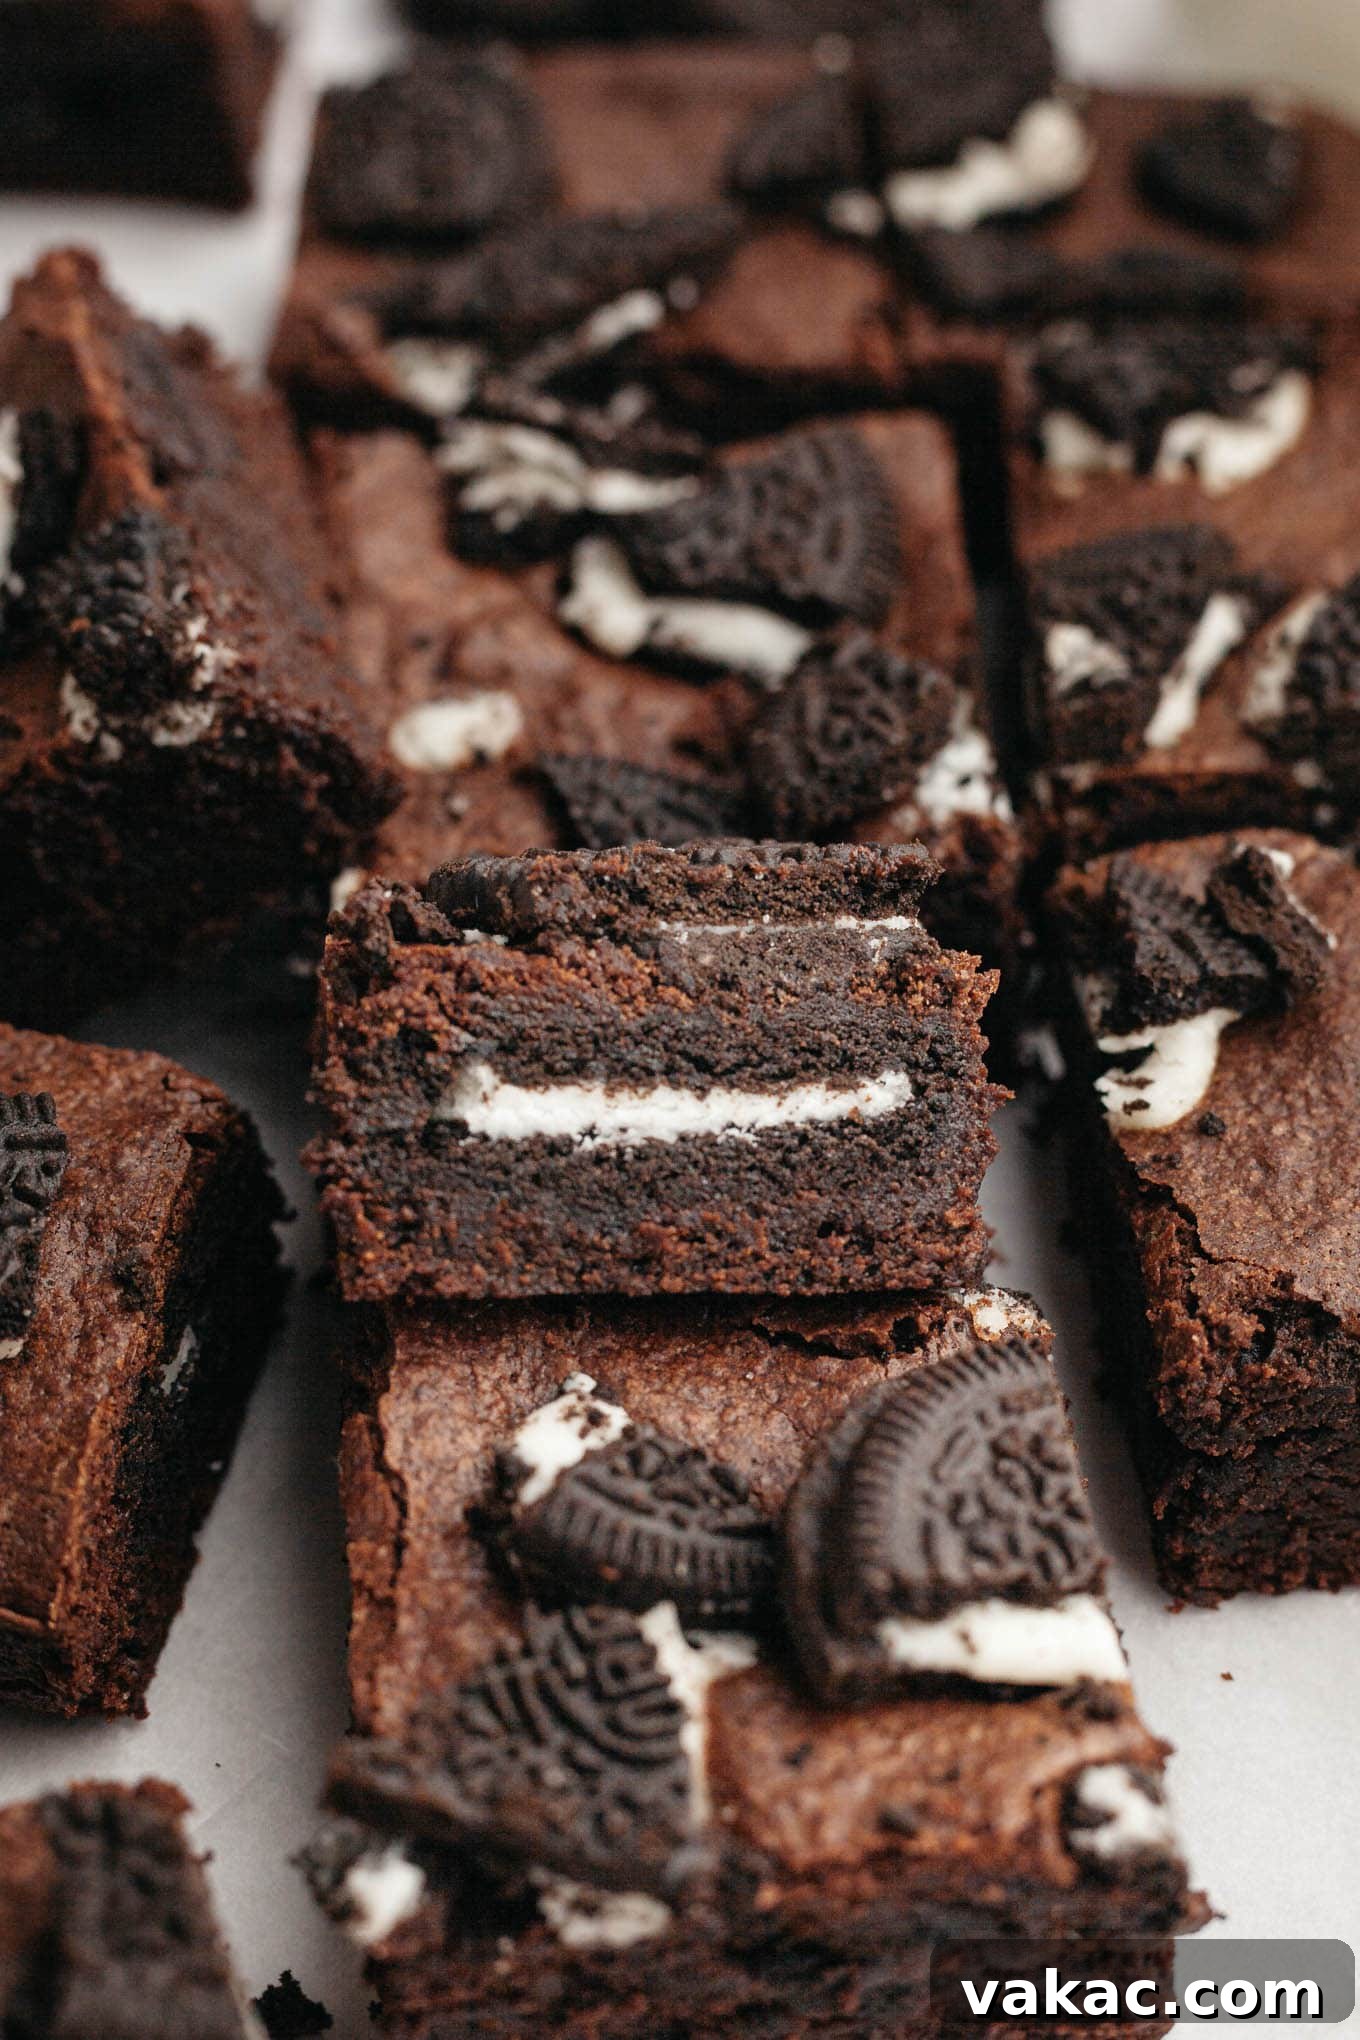
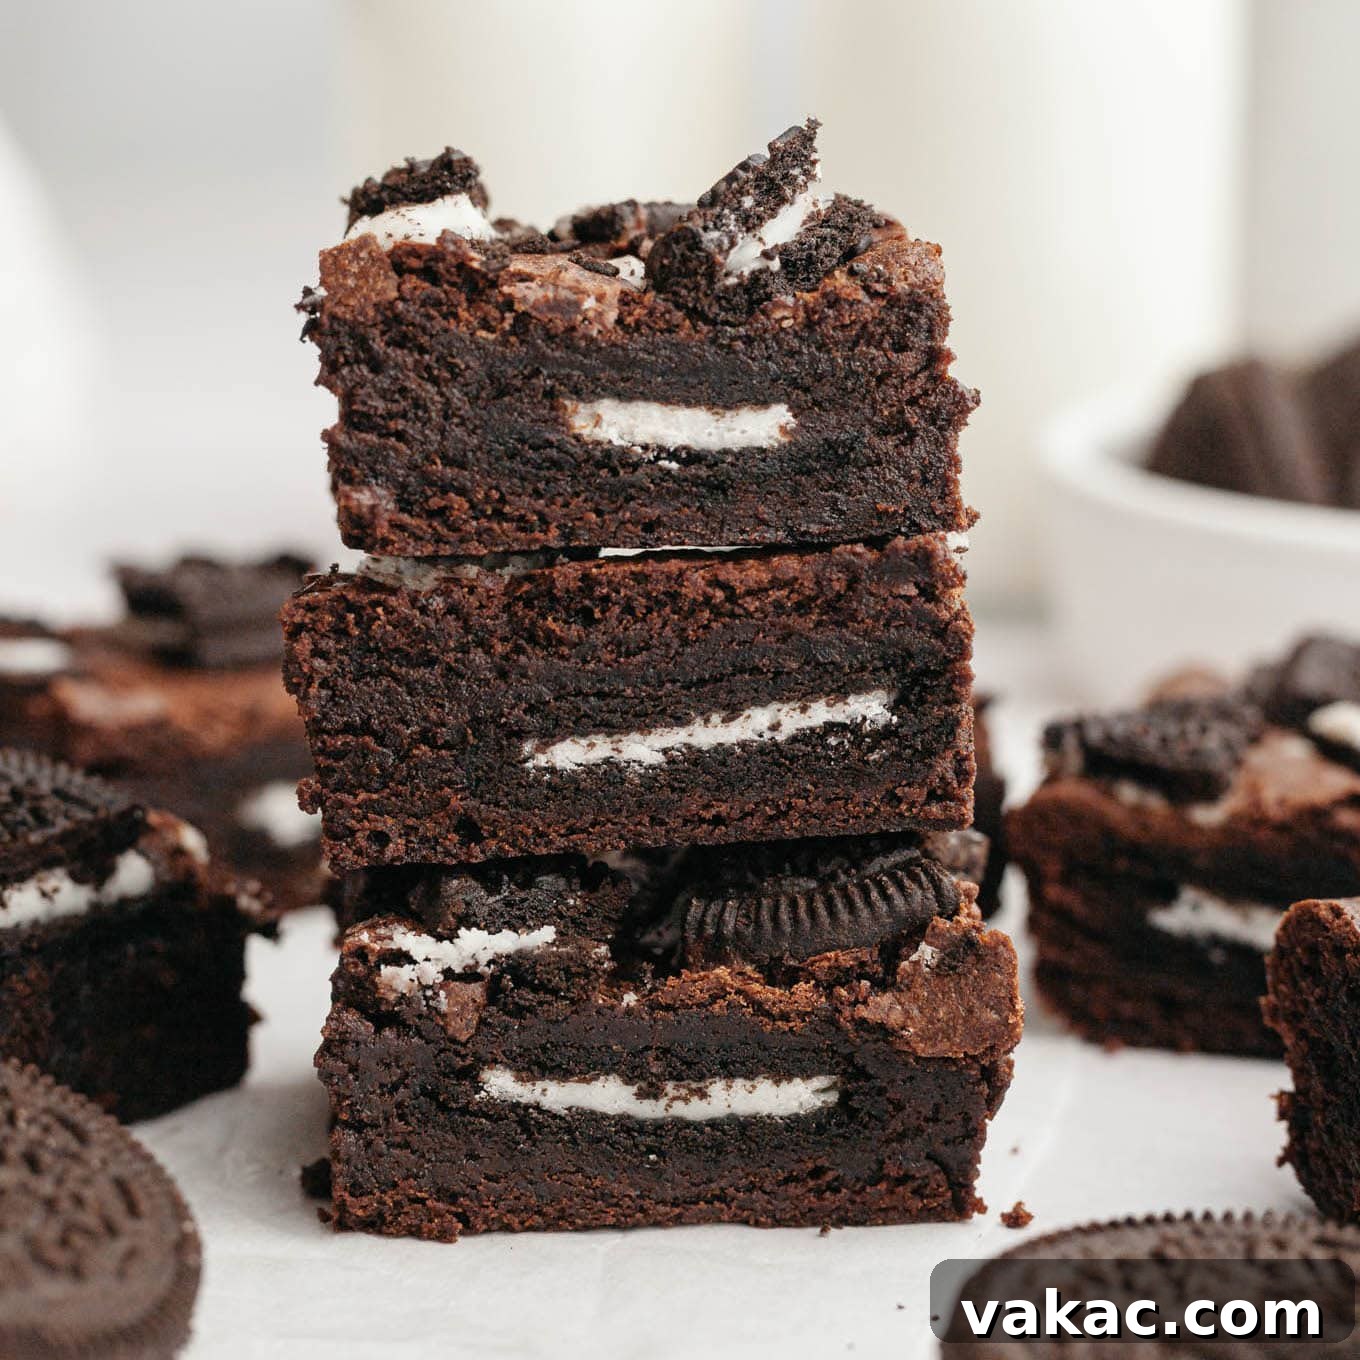
Just look at that stack of Oreo brownie perfection! Each bite promises a symphony of deep chocolate, incredibly fudgy texture, and the delightful crunch and creaminess of America’s favorite cookie. These are truly a treat for the senses!
We hope you enjoy baking and devouring these sensational Oreo brownies as much as we do. They are guaranteed to become a cherished recipe in your baking repertoire. If you try this recipe, we’d absolutely love to hear from you! Don’t hesitate to leave a comment below to let us know how they turned out. Your feedback is incredibly valuable to us and helps other aspiring bakers in our community discover and perfect this delicious recipe. Happy Baking!
Oreo Brownie Recipe
Prep Time: 25 minutes
Cook Time: 35 minutes
Total Time: 1 hour
This is a super easy, one-bowl brownie recipe made with both cocoa powder and melted chocolate for maximum fudginess and an intense chocolate flavor. It features a delightful layer of whole Oreo cookies baked inside and crushed Oreos sprinkled on top for extra texture and flavor.
Pin Recipe
Ingredients
Servings: 16 brownies
- ½ cup unsalted butter, sliced into tablespoon-sized pieces (115 grams; 1 stick)
- 3 ounces semi-sweet chocolate, chopped (85 grams)
- 1 cup granulated sugar (200 grams)
- 2 large eggs, at room temperature
- 1 teaspoon pure vanilla extract
- ½ cup all-purpose flour, spooned & leveled (65 grams)
- ⅓ cup unsweetened Dutch process cocoa powder (33 grams)
- ¼ teaspoon salt
- 22 regular Oreos (16 for the middle & 6 for the top, roughly chopped)
Instructions
- Preheat your oven to 350°F (177°C). Prepare an 8-inch (20 cm) square baking pan by lining it with foil or parchment paper. Ensure you leave a generous overhang on two sides; this will act as a “sling” for easy removal of the baked brownies. Lightly spray the foil/parchment paper with nonstick cooking spray to prevent sticking. Set the prepared pan aside.
- In a large, microwave-safe mixing bowl, combine the sliced unsalted butter and the chopped semi-sweet chocolate. Microwave in short 30-second intervals, stirring thoroughly after each one, until the mixture is completely melted and smooth. Be careful not to overheat the chocolate, as this can cause it to seize.
- Add the granulated sugar to the melted butter and chocolate mixture, stirring vigorously until well combined. Then, incorporate the room temperature eggs one at a time, mixing well after each addition until fully blended. Finally, stir in the pure vanilla extract. Continue to stir until the mixture is smooth and glossy.
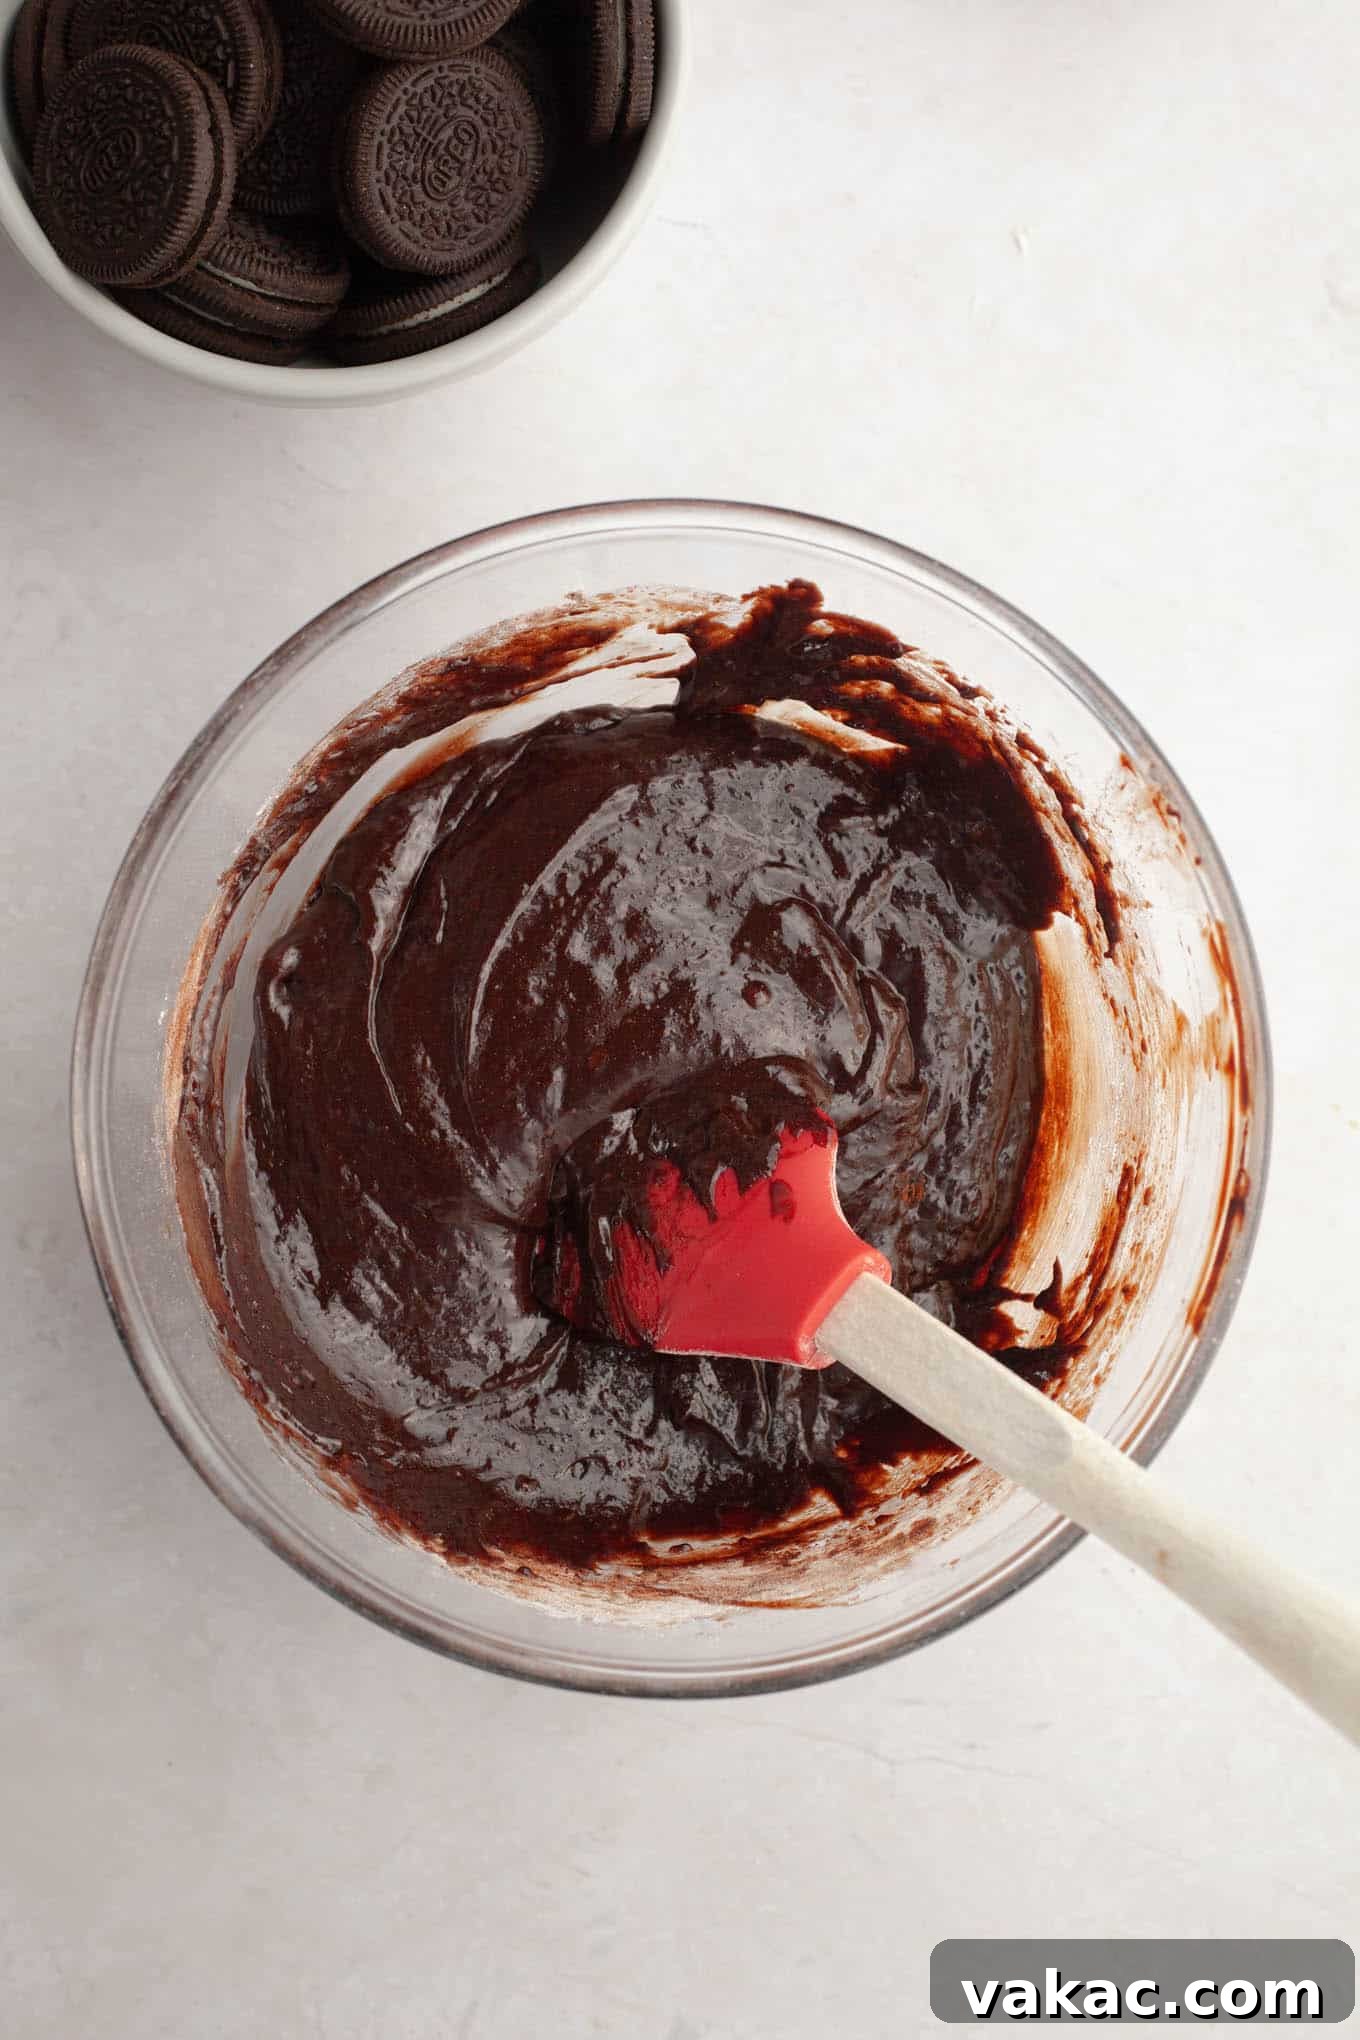
- Using a fine-mesh sieve, sift the all-purpose flour, Dutch process cocoa powder, and salt directly into the wet ingredients. Gently fold the dry ingredients into the wet mixture using a spatula until just combined. Be careful not to overmix, as this can lead to tough, cakey brownies. Scrape down the sides of the bowl as needed to ensure everything is incorporated evenly.
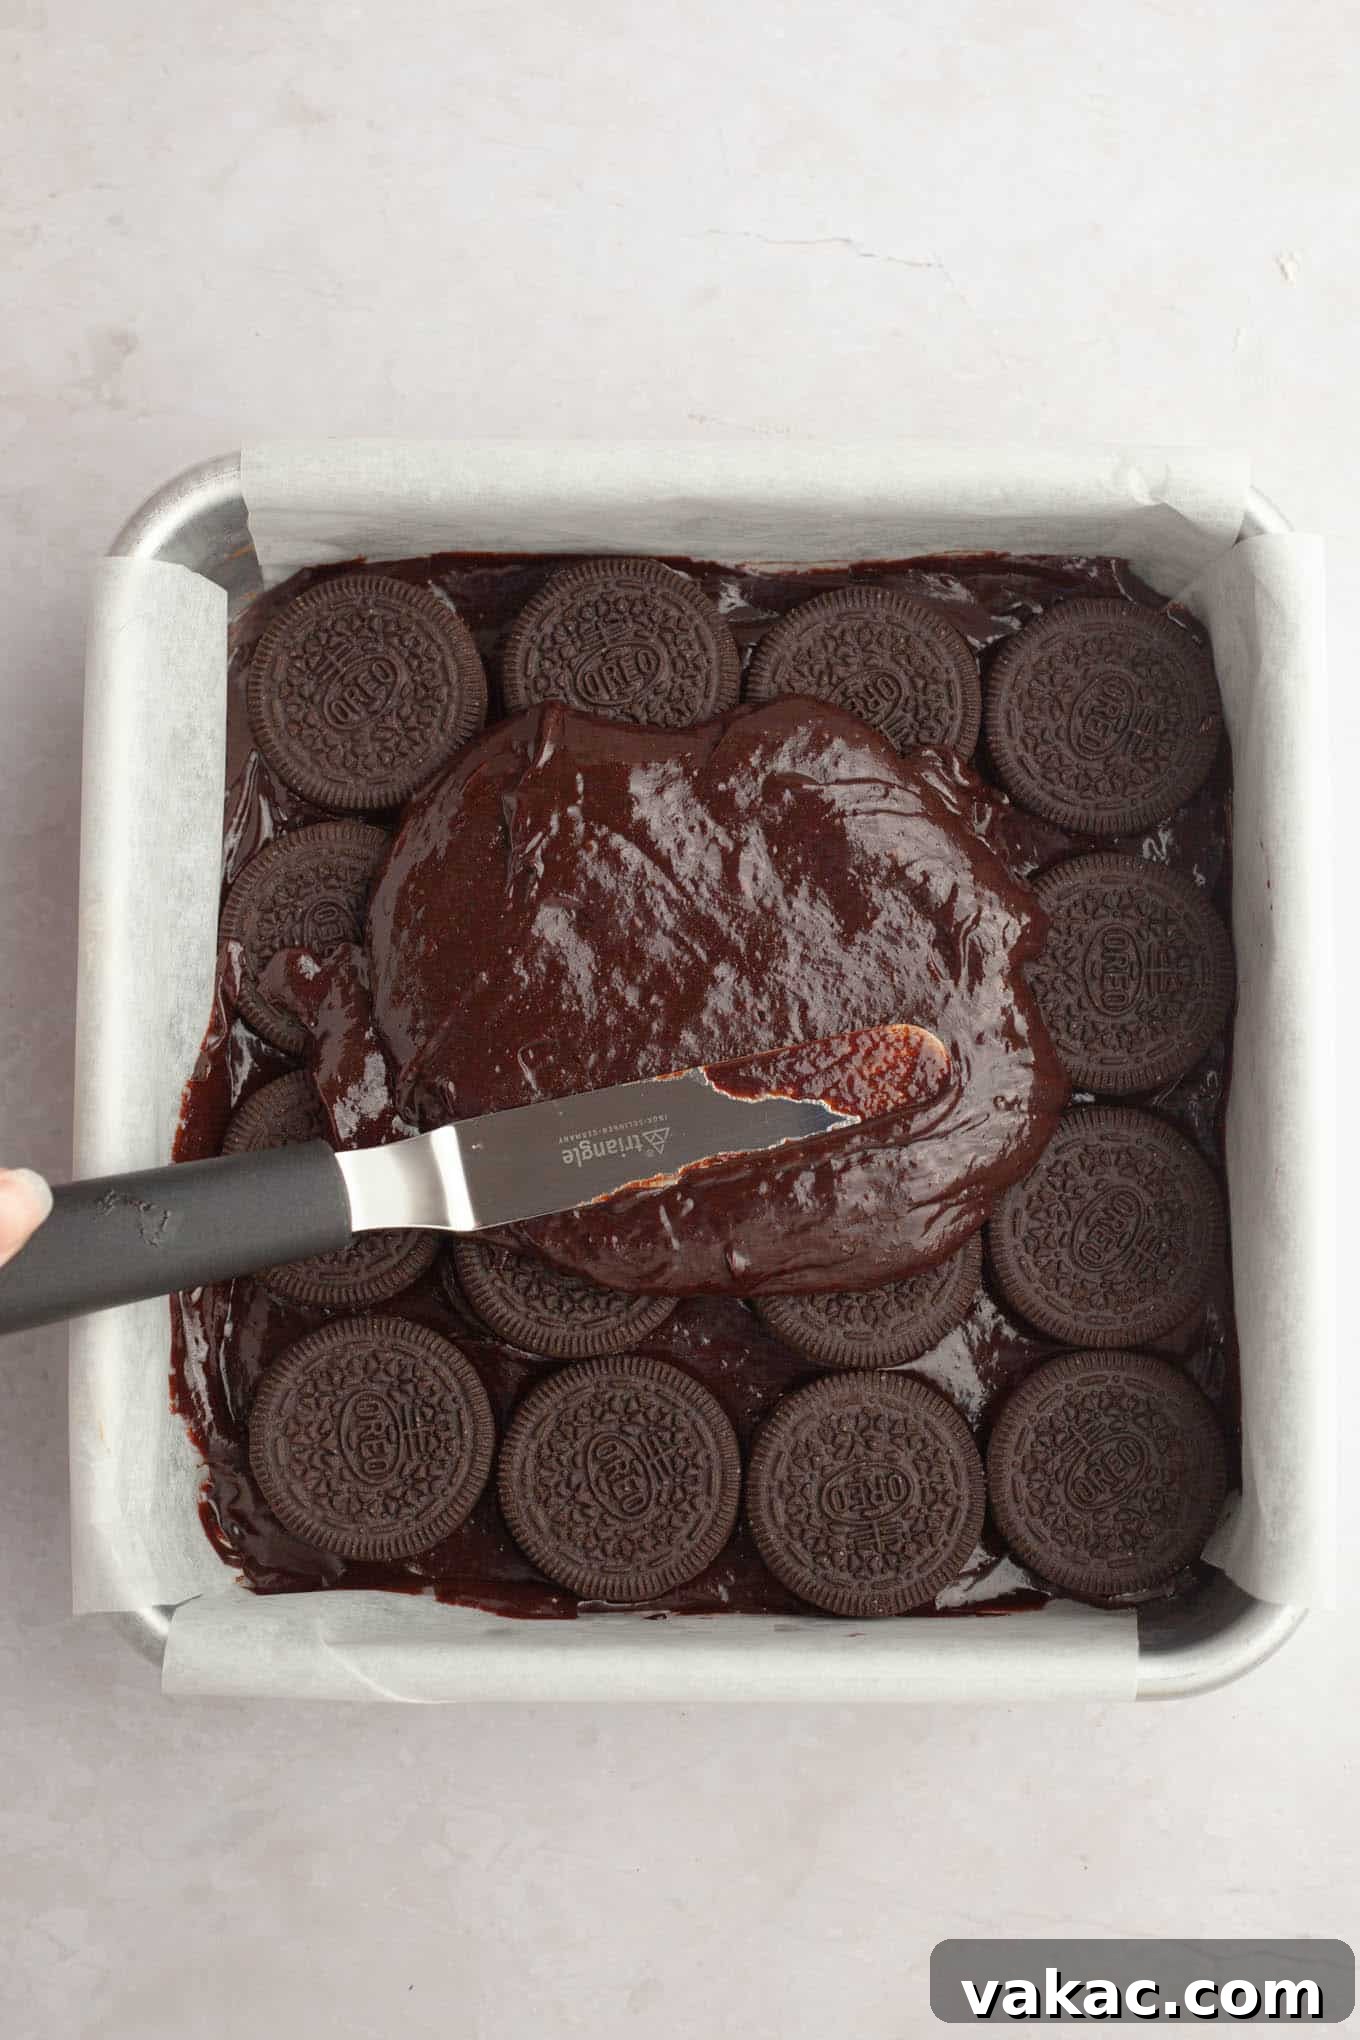
- Pour approximately half of the brownie batter into the prepared baking pan. Using an offset spatula or the back of a spoon, carefully spread the batter into an even layer, ensuring it covers the entire bottom of the pan.
- Arrange 16 whole Oreo cookies evenly over the layer of brownie batter. You may need to gently break the edges of a few cookies to help them fit snugly into the pan, ensuring a continuous layer of cookie goodness. This creates that delightful surprise center!
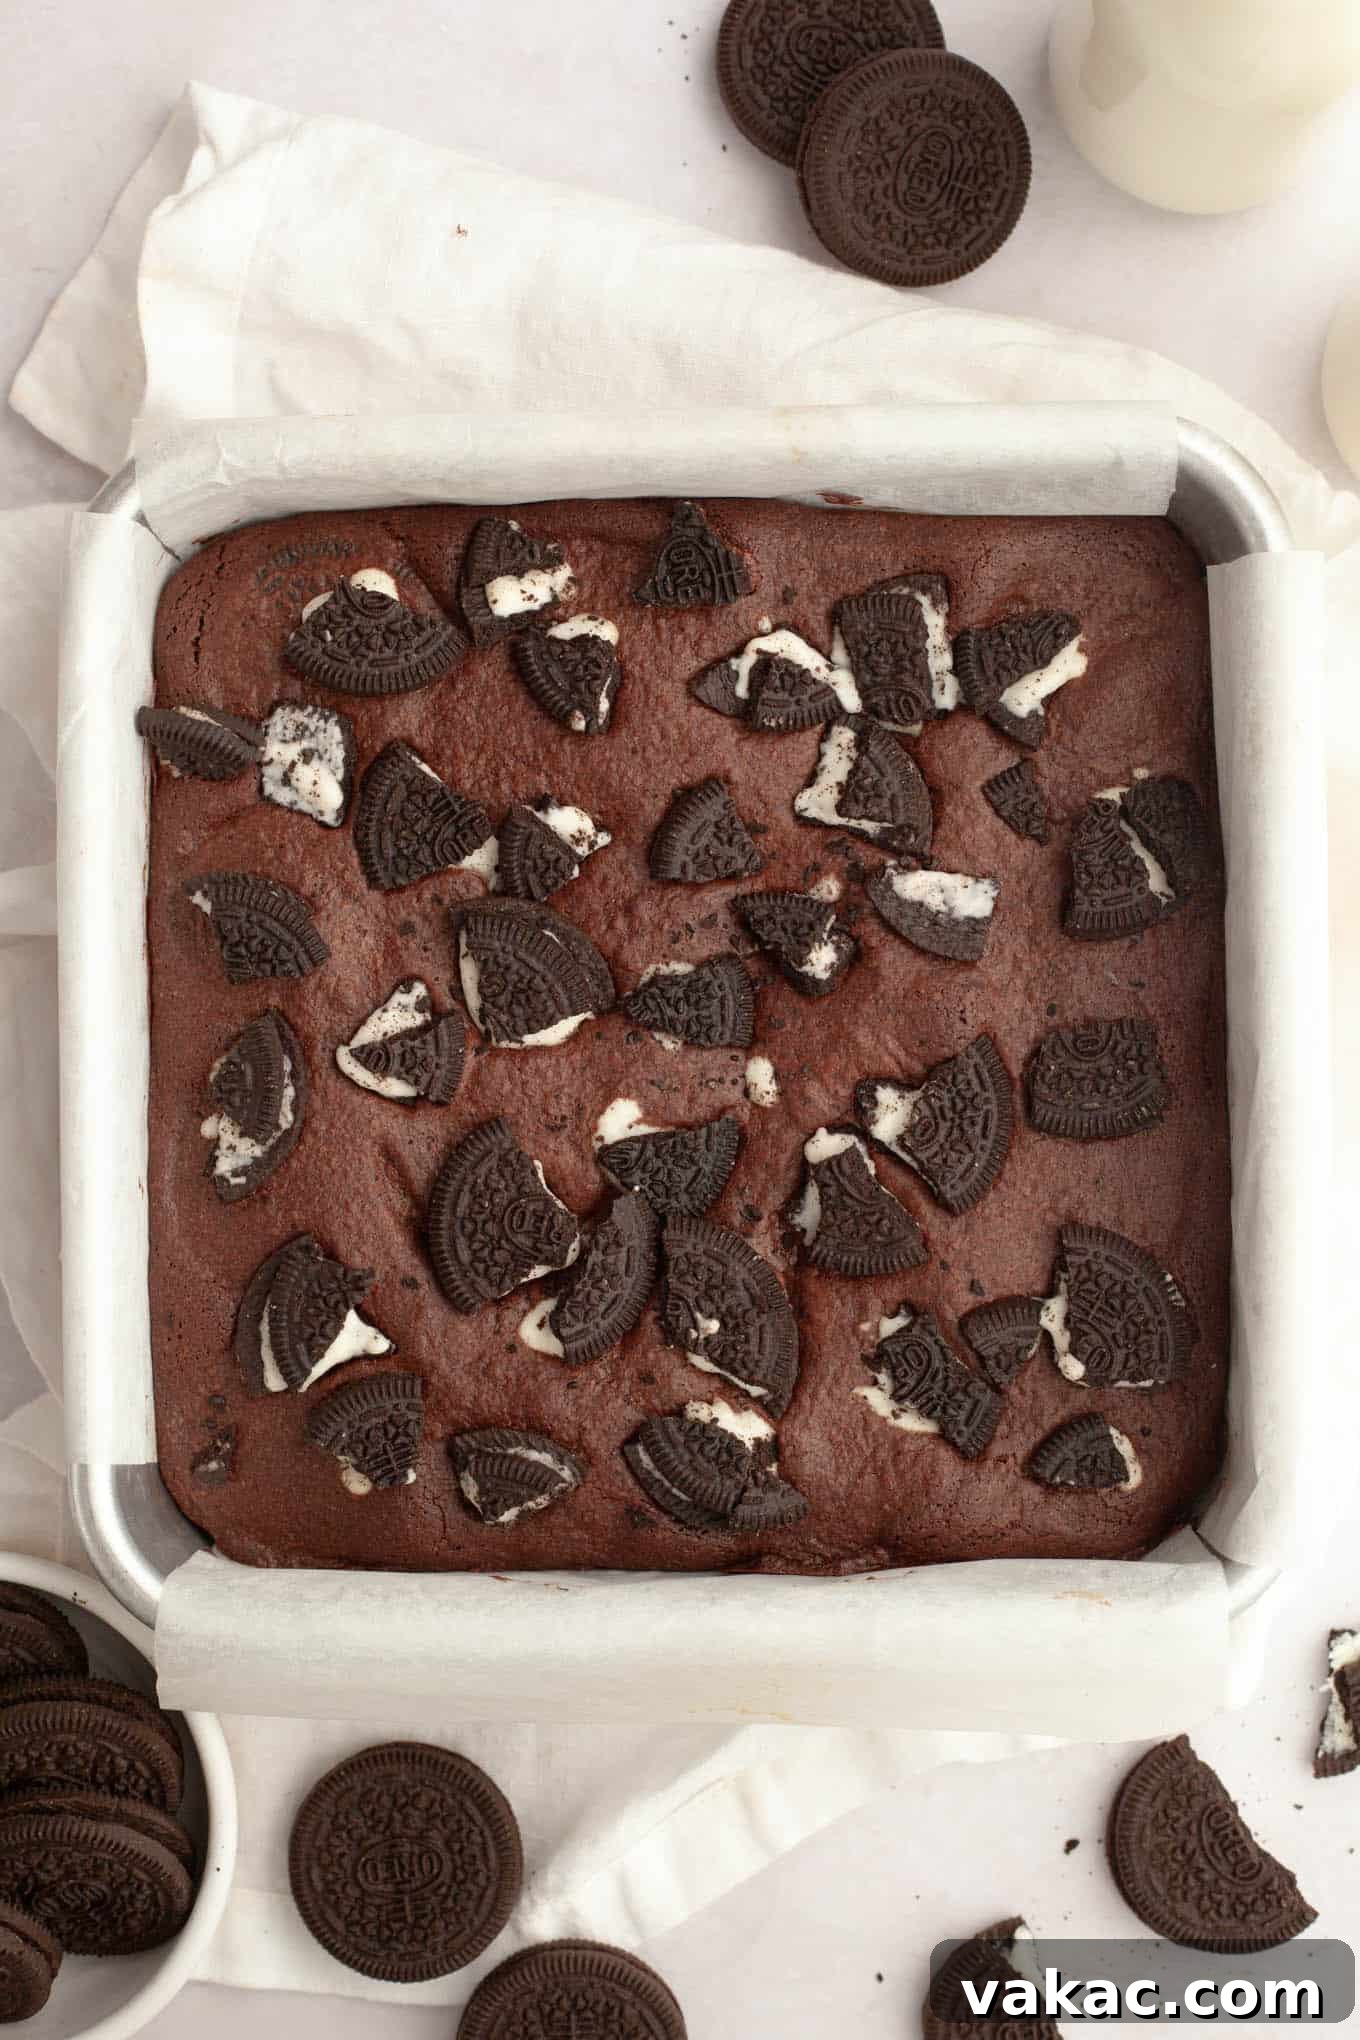
- Carefully pour the remaining half of the brownie batter over the layer of Oreos. Gently spread it out to fully cover the cookies, creating a smooth top. Take the remaining 6 Oreos, break or roughly chop them into smaller pieces, and gently press them onto the top surface of the brownie batter for an attractive finish and added texture.
- Transfer the baking pan to the preheated oven and bake for 30 to 35 minutes. To check for doneness, insert a toothpick into the center of the brownies. It should come out mostly clean, with just a few moist crumbs clinging to it. Remember, a completely clean toothpick indicates overbaked brownies, which will result in a drier texture.
- Once baked, remove the pan from the oven and place it on a wire cooling rack. It is absolutely crucial to allow the brownies to cool completely in the pan. This step is essential for achieving that ultimate fudgy texture and for allowing the brownies to set properly, making them much easier to slice neatly. Do not rush this step.
Notes
- Storage Instructions: Leftover Oreo brownies may be stored in an airtight container at room temperature for up to five days. For extended freshness, especially in warmer climates, you can also store them in the refrigerator.
- Freezing Instructions: These brownies freeze exceptionally well! To freeze, ensure they are completely cooled to room temperature. Then, wrap individual brownies or the whole slab tightly in plastic wrap, followed by a layer of aluminum foil to prevent freezer burn. They will keep beautifully in the freezer for 2 to 3 months. Thaw at room temperature before serving for the best texture and flavor.
Cuisine: American
Course: Dessert
Author: Danielle Rye
Did you make this recipe?
We’d love to see your delicious creations! Mention @livewellbakeoften on Instagram or tag #livewellbakeoften so we can admire your mouth-watering results!