

Elevate your dessert game with these sensational Andes mint chocolate cookies. Featuring a rich, soft chocolate cookie base generously topped with a velvety smooth mint chocolate icing, these cookies are remarkably easy to create and an absolute dream for any mint chocolate enthusiast. Get ready to bake a batch that will disappear in minutes!

Irresistible Andes Mint Chocolate Cookies: Your New Favorite Recipe
There’s something truly magical about the combination of rich chocolate and refreshing mint, and these Andes mint cookies capture that enchantment perfectly. Imagine biting into a soft, chewy chocolate cookie, followed by the smooth, cooling sensation of melted Andes mint. It’s a flavor pairing that consistently delights, making these cookies an ideal treat for any occasion, from festive holiday gatherings like St. Patrick’s Day to a simple weeknight indulgence.
This recipe streamlines the baking process, starting with a straightforward chocolate cookie dough that requires just a brief chill. Once baked to perfection, a delicate Andes mint is placed on each warm cookie, melting into a luscious, spreadable layer. The result is a visually stunning and incredibly flavorful dessert that tastes gourmet but is surprisingly simple to whip up. If you share my passion for mint chocolate, prepare to fall in love with these cookies!
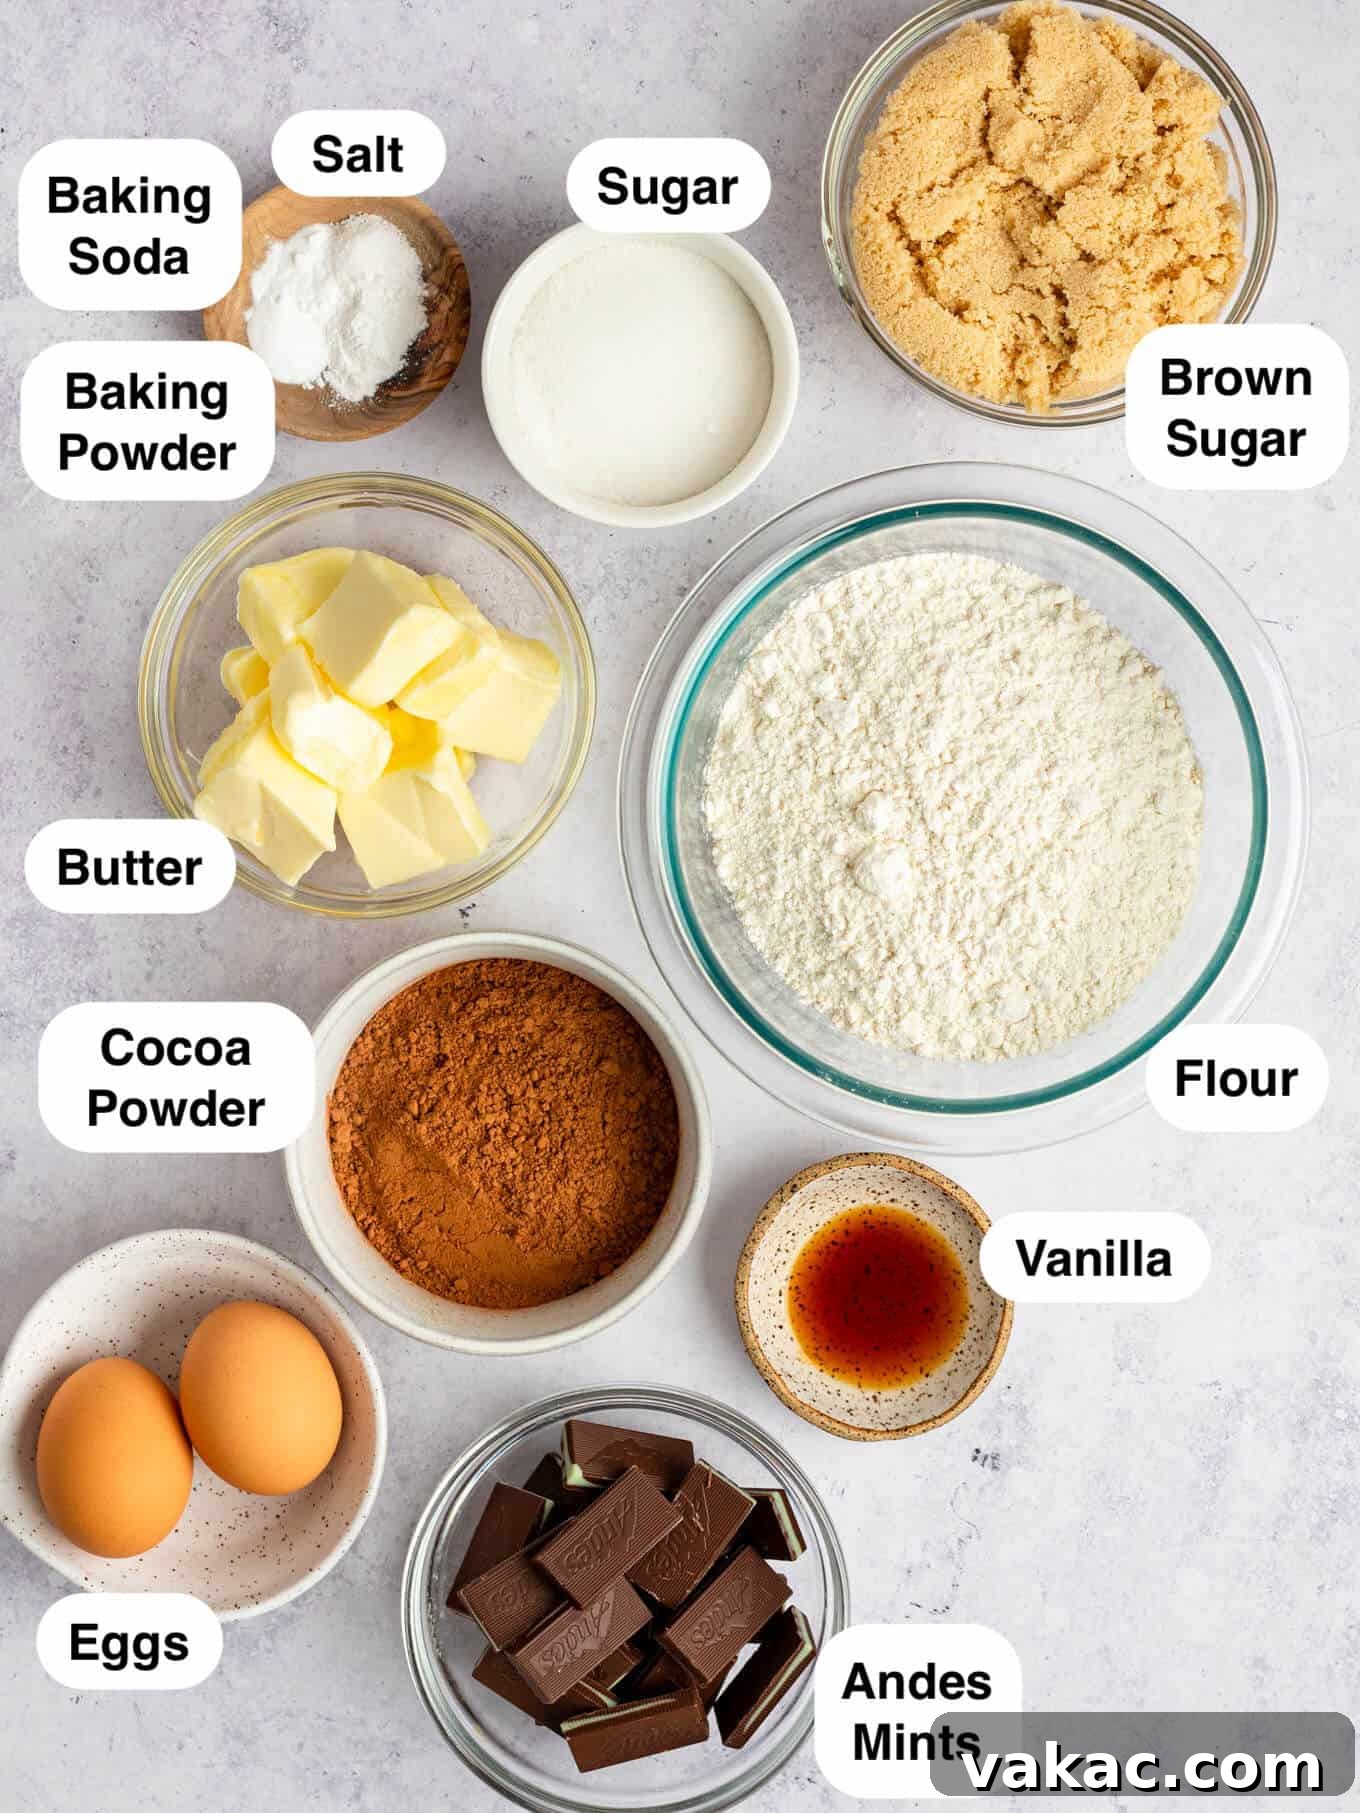
Key Ingredients for Perfect Andes Mint Cookies
The foundation of these outstanding cookies is a carefully crafted chocolate dough, inspired by classic double chocolate chip recipes but refined for optimal thickness and chewiness. Let’s delve into the crucial role each ingredient plays in achieving that perfect cookie:
- All-Purpose Flour: The backbone of our cookie structure, providing necessary body and chewiness. Proper measurement is paramount here. Always spoon your flour into the measuring cup and level it off with a straight edge. Scooping directly from the bag can compact the flour, leading to an excess amount that results in dense, cakey, or dry cookies. For a detailed guide on accurate flour measurement, refer to how to measure flour correctly.
- Unsweetened Natural Cocoa Powder: This provides the deep, rich chocolate flavor that makes these cookies so irresistible. Since this recipe utilizes both baking soda and baking powder, natural cocoa powder is preferred. Natural cocoa is acidic and reacts with baking soda to create lift and tenderness. Dutch-process cocoa, on the other hand, has been neutralized and will not react appropriately with baking soda, potentially affecting the cookie’s rise and texture. You can learn more about the differences in my blog post on natural vs. Dutch process cocoa powder.
- Unsalted Butter: Using unsalted butter gives you precise control over the salt content in your baking, ensuring a perfectly balanced flavor profile. Ensure your butter is softened to cool room temperature – it should yield slightly when pressed but still feel cool to the touch. If only salted butter is available, simply omit the ¼ teaspoon of salt called for in the recipe to maintain balance.
- Egg & Egg Yolk: This unique combination is key to achieving the desired texture. The whole egg provides essential structure and moisture, while the extra egg yolk adds remarkable richness, contributes to a delightful chewiness, and helps prevent the cookies from becoming dry or crumbly. For best results, always use room temperature eggs, as they emulsify more easily with other ingredients, creating a smoother, more uniform dough. Don’t discard that extra egg white; it can be saved for later or used in delicious recipes like candied pecans or candied almonds.
- Granulated Sugar & Light Brown Sugar: The blend of these two sugars contributes significantly to both the flavor and texture of the cookies. Granulated sugar promotes crispness and helps the cookies spread slightly, while light brown sugar adds vital moisture, a desirable chewiness, and a subtle, warm caramel note. Ensure your brown sugar is packed firmly when measuring to achieve accurate proportions.
- Pure Vanilla Extract: A crucial flavor enhancer, pure vanilla extract deepens and complements the overall chocolate and mint flavors, adding warmth and complexity to the cookies. Don’t skimp on quality here, as it makes a noticeable difference.
- Baking Powder & Baking Soda: These leavening agents work in perfect tandem to give the cookies their ideal lift and tender crumb. Baking soda reacts with the acidic cocoa powder and brown sugar, while baking powder provides additional lift, ensuring a light and airy texture without being overly cakey.
- Salt: A small but mighty ingredient, salt is crucial for balancing the sweetness of the cookies and intensifying the deep chocolate flavor, bringing out its nuances.
- Andes Mints: The undeniable star of the show, these iconic mints provide the signature flavor and a beautiful, smooth topping. You’ll need approximately 26 unwrapped Andes mints to generously top each cookie, ensuring every bite is packed with that classic mint chocolate experience.
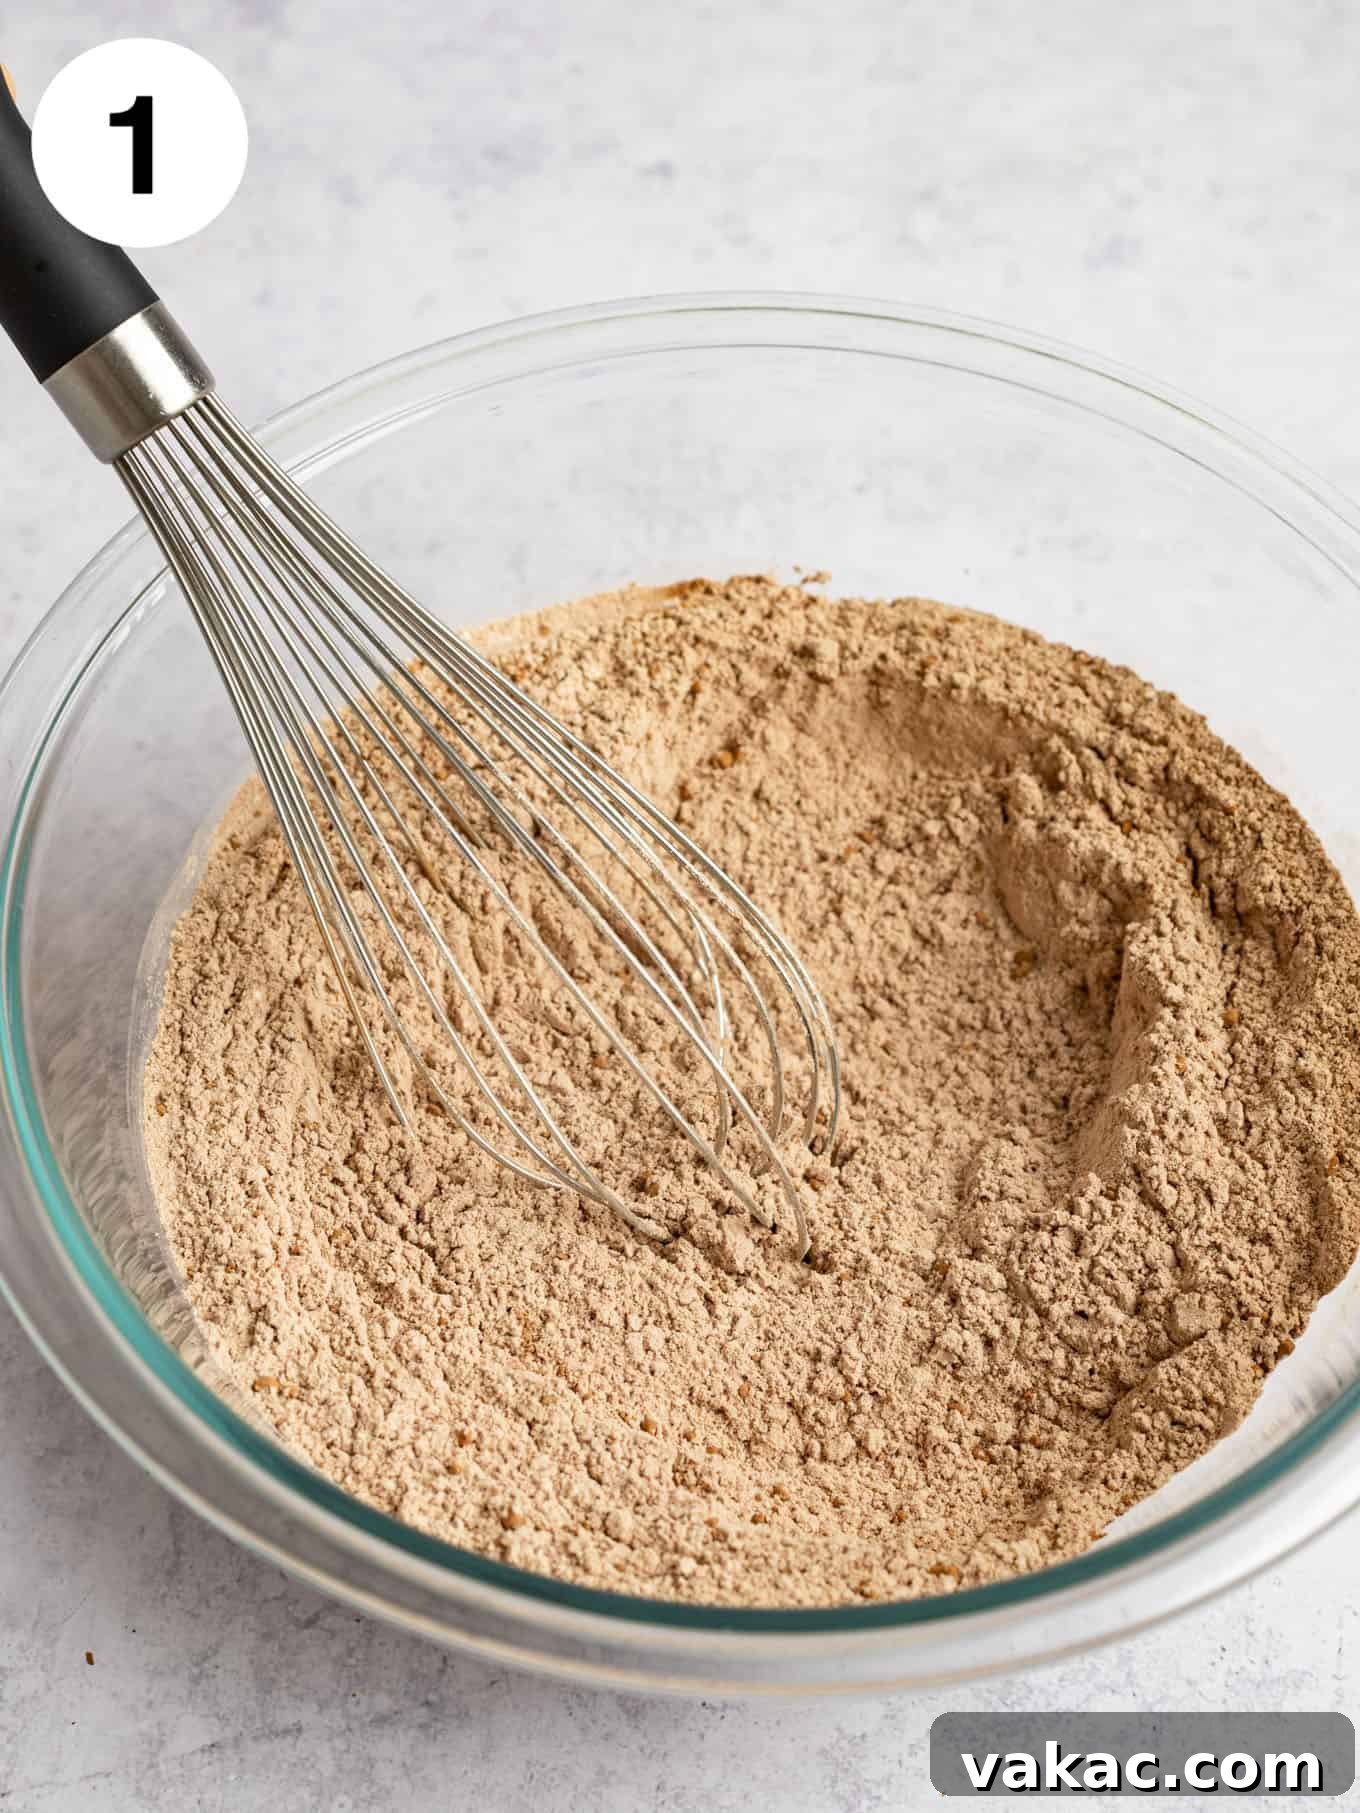
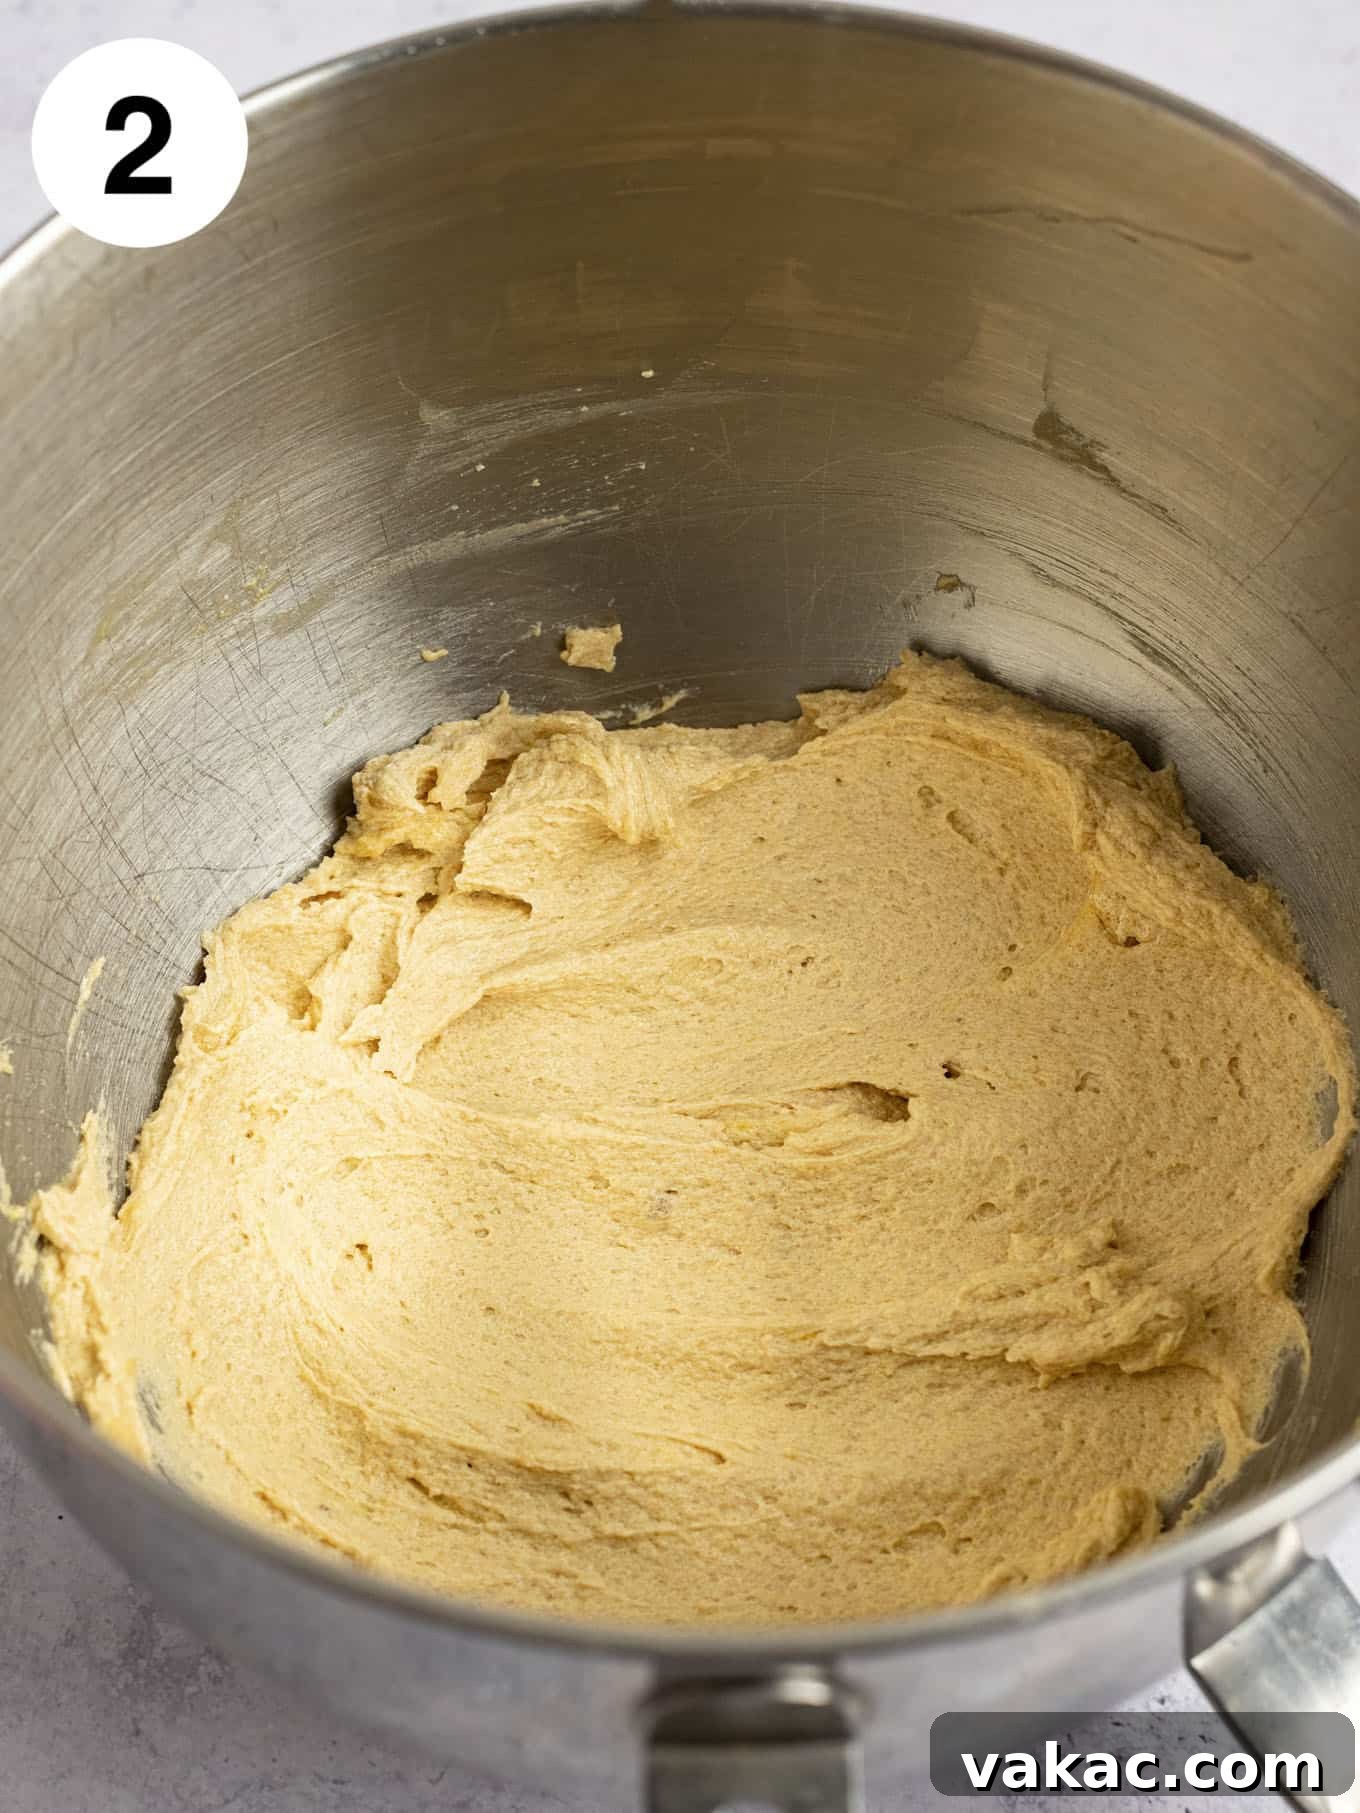
Step-by-Step Guide to Baking Andes Mint Cookies
Creating these delightful Andes mint cookies is a straightforward and rewarding process. Follow these detailed steps for perfect results every time:
- Prepare the Dry Ingredients: In a spacious large mixing bowl, whisk together the all-purpose flour, thoroughly sifted unsweetened natural cocoa powder, baking powder, baking soda, and salt. Whisk vigorously for about 30 seconds to ensure all ingredients are evenly distributed and there are no lumps, particularly from the cocoa powder. Set this mixture aside for later use.
- Cream the Wet Ingredients: In the bowl of a stand mixer fitted with the paddle attachment, or using a robust handheld mixer, cream together the softened unsalted butter, packed light brown sugar, and granulated sugar. Beat on medium speed for a good 1 to 2 minutes until the mixture is visibly light, fluffy, and completely well combined. This crucial creaming process incorporates air, which contributes significantly to the cookies’ incredibly soft and tender texture. Next, add the room temperature large egg, egg yolk, and pure vanilla extract, mixing until they are just incorporated into the butter mixture. Remember to pause frequently and scrape down the sides and bottom of the bowl with a rubber spatula to ensure everything is evenly mixed and no pockets of uncreamed ingredients remain.
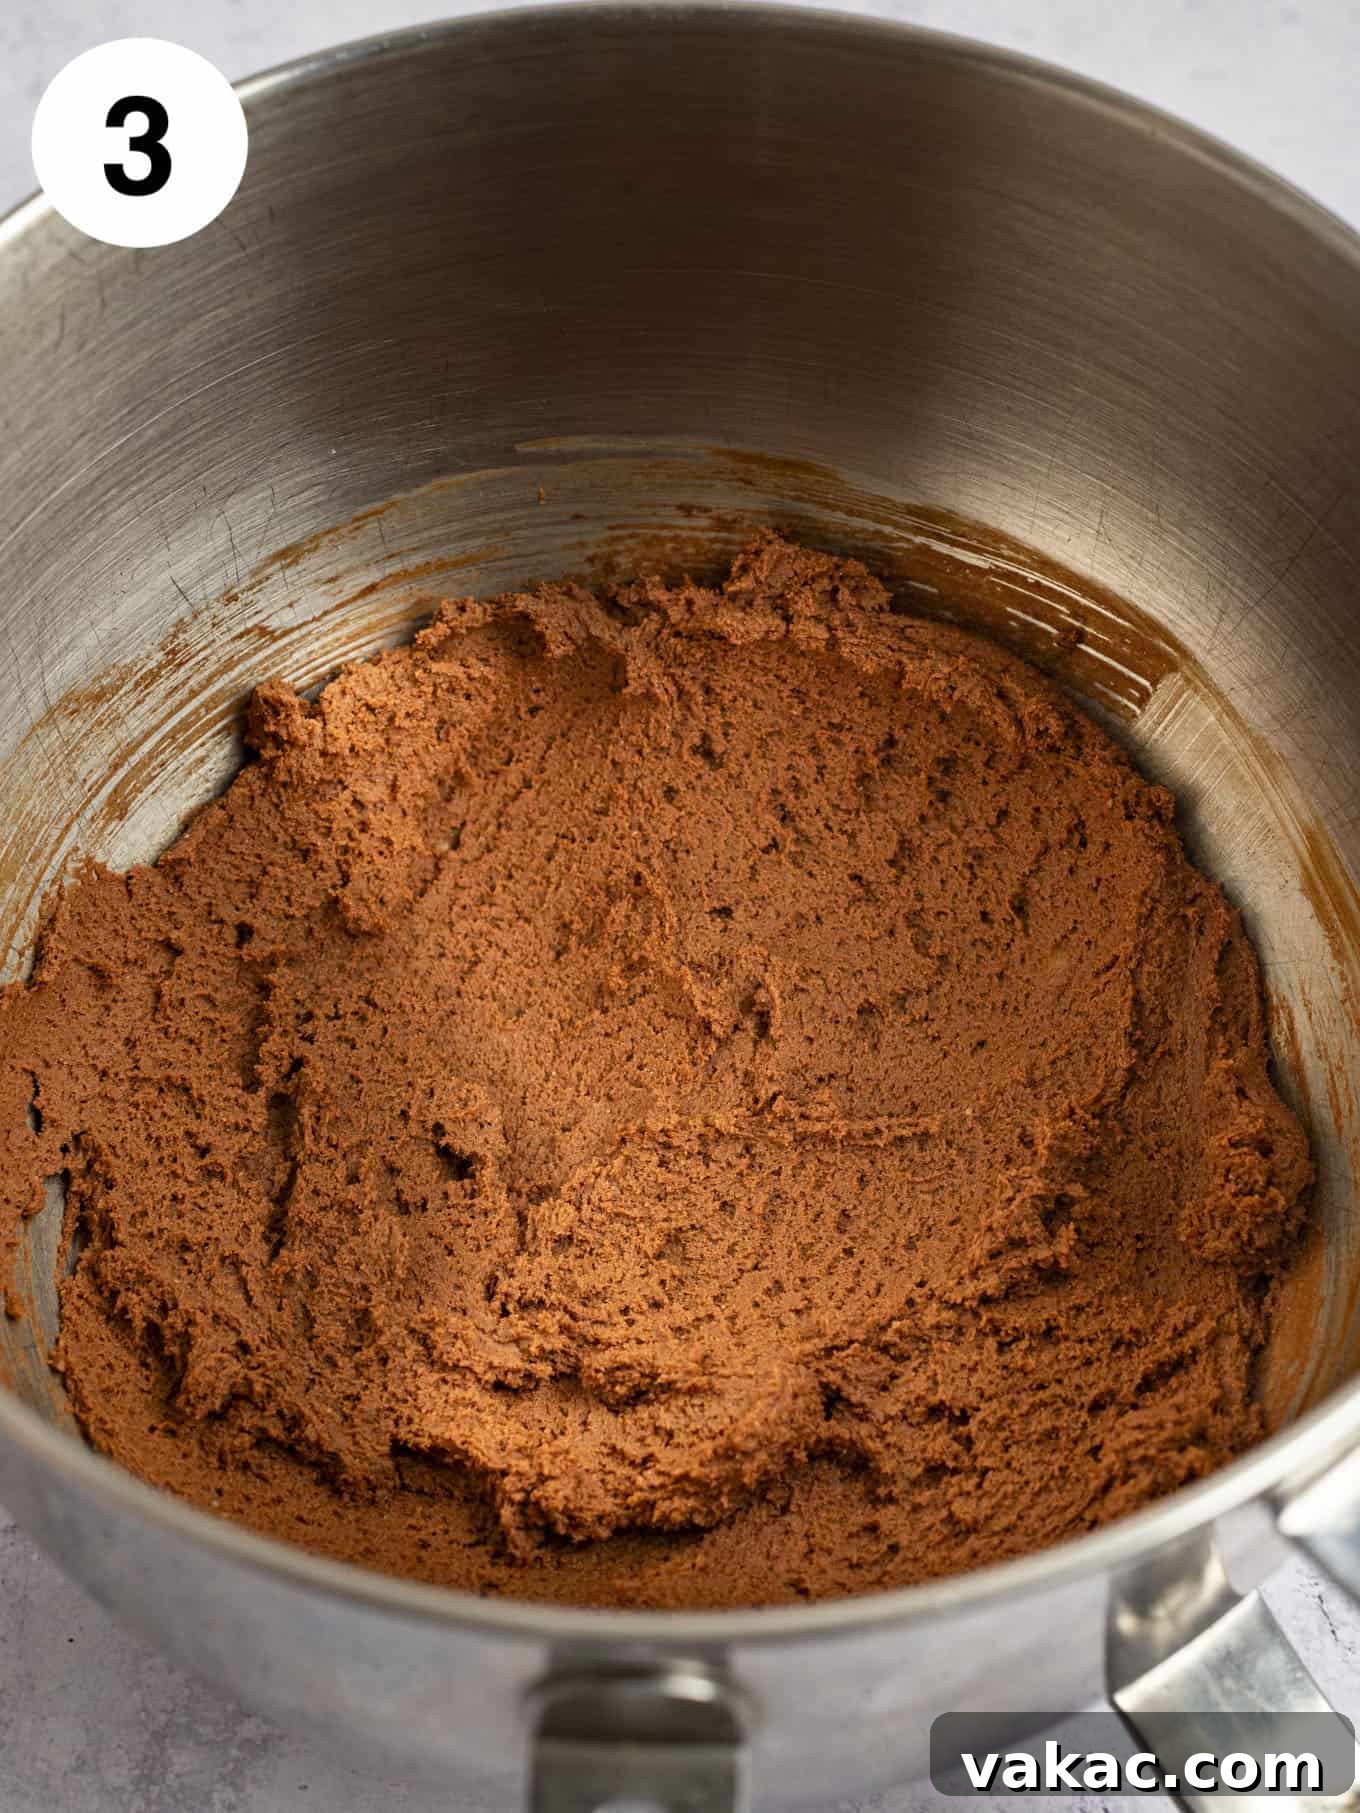
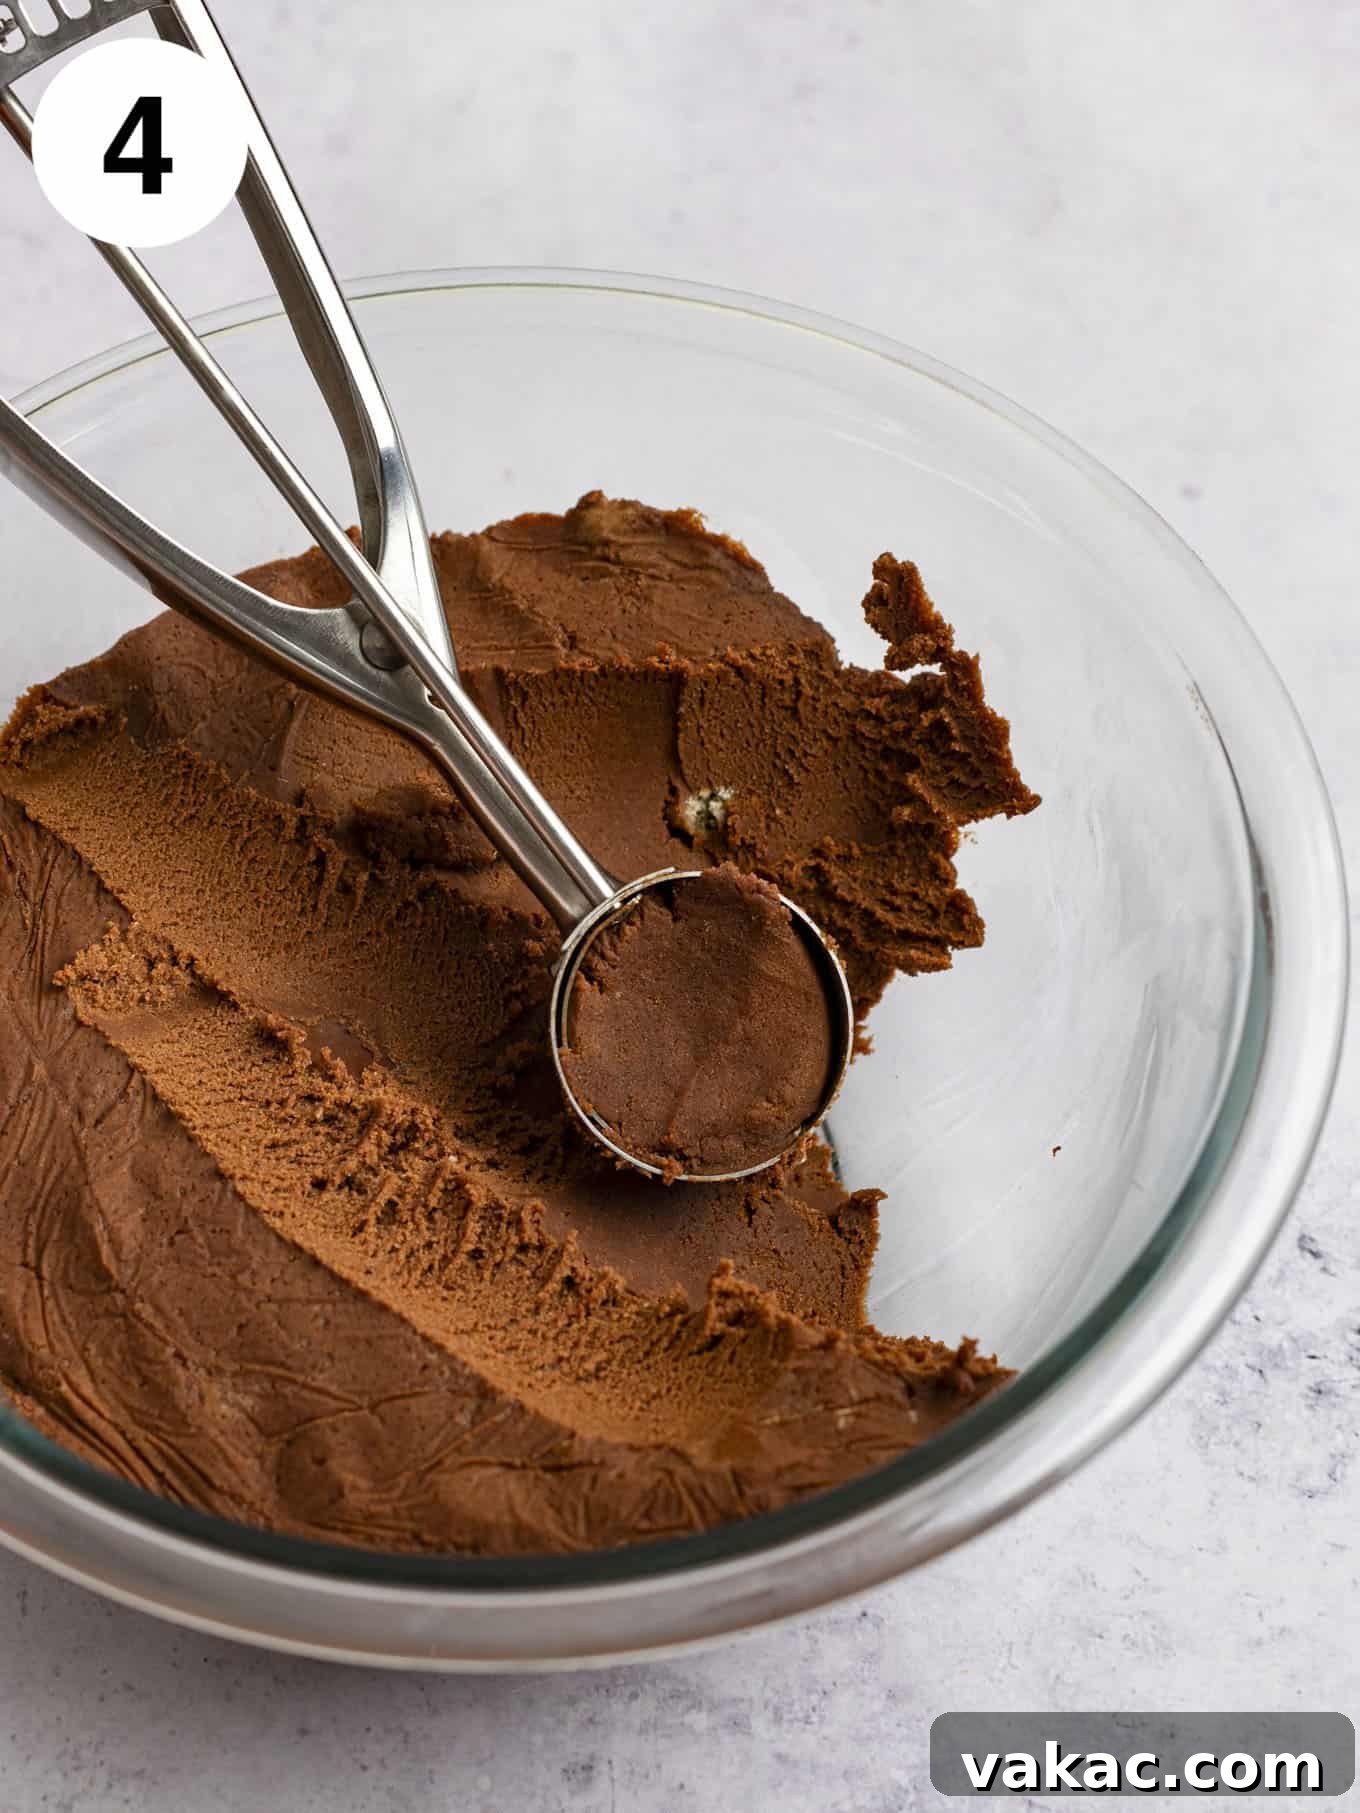
- Combine Wet and Dry Mixtures: Gradually add the previously whisked dry ingredients to the wet ingredients in the mixer bowl. Mix on low speed, just until the dry ingredients are fully incorporated into the dough. It is absolutely crucial not to overmix at this stage, as overworking the flour can lead to the development of too much gluten, resulting in tough, dense, or dry cookies. Stop mixing as soon as no streaks of flour are visible, even if it looks slightly crumbly; it will come together during chilling.
- Chill the Cookie Dough: Transfer the freshly mixed cookie dough to a clean bowl, cover it tightly with plastic wrap, and refrigerate for at least 2 hours. This chilling step is absolutely non-negotiable for achieving superior cookie texture and shape. It allows the butter to firm up, significantly preventing the cookies from spreading excessively and becoming thin or flat in the oven. Additionally, chilling gives the flour time to fully hydrate and allows the flavors to meld and deepen, resulting in a richer, more flavorful cookie. You can chill the dough for up to 3 days if you’re preparing ahead.
- Preheat Oven & Prepare Baking Sheets: Once your dough has sufficiently chilled, preheat your oven to 350°F (177°C). Line two to three large baking sheets with parchment paper or silicone baking mats. This crucial step prevents sticking, promotes even baking, and makes for incredibly easy cleanup.
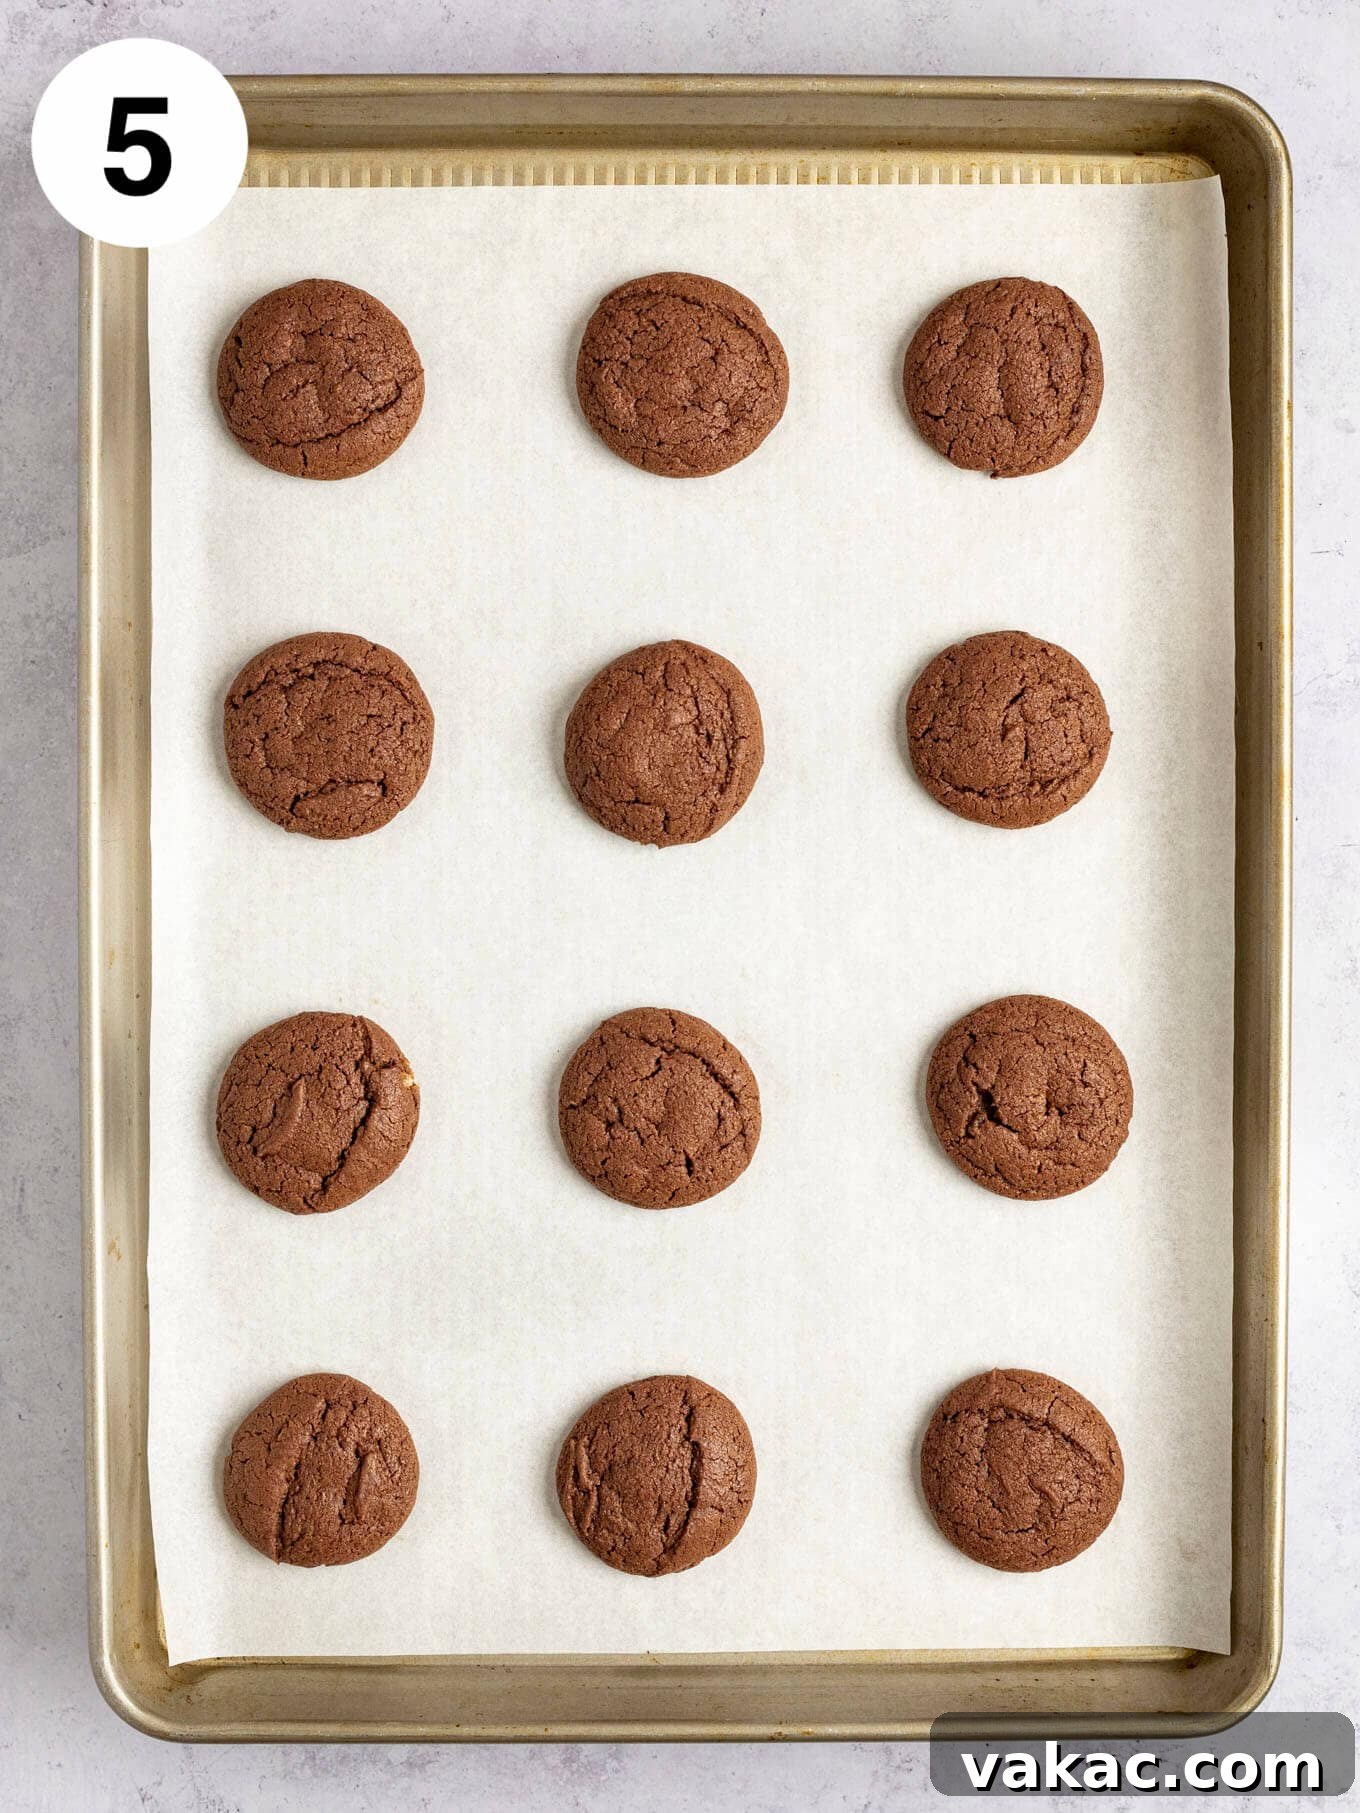
- Scoop and Bake the Cookies: Remove the thoroughly chilled cookie dough from the refrigerator. Using a 1.5 tablespoon cookie scoop, portion the dough into even, uniform balls and place them about 2 inches apart on your prepared baking sheets. This spacing allows for proper air circulation and prevents the cookies from baking into each other. Bake for 10 to 12 minutes, or until the edges are beautifully set and the tops appear slightly firm but still soft and slightly puffy in the center. Avoid the temptation to overbake, as this can lead to dry, crumbly cookies.
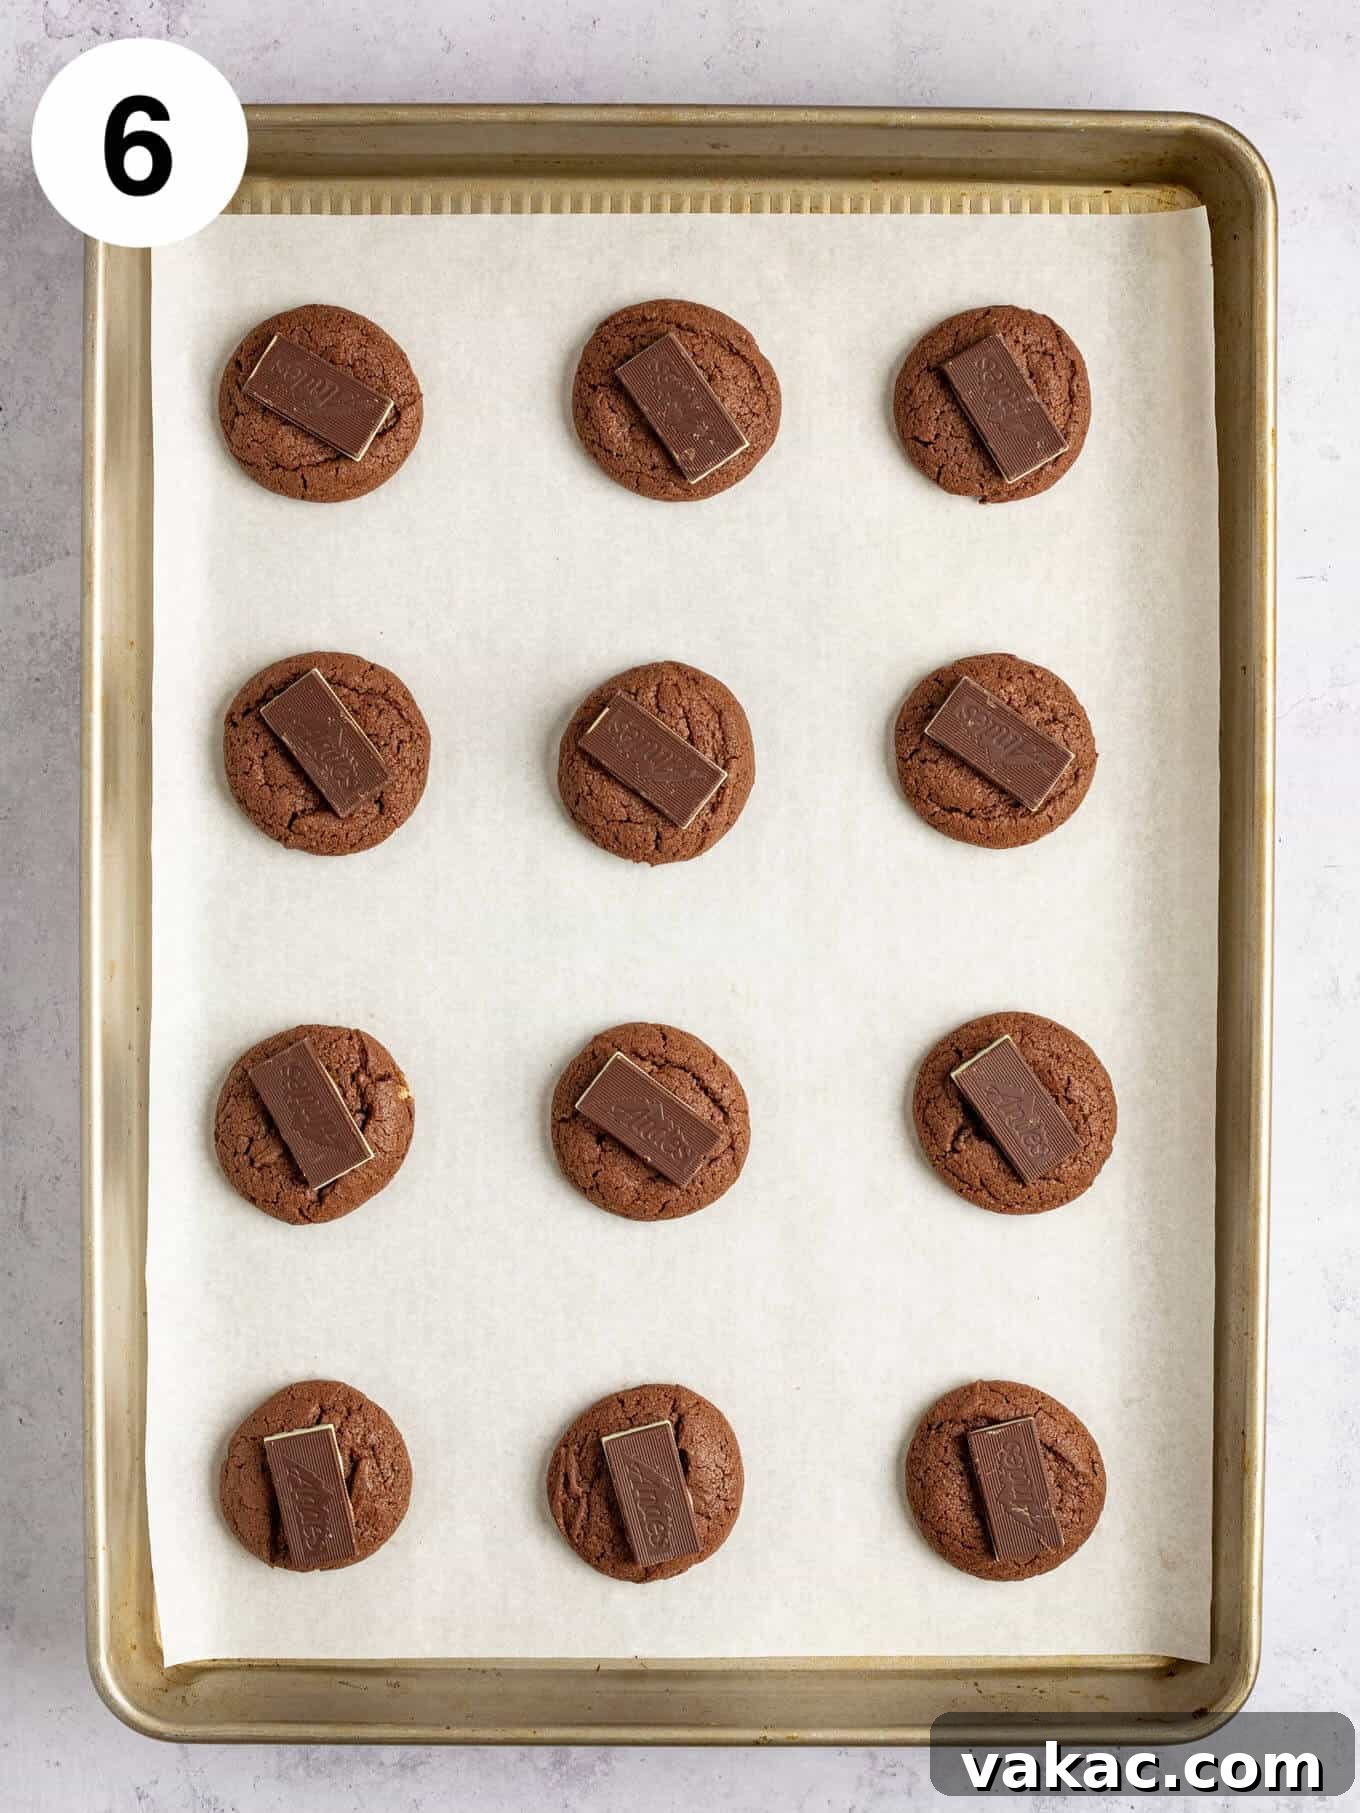
- Apply Andes Mints & Cool: Immediately upon removing the hot cookies from the oven, gently place one unwrapped Andes mint squarely on top of each warm cookie. Allow the mints to sit undisturbed for approximately 5 minutes, giving them ample time to soften and melt from the residual heat of the freshly baked cookies. Once softened, use an offset spatula or the back of a small spoon to delicately spread the melted mint evenly over the entire surface of each cookie. This creates a smooth, glossy, and utterly irresistible mint layer. Let the cookies continue to cool on the baking sheets for another 5 minutes to firm up slightly before carefully transferring them to a wire rack to cool completely. This final cooling step ensures the mint topping sets properly and the cookies maintain their structural integrity.

Tips for Baking Flawless Andes Mint Cookies
Achieving bakery-quality cookies at home is easier than you think with these expert tips and tricks:
- Sift Your Cocoa Powder: Cocoa powder has a tendency to clump, especially if it’s been stored for a while. These clumps can lead to undesirable pockets of concentrated flavor and an uneven texture in your finished cookies. Sifting it ensures a perfectly smooth, uniform distribution throughout the dough.
- Ensure Proper Butter Softness: The ideal butter consistency is absolutely crucial for effective creaming. Your butter should be at a cool room temperature – soft enough that your finger leaves a slight indent when pressed into it, but still firm and not greasy or melted. If the butter is too warm, your cookies may spread excessively in the oven, leading to a thinner, less chewy result.
- Room Temperature Eggs Are a Must: Cold eggs can cause your butter and sugar mixture to seize and curdle when added, leading to an unevenly mixed dough. Room temperature eggs, on the other hand, emulsify seamlessly with the butter and sugar, creating a smooth, cohesive, and perfectly blended batter. If you forget to sit them out ahead of time, simply place them in a bowl of warm water for 5 to 10 minutes to quickly bring them to temperature.
- Don’t Overmix the Dough: After the dry ingredients are added, mix only until they are just combined and no streaks of flour remain. Overmixing develops gluten in the flour, which can make your cookies tough, dense, and noticeably less tender. Stop the mixer as soon as the ingredients are incorporated.
- The Importance of Chilling: Chilling the dough serves multiple vital purposes. It not only prevents the cookies from spreading too much during baking but also allows the flour to fully hydrate and the flavors to deepen and meld, resulting in a more flavorful and perfectly textured cookie. Don’t skip this step!
- Use a Cookie Scoop: For uniform size and perfectly even baking, a cookie scoop is an invaluable tool. It ensures that each cookie bakes consistently and looks professionally made, adding to the aesthetic appeal of your batch.
- Know Your Oven: Every oven is slightly different and can have hot spots. Keep a close eye on your cookies during the last few minutes of baking. They should be set around the edges but still appear slightly soft in the center when removed. They will continue to firm up as they cool on the hot baking sheet.
- Parchment Paper vs. Silicone Mats: Both are excellent options for preventing sticking and promoting even baking. Parchment paper is convenient for quick cleanup and disposable use, while silicone mats are reusable, environmentally friendly, and often provide a slightly softer bottom to your cookies.
Variations & Customizations to Elevate Your Andes Mint Cookies
While these Andes mint cookies are utterly perfect as is, don’t hesitate to unleash your creativity and experiment with these fun variations to make them uniquely yours:
- Add Extra Chocolate Chips: For an additional layer of rich chocolatey goodness, consider folding in ½ cup of semi-sweet or dark chocolate chips along with the dry ingredients. This adds textural contrast and even more indulgence.
- Intensify the Mint Flavor: If you crave an even more potent mint experience, add ¼ to ½ teaspoon of pure peppermint extract to the wet ingredients along with the vanilla. Start with a smaller amount and add more to taste, as peppermint extract can be quite potent.
- Elegant White Chocolate Drizzle: Once the Andes mint topping has completely set and cooled, melt some white chocolate chips and artistically drizzle them over the cookies for an elegant finish and another delightful layer of sweetness and visual appeal.
- Festive Holiday Sprinkles: For seasonal celebrations or a pop of color, sprinkle some green or holiday-themed sprinkles onto the melted Andes mint topping immediately after spreading, before it has a chance to set.
- Mint Chocolate Cookie Sandwiches: For an extra decadent and impressive treat, once the cookies are completely cooled, sandwich two together with a generous dollop of homemade mint buttercream frosting.
Storage & Freezing Instructions for Andes Mint Cookies
These Andes mint cookies are truly best enjoyed fresh, but they also store and freeze beautifully, allowing you to savor them for longer:
Storage Instructions: Once your baked Andes mint cookies have completely cooled to room temperature, store them in an airtight container. They will maintain their delicious freshness and soft texture at room temperature for up to one week. To help keep them extra soft, you can even place a slice of plain bread in the container; the cookies will absorb moisture from the bread. Make sure they are fully cooled before storing to prevent condensation.
Freezing Baked Cookies: For longer-term enjoyment, baked and cooled Andes mint cookies will freeze exceptionally well for up to 3 months. To prevent them from sticking together, place them in a large freezer-safe bag or container, separating each layer with a piece of parchment paper. When you’re ready to indulge, simply remove them from the freezer and let them thaw gently at room temperature for about 30-60 minutes. They will taste just as delicious and fresh as the day they were baked!
Freezing Cookie Dough: If you enjoy the convenience of preparing ahead or having fresh-baked cookies on demand, this cookie dough also freezes exceptionally well for up to 3 months. First, scoop the raw cookie dough into individual balls onto a baking sheet lined with parchment paper. Place the entire baking sheet in the freezer for 1 to 2 hours, or until the dough balls are completely firm. Once frozen solid, transfer the dough balls to a freezer-safe bag or airtight container. When you’re ready to bake, simply thaw the cookie dough overnight in the refrigerator, then bake as directed in the recipe, adding a minute or two to the baking time if needed, as frozen dough may require slightly longer. You can also bake directly from frozen, adding 3-5 minutes to the bake time.

Common Questions and Troubleshooting for Andes Mint Cookies
- Why did my cookies spread too much? This is a common issue often attributed to butter being too warm, not chilling the dough sufficiently, or too little flour (or improperly measured flour). Ensure your butter is at a cool room temperature, and strictly adhere to the recommended chilling time for the dough!
- My cookies are dry and crumbly. What went wrong? Dry and crumbly cookies are typically the result of overmixing the dough after adding the flour, or simply overbaking. Remember to mix only until the dry ingredients are just combined and remove cookies from the oven when the edges are set but the centers still appear slightly soft.
- Can I use a different type of mint candy? While Andes mints are specifically chosen for their ideal melt consistency, perfect flavor, and iconic appearance, you could certainly experiment with other mint chocolate candies like Peppermint Patties. However, be aware that the melting behavior, texture, and final appearance of the topping may differ.
- How can I make the mint topping perfectly smooth? For a flawlessly smooth mint topping, ensure the cookies are warm enough for the Andes mints to melt properly. If they aren’t melting easily after 5 minutes, you can briefly return the baking sheet to the warm (but turned off) oven for 1-2 minutes to help them along. Using an offset spatula provides the best tool for achieving a perfectly smooth spread.

Andes Mint Cookies
25
12
2
2 37
Ingredients
26 cookies
- 2 cups all-purpose flour (spooned & leveled, 250 grams)
- ½ cup unsweetened natural cocoa powder (sifted, 45 grams)
- ½ teaspoon baking powder
- ½ teaspoon baking soda
- ¼ teaspoon salt
- ¾ cup unsalted butter (softened, 170 grams; 1 ½ sticks)
- 1 cup packed light brown sugar (200 grams)
- ⅓ cup granulated sugar (70 grams)
- 1 large egg (at room temperature)
- 1 large egg yolk (at room temperature)
- 1 ½ teaspoons pure vanilla extract
- 26 Andes mints (unwrapped)
Instructions
-
In a large mixing bowl, whisk together the flour, cocoa powder, baking powder, baking soda, and salt until well combined. Set aside.
-
Using a handheld mixer or a stand mixer fitted with the paddle attachment, beat the softened butter, brown sugar, and granulated sugar together for 1 to 2 minutes until light and fluffy. Mix in the room temperature egg, egg yolk, and vanilla extract, stopping to scrape down the sides of the bowl as needed to ensure all ingredients are thoroughly incorporated.
-
Gradually add the dry ingredients to the wet ingredients, mixing on low speed until just combined. Be careful not to overmix the cookie dough once the flour is added.
-
Cover the cookie dough tightly with plastic wrap and refrigerate for at least 2 hours. This chilling step is essential for preventing the cookies from spreading too much during baking and enhances their flavor and texture.
-
Preheat your oven to 350°F (177°C). Line two to three large baking sheets with parchment paper or a silicone mat.
-
Remove the chilled dough from the refrigerator. Using a 1.5 tablespoon cookie scoop, portion the cookie dough into uniform balls and drop them onto the prepared baking sheets, leaving about 2 inches between each cookie.
-
Bake for 10 to 12 minutes, or until the edges of the cookies are set and the tops appear firm. Avoid overbaking.
-
Remove the baking sheets from the oven and immediately place one Andes mint on top of each warm cookie. Allow the mints to sit and melt for about 5 minutes. Then, using an offset spatula or the back of a spoon, gently spread the melted Andes mint evenly over the top of each cookie.
-
Allow the cookies to cool on the baking sheets for another 5 minutes before carefully transferring them to a wire rack to cool completely.
Notes
Storage Instructions: Baked and cooled cookies can be stored in an airtight container at room temperature for up to one week.
Freezing Baked Cookies: These cookies freeze beautifully for up to 3 months. Store them in a freezer-safe bag with layers of parchment paper between cookies. Thaw to room temperature before serving.
Freezing Cookie Dough: Cookie dough can also be frozen for up to 3 months. Scoop into balls, freeze until firm on a parchment-lined baking sheet, then transfer to a freezer bag. Thaw overnight in the fridge and bake as directed.
American
Dessert
Danielle Rye