
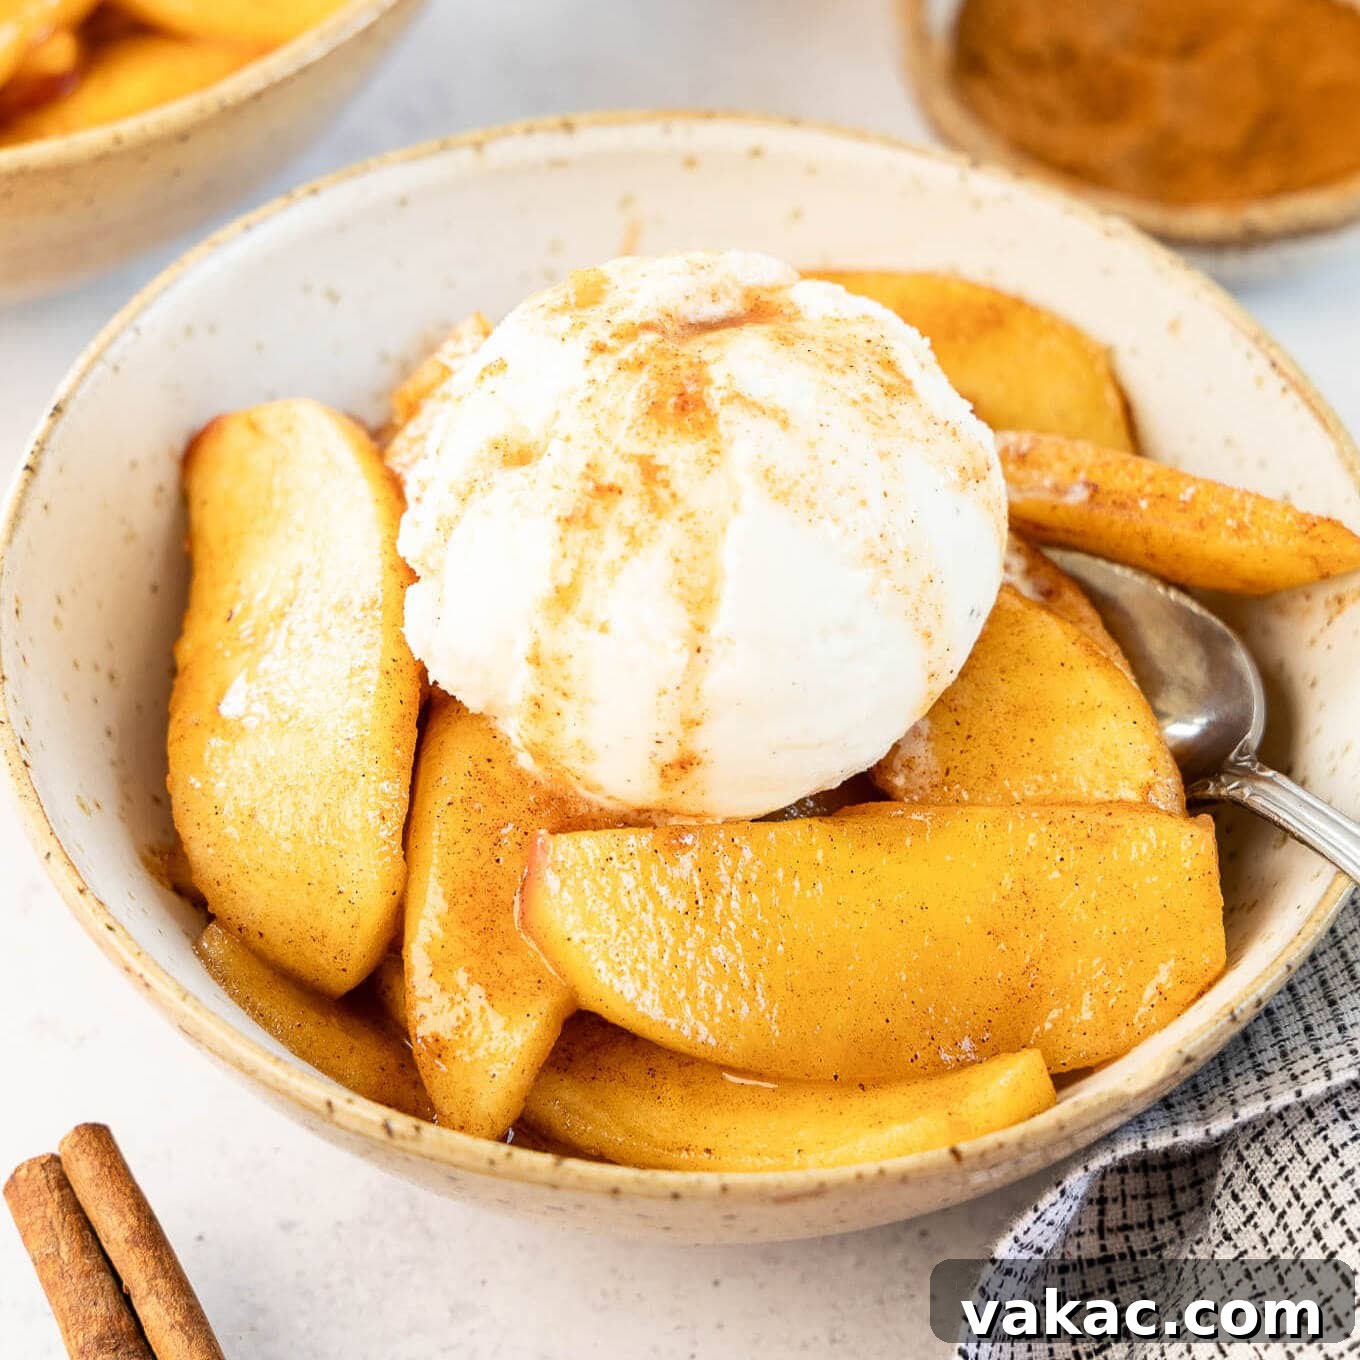
There’s a special magic that happens when crisp apple slices meet a hot skillet, a generous swirl of butter, and a harmonious blend of sugar and spices. This simple yet utterly decadent 20-minute dessert, often celebrated as a Southern classic, transforms humble apples into something truly extraordinary. Imagine the warm, comforting flavors of your favorite apple pie filling, but ready in a fraction of the time, perfect for satisfying those sudden sweet cravings. These fried apples are a delightful treat, best served warm, perhaps with a cooling scoop of vanilla ice cream.
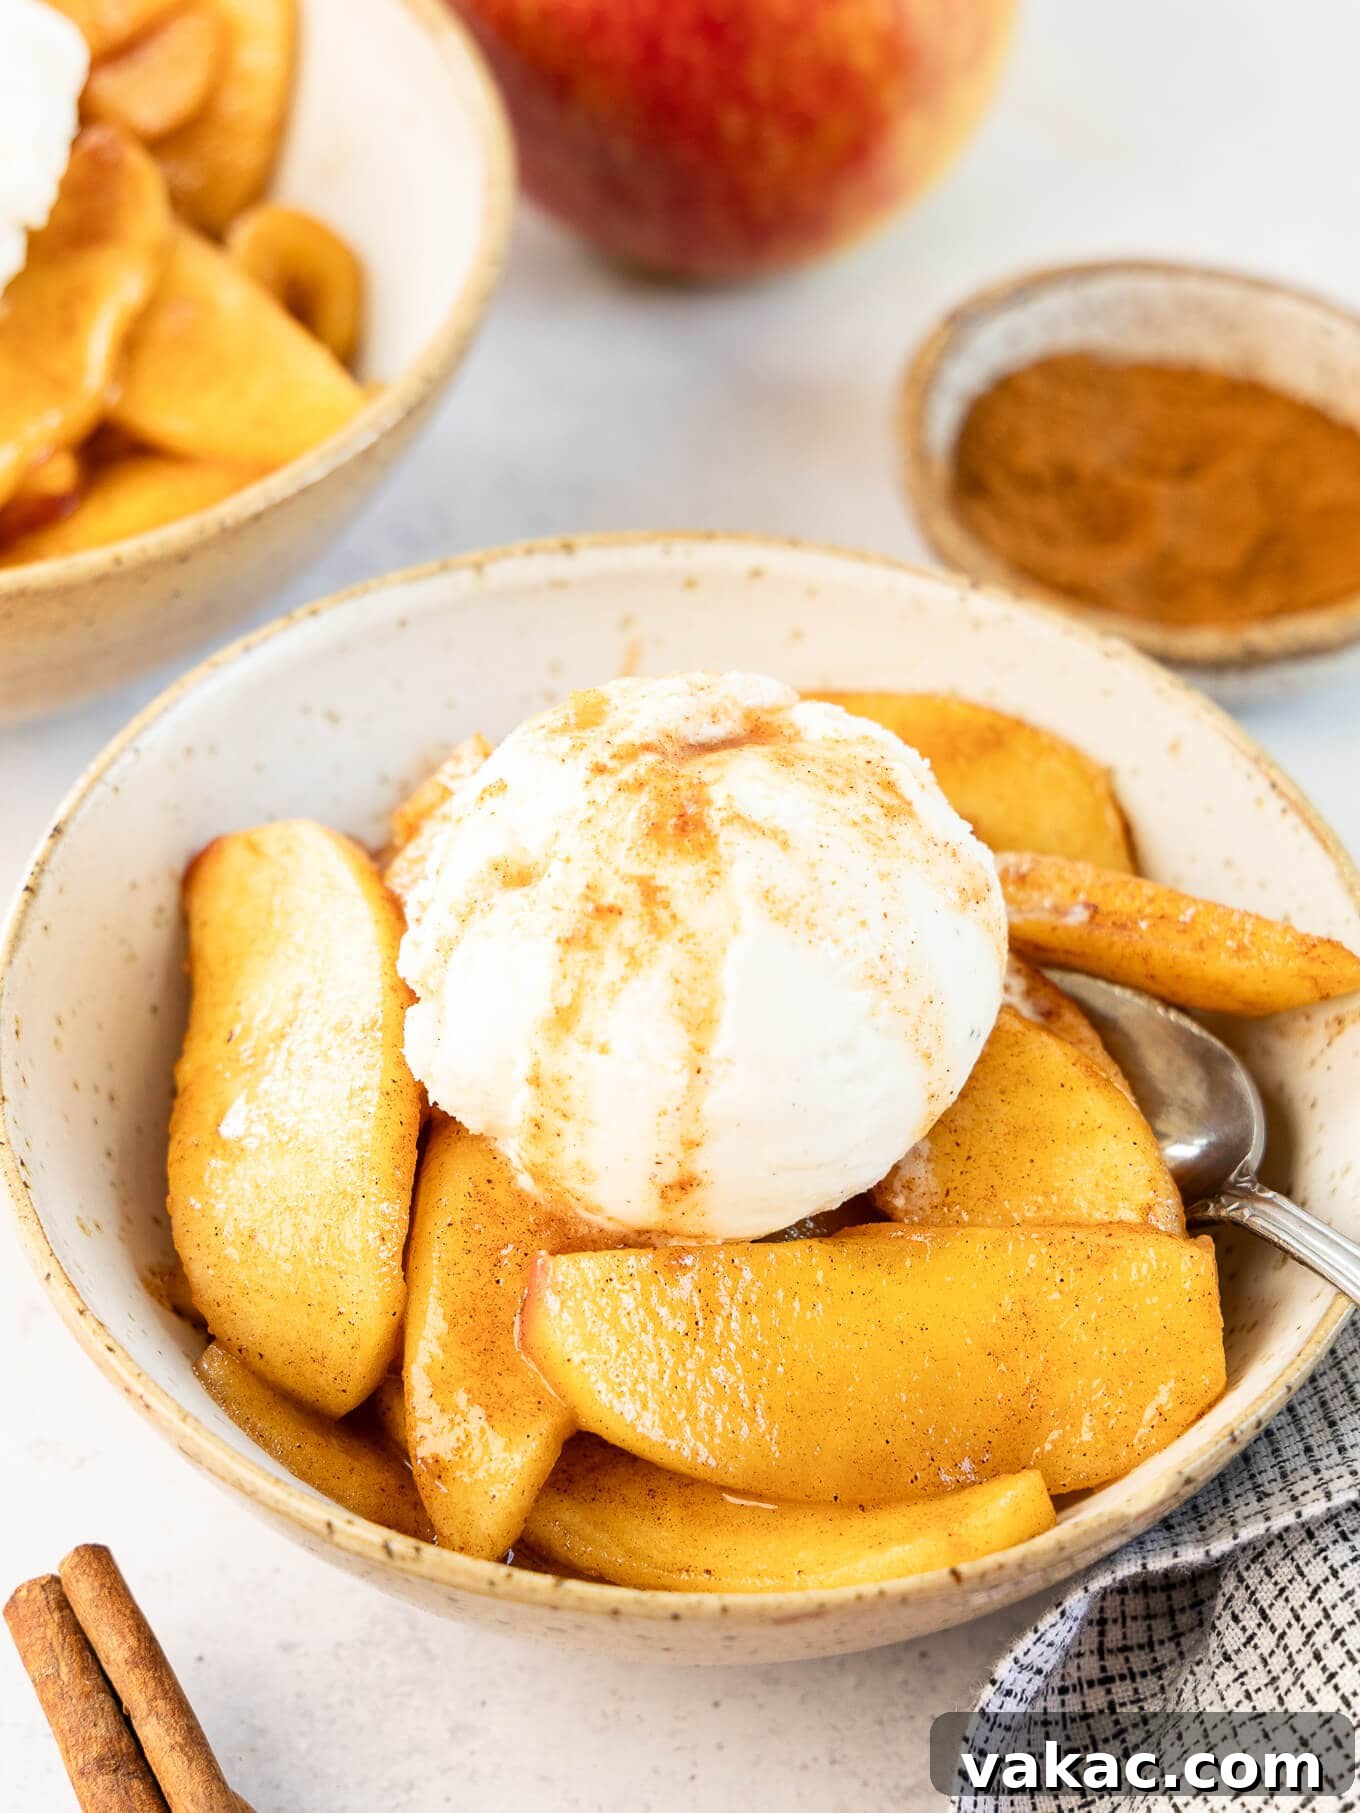
Fried apples represent the epitome of comfort food – easy to prepare, incredibly flavorful, and evoking a sense of nostalgia with every bite. The process is straightforward: thinly sliced apples are gently cooked in a rich mixture of butter, granulated sugar, light brown sugar, aromatic cinnamon, and a hint of nutmeg. As they simmer, the apples soften beautifully, absorbing the sweet, spicy notes, and caramelizing slightly to develop an irresistible depth of flavor. The resulting sauce is thick, glossy, and utterly delicious.
My household absolutely adores these easy fried apples. We love to enjoy them piping hot, often paired with a dollop of creamy no-churn ice cream. For an extra touch of indulgence, a drizzle of homemade salted caramel sauce takes them to an even higher level of deliciousness, though they are perfectly divine on their own. This is hands down one of the quickest and most satisfying desserts you can whip up, requiring just a few staple ingredients, a trusty skillet, and about 20 minutes from start to finish. It’s the ultimate solution when you need a crowd-pleasing dessert without the fuss.
Discover the Magic of Homemade Fried Apples
Before diving into the full recipe, you might find it helpful to visualize the steps. While we can’t embed an interactive video directly here, you can often find helpful visual guides online for preparing skillet fried apples, showcasing the simple techniques involved in perfecting this classic dessert. Seeing the apples soften and the sauce caramelize can be incredibly encouraging for first-time makers.
Choosing the Best Apples for Frying
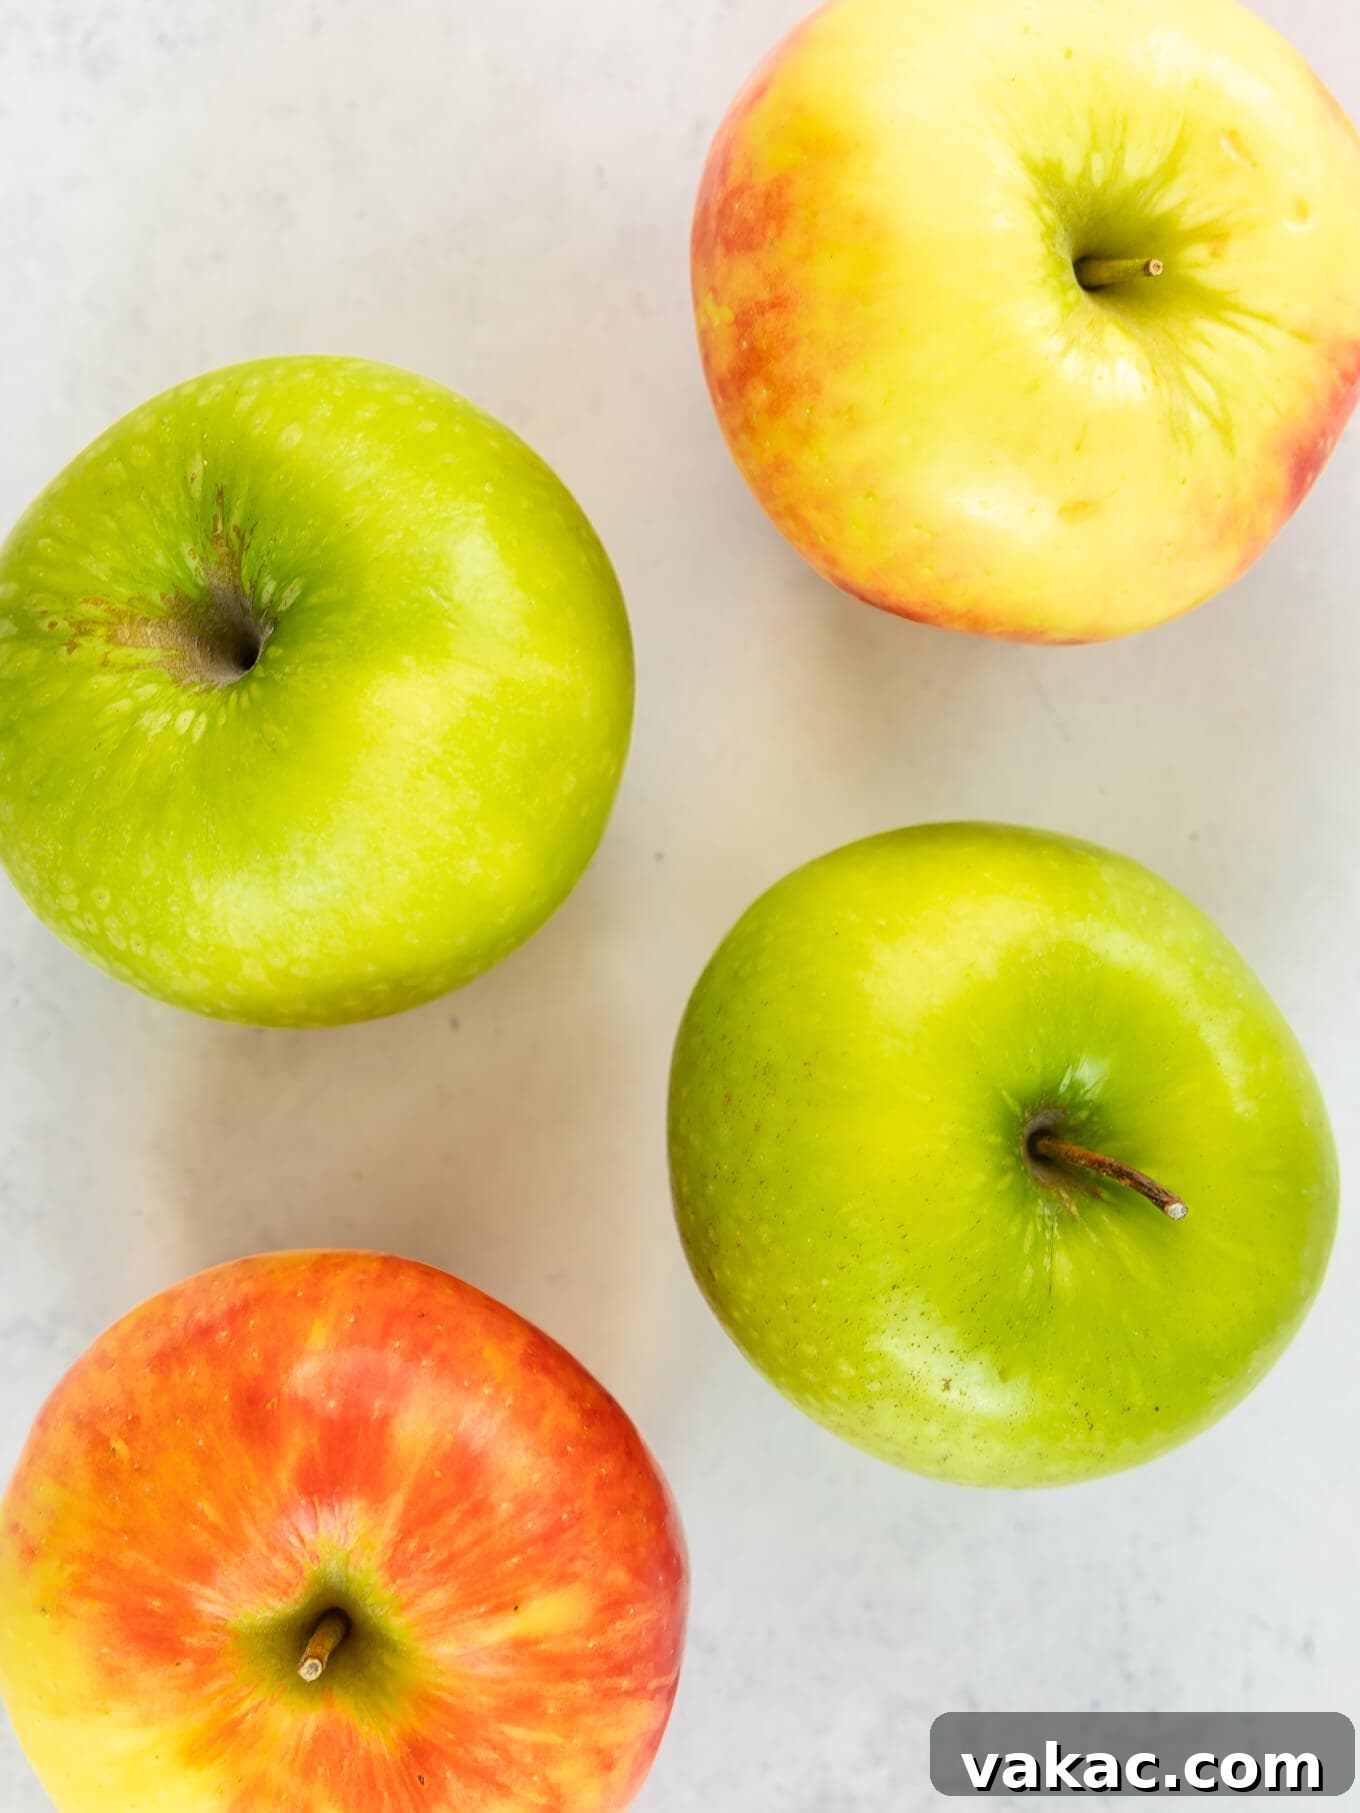
The success of your fried apples largely depends on the type of apples you choose. For this skillet apple recipe, I consistently reach for Honeycrisp apples. Their perfect balance of sweetness and tartness, combined with a wonderfully crisp texture, holds up beautifully during cooking, preventing them from turning into mush. They also add a vibrant flavor that truly shines through in the final dish.
If you prefer a more pronounced tartness, Granny Smith apples are an excellent alternative. They offer a firm texture and a zesty flavor that contrasts beautifully with the sweet, buttery sauce. Beyond these two, any crisp baking apple will perform well. Varieties like Pink Lady or Braeburn apples are fantastic choices, maintaining their structure and contributing lovely flavor to this easy apple dessert.
It’s crucial to avoid softer apple varieties such as Gala or Red Delicious. While delicious for snacking, their flesh breaks down too quickly under heat, leading to a mushy, unappealing texture in your fried apples. Opt for apples that promise a delightful “al dente” bite even after being cooked, ensuring your homemade fried apples are a textural delight.
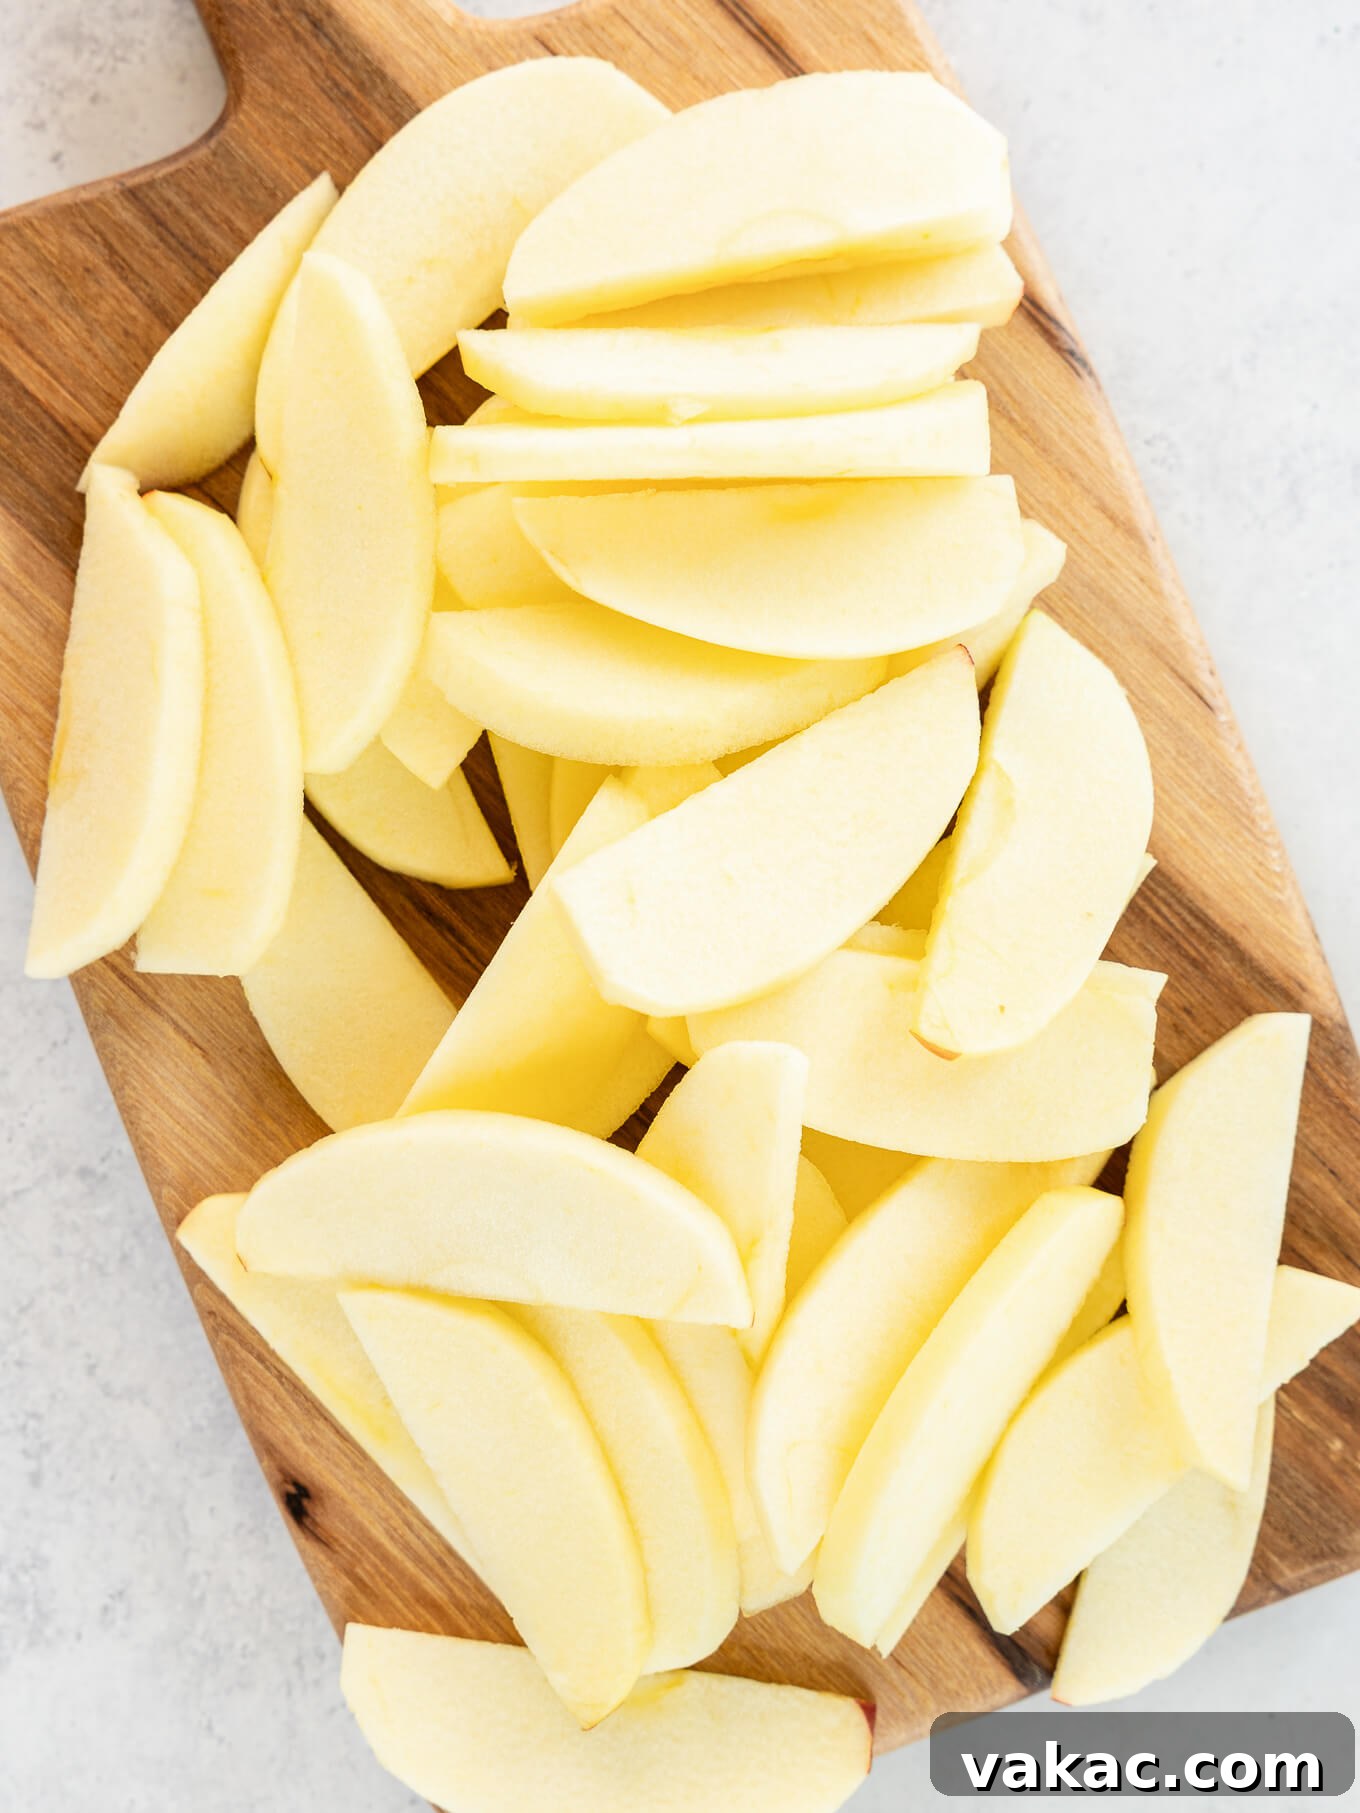
Mastering Apple Preparation: Peeling & Slicing for Success
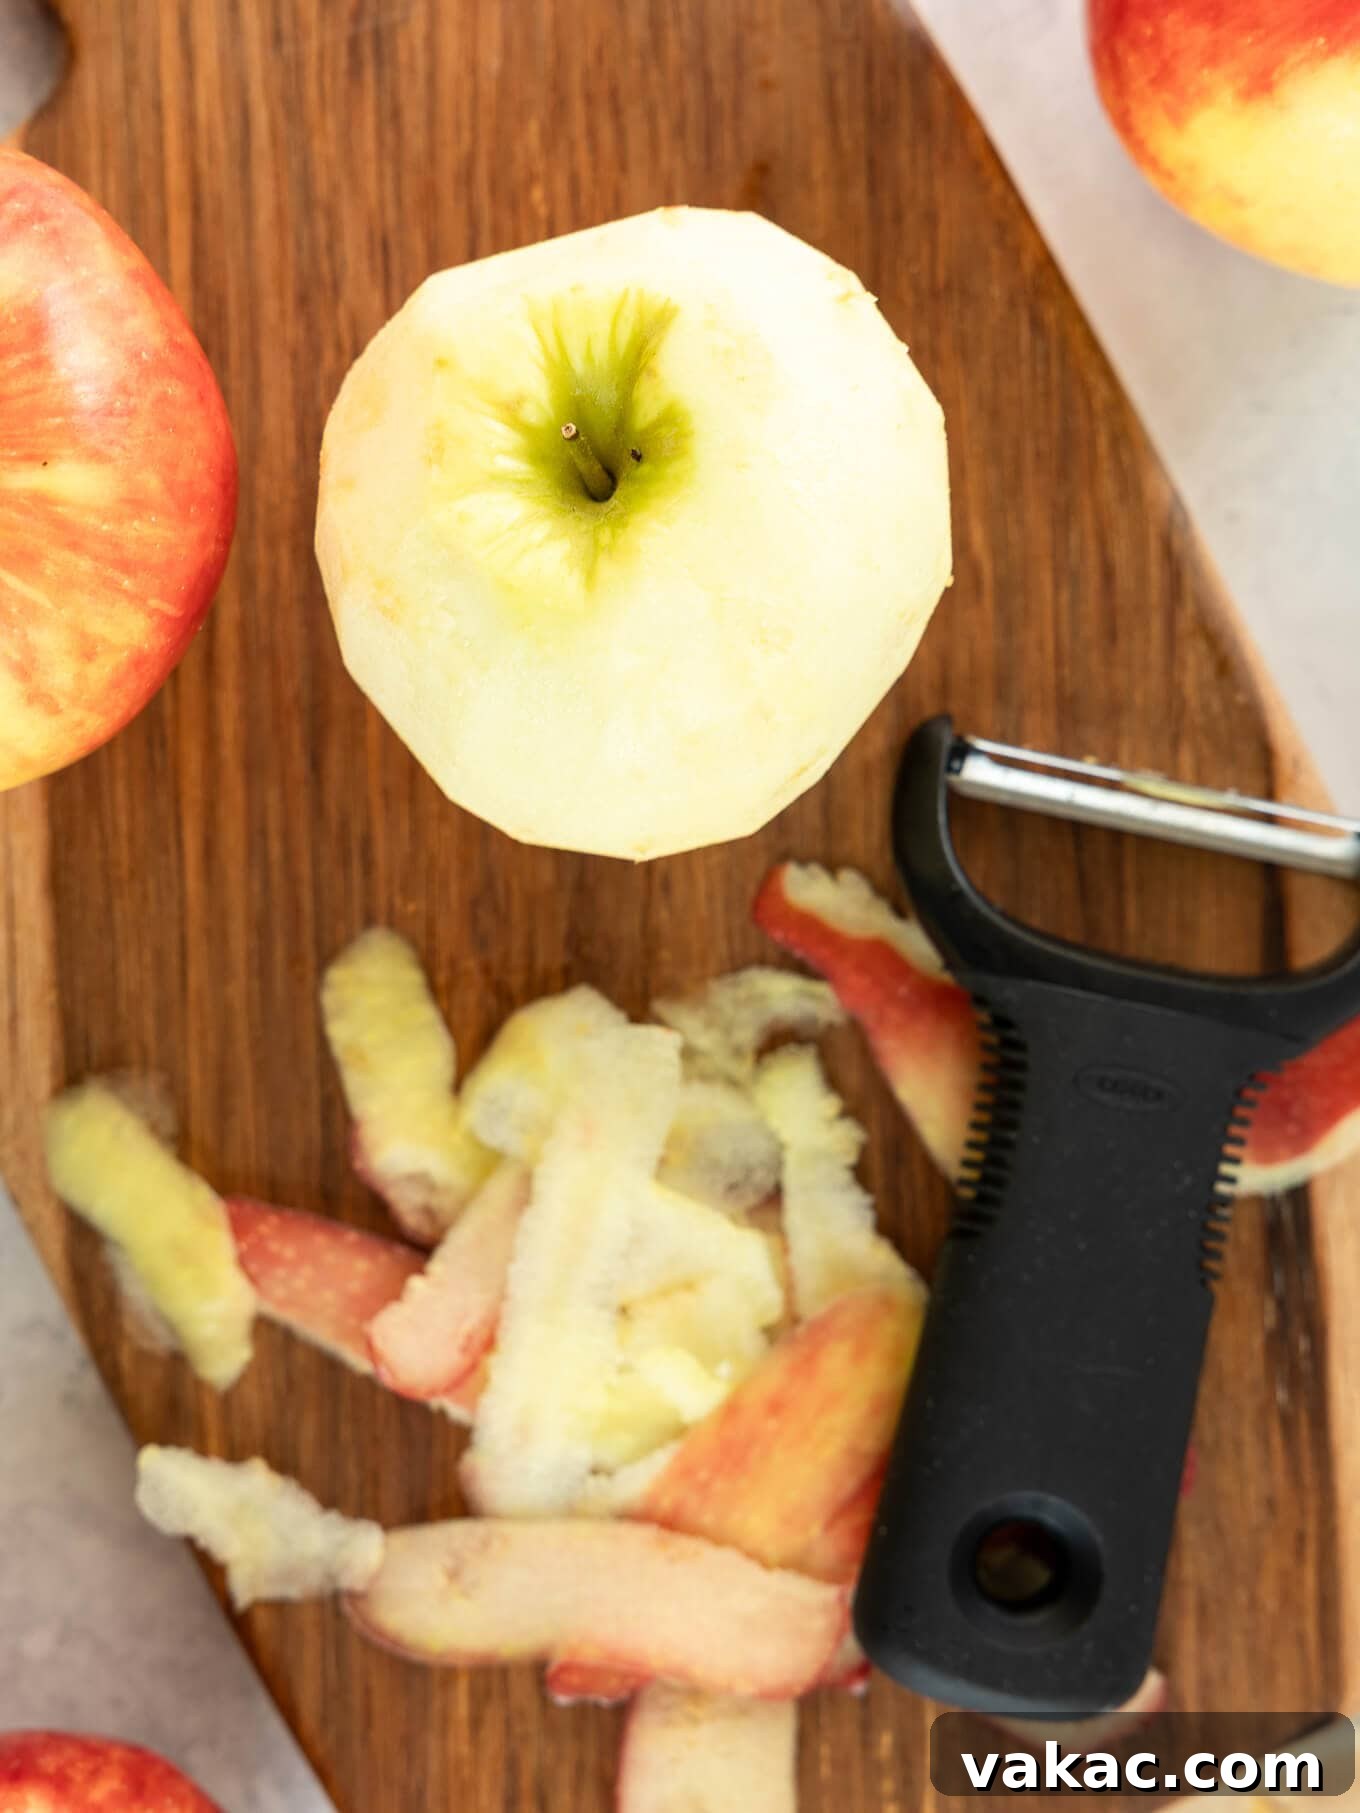
Proper preparation of your apples is key to achieving the perfect texture in your cinnamon apples. Begin by thoroughly washing your chosen apples. Then, use a reliable vegetable peeler to remove the skin. While some prefer to leave the skin on for added fiber and a rustic look, I find that peeling the apples allows them to fully absorb the buttery, spicy sauce and creates a smoother, more luxurious texture.
Once peeled, the next step is coring. An apple corer makes this task incredibly easy and efficient, creating a clean center hole. Alternatively, a small paring knife can be used to carefully cut around the core. For those looking for an even simpler solution, an apple slicer can simultaneously core and slice your apples into uniform wedges, saving significant time and effort. This is particularly helpful when preparing a larger batch of these Southern fried apples.
After coring, use a sharp knife to slice the apples into uniform ½-inch thick slices. This thickness is crucial. If the slices are too thin, they will cook too quickly and become overly soft and mushy. Too thick, and they might not soften evenly. Aim for consistency to ensure every bite of your fried apples offers that ideal balance of tender and slightly crisp. Don’t worry about being perfectly precise; after a few slices, you’ll get a good feel for the right thickness.
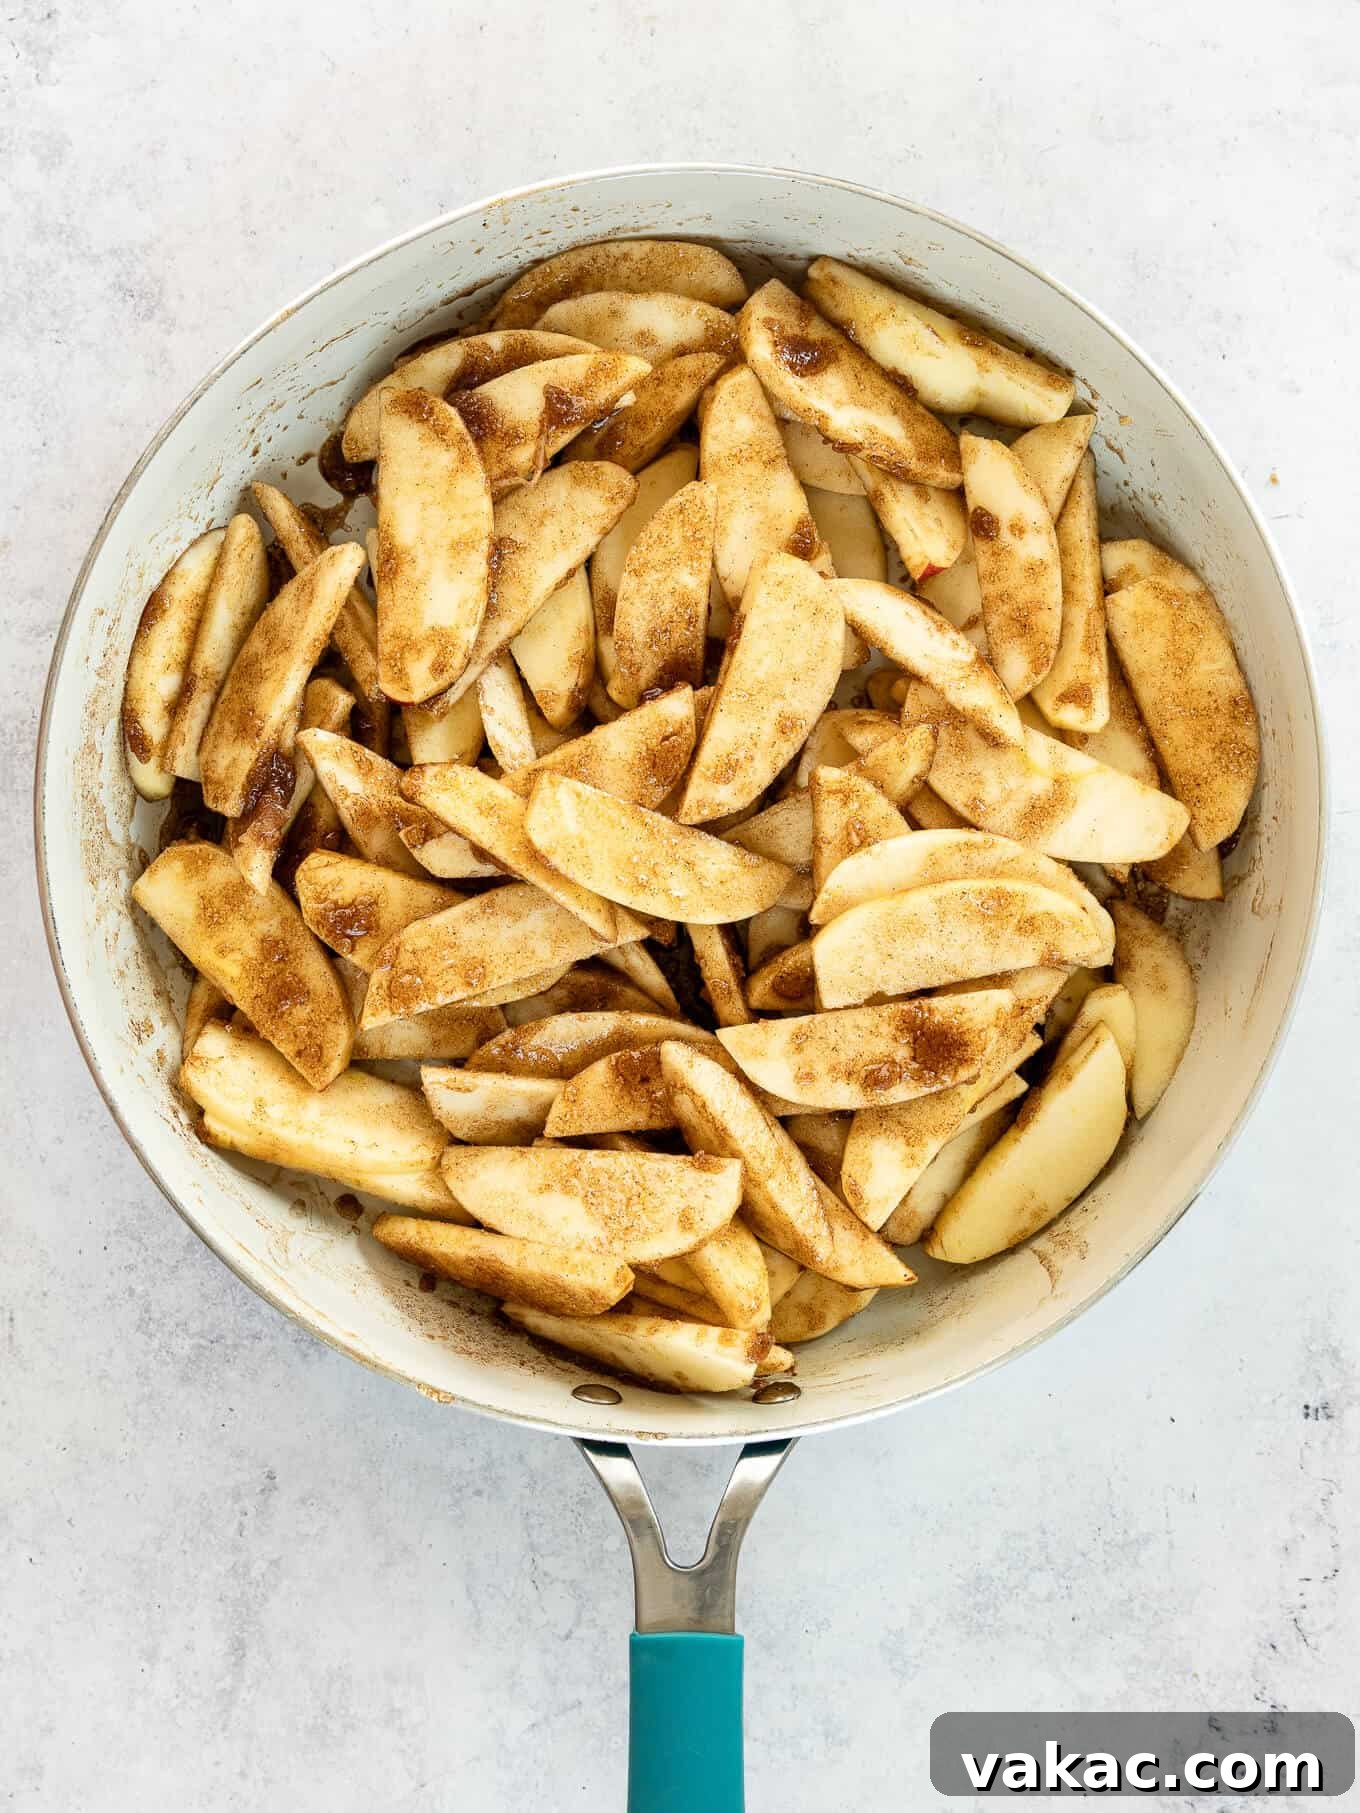
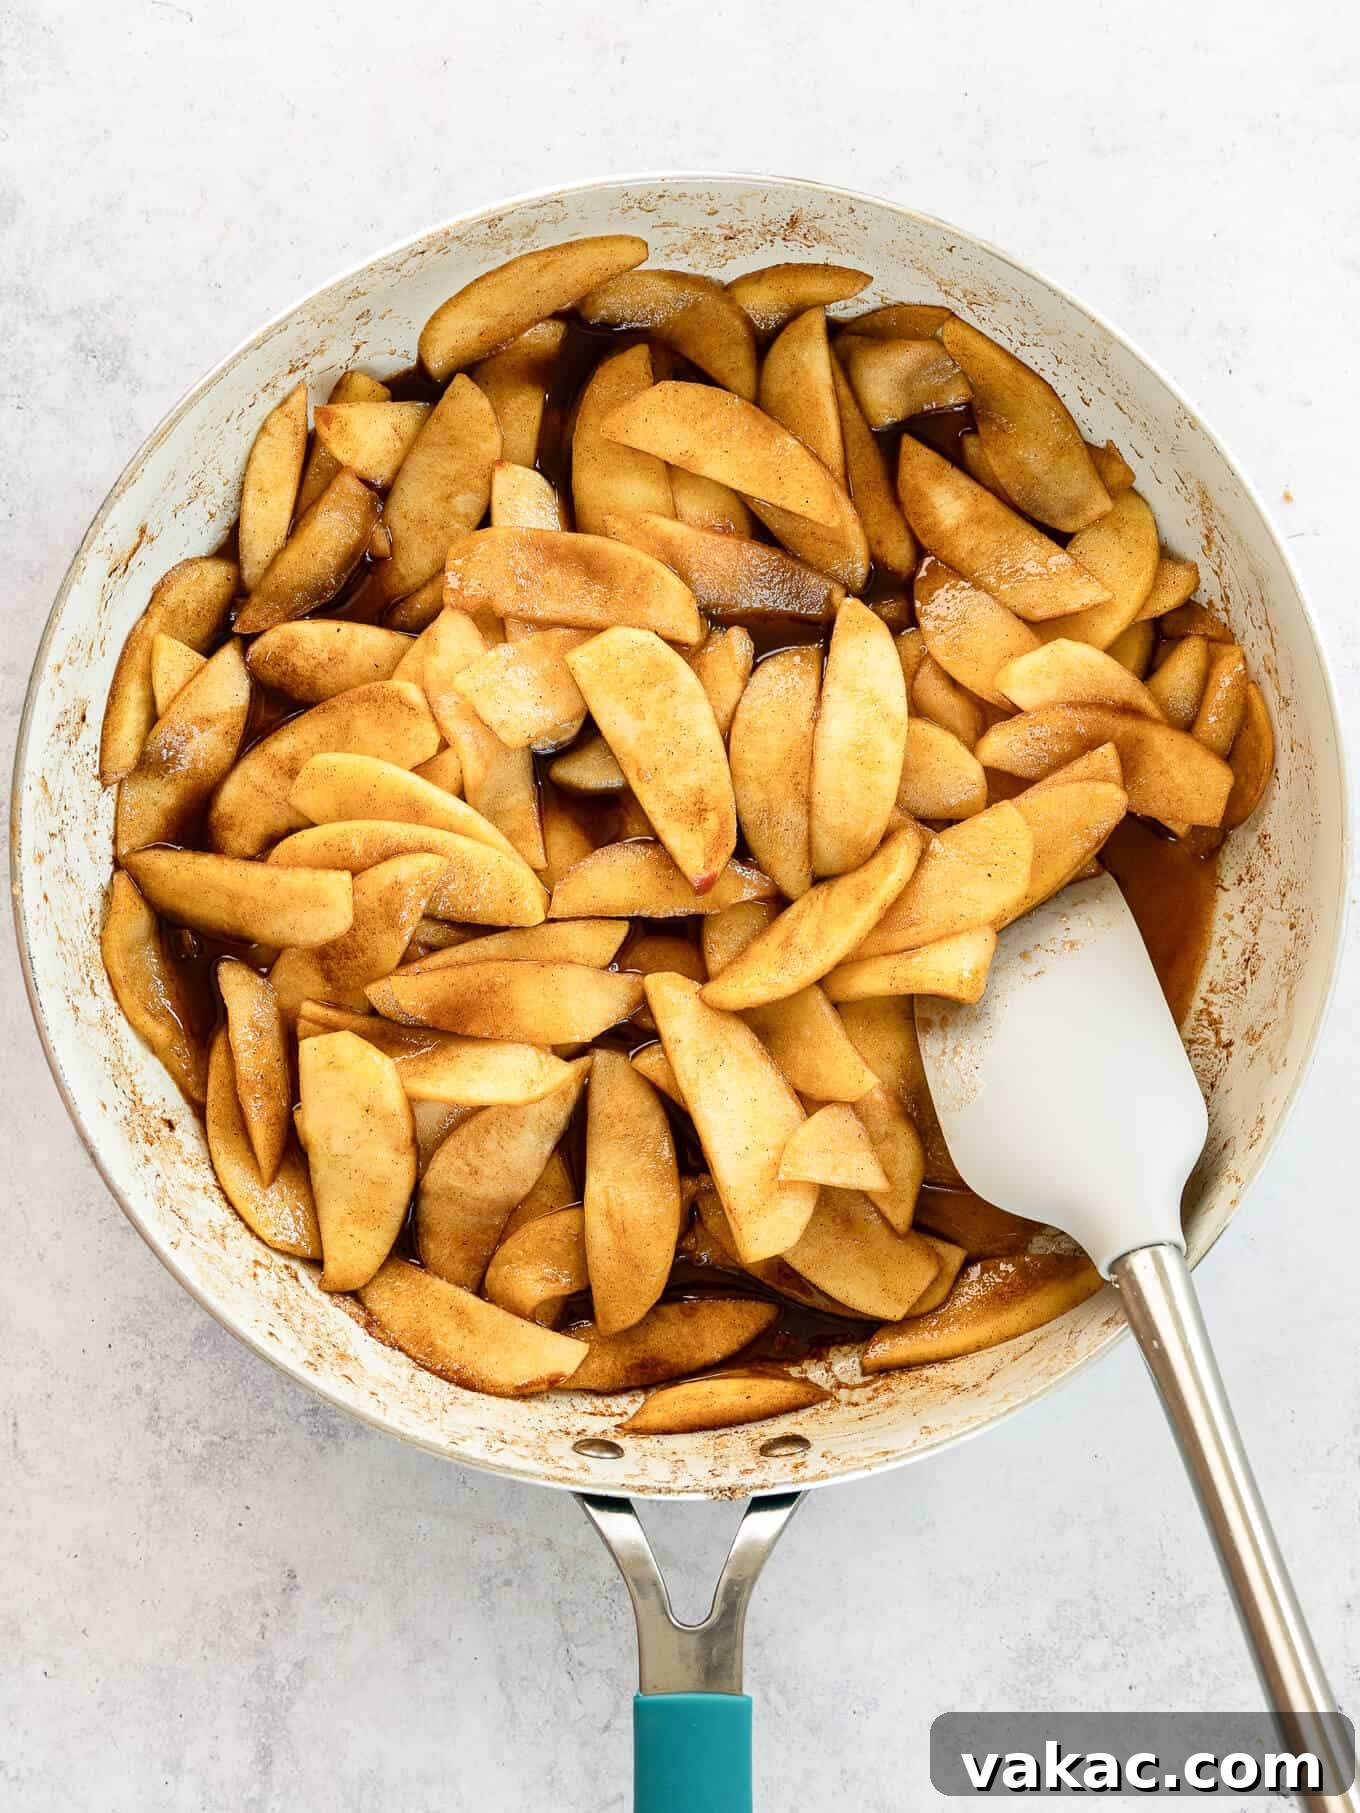
Expert Tips for Perfectly Fried Apples Every Time
- Consistent Slicing for Even Cooking: As mentioned, aim for apple slices that are about ½-inch thick. This ensures they cook evenly and retain that desirable “al dente” texture. Measure your first few slices, then trust your eye. Uniformity is key for perfectly tender skillet apples.
- Opt for a Spacious Skillet: This homemade fried apples recipe yields a generous serving, so a large 10-inch skillet or even a 12-inch one is ideal. This prevents overcrowding, allowing the apples to cook thoroughly and caramelize beautifully rather than steam. A cast iron skillet works exceptionally well here, providing even heat distribution and a lovely sear.
- Maintain Moderate Heat: It’s tempting to crank up the heat to speed up the process, but patience is a virtue when making fried apples. Medium heat is perfect. Too high, and the sugars will burn before the apples soften, leading to a bitter, unpleasant taste. Medium heat allows the sugars to melt, caramelize, and coat the apples gently, creating a rich, flavorful syrup.
- Avoid Overcooking for Optimal Texture: The goal is tender-crisp apples, not apple sauce! You want the apple slices to be soft enough to easily pierce with a fork, but still retain a slight resistance, a pleasant “bite” on the outside. This is what we call “al dente” in the pasta world, and it applies beautifully to fried apples too. Keep a close eye on them during the last few minutes of cooking, stirring often to prevent uneven cooking.
- Stir Regularly: While cooking, stir the apples frequently. This ensures that every slice is evenly coated in the buttery sugar mixture and cooks uniformly. It also helps prevent any sticking or burning at the bottom of the skillet.
- Taste and Adjust: Don’t be afraid to taste a small piece of apple once it starts to soften. This allows you to check for desired tenderness and to adjust the seasonings if needed. Sometimes, a tiny pinch more cinnamon or nutmeg can make all the difference.
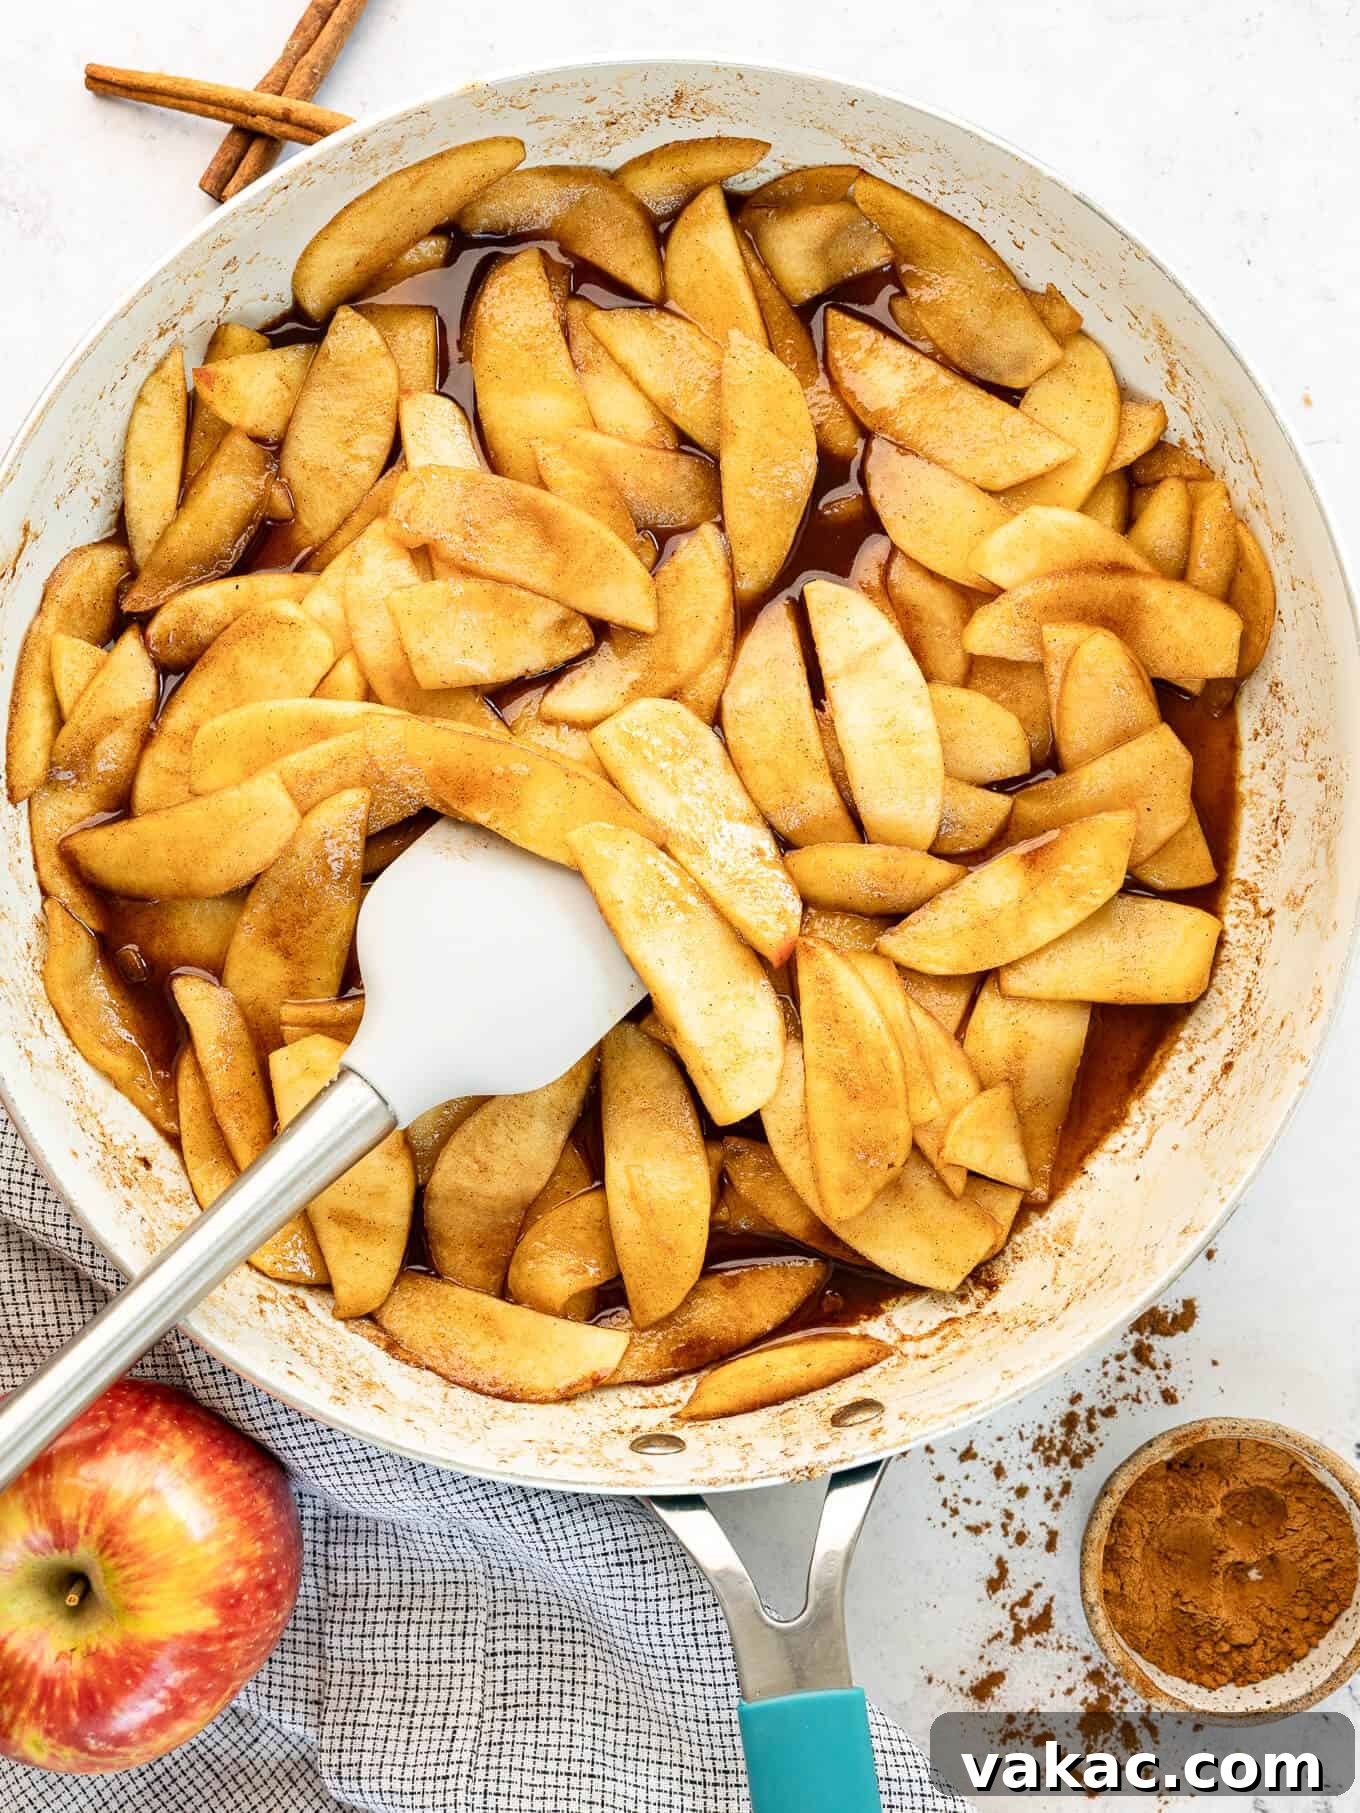
Recipe Adjustments: Scaling Down Your Fried Apple Batch
If you’re cooking for a smaller group or simply prefer a more modest batch of these delicious cinnamon apples, this recipe is easily halved. Simply cut all the ingredient quantities by half. Keep in mind that with fewer apples in the skillet, the cooking time will naturally decrease. Reduce the cooking time to approximately 7 to 8 minutes, or until the apples reach your desired tender-crisp consistency. Always watch them closely, as thinner layers cook faster.
Preparation and Storage: Can You Make Fried Apples Ahead of Time?
While fried apples are undeniably at their best when served hot and fresh from the skillet, emanating those wonderful aromas of cinnamon and sweet apple, they can certainly be made ahead of time. Leftovers will keep well in an airtight container in the refrigerator for up to 4 days.
When it comes to reheating, you have a couple of options: gently warm them in the microwave or on the stovetop over low heat. Be mindful that each time you reheat them, the apples will soften a little bit more. For the best experience, I personally believe they are most enjoyable when they still possess some of their original “bite” and aren’t overly soft. If preparing ahead, consider cooking them just slightly under your preferred tenderness, knowing they will soften further upon reheating.
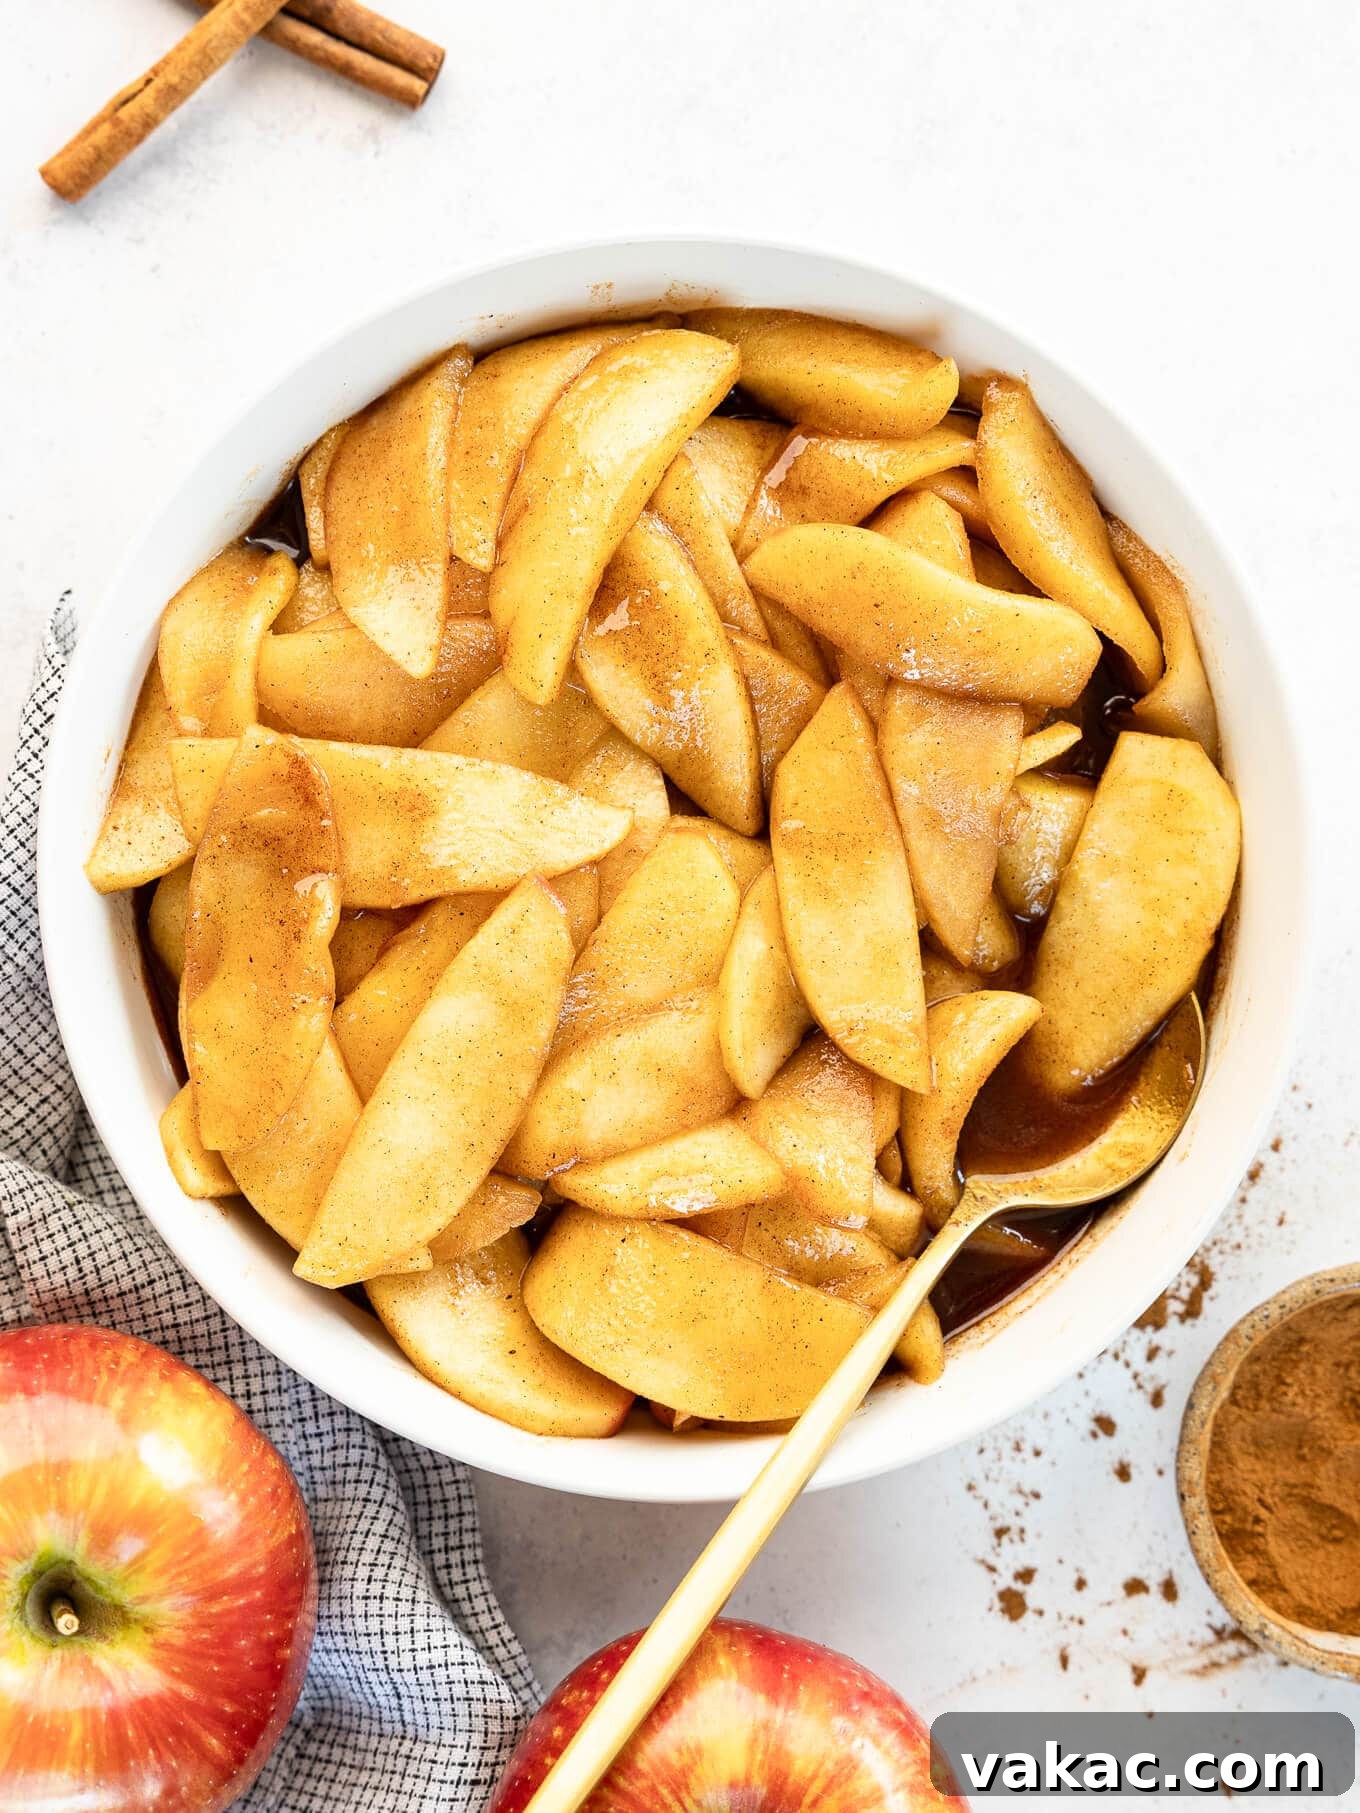
I genuinely hope you fall in love with these easy fried apples as much as my family and I have! The exquisite blend of warm cinnamon and fragrant nutmeg perfectly complements the sweet-tart apples, all enveloped in a rich, decadent, and utterly delicious sauce. It’s a comforting dessert that brings joy with minimal effort.
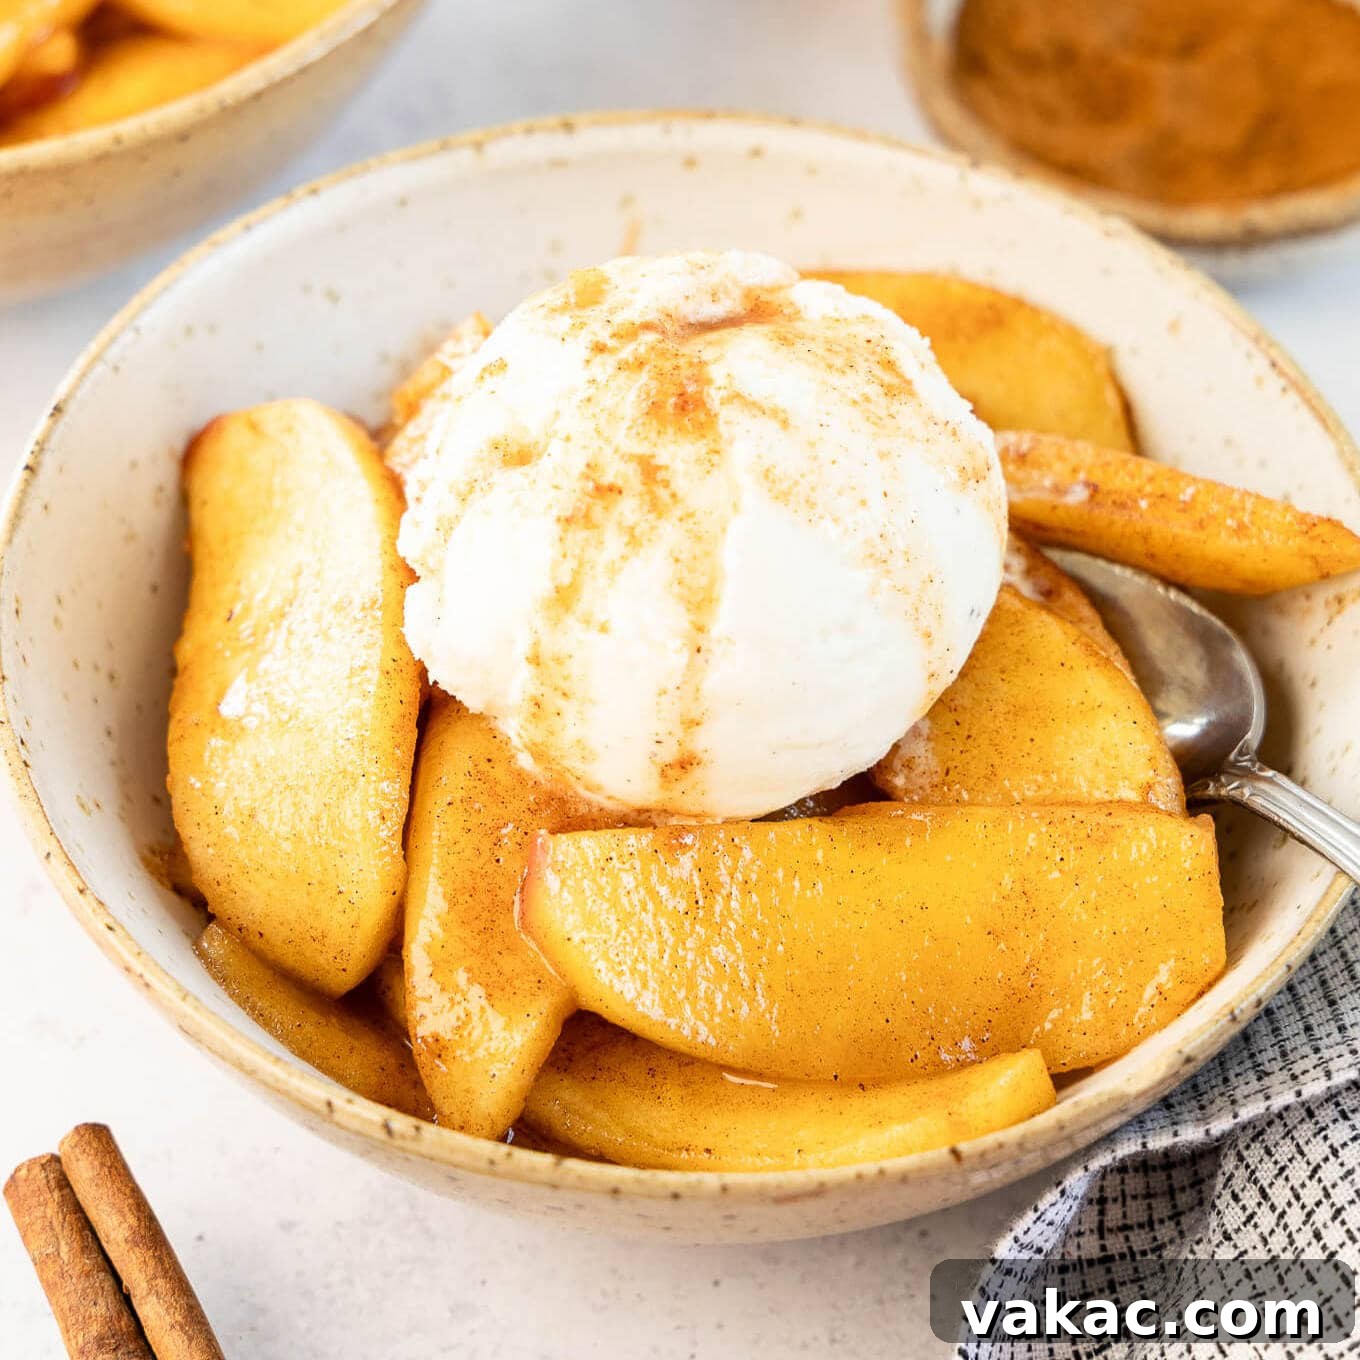
As I mentioned earlier, these skillet apples are phenomenal with a scoop of ice cream, but their versatility extends far beyond that. Imagine serving them as a luxurious topping for fluffy buttermilk pancakes, golden French toast, or crispy waffles for a truly special breakfast or brunch. They also make an incredible filling when gently folded into delicate crepes. For a lighter touch, add them to your morning yogurt, layer them into parfaits, or stir them into a warm bowl of oatmeal for an instant upgrade. The possibilities are endless!
If you try this fried apple recipe, please don’t hesitate to leave a comment below and let me know how it turned out. Your feedback is invaluable, and I’d love to hear about any creative ways you used them or unique toppings you added. Happy Baking!
Fried Apple Recipe
10 mins
10 mins
20 mins
Pin Recipe
Leave a Review
Ingredients
6 servings
- 2 ½ pounds apples (4 large apples; I prefer Honeycrisp, but Granny Smith will work)
- ¼ cup unsalted butter sliced (57 grams; ½ stick)
- ¼ cup granulated sugar (50 grams)
- ¼ cup packed light brown sugar (50 grams)
- 2 teaspoons ground cinnamon
- ¼ teaspoon ground nutmeg
- ¼ teaspoon salt
Instructions
-
Peel, core, and slice all of the apples into ½” thick slices. Set aside.2 ½ pounds apples
-
Add the sliced butter to a large 10” skillet and place the skillet over medium heat. Once the butter has melted, add the granulated sugar, brown sugar, cinnamon, nutmeg, and salt and stir until fully combined.¼ cup unsalted butter, ¼ cup granulated sugar, ¼ cup packed light brown sugar, 2 teaspoons ground cinnamon, ¼ teaspoon ground nutmeg, ¼ teaspoon salt
-
Add the sliced apples and stir until fully coated.
-
Continue cooking over medium heat, stirring often, until the apple slices are fully coated in the buttery sugar mixture and softened slightly (I usually cook mine for 8 to 10 minutes). Make sure not to over cook the apples, they should still be a little crisp.
-
Remove the skillet from the heat and transfer the apples to a heat-safe bowl. Allow to cool slightly before serving.
Notes
American
Dessert
Danielle Rye
Did you make this recipe?
Mention @livewellbakeoften on Instagram or tag #livewellbakeoften.