

Welcome to the delightful world of **Mini Lemon Cheesecakes**! These charming individual desserts are a true celebration of citrus, featuring an effortlessly homemade graham cracker crust cradling a luxuriously smooth and creamy lemon cheesecake filling. Perfect for any occasion, they can be elegantly topped with a swirl of fresh whipped cream and a scattering of vibrant berries for a dessert that’s as pleasing to the eye as it is to the palate. Prepare to impress your guests, or simply treat yourself to these irresistible cheesecake bites!
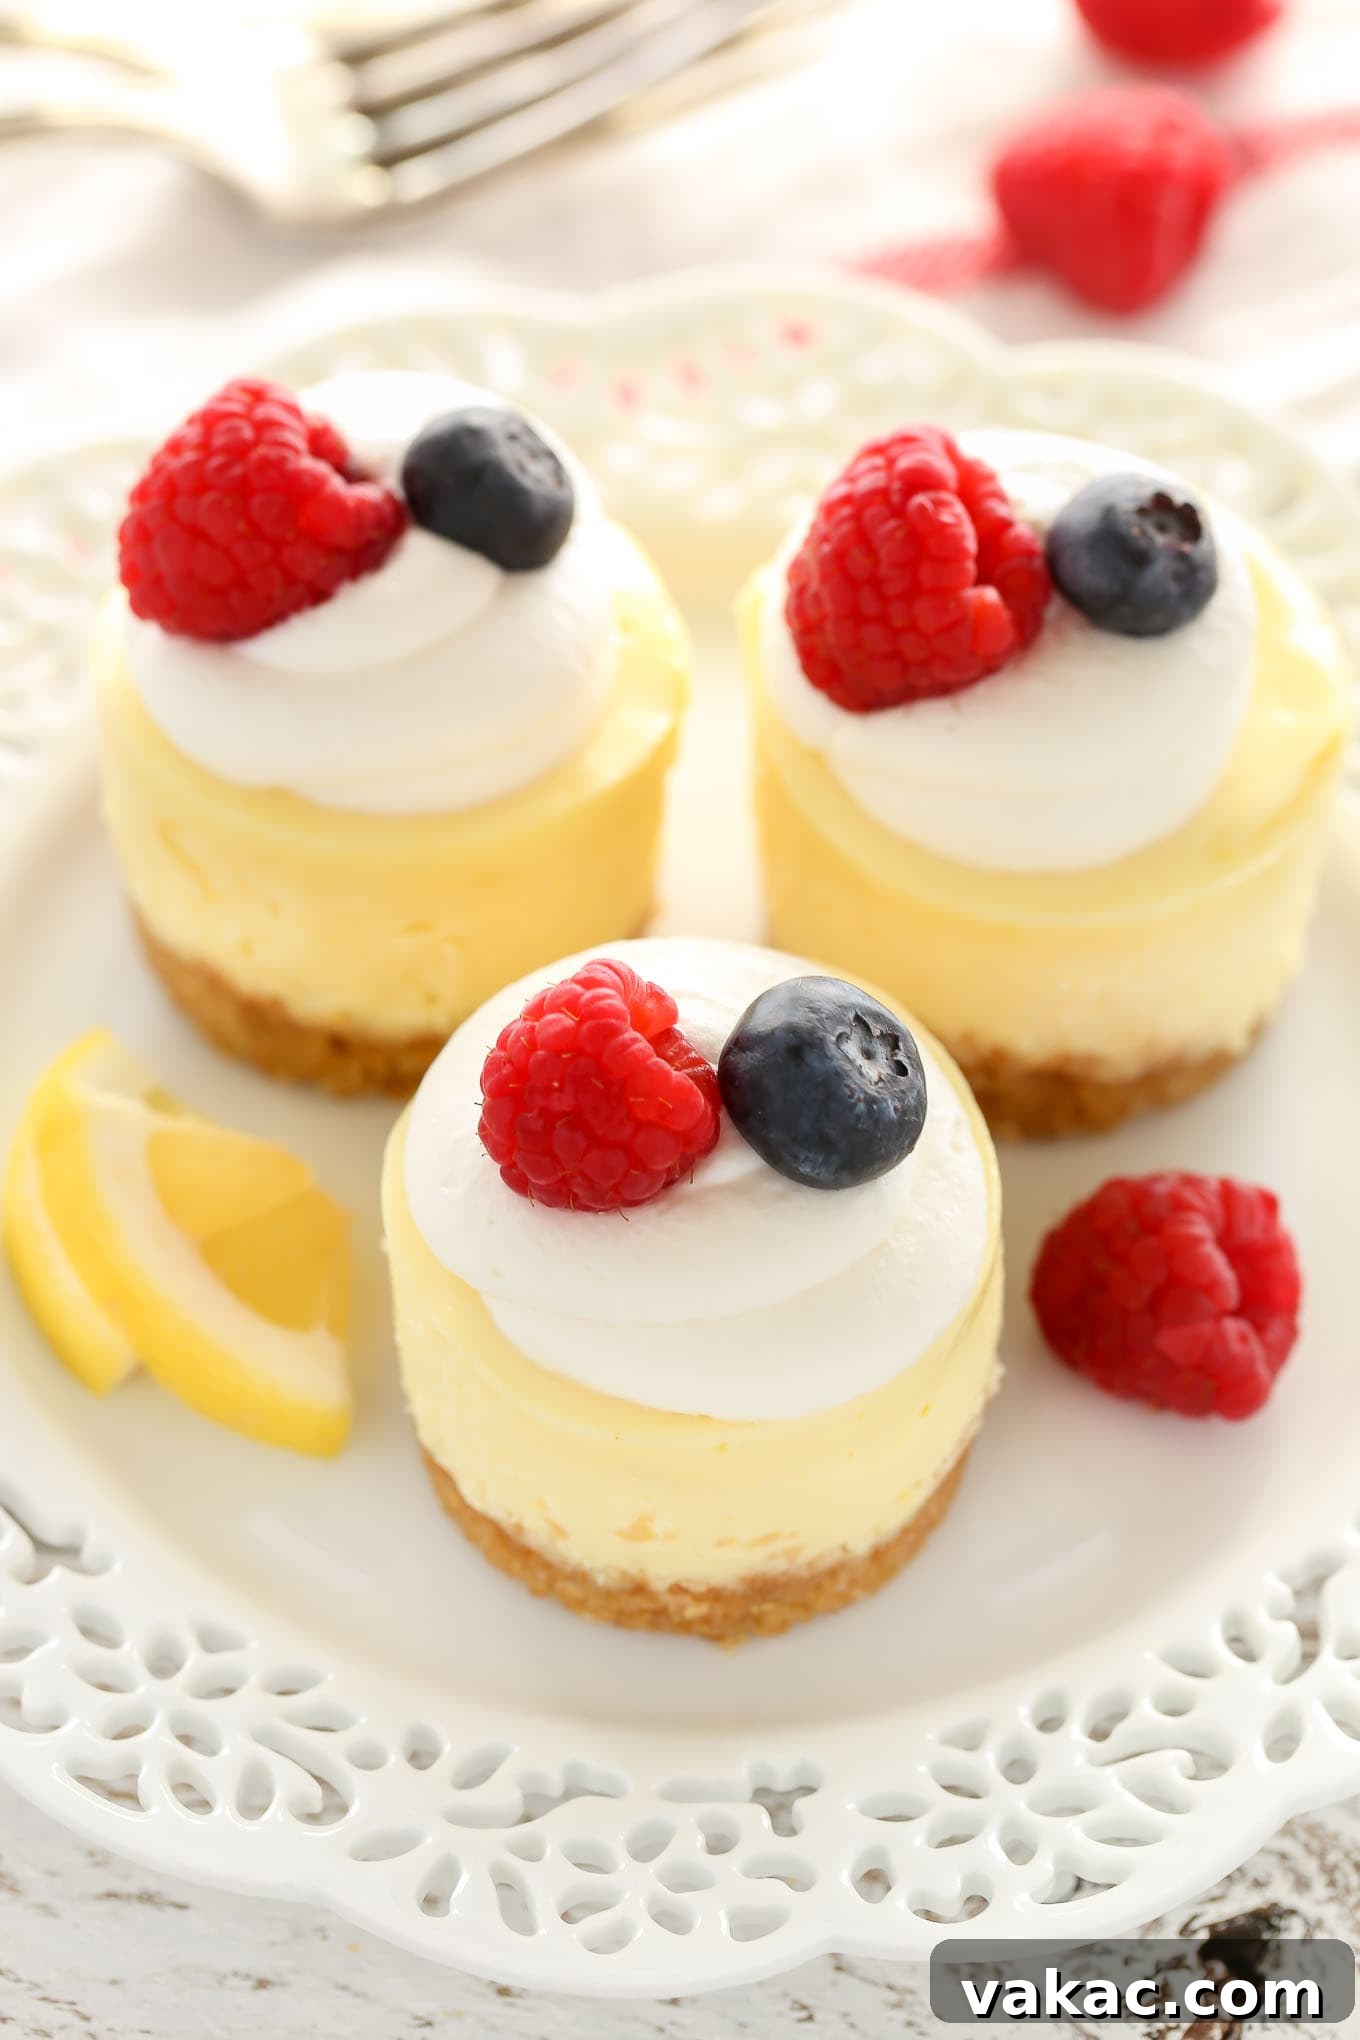
The Enduring Charm of Mini Cheesecakes
There’s something inherently appealing about mini desserts, and mini cheesecakes, in particular, have captured hearts worldwide. This obsession began with beloved classics like mini Oreo cheesecakes, celebrated for their convenience and delightful individual portions. As summer approaches and the desire for light, tangy treats intensifies, these Mini Lemon Cheesecakes emerge as the perfect seasonal indulgence. Their bright, zesty flavor makes them an ideal choice for warmer weather gatherings, offering a refreshing alternative to heavier desserts.
I recently brought a batch of these to a sister’s housewarming party, and they were, without a doubt, the first dessert to vanish! If you, like me, are utterly captivated by lemon-infused treats, you’re going to adore these easy-to-make cheesecake bites. The vibrant lemon flavor, combined with the creamy texture and the charming presentation—especially when adorned with fluffy whipped cream and colorful fresh berries—makes them an absolute showstopper. They are not just cute; they are incredibly satisfying and endlessly versatile, making them a fantastic option for potlucks, celebratory events, or simply a sweet everyday pleasure.
Why Choose Mini Lemon Cheesecakes?
Beyond their undeniable deliciousness, mini cheesecakes offer a host of practical benefits that make them a favorite among home bakers and party hosts alike:
- Perfect Portion Control: Each cheesecake is individually sized, making it easy for guests to grab and enjoy without the need for slicing or serving utensils. This also helps with portion management, ensuring everyone gets a just-right amount of deliciousness.
- Effortless Serving: No messy slices or crumbling edges! Mini cheesecakes maintain their pristine appearance from the first serving to the last, making cleanup a breeze.
- Ideal for Crowds: Whether you’re hosting a large party, a family gathering, or a casual potluck, mini cheesecakes are perfectly suited for feeding a crowd. They are easy to transport and present beautifully on a dessert table.
- Make-Ahead Marvel: These cheesecakes actually benefit from being made in advance, allowing the flavors to meld and the texture to set perfectly. This significantly reduces stress on the day of your event.
- Customization Opportunities: While delicious on their own, mini cheesecakes are a canvas for creativity. You can experiment with various toppings and garnishes to match any theme or personal preference.
Essential Ingredients for Flawless Mini Lemon Cheesecakes
Crafting these delectable mini cheesecakes requires only a handful of common ingredients, ensuring they come together quickly and efficiently. Each component plays a vital role in achieving that perfect balance of tangy, sweet, and creamy. Here’s what you’ll need to create the best lemon cheesecake bites:
- Graham Crackers: The foundation of our crust. You have the flexibility to either crush full sheets of graham crackers in a food processor for fresh crumbs or opt for convenient pre-made graham cracker crumbs. Both options yield a wonderfully crisp and flavorful base.
- Unsalted Butter: Melted butter binds the graham cracker crumbs together, creating a sturdy and rich crust. While unsalted is generally preferred for baking to control salt levels, salted butter can also be used if that’s what you have on hand, just be mindful of any slight flavor adjustment.
- Granulated Sugar: This essential sweetener balances the tartness of the lemon and adds a delicate sweetness to both the crunchy crust and the silky cheesecake filling.
- Cream Cheese: The star of any cheesecake! For the creamiest, most stable filling, always choose brick-style full-fat cream cheese. Avoid cream cheese spreads that come in tubs, as they contain more water and stabilizers which can affect the texture and consistency of your cheesecake. Ensure it’s softened to room temperature for a lump-free batter.
- Fresh Lemon Juice and Zest: The heart of the lemon flavor! Using fresh lemon juice is non-negotiable for the brightest, most authentic taste. To maximize the juice yield from your lemons, firmly roll them on the counter before slicing. The zest provides an intense aromatic punch; you can adjust the amount slightly if you prefer a milder lemon essence.
- Pure Vanilla Extract: A touch of high-quality vanilla extract enhances the overall flavor profile, complementing the lemon and cream cheese beautifully. Avoid artificial vanilla for the best results.
- Egg and Extra Egg Yolk: A single large egg provides structure to the cheesecake, helping it set. The addition of an extra large egg yolk contributes remarkable richness and a wonderfully smooth, custardy texture that elevates these mini cheesecakes to a gourmet level. Ensure both are at room temperature to blend seamlessly into the batter.
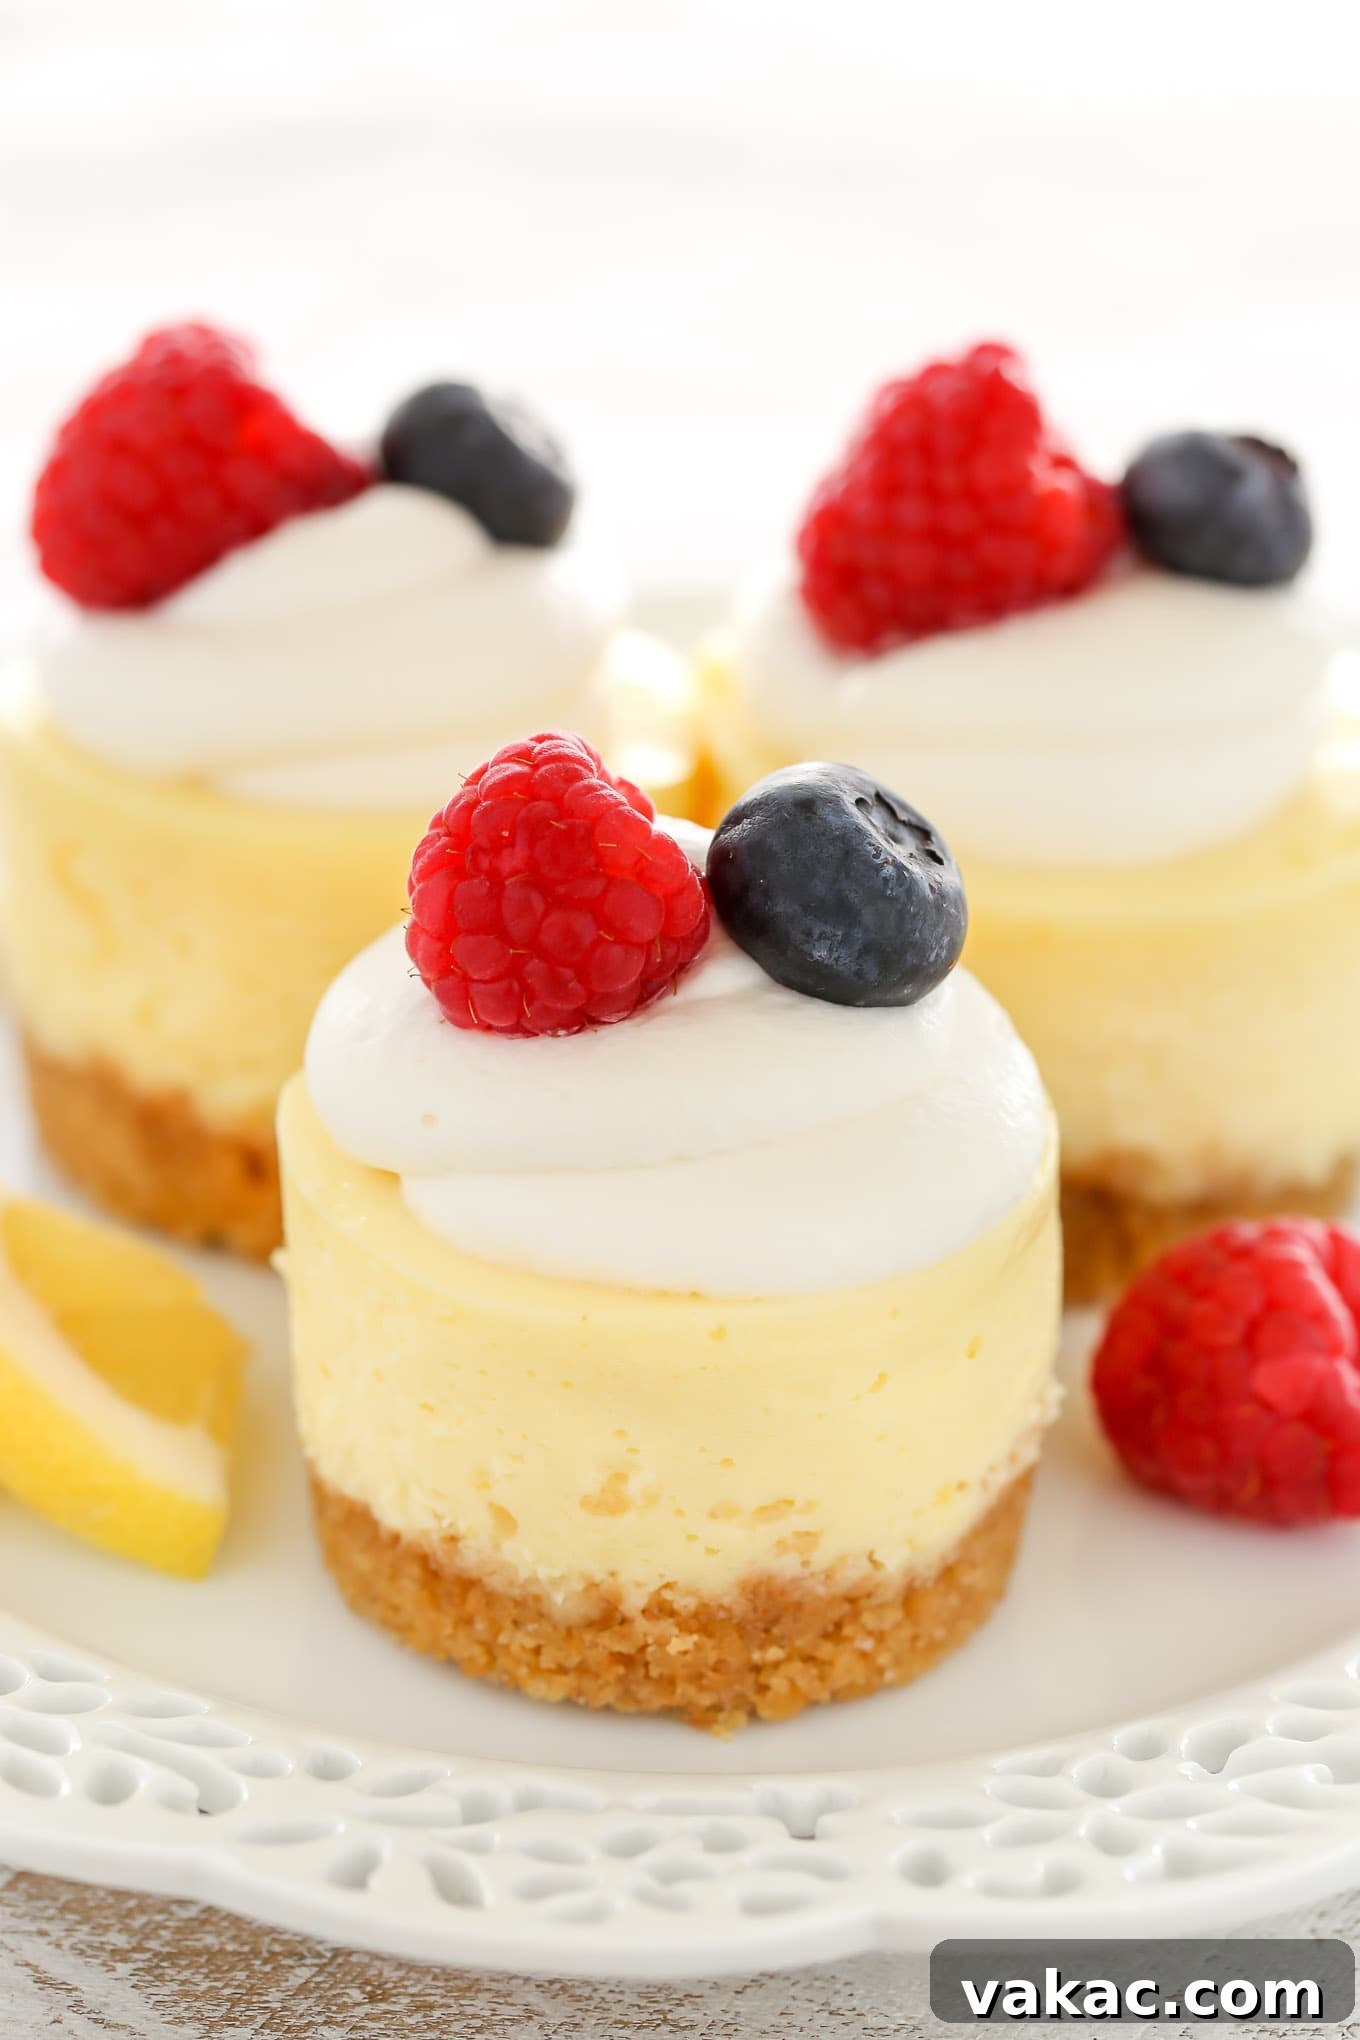
Step-by-Step Guide: Crafting Your Mini Lemon Cheesecakes
Making these mini lemon cheesecakes is a surprisingly straightforward process. Follow these simple steps for a truly delightful baking experience:
1. Prepare the Graham Cracker Crust
- Begin by preheating your oven to 325°F (160°C). Generously spray each cavity of a 12-count mini cheesecake pan with nonstick cooking spray. If you don’t have a specialized mini cheesecake pan, a regular 12-count muffin pan lined with paper cupcake liners works perfectly for easy removal.
- In a blender or food processor, pulse the graham crackers until they form fine, even crumbs. Transfer the crumbs to a mixing bowl.
- Add the melted butter and granulated sugar to the graham cracker crumbs. Mix thoroughly until all the crumbs are moistened and resemble wet sand.
- Evenly distribute this mixture among all 12 prepared cavities in your pan. Using the bottom of a small glass or your fingers, firmly press each portion into a compact, even layer.
- Bake the crusts in the preheated oven for just 5 minutes. This light bake helps set the crust and prevents it from becoming soggy. Remove from the oven and set aside to cool slightly while you prepare the filling. Keep your oven at 325°F.
2. Craft the Silky Lemon Cheesecake Filling
- In the bowl of a stand mixer fitted with the paddle attachment (or using a large mixing bowl with an electric hand mixer), beat the softened cream cheese on medium speed until it is completely smooth and free of lumps. This is crucial for a creamy cheesecake texture.
- Gradually add the granulated sugar to the cream cheese, continuing to mix until it’s well combined and creamy.
- Next, incorporate the fresh lemon juice, lemon zest, and pure vanilla extract. Mix until these bright flavors are fully integrated into the cream cheese mixture. Take a moment to scrape down the sides and bottom of your bowl with a rubber spatula to ensure everything is thoroughly combined, preventing any unmixed pockets.
- The final step is to add the egg and extra egg yolk. Mix these in on a low speed, just until they are combined. It’s important not to overmix the eggs, as this can incorporate too much air into the batter, potentially causing the cheesecakes to puff up excessively during baking and then collapse or crack as they cool.
3. Bake and Chill Your Cheesecakes
- Carefully spoon or scoop the smooth lemon cheesecake filling evenly into the pre-baked graham cracker crusts in your mini cheesecake or muffin pan.
- Return the pan to the 325°F (160°C) oven and bake for 17-20 minutes, or until the tops of the cheesecakes appear set around the edges but may still have a slight jiggle in the very center. They will continue to firm up as they cool.
- Once baked, remove the pan from the oven and allow the mini cheesecakes to cool completely at room temperature for at least 1 hour. This gradual cooling prevents cracking.
- After cooling, cover the pan tightly with plastic wrap and transfer it to the refrigerator. Chill the cheesecakes for a minimum of 3-4 hours, or ideally, overnight. Proper chilling is essential for the cheesecake to fully set, develop its rich flavor, and achieve that signature creamy texture.
- Once thoroughly chilled, carefully remove the mini cheesecakes from their pan. Garnish with a dollop of fresh whipped cream and an assortment of fresh berries like raspberries, blueberries, or sliced strawberries, if desired. Serve immediately and savor every bite!
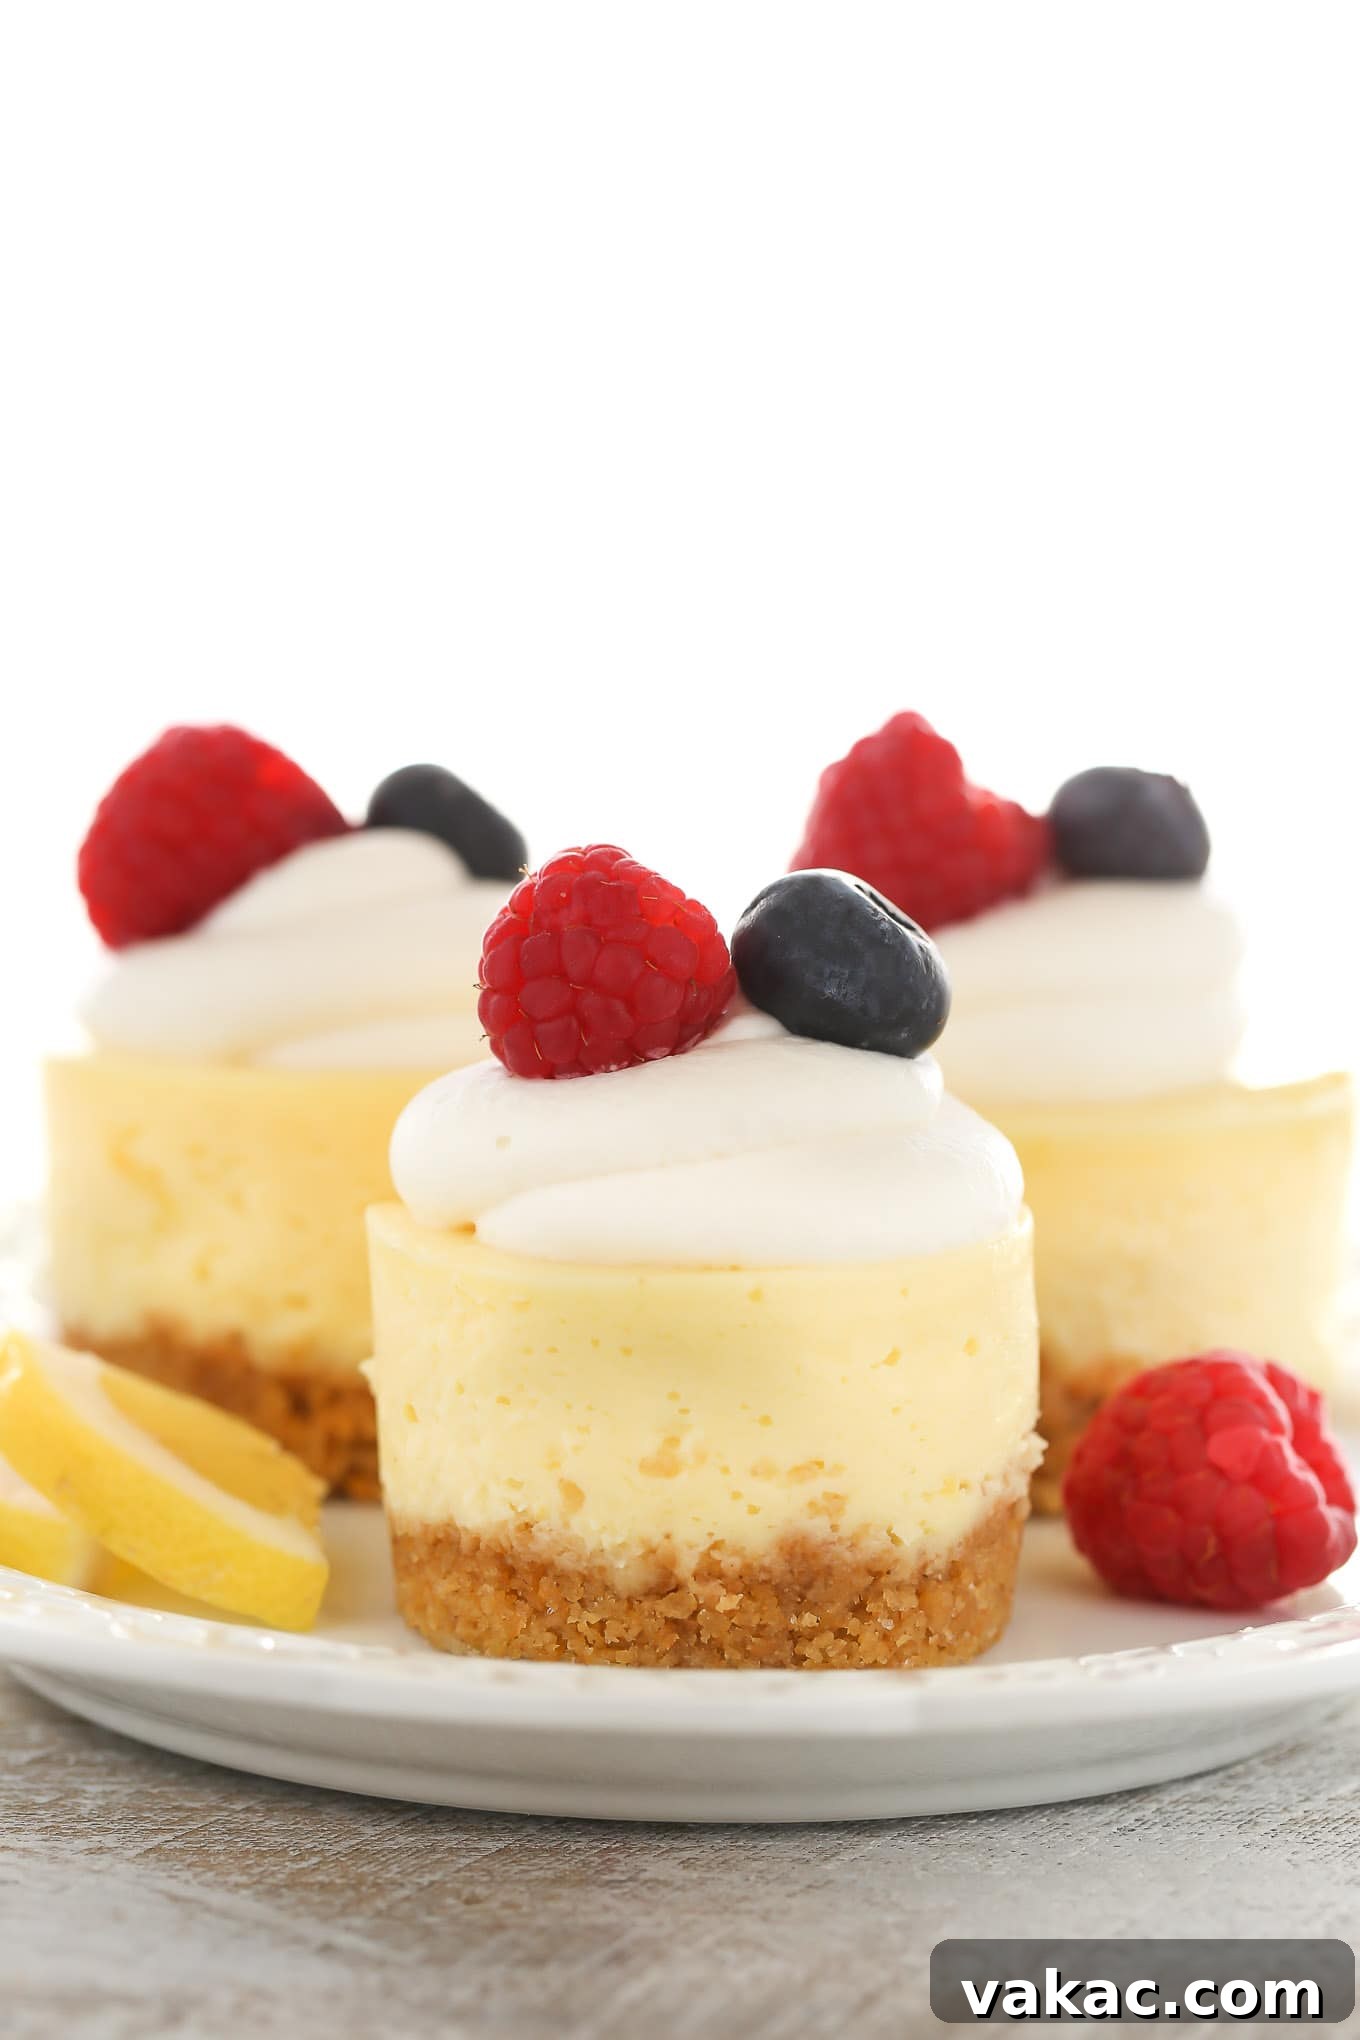
Frequently Asked Questions About Mini Lemon Cheesecakes
Here are answers to some common questions that arise when making these delightful mini cheesecakes:
Can I Make Mini Cheesecakes in Muffin Tins?
Absolutely! If you don’t own a specialized mini cheesecake pan, a standard muffin or cupcake tin works perfectly. The key is to line each cavity with paper cupcake liners. This step is crucial for easy removal once the cheesecakes are baked and chilled. The baking times for both the crust and the filling will remain the same. While cheesecakes baked in muffin tins might have slight grooves from the liners, they will still look beautiful and taste incredibly delicious. The slight texture difference is negligible compared to the convenience!
Can I Prepare Mini Cheesecakes in Advance?
Yes, and in fact, making these mini cheesecakes in advance is highly recommended! They are the perfect make-ahead treat. You can bake them the night before, allow them to cool completely, then refrigerate them overnight. This allows ample time for them to chill and set properly, enhancing both their flavor and texture. Having dessert ready to go the next day significantly eases party preparations or simply ensures a delightful treat is waiting for you.
Can I Use This Recipe to Make a Full-Sized Cheesecake?
This particular recipe is specifically formulated for mini cheesecakes. If you were to use this exact amount of batter in a full-sized springform pan (typically 9-inch), the cheesecake layer would be quite thin. To successfully adapt this recipe for a full-sized cheesecake, you would likely need to double all the ingredients. Keep in mind that baking times and cooling procedures might also need adjustment for a larger format. For a similar flavor profile in a larger, sliceable dessert, consider my recipe for lemon raspberry cheesecake bars, which are baked in an 8-inch square pan and can easily be made without the raspberry swirl if you prefer pure lemon.
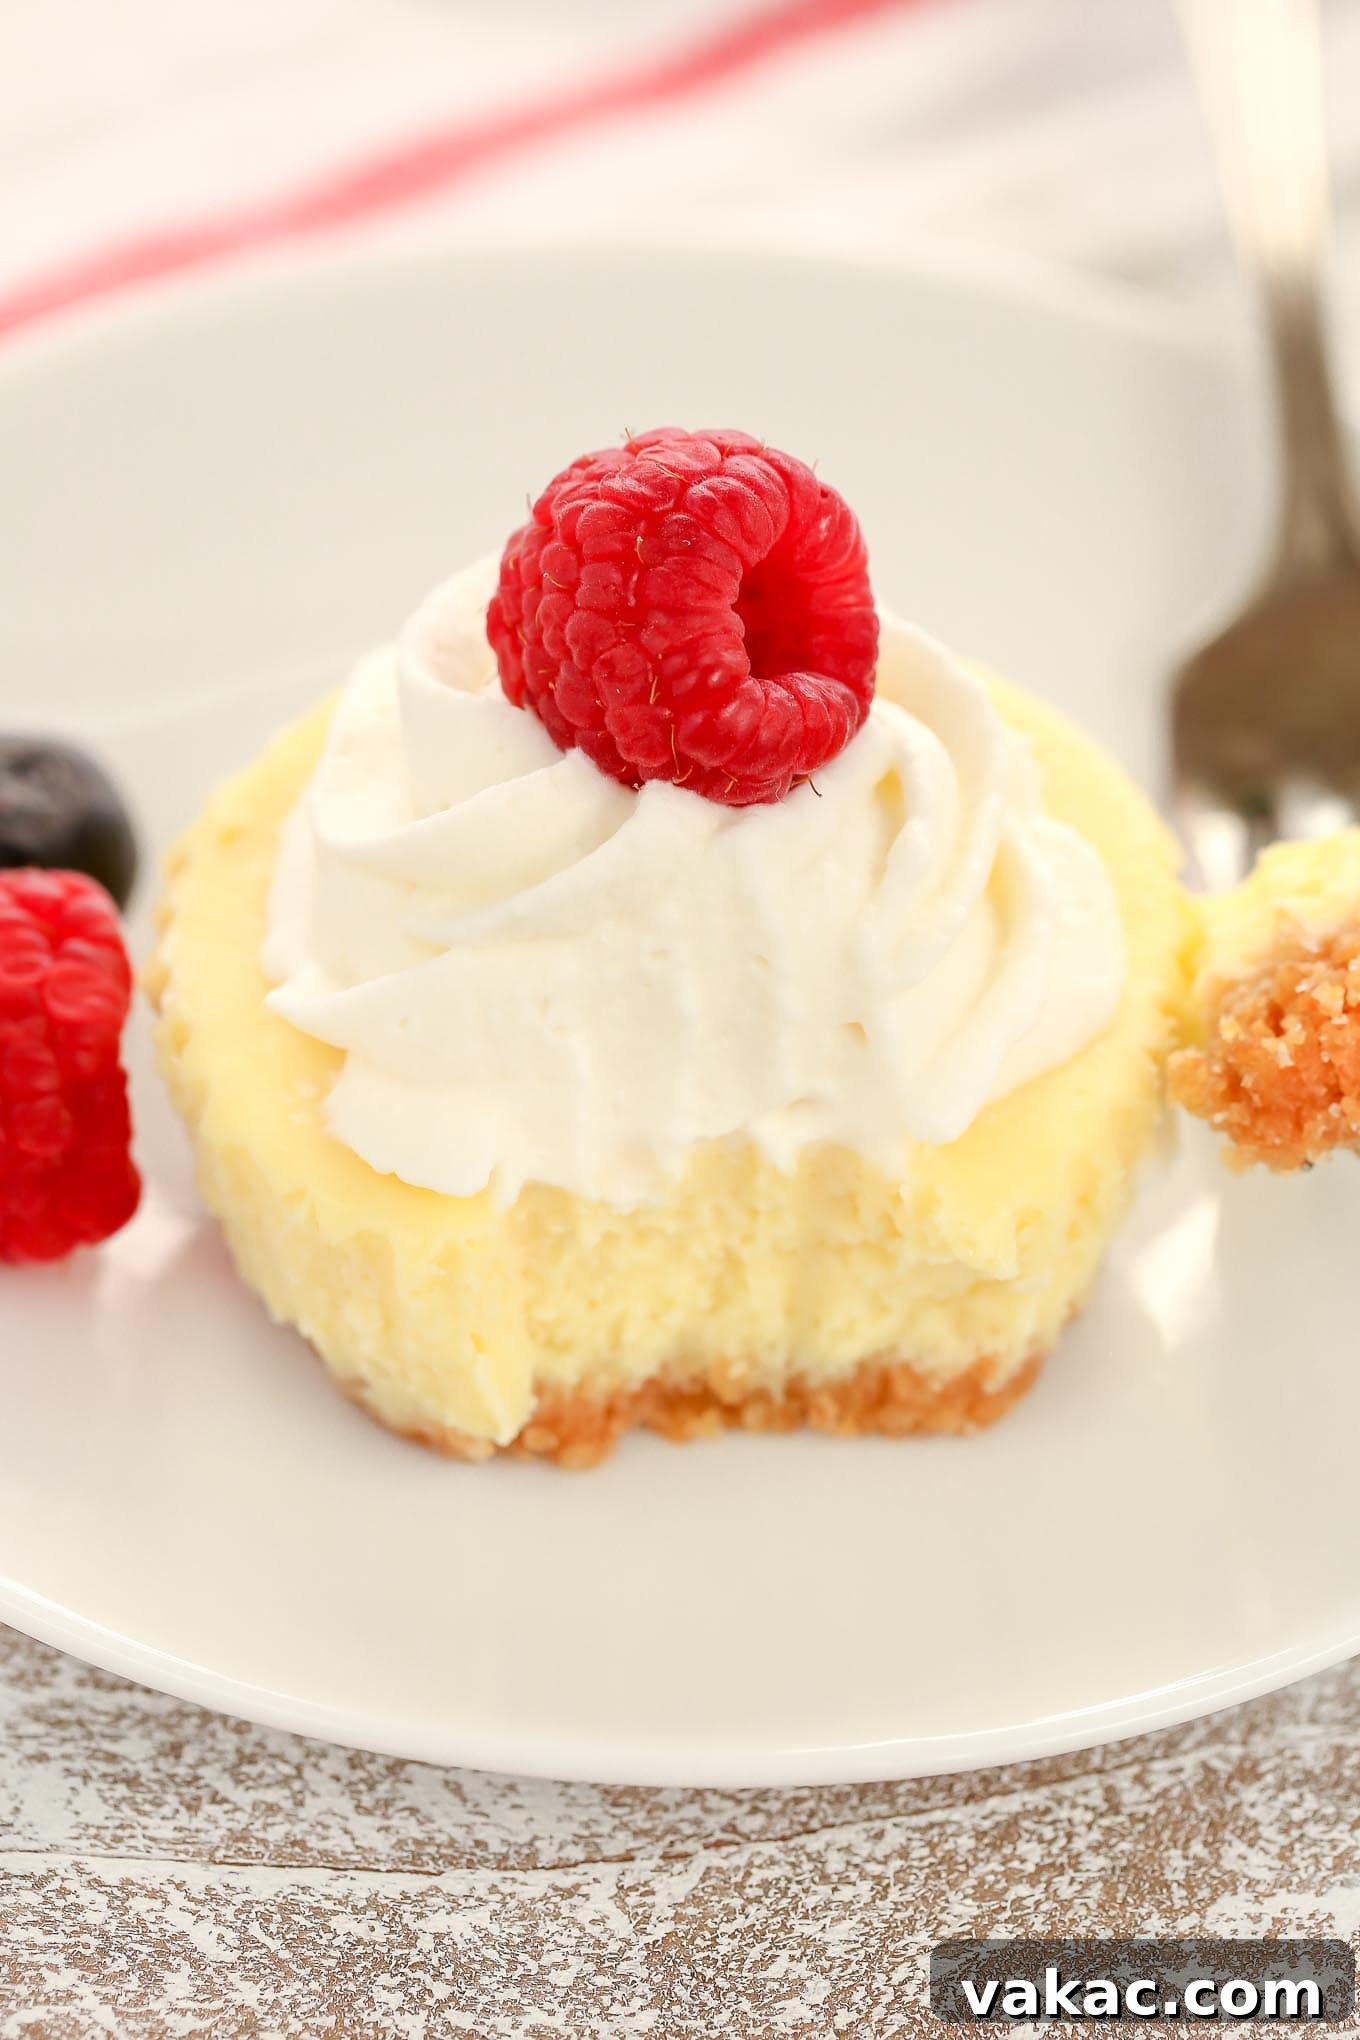
Pro Baking Tips for Perfect Cheesecakes
Achieving the perfect mini cheesecake is easy with a few key techniques:
- Room Temperature Ingredients are Key: Always ensure your cream cheese and eggs are at room temperature before you begin mixing. This is perhaps the most crucial tip for a super smooth, lump-free, and creamy cheesecake filling. Cold cream cheese will be difficult to beat into a smooth consistency, leading to a lumpy batter.
- Don’t Overmix the Eggs: When adding the egg and egg yolk, mix them in at the very end on the lowest speed, just until they are barely combined. Overmixing the eggs can incorporate too much air into the cheesecake batter. This excess air expands during baking, causing the cheesecakes to puff up and then dramatically fall or crack as they cool, resulting in a less dense and creamy texture.
- Avoid Overbaking: Mini cheesecakes bake relatively quickly. You’re aiming for a baking time of approximately 17 to 20 minutes, or until the tops are set and the edges look firm, but the very center might still have a slight jiggle. Remember, cheesecakes continue to firm up considerably as they cool down at room temperature and then chill in the refrigerator. Overbaking can lead to a dry, cracked, and less creamy cheesecake.
- Utilize Leftover Egg Whites: This recipe calls for an egg yolk, leaving you with a leftover egg white. Don’t let it go to waste! Egg whites are versatile and can be used in a variety of other recipes, such as light and airy meringues, an omelet, or to brush on pastries. You could even use it in these strawberry cream cheese turnovers or these crunchy candied pecans, both of which are delightful recipes I highly recommend.
Serving Suggestions and Creative Toppings
While fresh whipped cream and berries are classic, these Mini Lemon Cheesecakes are wonderfully versatile. Consider these ideas to elevate your dessert:
- Lemon Curd Drizzle: For an extra burst of lemon flavor, gently warm some homemade or store-bought lemon curd and drizzle it over the chilled cheesecakes.
- Raspberry Coulis: A tangy raspberry coulis (a thick fruit sauce) provides a beautiful contrast to the lemon and adds a touch of sophistication.
- Chocolate Shavings: White chocolate shavings would pair exquisitely with the lemon, adding a touch of sweetness and elegant garnish. Dark chocolate can also offer a bolder contrast.
- Toasted Coconut: A sprinkle of lightly toasted coconut flakes can add a tropical twist and delightful texture.
- Candied Lemon Peel: For a sophisticated touch, garnish with delicate strips of candied lemon peel.
- Mint Leaves: A fresh mint leaf adds a pop of green color and a refreshing aroma.
Storage and Freezing Guidelines
These mini lemon cheesecakes are excellent for making ahead, and knowing how to store them properly ensures their freshness and deliciousness:
- To Store in the Refrigerator: Once fully chilled, mini cheesecakes should be stored in an airtight container in the refrigerator. They will remain fresh and delightful for 3-4 days. For best results, add whipped cream and fresh berries just before serving.
- To Freeze for Longer Enjoyment: You can easily freeze these cheesecakes for longer storage. After they are completely chilled and firm, place them on a baking sheet and freeze until solid (about 1-2 hours). Once frozen, transfer them to an airtight freezer-safe container or wrap each cheesecake individually in plastic wrap, then place them in a freezer bag. They will keep well for up to 3 months. When ready to enjoy, thaw them overnight in the refrigerator.
More Easy Cheesecake Recipes to Explore!
If you’ve fallen in love with these mini lemon cheesecakes, you’ll be thrilled to discover a world of other simple and delicious cheesecake creations. Each recipe offers a unique flavor profile while maintaining the ease and charm of individual portions:
- Mini Strawberry Cheesecakes
- Mini Key Lime Cheesecakes
- Classic Mini Cheesecakes
- Mini Lemon Blueberry Cheesecakes
- Mini Pumpkin Cheesecakes
Mini Lemon Cheesecakes Recipe
These Mini Lemon Cheesecakes feature an easy homemade graham cracker crust topped with a smooth and creamy lemon cheesecake filling. A perfect tangy treat!
Prep Time: 30 mins
Cook Time: 20 mins
Cooling Time: 4 hrs
Total Time: 4 hrs 50 mins

Print Recipe | Pin Recipe
Ingredients
Servings: 12 mini cheesecakes
For the crust:
- 6 full sheets (90 grams) graham crackers (or 3/4 cup graham cracker crumbs)
- 3 tablespoons (45 grams) unsalted butter, melted
- 2 tablespoons (25 grams) granulated sugar
For the lemon cheesecake filling:
- 12 ounces brick-style cream cheese, softened to room temperature
- 1/2 cup (100 grams) granulated sugar
- 3 tablespoons (45 ml) fresh lemon juice
- Zest of one lemon
- 1 teaspoon pure vanilla extract
- 1 large egg, room temperature
- 1 large egg yolk, room temperature
Instructions
To make the crust:
- Preheat oven to 325°F (160°C). Spray each cavity of a 12-count mini cheesecake pan well with nonstick cooking spray and set aside. If using a regular 12-count muffin pan, line each cavity with cupcake liners for easier removal.
- Add the graham crackers to a blender or food processor and process until you have fine crumbs. Scoop the crumbs into a mixing bowl, add the melted butter and sugar, and mix until everything is well combined. Evenly distribute the mixture between all 12 cavities in the mini cheesecake pan, making sure to press each one down firmly into one even layer.
- Bake at 325°F (160°C) for 5 minutes, remove from the oven, and set aside to cool. Keep oven temperature at 325°F (160°C).
To make the cheesecake filling:
- In the bowl of a stand mixer fitted with the paddle attachment, or in a large mixing bowl using an electric mixer, beat the cream cheese until smooth. Add in the granulated sugar and mix until well combined. Add the lemon juice, lemon zest, and vanilla extract until well combined. Scrape down the sides of the bowl if needed, then mix in the egg and egg yolk on low speed until just combined.
- Evenly distribute the cheesecake filling between all 12 cavities of the mini cheesecake pan (or muffin pan) and return to the oven.
- Bake at 325°F (160°C) for 17-20 minutes or until the tops of the cheesecakes are set.
- Remove from the oven and allow to cool at room temperature for at least 1 hour. Cover tightly with plastic wrap and transfer to the refrigerator to chill for at least 3-4 hours or overnight. Once the cheesecakes are chilled, remove them from the pan. Top with whipped cream and fresh berries if desired, serve, and enjoy!
Notes
- To store: Mini cheesecakes may be refrigerated for 3-4 days in an airtight container.
- To freeze: You may also freeze these for up to 3 months. Thaw overnight in the refrigerator before serving.
Cuisine: American
Course: Dessert
Author: Danielle
Did you make this recipe? Mention @livewellbakeoften on Instagram or tag #livewellbakeoften. We love to see your creations!