
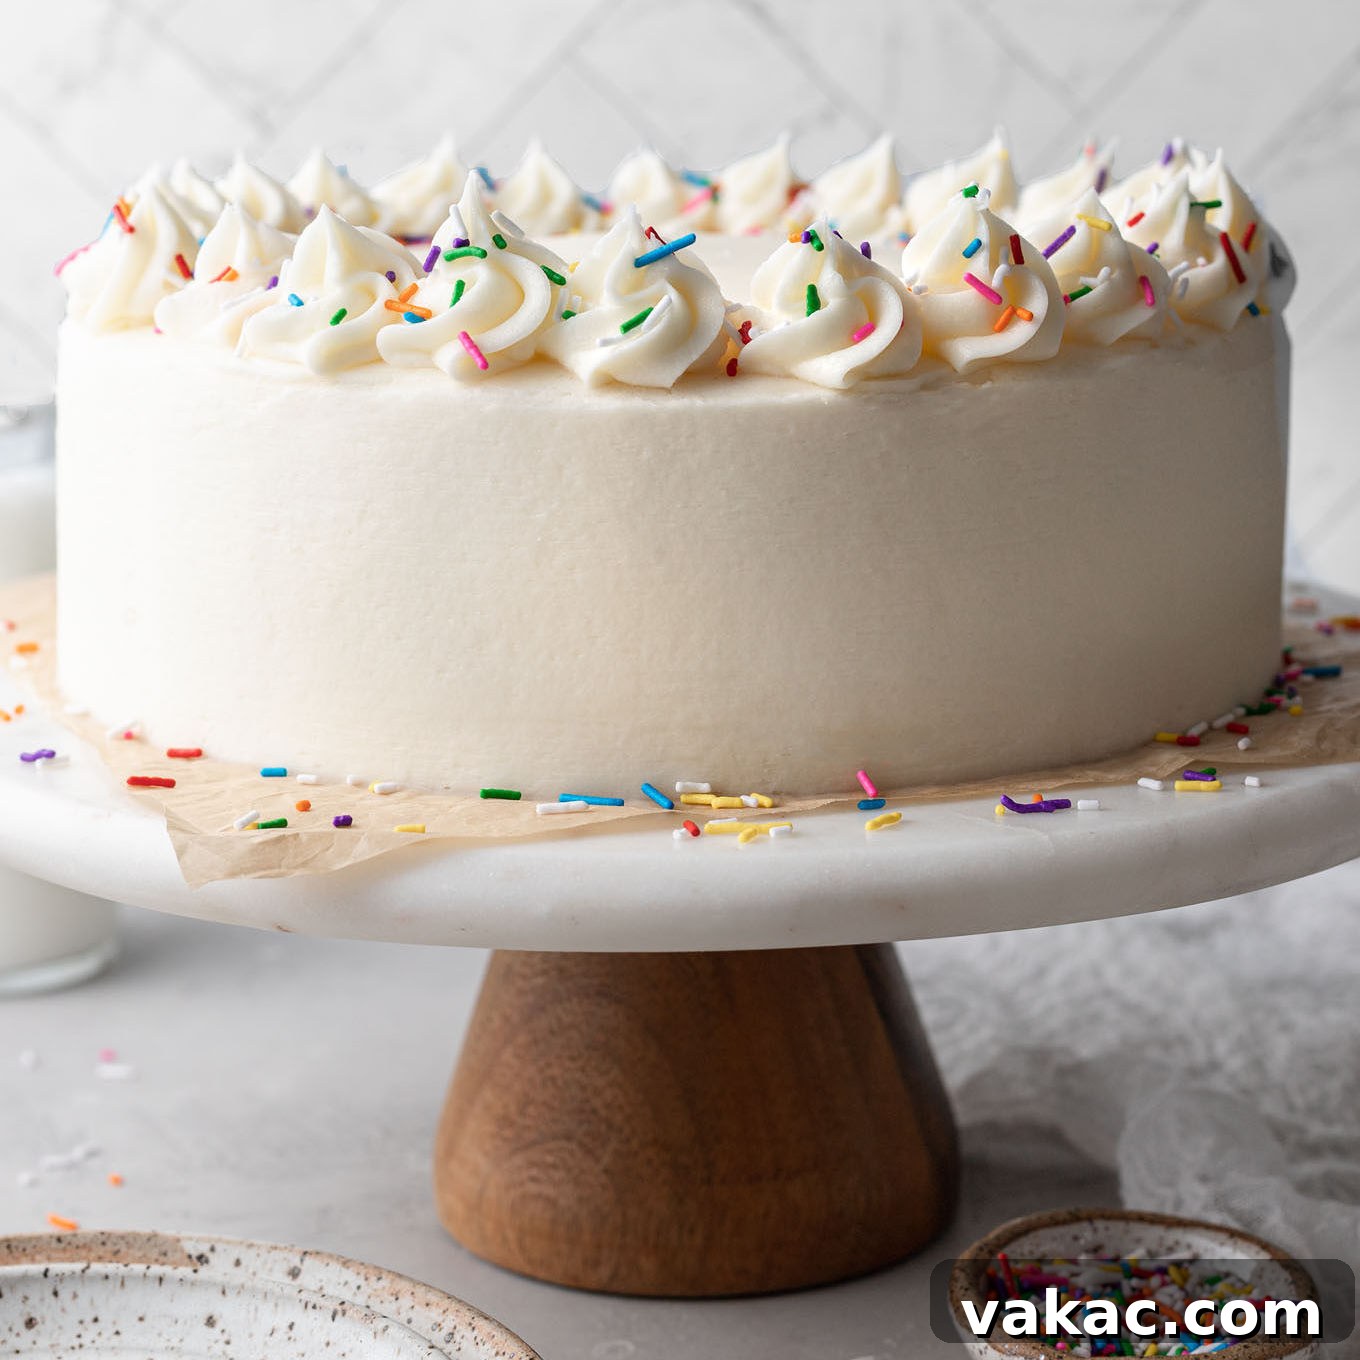
In the realm of baking, few desserts hold the timeless appeal and versatility of a classic white cake. This isn’t just any cake; it’s a meticulously crafted, tender, moist, and utterly fluffy confection made entirely from scratch, promising a flavor and texture far superior to any box mix. Whether you’re celebrating a significant birthday, hosting a family gathering, or adding a touch of elegance to holiday parties, this simple yet sophisticated white cake recipe is designed to impress and delight every palate.
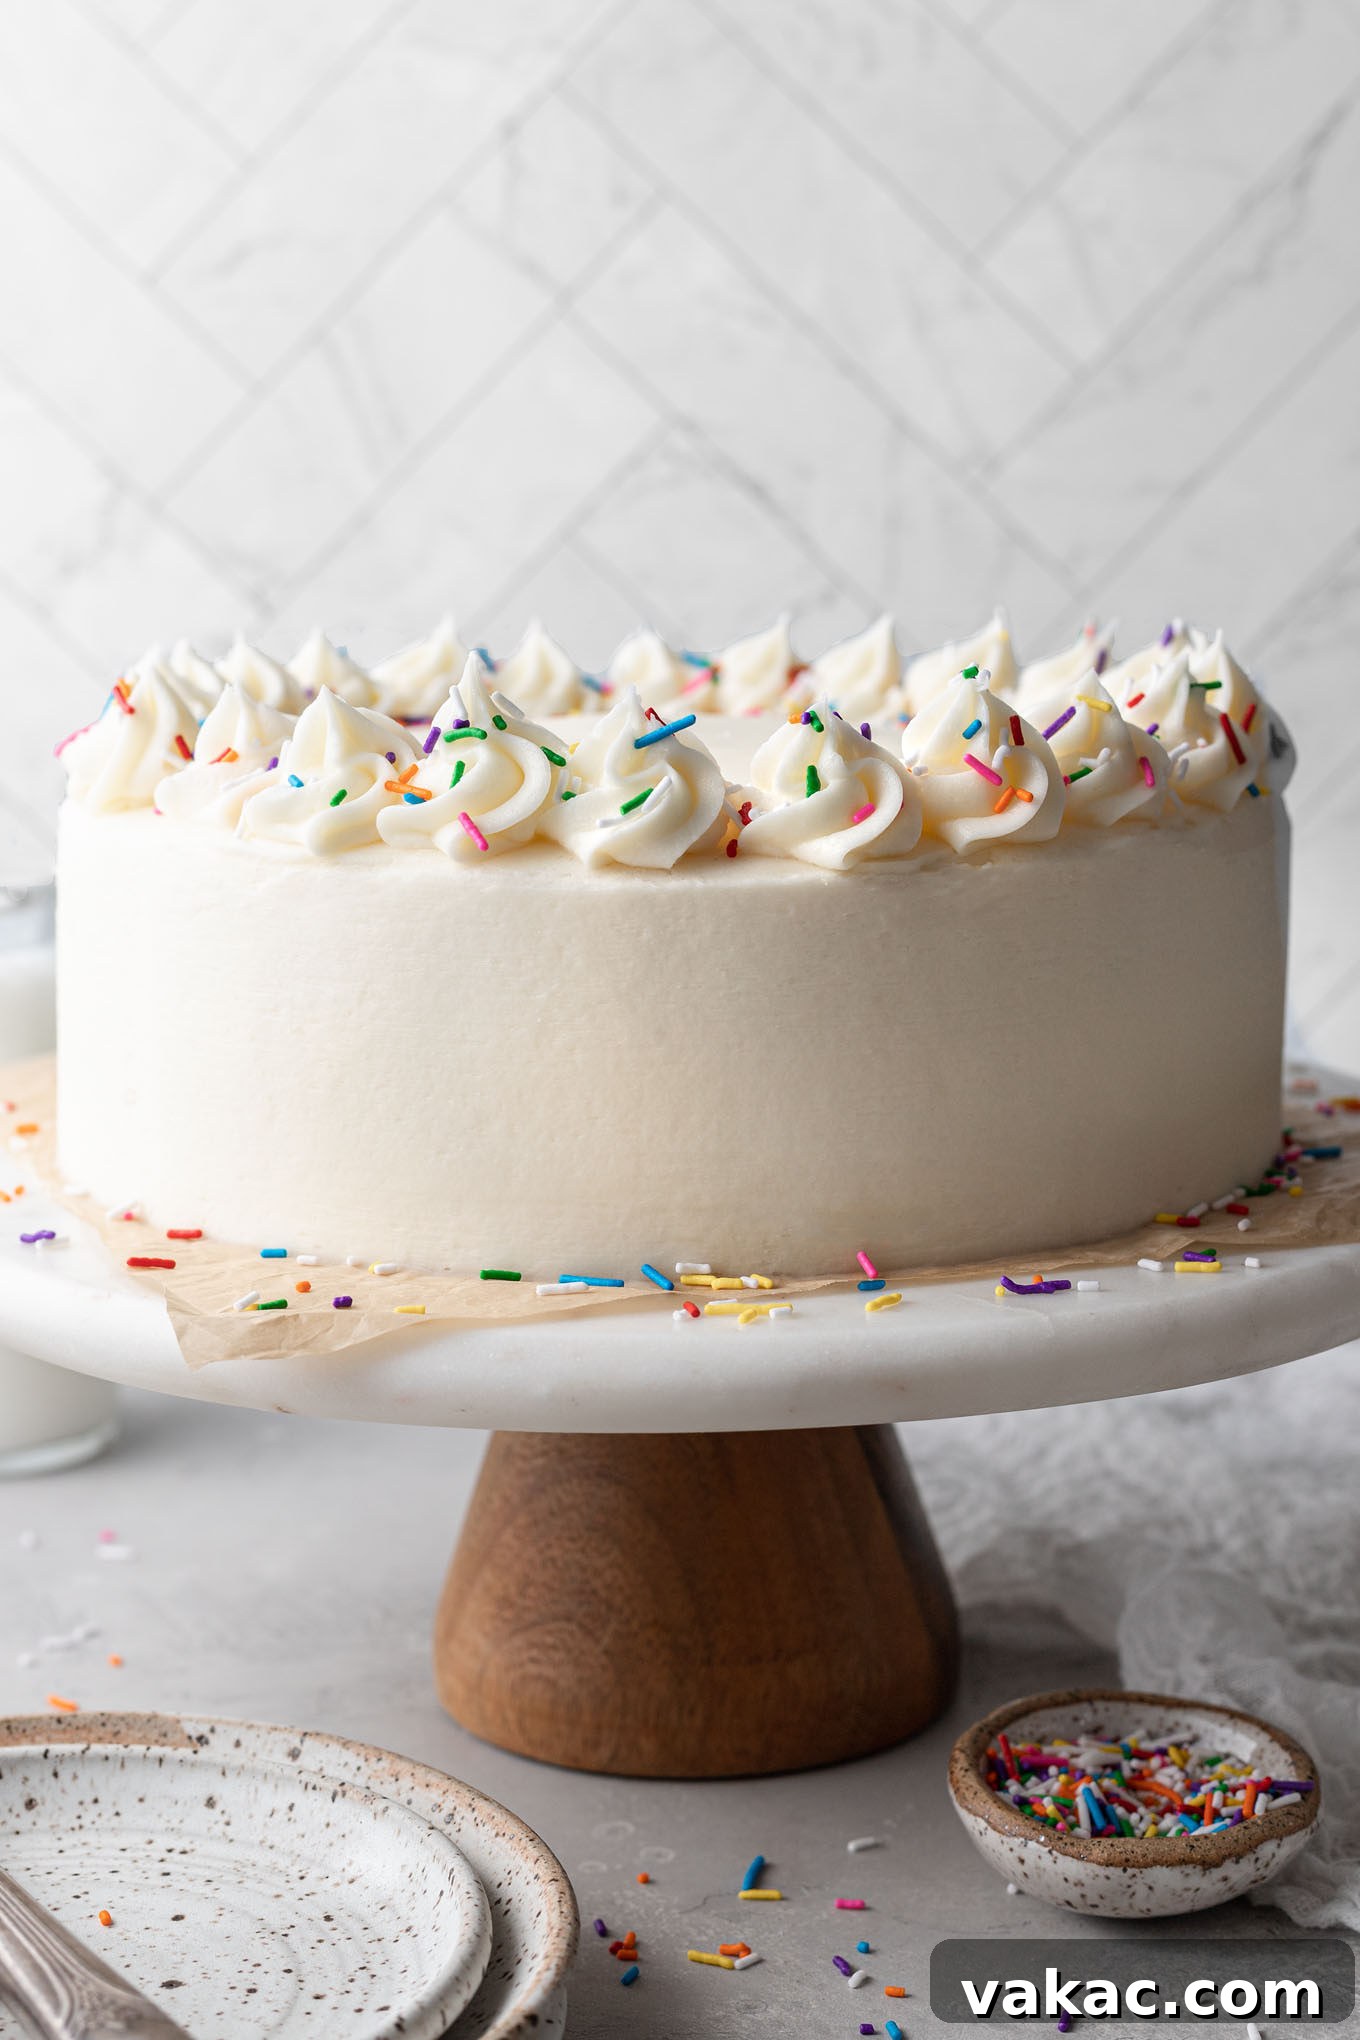
Whether you’re a seasoned baker with a repertoire of elaborate desserts or just embarking on your baking adventures, mastering a homemade white cake is an essential skill. This foundational dessert is a testament to the beauty of simple ingredients coming together to create something extraordinary. Its delicate layers, combined with the rich, creamy vanilla buttercream frosting, create the perfect canvas for endless creative decorations, making it truly adaptable for any celebration or just a delightful everyday treat.
Imagine topping your pristine white cake with vibrant multicolored sprinkles for a joyful birthday bash, or infusing the frosting with gel food coloring to match any festive holiday theme. Alternatively, simply enjoy its pure, unadorned elegance as a comforting dessert any day of the year. The beauty of this recipe lies in its simplicity and the profound satisfaction it brings. After just one bite, we’re confident you’ll agree that this truly is the ultimate white cake recipe, destined to become a staple in your kitchen.
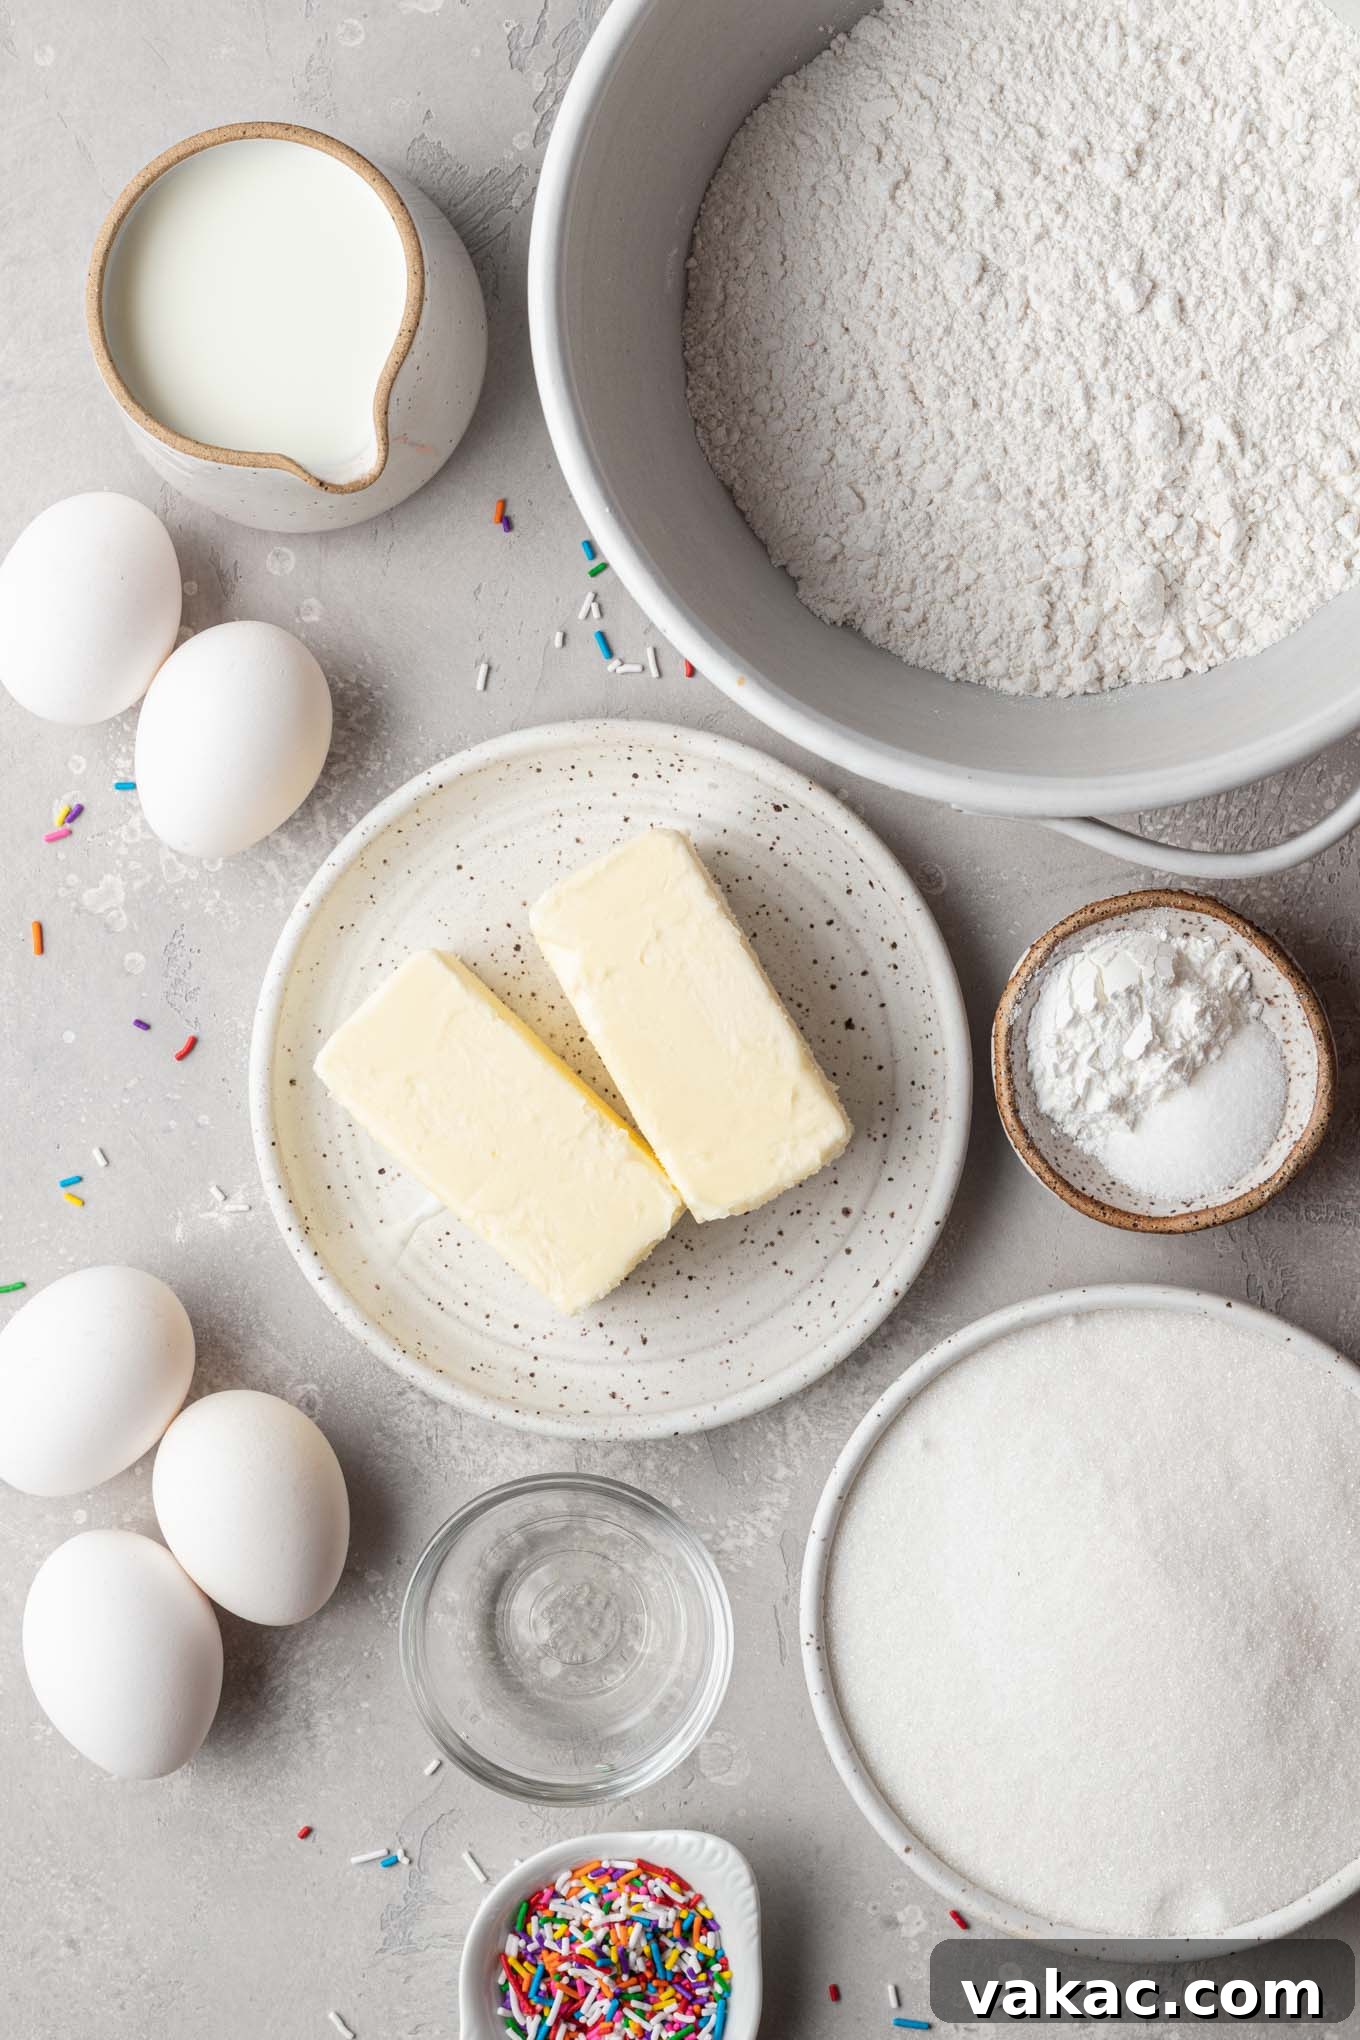
Essential Ingredients for Your Perfect White Cake
Crafting a truly exceptional homemade white cake starts with understanding the role each ingredient plays. While this recipe is beautifully simple, don’t let that fool you – every component contributes significantly to the cake’s exquisite flavor and delicate texture. Below is a breakdown of the key ingredients you’ll need, along with insights into why they are crucial for achieving that perfect light, fluffy crumb and pure white hue. A comprehensive list with precise measurements is provided in the detailed recipe card at the end of this guide.
- Cake Flour: This is arguably the most critical ingredient for a tender white cake. Cake flour has a significantly lower protein content compared to all-purpose flour, which results in less gluten development. Less gluten means a softer, finer, and more tender crumb that practically melts in your mouth. While all-purpose flour can be used in a pinch, it will yield a denser cake. If you don’t typically keep cake flour on hand, you can easily make a simple substitute using just two common pantry ingredients.
- Baking Powder: As a chemical leavening agent, baking powder is responsible for creating the rise and airy texture of your cake. It reacts with moisture and heat to produce carbon dioxide gas, forming bubbles that expand during baking, resulting in a beautifully light and fluffy cake. Ensure your baking powder is fresh for optimal results.
- Salt: Often underestimated, salt plays a vital role in balancing the sweetness of the cake batter and enhancing the nuanced vanilla flavor. It also helps to strengthen the gluten structure just enough to provide stability without making the cake tough.
- Buttermilk: This acidic ingredient is a secret weapon for achieving a super soft and tender crumb while also providing essential moisture. The acidity in buttermilk reacts with the baking powder, further aiding in leavening and contributing to a light texture. Don’t skip the buttermilk! If you don’t have any readily available, you can easily make a buttermilk substitute at home using regular milk and either vinegar or lemon juice.
- Clear Vanilla Extract: To ensure your white cake maintains its pristine, pure white appearance, clear vanilla extract is highly recommended. While pure vanilla extract can certainly be used, its darker color might impart a slight off-white hue to the finished product. Both options provide that classic vanilla aroma and taste, so choose based on your desired aesthetic.
- Unsalted Butter: Using unsalted butter gives you complete control over the total salt content in your recipe. The amount of salt in salted butters can vary widely between different brands, making precise measurement difficult. It is paramount that the butter and granulated sugar are creamed together for a good 4 to 5 minutes until light and fluffy. This creaming process incorporates air into the mixture, which is crucial for a super light and airy cake texture. Remember to bring your butter to room temperature before starting for the best creaming results.
- Granulated Sugar: While brown sugar offers a delightful caramel note in many cake recipes, for this classic white cake, granulated sugar is essential. It contributes to the cake’s delicate texture and ensures it retains its bright, clean white appearance. Granulated sugar also aids in the creaming process, helping to aerate the butter.
- Egg Whites: This is the defining characteristic of a white cake. By exclusively using egg whites and omitting the yolks, you prevent any yellow tint from coloring your batter, ensuring a perfectly white cake. Furthermore, egg yolks contain fat, which can weigh down a cake. Using only egg whites creates a lighter, airier structure, contributing significantly to the cake’s tender and fluffy consistency. Be sure to beat the egg whites to stiff peaks and gently fold them into the batter to preserve that precious volume.
Crafting the Perfect White Cake: A Step-by-Step Guide
If your experience with white cake has been limited to the convenience of a box mix, prepare for a revelation! This scratch-made recipe is not only incredibly easy to prepare but also yields results that are far superior in taste and texture. Follow these detailed steps to create a show-stopping homemade white cake.
- Prepare Your Baking Environment: Begin by preheating your oven to 350°F (175°C). This ensures your oven is at the correct temperature when the cake batter is ready, promoting even baking. Lightly spray two 9-inch round cake pans with non-stick cooking spray, then line the bottom of each pan with a parchment paper circle. This dual protection guarantees your cake layers will release easily without sticking.
- Combine the Dry Ingredients: In a large mixing bowl, whisk together the cake flour, baking powder, and salt. Whisking thoroughly aerates the flour and evenly distributes the leavening agents and salt, preventing clumps and ensuring a consistent rise throughout the cake. Set this bowl aside.
- Mix the Wet Ingredients: In a separate large measuring cup or small bowl, combine the room-temperature buttermilk and clear vanilla extract. Stir until they are well combined. Having your wet ingredients pre-mixed ensures they are fully incorporated when added to the main batter.
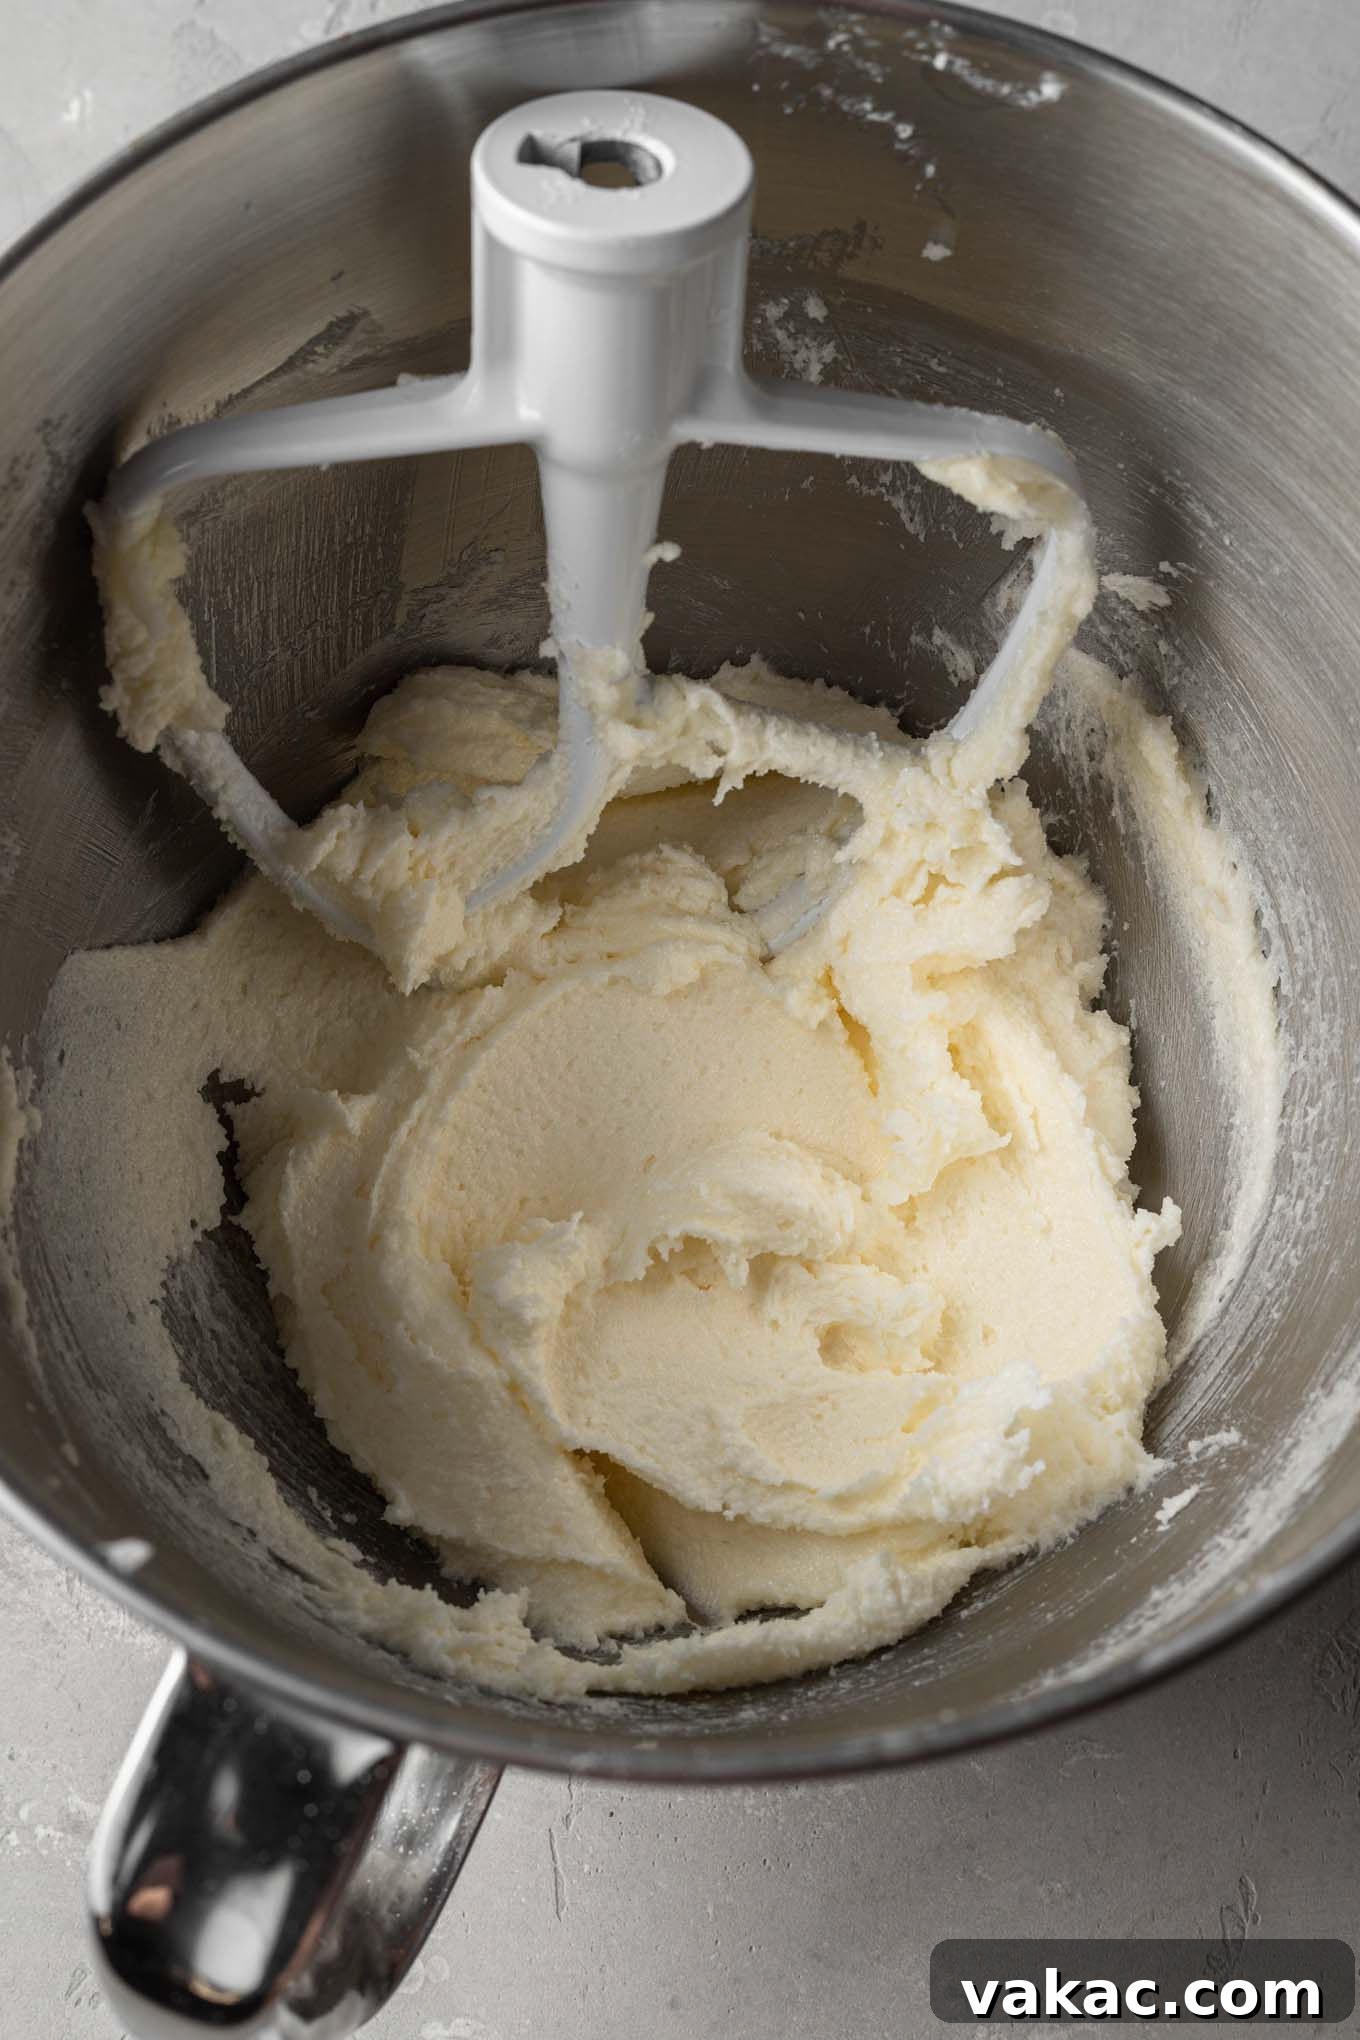
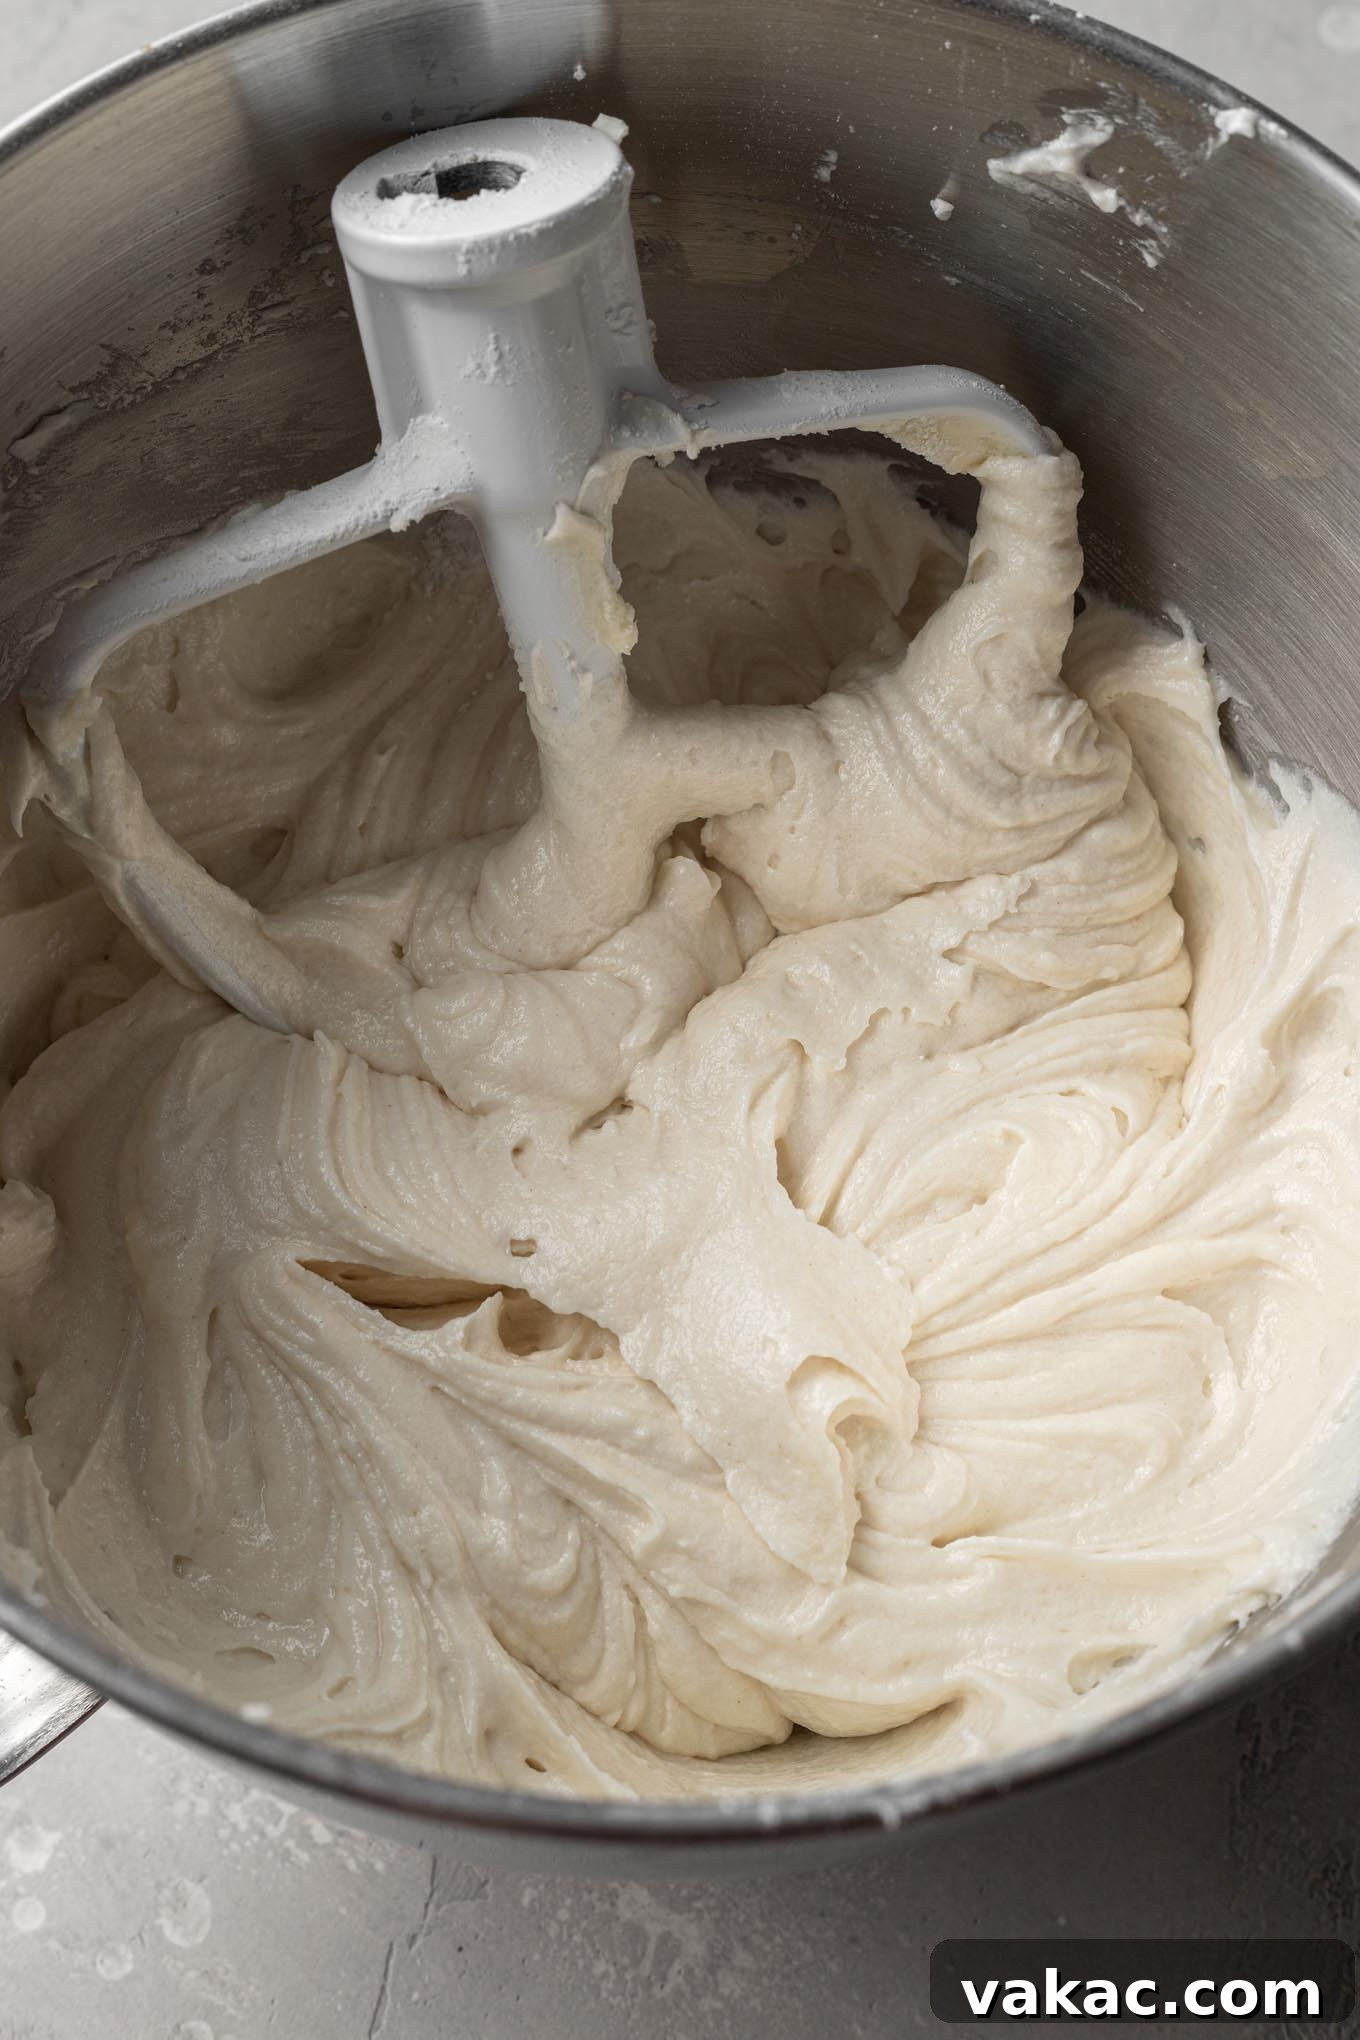
- Cream Butter and Sugar to Perfection: In the bowl of a stand mixer fitted with the paddle attachment (or using a large mixing bowl and an electric handheld mixer), begin by beating the softened unsalted butter on low speed until it is smooth and creamy. Gradually add the granulated sugar, continuing to beat on low speed. Once all the sugar is incorporated, increase the speed to medium-high and beat for an additional 4 to 5 minutes. This creaming process is crucial; it incorporates air into the mixture, making it light in color and fluffy, which directly contributes to the cake’s tender texture.
- Alternate Adding Dry and Wet Ingredients: With the mixer running on the lowest speed, begin adding the dry ingredients to the creamed butter and sugar mixture in three increments, alternating with the buttermilk mixture. Always start and end with the dry ingredients. Mix each addition only until just combined. The key here is to avoid overmixing, which can develop too much gluten and result in a dense or tough cake. Scrape down the sides of the bowl as needed to ensure everything is well incorporated.
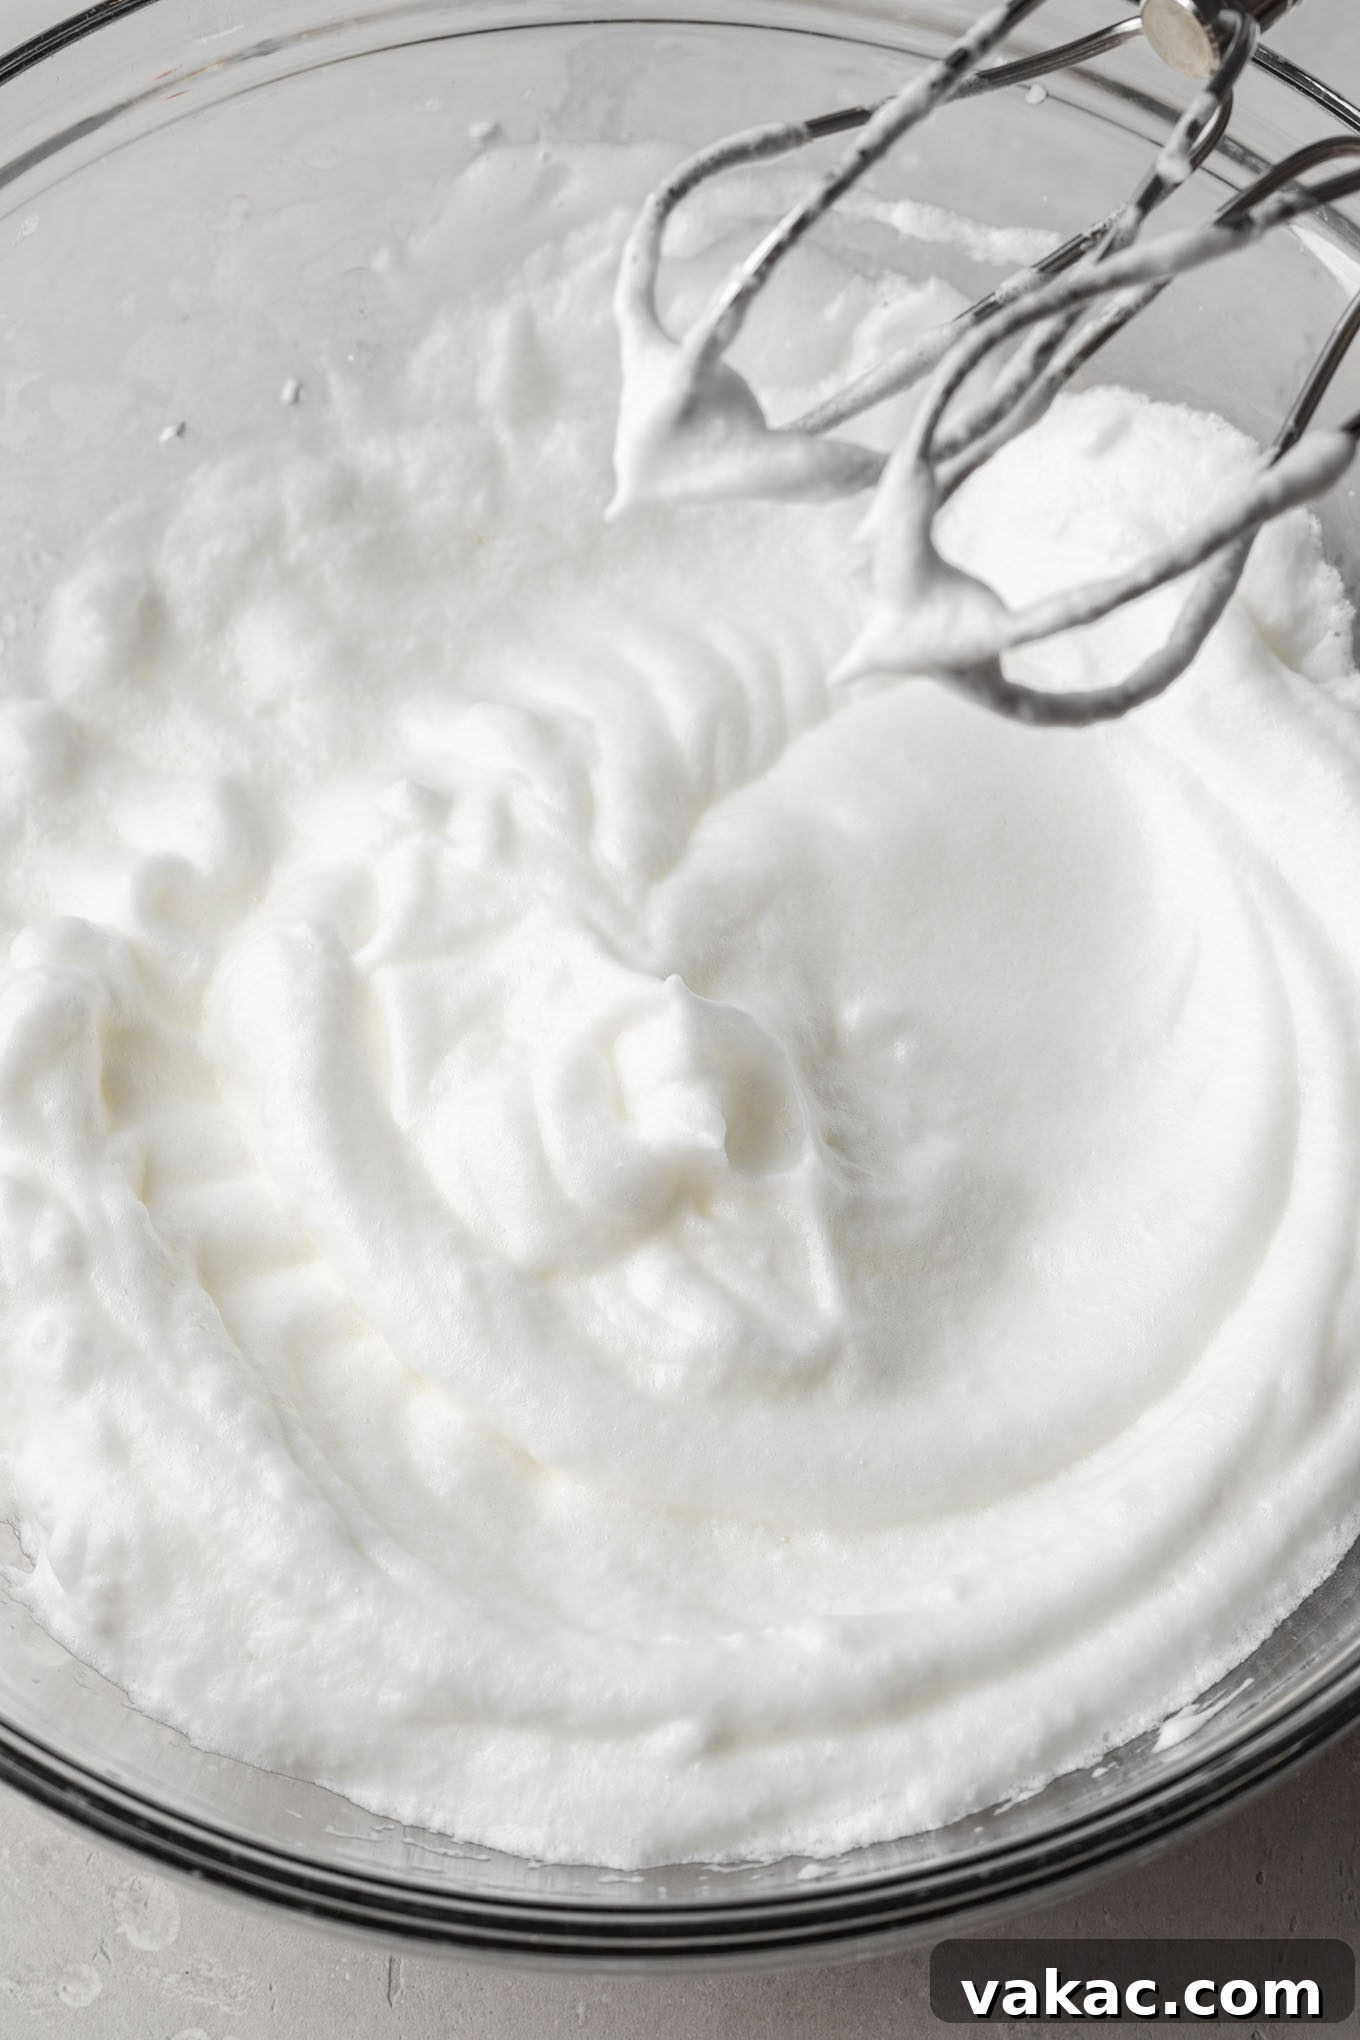
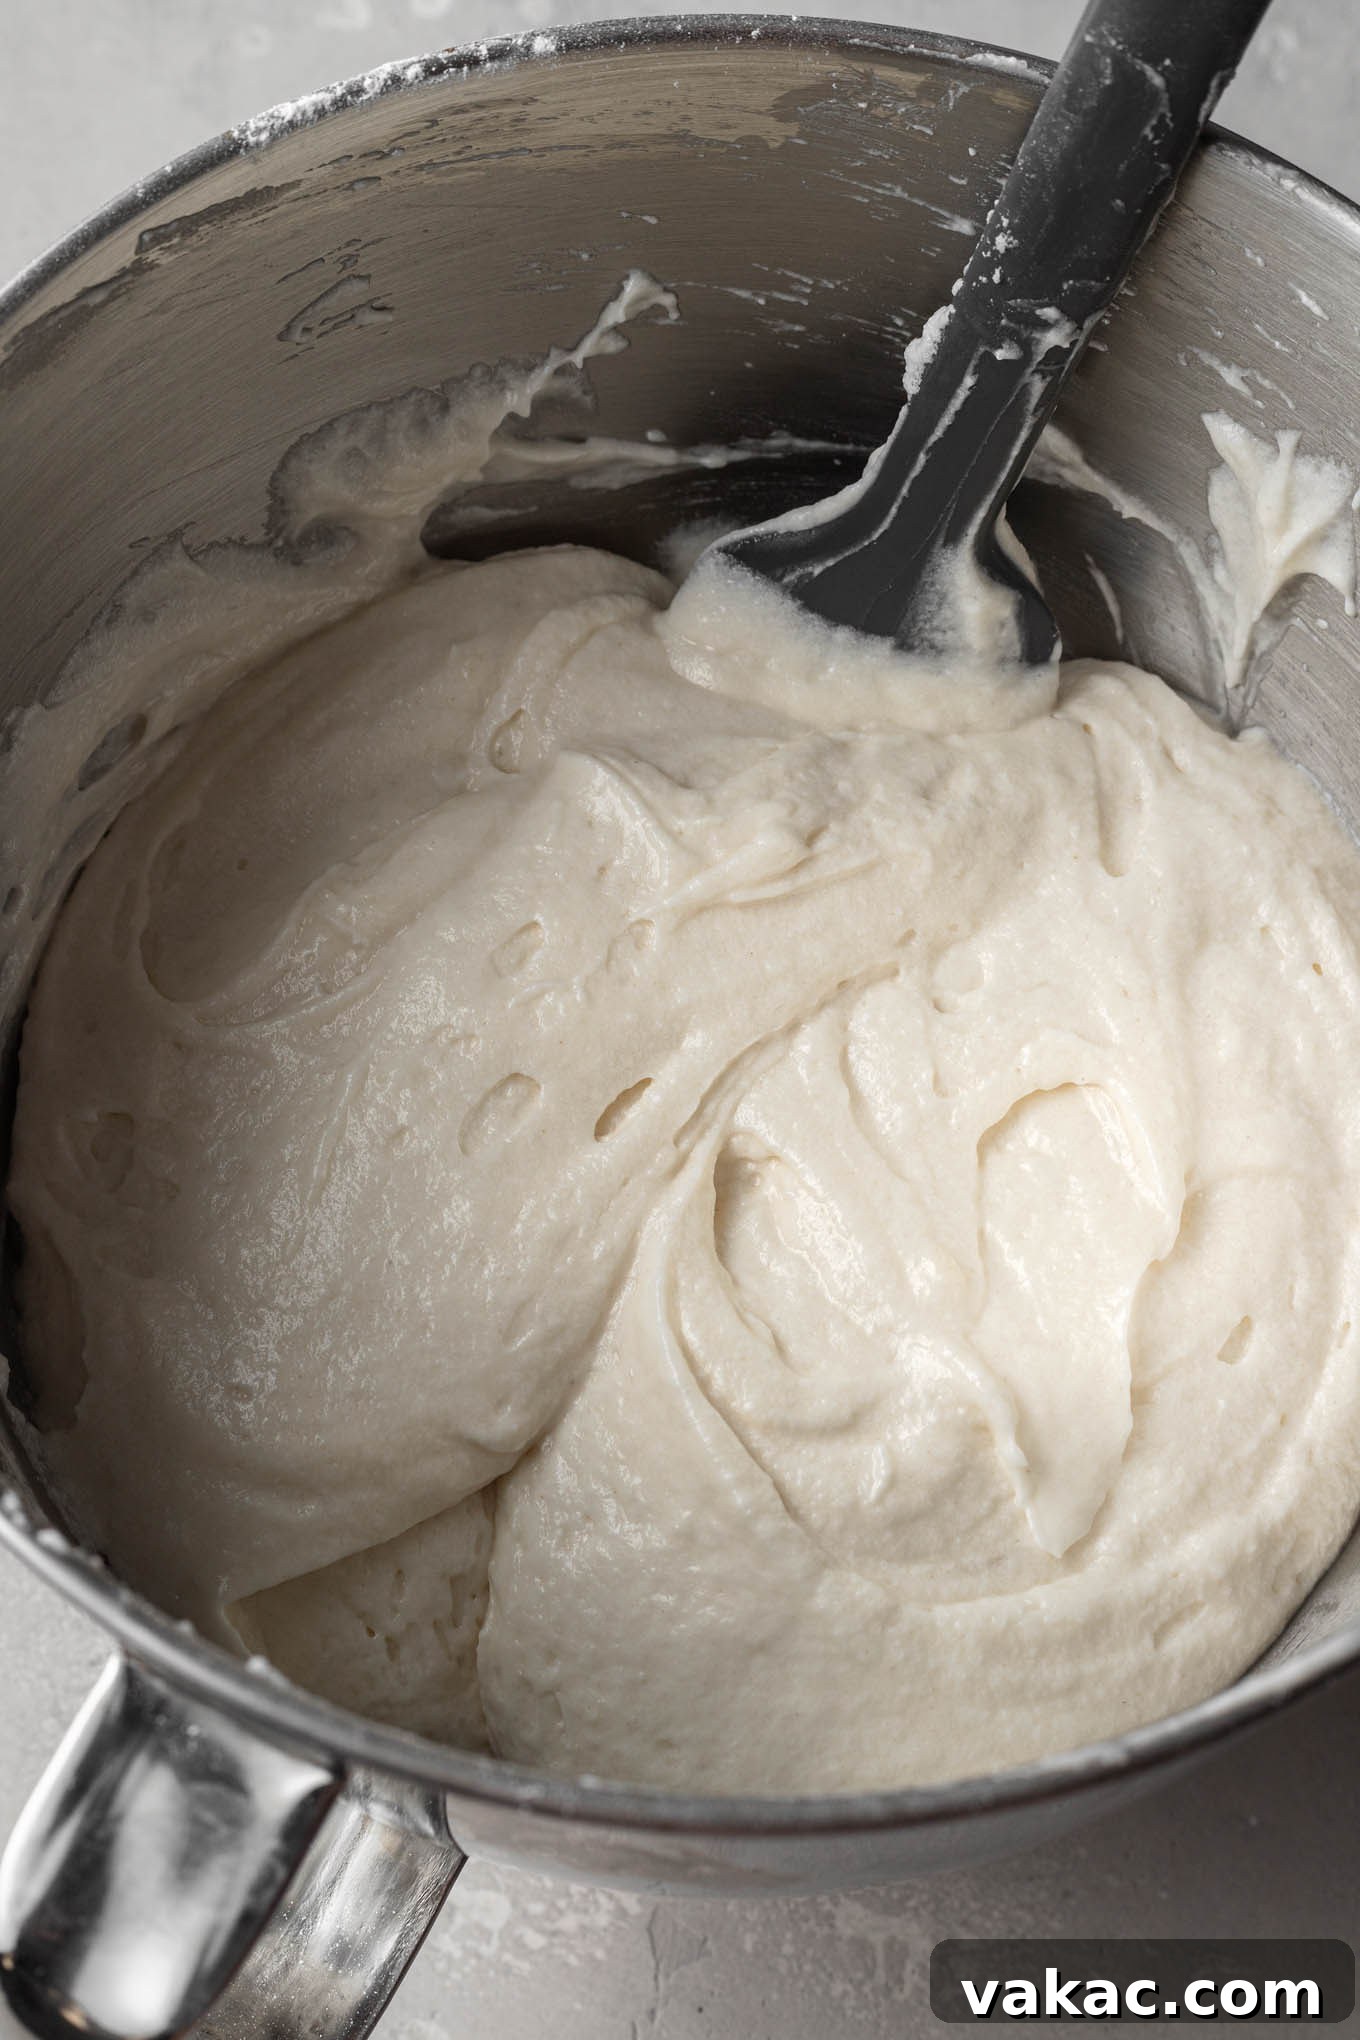
- Beat and Fold in Egg Whites: In a separate, impeccably clean mixing bowl, beat the room-temperature egg whites until stiff peaks form. It’s essential that the bowl and beaters are free of any grease, as even a trace amount can prevent the egg whites from stiffening properly. Once stiff, gently fold half of the beaten egg whites into the cake batter using a spatula. This lightens the batter. Then, fold in the remaining egg whites until they are just combined. Be careful not to deflate the egg whites, as their aeration is vital for the cake’s light and fluffy texture.
- Prepare for Baking: Divide the beautifully airy cake batter evenly between the two prepared 9-inch round cake pans. Spread the batter gently into an even layer in each pan. Gently tap the cake pans on the counter a couple of times to release any trapped air bubbles, which helps prevent large holes in your finished cake.
- Bake the Cake Layers: Transfer the pans to the preheated oven and bake for 28 to 32 minutes, or until a wooden toothpick inserted into the center of the cakes comes out clean. This indicates they are fully cooked. Avoid opening the oven door unnecessarily during baking, especially in the first 20 minutes, as this can cause the cakes to sink.
- Cool Completely: Once baked, remove the cake layers from the oven and allow them to cool in their pans on a wire rack for about 20 minutes. This cooling period helps the cakes firm up and prevents them from breaking when removed. After 20 minutes, carefully invert the cakes onto the wire rack to cool completely. Ensure the cake layers are entirely cool before attempting to frost them; otherwise, your frosting will melt.
- Prepare the Vanilla Buttercream Frosting: In the bowl of a stand mixer fitted with the paddle attachment (or using an electric handheld mixer), beat the softened unsalted butter on medium speed until smooth and creamy. Gradually add the powdered sugar, one cup at a time, mixing well after each addition and scraping down the sides of the bowl as needed. Once all the sugar is incorporated, add the heavy whipping cream, clear vanilla extract, and a pinch of salt. Beat on medium speed until the frosting is light, fluffy, and smooth, ensuring all ingredients are fully combined.
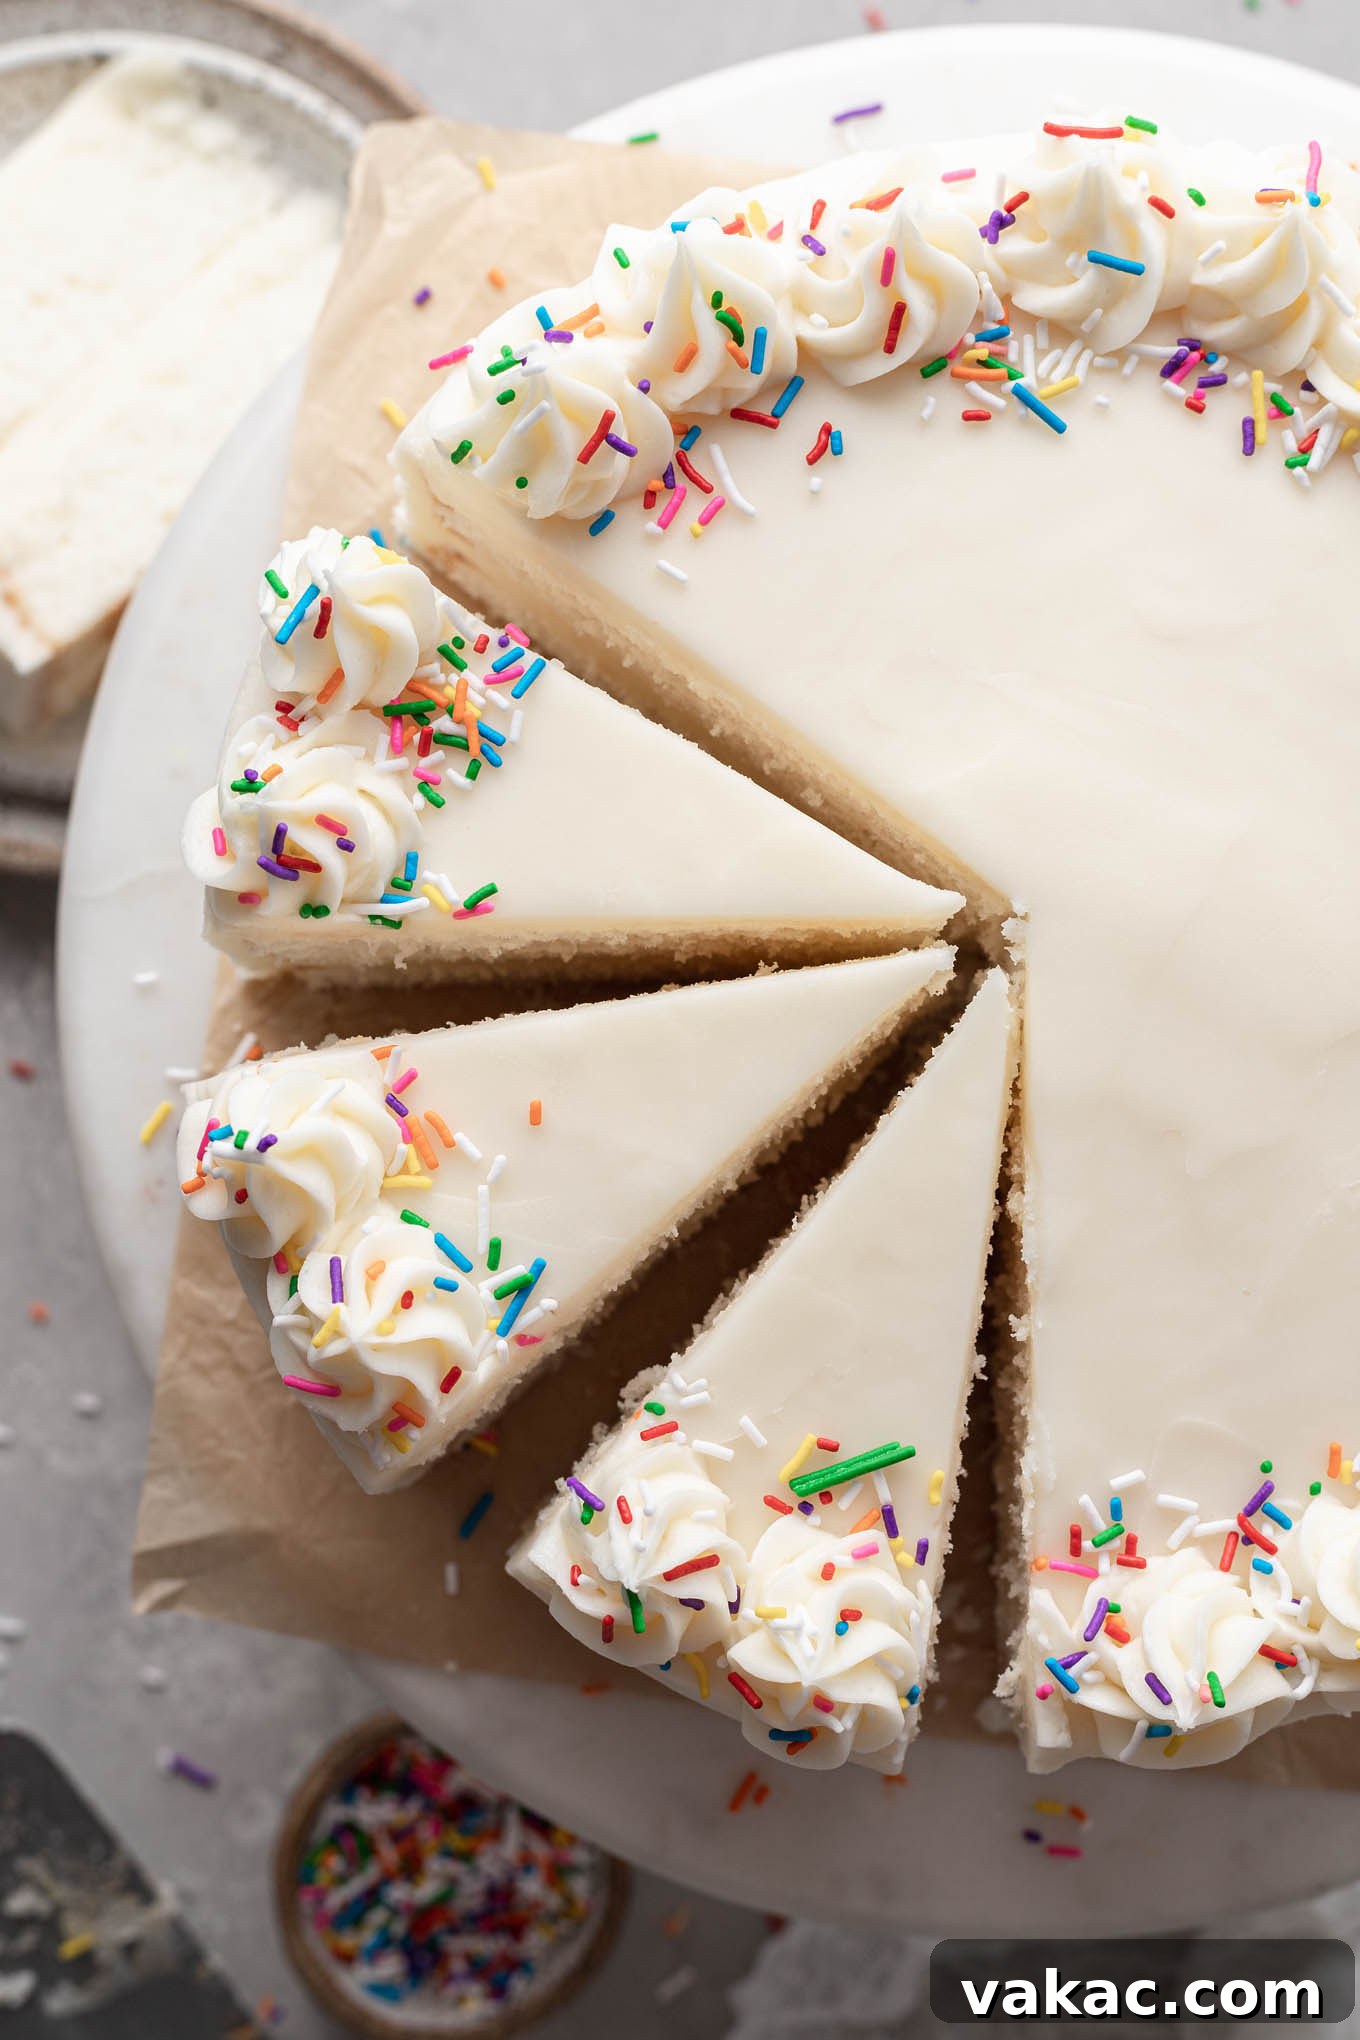
- Decorate Your Masterpiece: Once the cake layers are completely cooled, use a serrated knife or a cake leveler to carefully level the tops of each cake layer. This creates a flat surface for stacking and a professional appearance. Place one leveled cake layer on your chosen cake stand or serving plate. Apply a generous layer of the vanilla buttercream frosting and smooth it out evenly. Carefully place the second cake layer on top, then dollop more frosting onto the top and sides. Use an offset spatula or bench scraper to frost the entire cake smoothly. If desired, reserve a small amount of frosting for piping decorative borders or designs onto the top of the cake. For an extra touch of fun and color, add your favorite sprinkles!
Frequently Asked Questions About White Cake
Here are answers to some common questions about baking and storing this delightful white cake:
What Is The Difference Between Vanilla Cake and White Cake?
The primary difference between vanilla cake and white cake lies in their egg content and resulting color. Vanilla cakes typically utilize whole eggs (both yolks and whites), which contributes to their characteristic golden or off-white hue. White cakes, on the other hand, exclusively use egg whites. This choice ensures the cake remains perfectly white in color and also contributes to a lighter, airier, and fluffier texture, as egg yolks can add density and moisture.
Can This Recipe Be Made in a 9×13-inch Pan?
Absolutely! While this recipe is written for a classic two-layer round cake, it can certainly be adapted for a single 9×13-inch baking dish. Simply prepare your 9×13-inch pan with nonstick spray, pour in the batter, and increase the baking time to approximately 35 to 45 minutes. Always perform the toothpick test to ensure the cake is fully baked through. For a 9×13-inch cake, one batch of our vanilla buttercream frosting recipe will be sufficient.
Can You Freeze This Cake?
Yes, this white cake freezes exceptionally well! To freeze individual slices, wrap each slice tightly with plastic wrap, then place them in a large freezer-safe bag or airtight container for up to 3 months. For un-frosted cake layers, wrap them tightly in multiple layers of plastic wrap and then a layer of aluminum foil to prevent freezer burn. The vanilla buttercream frosting can also be stored in an airtight freezer bag for up to 3 months. When you’re ready to enjoy, thaw the cake layers and frosting overnight in the refrigerator. Bring the frosting to room temperature and whisk it well before re-frosting the thawed cake layers.
How Do You Store White Cake?
To maintain its freshness, store your frosted white cake in an airtight container at room temperature for one to two days. If you need to store it for a longer period, it can be kept in the refrigerator for up to four days. If refrigerating, we recommend taking the cake out of the fridge about 30-60 minutes before serving to allow it to come closer to room temperature. This enhances the flavor and softens the frosting and cake for a more enjoyable experience.
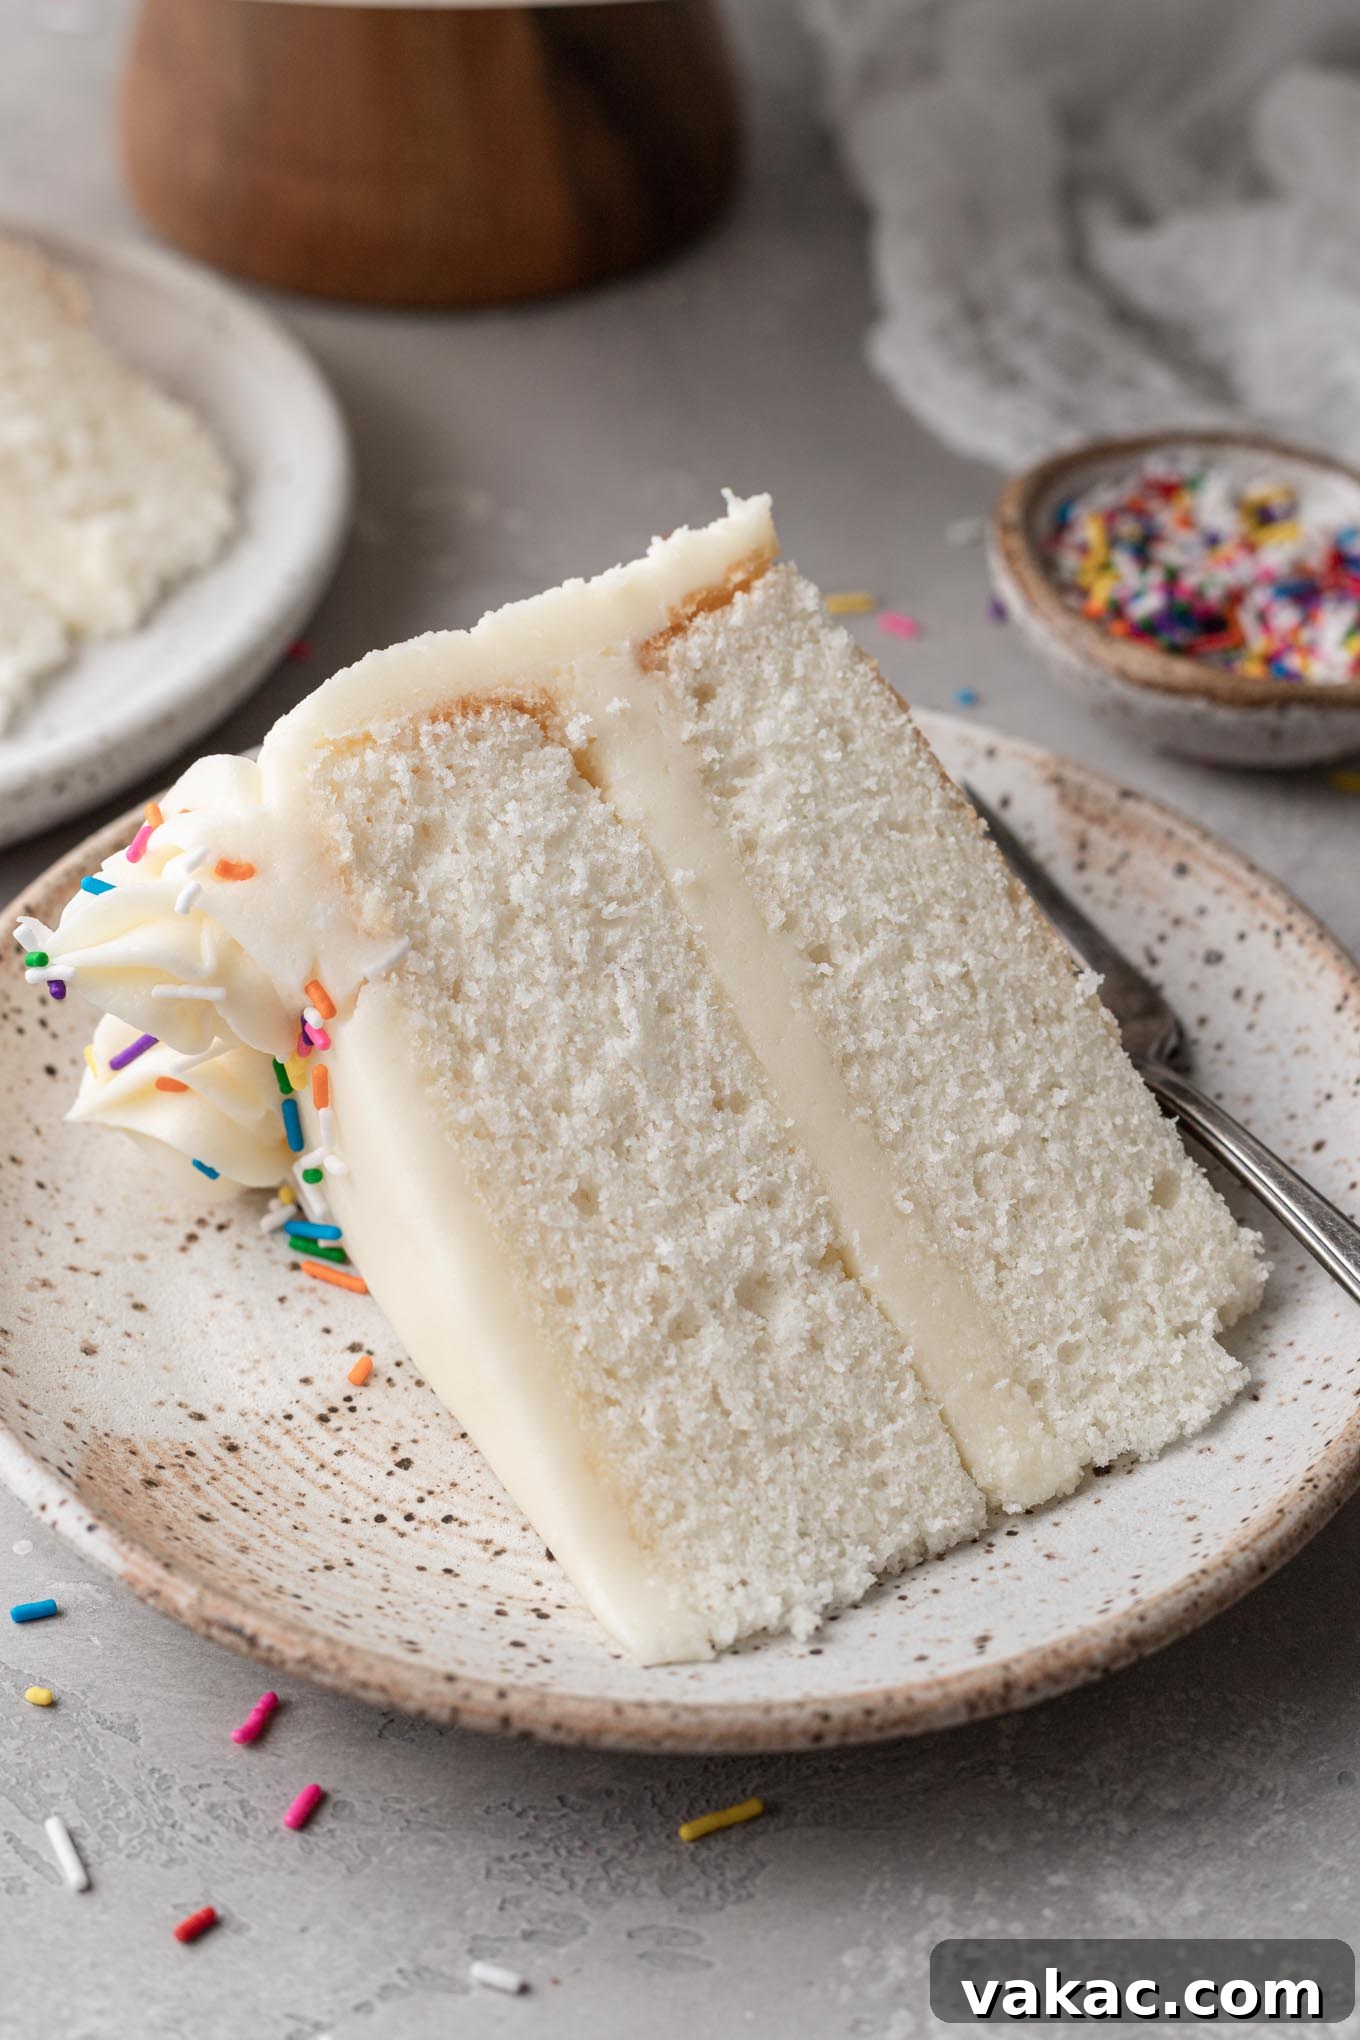
Exploring Additional Frosting Options for Your White Cake
While this recipe pairs perfectly with our beloved vanilla buttercream, the versatility of a white cake means it can be beautifully complemented by a wide array of frosting flavors. The delicate nature of the cake allows other flavors to truly shine. For this particular white cake, we’ve increased the quantity of our favorite vanilla buttercream frosting recipe to ensure there’s plenty to generously frost and decorate the entire cake. However, don’t hesitate to experiment with these delicious alternatives to create your unique masterpiece:
- Chocolate Buttercream: A rich, decadent pairing that contrasts beautifully with the light white cake.
- Strawberry Frosting: Adds a burst of fruity freshness and a lovely pink hue, perfect for spring or summer.
- Cream Cheese Frosting: Tangy and sweet, offering a delightful counterpoint to the cake’s sweetness.
- Rainbow Chip Frosting: For a whimsical and fun cake, especially popular for birthdays.
- Ermine Frosting (Flour Buttercream): A classic, silky-smooth, less sweet frosting that’s incredibly delicate.
- White Chocolate Frosting: A luxurious choice that adds another layer of subtle sweetness and elegance.
- Fruit Fillings: While not technically frostings, consider using a delicious Strawberry Cake Filling or Raspberry Cake Filling between the layers for an extra burst of flavor and moisture. These complement the white cake beautifully!
If you’re new to the art of cake decorating, don’t be intimidated! We also have a full tutorial on how to decorate a cake that simplifies the process and shows you just how easy it can be to achieve a polished look.
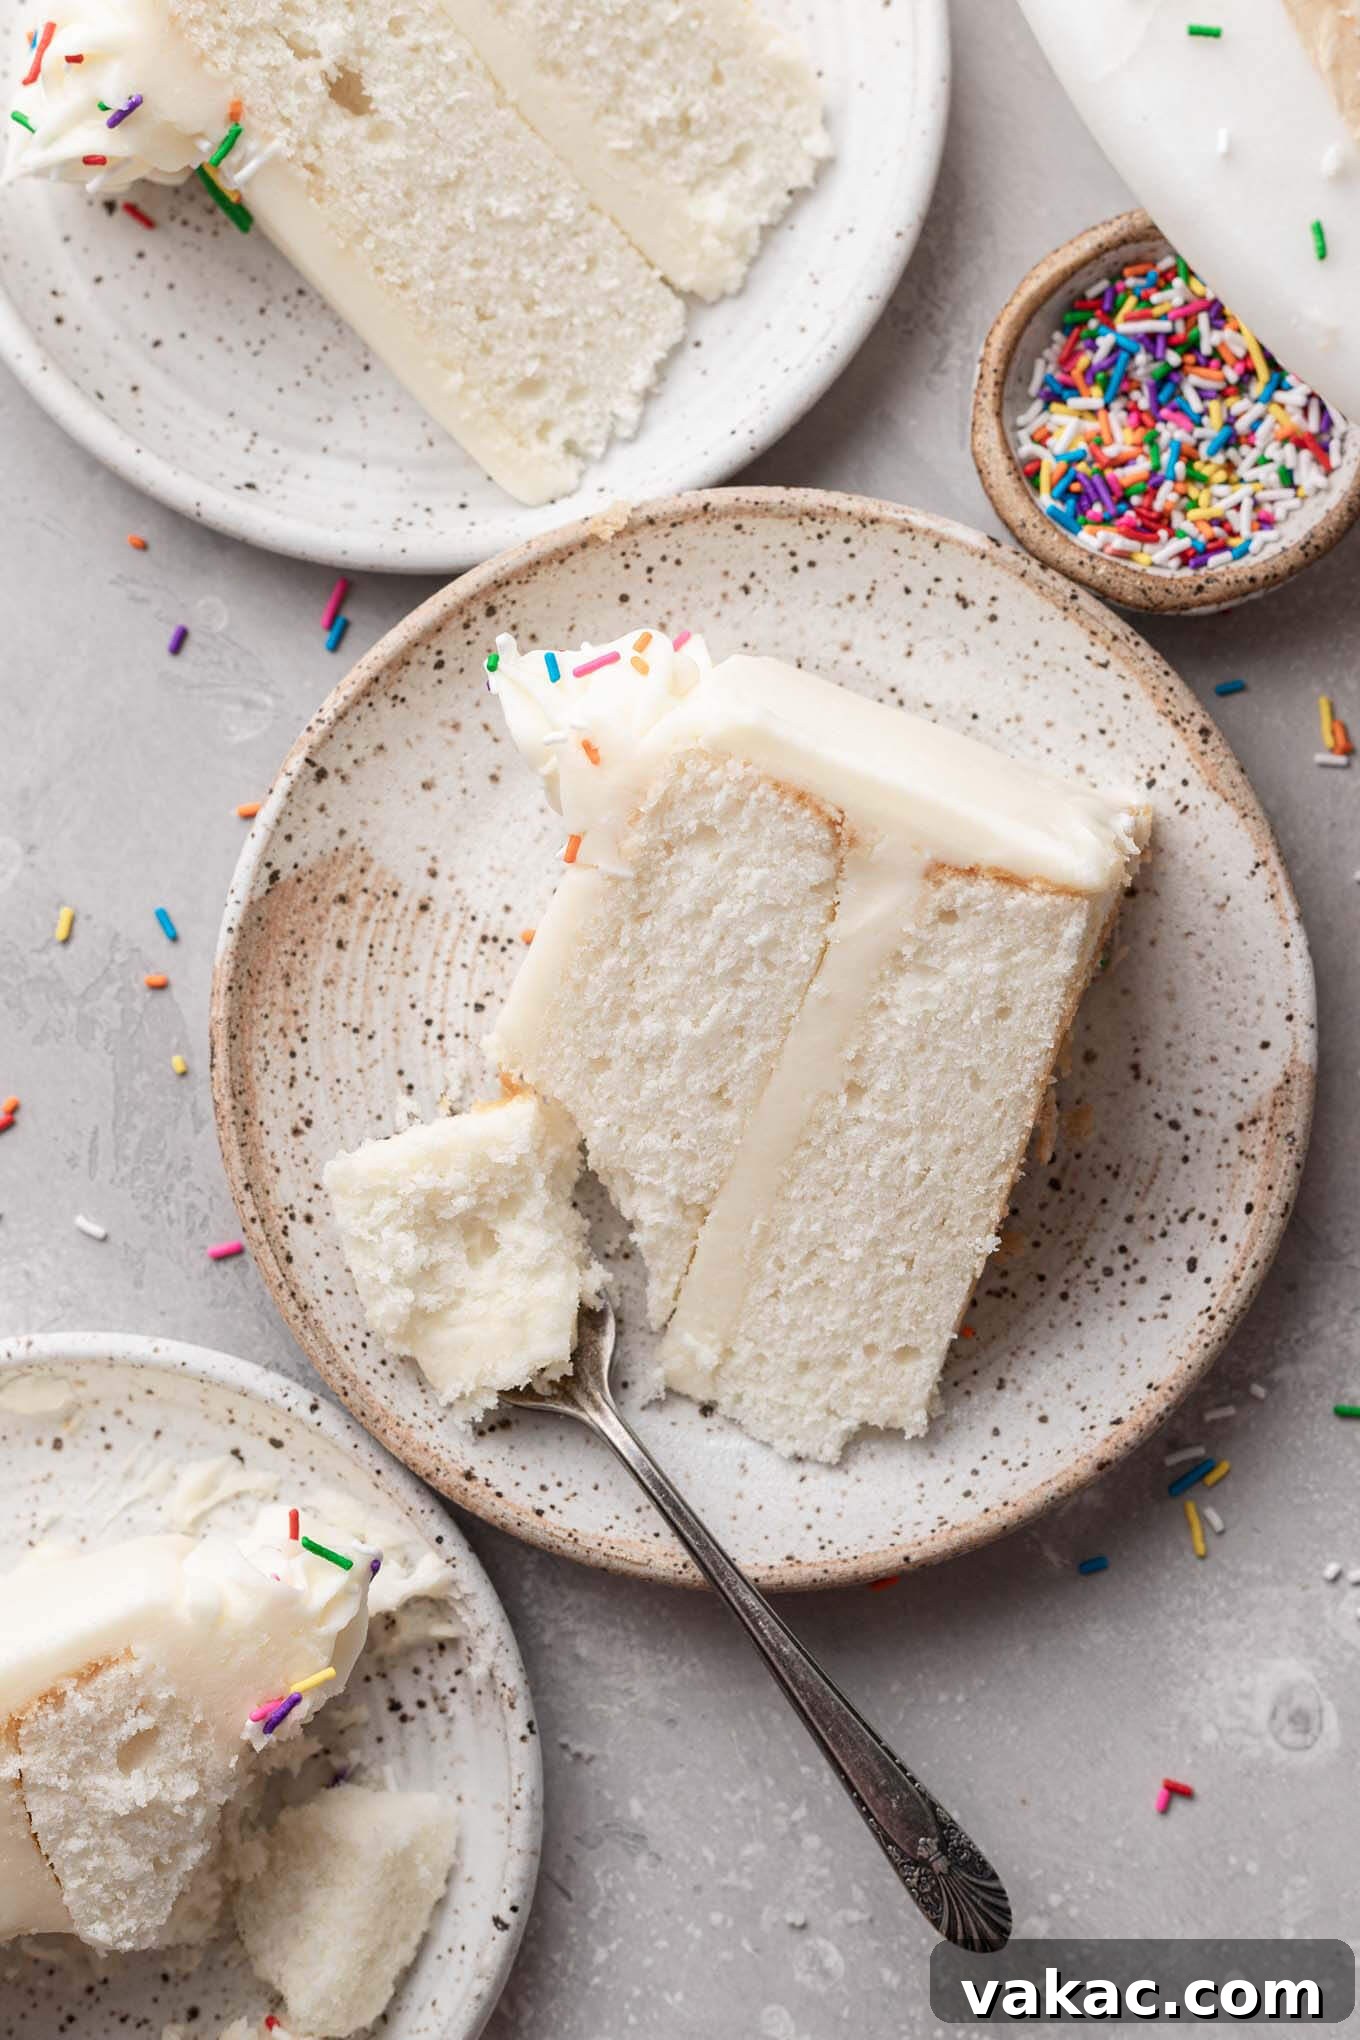
Expert Baking Tips for a Flawless White Cake
Achieving the perfect tender, moist, and fluffy white cake is simple when you pay attention to a few key details. These baking tips are designed to help you succeed every time:
- Room Temperature Ingredients are a Must: Always ensure all your cold ingredients—butter, buttermilk, and egg whites—are at room temperature before you begin baking. Room temperature butter creams more smoothly with sugar, incorporating more air. Room temperature liquids emulsify better into the batter, preventing curdling and yielding a smoother, more uniform texture. Egg whites at room temperature whip up with greater volume and stability.
- Creaming Butter and Sugar Properly: This step is foundational for a light cake. Beat the butter and sugar together until the mixture is visibly light in color and fluffy, which usually takes about 4 to 5 minutes on medium-high speed. This process aerates the mixture, creating pockets of air that expand during baking, contributing significantly to the cake’s delicate texture.
- Alternate Dry and Wet Ingredients: When incorporating the dry ingredients and the buttermilk-vanilla mixture, do so alternately in three additions, starting and ending with the dry. This method helps to create a stable emulsion, preventing the batter from breaking and ensuring the ingredients are evenly distributed without overmixing, which can lead to a tough cake.
- Gentle Folding of Egg Whites: After beating the egg whites to stiff peaks, fold them into the cake batter very gently. Use a spatula and a circular motion, lifting the batter from the bottom of the bowl over the egg whites. The goal is to incorporate them just until no streaks of white remain, without deflating the precious air you’ve built into them. Overmixing here will result in a denser cake.
- Don’t Overbake: Overbaking is the quickest way to dry out your cake. Start checking for doneness at the lower end of the suggested baking time. The cake is ready when a wooden toothpick inserted into the center comes out clean or with a few moist crumbs attached, but no wet batter.
- Proper Cooling is Key: Allow the cake layers to cool in their pans for about 15-20 minutes before attempting to invert them onto a wire rack. This allows the cake to firm up slightly, reducing the risk of it breaking or sticking. Ensure the cakes are completely cool before frosting; warm cakes will melt your beautiful buttercream.
- Making Cupcakes: To transform this recipe into delicious white cupcakes, divide the batter evenly among approximately 32 standard cupcake liners. Bake for 15 to 20 minutes, or until a toothpick comes out clean. If you prefer a smaller batch of cupcakes, consider using our dedicated white cupcake recipe.
Classic White Cake Recipe
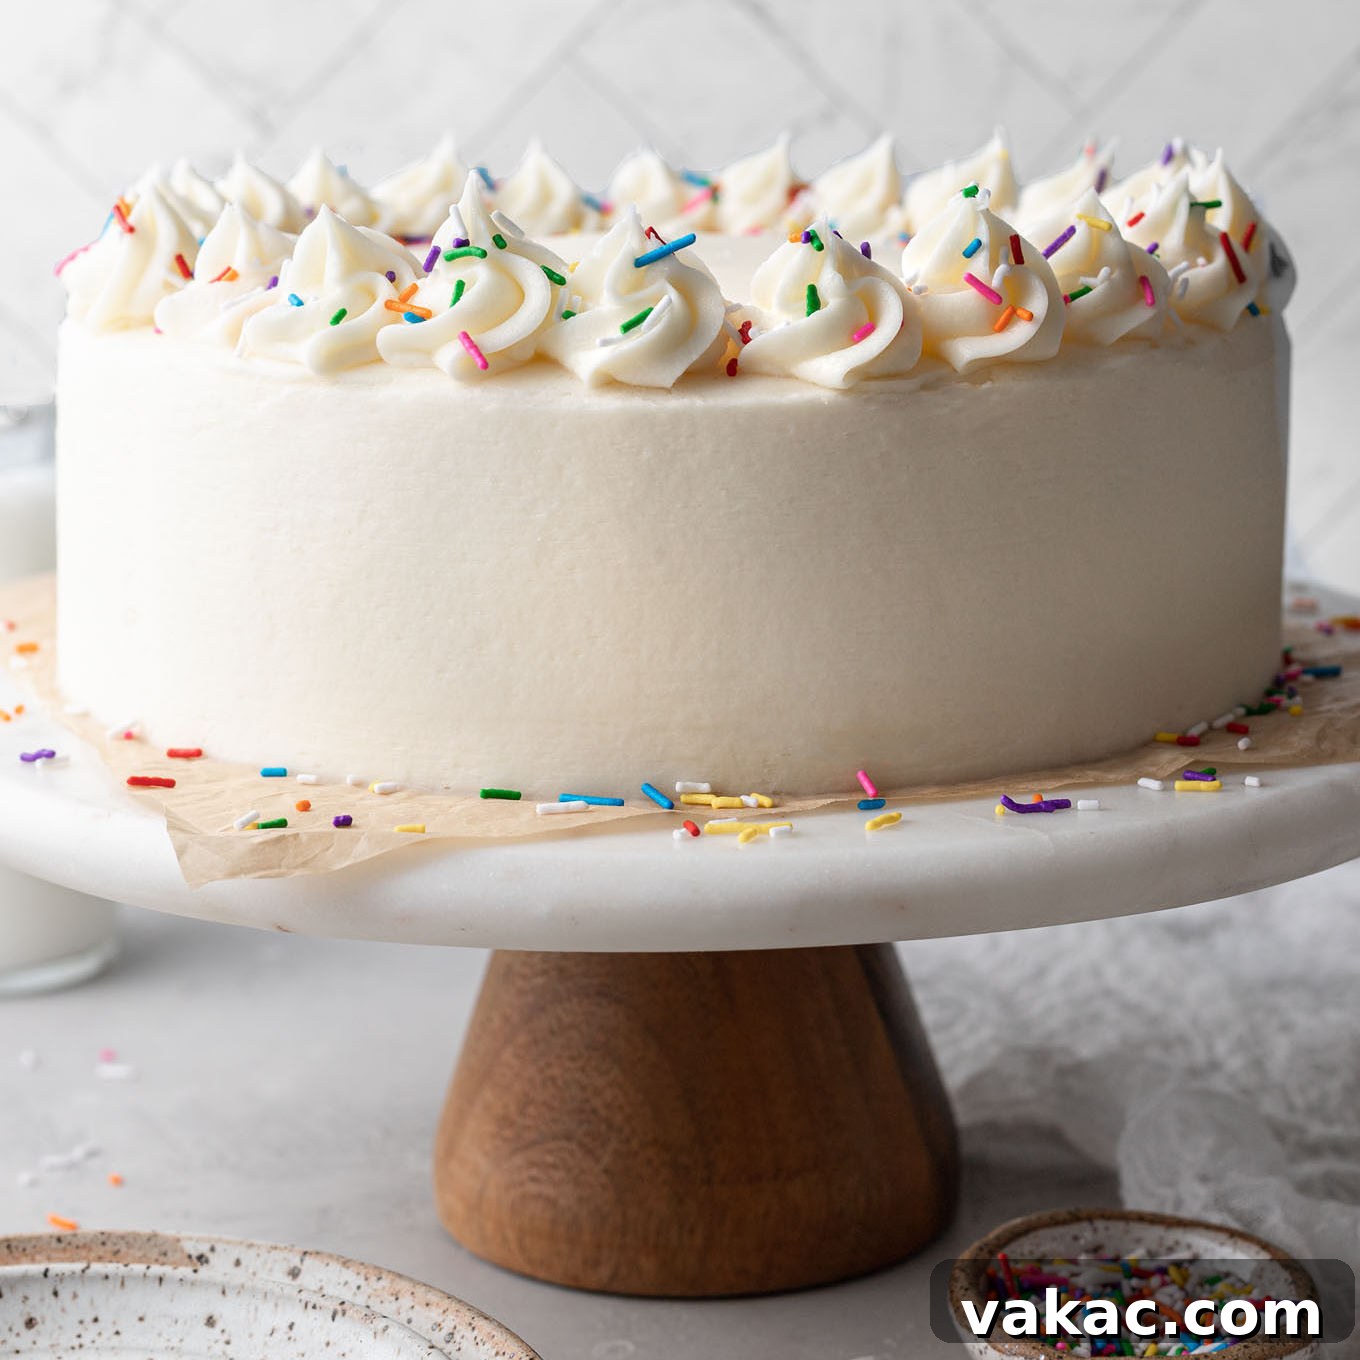
White Cake Recipe
Ingredients
For the white cake:
- 2 ¾ cups cake flour (spooned & leveled)(305 grams)
- 1 tablespoon baking powder
- ¾ teaspoon salt
- 1 cup buttermilk at room temperature (240 ml)
- 2 teaspoons clear vanilla extract or pure vanilla extract
- 1 cup unsalted butter softened (230 grams)
- 1 ¾ cups granulated sugar (350 grams)
- 5 large egg whites at room temperature
For the vanilla buttercream frosting:
- 1 ½ cups unsalted butter softened (340 grams)
- 4 ½ cups powdered sugar (540 grams)
- 3 tablespoons heavy whipping cream (45 ml)
- 1 tablespoon clear vanilla extract or pure vanilla extract
- ⅛ teaspoon salt
Instructions
To make the white cake:
-
Preheat the oven to 350°F (175°C). Spray two 9-inch cake pans with nonstick cooking spray, line the bottom of the pans with parchment paper, and set aside.
-
In a large mixing bowl, whisk together the cake flour, baking powder, and salt. Set aside.
-
Combine the buttermilk and vanilla extract in a measuring cup and stir until well combined. Set aside.
-
In the bowl of a stand mixer fitted with the paddle attachment or in a large mixing bowl using a handheld mixer, beat the butter on low speed until smooth. Then, slowly mix in the granulated sugar. Once all of the sugar is added, increase to medium speed and continue mixing for another 4 to 5 minutes or until the mixture is light and fluffy.
-
Add the dry ingredients to the creamed butter and sugar in three additions, alternating with the buttermilk mixture (begin and end with the dry ingredients) on low speed. Mix in each addition until just combined, making sure not to overmix the batter.
-
In a separate clean mixing bowl, beat the egg whites to stiff peaks. Gently fold half of the egg whites into the batter, then fold in the remaining egg whites until just combined.
-
Pour the cake batter into the prepared cake pans and spread around into one even layer. Gently tap the cake pans on the counter a couple of times to release any air bubbles.
-
Bake for 28 to 32 minutes or until a toothpick inserted into the center of the cakes comes out clean. Remove from the oven and allow to cool in the pan for about 20 minutes, then remove the cakes from the pans and transfer to a wire rack to cool completely.
To make the vanilla buttercream frosting:
-
In the bowl of a stand mixer fitted with the paddle attachment, or in a large mixing bowl using an electric mixer, beat the butter on medium speed until smooth.
-
Add the powdered sugar one cup at a time, making sure to mix well after each addition, stopping to scrape down the sides of the bowl as needed.
-
Add the heavy whipping cream, vanilla extract, and salt and mix on medium speed until fully combined, making sure to scrape down the sides of the bowl.
To assemble the cake:
-
Level the tops of each cake with a knife or cake leveler. Place one of the cakes on a cake stand, top with a layer of frosting, and smooth it out into one even layer. Place the second layer on top, then use the remaining frosting to frost the top and sides of the cake.
Notes
To make a 9×13-inch cake: Spray a 9×13-inch cake pan with nonstick cooking spray. Pour the cake batter into the pan and bake at 350°F (175°C) for 35-45 minutes or until a toothpick inserted into the center comes out clean. I would suggest just using one batch of my vanilla buttercream frosting recipe for a 9×13-inch cake.
Freezing instructions: Cake will freeze well for up to 3 months, thaw overnight in the refrigerator, then bring to room temperature. Frosting will also freeze for up to 3 months, thaw overnight in the refrigerator, then bring to room temperature and mix well before frosting the cake.