
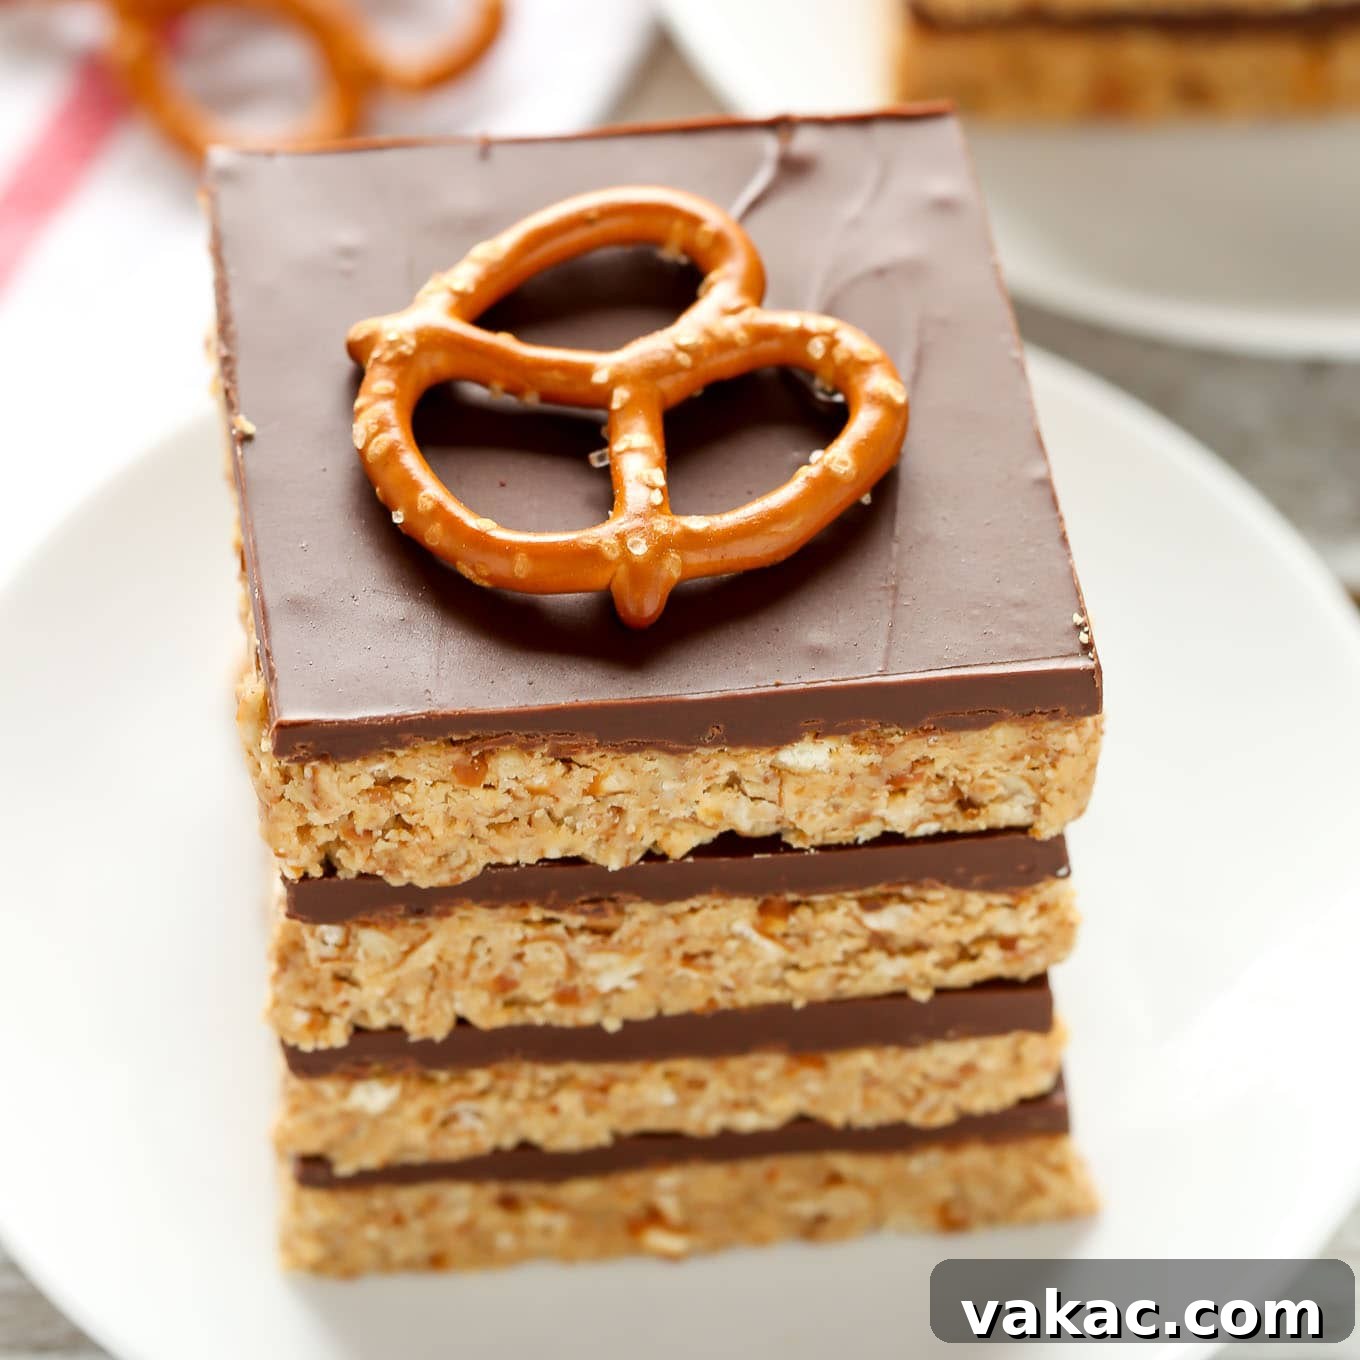
Are you craving a dessert that hits all the right notes? Something perfectly sweet, delightfully salty, and incredibly easy to make? Look no further than these spectacular No-Bake Peanut Butter Pretzel Bars! This recipe is a true game-changer for anyone who loves a quick, satisfying treat without even having to turn on the oven. With just five simple ingredients, you can whip up a batch of these irresistible bars that are guaranteed to become a new family favorite.
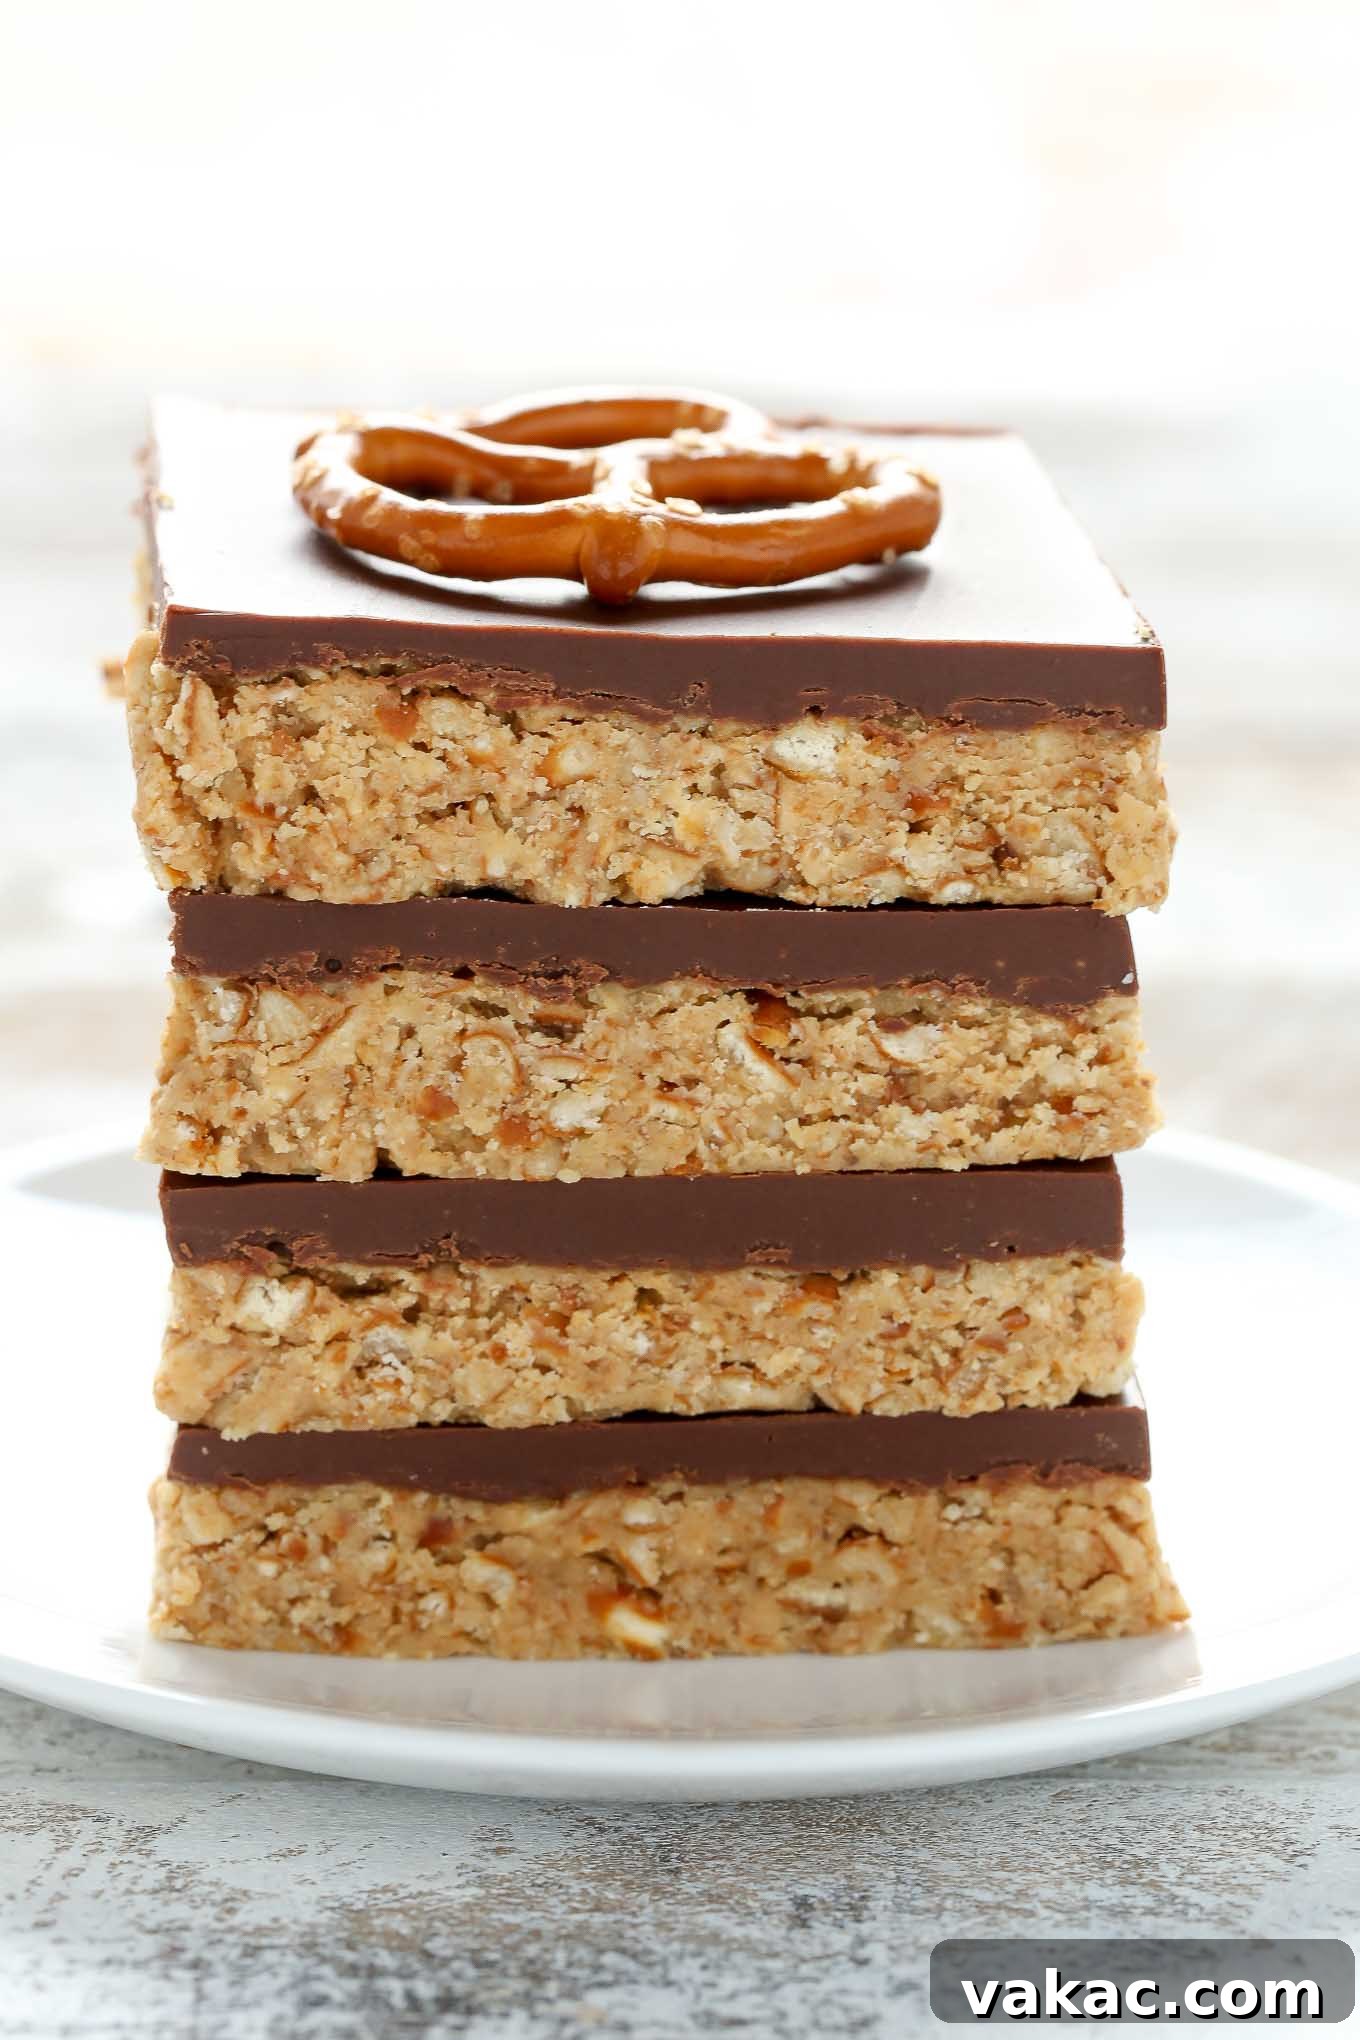
The Magic of No-Bake Desserts: Sweet Simplicity
Whether it’s sweltering summer or chilly winter, no-bake desserts always come to the rescue. They offer the joy of homemade treats without the fuss and heat of an oven, making them ideal for busy schedules or when you simply want a quick culinary win. I first made these particular bars for Christmas last year, and they were such a huge hit that I absolutely had to share the recipe. What makes them stand out from other no-bake peanut butter bars? The secret lies in the delightful crunch of crushed pretzels, which replace the traditional graham crackers, adding an unparalleled salty dimension that perfectly complements the rich peanut butter and sweet chocolate.
These bars are truly the epitome of a perfect dessert. They deliver an exquisite balance of sweet and salty, a combination that makes them incredibly hard to resist. One bite, and you’ll understand why I’m speaking from experience – self-control around these treats is a challenge!
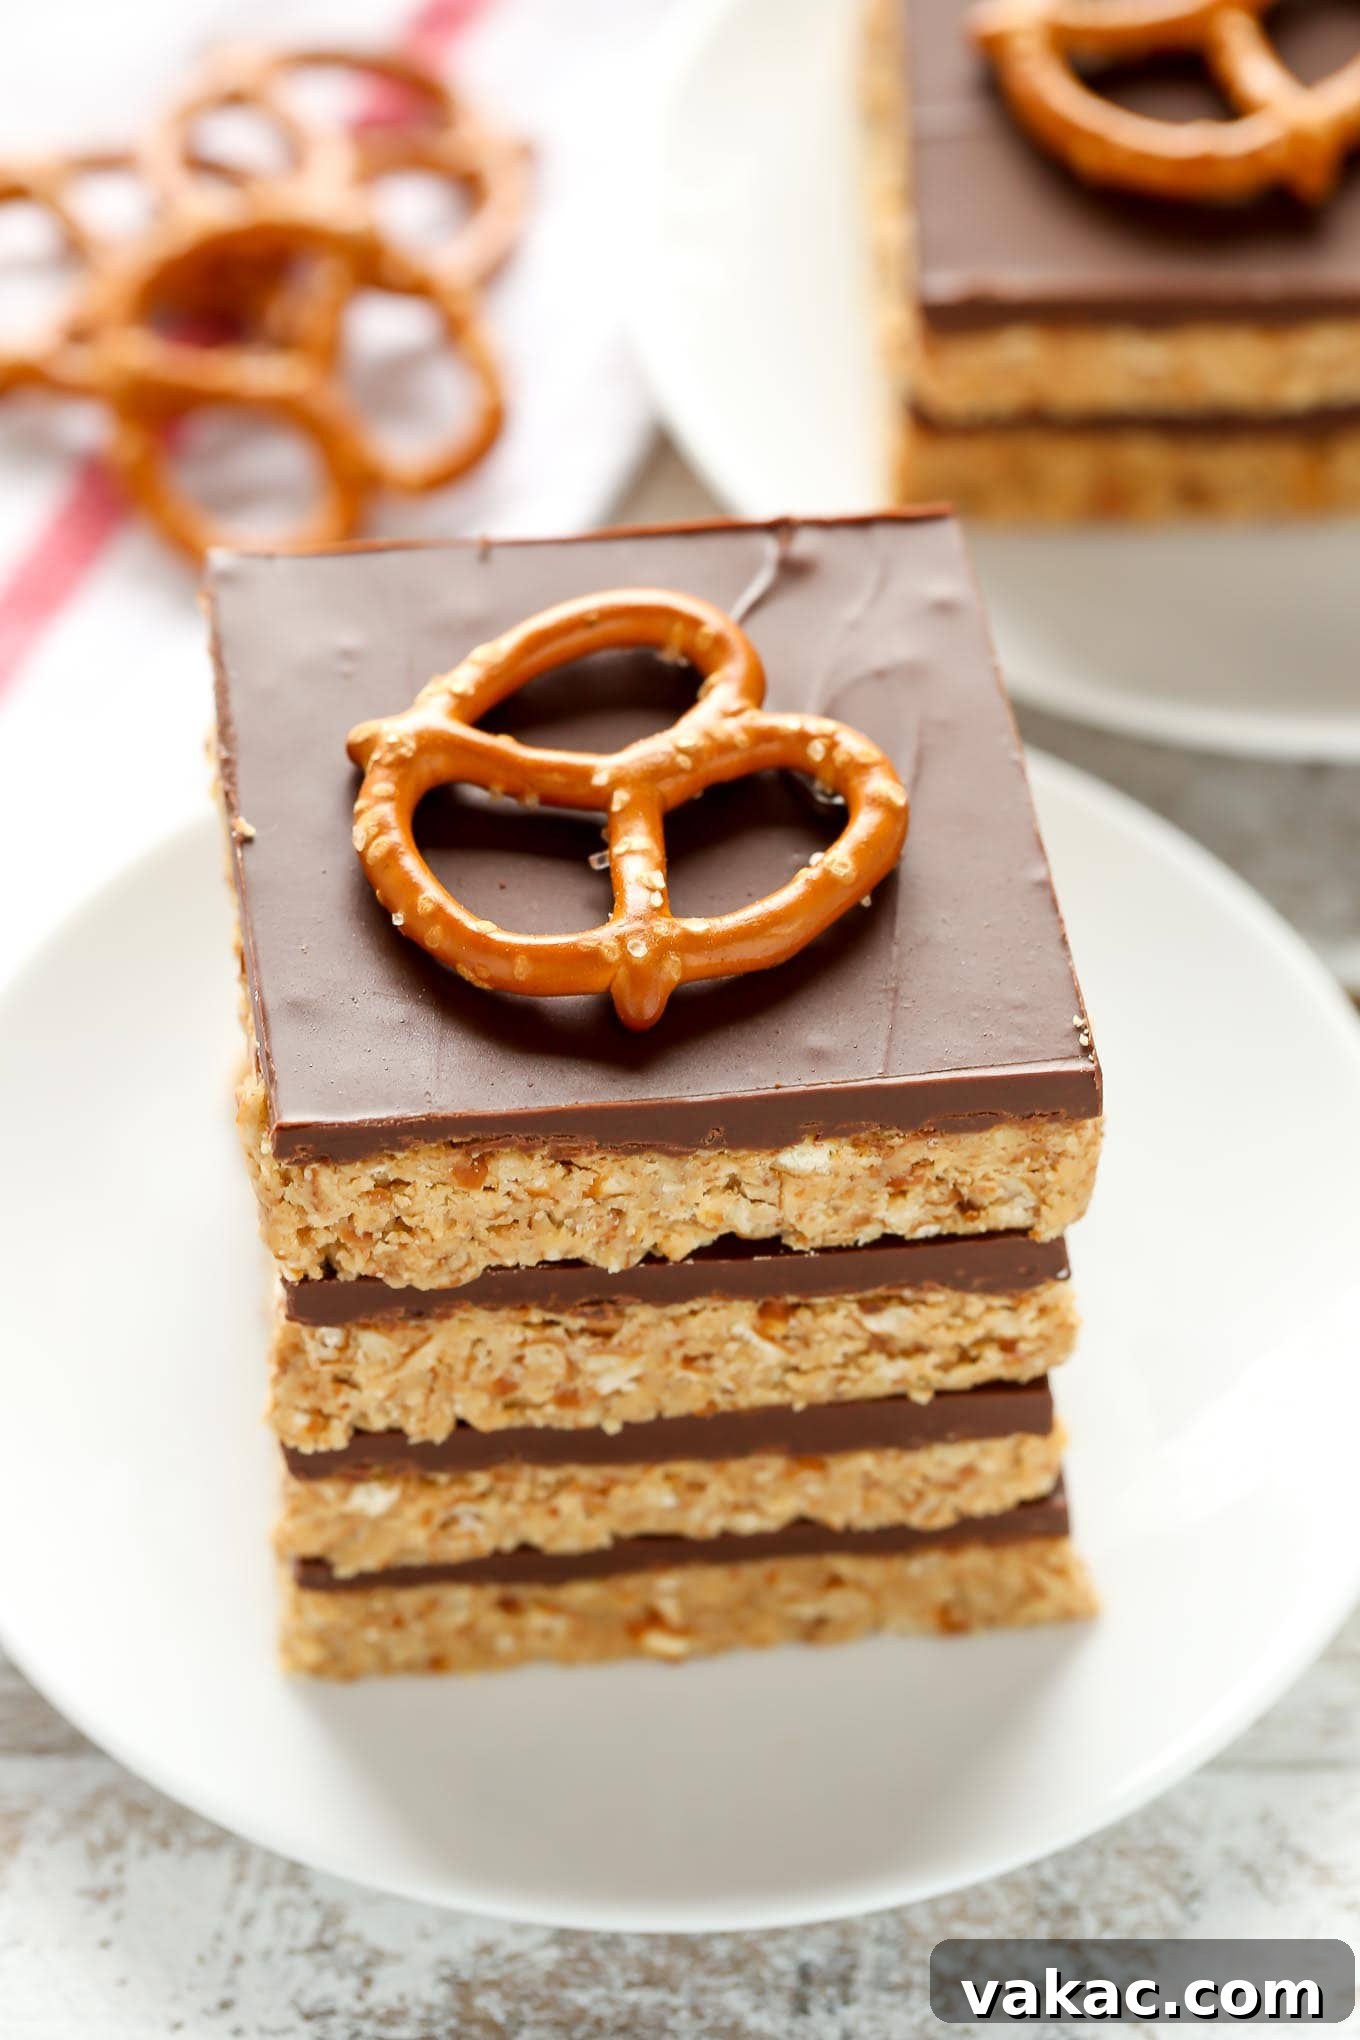
Crafting Your Peanut Butter Pretzel Masterpiece: A Step-by-Step Guide
Making these no-bake bars is surprisingly straightforward, involving two simple layers: the crunchy peanut butter pretzel base and the smooth chocolate peanut butter topping. Let’s dive into the process!
The Irresistible Peanut Butter Pretzel Layer
To begin, you’ll combine a few key ingredients: melted butter, powdered sugar, creamy peanut butter, and most importantly, crushed pretzels. A crucial tip for the pretzels: always measure them after they’ve been crushed. This ensures you get the precise amount for the perfect texture.
For crushing the pretzels, a food processor is your best friend. It quickly breaks them down into varied pieces – mostly smaller crumbs, but with a few larger chunks that add wonderful textural interest to the bars. If you don’t have a food processor, a sturdy plastic bag and a rolling pin work just as well, albeit with a bit more elbow grease. Aim for a mix of fine crumbs and small pieces for the best mouthfeel.
Once you’ve mixed these ingredients together, don’t be alarmed if the filling seems quite soft at first. This is perfectly normal! The magic happens during refrigeration. As the bars chill, the mixture will firm up beautifully, allowing for easy slicing and ensuring they hold their shape even at room temperature. Press this delightful mixture firmly and evenly into your prepared baking pan to form a solid, delicious base.
The Velvety Smooth Chocolate Peanut Butter Topping
The crowning glory of these bars is a simple yet decadent chocolate topping. You’ll need just two ingredients: semi-sweet chocolate chips and a little more creamy peanut butter. Place them together in a microwave-safe bowl and heat them in short bursts, typically 20-30 seconds at a time. After each interval, stir the mixture well. Continue this process until the chocolate is fully melted and beautifully smooth.
The addition of peanut butter to the chocolate isn’t just for flavor; it plays a vital role in the texture of the topping. It helps achieve that luscious, glossy finish and ensures that when you cut into or bite into the bars, the chocolate layer is perfectly soft and pliable, not hard or brittle. This makes for a much more enjoyable eating experience.

The Essential Chill Time & Storage Secrets
Patience is a virtue, especially when it comes to no-bake desserts. After assembling your bars, they will need to chill in the refrigerator for at least an hour. This crucial step allows both the peanut butter pretzel base and the chocolate topping to set completely, making them easy to slice into neat, perfect bars. Rushing this step might result in a messier cut, so allow ample time for chilling. Trust me, the wait is absolutely worth it for those clean, appealing squares.
Beyond their incredible taste and ease, these bars also boast fantastic make-ahead and freezer-friendly qualities. They freeze remarkably well, allowing you to prepare them in advance for future gatherings, unexpected guests, or simply to have a delightful treat on hand whenever a craving strikes. I’ve included detailed instructions on how to properly freeze them, ensuring they maintain their delicious texture and flavor for up to three months. Imagine having dessert ready to go on a moment’s notice – it truly simplifies entertaining and everyday indulgence!
The best part? You don’t have to turn your oven on, saving energy and keeping your kitchen cool. This makes them an ideal choice for any season, particularly during warmer months when baking can heat up the house.
No-Bake Peanut Butter Pretzel Bars
These No-Bake Peanut Butter Pretzel Bars are the perfect sweet and salty dessert. You only need five ingredients to make these incredibly easy bars!
Prep Time: 1 hr 20 mins
Total Time: 1 hr 20 mins
Yields: 24 bars
Pin Recipe
Ingredients
For the peanut butter pretzel layer:
- 3/4 cup (170 grams) unsalted butter, melted
- 1 and 1/2 cups (180 grams) powdered sugar
- 1 cup (250 grams) creamy peanut butter
- 2 cups (200 grams) crushed pretzels (measured after crushing)
For the topping:
- 1 12-ounce package semi-sweet chocolate chips
- 1/4 cup (65 grams) creamy peanut butter
Instructions
To make the peanut butter pretzel layer:
- Line a 9×13 inch baking pan with aluminum foil or parchment paper, ensuring some overhang on the sides for easy removal, then set aside.
- In a large mixing bowl, combine the melted butter, powdered sugar, peanut butter, and crushed pretzels. Mix thoroughly until all ingredients are fully combined into a cohesive mixture. Scoop this mixture into the prepared baking pan and press it down firmly and evenly to form the base layer.
To make the topping:
- Place the chocolate chips and peanut butter in a microwave-safe bowl. Microwave in 20-30 second intervals, stirring well after each increment, until the mixture is completely melted and smooth.
- Pour the melted chocolate and peanut butter mixture evenly over the pretzel base in the pan and spread it into a smooth, even layer.
- Cover the pan tightly and refrigerate for at least 1 hour, or until fully set. Once chilled, remove the bars from the pan using the foil or parchment overhang, then slice into individual bars.
Notes
- Prep time listed includes the necessary 1 hour of chilling time for the bars to set.
- These bars can be frozen for up to 3 months. To freeze, wrap them tightly in plastic wrap and then store them in a freezer bag or airtight container. Thaw overnight in the refrigerator before serving. For best texture, allow them to come to room temperature briefly before enjoying.
Cuisine: American
Course: Dessert
Author: Danielle Rye
Tips for No-Bake Peanut Butter Pretzel Bar Perfection
- Quality Ingredients Matter: While simple, using good quality peanut butter and chocolate chips will significantly enhance the flavor.
- Crushing Pretzels: Whether using a food processor or a bag and rolling pin, aim for a mix of textures. Some finer crumbs help bind the base, while larger pieces add a satisfying crunch.
- Pressing the Base: Ensure the peanut butter pretzel mixture is pressed down very firmly and evenly into the pan. This creates a solid base that won’t crumble when cut. You can use the back of a spoon or a flat-bottomed glass.
- Melting Chocolate: Be careful not to overheat the chocolate in the microwave. Stirring in short intervals prevents burning and ensures a smooth, consistent melt.
- Patience with Chilling: Do not skip or shorten the chilling time. It’s essential for the bars to set properly, ensuring clean cuts and a stable structure.
- Clean Cuts: For perfectly neat squares, use a sharp knife. You can even run the knife under hot water and wipe it clean between cuts for extra precision.
Creative Variations and Customizations
While these bars are fantastic as is, don’t hesitate to get creative with your own twists!
- Chocolate Variety: Experiment with different types of chocolate chips for the topping. Milk chocolate, dark chocolate, or even a mix of white and semi-sweet can create unique flavor profiles.
- Extra Crunch: Fold in some chopped peanuts, mini chocolate chips, or even a handful of toasted coconut flakes into the peanut butter pretzel base for added texture.
- Sweet & Salty Garnish: Before the chocolate topping sets, sprinkle a pinch of flaky sea salt on top to further enhance the sweet and salty dynamic. You could also add colorful sprinkles for a festive touch.
- Nut Butter Alternatives: While peanut butter is classic, you could try almond butter or cashew butter for a different flavor. Be aware that the consistency might vary, so you might need to adjust powdered sugar slightly.
- Flavor Extracts: A tiny dash of vanilla extract in the peanut butter base or a hint of almond extract in the chocolate topping can add another layer of flavor complexity.
Serving Suggestions & Occasions
These No-Bake Peanut Butter Pretzel Bars are incredibly versatile and suitable for almost any occasion.
- Party Perfect: Their easy-to-eat bar format makes them ideal for potlucks, parties, and gatherings. They’re a guaranteed crowd-pleaser for all ages.
- Everyday Treat: Keep a batch in the fridge (or freezer) for a delightful afternoon snack or a simple after-dinner dessert.
- Gift Idea: Wrap a few bars individually in cellophane bags with a ribbon for a thoughtful homemade gift.
- Coffee Companion: Enjoy these rich, flavorful bars with a cup of coffee or tea for a cozy indulgence.
Frequently Asked Questions About No-Bake Peanut Butter Pretzel Bars
Can I use natural peanut butter for this recipe?
While you can, natural peanut butter (especially the kind that separates) might affect the texture of the base, making it a bit oilier or less firm. For best results, a creamy, no-stir peanut butter is recommended as it provides the most consistent texture. If using natural, ensure it’s well-stirred and smooth.
What kind of pretzels are best for crushing?
Standard mini twist pretzels work perfectly. Avoid flavored pretzels, as they might introduce unwanted tastes. Plain, salted pretzels are ideal for that classic sweet and salty balance.
My bars are too soft, what went wrong?
This usually means they haven’t chilled long enough. Ensure they are refrigerated for at least 1 hour, or even longer if your kitchen is warm. Sometimes, an extra 30 minutes to an hour in the fridge makes all the difference. Also, make sure you used enough powdered sugar in the base, as it helps with firmness.
How long do these bars last?
When stored in an airtight container in the refrigerator, these bars will stay fresh for up to 5-7 days. If frozen, they can last for up to 3 months.
Can I make these vegan?
You can adapt this recipe to be vegan by using vegan butter, dairy-free chocolate chips, and ensuring your peanut butter doesn’t contain any animal products.
This recipe was slightly adapted from Trisha Yearwood’s original recipe, a testament to its timeless appeal and deliciousness.
Love no-bake desserts?
You can find all of my no-bake recipes here.
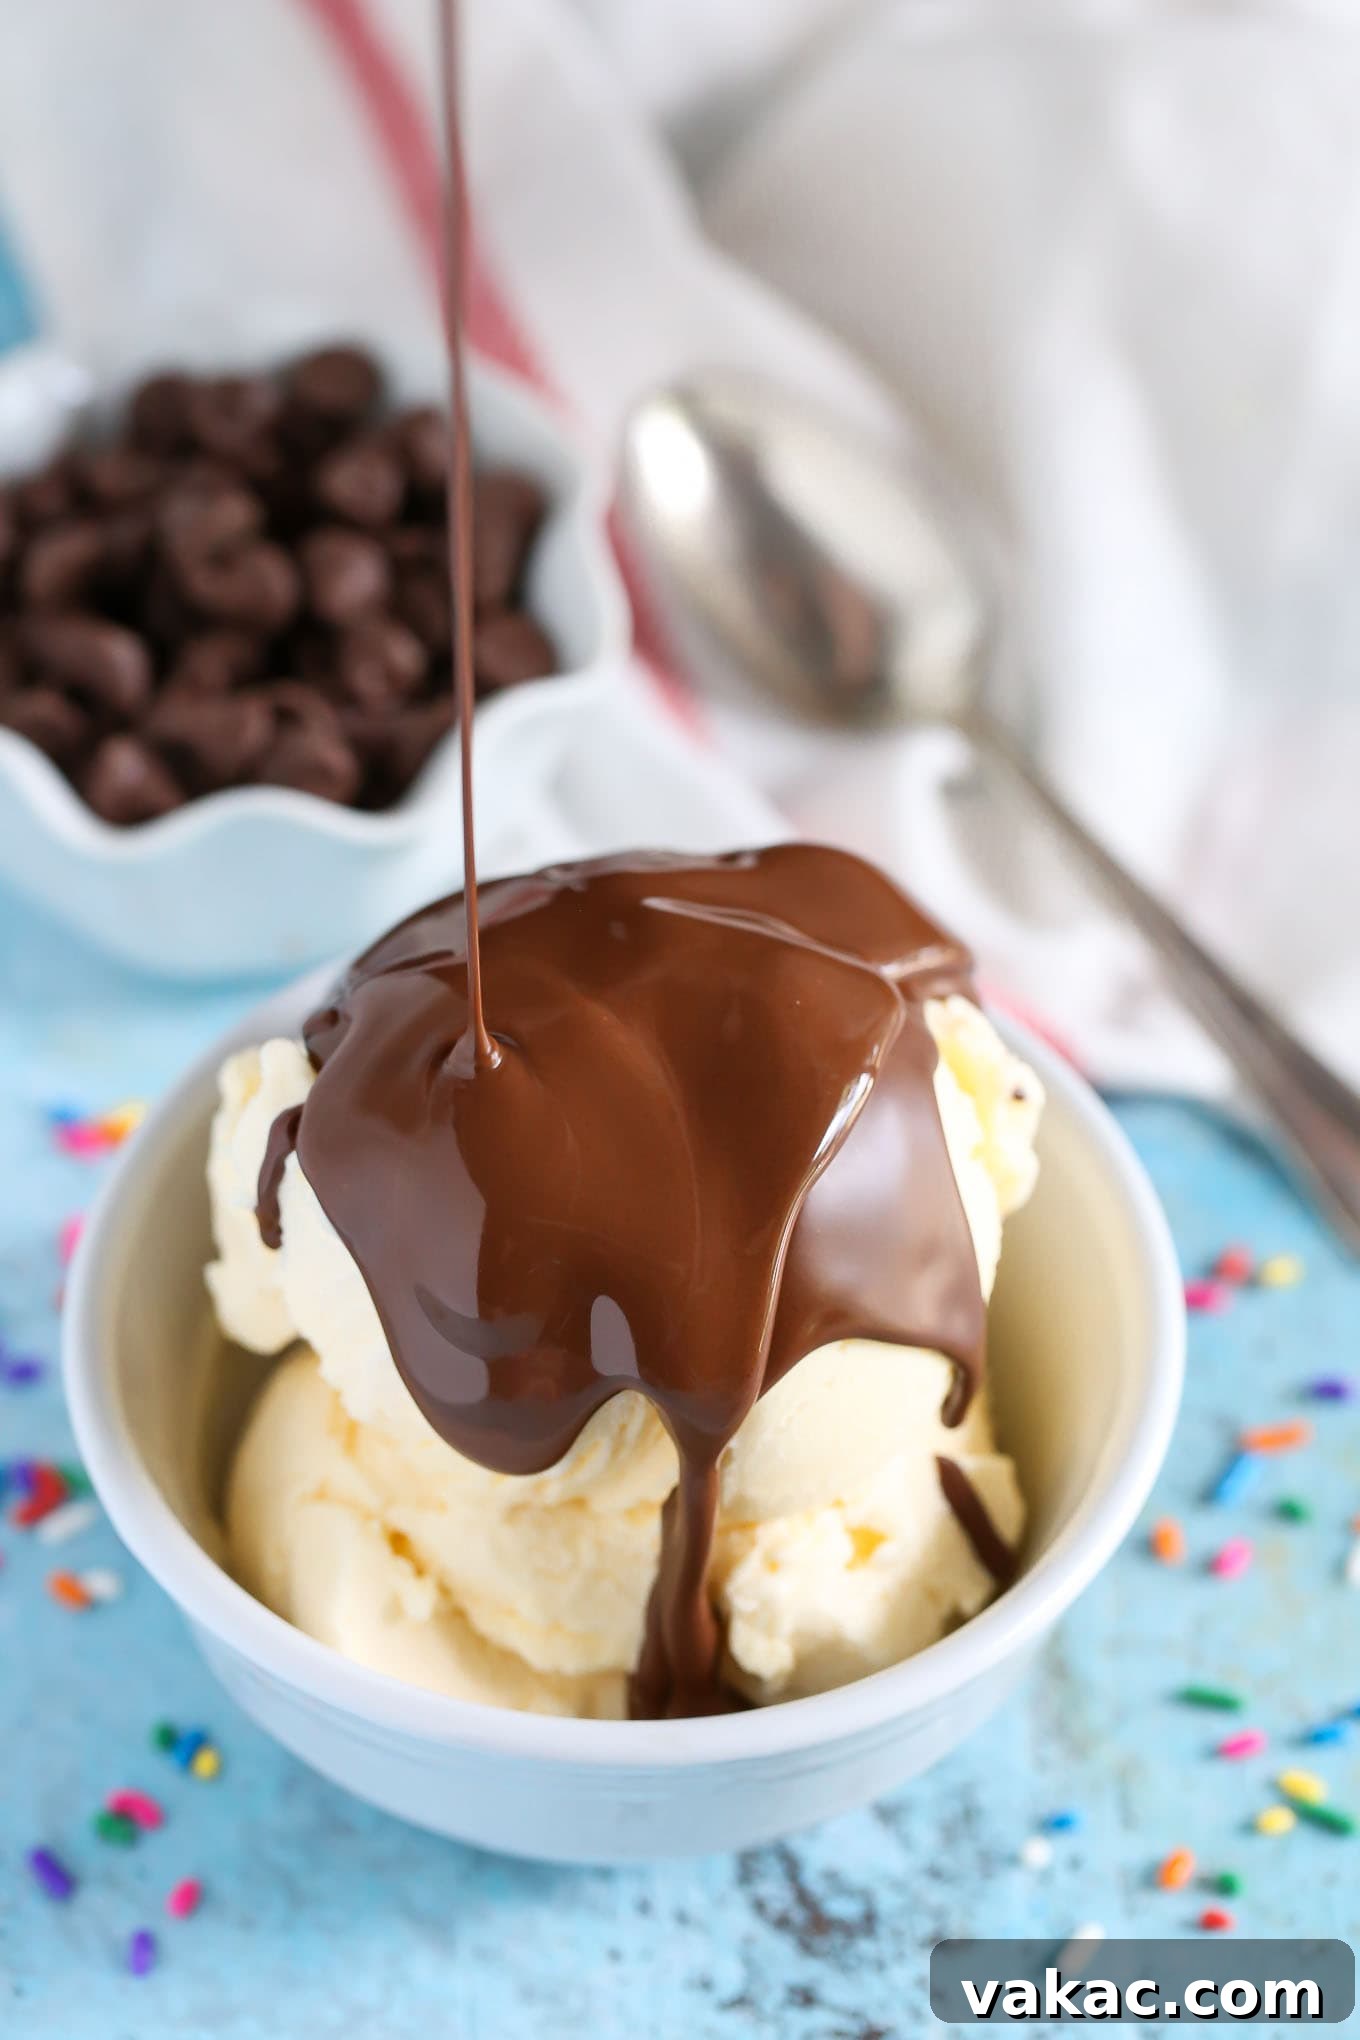
This Homemade Magic Shell is one of my favorites and just two ingredients!
Share Your Creation!
If you make these incredible No-Bake Peanut Butter Pretzel Bars, we’d love to see them! Share your photos on Instagram and mention @livewellbakeoften or use the hashtag #livewellbakeoften. Your culinary creations inspire us all!