

Irresistible Buckeye Cookies: Your New Favorite Chocolate Peanut Butter Obsession
Prepare to fall in love with these incredible Buckeye cookies! This recipe takes everything you adore about the classic no-bake Buckeye candy and transforms it into a delightful, homemade cookie experience. Imagine a soft, wonderfully chewy chocolate cookie base, generously topped with a rich, creamy peanut butter layer, and then elegantly drizzled with a decadent chocolate ganache. Each bite offers a harmonious blend of sweet, salty, and utterly satisfying flavors that will have everyone reaching for more.

For those unfamiliar, Buckeye candy is a beloved confection resembling the nuts from Ohio’s Buckeye trees. It features a creamy peanut butter ball partially dipped in chocolate, leaving a peek-a-boo peanut butter center. This creates a tantalizing contrast of textures and flavors, making it a favorite treat, especially for chocolate and peanut butter enthusiasts. This cookie recipe beautifully captures that iconic look and taste, making it a perfect dessert for any occasion, though they truly shine during the holidays!
My journey to these Buckeye cookies started with a successful attempt at Buckeye brownies earlier this year. The idea of translating that classic flavor profile into a cookie form quickly became an obsession. After some experimentation, I’m thrilled to share this perfected recipe. The foundation is a supremely soft and chewy chocolate cookie, which provides the perfect canvas for the creamy peanut butter topping and the glossy chocolate finish. The result is a truly addictive cookie that’s both elegant and comforting.
Essential Ingredients for Perfect Buckeye Cookies
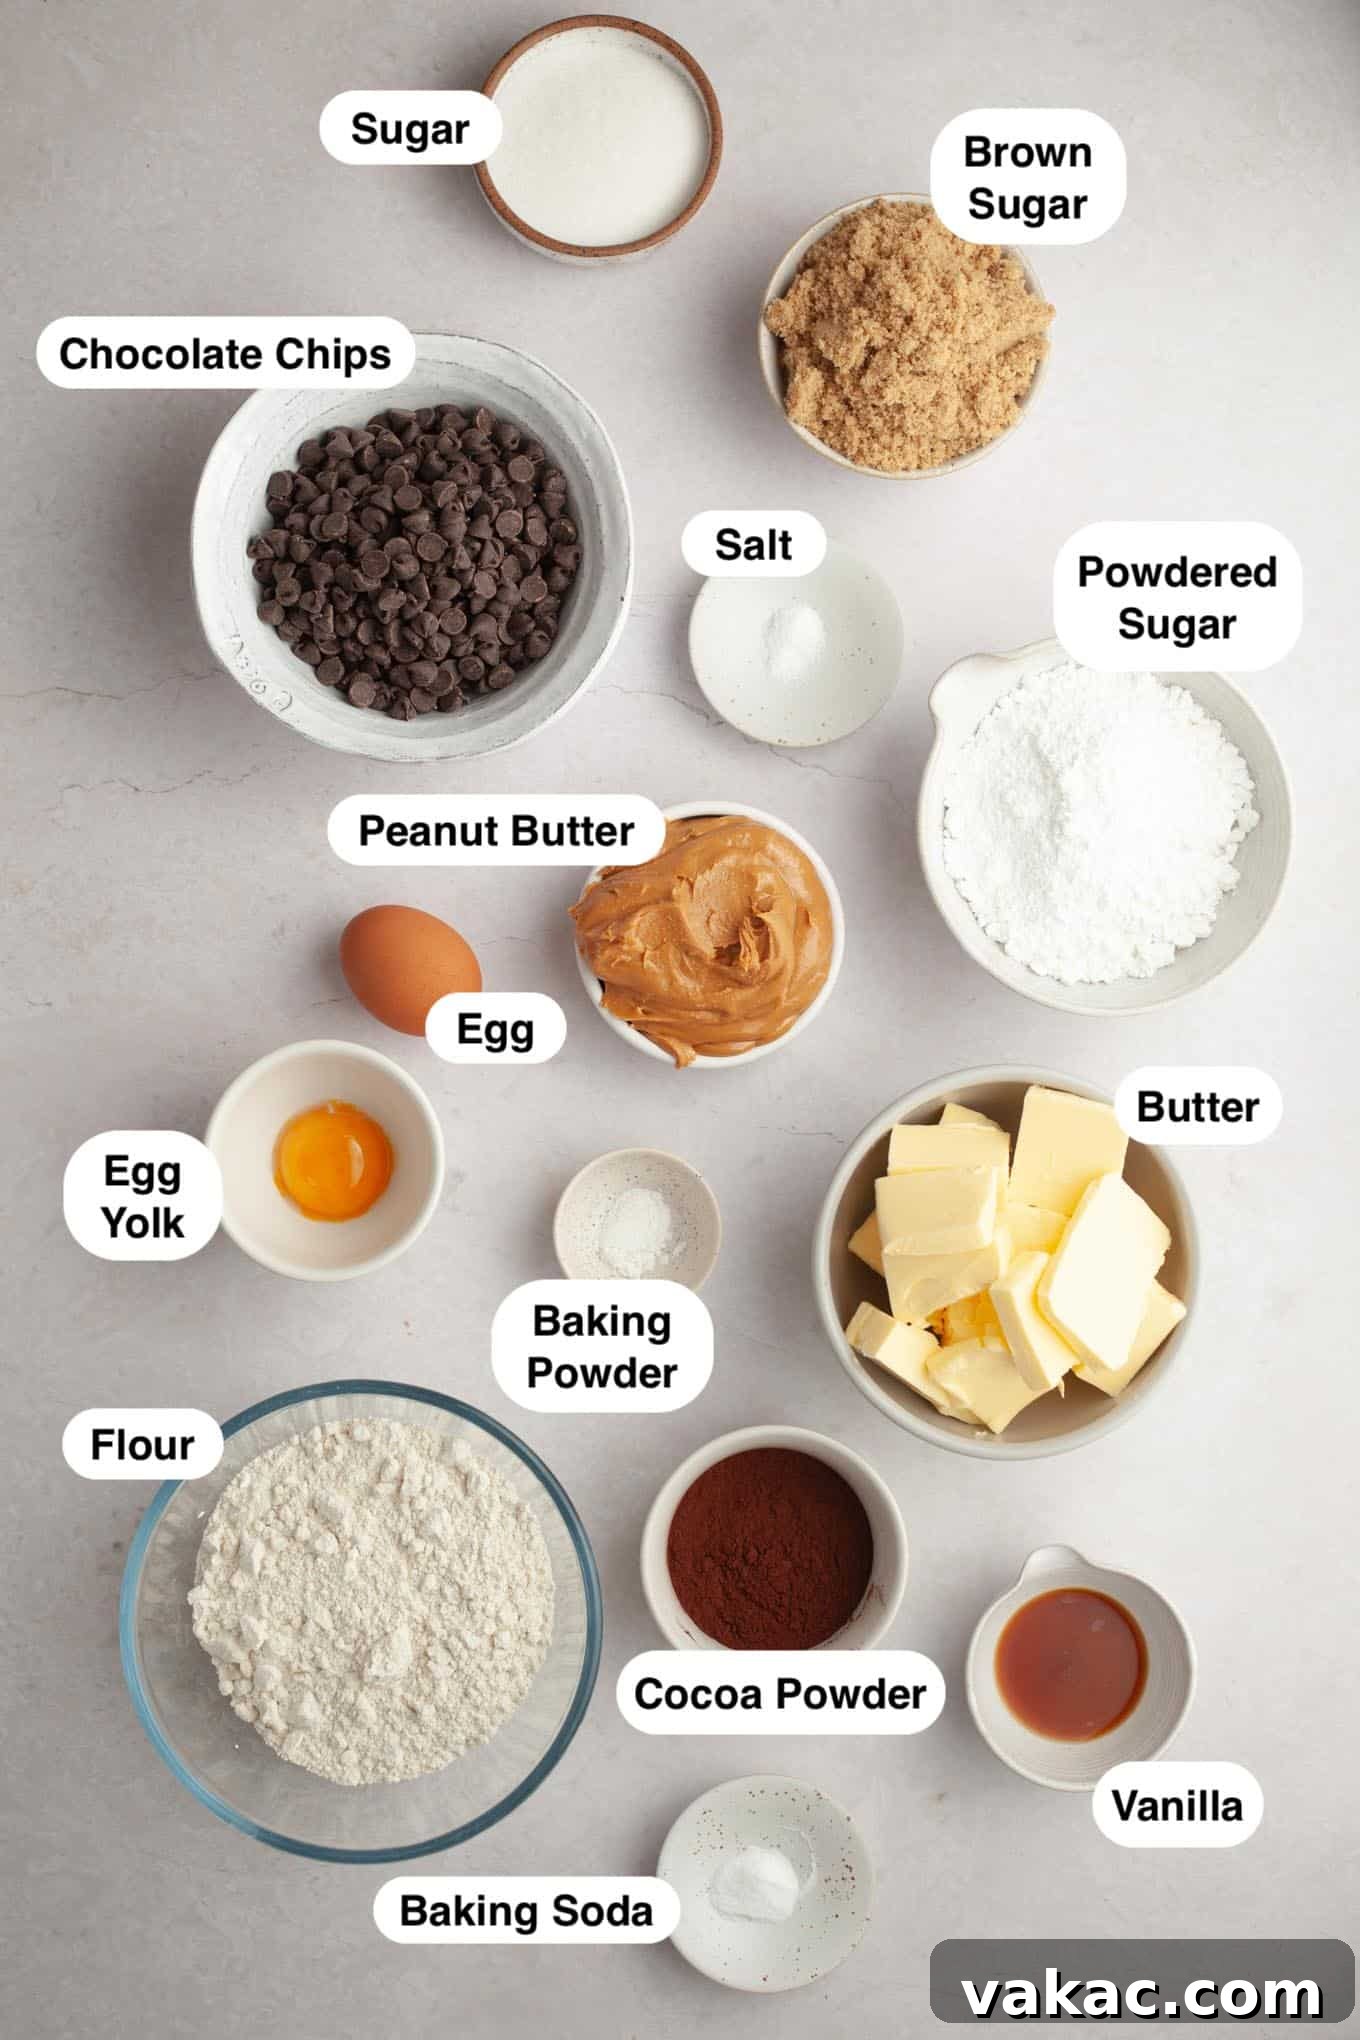
Crafting these delectable Buckeye cookies requires a selection of common baking ingredients. Each plays a crucial role in achieving the perfect texture and flavor. Here’s a detailed look at what you’ll need and why:
- Sugars (Granulated, Brown, Powdered): We use a combination of granulated and light brown sugar in the chocolate cookie base. Granulated sugar provides sweetness and helps with crispness, while brown sugar adds moisture, chewiness, and a subtle molasses flavor. For the peanut butter layer, powdered sugar is key. It not only sweetens the mixture but also helps achieve that desirable thick, fudge-like consistency without adding granular texture.
- Egg and Extra Egg Yolk: The large egg acts as a binder, holding the cookie dough together and providing structure. The addition of an extra large egg yolk is a secret to ultra-rich, tender, and chewy cookies. The extra fat from the yolk contributes significantly to a more luxurious texture and deeper flavor in the chocolate base. Ensure your eggs are at room temperature for optimal emulsification with the butter and sugars.
- All-Purpose Flour: This forms the structural backbone of your cookies. It’s vital to measure your flour correctly to avoid dry, crumbly cookies. Always spoon the flour into your measuring cup and level it off with the back of a knife rather than scooping directly from the bag, which can compact the flour and lead to using too much. For a visual guide, refer to how to measure flour correctly.
- Natural Cocoa Powder: Since this recipe calls for both baking soda and baking powder, natural unsweetened cocoa powder is the ideal choice. Natural cocoa powder is acidic, reacting with baking soda to provide lift and a tender crumb. For a deeper understanding of cocoa types, you can explore the differences between natural vs. Dutch process cocoa powder.
- Creamy Peanut Butter: For the best results in your peanut butter layer, opt for a traditional, no-stir creamy peanut butter like Jif or Skippy. Natural peanut butters tend to separate and can result in a greasy or overly soft peanut butter layer, which isn’t ideal for holding its shape on the cookies. The stability of conventional peanut butter is crucial for this recipe.
- Chocolate Chips (Semi-Sweet or Dark): To simplify the chocolate topping, chocolate chips are an excellent choice. Since these cookies are already quite sweet, I highly recommend using semi-sweet or dark chocolate chips. This helps balance the overall sweetness of the dessert, creating a more sophisticated and enjoyable flavor profile. You can also use good quality chocolate bars, chopped into small pieces.
- Unsalted Butter, Vanilla Extract, and Salt: These foundational ingredients enhance the flavor and texture of all three layers. Unsalted butter allows you to control the salt content. Pure vanilla extract adds warmth and depth. Salt balances the sweetness and brings out the flavors of both the chocolate and peanut butter.
Step-by-Step Guide to Making Buckeye Cookies
Creating these sensational Buckeye cookies is an enjoyable process. Follow these detailed instructions for a perfectly baked, beautifully layered treat:
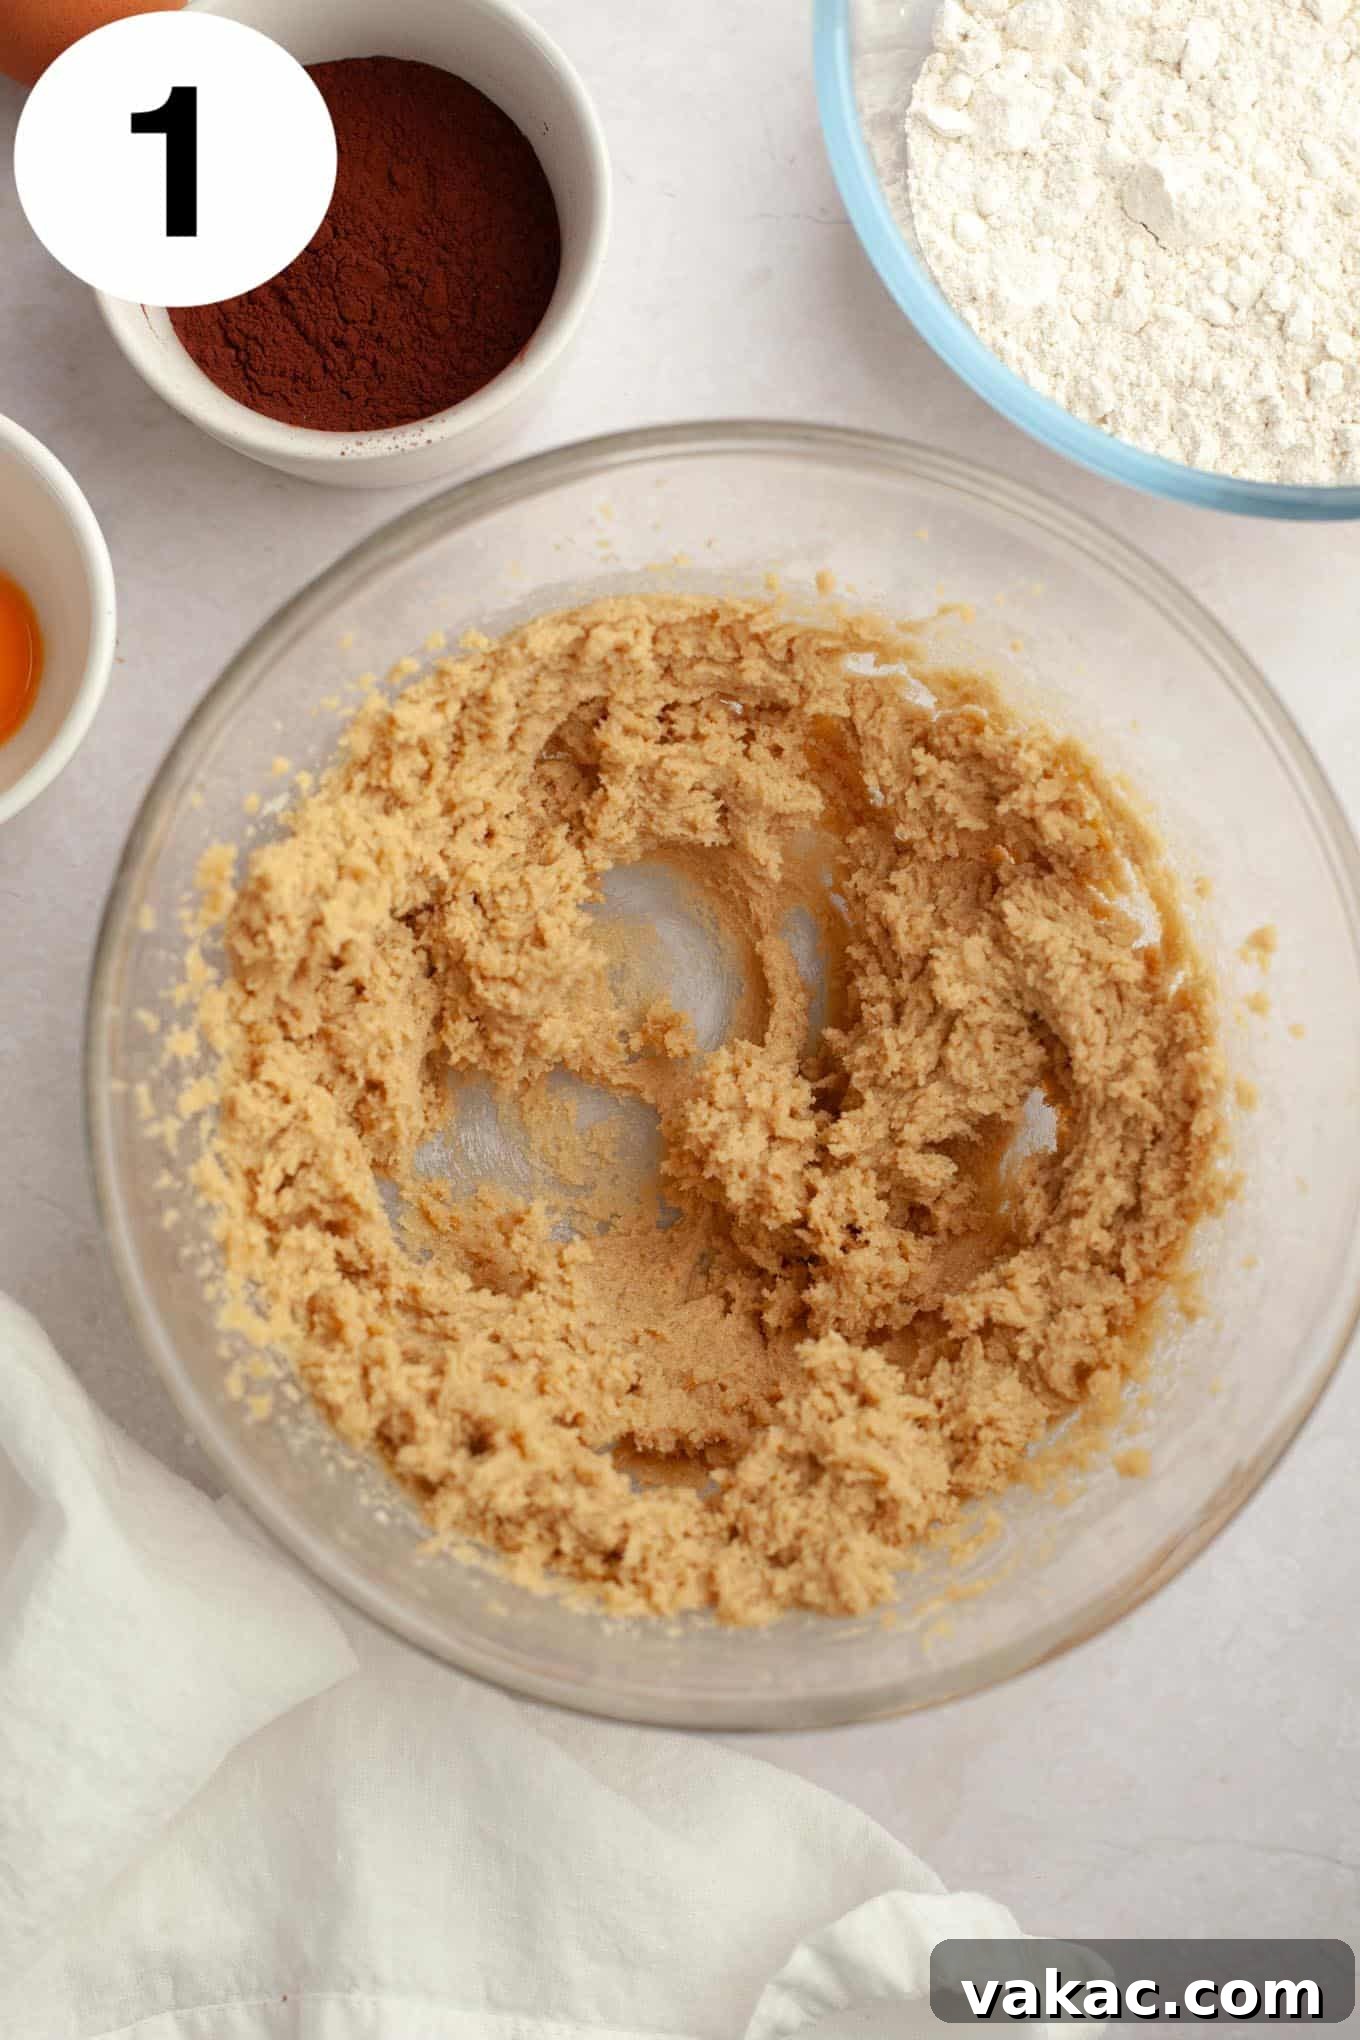
- Prepare the Chocolate Cookie Dough: In a large mixing bowl, using either a stand mixer fitted with a paddle attachment or a handheld electric mixer, cream together the softened unsalted butter, light brown sugar, and granulated sugar. Beat for 1 to 2 minutes on medium speed until the mixture is light, fluffy, and well combined. This creaming process incorporates air, which contributes to the cookies’ soft texture.
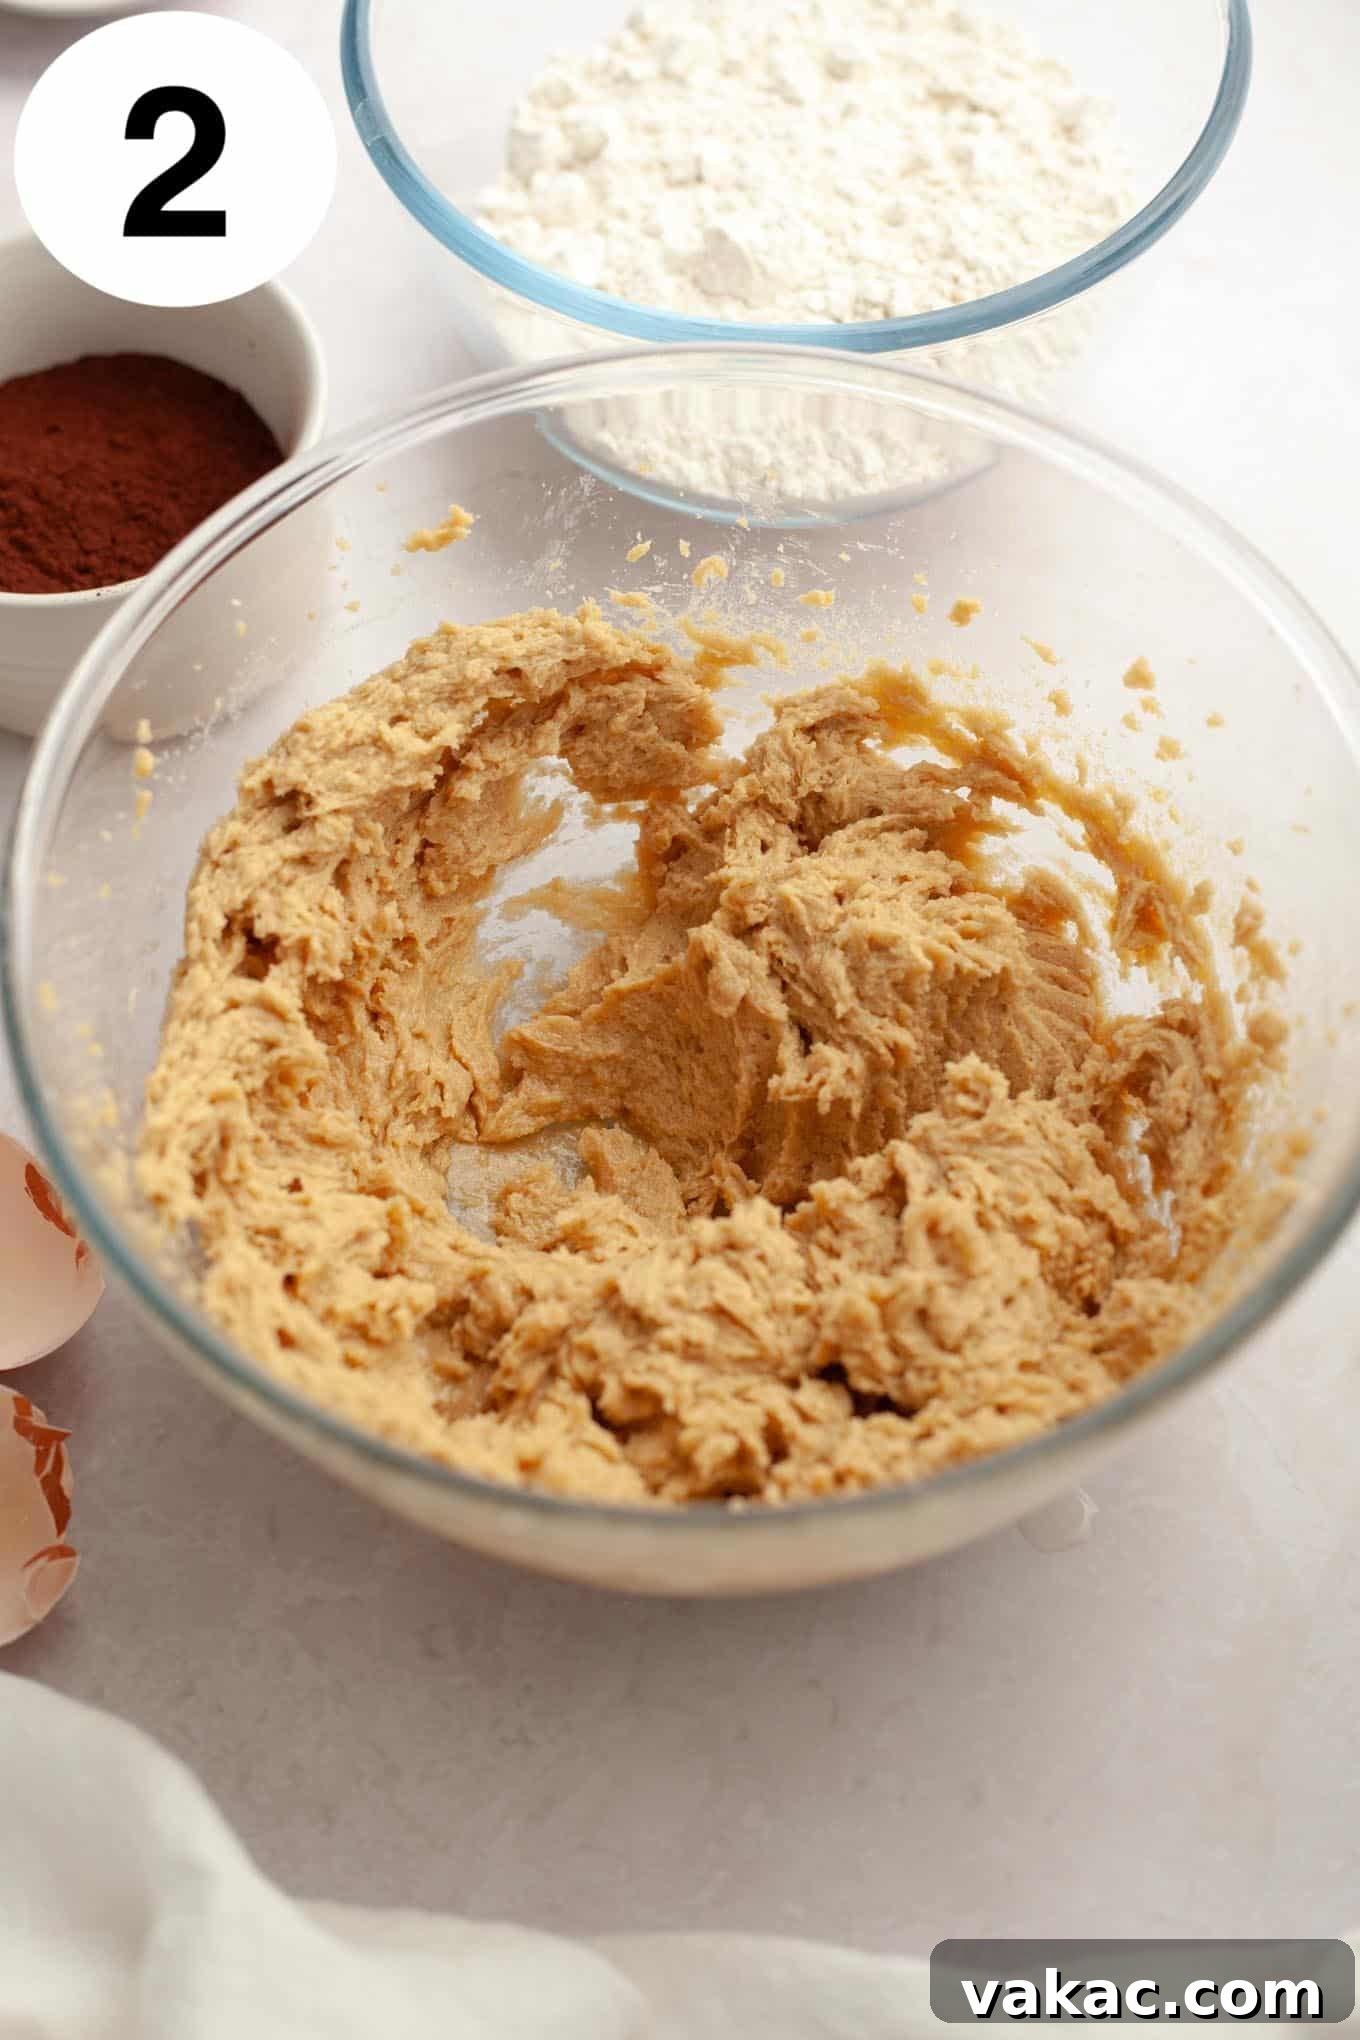
- Incorporate Wet Ingredients: Add the large egg, extra large egg yolk, and pure vanilla extract to the creamed butter and sugar mixture. Beat until just combined, being careful not to overmix. Stop the mixer occasionally and scrape down the sides of the bowl with a spatula to ensure all ingredients are fully incorporated and uniformly mixed.
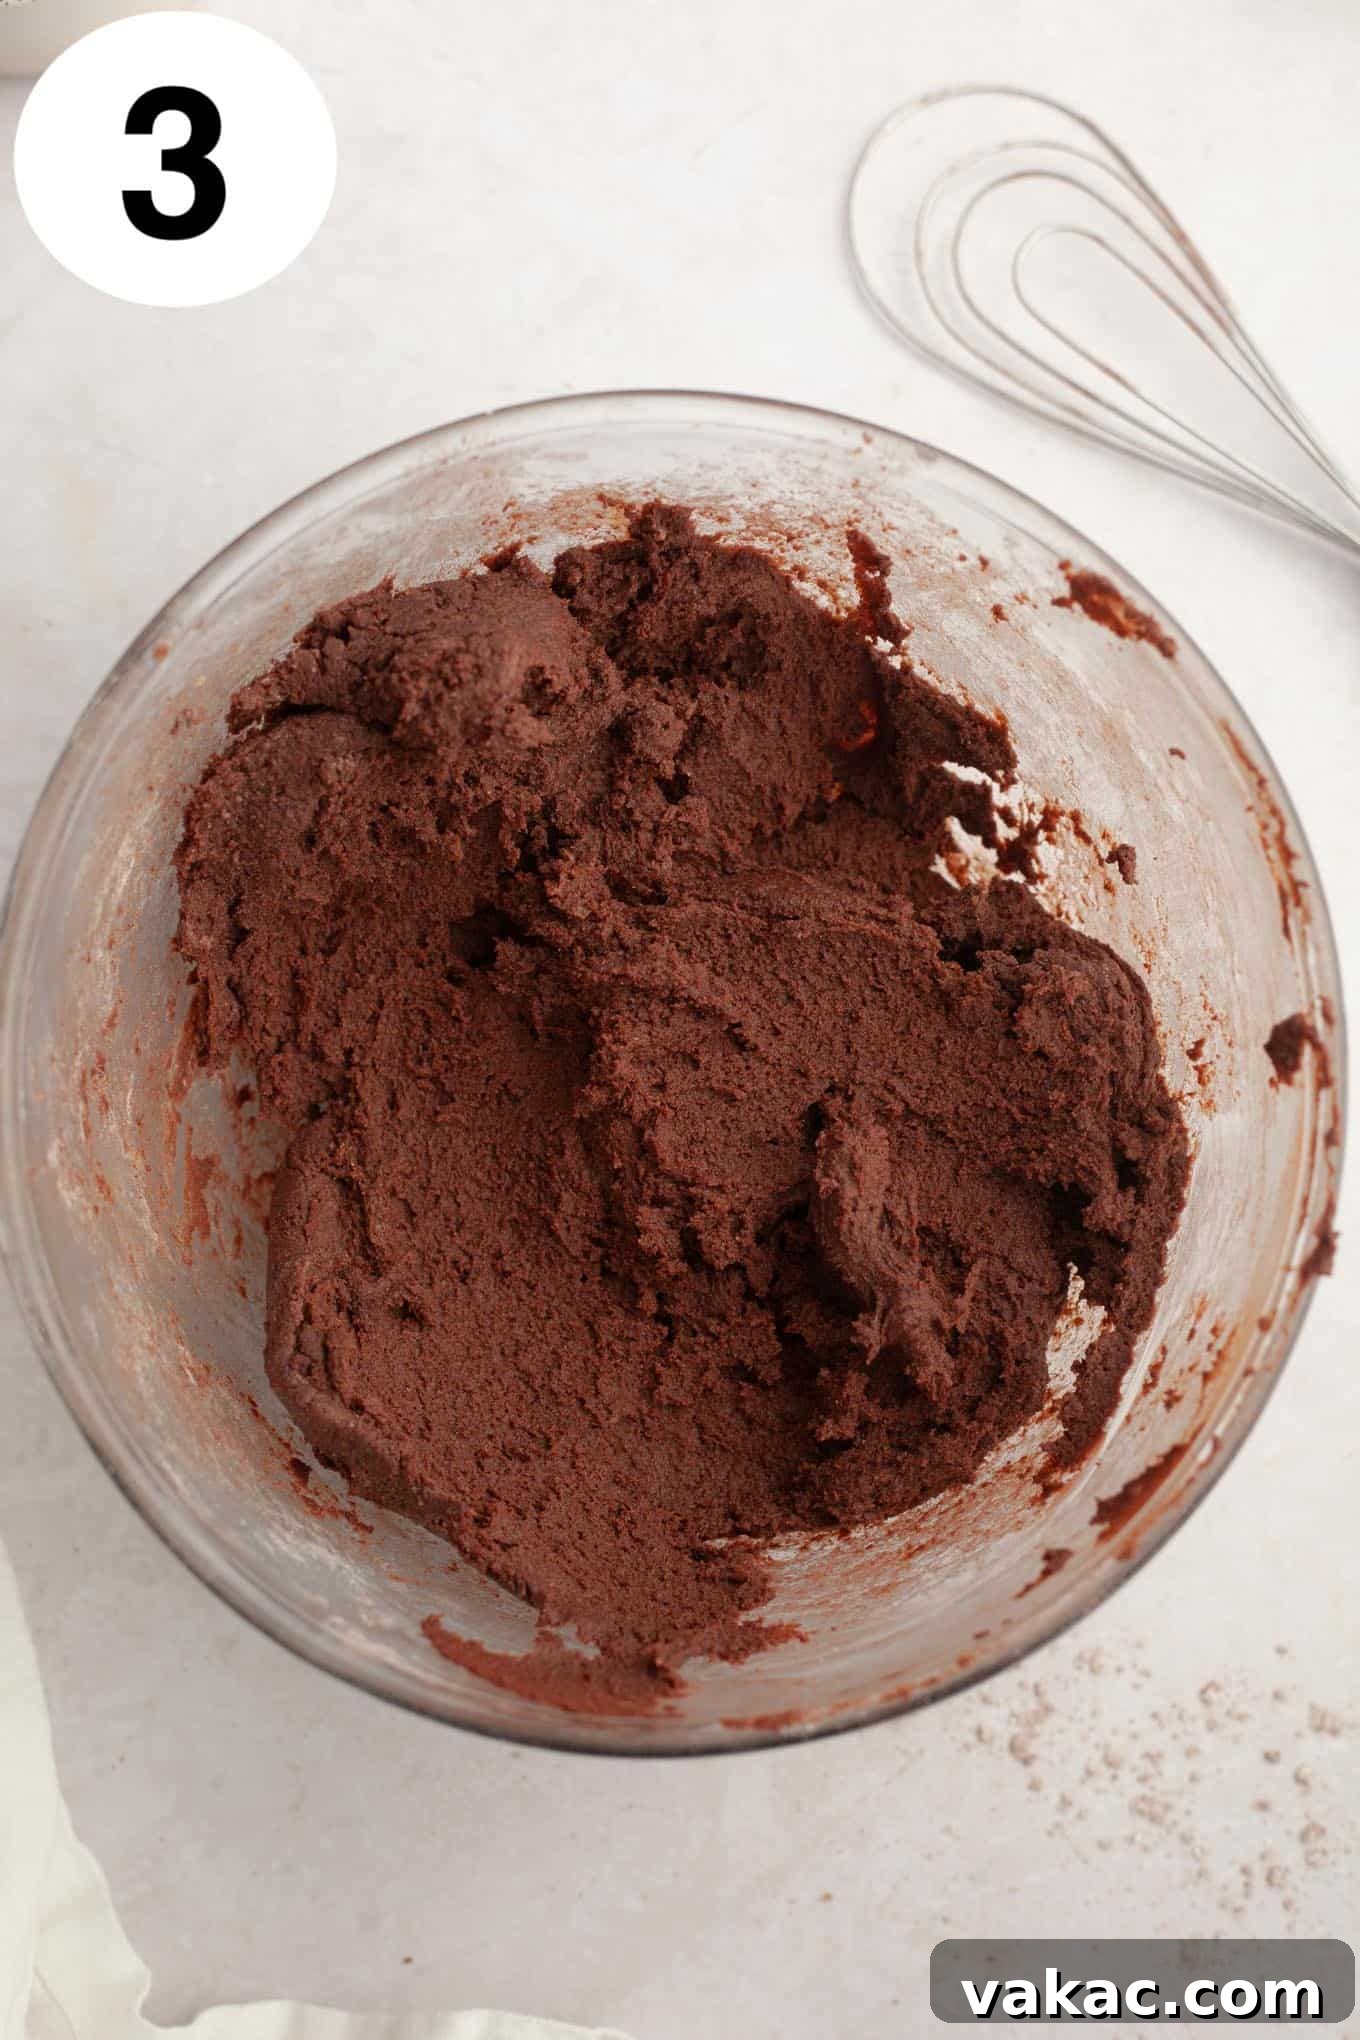
- Combine Dry Ingredients and Chill Dough: In a separate medium-sized bowl, whisk together the all-purpose flour, natural cocoa powder, baking powder, baking soda, and salt. Gradually add these dry ingredients to the wet mixture, mixing on low speed until just combined. Be careful not to overmix, as this can lead to tough cookies. Once the dough comes together, cover the bowl tightly with plastic wrap and refrigerate for at least 2 hours. Chilling is essential as it prevents the cookies from spreading too much, allowing the flavors to deepen, and making the dough easier to handle. If you’re short on time, you can scoop the dough onto baking sheets first, then chill for at least 30 minutes.
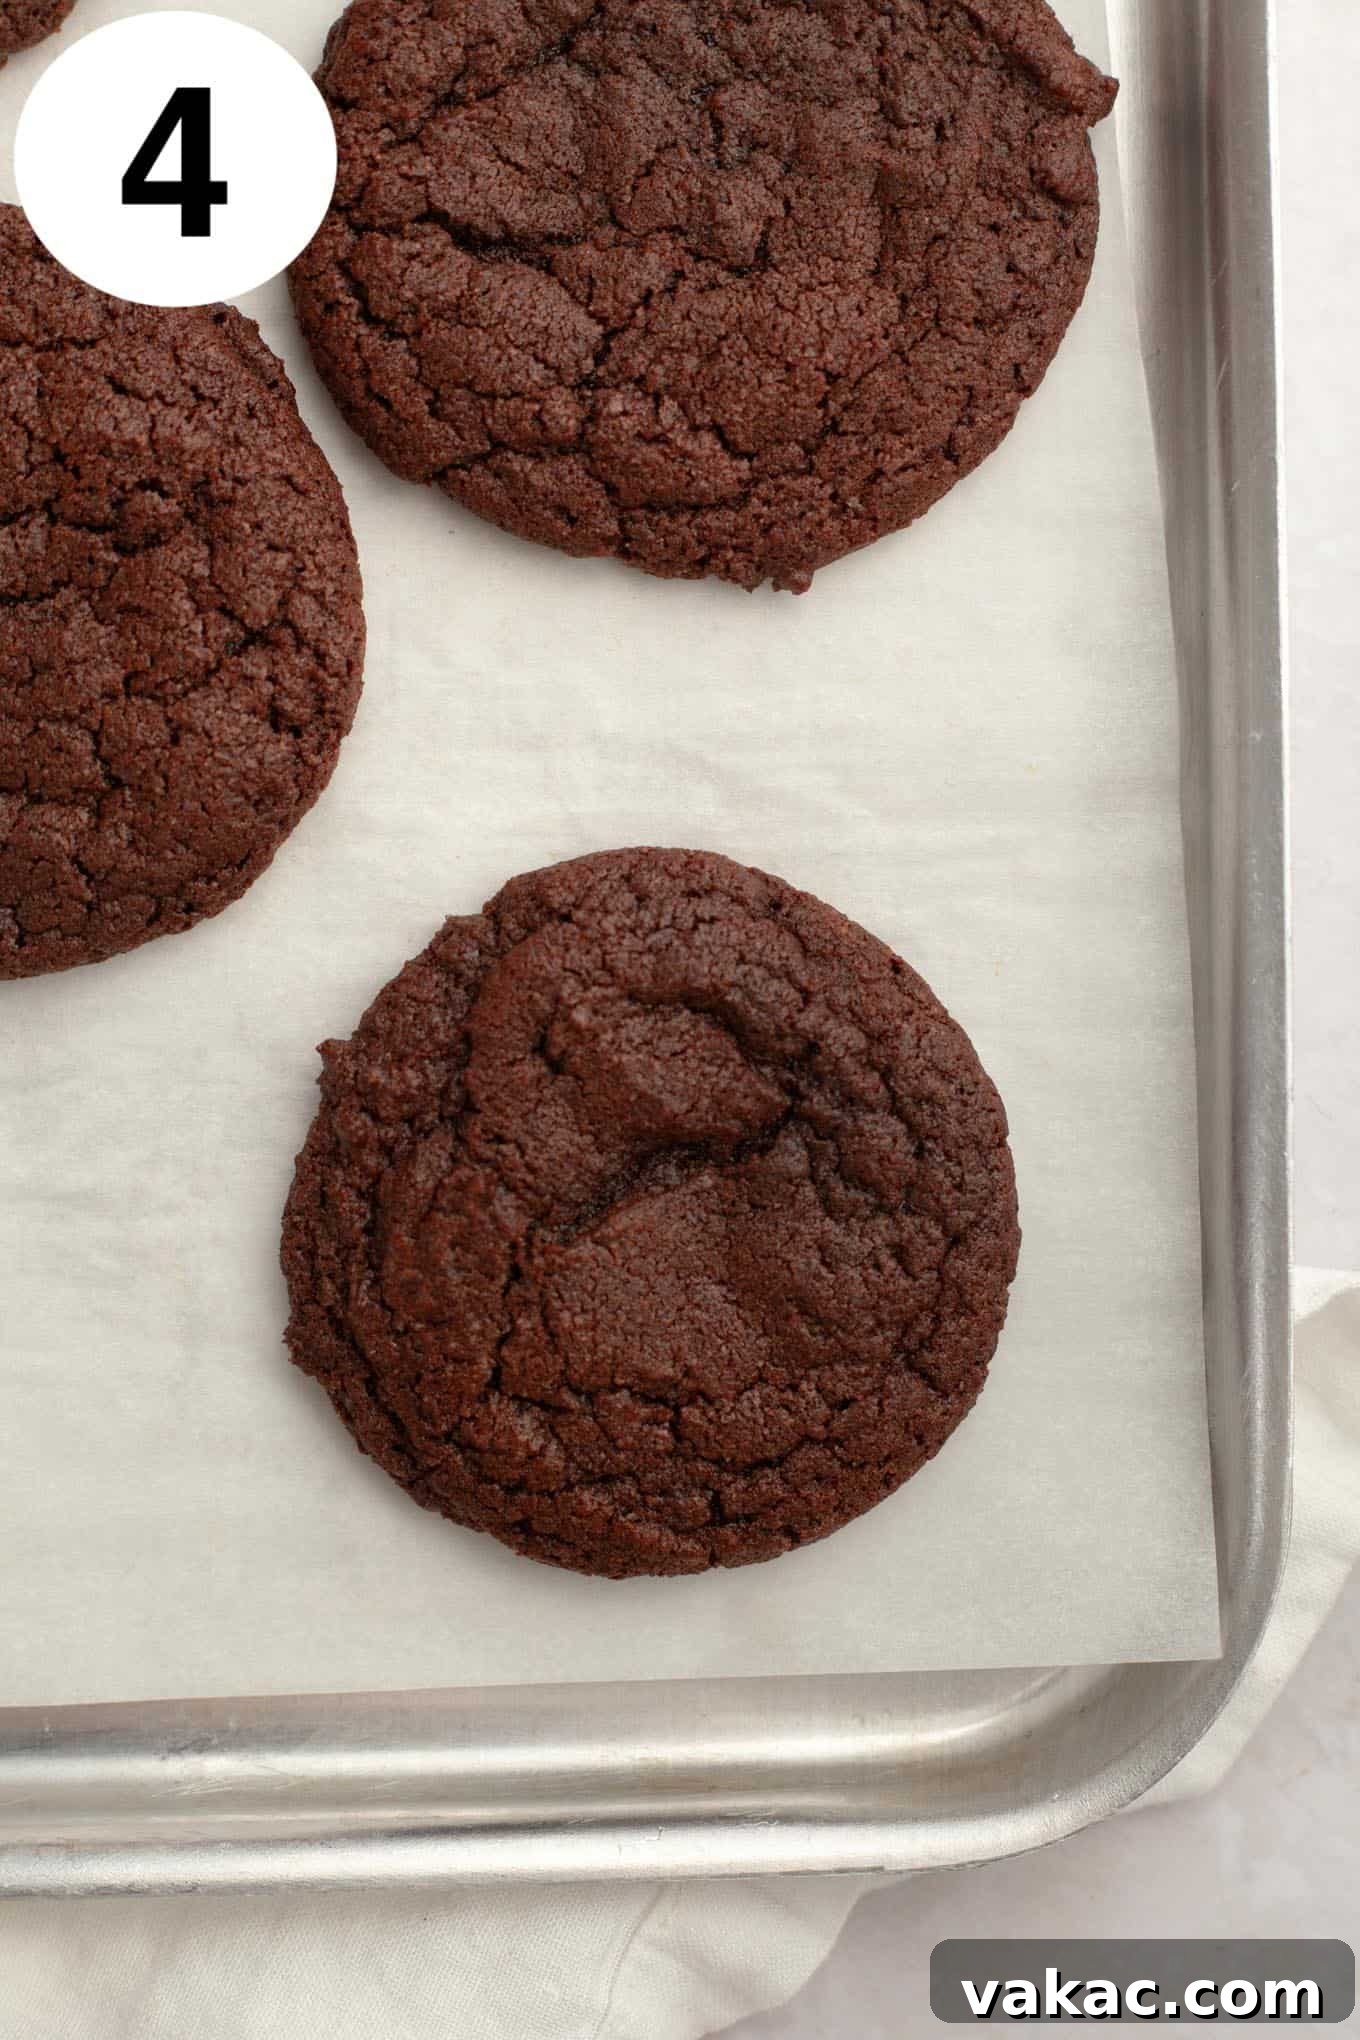
- Scoop and Bake the Cookies: While the dough is chilling, preheat your oven to 350°F (177°C). Line two to three large baking sheets with parchment paper or silicone baking mats. Once the dough has chilled, use a 1.5-tablespoon cookie scoop to portion out the dough. Drop the scoops onto the prepared baking sheets, leaving about 2 inches between each cookie for spreading. Bake for 10 to 12 minutes, or until the edges are set and the tops of the cookies no longer look wet or shiny. They may appear slightly underdone in the center, which is perfect for a chewy texture. Allow the cookies to cool on the baking sheets for 5-10 minutes before carefully transferring them to a wire rack to cool completely. It’s crucial they are fully cooled before adding the toppings.
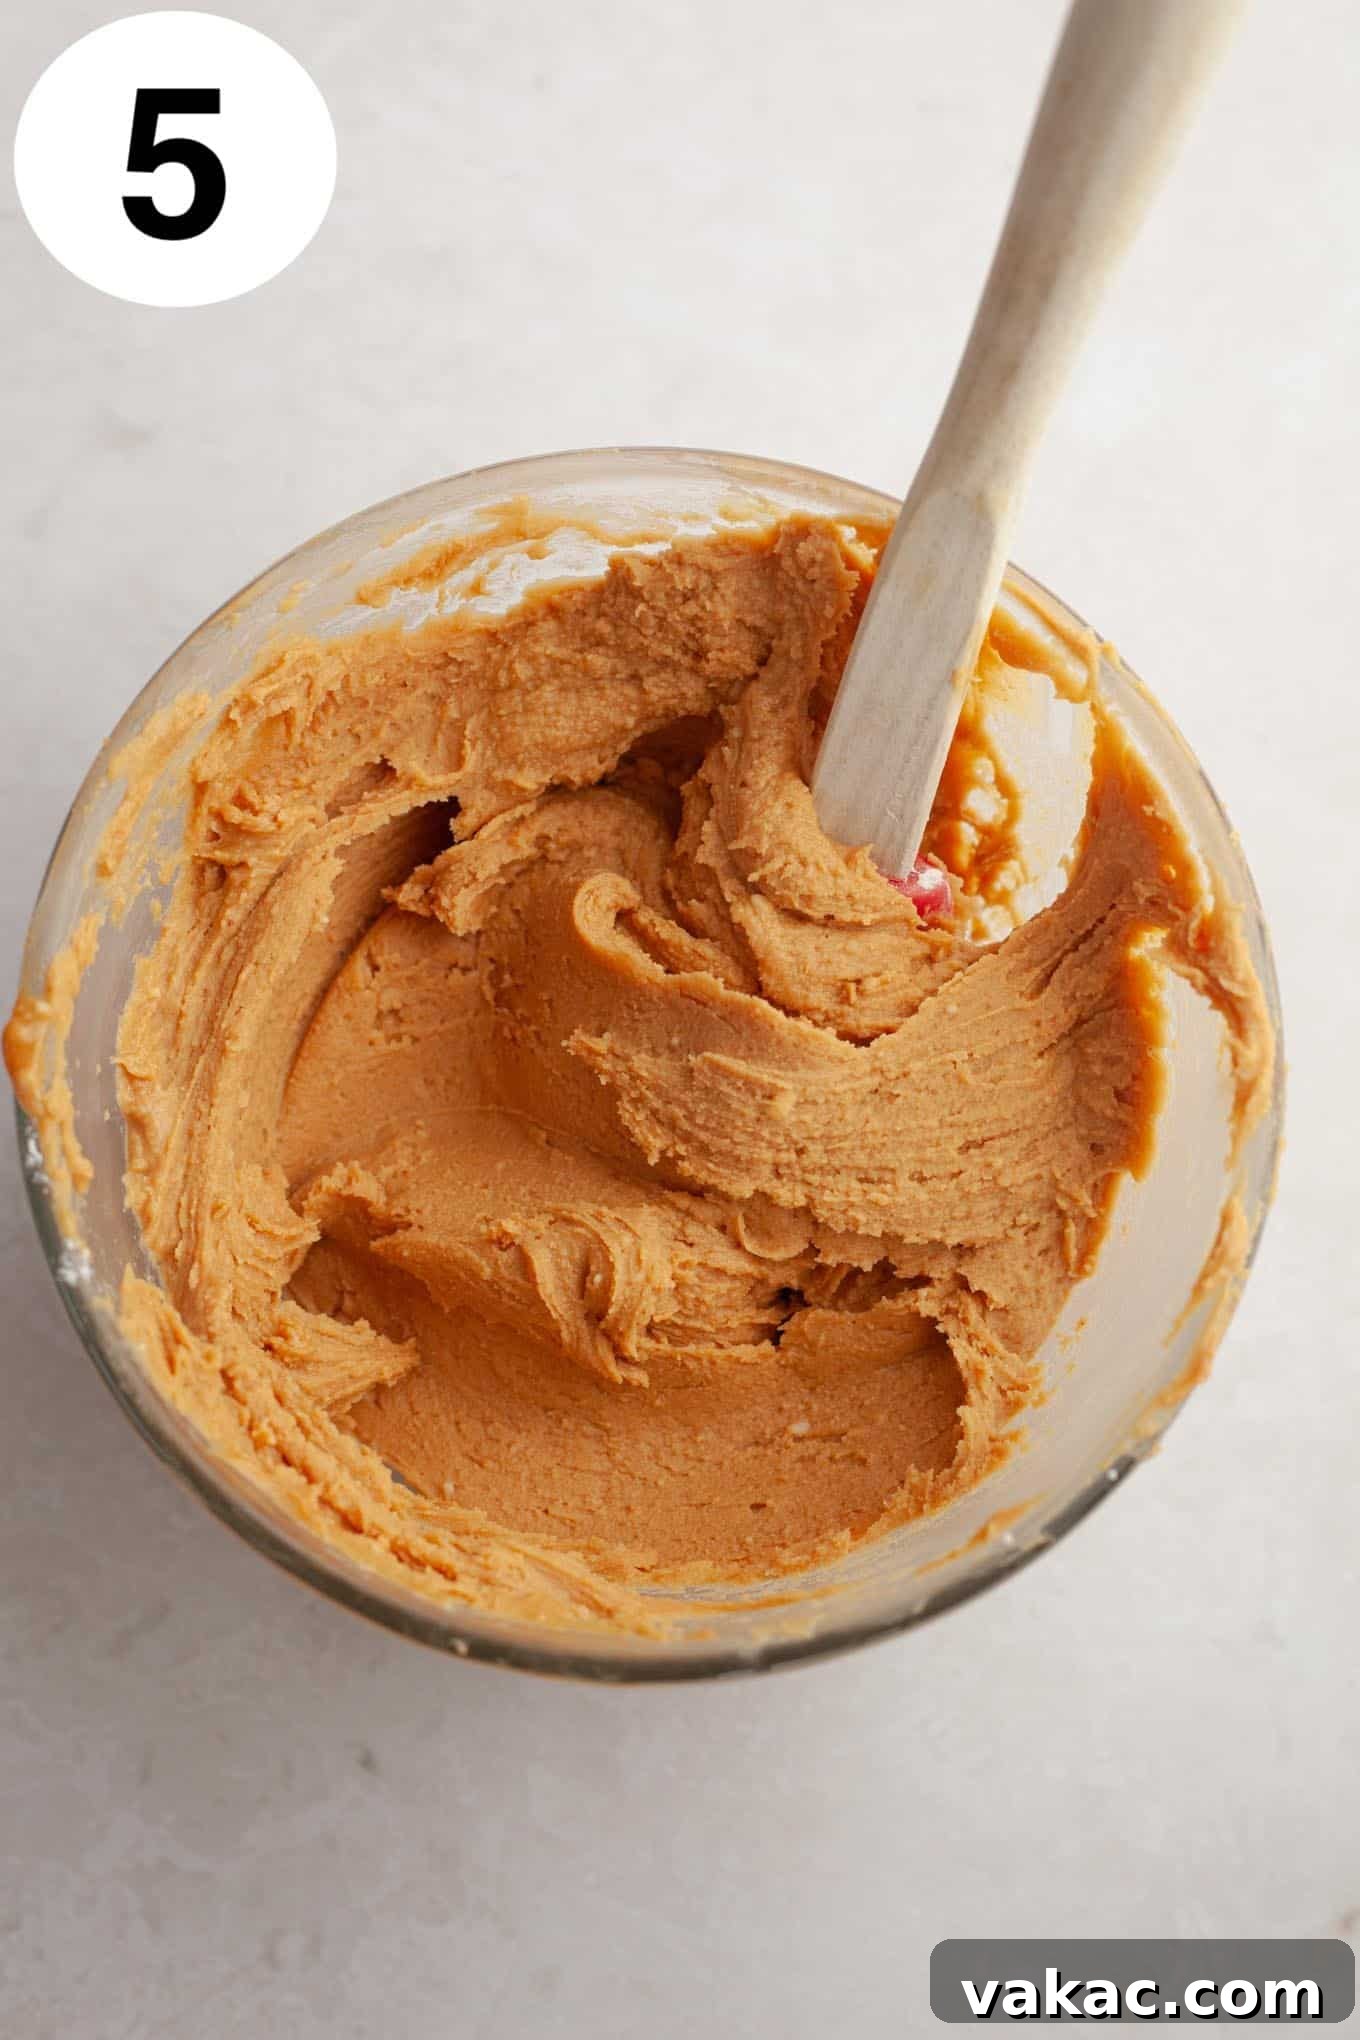
- Prepare the Creamy Peanut Butter Layer: In a microwave-safe bowl, combine the creamy peanut butter and the sliced unsalted butter. Microwave in 30-second intervals, stirring thoroughly after each interval, until the mixture is completely melted and smooth. This creates a warm, pliable base for the peanut butter layer.
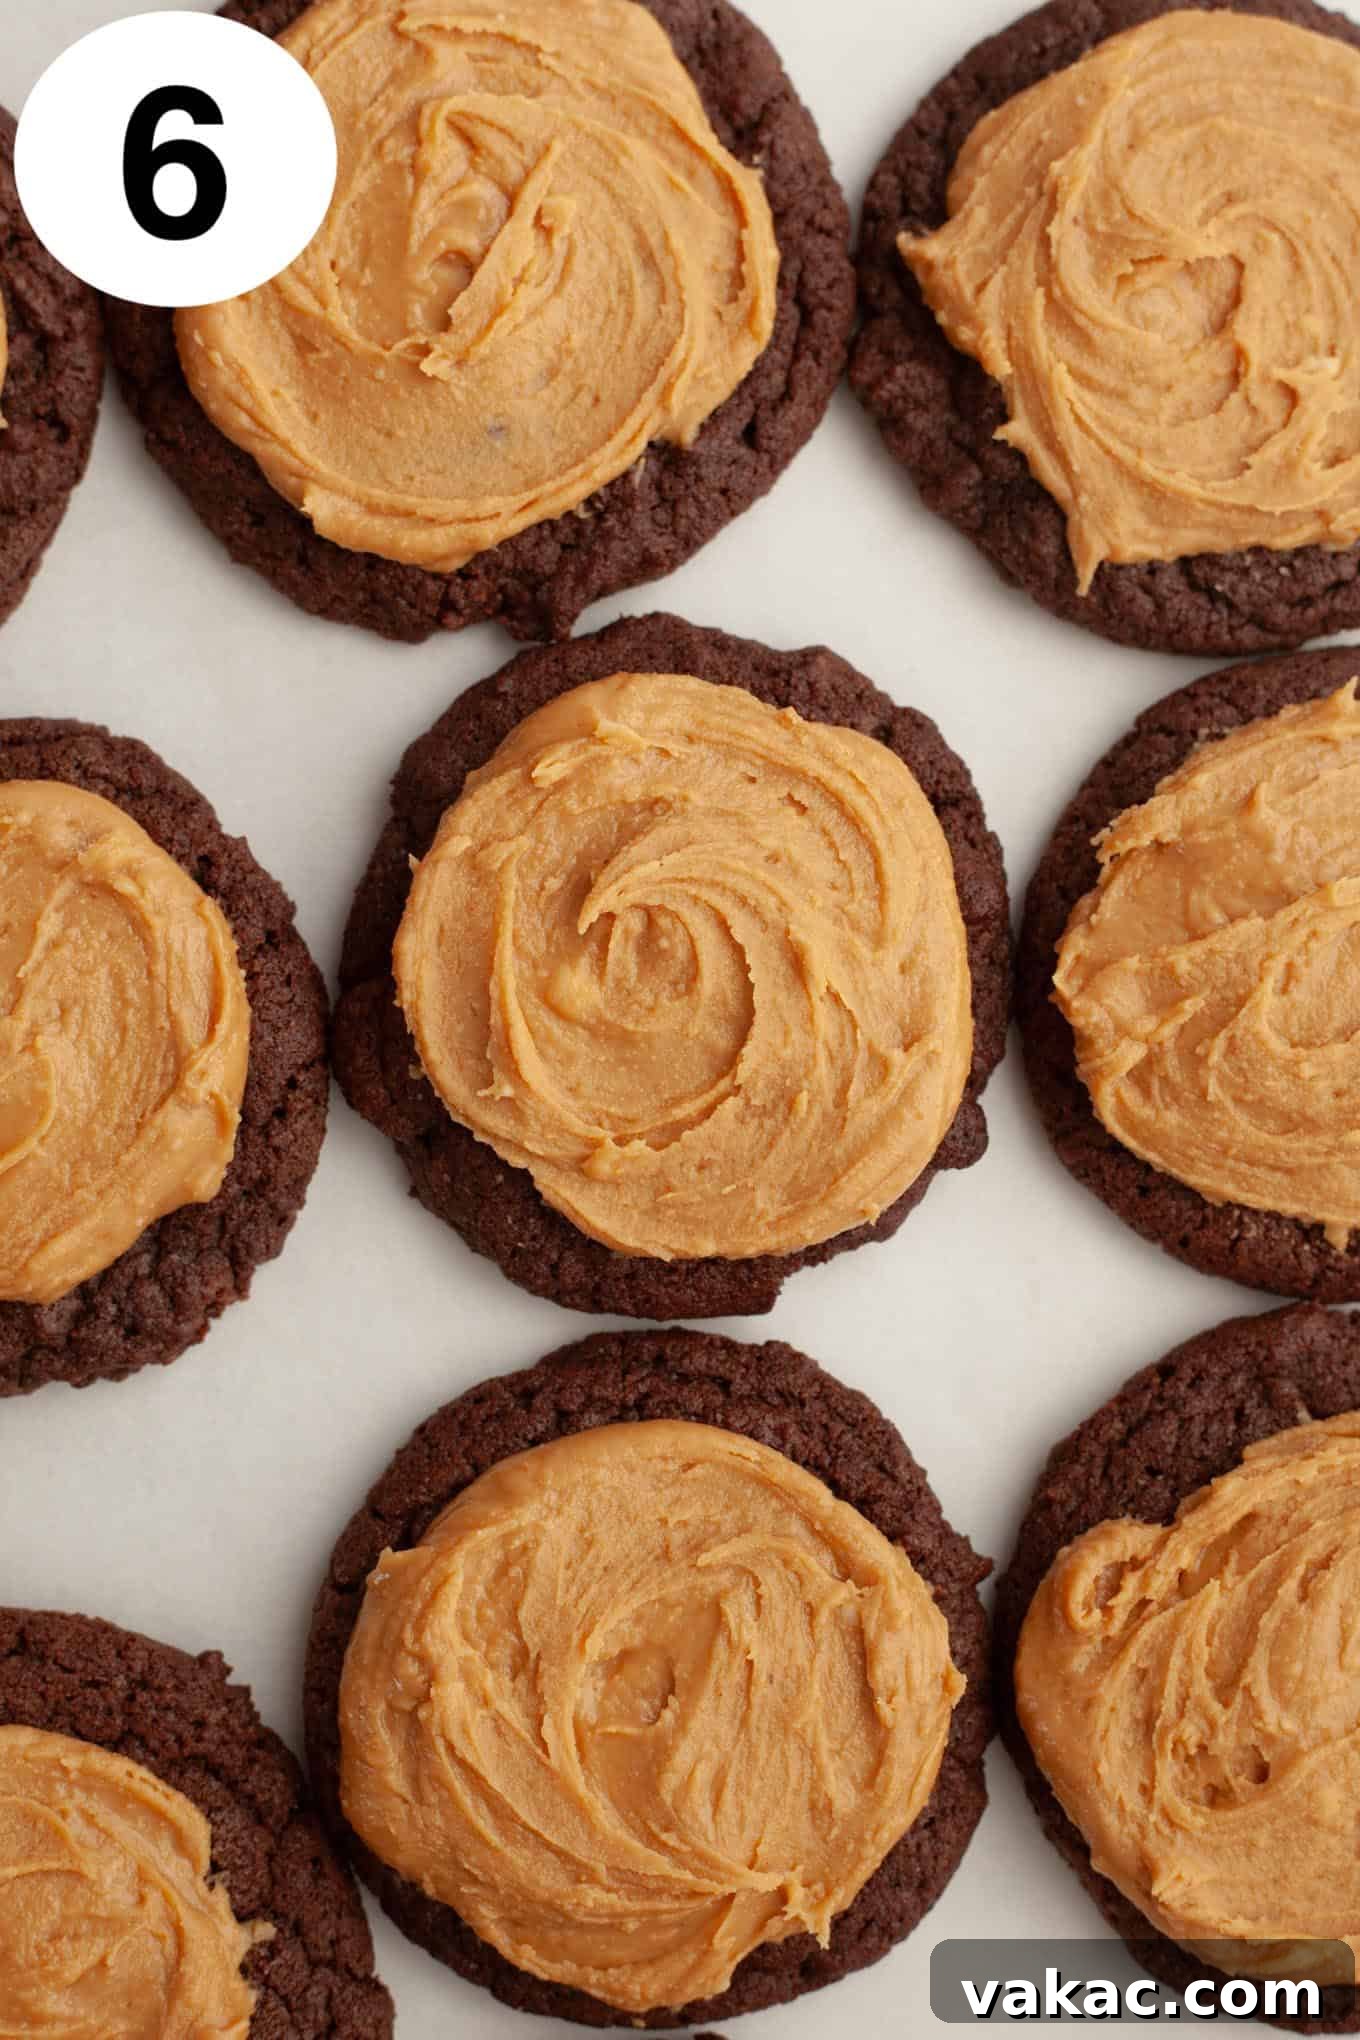
- Form the Peanut Butter Topping: Stir in the vanilla extract and salt into the melted peanut butter mixture. Then, gradually add the powdered sugar in two additions, mixing well after each one. The mixture will become very thick. If necessary, use your hands to work it together until it’s uniform, smooth, and no streaks or lumps of powdered sugar remain. This should result in a thick, fudge-like consistency. Once the cookies are completely cool, scoop about one tablespoon of the peanut butter mixture onto the center of each cookie. You can use a 1-tablespoon cookie scoop or a measuring spoon for consistency. Gently flatten and smooth out the top of the peanut butter layer using the back of a spoon or an angled spatula. If the mixture is firm enough, you can even press it down lightly with your fingers.
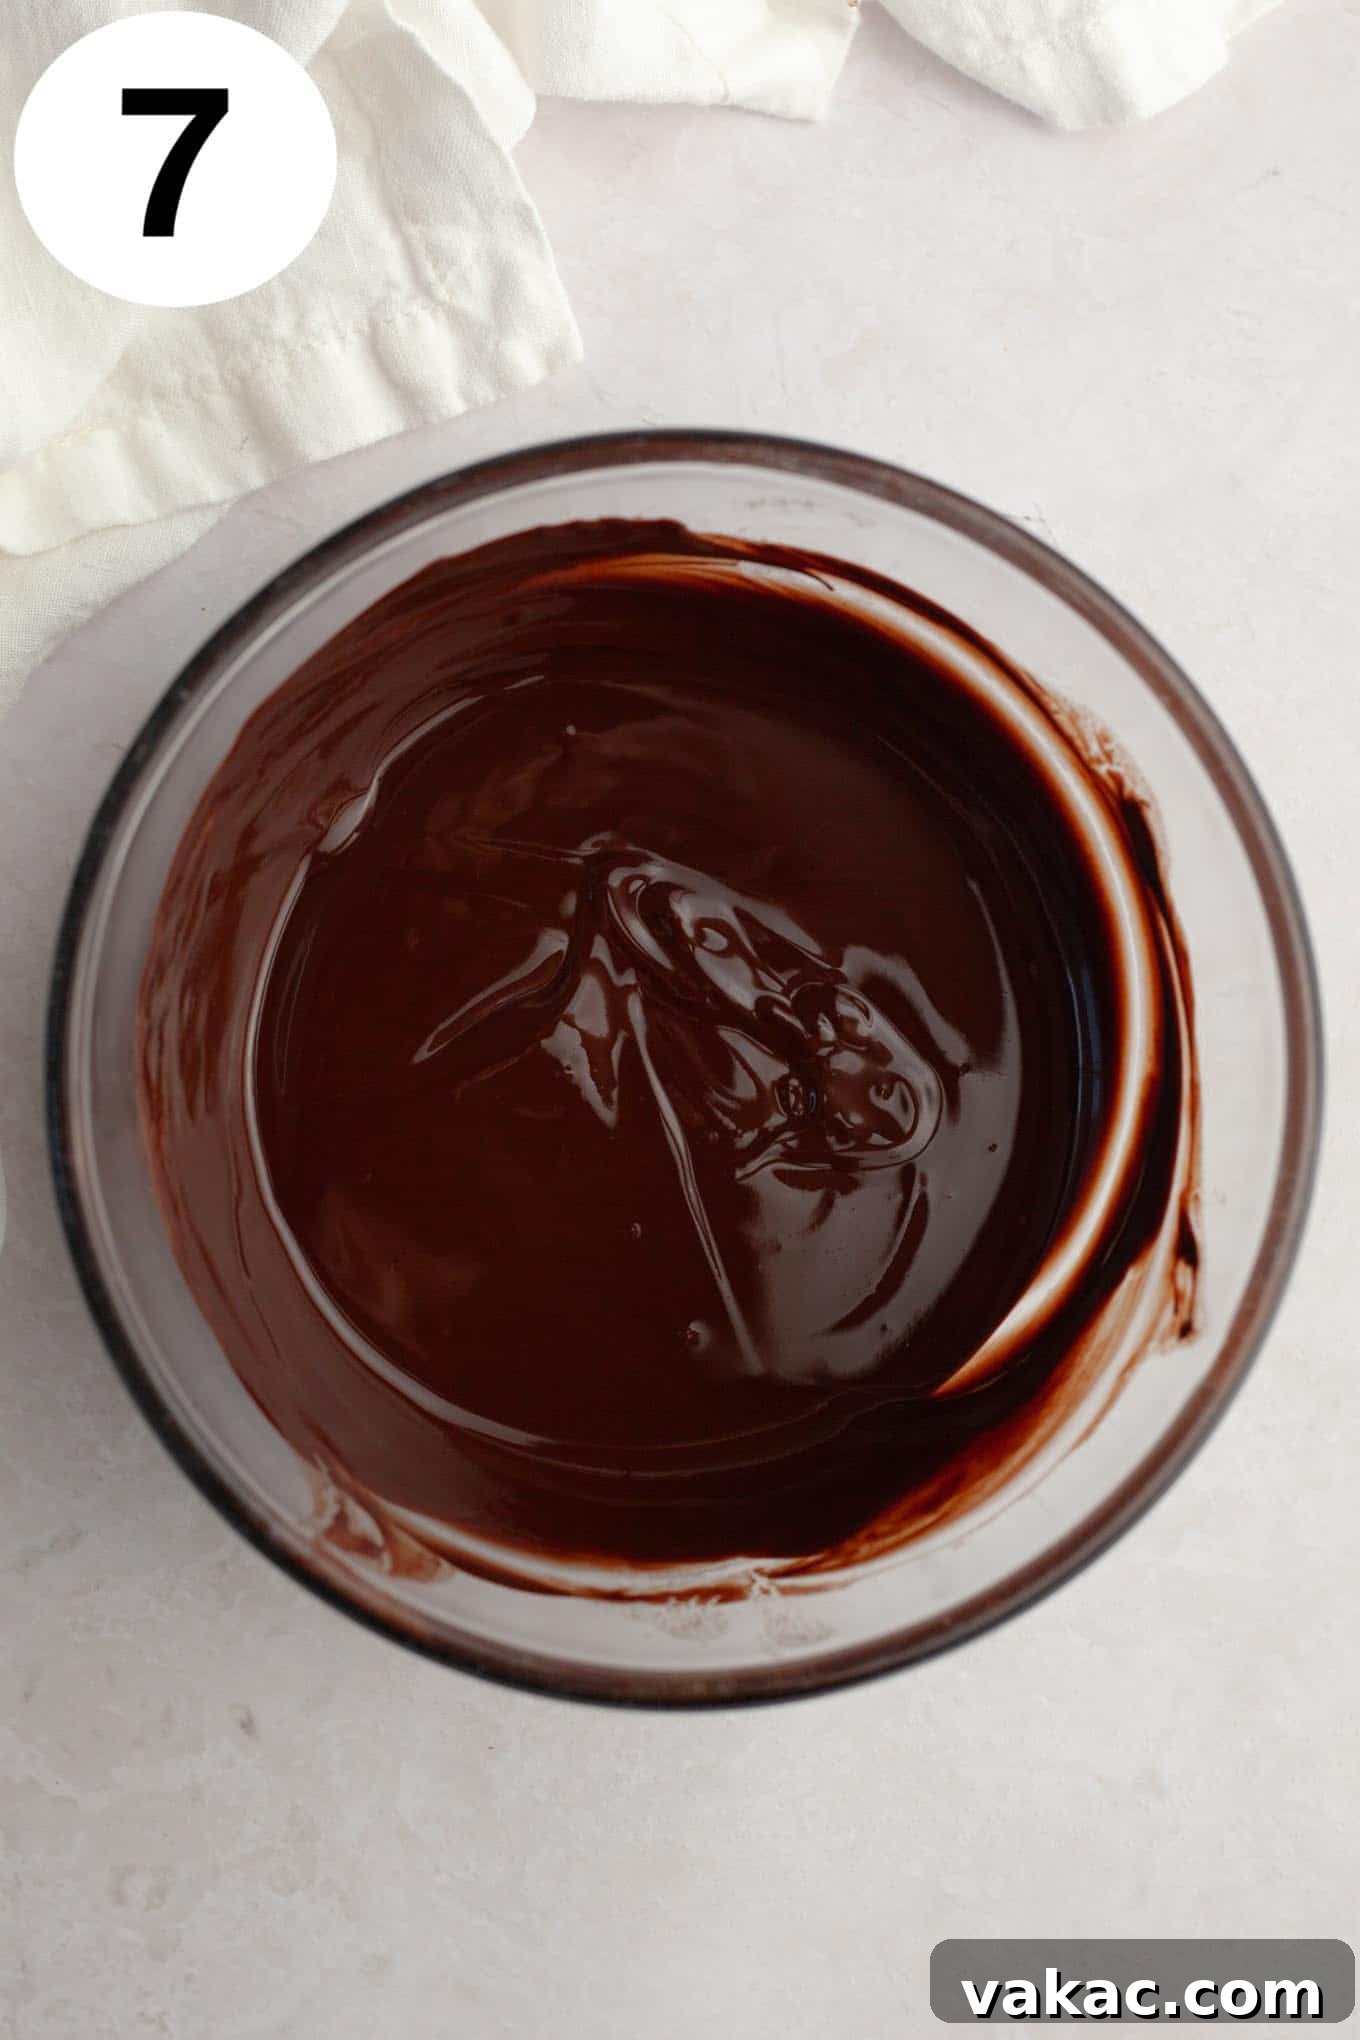

- Make the Chocolate Drizzle Topping: In another microwave-safe bowl, combine the semi-sweet chocolate chips and the sliced unsalted butter. Microwave at 50% power in 30-second intervals, stirring thoroughly after each one, until the chocolate is completely melted and smooth. Stir until there are no lumps and the ganache is glossy.
- Drizzle and Chill: Spoon the melted chocolate mixture over the peanut butter layer on each cookie. You can spread it out with an angled spatula or the back of a spoon, leaving a small border of peanut butter exposed, just like a classic Buckeye candy. Once all cookies are topped, carefully transfer the baking sheets to the refrigerator for 30 to 45 minutes, or until the chocolate layer has fully hardened and set. This chilling step ensures the chocolate is firm and easy to handle.

Frequently Asked Questions About Buckeye Cookies
Can natural peanut butter be used in this recipe?
For the absolute best results and a smooth, stable peanut butter layer, I strongly recommend using a traditional, no-stir creamy peanut butter such as Jif or Skippy. Natural peanut butters tend to separate oil, which can make the peanut butter mixture greasy, difficult to work with, and prone to losing its shape on the cookies. If you must use natural peanut butter, you’ll likely need to make adjustments, such as reducing the butter and increasing the powdered sugar, but this can impact the final texture.
Can a different nut or seed butter be used in this recipe?
Yes, you can certainly experiment with other nut or seed butters! The key is to choose another variety that is a “no-stir” type, meaning it doesn’t separate oil like natural peanut butters do. This will ensure your peanut butter layer achieves the correct consistency and holds its shape beautifully on the cookie base.
Can regular chocolate bars be used instead of chocolate chips?
Absolutely! While I opted for chocolate chips to keep the recipe as straightforward as possible, using high-quality chocolate bars will yield an even richer, smoother chocolate topping. Simply chop two standard-sized chocolate bars (around 4 ounces each) into small, uniform pieces before melting them with the butter. This will work just as well and might even elevate the flavor!
Do the cookies need to be refrigerated for storage?
No, it’s not strictly necessary. These Buckeye cookies can be stored at room temperature for up to one week. To maintain their freshness and prevent them from drying out, always store them in an airtight container. If your kitchen is particularly warm, refrigerating them might help the chocolate stay firmer, but it’s not required for safety or quality over a week.

Expert Baking Tips for Success
- Strategic Dough Chilling: If you don’t have the full two hours to chill the cookie dough in the bowl, a clever shortcut is to scoop the dough onto your parchment-lined baking sheets first. Then, refrigerate the scooped dough balls for at least 30 minutes. This helps them firm up and prevents excessive spreading, yielding perfectly shaped cookies.
- Customize Your Cookie Size: This recipe yields rich, satisfying cookies with a 1.5-tablespoon scoop, which I find to be the perfect size. However, feel free to adjust the size to your preference! If you opt for larger cookies, simply increase the baking time by a few minutes. Remember to also increase the amount of peanut butter and chocolate topping for each larger cookie to maintain that delicious balance.
- Efficient Chocolate Setting: While you can let the chocolate-topped cookies set at room temperature, using the refrigerator is significantly faster and highly recommended. Chilling them for 30-45 minutes ensures the chocolate hardens beautifully, making them much easier to handle and serve without smudging.
- Achieving the Iconic Buckeye Look: When spreading the chocolate topping, aim to leave a small ring of peanut butter visible around the edge. This mimics the classic Buckeye candy, where the “eye” of peanut butter peeks through the chocolate. An angled spatula or the back of a small spoon works wonderfully for this precision.
- Room Temperature Ingredients are Key: For the cookie dough, ensure your butter and eggs are at room temperature. This allows them to cream together properly, creating a smooth, emulsified dough that results in a tender and uniform cookie texture.
A video demonstration for these Buckeye Cookies would appear here.
Buckeye Cookies
Pin Recipe
Save Recipe
Leave a Review
Ingredients
Chocolate Cookies
- ¾ cup unsalted butter softened (170 grams; 1.5 sticks)
- 1 cup packed light brown sugar (200 grams)
- ⅓ cup granulated sugar (70 grams)
- 1 large egg at room temperature
- 1 large egg yolk at room temperature
- 1 ½ teaspoons pure vanilla extract
- 2 cups all-purpose flour spooned & leveled (250 grams)
- ½ cup unsweetened natural cocoa powder (45 grams)
- ½ teaspoon baking powder
- ½ teaspoon baking soda
- ¼ teaspoon salt
Peanut Butter Layer
- 1 cup creamy peanut butter (250 grams) Jif or Skippy is best, avoid natural pb
- 5 tablespoons unsalted butter sliced into pieces (70 grams)
- ½ teaspoon pure vanilla extract
- ⅛ teaspoon salt
- 1 ½ cups powdered sugar (180 grams)
Chocolate Topping
- 1 ⅓ cups semi sweet chocolate chips (240 grams)
- ½ cup unsalted butter sliced into tablespoon-size pieces (115 grams; 1 stick)
Instructions
-
To make the chocolate cookies: Using a handheld mixer, or stand mixer fitted with the paddle attachment, beat the butter, brown sugar, and granulated sugar together for 1 to 2 minutes or until well combined. Mix in the egg, egg yolk, and vanilla extract, stopping to scrape down the sides of the bowl as needed.
-
In a separate large mixing bowl, whisk together the flour, cocoa powder, baking powder, baking soda, and salt. Add the dry ingredients to the wet ingredients and mix until just combined.
-
Cover the cookie dough tightly with plastic wrap and refrigerate for at least 2 hours. If you want to speed up the process, you may go ahead and scoop the cookie dough onto a baking sheet and chill for at least 30 minutes.
-
Preheat the oven to 350°F (177°C). Line two to three large baking sheets with parchment paper or a silicone mat.
-
Remove the cookie dough from the refrigerator. Using a 1.5 tablespoon cookie scoop, scoop the cookie dough and drop it onto the prepared baking sheets.
-
Bake for 10 to 12 minutes or until the tops of the cookies are set.
-
Allow the cookies to cool on the baking sheets for 5 to 10 minutes, then carefully transfer to a wire rack to cool completely.
-
To make the peanut butter layer: Add the peanut butter and sliced butter to a microwave-safe bowl and microwave in 30 second increments until melted and smooth.
-
Stir in the vanilla extract and salt. Add the powdered sugar in two additions, making sure to mix well after each addition. If needed, work it together with your hands until you no longer see any streaks or lumps of powdered sugar.
-
Using a one tablespoon cookie scoop (or measuring tablespoon), scoop the peanut butter mixture on top of each cookie and slightly flatten it with your hand. If needed, you can use an angled spatula or the back of a spoon to smooth it out.
-
To make the chocolate topping: Add the chocolate chips and sliced butter to a microwave-safe bowl.
-
Microwave in 30 second increments at 50% power, stirring well after each increment, until the chocolate is completely melted and smooth.
-
Spoon the melted chocolate on top of each cookie and use an angled spatula or the back of a spoon to smooth it out.
-
Refrigerate for 30 to 45 minutes or until the chocolate layer has hardened.
Notes
Freezing Instructions: Cookies will freeze well for 2 to 3 months. Thaw to room temperature before serving.
Did you make this recipe?
Mention @livewellbakeoften on Instagram or tag #livewellbakeoften.