
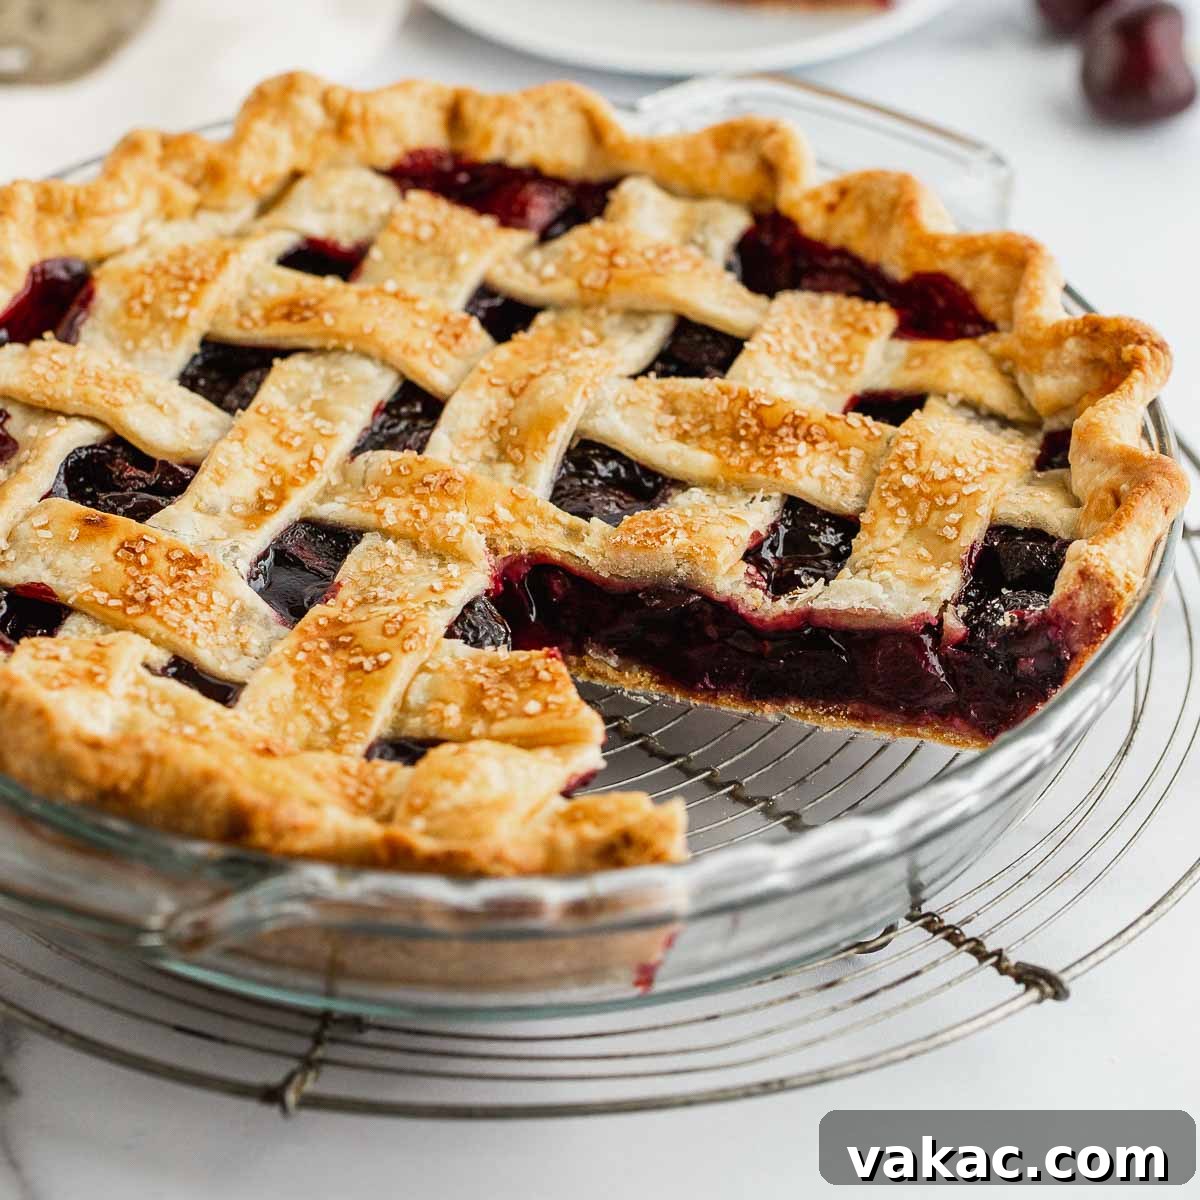
The Ultimate Homemade Cherry Pie: A Classic Dessert Masterpiece
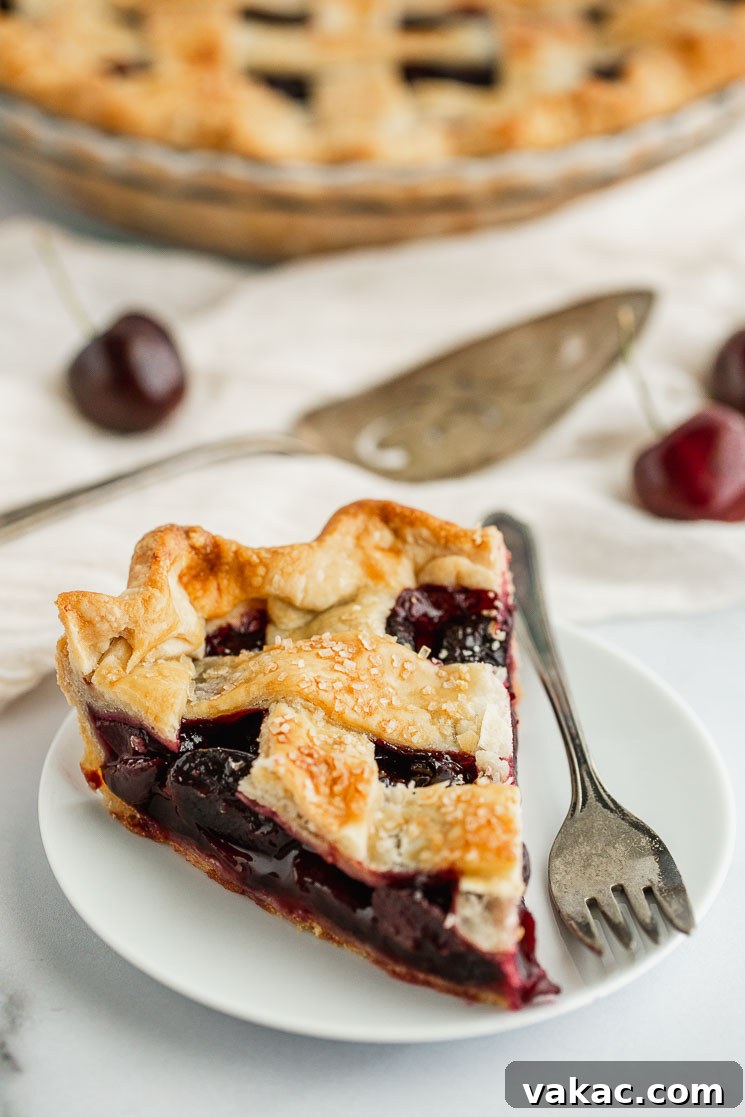
There’s an undeniable magic that comes with a homemade pie. While store-bought versions offer convenience, they simply cannot replicate the depth of flavor, the tender, flaky crust, or the comforting aroma that fills your kitchen when baking from scratch. From the robust warmth of a classic pumpkin pie to the comforting sweetness of an easy apple pie or our family’s beloved pecan pie, the difference is truly incomparable. And now, with fresh cherries abundant, it’s the perfect time to introduce this incredible homemade cherry pie to your dessert repertoire.
Crafting the perfect cherry pie took several dedicated attempts, but the journey was undoubtedly worth every moment. The result is a scratch-made cherry pie that stands out as one of the finest I’ve ever tasted. Every bite offers an unbelievably flaky, buttery crust that gives way to a lush, sweet-tart cherry filling. This filling is perfectly set – firm enough to slice cleanly, yet wonderfully soft and bursting with juicy cherry flavor, exactly as you’d imagine an ideal cherry pie to be.
The true test of any pie, however, often comes from its toughest critics. In this case, my husband, who has always declared he doesn’t enjoy cherry pie, surprisingly devoured not one, but two slices of this creation! This endorsement speaks volumes about its irresistible appeal. I am confident that you, too, will fall in love with this straightforward and utterly delicious homemade cherry pie recipe, making it a staple for family gatherings, holidays, or any day you crave a truly special treat.
Why This Homemade Cherry Pie Will Be Your New Favorite
What sets this cherry pie apart? It’s a harmonious blend of simple ingredients and thoughtful techniques that result in an extraordinary dessert. The secret lies in a few key elements:
- The Flaky Crust: Achieving that coveted golden, tender, and incredibly flaky crust is paramount. Our recipe ensures a crust that not only holds its shape but also adds a delightful textural contrast to the soft filling. The high initial baking temperature is crucial for this.
- Perfectly Balanced Filling: The filling strikes an ideal balance between sweetness and tartness, allowing the natural flavor of the cherries to shine. It’s thick and rich, avoiding any dreaded “soupy” consistency, thanks to the precise use of a thickening agent.
- Ease of Preparation: Despite being made from scratch, this recipe is designed to be accessible. We break down each step, making the process enjoyable even for novice bakers.
- Versatile Appeal: Whether you prefer a classic lattice top or a full crust, this pie is stunning and delicious, making it perfect for any occasion, from casual weeknight desserts to elaborate holiday feasts.
Essential Ingredients for Your Sweet Cherry Pie
Creating this magnificent cherry pie begins with the right foundation: a perfect pie crust. This recipe calls for two pie crusts – one for the base and one for the decorative top. For the ultimate flavor and texture, I highly recommend using a homemade pie crust recipe, as it yields two crusts, making it ideal for this double-crust pie. However, for a quicker option, quality store-bought pie crusts can also be used.
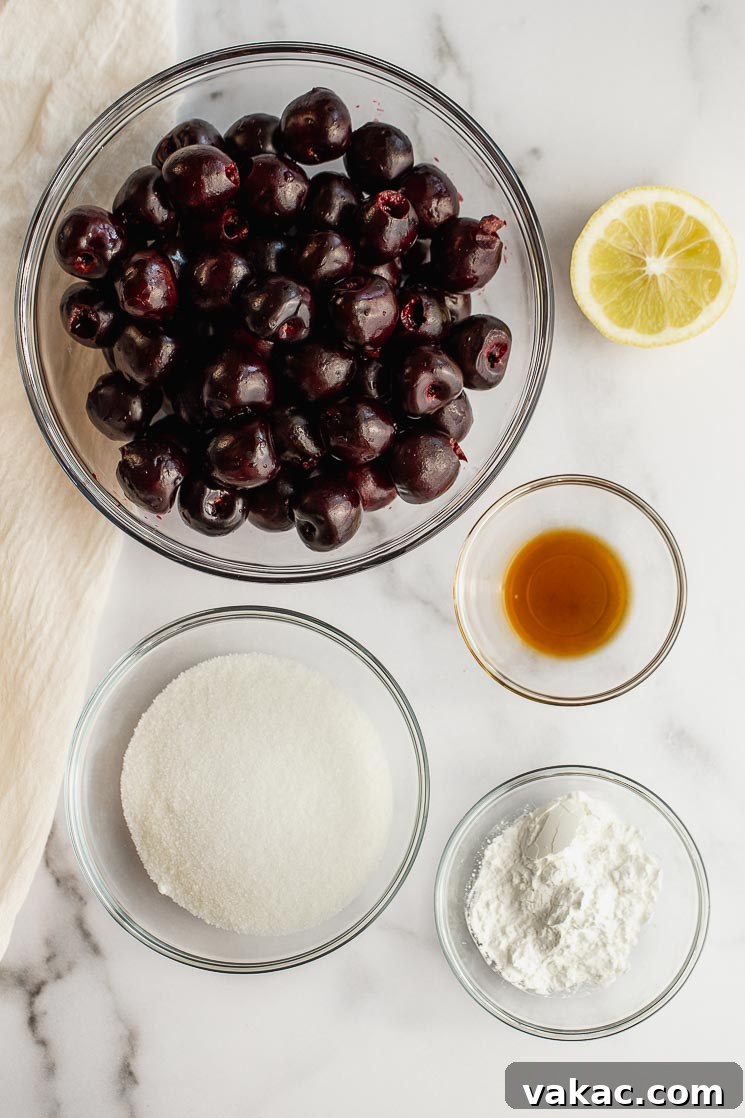
Now, let’s dive into the star of the show: the rich, vibrant cherry pie filling. You’ll need fresh cherries, granulated sugar, cornstarch, a touch of vanilla extract, and a splash of lemon juice. Each ingredient plays a crucial role in achieving that perfect taste and texture:
- Cherries: I typically opt for dark sweet cherries, such as Bing cherries, due to their naturally intense sweetness and beautiful deep color. When using these, you’ll need to pit them and then slice them in half, measuring out 5 cups. If you prefer or only have access to tart cherries (like Montmorency), you can absolutely use them! Just be prepared to adjust the sugar content, adding an additional 1/4 to 1/3 cup to achieve a balanced sweetness. Selecting fresh, ripe cherries is key for the best flavor. Look for firm, shiny, plump cherries with green stems.
- Granulated Sugar: While sweet cherries are delicious on their own, a precise amount of granulated sugar is essential to enhance their flavor and create that quintessential cherry pie sweetness. If you prefer a less sweet pie, you can slightly reduce the sugar amount, perhaps down to 1/2 cup, especially if using very ripe sweet cherries.
- Cornstarch: This is our thickening agent superhero. Cornstarch is vital for ensuring the filling sets beautifully, preventing it from becoming too runny. It gives the filling a lovely glossy sheen and a spoonable consistency that holds its shape when sliced. For those in other regions, cornstarch is often referred to as cornflour.
- Lemon Juice & Vanilla Extract: A small amount of fresh lemon juice is a game-changer. It brightens the flavor of the cherries and provides a subtle tart counterpoint, cutting through the sweetness and adding complexity. Pure vanilla extract infuses the filling with a warm, aromatic depth. For an extra layer of flavor that beautifully complements cherries, consider adding a hint of almond extract – it’s a classic pairing!
Crafting Your Delicious Cherry Pie: Step-by-Step Guide
Once your ingredients are prepped, the assembly process for this homemade cherry pie is wonderfully straightforward. Follow these steps for a perfect result:
Preparing the Pie Crusts
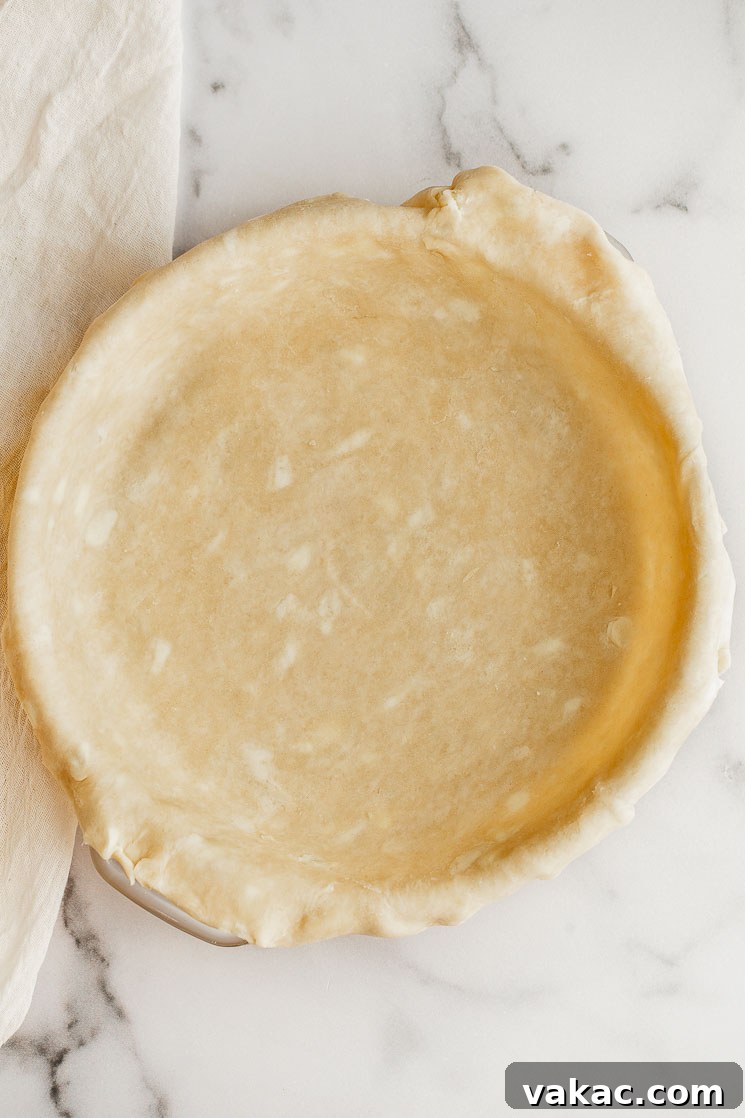
- Begin by lightly flouring your work surface and rolling out one of your pie crusts. Aim for a circle that is about 12-13 inches in diameter, or large enough to comfortably fit into your 9-inch pie dish with some overhang.
- Carefully transfer the rolled-out crust to your pie dish. Gently press it into the bottom and up the sides of the dish, ensuring there are no air bubbles underneath. Trim any excess dough from the edges, leaving about a 1/2-inch overhang. You can then crimp the edges decoratively or leave them plain for now.
- Crucial Tip: Place the pie dish with the prepared crust into the refrigerator. Chilling the crust keeps the butter cold, which is essential for achieving that incredibly flaky texture, and allows the gluten in the dough to relax, preventing shrinkage during baking.
- Next, roll out your second pie crust. This one will form the top of your pie. You have two main options:
- Lattice Topping: For a beautiful and classic look, cut the dough into even strips to create a lattice top. If you’ve never made one before, don’t fret! It’s easier than it looks, and there are many online tutorials, like this guide on how to make a lattice pie crust, that can walk you through it.
- Full Top Crust: Alternatively, you can leave the second pie crust whole to fully cover the filling. This is a simpler approach but still yields a stunning result.
Assembling the Cherry Filling
- In a large mixing bowl, combine your pitted and halved fresh cherries, granulated sugar, cornstarch, fresh lemon juice, and vanilla extract. Toss gently with a spoon or your hands until all the cherries are evenly coated with the sugar and cornstarch mixture. This ensures consistent flavor and thickening throughout the pie.
- Retrieve your chilled pie crust from the refrigerator. Carefully scoop the vibrant cherry filling into the pie crust, spreading it evenly.
- For an extra touch of richness and flavor, cut one tablespoon of cold butter into small pieces and dot them over the top of the cherry filling. As the pie bakes, these butter pieces will melt, creating little pockets of deliciousness within the filling.
Finishing and Baking Your Pie
- Now, it’s time to add the top crust. If you prepared a lattice topping, carefully arrange the strips over the filling and crimp them to the bottom crust. If you opted for a full top crust, gently place it over the filling and trim and crimp the edges to seal.
- Important for Full Crusts: If using a full top crust, remember to cut several slits or decorative vents into the top of the dough. This allows steam to escape during baking, preventing the crust from puffing up excessively and ensuring the filling cooks properly.
- For a beautiful golden-brown finish and a touch of sweetness, prepare an egg wash. In a small bowl, whisk together one large egg with one tablespoon of milk. Gently brush this mixture over the entire top crust, including the edges. For an extra sparkle and delightful crunch, sprinkle a generous amount of coarse sugar over the egg-washed crust.
- Baking Your Masterpiece: Preheat your oven to 425°F (218°C) and adjust the oven rack to the lower third position. This placement helps ensure a crisp bottom crust.
- Place the prepared cherry pie in the preheated oven and bake at 425°F (218°C) for 20 minutes. This initial high temperature is crucial for creating that wonderfully flaky, golden-brown crust.
- After 20 minutes, reduce the oven temperature to 375°F (190°C) (without opening the oven door unnecessarily) and continue baking for another 30-35 minutes.
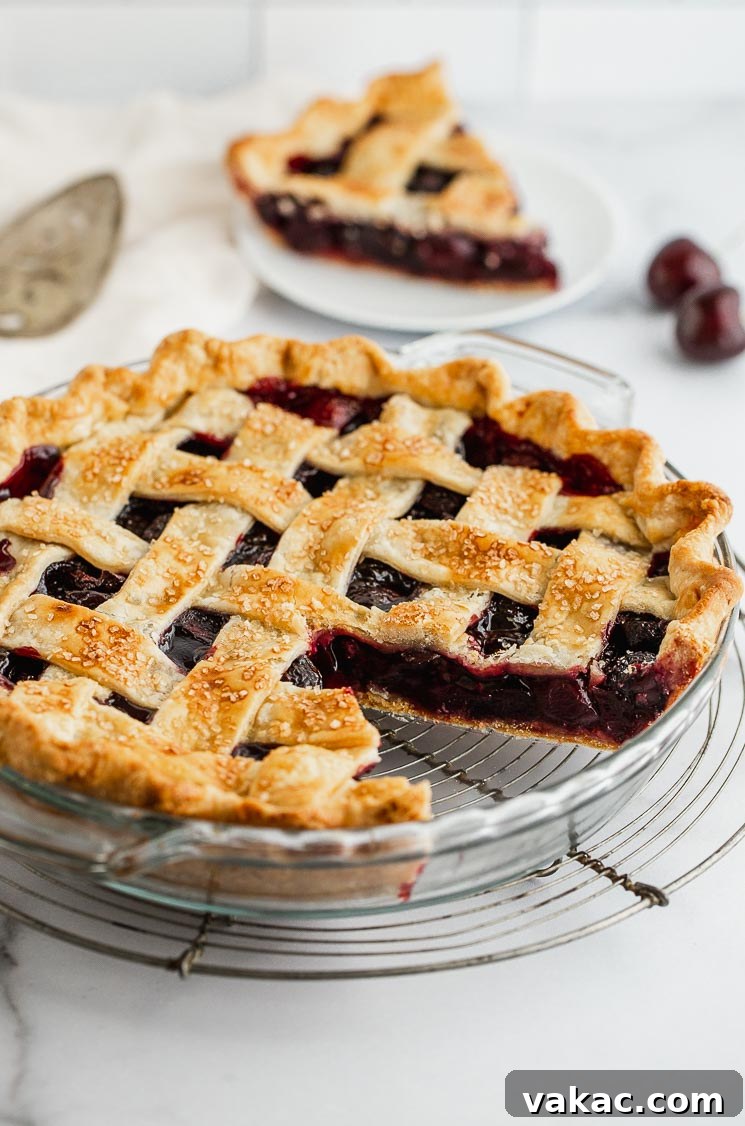
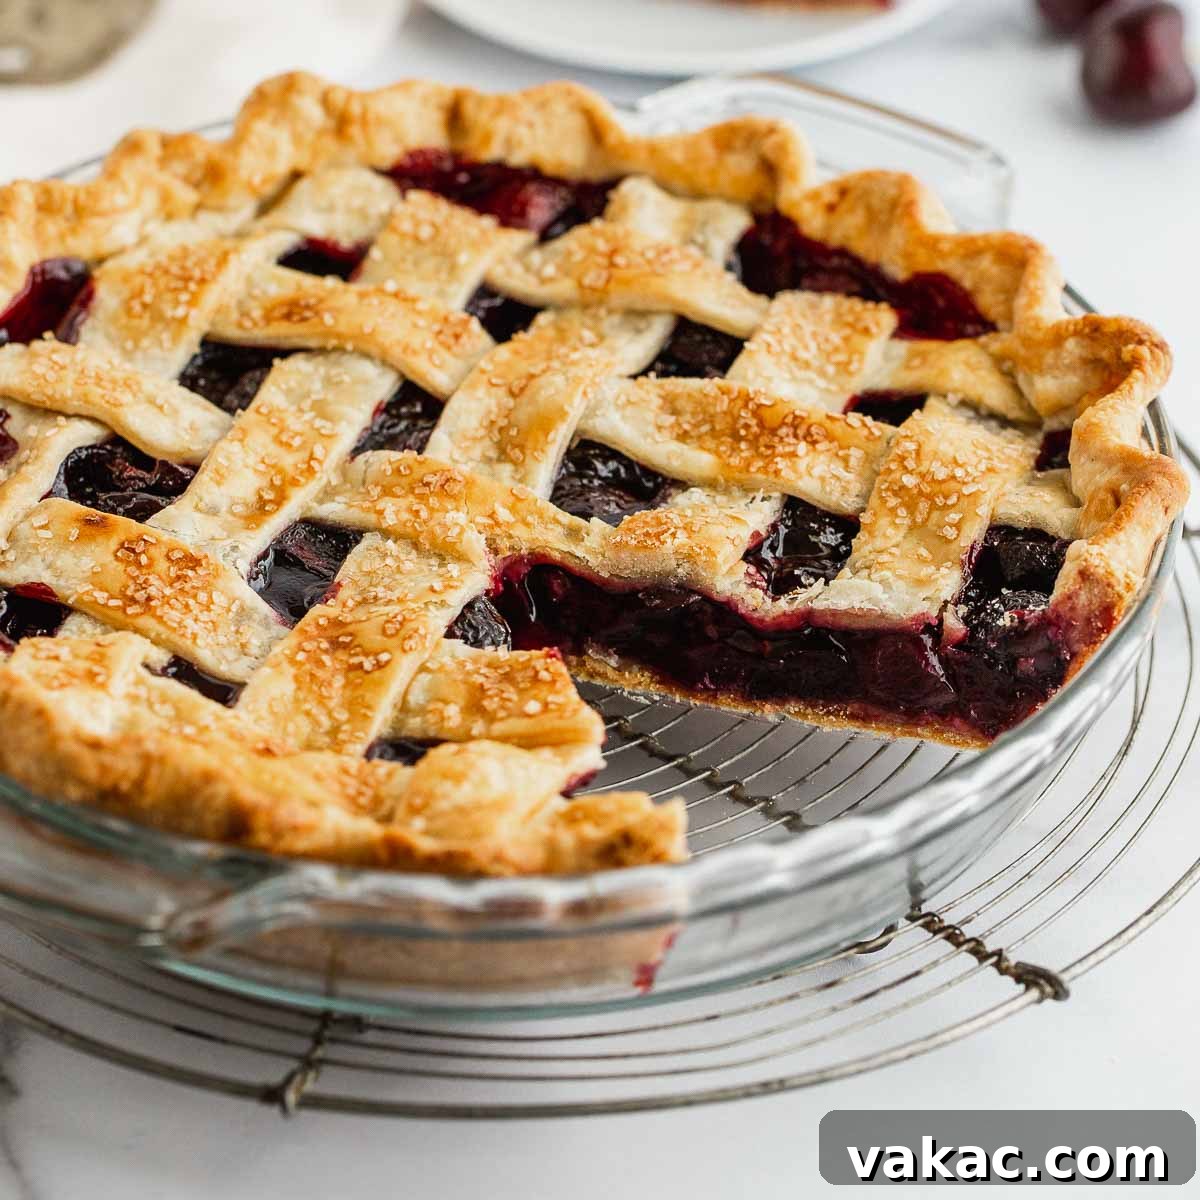
- The pie is done when the top crust is a rich golden brown, and you can see the filling actively bubbling through the lattice or vent slits. This bubbling indicates that the filling has reached a high enough temperature to thicken properly.
- If you notice the edges of your pie crust browning too quickly during baking, don’t worry! You can easily prevent over-browning by placing a pie crust shield over the edges or loosely tenting them with aluminum foil. I usually start doing this around the 20-minute mark.
- Once baked to perfection, carefully remove the pie from the oven and place it on a wire rack to cool completely. This cooling period is essential, allowing the filling to fully set, which will make for clean, beautiful slices. Resist the urge to cut into it too soon! A minimum of 3-4 hours of cooling is recommended, though overnight is even better.
Frequently Asked Questions About Homemade Cherry Pie
Can you freeze this homemade cherry pie?
Absolutely! This fresh cherry pie freezes exceptionally well, making it a fantastic make-ahead dessert. Once the pie has cooled completely to room temperature, wrap it tightly in several layers of plastic wrap, followed by a layer of aluminum foil. This double protection helps prevent freezer burn. Store it in the freezer for up to 3 months. When you’re ready to enjoy it, simply transfer the wrapped pie to the refrigerator the day before you plan to serve it, allowing it to thaw slowly overnight. You can gently reheat thawed slices in the oven if desired.
Does this pie need to be refrigerated?
For short-term storage, you can keep your homemade cherry pie covered tightly at room temperature for up to 2 days. However, to extend its freshness and quality, particularly in warmer climates or if you plan to store it longer, it’s best to refrigerate it. Cover the pie tightly with plastic wrap or foil before placing it in the refrigerator. When properly refrigerated, this pie will keep beautifully for up to 4 days.
Can you use frozen cherries for this recipe?
While this recipe was developed and tested using fresh cherries, which I highly recommend for the best texture and flavor, using frozen cherries is possible with some modifications. The main challenge with frozen fruit is the excess moisture they release upon thawing. If you choose to use frozen cherries, you must thaw them completely first and then drain off as much liquid as possible. You may also need to increase the amount of cornstarch by an additional tablespoon or two to account for the extra moisture. Be aware that even with these adjustments, the filling might be slightly softer than with fresh cherries.
Expert Baking Tips for a Flawless Cherry Pie
- Crust Convenience: While homemade pie crusts deliver unparalleled flavor and flakiness, there’s no shame in using store-bought crusts for a quicker and easier baking experience. Opt for high-quality, all-butter options if available.
- Cherry Choice & Sugar Adjustment: This recipe uses dark sweet cherries. If you prefer the tangier taste of tart cherries, remember to increase the granulated sugar by 1/4 to 1/3 cup, depending on your preferred level of sweetness and the tartness of your specific cherries.
- Precise Cherry Preparation: Always make sure to pit the cherries thoroughly, cut them in half, and then measure out the exact 5 cups needed for the recipe. This ensures a consistent filling and prevents any unexpected pits!
- Preventing Burnt Edges: Pie crust edges can brown much faster than the rest of the pie. To prevent them from burning, keep a watchful eye. If they start to look too dark, typically around the 20-minute mark of baking, cover them with a pie crust shield or carefully tent the edges with strips of aluminum foil. If the entire top of the pie begins to brown excessively before the filling is fully cooked and bubbling, loosely place a large piece of foil over the entire pie until it’s done baking.
- Cooling is Key: Patience is a virtue when it comes to pie. Allowing your cherry pie to cool completely on a wire rack is essential. This crucial step allows the filling to fully set and firm up, ensuring clean, beautiful slices without a runny mess. Rushing this process will result in a soft, messy pie.
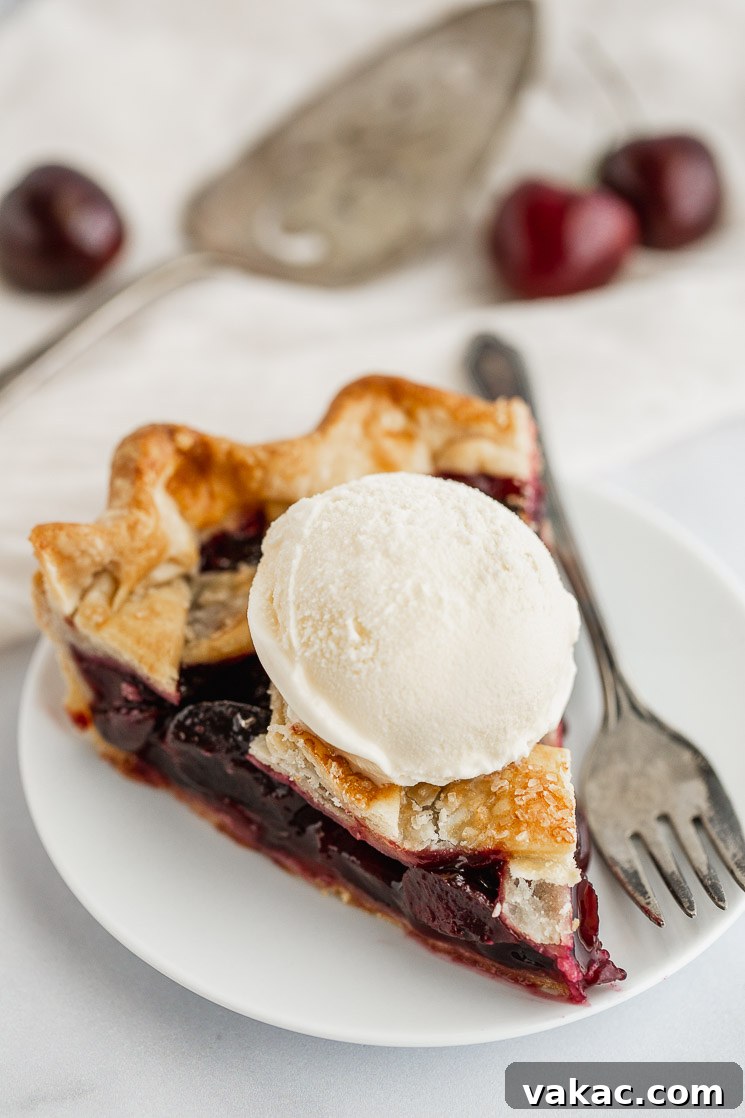
- Serving Suggestions: A warm slice of cherry pie is heavenly on its own, but it truly shines when paired with a scoop of creamy vanilla bean ice cream or a dollop of freshly whipped cream. The cool, rich accompaniments perfectly complement the warm, fruity filling.
More Irresistible Homemade Pie Recipes to Explore!
If you’ve enjoyed baking this cherry pie, you’re in for a treat with these other beloved homemade pie recipes:
- Dreamy Banana Cream Pie
- Tangy Classic Key Lime Pie
- Tropical Coconut Cream Pie
- Bright and Zesty Lemon Pie
- Rich Homemade Chocolate Cream Pie
Homemade Cherry Pie
Rated 5 out of 5 by 3 readers.
Prep Time: 1 hr | Cook Time: 55 mins | Cooling Time: 3 hrs | Total Time: 4 hrs 55 mins
This Homemade Cherry Pie is made with a flaky pie crust and packed with a sweet cherry filling. The perfect dessert for cherry lovers or the holidays!
Ingredients
Servings: 8 slices
- 2 pie crusts (homemade or store-bought)
- 5 cups (725 grams) pitted and halved fresh dark sweet cherries
- 2/3 cup (135 grams) granulated sugar
- 3 tablespoons (21 grams) cornstarch (or cornflour)
- 2 teaspoons fresh lemon juice
- 1 teaspoon pure vanilla extract
- 1 tablespoon (15 grams) butter, cut into small pieces
- 1 large egg
- 1 tablespoon (15 ml) milk
- Coarse sugar to sprinkle on top (optional)
Instructions
- Adjust oven rack to the lower third position. Preheat oven to 425°F (218°C).
- Roll out one of the pie crusts, transfer to a 9-inch pie plate, gently fit it in the dish, and trim any excess dough from the edges. Place the dish in the refrigerator to chill. Roll out the second pie crust and either cut out lattice strips, decorations, or leave it whole for the top.
- Add the halved cherries, sugar, cornstarch, lemon juice, and vanilla extract to a large mixing bowl and mix until all of the cherries are well coated.
- Remove the pie plate with the chilled crust from the refrigerator and scoop the cherry pie filling into the pie crust. Place the pieces of butter on top of the filling.
- Next, use the second pie crust to decorate the top (if leaving it whole, make sure to cut some slits in the top), and decorate the edges by crimping or fluting.
- In a small bowl, whisk together the egg and milk until fully combined. Brush the top and edges of the pie crust with the egg wash. Sprinkle with coarse sugar if desired.
- Place in the oven and bake at 425°F (218°C) for 20 minutes. Then, reduce the oven temperature to 375°F (180°C) and continue baking for an additional 30-35 minutes or until the crust is golden brown and the filling is bubbling. If the edges of the pie crust begin to brown too much, use a pie crust shield or foil to cover them.
- Remove from the oven and place on a wire rack to cool completely for at least 3 hours before slicing into pieces and enjoying!
Notes
Once the pie is cooled, you can cover it tightly and store it at room temperature for up to 2 days or in the refrigerator for 4 days.
Freezing Instructions: After the pie has cooled, wrap it tightly and freeze for up to 3 months. The day before you plan to serve it, place it in the refrigerator and let it thaw overnight.
Cherries: I used dark sweet cherries in this pie. If you prefer to use tart cherries, I suggest adding an additional 1/4-1/3 cup of sugar to balance the tartness.
Cuisine: American
Course: Dessert
Author: Danielle Rye