
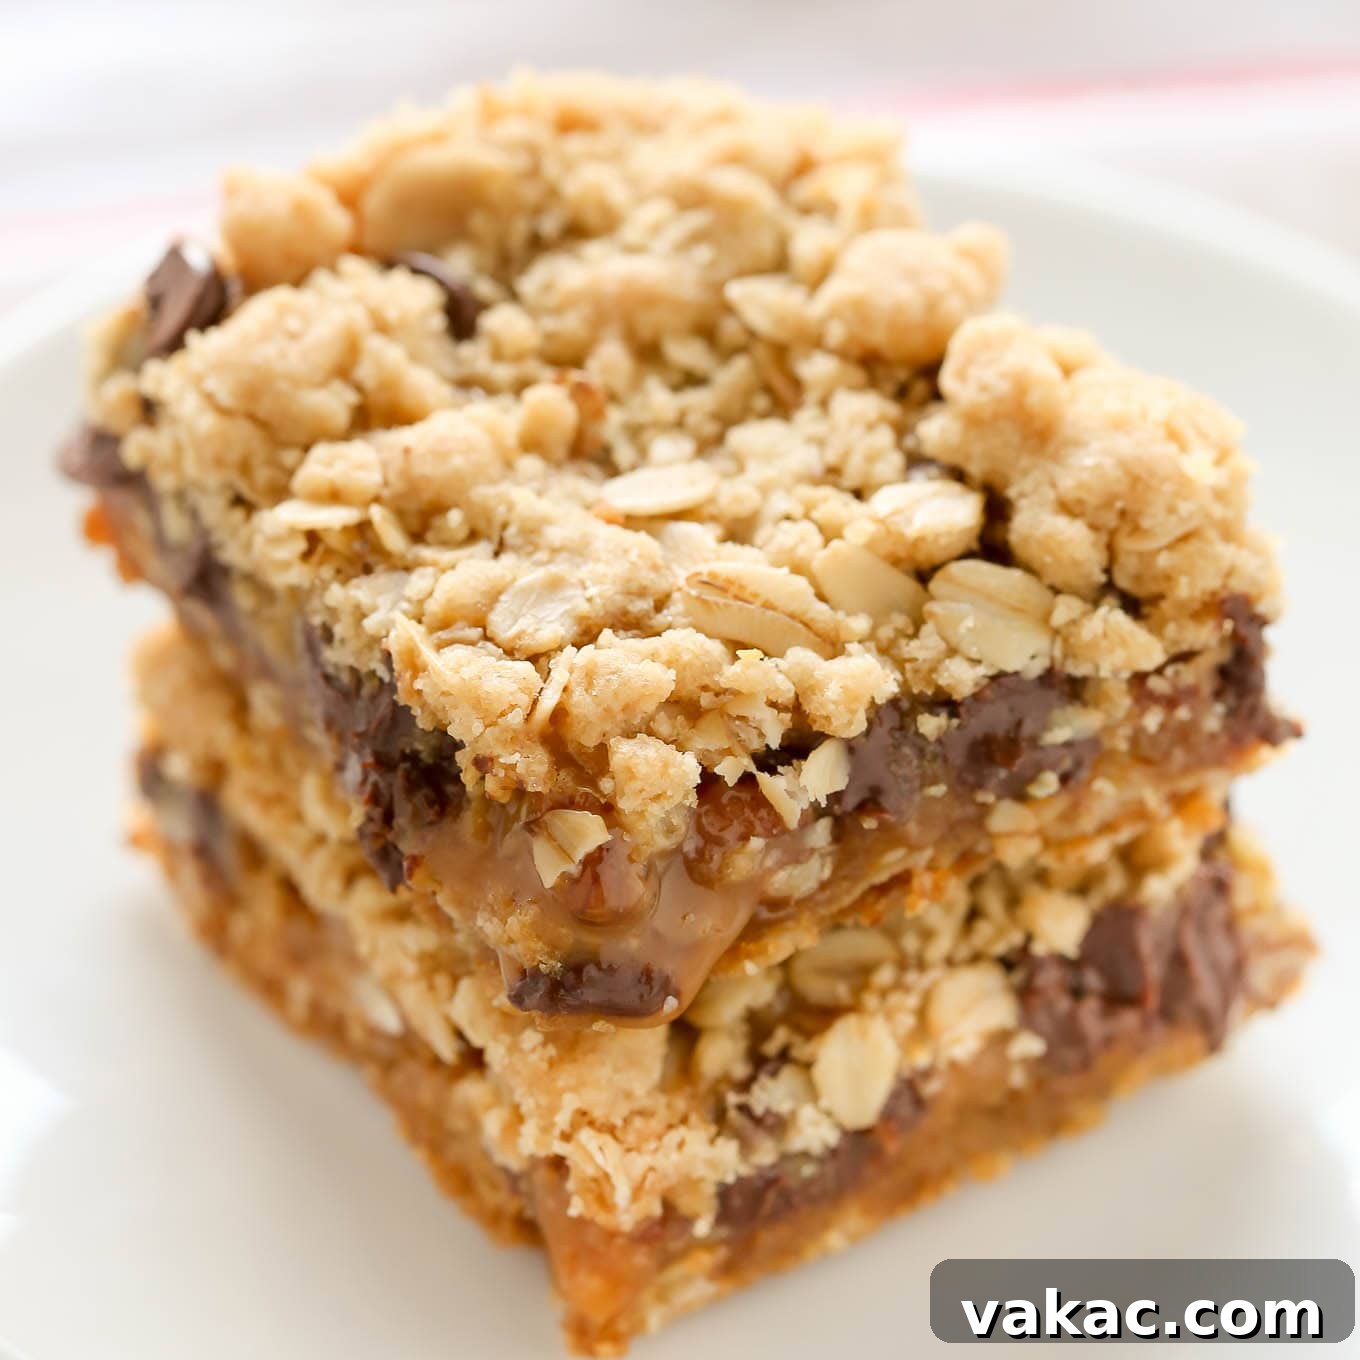
Indulge in the irresistible delight of homemade Carmelitas – soft, chewy oatmeal crumb bars generously stuffed with a luscious, gooey caramel filling, decadent chocolate chips, and perfectly toasted chopped pecans. This recipe simplifies the baking process by utilizing the same versatile mixture for both the buttery crust and the crumbly topping, ensuring a consistent and delicious texture in every bite. Get ready to bake a batch of these incredibly easy-to-make and utterly delicious treats that are sure to become a family favorite!
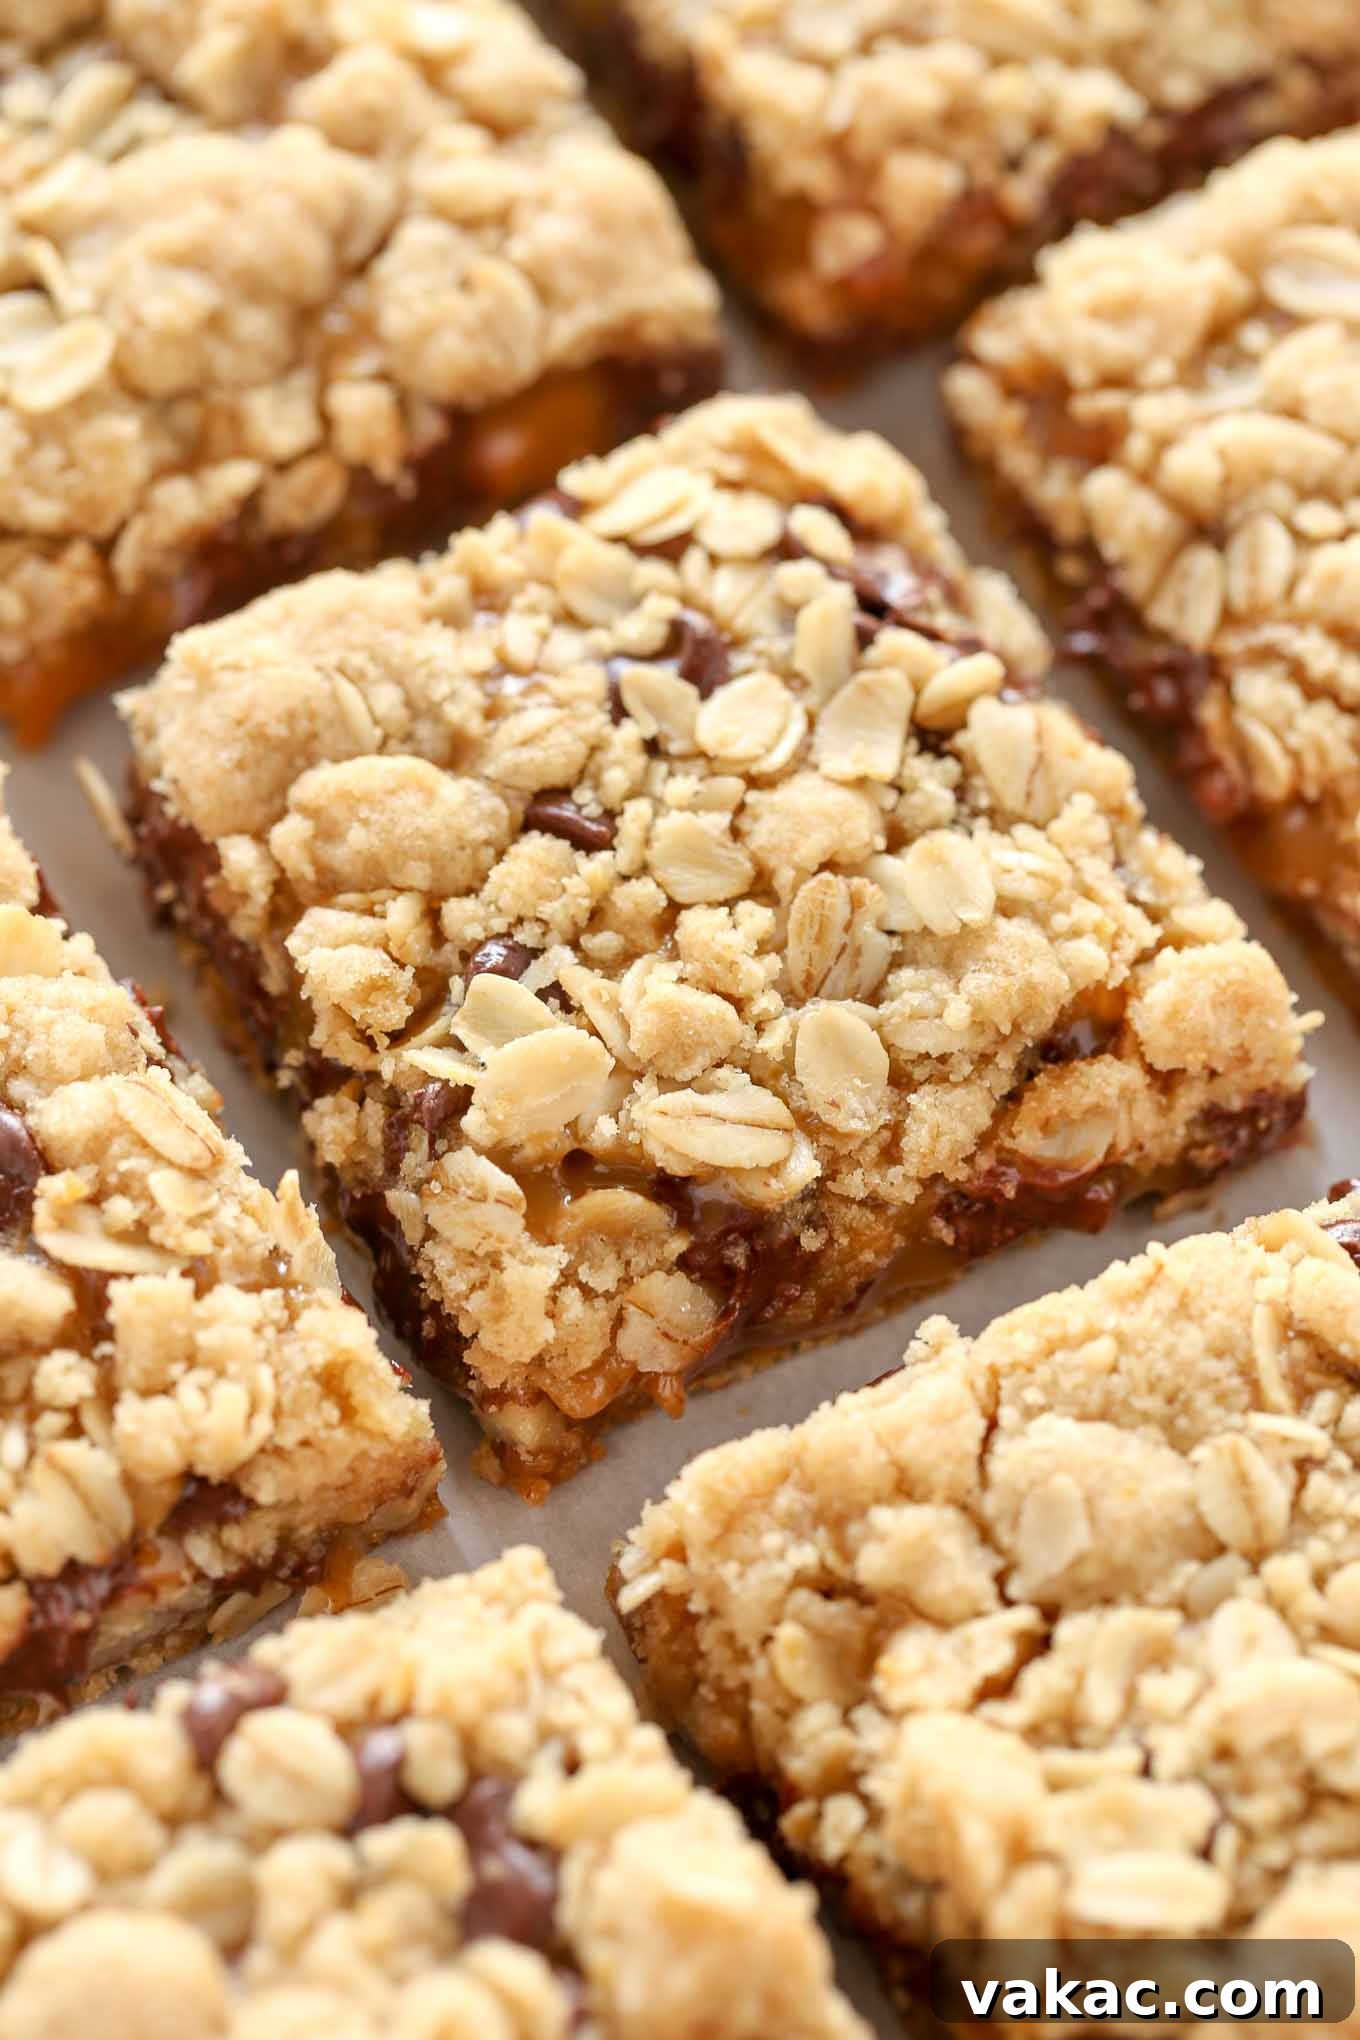
Have you ever had the pleasure of tasting Carmelitas? If these delightful treats are new to you, prepare to be amazed. At their core, Carmelitas are a divine creation: an oatmeal crumb bar generously layered with a rich, soft caramel, melted chocolate, and crunchy pecans. While the description might sound elaborate and the flavor profile incredibly rich, I promise you that crafting these homemade caramel oatmeal bars is surprisingly straightforward, and the result is nothing short of spectacularly delicious!
Why This Carmelitas Recipe Is So Effortless
The beauty of these easy oatmeal caramel bars lies in their ingenious simplicity. We’ve streamlined the baking process to ensure maximum flavor with minimal fuss. Here’s what makes this recipe a breeze:
- Dual-Purpose Oat Mixture: One of the key time-savers is using a single, versatile oat mixture for both the bottom crust and the crunchy top crumble. You’ll prepare this delicious mixture in just one bowl. Simply scoop half into your baking pan to form the base, and set the other half aside for the topping that will complete your bars.
- Microwave Caramel: Forget complicated stovetop caramel making! Our gooey caramel layer comes together with just two simple ingredients, effortlessly melted in your microwave. This method ensures a smooth, consistent caramel every time without the constant stirring or fear of burning.
- Simple Assembly: The final layers are incredibly easy to assemble. Once your pre-baked crust is ready and the caramel is poured, you’ll simply sprinkle a generous amount of chocolate chips and chopped pecans evenly over the warm, gooey caramel. Then, the reserved oat crumb mixture is scattered on top, creating that perfect golden, crispy finish.
- Customizable to Your Liking: While pecans add a wonderful nutty crunch and flavor, if you’re not a fan, don’t fret! You can easily omit them or substitute them with another nut of your choice. These oatmeal caramel bars will still taste absolutely wonderful, maintaining their delightful texture and flavor profile.
Essential Ingredients for Perfect Carmelitas
These incredible oatmeal Carmelitas are composed of two main, yet equally delicious, components: the rich, buttery oat layer that serves double duty as both the sturdy crust and the irresistible topping, and the decadent, gooey caramel filling nestled in between. Gathering your ingredients is the first step to creating these memorable bars. Here’s a detailed look at what you’ll need to make these mouth-watering oatmeal caramel bars:
- All-Purpose Flour: This forms the foundational structure of our oat crumb mixture. It’s crucial to measure your flour correctly to avoid dense, heavy bars. The best method is to spoon and level the flour. This means lightly spooning the flour into your measuring cup until it overflows, then using the back of a knife or a straight edge to level off the excess. This prevents over-packing the flour, which can lead to a dry or overly dense crumb.
- Brown Sugar: Beyond just sweetness, brown sugar plays a vital role in these bars. Its inherent moisture content contributes to a softer, chewier texture in the oat crumb, preventing it from becoming too dry or brittle. Furthermore, brown sugar imparts a lovely, subtle molasses flavor that beautifully complements the oats and caramel.
- Baking Soda: This leavening agent is key to achieving that desirable slight lift and tender texture in the oat mixture. It reacts with the acidic components (like brown sugar) to produce carbon dioxide, which creates small air pockets, making the bars lighter. It also aids in browning, giving the crust and topping a beautiful golden hue.
- Salt: A pinch of salt is absolutely essential, not just for flavor, but for balance. In a sweet dessert like Carmelitas, salt acts as a flavor enhancer, truly bringing out the rich taste of the caramel and chocolate. More importantly, it helps to counteract and balance the intense sweetness from the caramel filling and chocolate chips, ensuring the bars are perfectly sweet, not cloyingly so.
- Unsalted Butter: Butter is the backbone of our crumb mixture, providing richness, flavor, and binding power. I highly recommend using unsalted butter because it gives you complete control over the total salt content in your recipe. The amount of salt in salted butters can vary significantly between different brands, making it difficult to predict the final taste. If salted butter is all you have, simply omit the additional salt called for in this recipe to avoid over-salting. Ensure your butter is softened to room temperature and cut into pieces for easier incorporation into the dry ingredients.
- Old-Fashioned Oats: For the ideal chewy texture that defines a great oatmeal bar, old-fashioned rolled oats are the way to go. Their larger, thicker flakes retain more of their shape and provide a satisfying chewiness that quick oats simply cannot replicate. Avoid quick oats, as their finer grind can lead to a less textural and potentially drier bar.
- Caramel Candies: For ease and consistency in the filling, soft caramel candies are a fantastic choice. My personal preference is for Kraft soft caramel candies, which are widely available in most grocery store candy aisles. They melt down beautifully into a smooth, luscious caramel when combined with heavy cream.
- Heavy Whipping Cream: This ingredient is crucial for transforming the melted caramel candies into a smooth, pourable, and ultimately gooey caramel filling. The high fat content (at least 36% fat) in heavy whipping cream prevents the caramel from becoming too stiff or grainy, ensuring a luxurious, silky texture that perfectly coats the other layers.
- Pecans: Chopped pecans add a delightful nutty crunch and a complementary earthy flavor that pairs wonderfully with caramel and chocolate. They provide a textural contrast to the soft oats and gooey filling. If pecans aren’t to your taste, you can easily omit them entirely or swap them out for another favorite nut, such as walnuts or almonds, for a different but equally delicious twist.
- Semi-Sweet Chocolate Chips: These classic chips deliver a balanced chocolate flavor that isn’t overly sweet, harmonizing perfectly with the rich caramel. Semi-sweet chocolate chips melt into delightful pockets of chocolate goodness within the bars. Feel free to customize this by replacing them with dark chocolate chips for a more intense chocolate experience, or milk chocolate chips for a sweeter, creamier touch, depending on your preference.
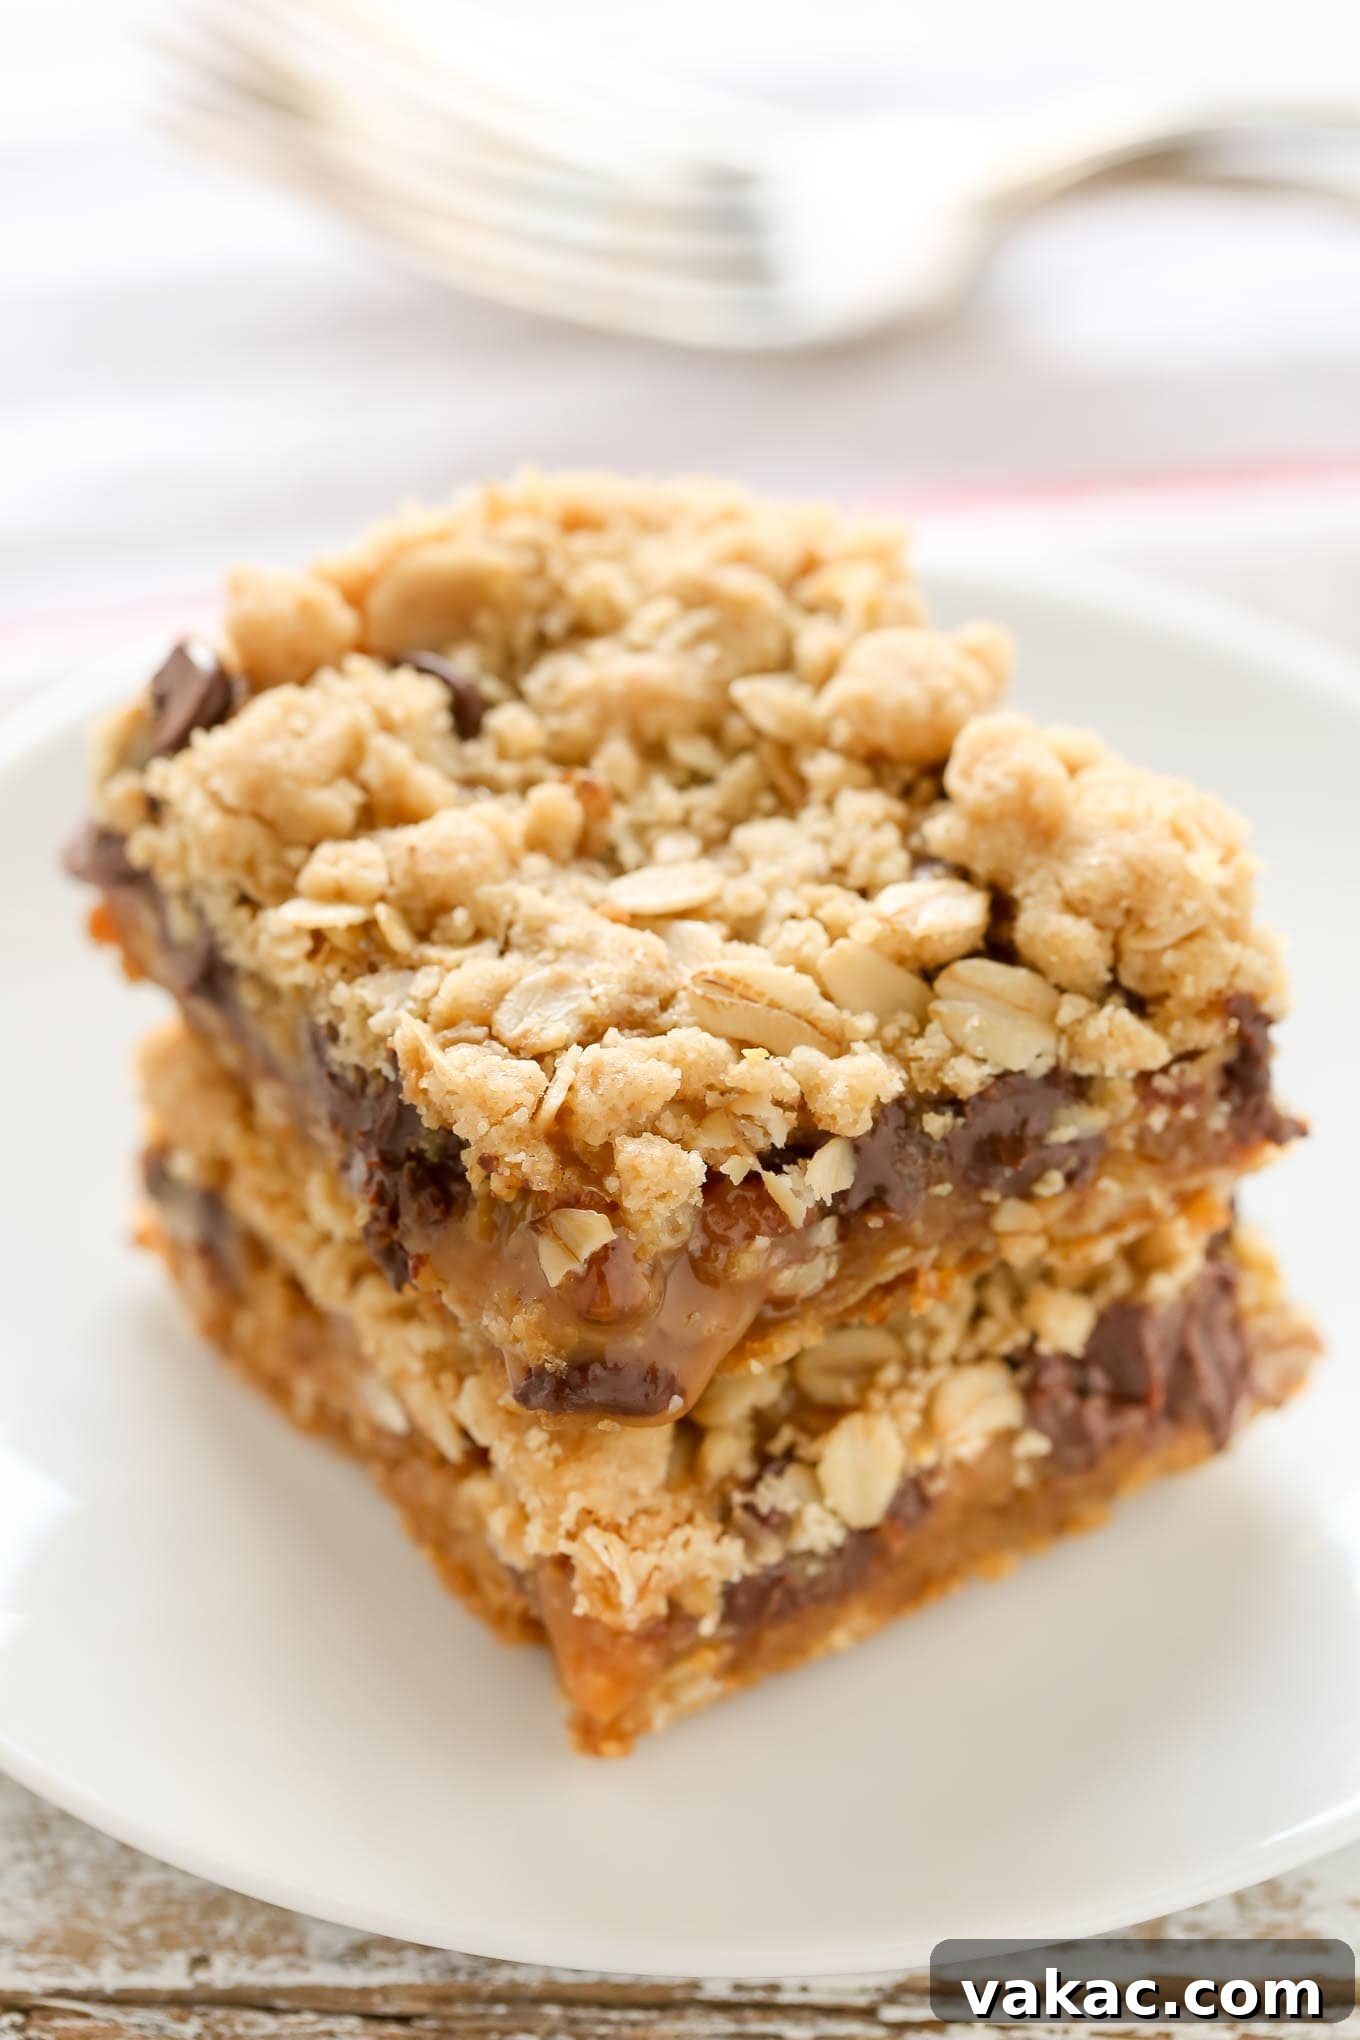
Step-by-Step Guide: Crafting Your Own Carmelitas
Making these glorious Carmelitas is a rewarding process, and following these steps will ensure perfect results every time. We’ll start by preparing the versatile oat crumb mixture, move on to the crucial pre-baking, and finally, bring all the delightful layers together.
1. Prepare the Oat Crumb Mixture:
You’ll begin by creating the foundation of these bars – a simple yet incredibly flavorful mixture of all-purpose flour, rich brown sugar, a touch of baking soda for lift, salt to balance the sweetness, softened unsalted butter, and hearty old-fashioned rolled oats. In a large mixing bowl, combine the dry ingredients first: flour, brown sugar, baking soda, and salt. Whisk them together thoroughly until they are uniformly combined. Next, add the softened butter, cut into small pieces. Using a pastry cutter, two forks, or even an electric mixer on low speed, work the butter into the dry ingredients. Continue until the mixture resembles coarse crumbs, with some pea-sized pieces of butter remaining. Finally, gently stir in the old-fashioned oats. This crumb mixture is quite similar to the one I use in my popular Blueberry Crumb Bars (another truly delicious recipe!), but with a higher oat content and the addition of baking soda to give these Carmelitas a little extra rise and tenderness.
2. Pre-bake the Crust:
For the best structural integrity and to prevent a soggy bottom, I discovered that pre-baking the crust is an essential step. It ensures the base is firm enough to support the generous caramel filling. Scoop exactly half of your prepared oat crumb mixture into your foil-lined 8-inch square baking pan. Using your hands or the bottom of a flat measuring cup, firmly press the mixture down into an even, compact layer. This compression is vital for a sturdy crust. Bake this crust in a preheated 350°F (175°C) oven for approximately 15 minutes, or until the edges are lightly golden and the center appears set. Once baked, remove the pan from the oven and allow the crust to cool in the pan for about 10 minutes. This cooling period is crucial; it allows the butter to re-solidify slightly, making the crust firm enough to hold the warm, gooey filling without losing its shape.
3. Prepare the Gooey Caramel Filling:
Keeping the filling delightfully simple, yet utterly decadent, is a hallmark of this recipe. In a microwave-safe bowl, combine the unwrapped soft caramel candies with the heavy whipping cream. Microwave this mixture in short bursts of 20-30 seconds, stirring thoroughly after each interval. Continue this process until the caramels are completely melted and the mixture is smooth, creamy, and free of lumps. Set the caramel aside to cool slightly while the crust finishes cooling. This prevents the caramel from being too hot when it hits the crust, which could make the crust too soft.
4. Assemble and Bake Your Carmelitas:
Before assembling, it’s a good practice to lightly grease the sides of your foil-lined pan with a thin layer of butter or a spray of nonstick cooking spray. While optional, this simple step is a lifesaver for easy removal, as it helps prevent any sticky caramel from adhering too much to the foil. Once both the pre-baked crust and the caramel filling have cooled slightly (they should still be warm but not piping hot), carefully pour the smooth caramel evenly over the cooled crust. Then, generously sprinkle the chopped pecans and semi-sweet chocolate chips over the caramel layer. Finally, retrieve the other half of your reserved oatmeal crumb mixture from the refrigerator (the chilling helps maintain its crumbly texture) and evenly sprinkle it over the top of the chocolate and pecans. Bake the assembled bars in your preheated 350°F (175°C) oven for an additional 25 to 30 minutes, or until the crumb topping is beautifully golden brown and set. The caramel might still be slightly bubbly beneath, which is perfect. Once baked, transfer the pan to a wire rack and, this is perhaps the hardest part, allow the bars to cool completely before attempting to slice them. Cooling completely allows the caramel to firm up and the bars to set, ensuring clean, beautiful slices. Patience is key – these bars are absolutely worth the wait!
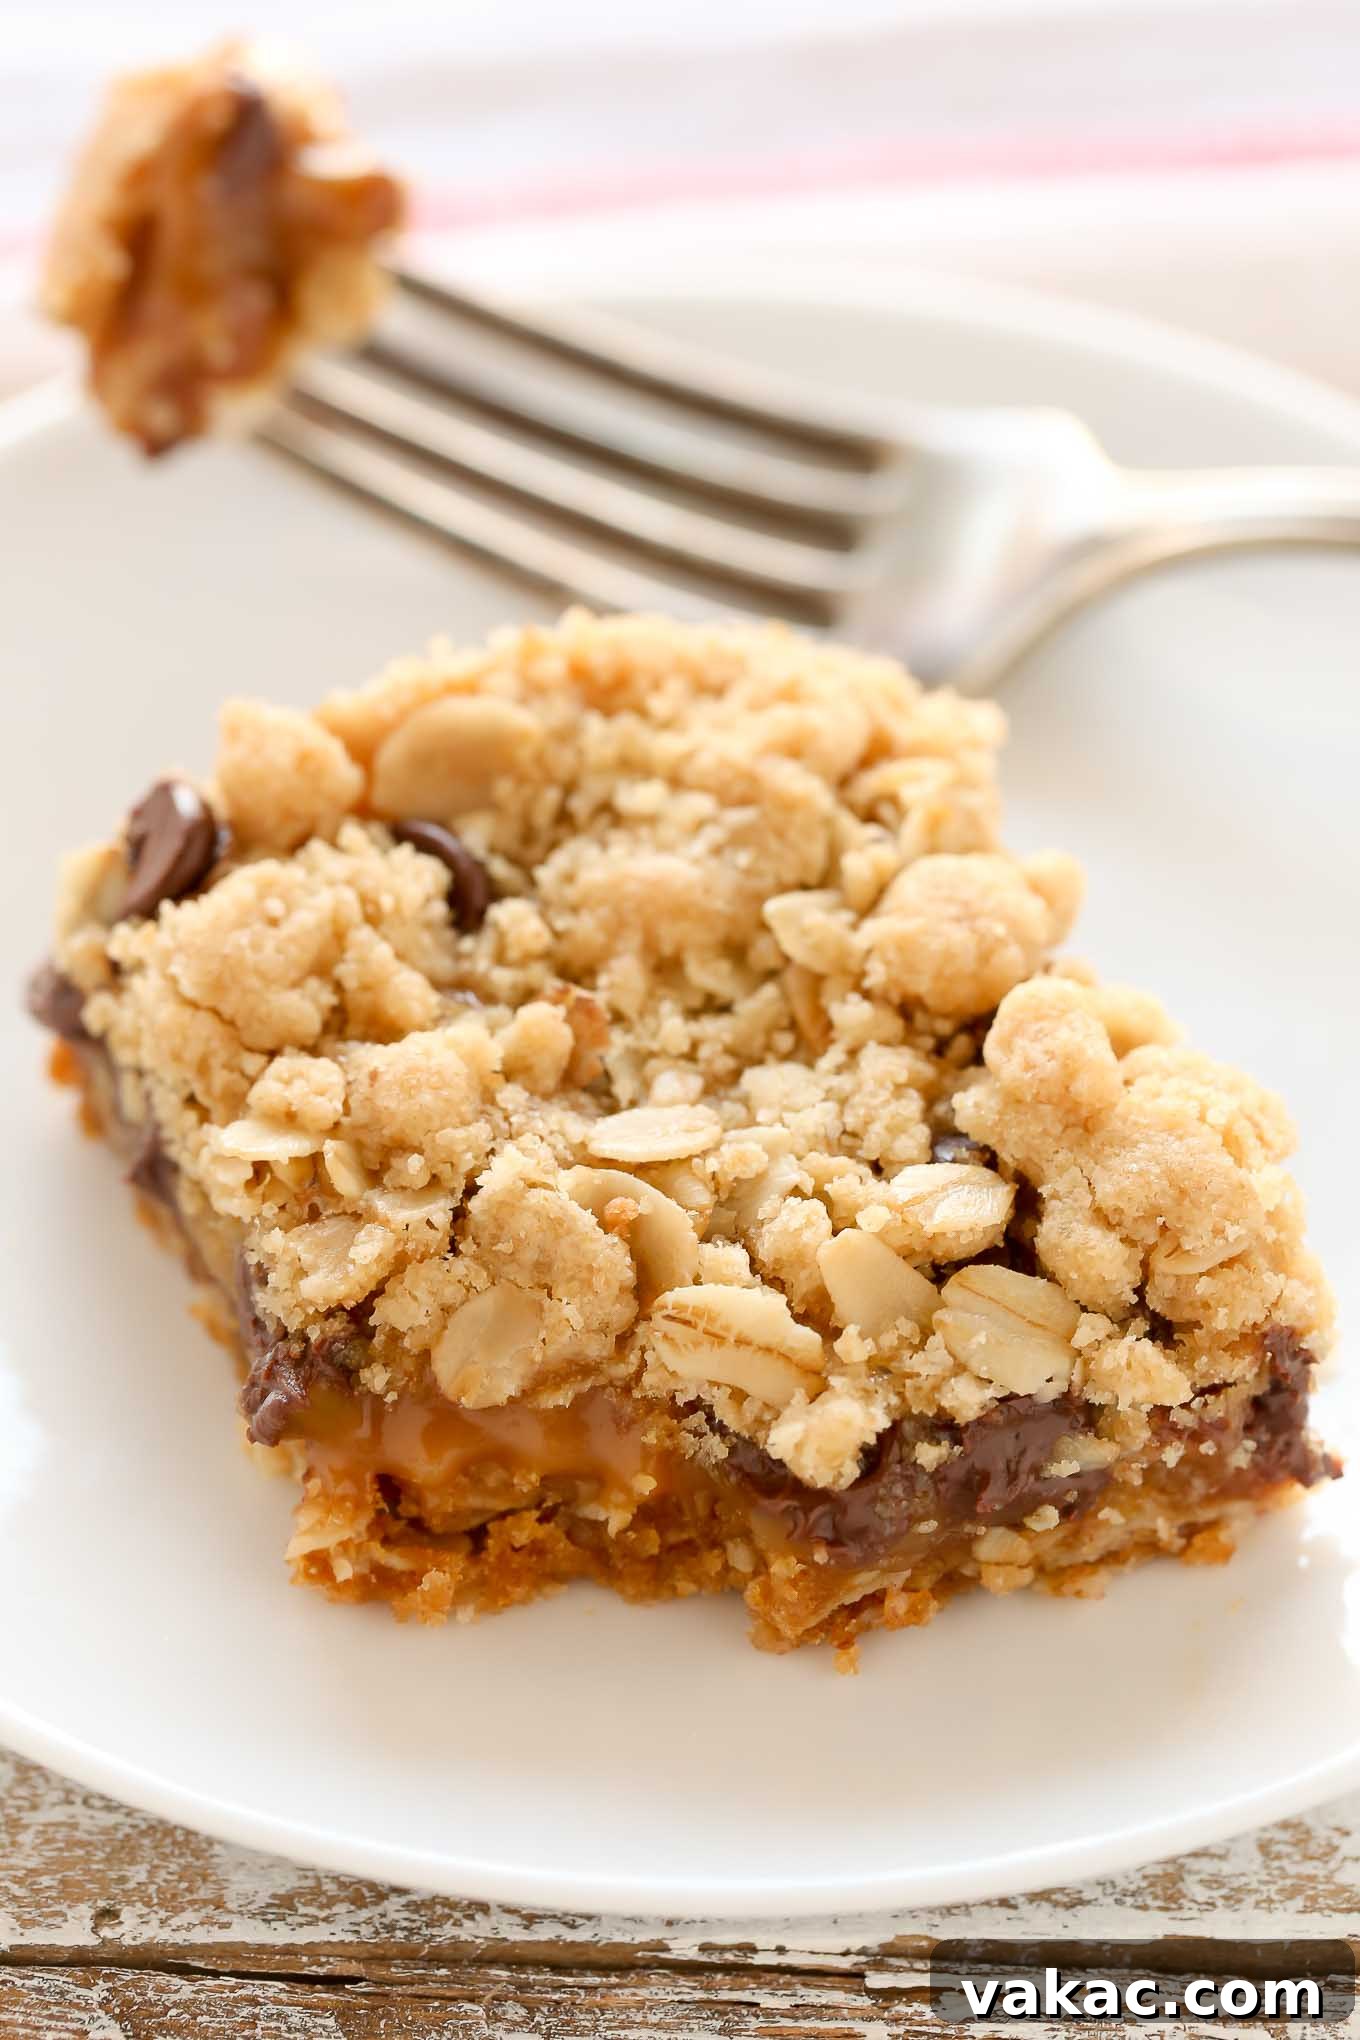
Frequently Asked Questions About Carmelitas
Do I Have to Use Caramel Candies for the Filling?
While I highly recommend using soft caramel candies for their unparalleled convenience and consistent gooey texture, especially brands like Kraft, I understand they might not always be available or preferred. If you’re unable to find them or simply wish to use a homemade alternative, you absolutely can! You can substitute my homemade salted caramel sauce in place of the melted candies. Keep in mind that homemade caramel sauce will typically be slightly thinner than a filling made from melted candies, resulting in a slightly less firm, but equally delicious, gooey layer. If you opt for homemade caramel, ensure it’s cooled to a slightly thickened, pourable consistency before spreading it over the crust to prevent it from soaking into the oat base too much. For best results, use a recipe specifically designed for a thicker, more stable caramel filling, if possible.
Can I Use Quick Oats Instead of Old-Fashioned Oats?
I strongly advise against using quick oats (also known as instant oats) in this recipe, and here’s why. Old-fashioned rolled oats are specifically chosen for their hearty, flat flakes that provide a wonderful, chewy texture to the crumb bars. Quick oats, on the other hand, are more finely processed and pre-cooked, which means they absorb liquids much faster and have a softer, mushier consistency when baked. Substituting quick oats would likely result in a less textural, potentially drier, and much denser bar that lacks the signature chewiness of a traditional Carmelita. For that perfect balance of soft, crumbly, and chewy, stick with old-fashioned rolled oats.
How Should I Store Carmelitas, and Can I Freeze Them?
Once your Carmelitas have cooled completely and are sliced, store them in an airtight container at room temperature for up to 3-4 days. If your kitchen is particularly warm, or for longer storage, you can keep them in the refrigerator for up to a week. To freeze Carmelitas, allow them to cool completely, then cut them into individual bars. Place the bars in a single layer on a baking sheet and freeze for about an hour until firm. Once firm, transfer them to an airtight freezer-safe container or freezer bags, separating layers with parchment paper to prevent sticking. They can be frozen for up to 2-3 months. Thaw frozen bars at room temperature or in the refrigerator before serving.
What If My Caramel Is Too Thick or Too Thin?
If your caramel filling seems too thick after melting the candies and cream, you can gradually add a very small amount (1/2 to 1 teaspoon at a time) of additional heavy whipping cream, reheating gently in the microwave for a few seconds and stirring until you reach the desired pourable consistency. If your caramel seems too thin, it might be due to using a lower-fat milk alternative or simply needing to cool more. Allow it to cool longer; as it cools, it will naturally thicken. You could also try gently simmering it in a small saucepan over low heat for a few minutes, stirring constantly, to allow some moisture to evaporate and thicken it, but be careful not to burn it.
Expert Baking Tips for Carmelitas
- Heavy Whipping Cream Substitutes: While heavy whipping cream is ideal for the caramel’s richness and texture, if you find yourself without it, you might be able to use whole milk or even 2% milk in a pinch. However, be mindful that milk is significantly thinner and has a lower fat content than cream. You’ll likely need to reduce the quantity, using perhaps just 2 to 3 tablespoons of milk instead of 1/4 cup of cream. The resulting caramel may not be quite as rich or as thick, but it will still provide a delicious filling.
- Don’t Skip Greasing the Foil: Even though you’re lining your baking pan with aluminum foil, it’s a crucial extra step to lightly grease the foil itself with butter or nonstick cooking spray. Caramel, by nature, is incredibly sticky, and this extra layer of grease acts as a barrier, ensuring that your beautiful Carmelitas lift out of the pan easily without any caramel stubbornly clinging to the foil. This makes for much cleaner slices and presentation.
- Patience for Cooling is Key: I cannot stress this enough – it is absolutely vital to allow these bars to cool completely to room temperature (or even chill them slightly in the refrigerator) before you attempt to slice into them. If you cut them while warm, the caramel will still be very soft and runny, leading to messy, falling-apart bars. Allowing them to cool gives the caramel time to firm up and set properly, resulting in beautifully clean, defined slices. I promise, the wait is worth it for perfectly structured, delicious bars!
- Don’t Overmix the Crumb Mixture: Once you’ve added the butter to the dry ingredients, mix just until the butter is incorporated and the mixture forms coarse crumbs. Overmixing can develop the gluten in the flour too much, which can lead to a tougher, less tender crumb for both your crust and topping.
- Perfectly Toasted Pecans (Optional): For an enhanced nutty flavor, consider lightly toasting your chopped pecans before adding them to the bars. Simply spread them on a dry baking sheet and toast in a 350°F (175°C) oven for about 5-7 minutes, watching carefully to prevent burning. Let them cool before adding to the caramel layer.
More Irresistible Caramel Desserts to Try!
If you’re a fan of rich, gooey caramel, you’ll love exploring these other delightful recipes:
- No-Bake Pumpkin Caramel Icebox Cake
- Salted Caramel Brownie Bites
- Caramel Apple Upside-Down Cake
- Caramel-Stuffed Snickerdoodles
- Salted Caramel Almond Turtles
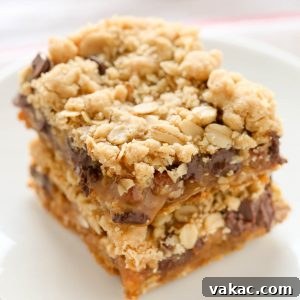
Carmelitas
30 mins
30 mins
1 hr
Ingredients
16 bars
For the crust and topping:
- 1 cup (125 grams) all-purpose flour , spooned & leveled
- 1/2 cup (100 grams) brown sugar
- 1/2 teaspoon baking soda
- 1/4 teaspoon salt
- 1/2 cup (115 grams) unsalted butter , softened and cut into pieces
- 3/4 cup (75 grams) old-fashioned rolled oats
For the filling:
- 25 soft caramel candies , unwrapped (I use Kraft soft caramel candies)
- 1/4 cup (60 ml) heavy whipping cream
- 1/2 cup (55 grams) chopped pecans
- 3/4 cup (140 grams) semi-sweet chocolate chips
Instructions
- Preheat oven to 350°F (175°C). Line an 8-inch square baking pan with aluminum foil, making sure to leave some overhang on the sides for easy removal, and set aside.
To make the crust and topping:
- In a large mixing bowl, whisk together the flour, brown sugar, baking soda, and salt until well combined. Add the softened butter (cut into pieces) and cut it into the dry ingredients using a pastry cutter, two forks, or an electric mixer on low speed until the mixture starts to come together and is crumbly. Stir in the old-fashioned oats.
- Scoop half of the mixture into the prepared baking pan (place the other half in the refrigerator for later use) and firmly press it down into one even layer to form the crust.
- Bake at 350°F (175°C) for 15 minutes or until the top of the crust looks set and lightly golden. Remove from the oven and allow to cool for 10 minutes in the pan.
To make the filling:
- Add the unwrapped caramel candies and heavy whipping cream to a microwave-safe bowl. Microwave in 20-30 second increments, stirring well after each increment, until fully melted and smooth. Set aside to cool slightly.
- Grease the sides of the foil-lined pan with a thin layer of butter or spray with nonstick cooking spray. This optional step helps to prevent any caramel from sticking too much to the foil.
- Once the crust and caramel have cooled slightly (to a warm but not hot temperature), pour the caramel evenly on top of the crust. Then, sprinkle the chopped pecans and semi-sweet chocolate chips generously on top of the caramel layer. Remove the other half of the crumb topping mixture from the refrigerator and evenly sprinkle it over the chocolate and pecans.
- Bake at 350°F (175°C) for 25-30 minutes or until the topping is lightly golden brown and set. Transfer the pan to a wire rack to cool completely. This is crucial for the caramel to set properly. Once completely cooled, cut into bars and enjoy!
Notes
Caramel candies: I highly recommend using soft caramel candies for convenience and consistency. However, if you can’t find them or prefer an alternative, you can substitute with a good quality homemade caramel sauce. Note that homemade sauce might be slightly thinner, resulting in a gooier, less firm caramel layer.
Heavy whipping cream: If you don’t have heavy whipping cream on hand, you may be able to use whole milk or 2% milk as a substitute. Since milk is much thinner than cream, you’ll likely need to use less, approximately 2 to 3 tablespoons, to achieve a similar consistency for melting the caramel. The final texture and richness of the caramel may vary slightly.
Did you make this recipe?
Mention @livewellbakeoften on Instagram or tag #livewellbakeoften.