
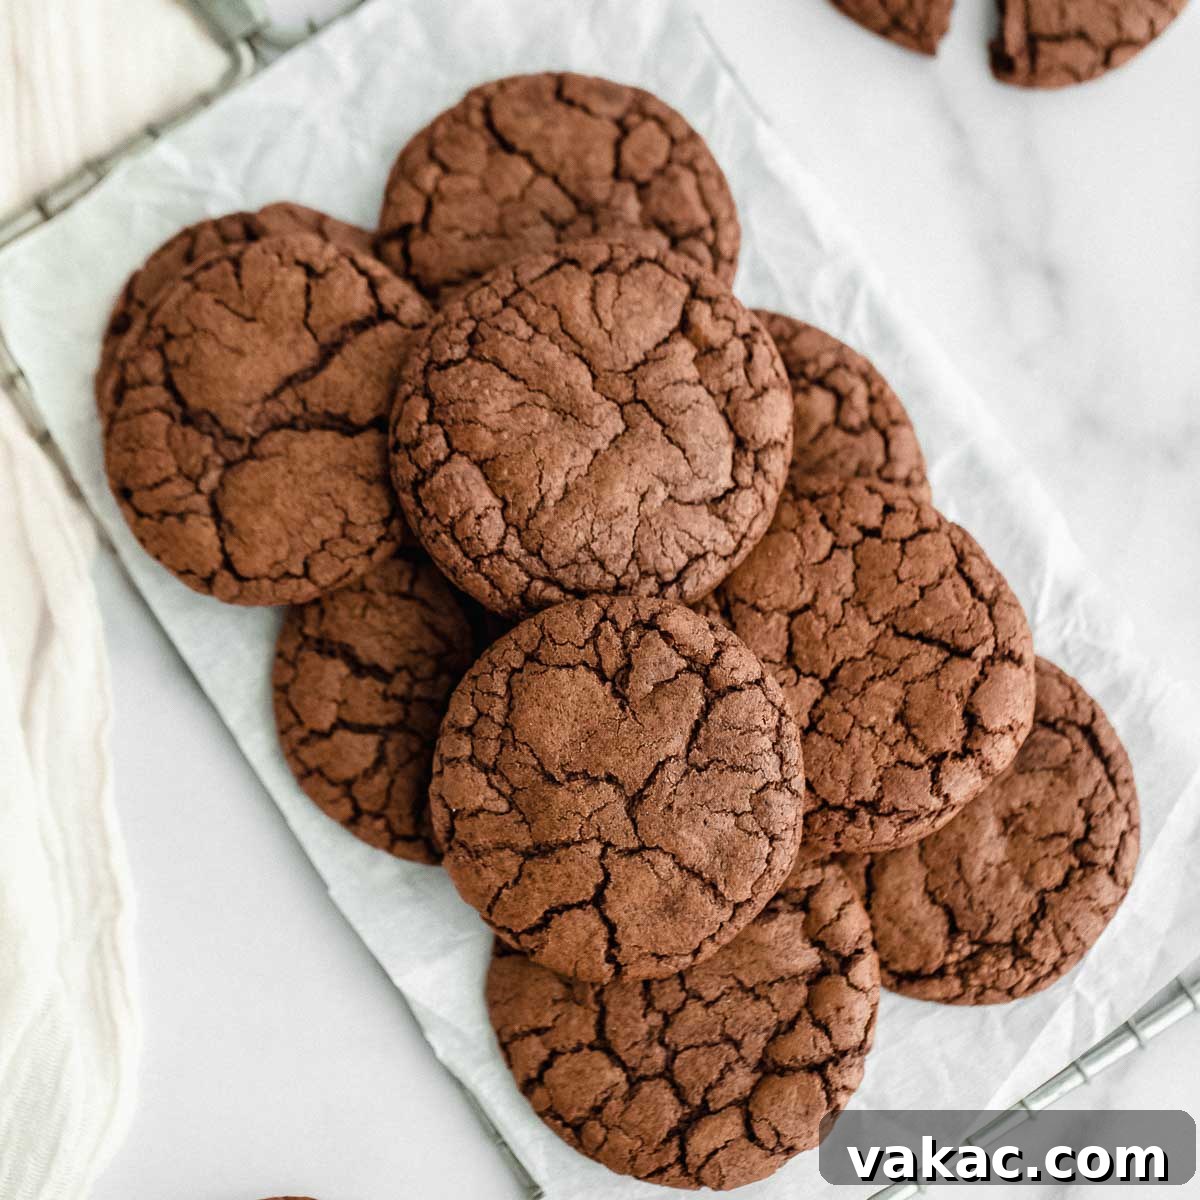
Irresistibly Fudgy Brownie Cookies: Your New Favorite Chocolate Treat
Are you on the eternal quest for the perfect chocolate indulgence? Imagine the rich, gooey perfection of a classic fudgy brownie, transformed into a delightfully chewy cookie. These Fudgy Brownie Cookies are exactly that – an exquisite fusion of your favorite brownie’s deep chocolate flavor and a cookie’s portable, irresistible chewiness. Incredibly easy to make and utterly delicious, they promise to satisfy even the most intense chocolate cravings.
When it comes to brownies, people generally fall into two camps: team fudgy or team cakey. For those of us who live for that dense, moist, and intensely chocolatey experience, these homemade brownie cookies are a dream come true. They capture the essence of that coveted corner piece brownie, ensuring every bite is packed with pure chocolate bliss.
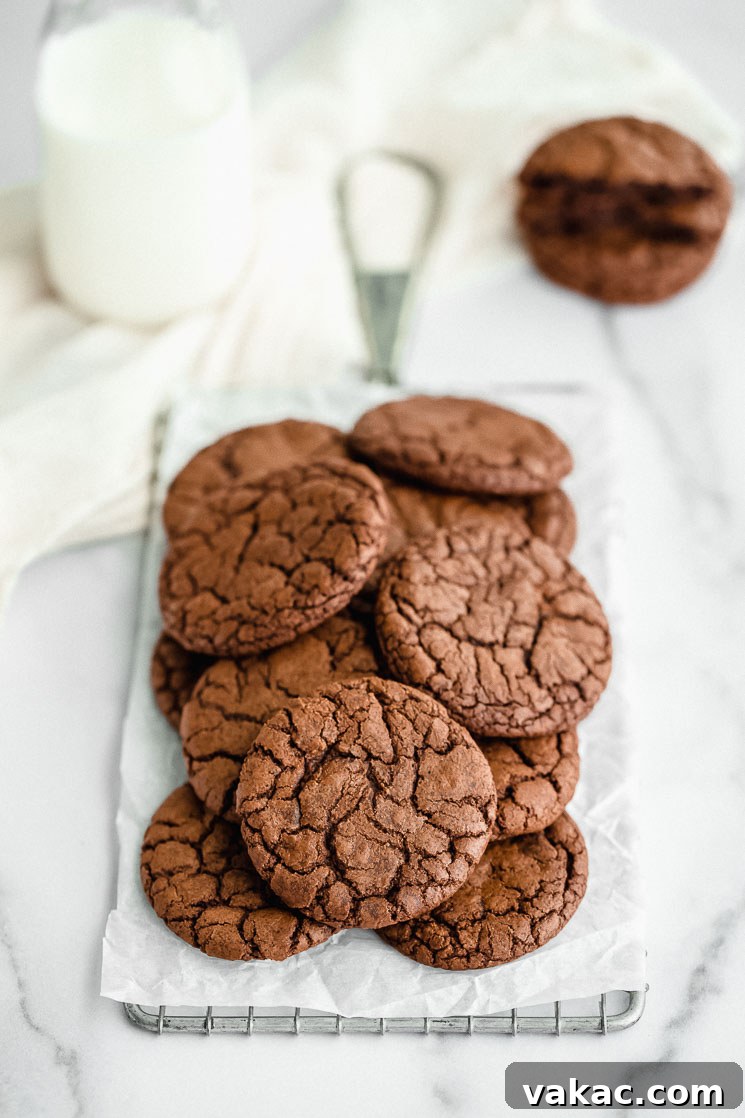
This recipe is a close cousin to my celebrated homemade fudgy brownies, adapted to deliver that beloved texture in cookie form. What makes them extra special? The secret lies in using not one, but two different types of chocolate, ensuring an unparalleled depth of flavor. Plus, I’ve included all the essential tips for freezing the cookie dough and preparing it ahead of time, making these a convenient choice for any occasion. Craving additional texture? Options for adding chocolate chips or walnuts are also covered!
Why You’ll Fall in Love with These Fudgy Brownie Cookies
These aren’t just any chocolate cookies; they are a decadent experience designed to deliver maximum satisfaction. Here’s why these fudgy brownie cookies are destined to become a staple in your baking repertoire:
- Unmatched Fudgy Texture: If you adore the melt-in-your-mouth interior of a gooey brownie, you’ll be obsessed with these cookies. They maintain that signature fudginess, offering a rich chewiness with every bite.
- Intense Chocolate Flavor: By combining unsweetened cocoa powder with melted semi-sweet chocolate, we achieve a profound, multi-layered chocolate taste that goes beyond simple chocolate cookies. It’s a true chocolate lover’s delight.
- Beautiful Crinkly Tops: A hallmark of excellent brownie cookies is their slightly cracked, crinkly surface. This recipe delivers just that, adding an appealing visual texture to your treats.
- Surprisingly Easy to Make: Despite their gourmet taste and appearance, these cookies are incredibly straightforward to prepare, using common pantry ingredients and simple baking steps.
- Perfect for Any Occasion: Whether you need a quick dessert for a weeknight, a crowd-pleasing treat for a party, or a comforting snack, these brownie cookies fit the bill perfectly.
- Freezer-Friendly: With instructions for freezing both the dough and baked cookies, you can always have a stash of these delightful treats ready to go, making future cravings incredibly easy to satisfy.
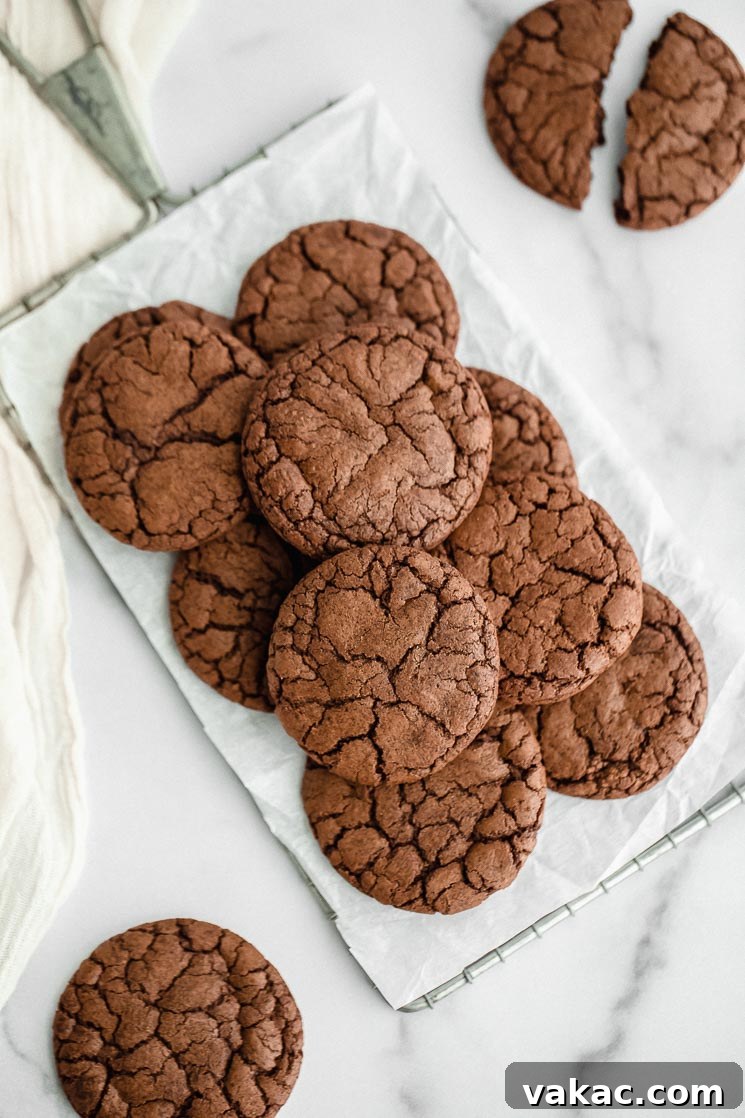
Essential Ingredients for Your Perfect Brownie Cookies
Crafting these irresistible brownie crinkle cookies requires a selection of baking staples, most of which you likely already have in your pantry. The quality of your ingredients plays a crucial role in the final taste and texture, so let’s delve into each one:
- All-Purpose Flour: We use 1 cup (125 grams) of all-purpose flour. The key here is precise measurement. Always spoon your flour into the measuring cup and then level it off with a straight edge. Scooping directly from the bag can compact the flour, leading to too much in the recipe and potentially resulting in cakey, rather than fudgy, cookies.
- Unsweetened Cocoa Powder: This is where a significant part of our deep chocolate flavor comes from. I recommend natural unsweetened cocoa powder, but Dutch-processed cocoa powder would also work well since this recipe includes baking powder. Understanding the difference between the two can help you decide which to use for various baking projects.
- Baking Powder: A touch of baking powder provides a slight lift, contributing to the perfect rise and characteristic crinkly tops without making the cookies too airy or cake-like.
- Salt: Don’t underestimate the power of salt! It balances the sweetness and enhances the overall chocolate flavor, making every bite more complex and satisfying.
- Unsalted Butter: For these cookies, 6 tablespoons (85 grams) of unsalted butter is the ideal amount. It’s less than a full stick, specifically chosen to achieve that rich, fudgy texture without making the cookies excessively greasy or prone to spreading too much. Ensure your butter is softened to room temperature for optimal creaming with the sugars.
- Brown Sugar & Granulated Sugar: A harmonious blend of both sugars is critical. Brown sugar, packed firmly, contributes moisture, chewiness, and a subtle caramel note, while granulated sugar aids in achieving those beautiful crinkly tops and crisp edges. This combination is essential for the desired cookie texture.
- Large Eggs: Two large eggs, preferably at room temperature, are essential for binding the ingredients and adding to the chewy texture. Room temperature eggs emulsify better with the butter and sugar, resulting in a smoother, more uniform dough. If you forget to take them out in advance, a quick trick is to place them in a bowl of warm water for 5-10 minutes.
- Pure Vanilla Extract: A teaspoon of pure vanilla extract is not just for flavor; it amplifies the chocolate notes, adding a layer of warmth and complexity that makes these cookies truly irresistible.
- Melted Semi-Sweet Chocolate: This is the second source of chocolate and truly elevates the fudginess and richness. It’s crucial to use high-quality real chocolate bars, not chocolate chips, as chips contain stabilizers that prevent them from melting as smoothly. Brands like Baker’s or Ghirardelli are excellent choices for their superior melt and flavor profile. Ensure it’s melted and slightly cooled before incorporating into the dough.
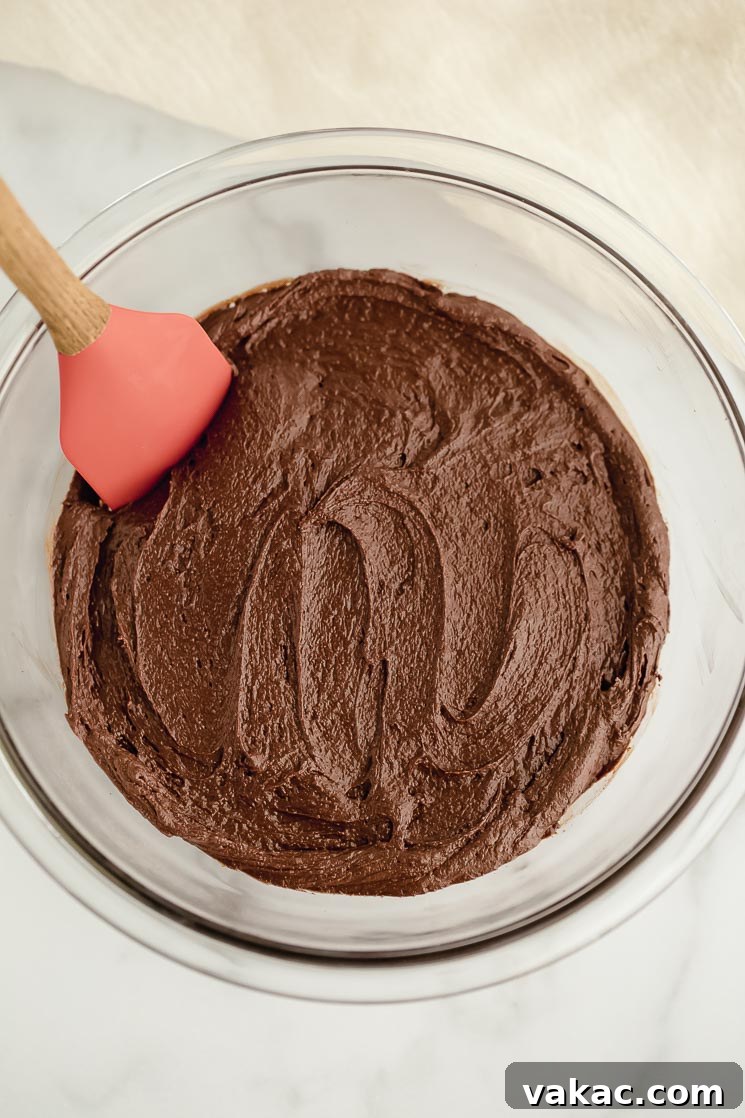
How to Master the Art of Making Fudgy Brownie Cookies
Creating these cocoa powder cookies is surprisingly simple, following a process similar to many classic cookie recipes. Here’s a detailed, step-by-step guide to ensure your brownie cookies turn out perfectly fudgy and delicious every time:
- Prepare the Dry Ingredients: In a large mixing bowl, begin by sifting together the all-purpose flour, unsweetened cocoa powder, baking powder, and salt. Sifting is an important step as it helps to remove any lumps from the cocoa powder and ensures all the dry ingredients are evenly distributed, leading to a consistent cookie texture. Whisk them together thoroughly until well combined, then set aside.
- Cream the Butter and Sugars: In the bowl of a stand mixer fitted with the paddle attachment (or using a large mixing bowl with a hand-held mixer), add your softened unsalted butter, packed brown sugar, and granulated sugar. Beat them together on medium speed for 1 to 2 minutes. The mixture should become light, fluffy, and pale in color, indicating that air has been incorporated, which is crucial for texture.
- Incorporate Eggs and Vanilla: Add the room temperature eggs one at a time, mixing well after each addition until fully incorporated. Follow with the pure vanilla extract. Remember to scrape down the sides of the bowl as needed to ensure all ingredients are thoroughly mixed and no dry pockets remain. Room temperature eggs blend more smoothly into the butter and sugar mixture, preventing curdling and promoting a cohesive dough.
- Melt and Add the Chocolate: Chop your semi-sweet chocolate bars into small, uniform pieces. Place them in a microwave-safe bowl and microwave in 20 to 30-second increments, stirring well after each interval, until the chocolate is completely melted and smooth. Let it cool slightly for a few minutes before adding it to the cookie dough mixture. This prevents the chocolate from cooking the eggs. Once slightly cooled, pour the melted chocolate into the wet ingredient mixture and mix until just combined.
- Combine Wet and Dry Ingredients: Gradually add the reserved dry ingredients to the wet mixture, mixing on low speed until just combined. Be careful not to overmix; overmixing can develop the gluten in the flour, leading to tougher cookies. Stop as soon as no streaks of flour are visible.
- Optional Mix-Ins: At this stage, you can gently fold in your chosen mix-ins. For an extra layer of flavor and texture, consider adding 3/4 cup of chocolate chips or 1/2 cup of chopped walnuts. If you’re feeling indulgent, you can even use 1/2 cup of each!
- Chill the Cookie Dough: Cover the cookie dough tightly with plastic wrap and transfer it to the refrigerator to chill for at least one hour. This step is non-negotiable for superior brownie cookies. Chilling allows the flavors to meld, the flour to fully hydrate, and the fats to solidify. This results in cookies that bake up thicker, chewier, and are much easier to scoop without excessive spreading.
- Scoop and Prepare for Baking: Once the dough is properly chilled, it will be firmer and easier to handle. About 15-20 minutes before baking, preheat your oven to 350°F (177°C) and line two large baking sheets with parchment paper. Using a 1.5-tablespoon cookie scoop is ideal for consistently sized cookies. Scoop the dough, then gently roll each portion into a smooth ball with your hands before placing them on the prepared baking sheets, leaving a little room between each one for spreading.
- Bake to Perfection: Bake the cookies in separate batches for approximately 9-11 minutes. You’ll know they’re ready when the tops are set and show the characteristic crackled surface, but the centers still look slightly soft. Overbaking will lead to dry, cakey cookies, so keep a close eye on them.
- Cooling: Remove the baking sheets from the oven and let the cookies cool on the sheets for about 10 minutes. This allows them to firm up without breaking. Then, carefully transfer them to a wire rack to cool completely. This is crucial for achieving the perfect fudgy and chewy texture.
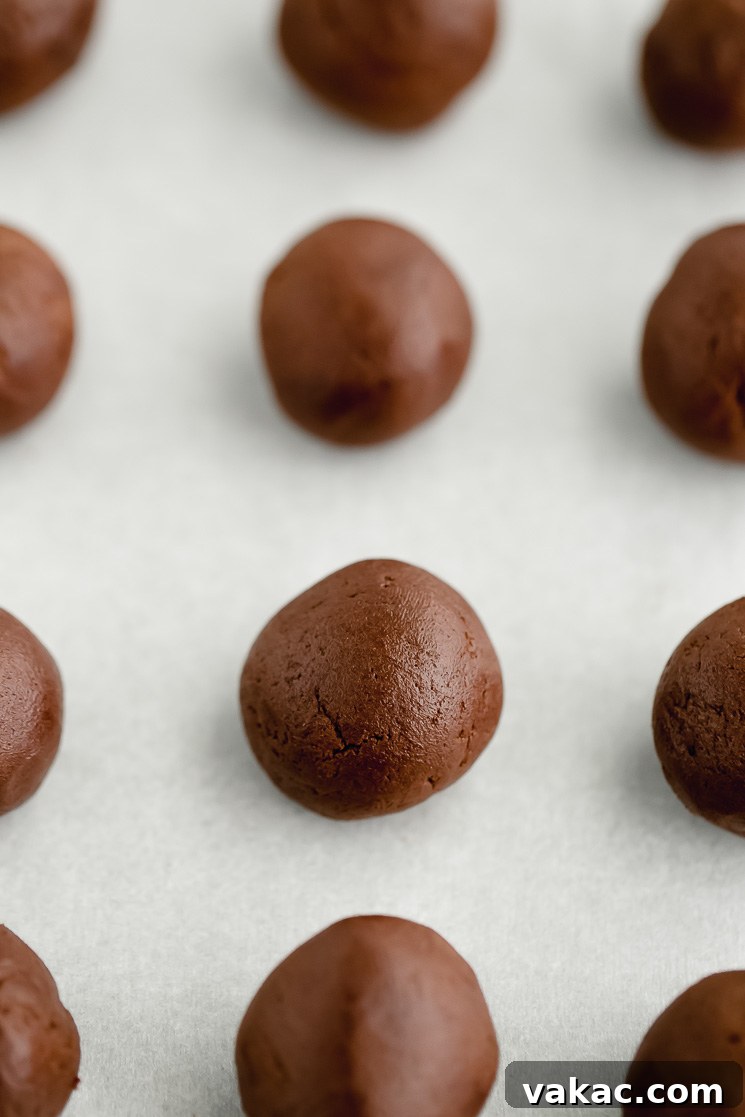
Expert Tips for Perfectly Fudgy Brownie Cookies
Achieving bakery-quality brownie cookies is within your reach with these essential baking tips:
- Measure Flour Correctly: Always “spoon and level” your flour. Stir the flour in its container, then spoon it gently into your measuring cup, and level the top with the straight edge of a knife. Never scoop directly with the measuring cup, as this compacts the flour and can add too much, resulting in dry or cakey cookies.
- Sift Dry Ingredients: Sifting the flour, cocoa powder, baking powder, and salt together is a small step that makes a big difference. It ensures there are no lumps of cocoa powder and that all ingredients are evenly distributed, leading to a uniform cookie texture.
- Use High-Quality Chocolate Bars: For the melted chocolate component, prioritize using good quality semi-sweet chocolate bars (like Baker’s or Ghirardelli) over chocolate chips. Chocolate chips contain stabilizers that prevent them from melting smoothly, which can affect the fudginess and texture of your cookies. Chop the bars into small pieces for even melting.
- Don’t Skip the Chill Time: Chilling the dough for at least one hour is critical. It allows the flour to fully hydrate, preventing a gritty texture, and solidifies the butter, which minimizes spreading and results in thicker, chewier cookies with those desirable crinkled tops. If the dough is too hard to scoop after chilling, let it sit on the counter for 10-15 minutes to soften slightly.
- Achieve Perfect Roundness: For perfectly round cookies, use a cookie scoop to portion the dough and then gently roll each portion into a smooth ball with your hands before baking. Immediately after removing the cookies from the oven, while they are still warm and pliable, use the back of a spoon or a round cookie cutter slightly larger than your cookie to gently push and shape any irregularly formed cookies back into a perfect circle.
- Avoid Overbaking: Brownie cookies can go from perfectly fudgy to dry and cakey very quickly. Look for set edges and slightly cracked tops, but the centers should still look soft. They will continue to set as they cool on the baking sheet. When in doubt, err on the side of underbaking for maximum fudginess.
Frequently Asked Questions About Brownie Cookies
Can I Prep the Cookie Dough in Advance?
Absolutely! The cookie dough is very forgiving and can be covered tightly and stored in the refrigerator for up to 3 days. This makes it an excellent option for meal prepping or when you want fresh-baked cookies on demand. If the dough becomes too firm to scoop after prolonged chilling, simply let it sit on your counter at room temperature for 10 to 15 minutes to soften slightly before scooping and baking.
Can I Freeze These Cookies?
Yes, both the unbaked cookie dough and the baked cookies freeze exceptionally well, maintaining their delicious quality for up to 3 months.
- To freeze the cookie dough: Scoop balls of the prepared cookie dough onto a baking sheet lined with parchment paper. Place the baking sheet in the freezer for several hours, or until the cookie dough balls are completely frozen solid. Once frozen, transfer the dough balls to a freezer-safe bag or an airtight container for long-term storage. When you’re ready to bake, you can thaw the dough overnight in the refrigerator or bake directly from frozen, adding an additional 1 to 2 minutes to the baking time.
- To freeze the baked cookies: Ensure your baked cookies have cooled completely to room temperature. Once cooled, store them in a freezer-safe bag or an airtight container. To enjoy them later, thaw them overnight in the refrigerator. For the best texture and flavor, bring them to room temperature on the counter for a few hours before serving.
Can I Add Mix-Ins to These Brownie Cookies?
Absolutely! Customizing these chocolate brownie cookies with mix-ins is a fantastic way to add extra flavor and texture.
- For a classic touch, use 3/4 cup of chocolate chips (mini or regular semi-sweet work well).
- If you prefer a nutty crunch, add 1/2 cup of chopped walnuts.
- Feeling adventurous? You can combine both! Use 1/2 cup of chocolate chips and 1/2 cup of chopped walnuts for a truly loaded brownie cookie.
- Other ideas include chopped pecans, white chocolate chips, or even a sprinkle of sea salt on top before baking for a delightful sweet and salty contrast.
What makes these cookies fudgy instead of cakey?
The fudgy texture comes from a few key factors: a higher fat-to-flour ratio, the use of melted chocolate along with cocoa powder, and a precise amount of leavening. Less flour and more fat (from butter and melted chocolate) create that dense, moist crumb. The combination of brown and granulated sugar also helps retain moisture, contributing to chewiness. Finally, carefully measured baking powder provides just enough lift without creating an airy, cake-like structure.
Why did my brownie cookies spread too much?
Several factors can cause cookies to spread excessively:
- Warm Dough: Insufficient chilling time is a common culprit. Chilling solidifies the butter, preventing rapid spreading in the oven.
- Soft Butter: If your butter was too soft or melted when creaming, it won’t hold air effectively, leading to flatter cookies.
- Incorrect Flour Measurement: Too little flour can make the dough too wet and cause spreading. Ensure you’re spooning and leveling your flour.
- Oven Temperature: An oven that isn’t hot enough can cause cookies to spread before they set. Always preheat your oven fully.
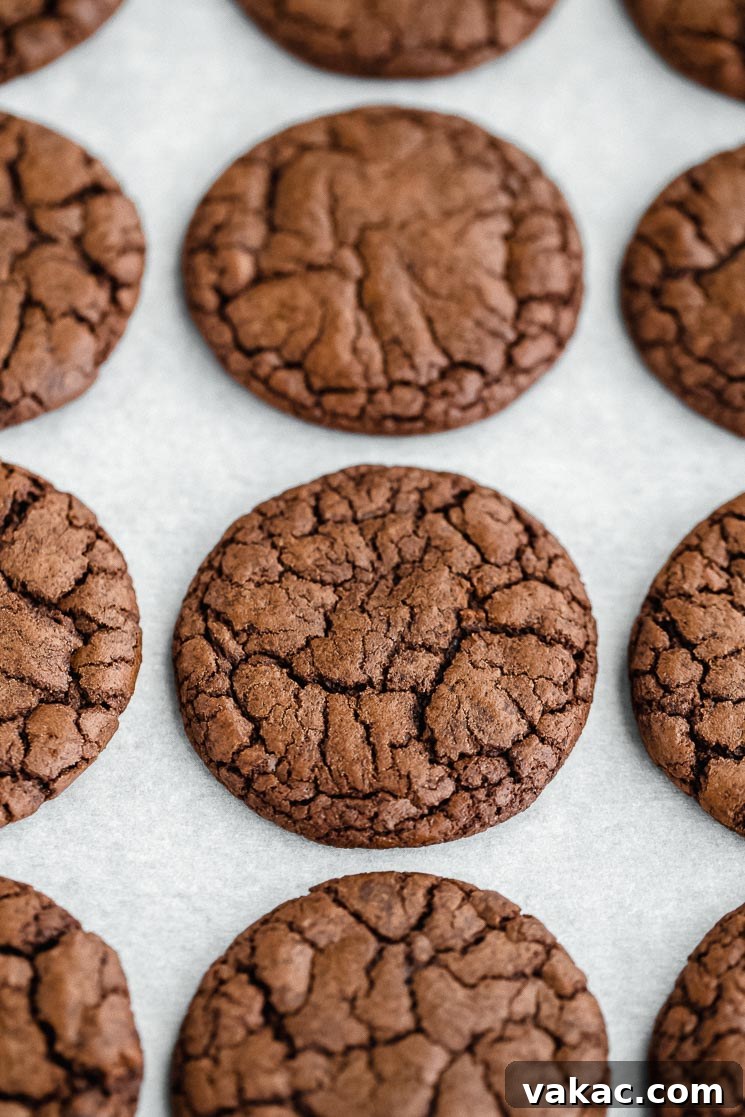
Brownie Cookies Recipe Card
Brownie Cookies
Average Rating: 4.91 from 10 ratings
Prep Time: 20 mins | Cook Time: 10 mins | Chilling Time: 1 hr | Total Time: 1 hr 30 mins
These Brownie Cookies are just like a chewy, fudgy, chocolate brownie but in cookie form! They’re incredibly easy to make and delicious too!
Ingredients (Yields 30 cookies)
- 1 cup (125 grams) all-purpose flour, spooned & leveled
- 1/4 cup (22 grams) natural unsweetened cocoa powder
- 1 teaspoon baking powder
- 1/4 teaspoon salt
- 6 tablespoons (85 grams) unsalted butter, softened
- 3/4 cup (150 grams) brown sugar, packed
- 1/2 cup (100 grams) granulated sugar
- 2 large eggs, room temperature
- 1 teaspoon pure vanilla extract
- 8 ounces semi-sweet chocolate, melted and slightly cooled (use bars, not chips)
Instructions
- In a large mixing bowl, sift together the flour, unsweetened cocoa powder, baking powder, and salt, then whisk until well combined. Set aside.
- In the bowl of a stand mixer fitted with the paddle attachment, or in a large mixing bowl using a hand-held mixer, beat the butter, brown sugar, and granulated sugar together for 1-2 minutes or until well combined. Mix in the eggs and vanilla extract, stopping to scrape down the sides of the bowl as needed.
- Add the melted chocolate and continue mixing until fully combined. Mix in the dry ingredients on low speed until just combined. Cover tightly and transfer to the refrigerator to chill for at least one hour.
- About 15-20 minutes before you plan to bake the cookies, preheat the oven to 350°F (177°C). Line two large baking sheets with parchment paper.
- Remove the cookie dough from the refrigerator. Using a 1.5 tablespoon cookie scoop, scoop the cookie dough, roll into balls, and place on the prepared baking sheets, making sure to leave a little room between each one.
- Bake in separate batches at 350°F (177°C) for 9-11 minutes or until the tops of the cookies are set and start to crack.
- Remove from the oven and cool on the baking sheets for 10 minutes, then transfer to a wire rack to cool completely.
Notes
- Semi-sweet chocolate: I suggest using bars of chocolate for this recipe and not chocolate chips; Baker’s or Ghirardelli are great options! To melt the chocolate, chop it into small pieces, place it in a microwave-safe bowl, and microwave in 20-30 second increments, stirring well after each increment until completely melted and smooth.
- To add chocolate chips or chopped walnuts: Use 3/4 cup of chocolate chips or 1/2 cup chopped walnuts. If you want to use both, use 1/2 cup of each.
- If making ahead: Cookie dough may be covered tightly and stored in the refrigerator for up to 3 days. If the cookie dough is too firm to scoop, let it sit at room temperature for 10-15 minutes.
- Storage: Store cookies in an airtight container at room temperature for up to one week.
- Freezing instructions: Scoop balls of the cookie dough onto a baking sheet lined with parchment paper. Freeze for several hours or until the cookie dough is completely frozen, then store in a freezer bag or container. When you’re ready to bake the cookies, thaw the dough overnight in the refrigerator or bake from frozen for an additional 1-2 minutes. Baked cookies will freeze well for up to 3 months. Thaw overnight in the refrigerator, then bring to room temperature on the counter.
Cuisine: American | Course: Dessert | Author: Danielle Rye
More Easy Cookie Recipes To Try!
If you loved these fudgy brownie cookies, be sure to explore more delightful treats from our collection:
- Soft and Chewy Chocolate Chip Cookies
- Soft and Chewy Oatmeal Raisin Cookies
- Soft and Chewy Snickerdoodles
- Classic No-Bake Cookies
- Soft Peanut Butter Cookies
- Bright and Zesty Lemon Cookies