
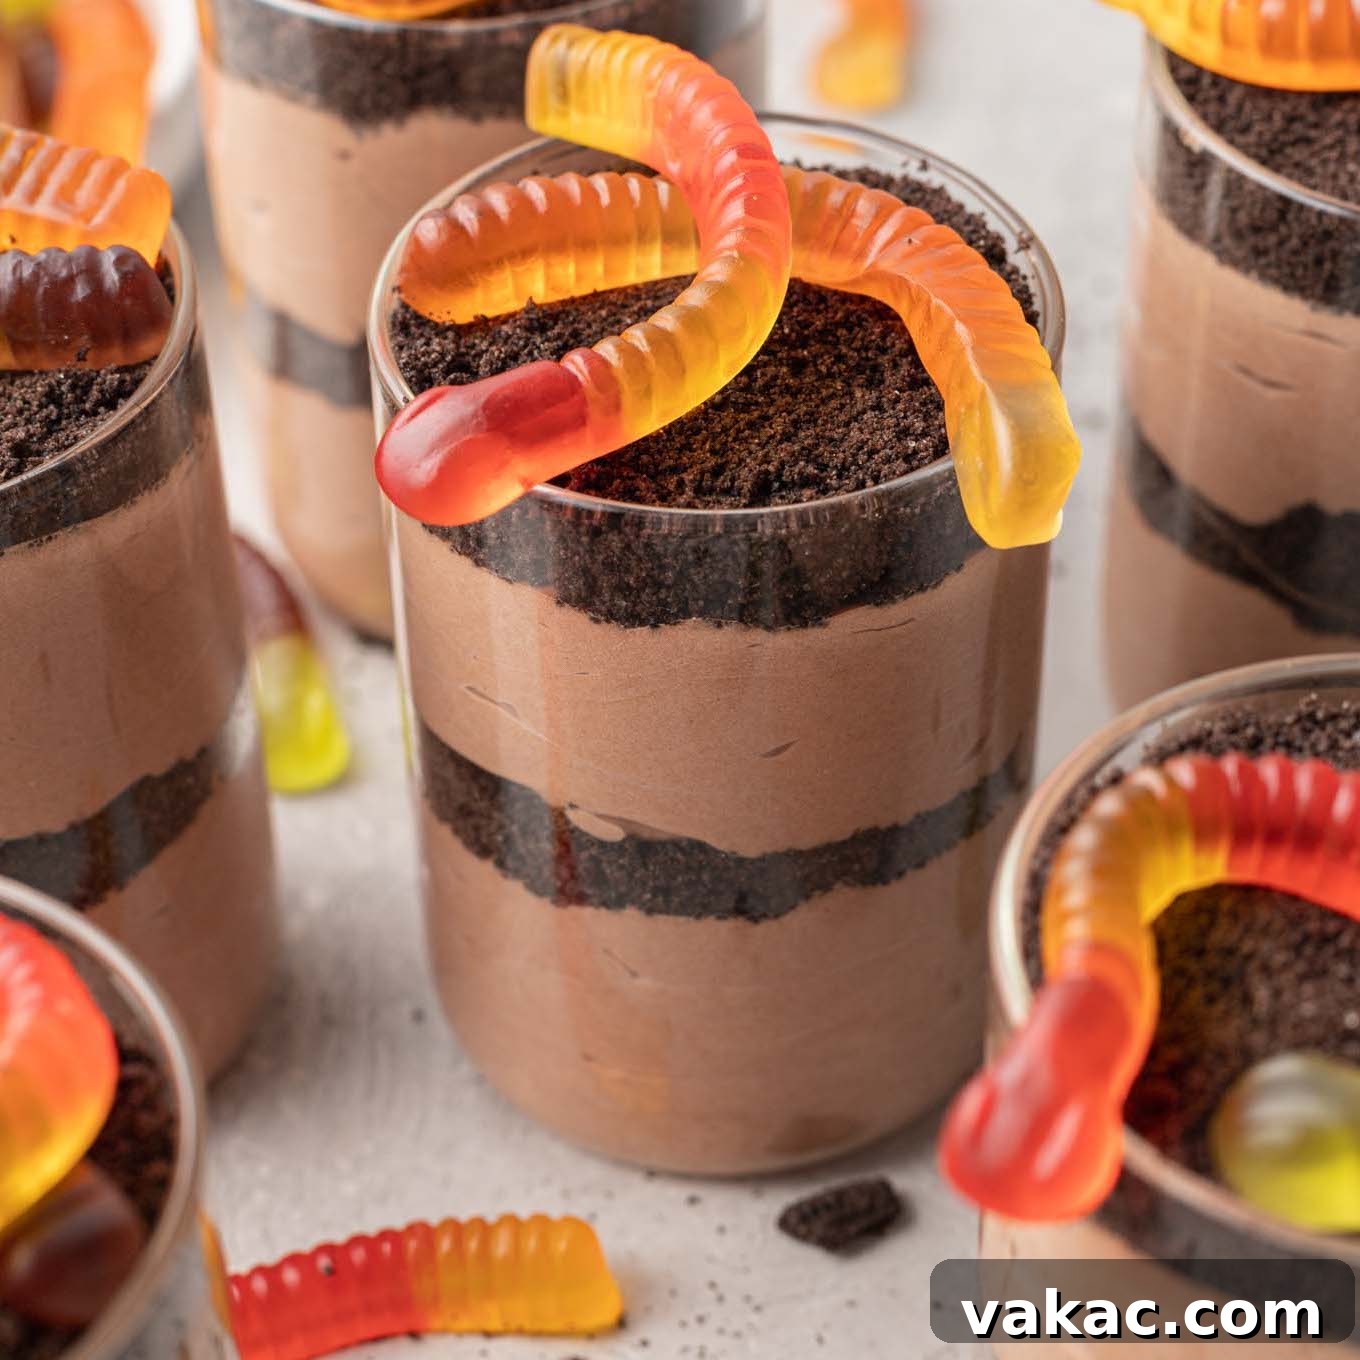
This comprehensive guide will show you how to create the most enchanting and delicious homemade Oreo Dirt Cups. Forget store-bought mixes; we’re diving into a scratch-made chocolate pudding that’s unbelievably rich and creamy, ensuring every spoonful takes you back to your favorite childhood memories. These delightful desserts are not only incredibly easy to make but also endlessly customizable for any holiday or special occasion, making them a crowd-pleaser for all ages!
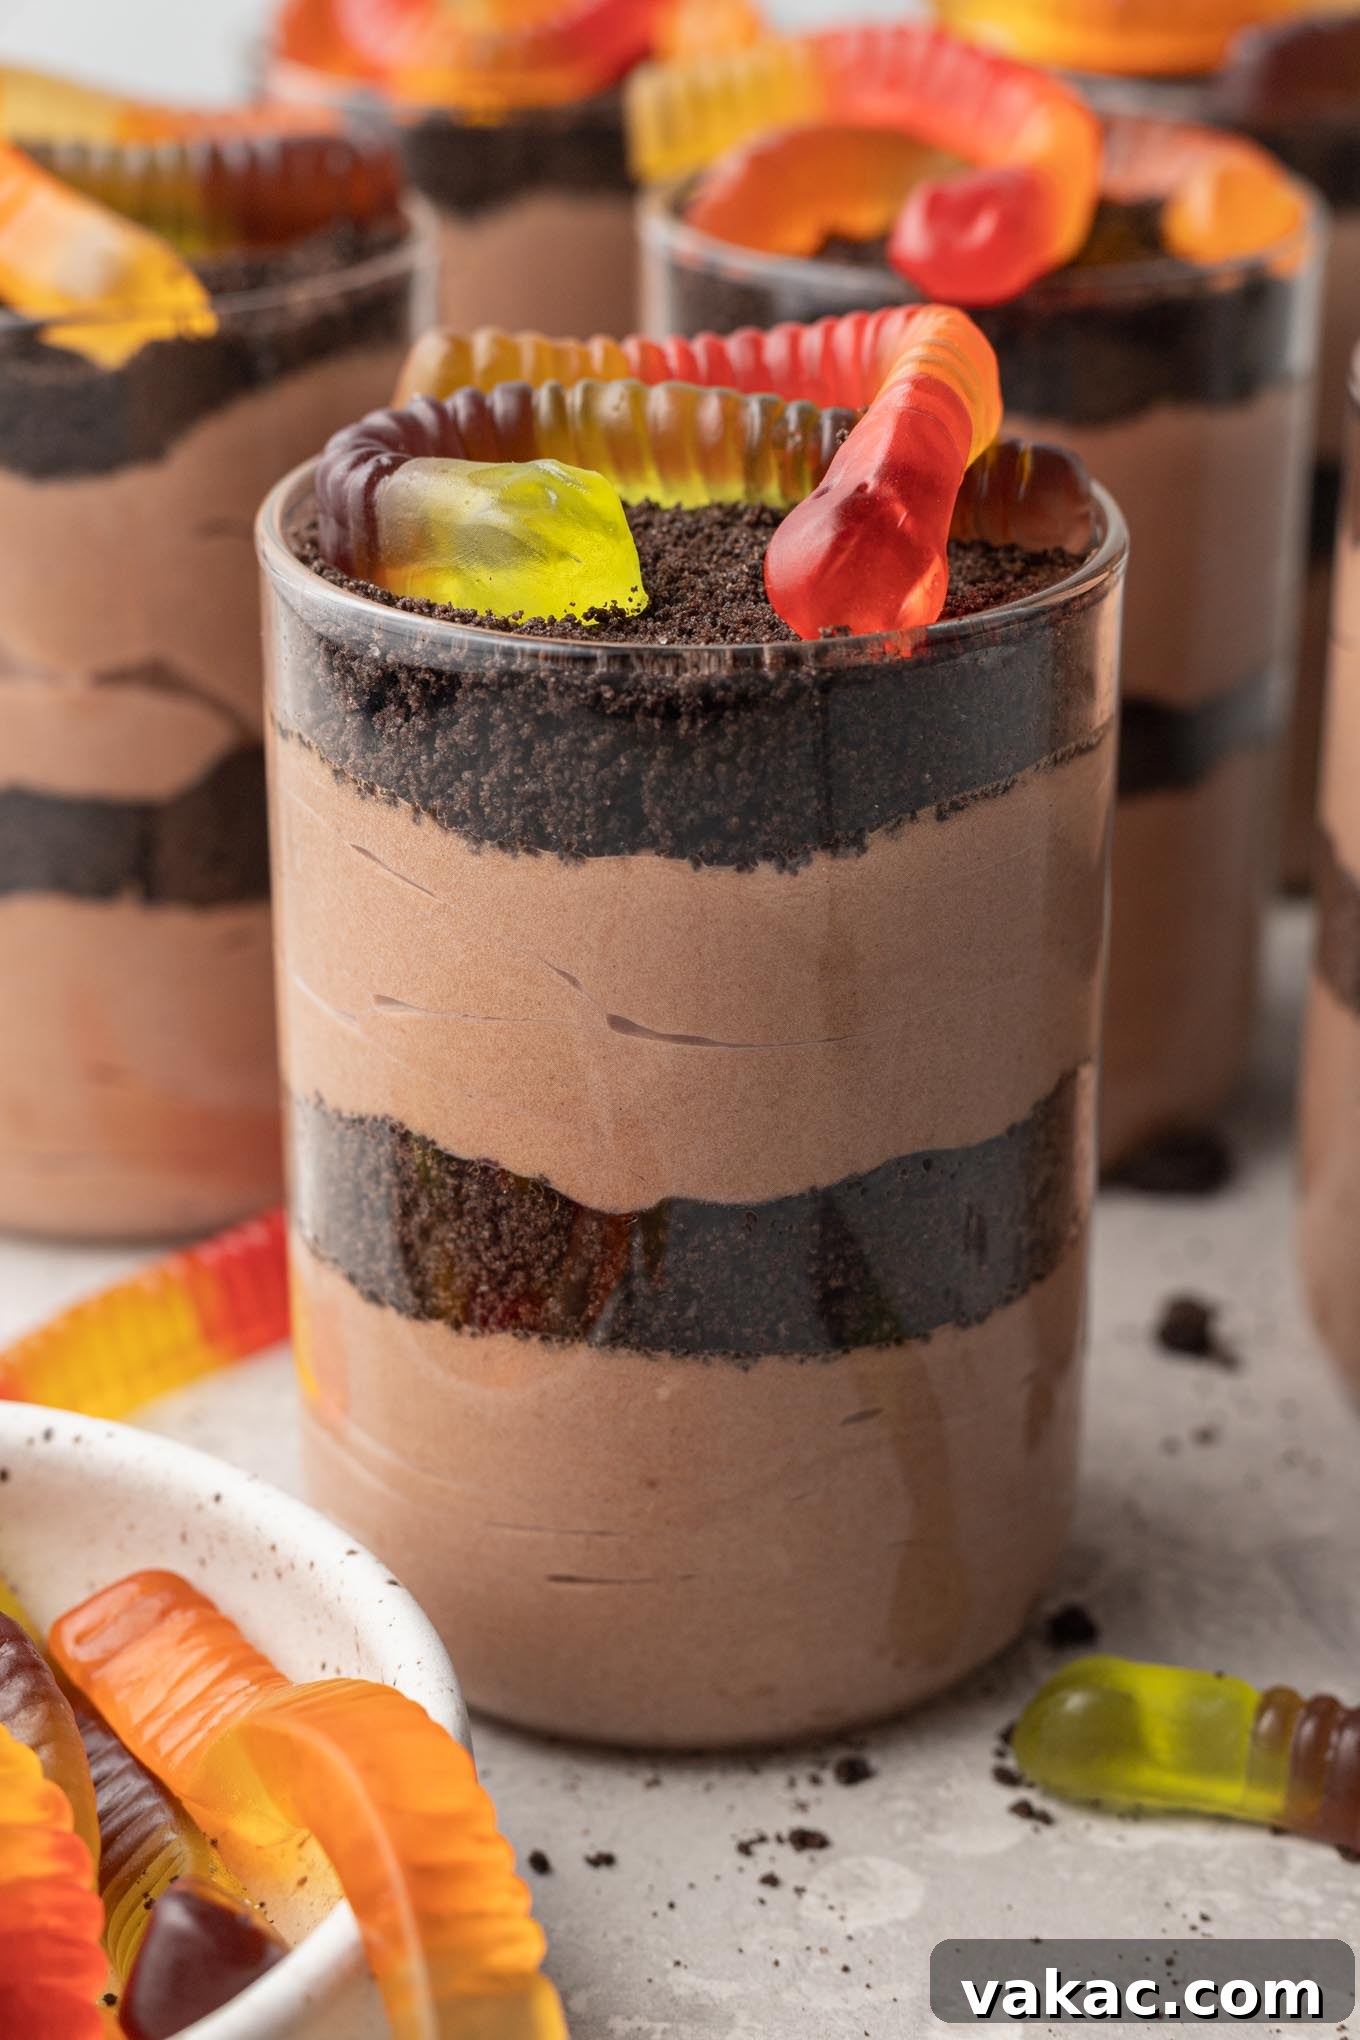
The Ultimate Homemade Oreo Dirt Cups: A Nostalgic & Customizable Dessert
There are some treats that simply transport you back to childhood, and dirt pudding cups are undoubtedly one of them. A staple at birthday parties, Halloween celebrations, and casual get-togethers, these whimsical desserts earn a perfect score for both their playful presentation and their irresistible flavor. While many recipes opt for convenience by using store-bought chocolate pudding, I wholeheartedly encourage you to embark on the journey of making this entire dessert from scratch. The difference is truly remarkable: homemade chocolate pudding is surprisingly simple to prepare and offers a depth of flavor and luscious creaminess that pre-packaged alternatives simply cannot match.
Once you’ve mastered the silky smooth homemade pudding, the rest is pure fun! The process involves gently folding in light, airy whipped cream, crushing crisp Oreo cookies into “dirt,” and then artfully layering these components into individual cups. While classic gummy worms are the quintessential topping, the beauty of dirt cups lies in their versatility. You can easily tailor the candies and decorations to perfectly suit any holiday or themed event you’re celebrating, making this a go-to recipe for year-round enjoyment.
Key Ingredients for Perfect Dirt Cups
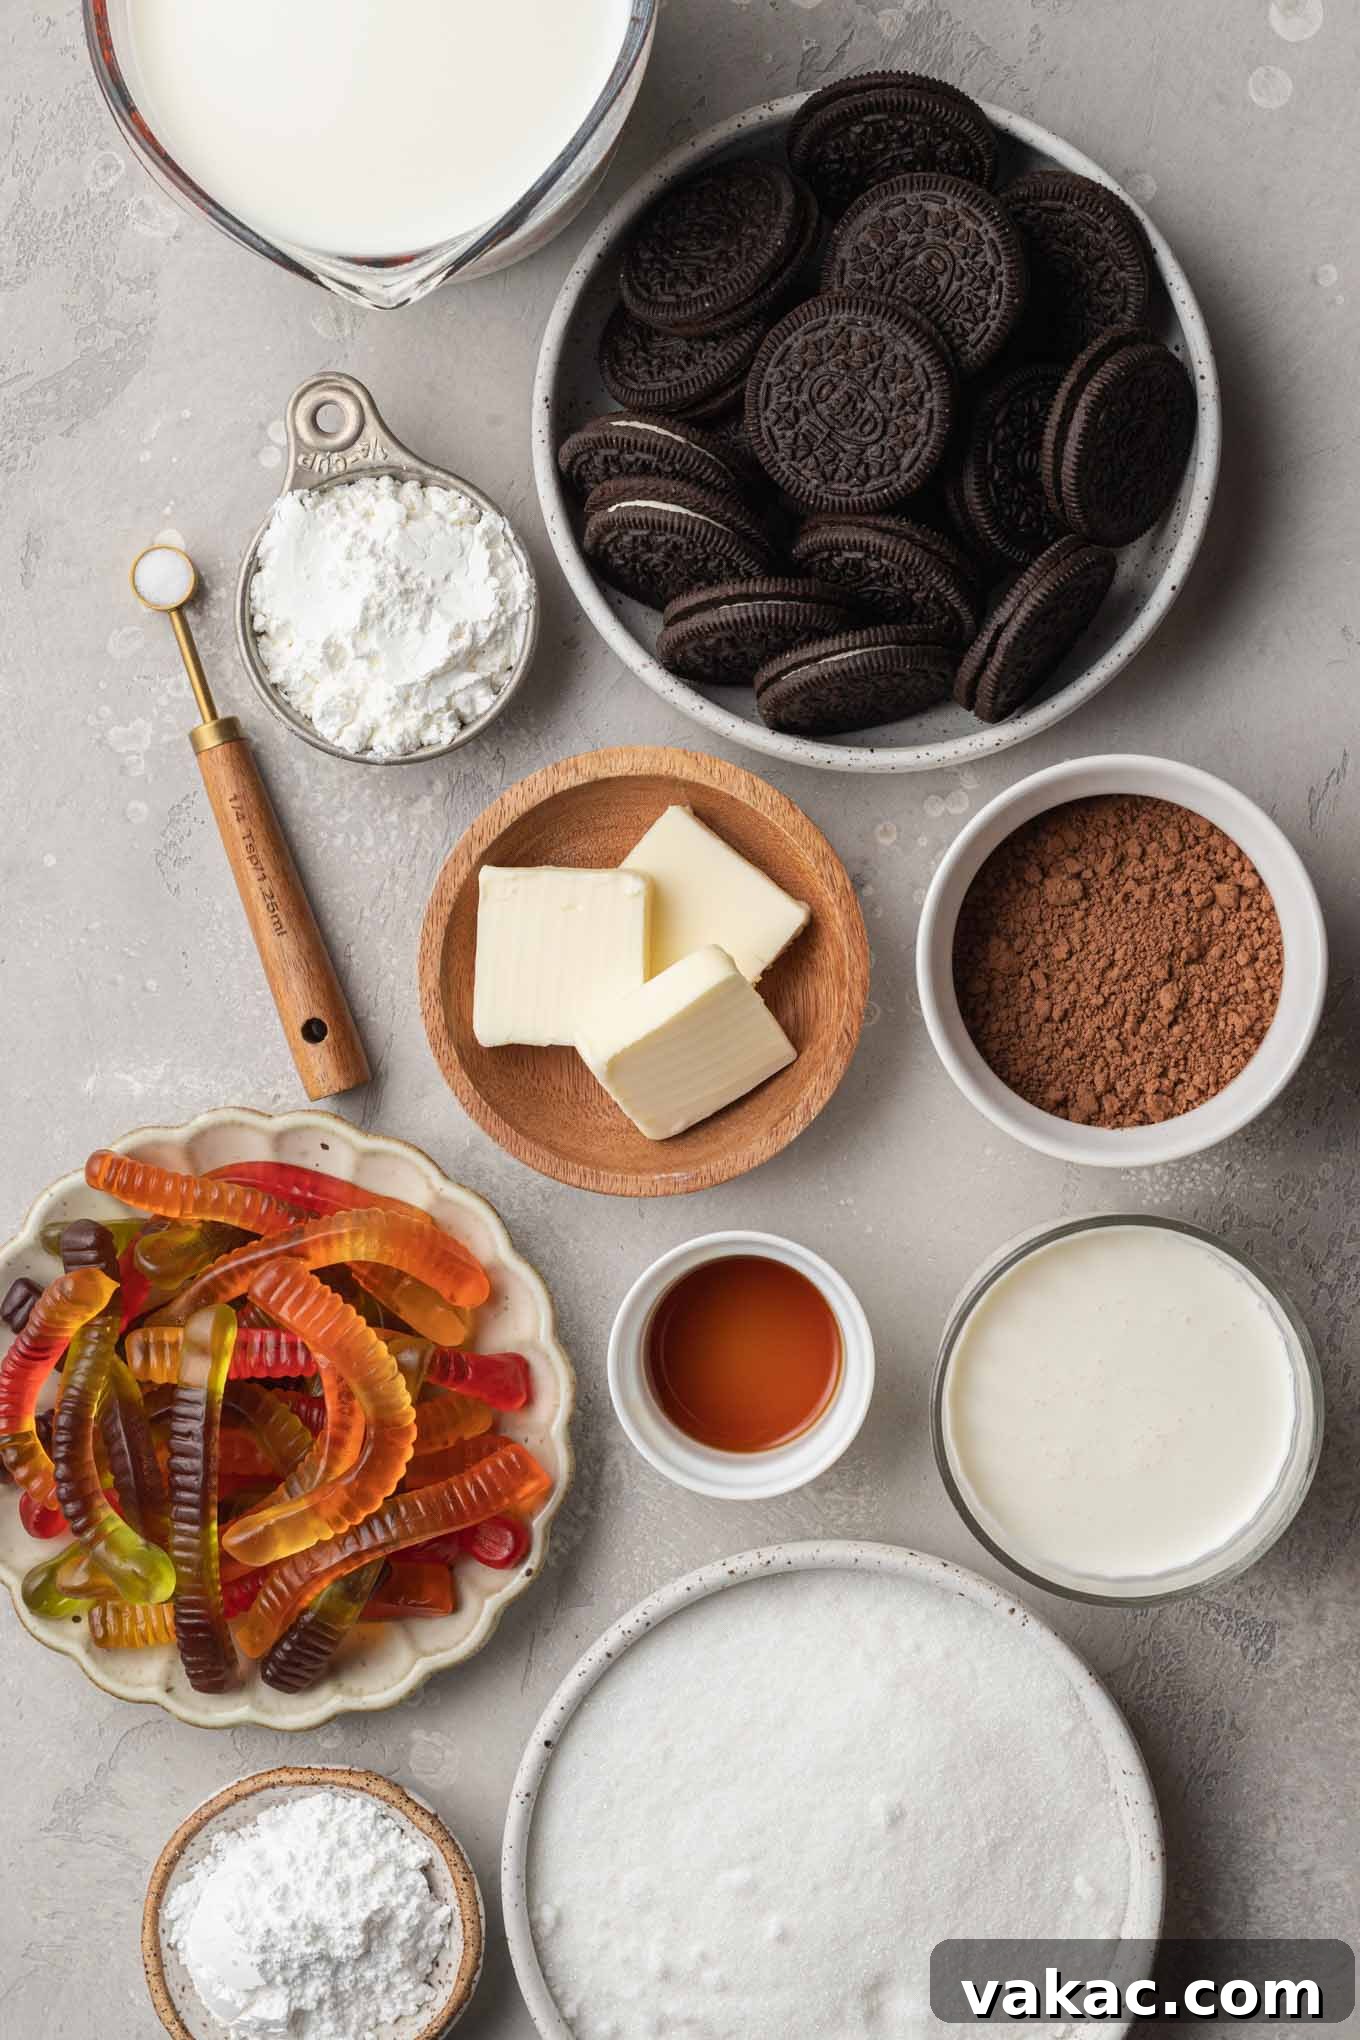
Crafting these delightful dirt cups requires a handful of basic ingredients that are readily available at any local grocery store. Below is a detailed overview of the essential items you’ll need, along with why each plays a crucial role in achieving the perfect texture and flavor:
- Oreos: The star of our “dirt”! You can use either regular or Double Stuf Oreos for this recipe, depending on your preference for creaminess. The entire cookie, including its delicious creme filling, will be crushed, so there’s no need for any extra prep. The fine crumbs create the perfect soil-like texture.
- Granulated Sugar: Provides the essential sweetness for our homemade chocolate pudding, balancing the bitterness of the cocoa.
- Natural Unsweetened Cocoa Powder: This is what gives our pudding its rich, deep chocolate flavor. Using unsweetened cocoa allows you to control the sweetness level precisely.
- Cornstarch: Also known as cornflour, this humble ingredient is vital for thickening the chocolate pudding. It ensures a beautifully smooth, velvety consistency without any grittiness, creating a pudding that coats the back of a spoon perfectly.
- Salt: Just a touch of salt enhances all the other flavors, particularly the chocolate, preventing the pudding from tasting flat.
- Whole Milk: The foundation of our creamy pudding. Whole milk’s higher fat content is crucial for achieving that luxuriously thick and rich texture. Avoid using low-fat or skim milk, as it may result in a thinner, less satisfying pudding.
- Unsalted Butter: Stirred in at the end, butter adds a lovely richness and gloss to the pudding, contributing to its smooth mouthfeel. Using unsalted butter allows you to control the overall saltiness of the dessert.
- Pure Vanilla Extract: A splash of high-quality vanilla extract elevates the chocolate flavor, adding a warm and aromatic note that completes the pudding.
- Heavy Whipping Cream: This is whipped into stiff peaks and then folded into the cooled chocolate pudding. It lightens the pudding, adding an airy, cloud-like texture and extra richness. For proper whipping, ensure your cream has at least 36% fat content and is well-chilled.
- Powdered Sugar: Used to sweeten the whipped cream, ensuring it complements the chocolate pudding without being overly sweet.
- Gummy Worms: The iconic, playful topping that gives “dirt cups” their name! These wiggly candies are a classic choice, but as you’ll see, there are many fun alternatives to explore.
Step-by-Step Guide: How to Make Oreo Dirt Cups
While these homemade dirt pudding cups are surprisingly easy to prepare, patience is key, particularly when it comes to chilling the pudding. Allowing ample time for the chocolate pudding to cool and set properly is essential for the best texture. Let’s break down the process of creating this beloved nostalgic treat:
1. Crafting the Silky Chocolate Pudding
- Combine Dry Ingredients: In a large, heavy-bottomed saucepan, whisk together the granulated sugar, cocoa powder, cornstarch, and salt. Whisk thoroughly to ensure there are no lumps of cocoa or cornstarch.
- Introduce Milk: Gradually pour the whole milk into the dry mixture, whisking continuously until the mixture is smooth and fully combined. This gradual addition helps prevent lumps.
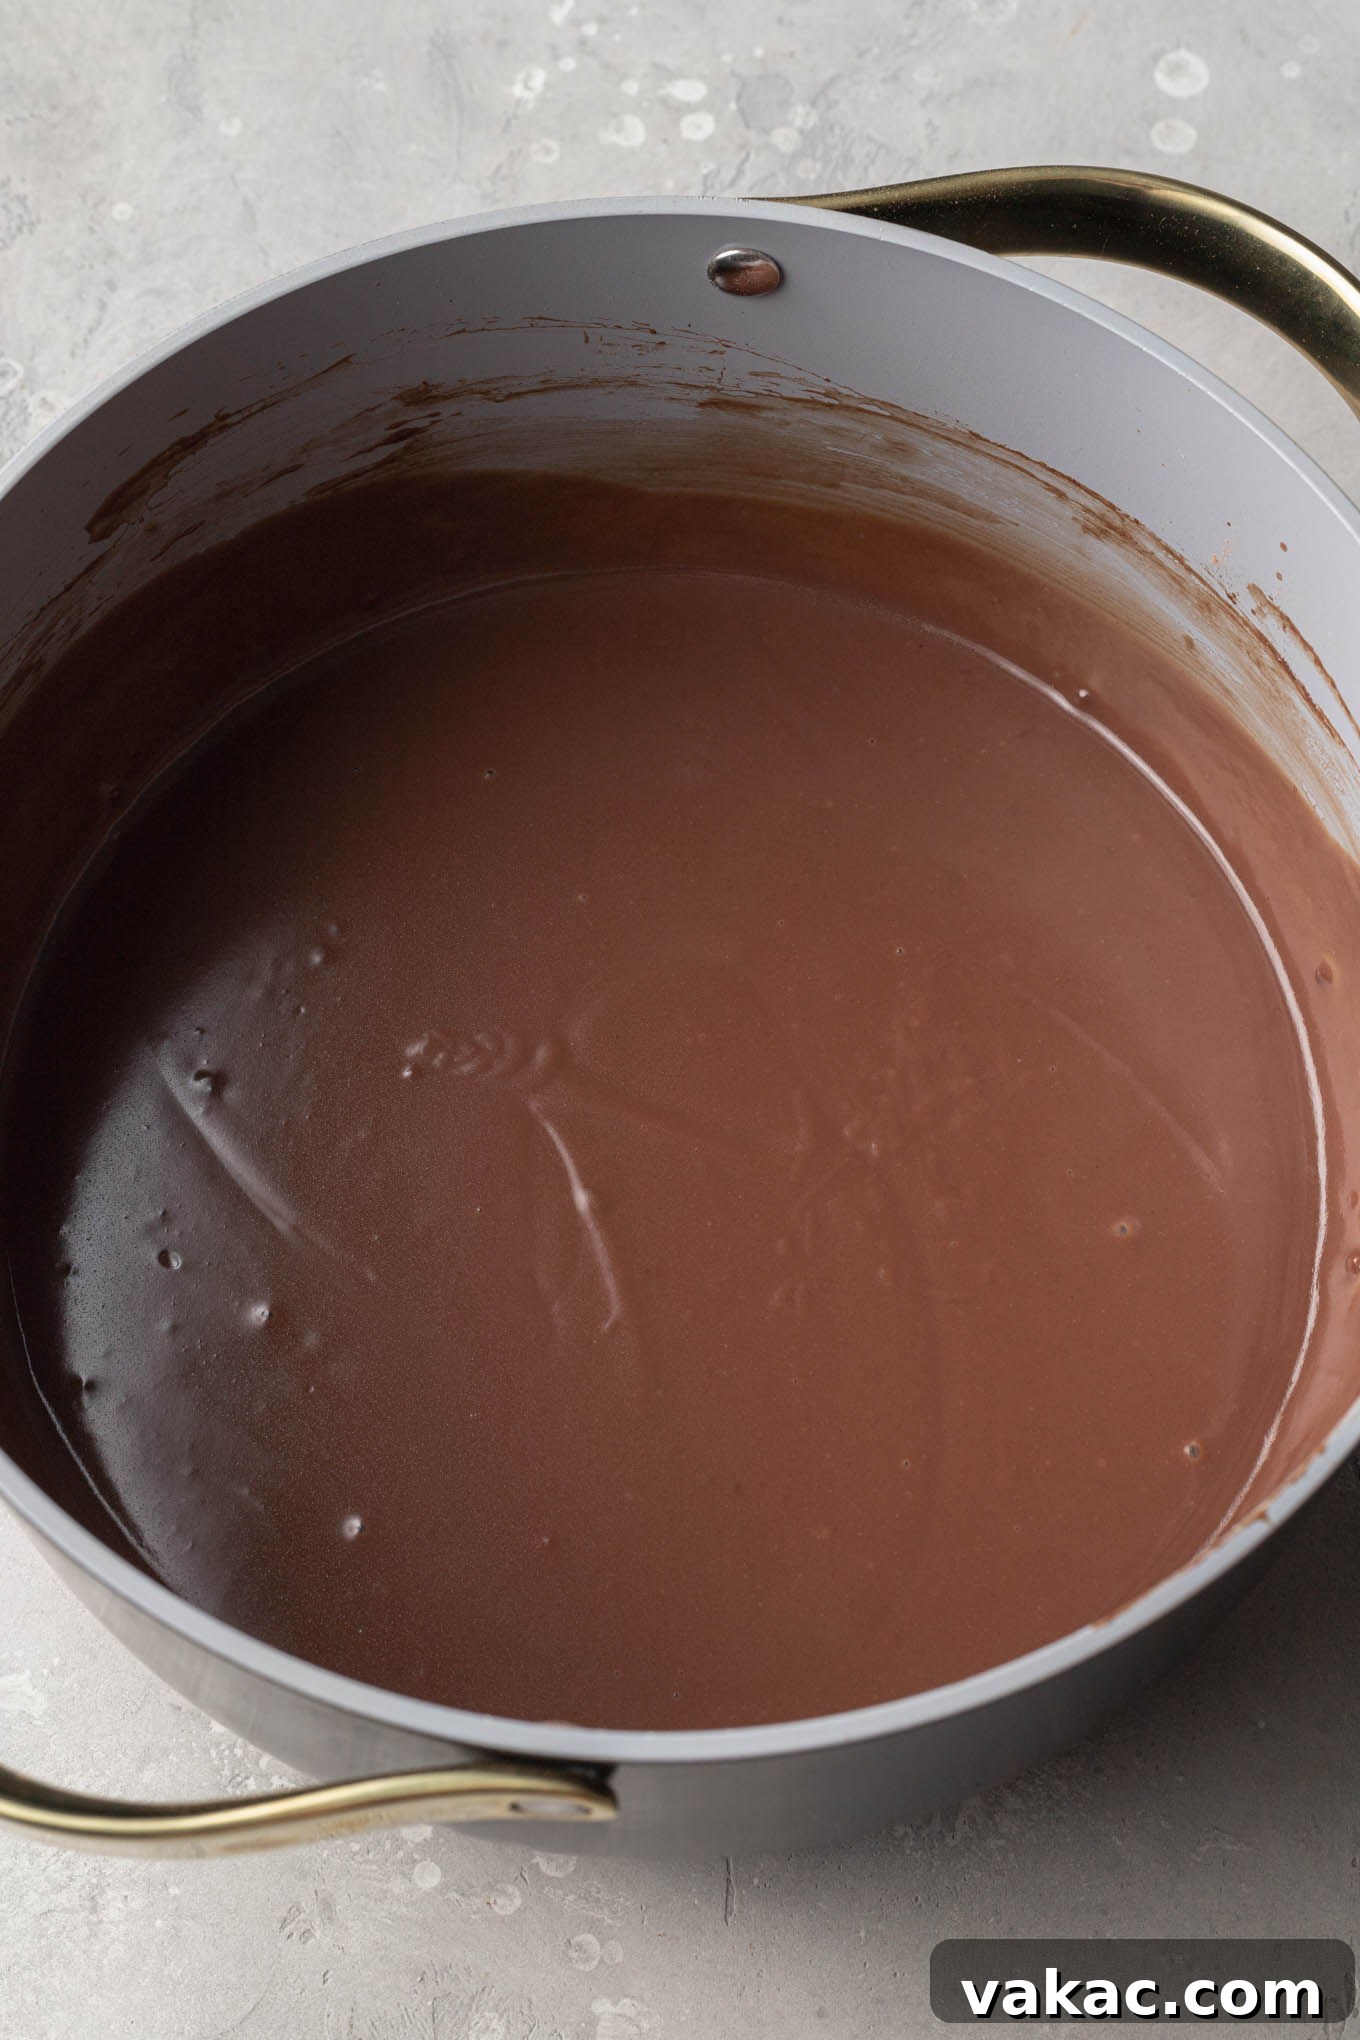
- Cook to Thicken: Place the saucepan over medium heat. Bring the mixture to a gentle boil, stirring frequently with a rubber spatula, making sure to scrape the sides and bottom of the pan to prevent scorching. Once it reaches a boil, continue to cook for exactly one minute while stirring. The pudding should visibly thicken and coat the back of your spatula.
- Add Flavor & Fat: Remove the saucepan from the heat. Stir in the unsalted butter, one tablespoon at a time, until fully melted and incorporated. Then, stir in the pure vanilla extract.
- Strain for Perfection: For an exceptionally smooth pudding, immediately strain the hot mixture through a fine-mesh sieve into a clean, heat-proof bowl. This step removes any tiny lumps that might have formed.
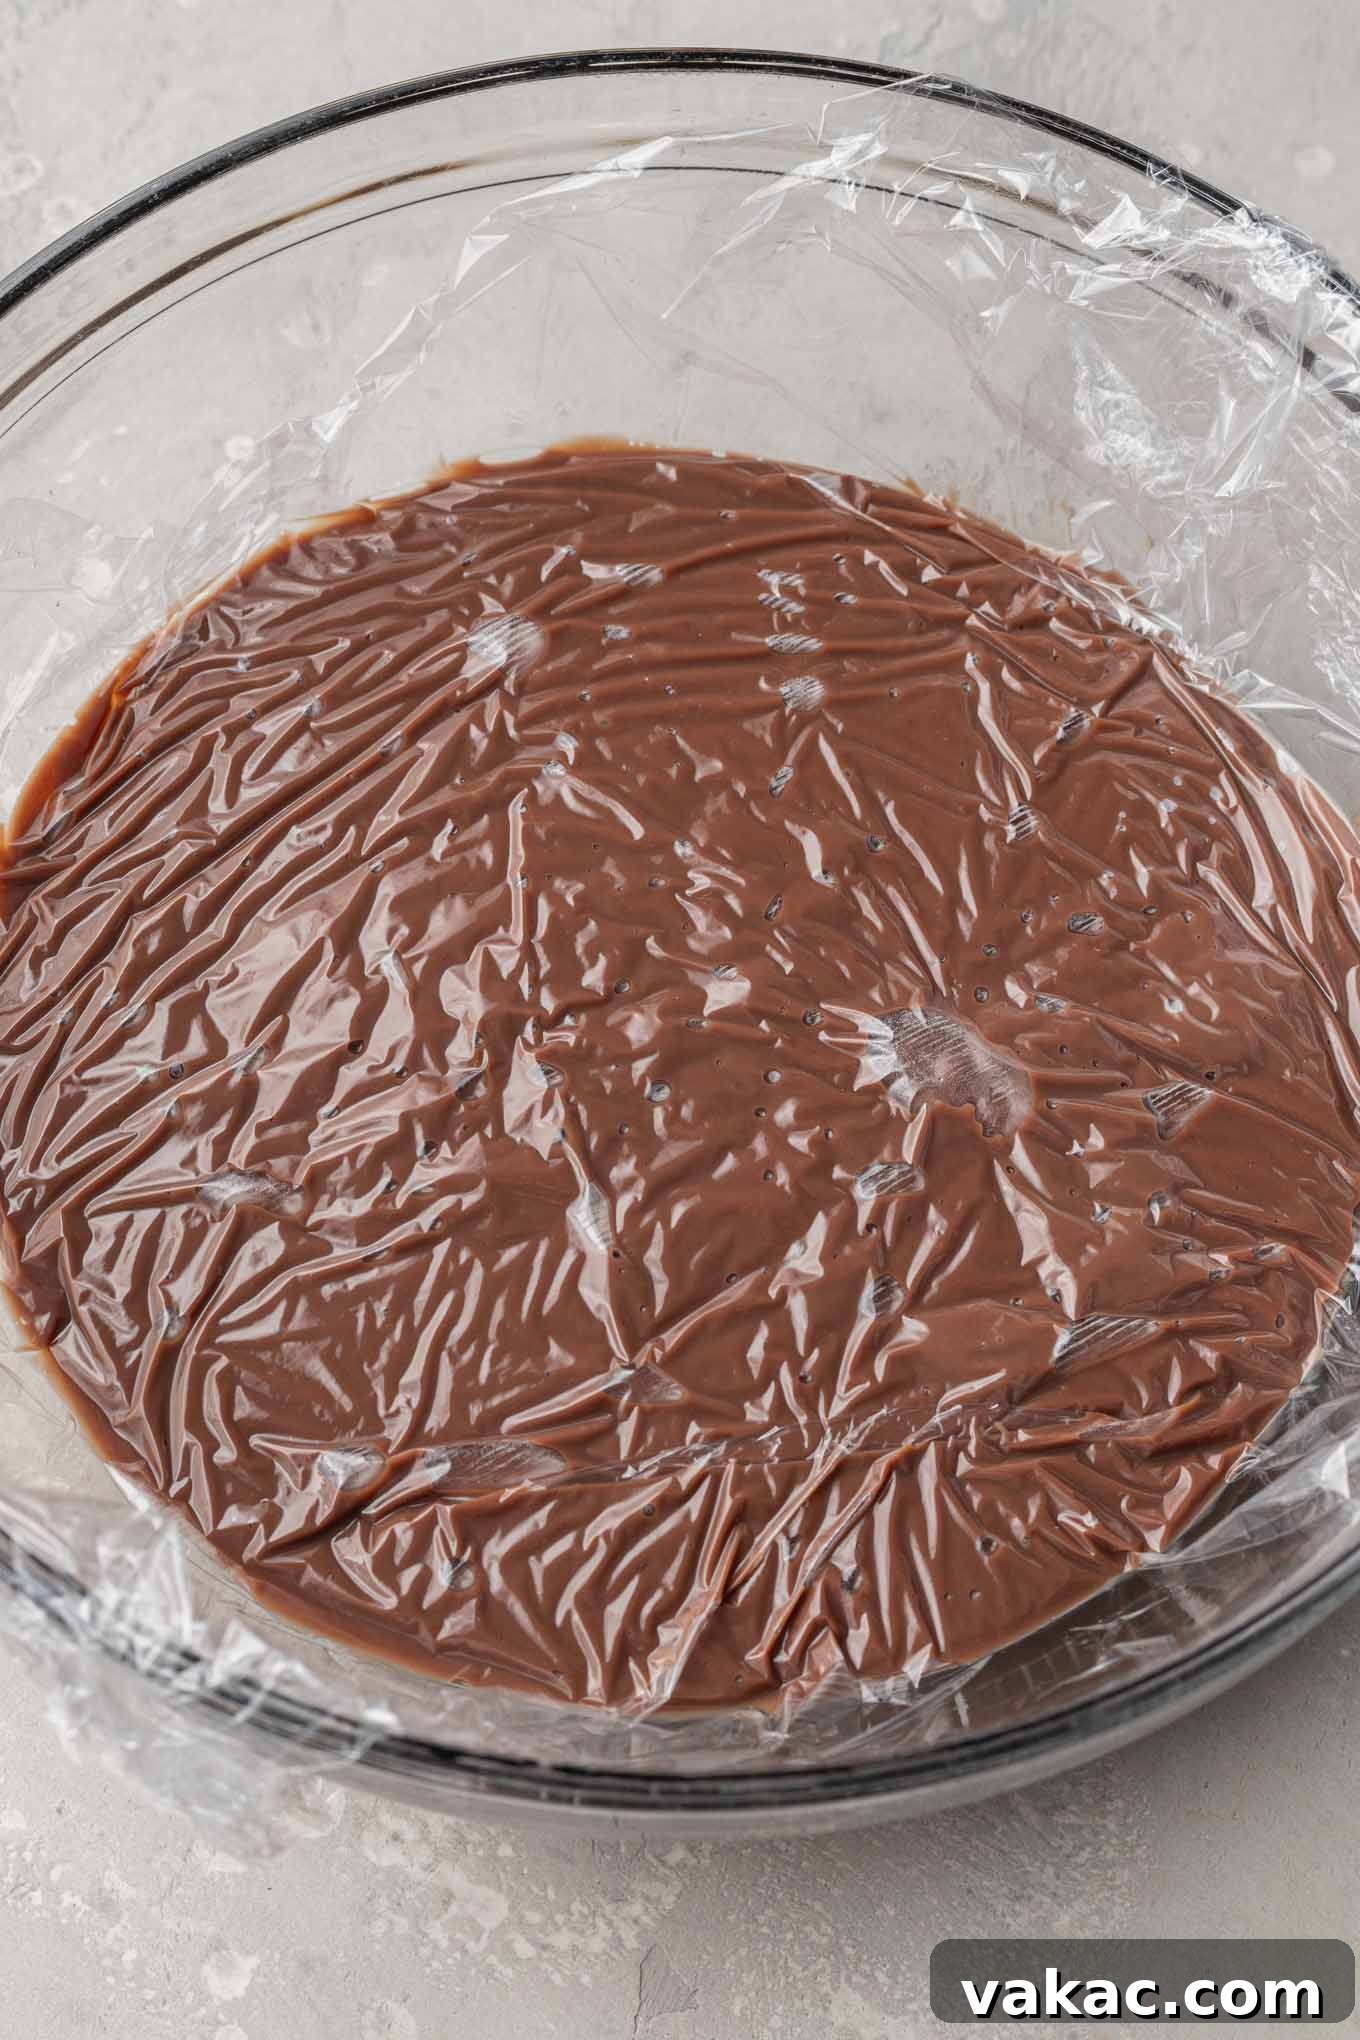
- Chill Properly: Press a piece of plastic wrap directly onto the surface of the pudding. This crucial step prevents a “skin” from forming as it cools. Refrigerate for at least 2-3 hours, or until thoroughly chilled and set. Once chilled, give it a good whisk to ensure it’s perfectly smooth.
2. Preparing the Whipped Cream & Folding
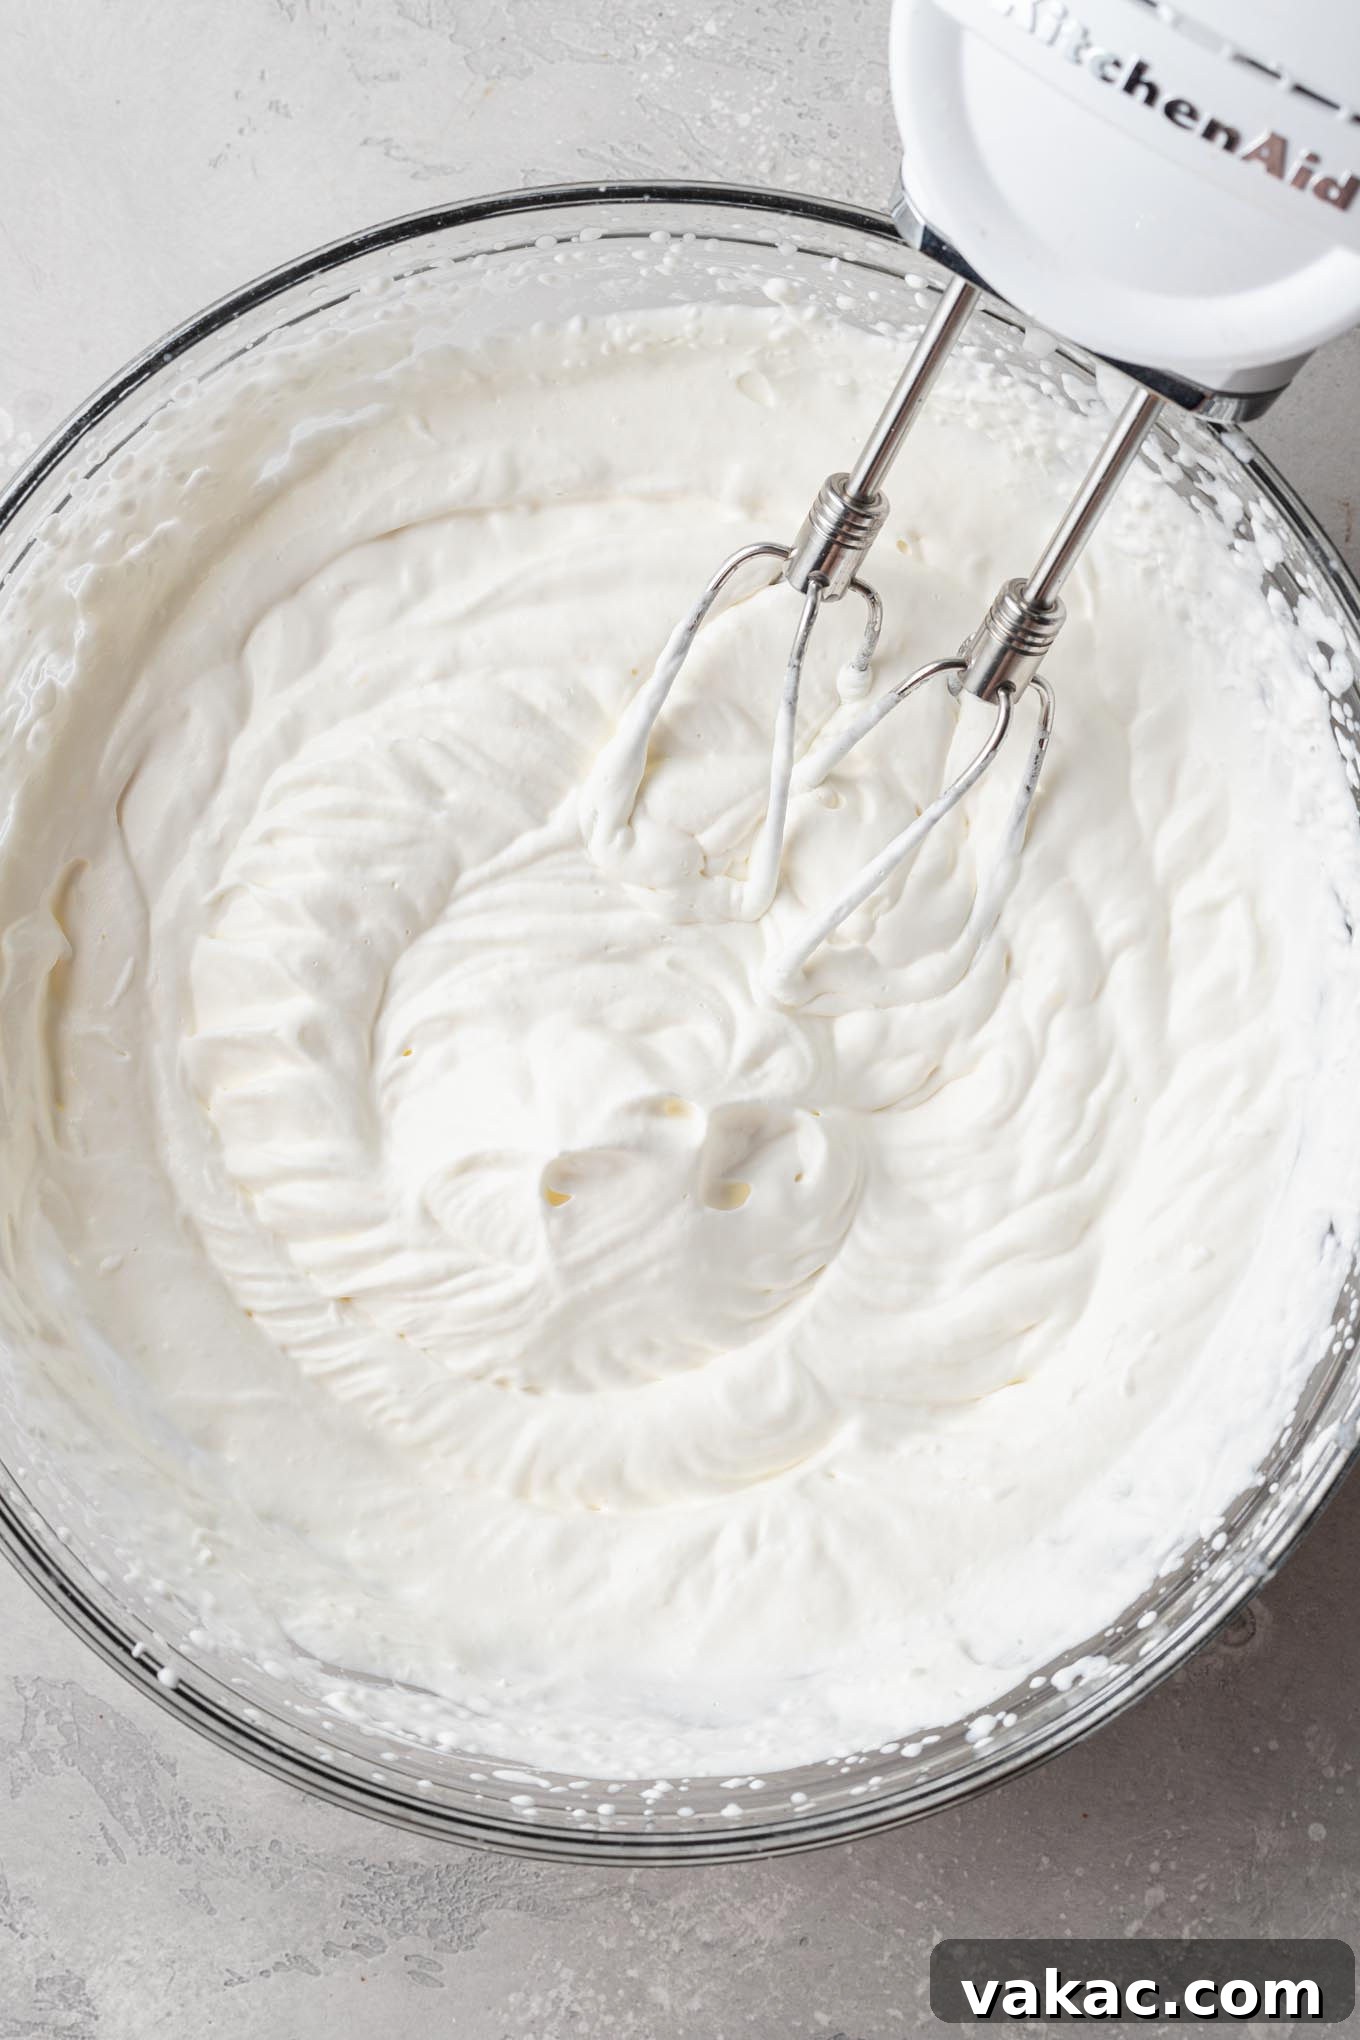
- Whip the Cream: In a separate, clean mixing bowl, combine the cold heavy whipping cream and powdered sugar. Using a handheld electric mixer or a stand mixer fitted with the whisk attachment, beat on low to medium speed for about 30 seconds to a minute. Increase the speed to medium-high and continue mixing until stiff peaks form. Be careful not to overbeat, or it will turn into butter!
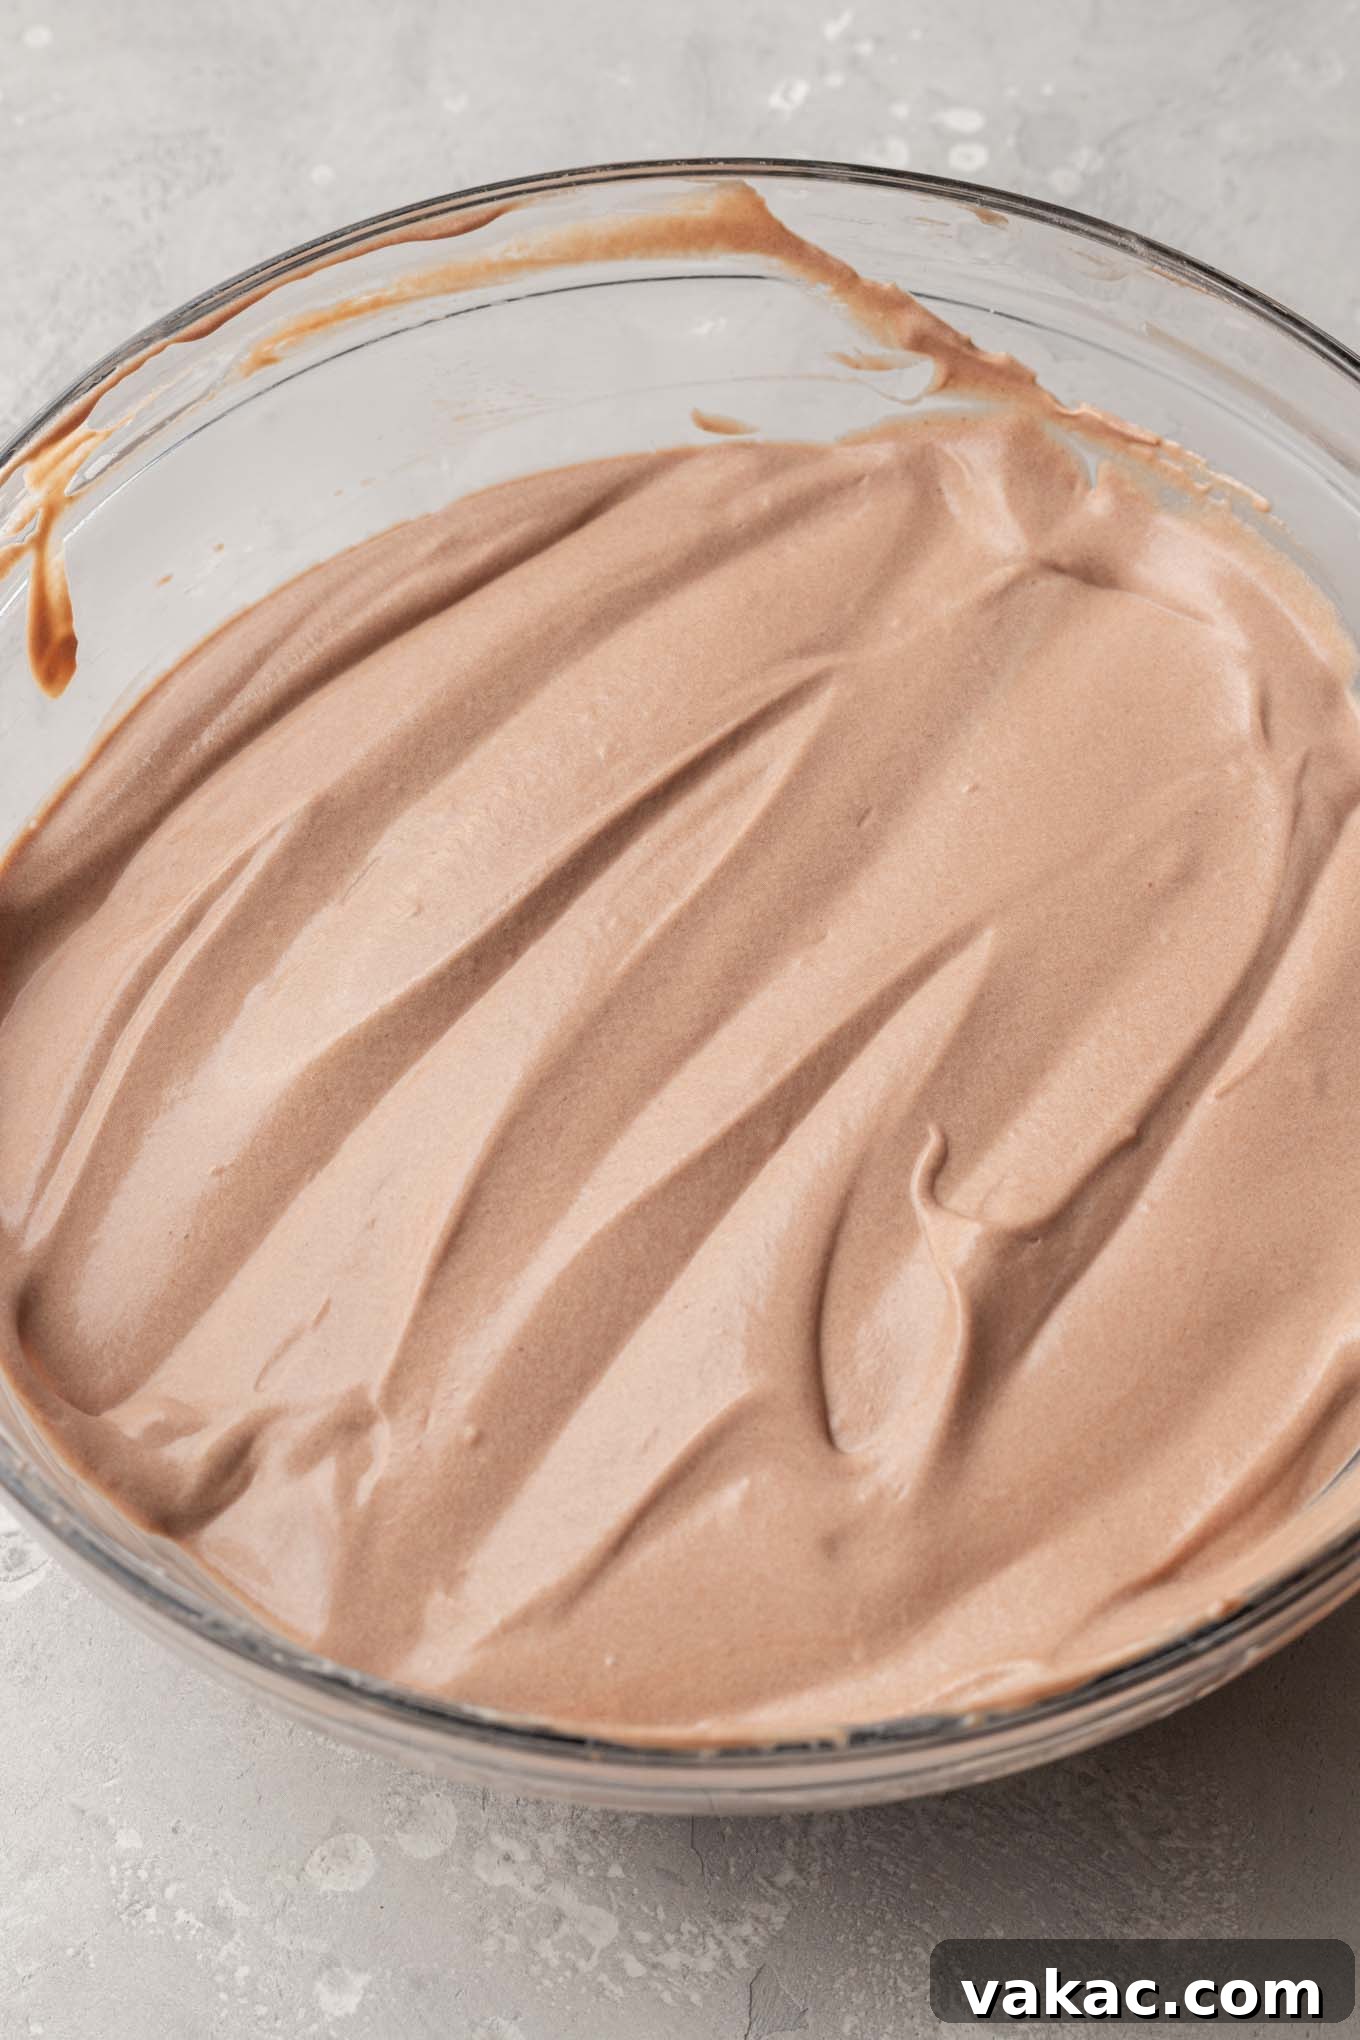
- Fold Gently: Once the chocolate pudding is chilled and smooth, gently fold half of the whipped cream into the pudding using a rubber spatula. Use a light, lifting motion until just combined. Then, carefully fold in the remaining whipped cream until no streaks of white remain, being careful not to deflate the airy cream. This creates a light and fluffy “dirt” base.
3. Assembling Your Delightful Dirt Cups
- Crush the Oreos: Place the Oreos (whole, with cream) into a food processor or a sturdy ziplock bag. Process or crush them until you have fine, uniform crumbs resembling dirt. Don’t worry if there are a few larger chunks – it adds to the authentic “dirt” texture!
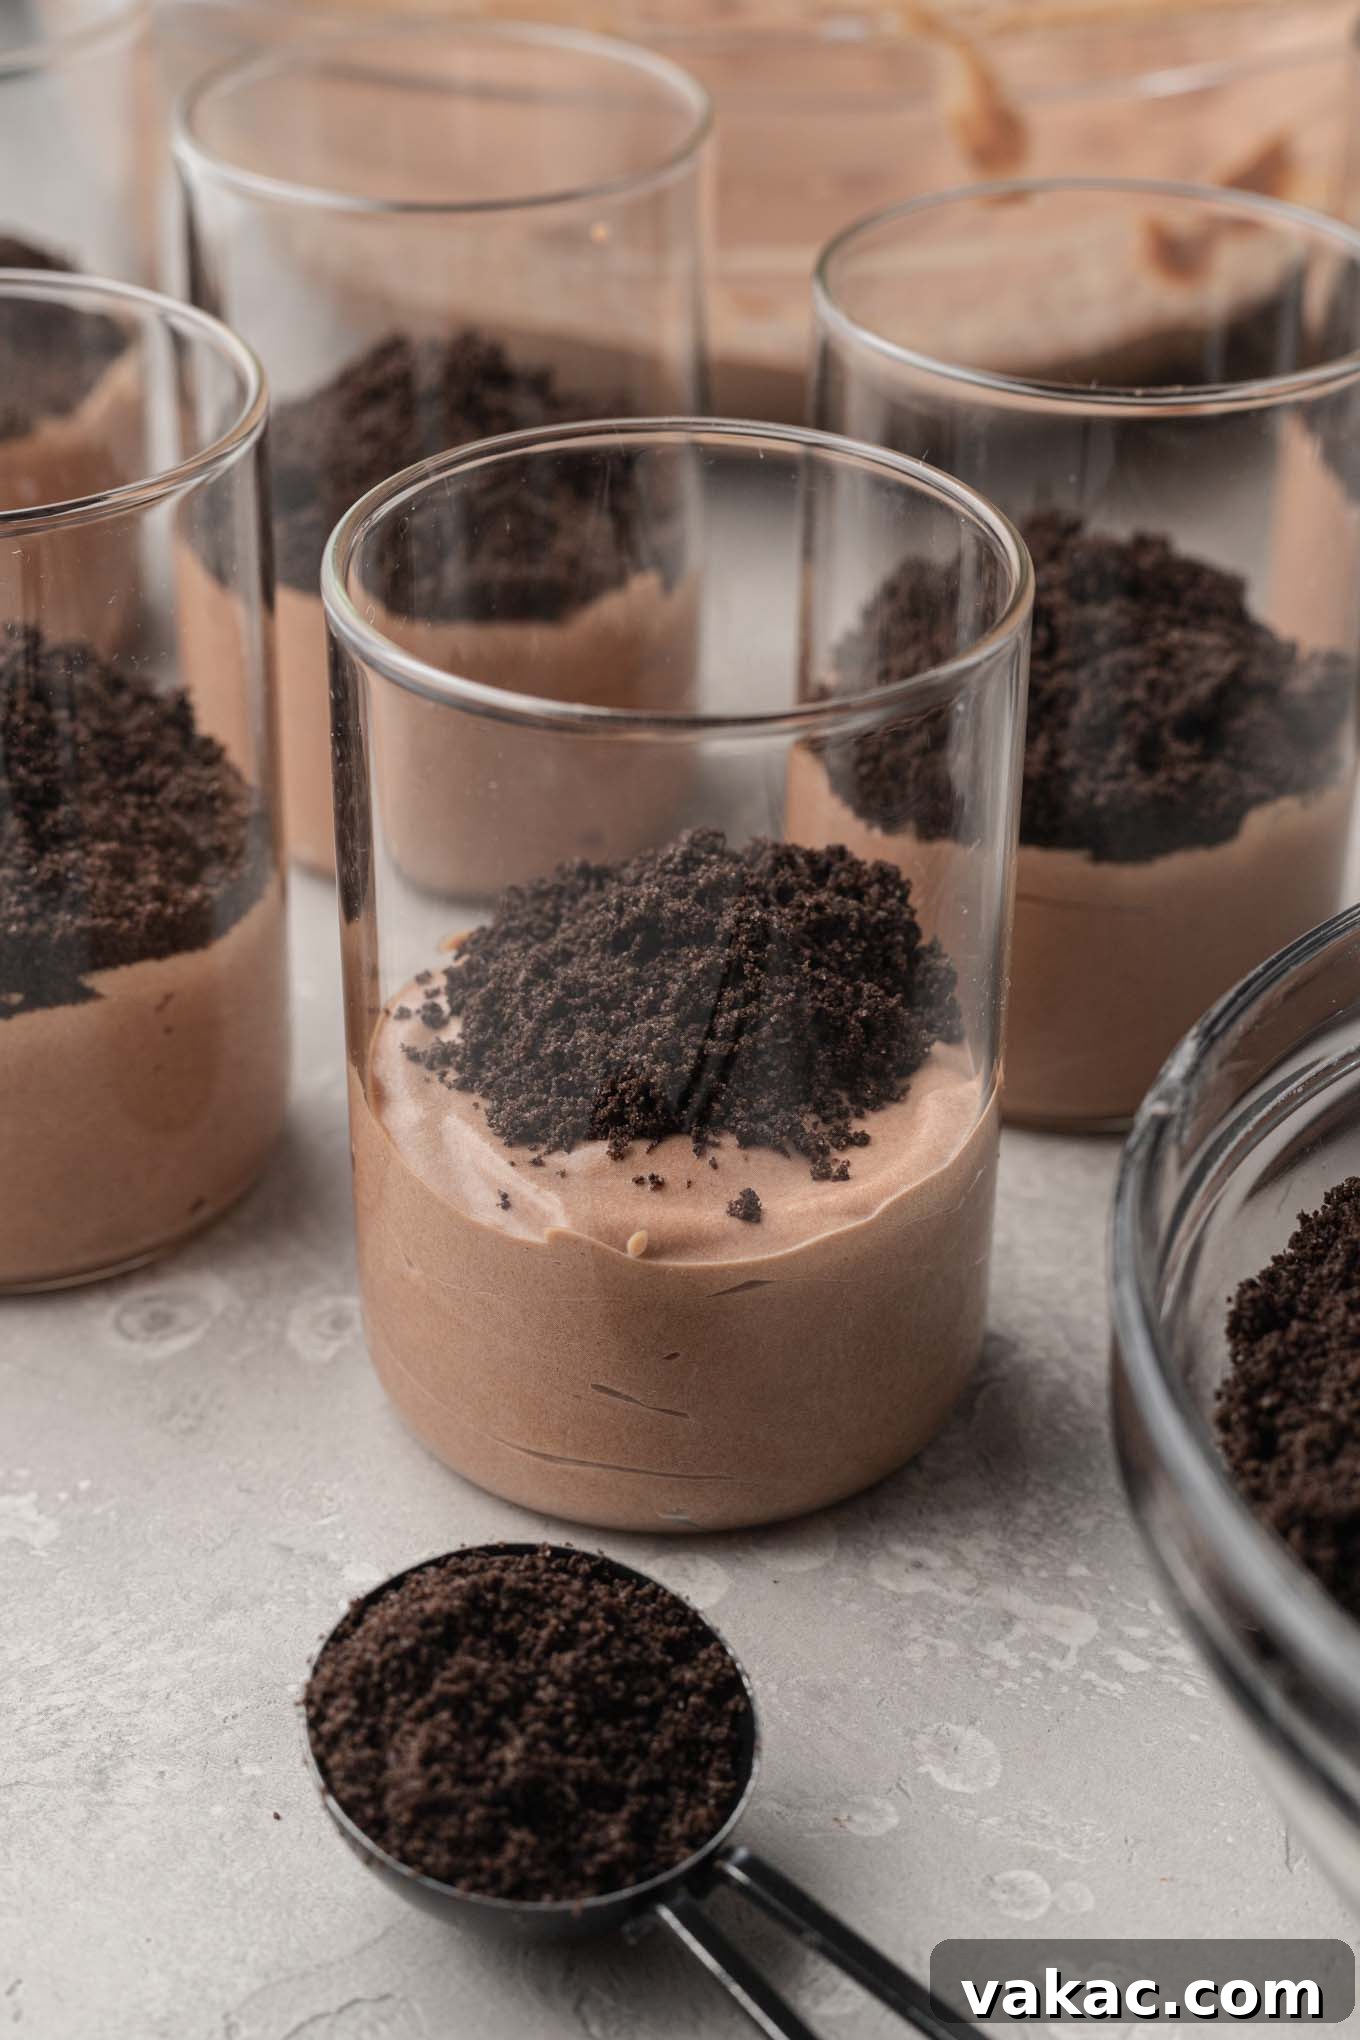
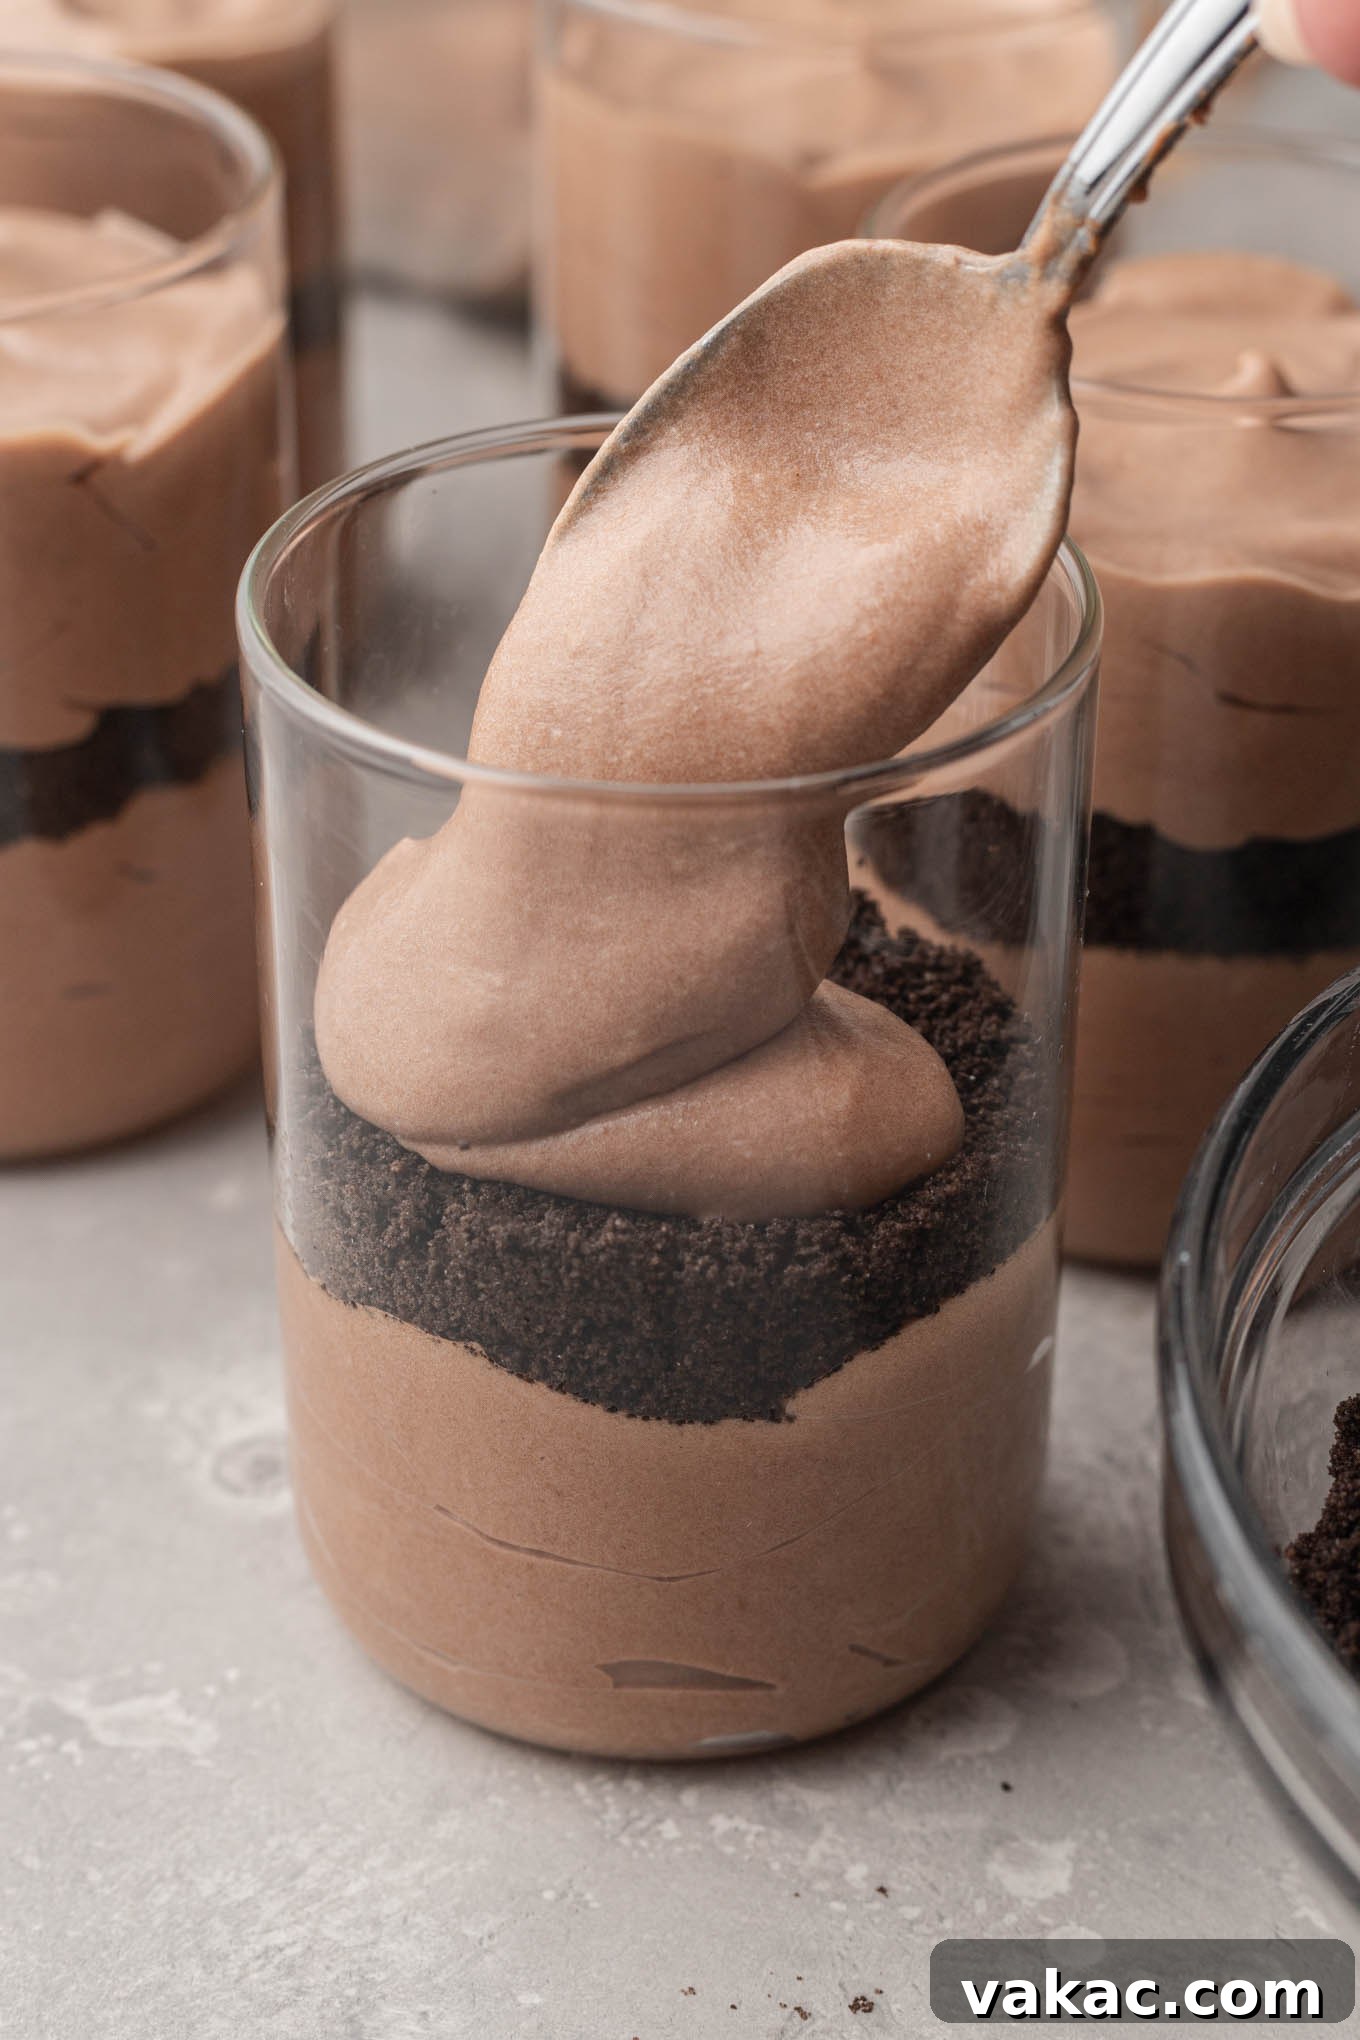
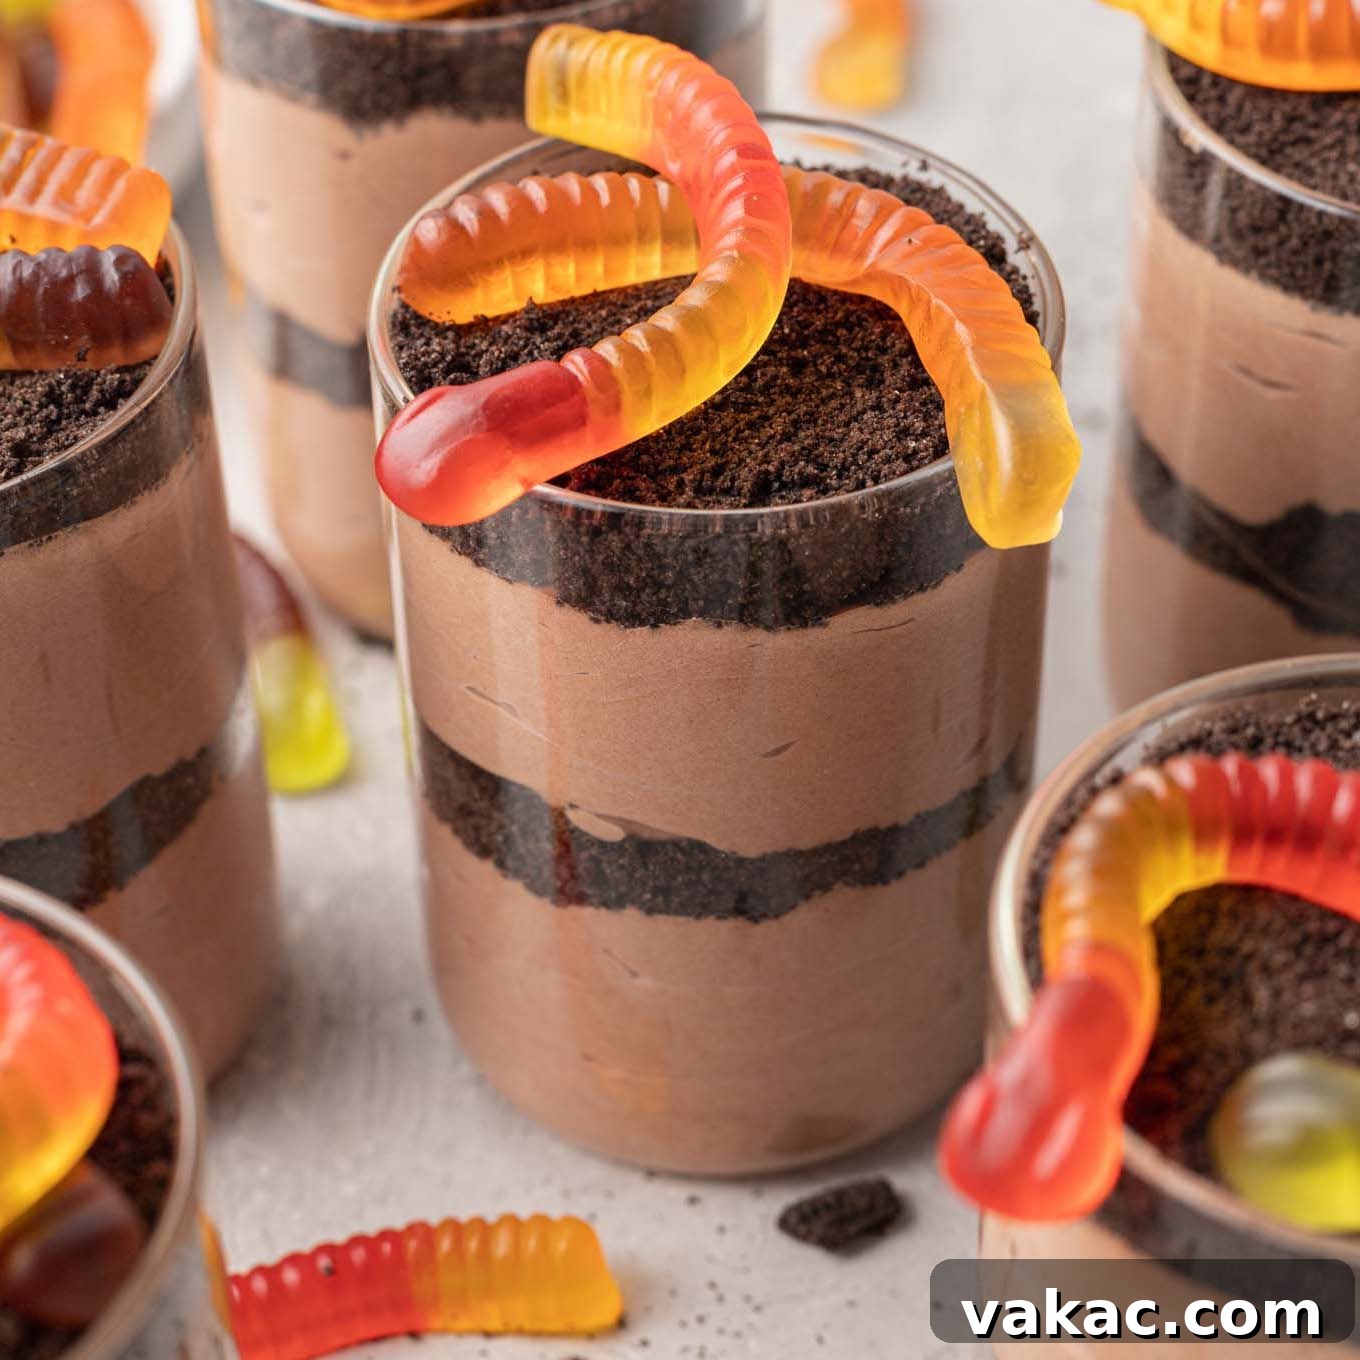
- Layering the Cups: Choose eight 9- to 10-ounce clear cups or jars for presentation. Scoop approximately ⅓ cup of the chocolate pudding mixture into the bottom of each cup, spreading it into an even layer with a spoon.
- First Dirt Layer: Top each pudding layer with about 1 ½ tablespoons of crushed Oreo crumbs, distributing them evenly.
- Second Pudding Layer: Divide the remaining pudding mixture evenly among the cups (approximately another ⅓ cup per cup), smoothing it out.
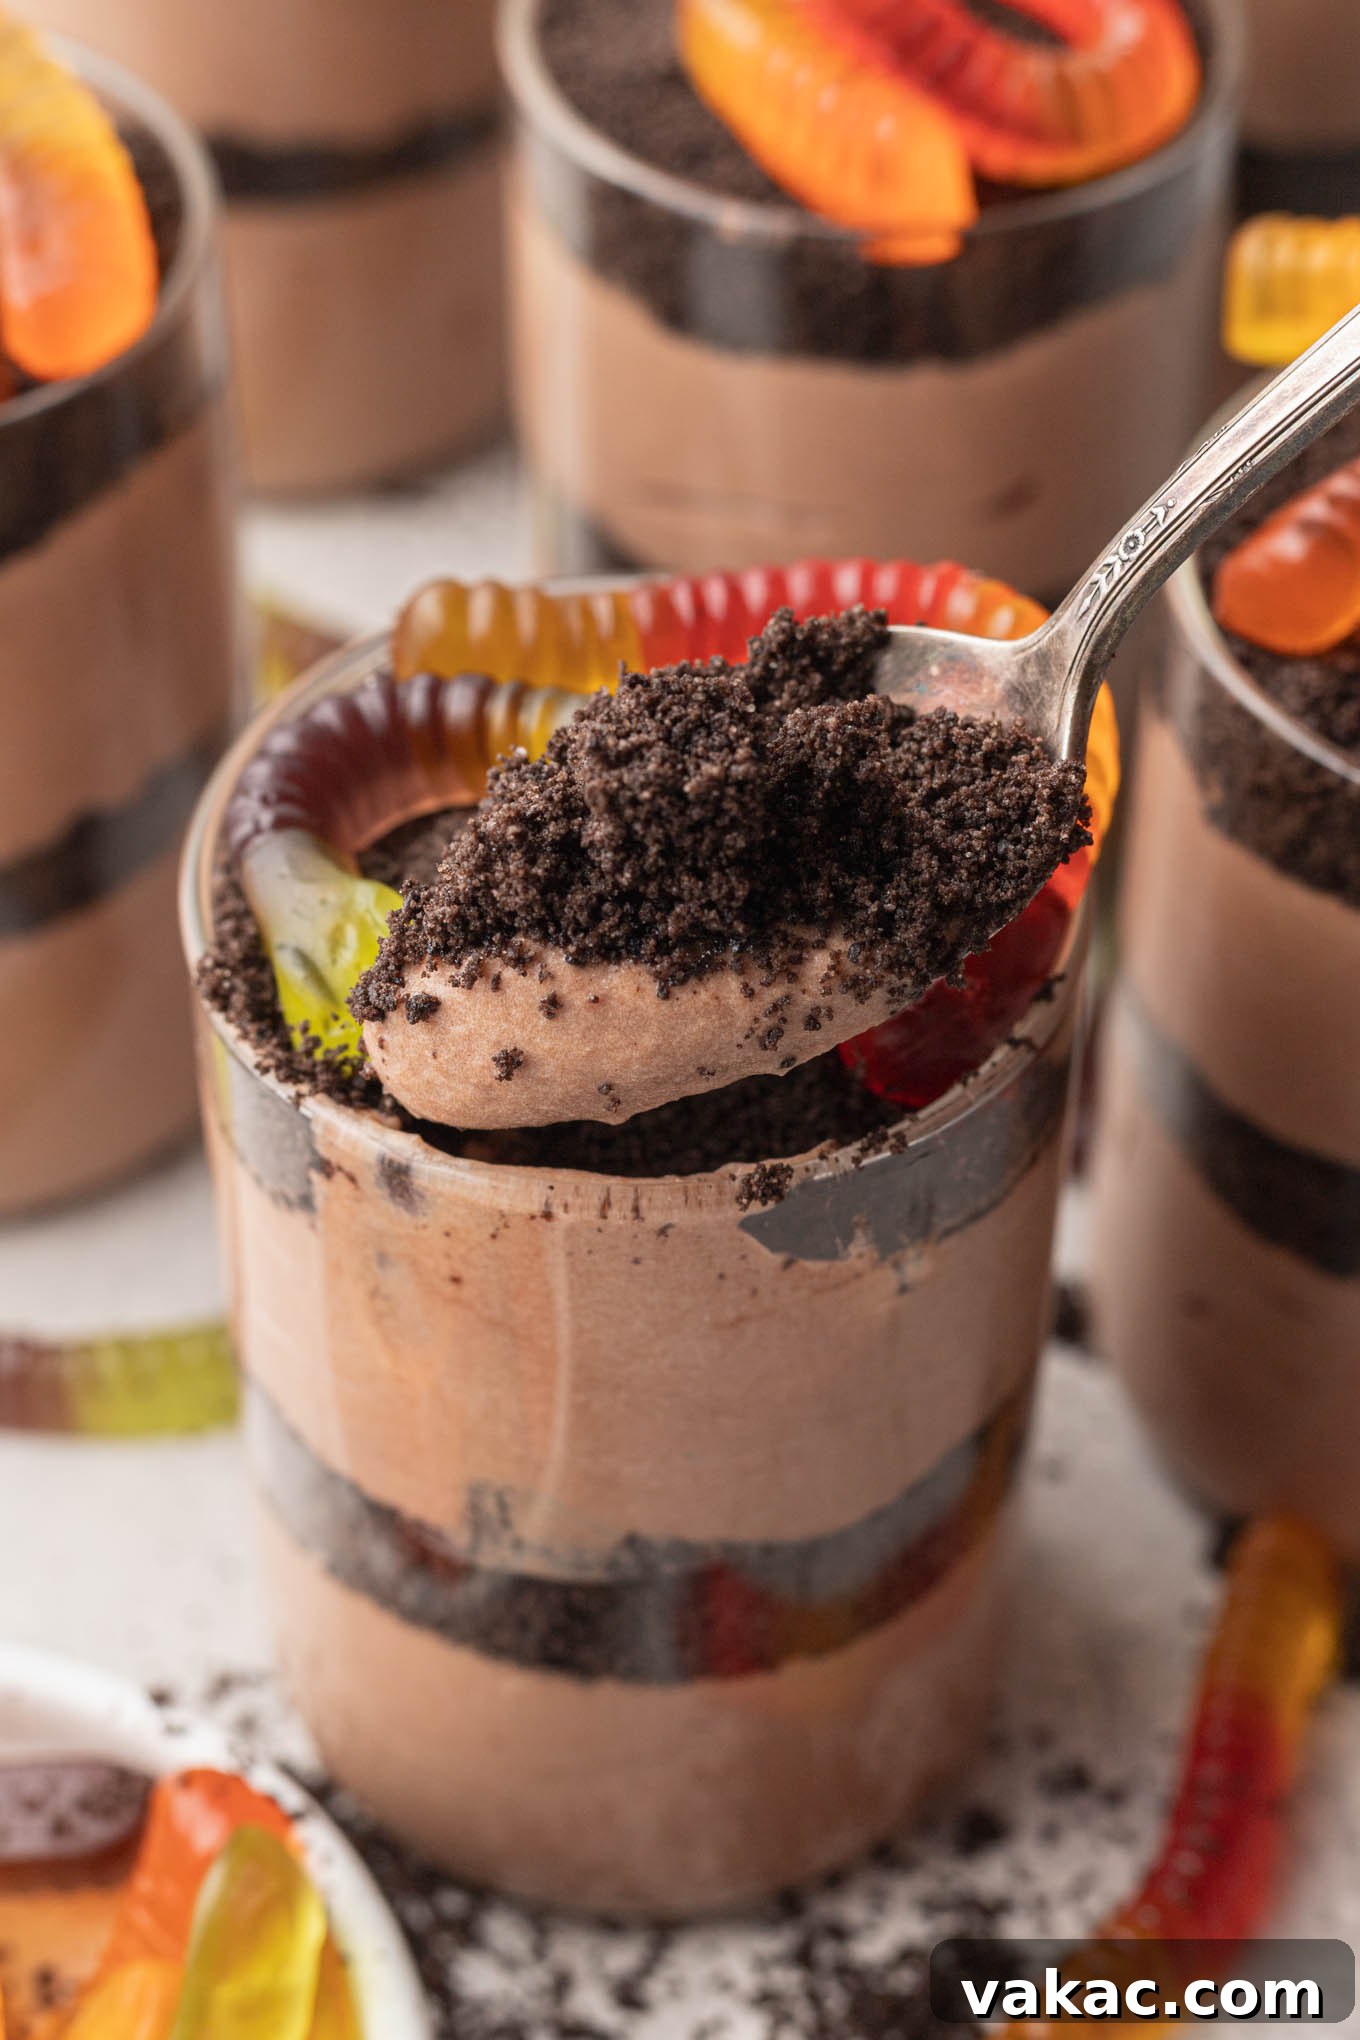
- Final Dirt Layer: Finish by topping each cup with the remaining Oreo crumbs, about 1 ½ tablespoons per cup, creating a generous “dirt” layer.
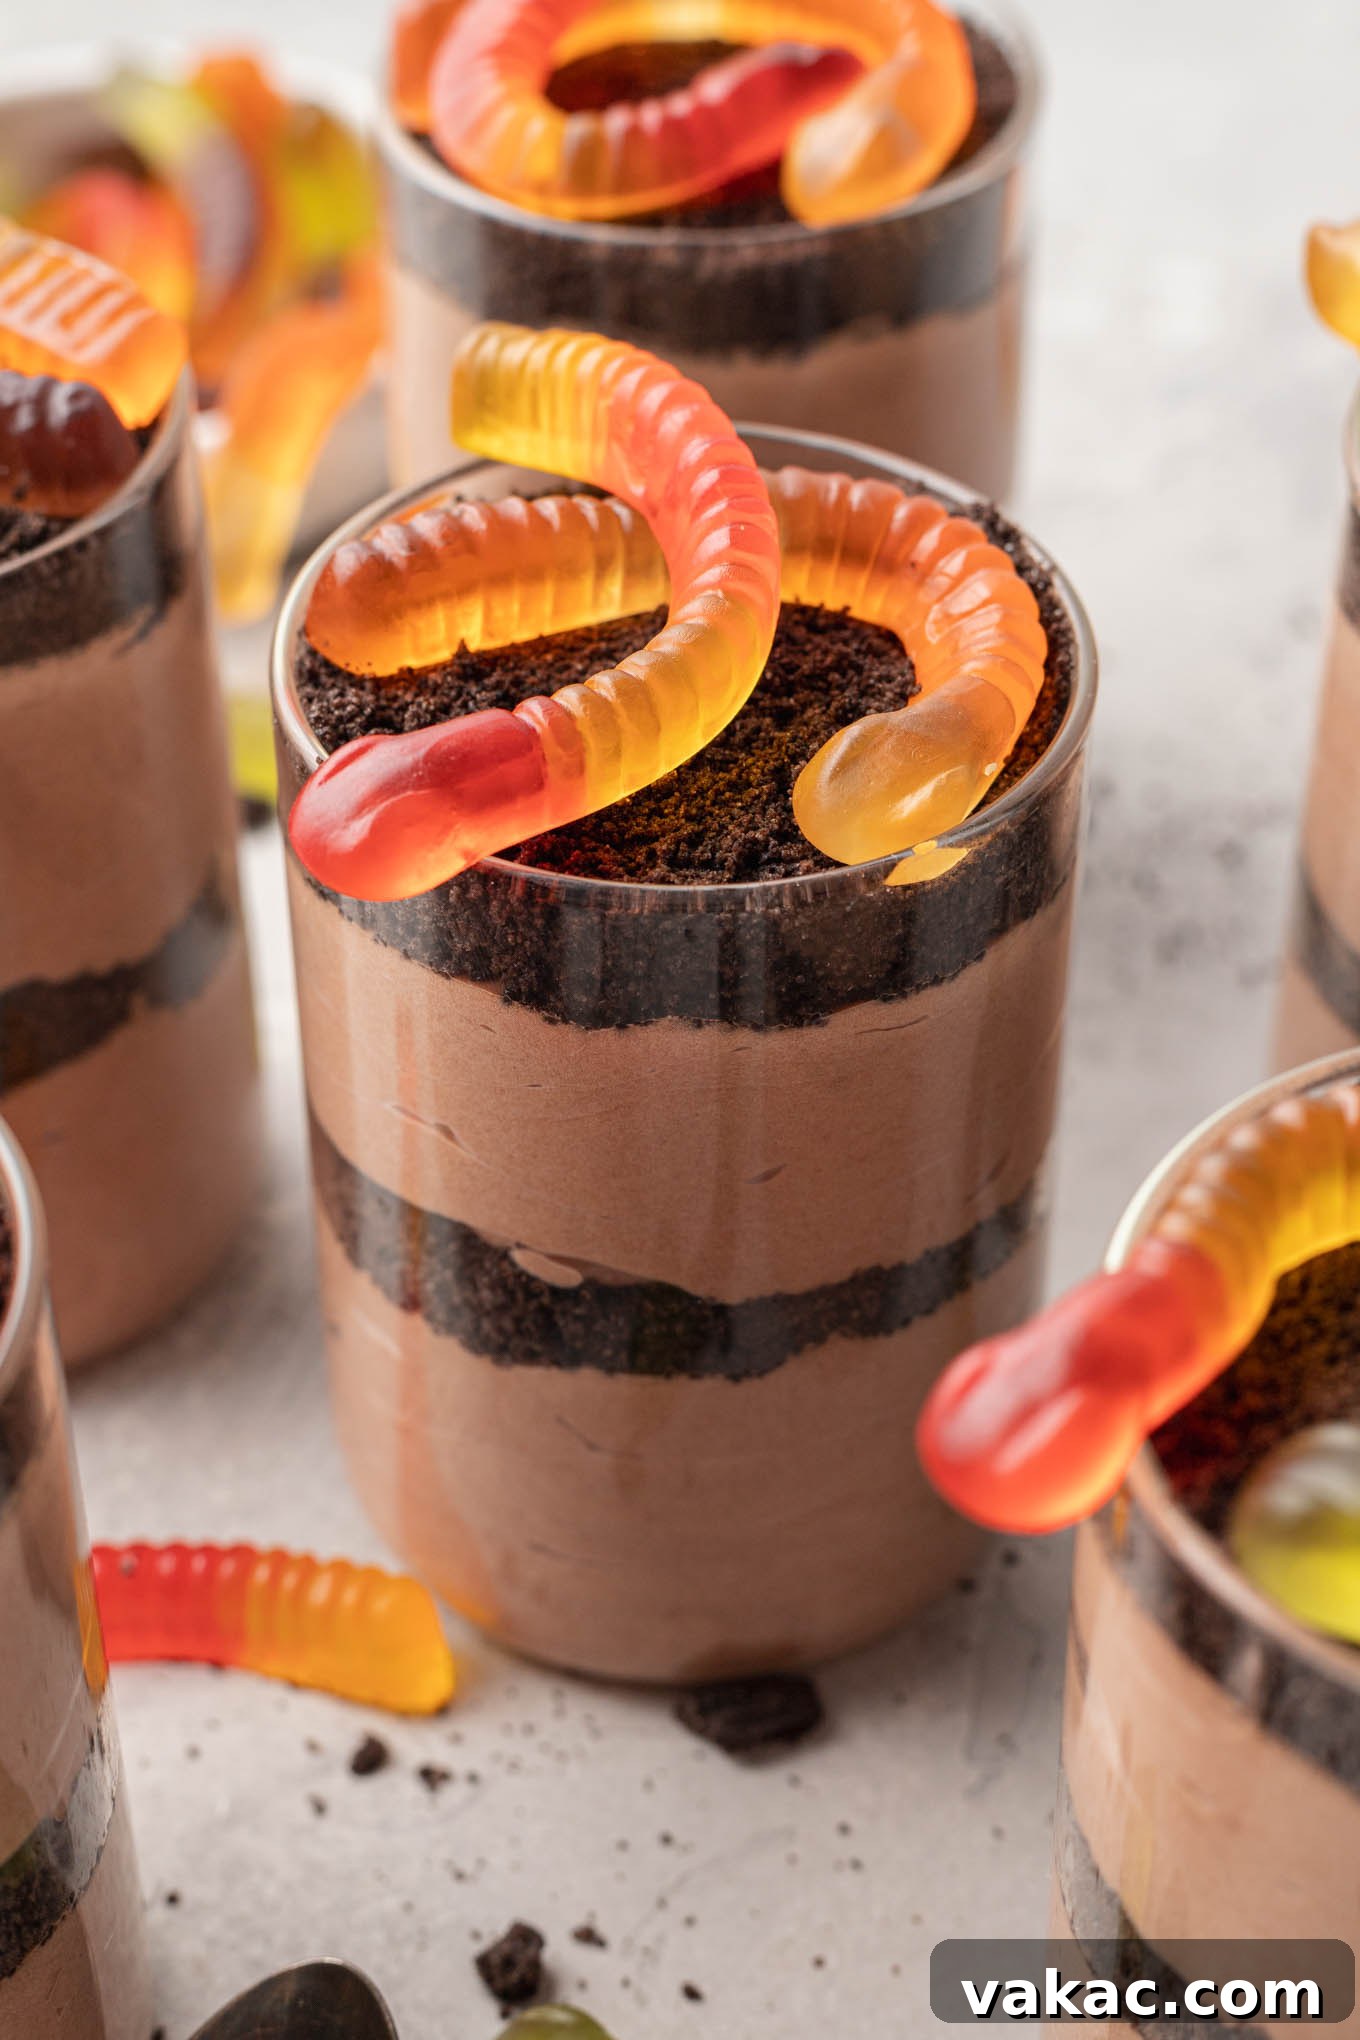
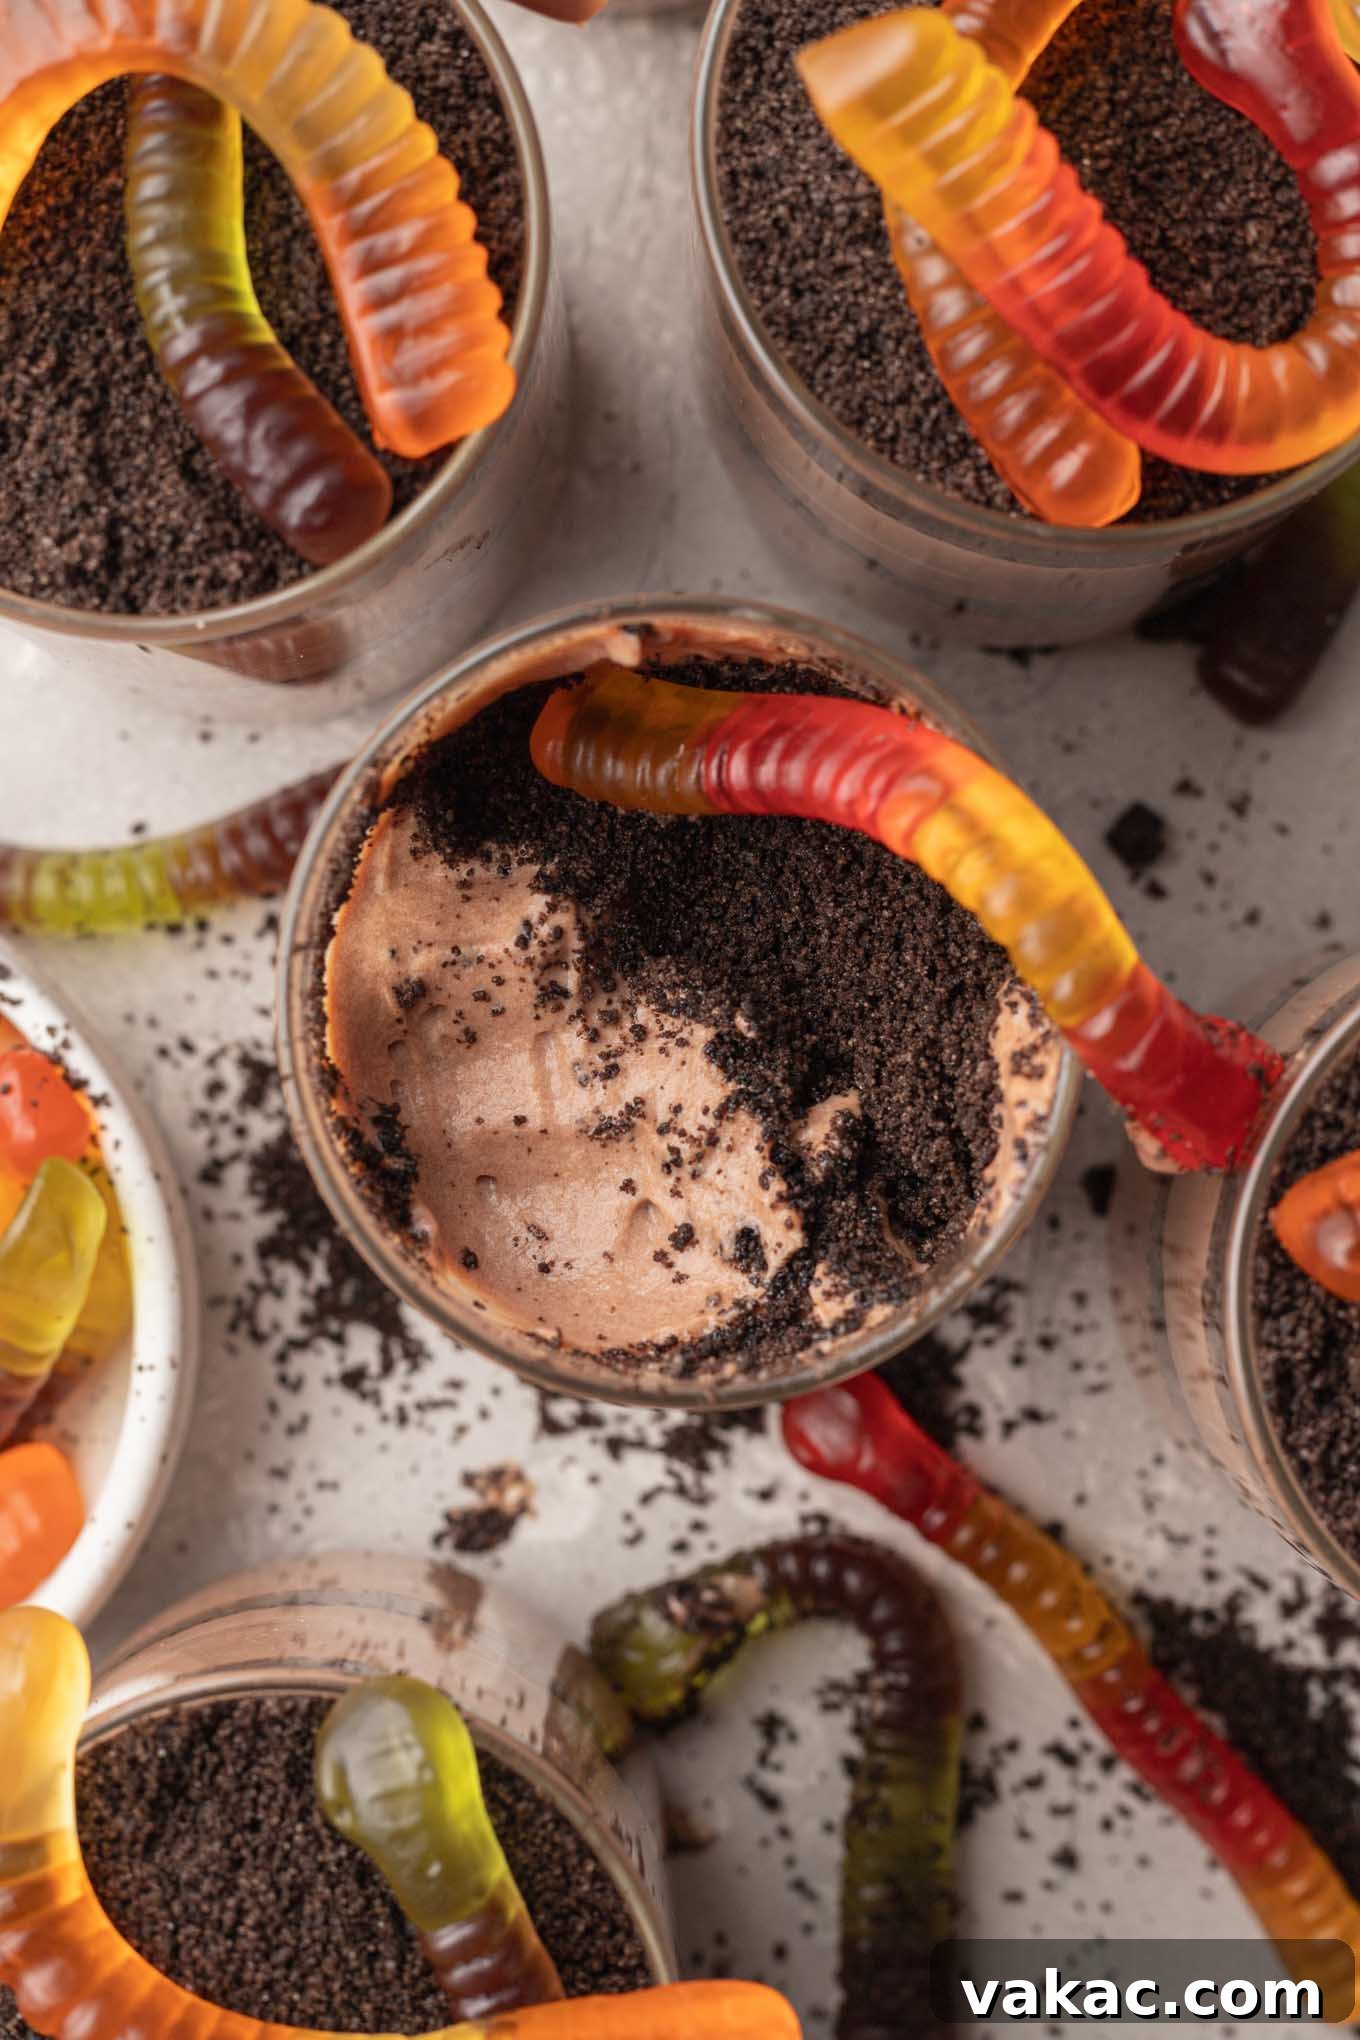
- Final Chill & Garnish: Place all assembled dirt cups on a baking sheet and refrigerate for at least 2-3 hours to allow the layers to set and flavors to meld. Just before serving, adorn each cup with two to three gummy worms, letting them “crawl” out of the dirt.
Creative Variations & Customization Ideas
The beauty of these Oreo Dirt Cups extends far beyond their classic gummy worm presentation. They are incredibly versatile and can be easily transformed to suit any celebration, holiday, or personal craving! Here are some exciting ideas to get your creativity flowing:
- Funfetti Party: Swap the chocolate pudding for a vibrant vanilla pudding, use crushed Golden Oreos for the “dirt,” and generously sprinkle with colorful sprinkles for a festive look.
- Peanut Butter Cup Dream: Instead of Oreo crumbs on top, layer with chopped mini peanut butter cups for a rich, nutty twist that peanut butter lovers will adore.
- Valentine’s Day Romance: Ditch the gummy worms and top your chocolate dirt cups with one or two elegant chocolate-covered strawberries for a sophisticated and romantic touch.
- Easter Garden Delight: Replace gummy worms with cute Peeps marshmallows (bunnies or chicks) or colorful chocolate-covered eggs for a whimsical Easter treat.
- Spooky Halloween Fun: Enhance the classic Halloween vibe by adding candy corn pumpkins, candy eyeballs, or even a Milano cookie with “RIP” written in melted chocolate for a graveyard effect.
- Mint Chocolate Magic: Use Mint Oreos for the crumbs and add a few drops of peppermint extract to the chocolate pudding for a refreshing minty twist.
- S’mores Sensation: Layer with crushed graham crackers, mini marshmallows (lightly toasted if desired), and chocolate shavings for a campfire-inspired treat.
- Tropical Paradise: Use vanilla pudding, crushed shortbread cookies, and top with fresh fruit like mandarin oranges, kiwi, or pineapple chunks.
Expert Tips for the Best Dirt Cups
Achieving perfectly smooth, rich, and delicious dirt cups is simple when you follow a few expert tips. These suggestions will help ensure your homemade dessert is a resounding success every time:
- Stir Constantly: When cooking the chocolate pudding, it’s crucial to stir the mixture often. Use a rubber spatula to consistently scrape around the sides and bottom of the pan. This prevents the pudding from sticking, burning, and forming lumps, ensuring a silky-smooth texture.
- Full-Fat Dairy is Key: For the most luxurious and creamy chocolate pudding, always opt for full-fat dairy ingredients. Whole milk and heavy whipping cream with at least 36% fat content are essential for achieving the desired thickness and richness. Low-fat alternatives may result in a thinner, less satisfying pudding.
- Don’t Skimp on Chilling: Proper chilling time is non-negotiable. The pudding needs at least 2-3 hours (and preferably longer) to fully set and firm up. Rushing this step will result in a runny dessert. The plastic wrap pressed directly on the pudding surface prevents a skin from forming, ensuring a perfectly smooth top.
- Gentle Folding: When incorporating the whipped cream into the cooled chocolate pudding, use a gentle folding technique. Overmixing will deflate the air in the whipped cream, leading to a denser pudding. Aim to combine just until no white streaks remain.
- For a Quick Alternative: If you’re short on time or prefer a simpler route, you can certainly use two 3.9-ounce boxes of instant chocolate pudding. Just prepare it according to package directions, then proceed with folding in the whipped cream and assembling the cups. However, for the ultimate flavor and texture, homemade is highly recommended!
- Cup Size Matters: While any cup works, clear cups are best for showcasing the beautiful layers. Aim for cups roughly 9-10 ounces in capacity to comfortably hold two layers of pudding and two layers of “dirt.”
Make-Ahead Instructions & Storage
One of the best features of Oreo Dirt Cups is their suitability for make-ahead preparation, taking some stress out of entertaining! While leftover dirt cups can be stored in the refrigerator for up to four days, I generally recommend enjoying them within 24-48 hours of assembly for optimal freshness and texture, especially for the Oreo crumbs.
However, you can certainly prepare components in advance:
- Chocolate Pudding: The homemade chocolate pudding can be made up to three days in advance. Store it in an airtight container with plastic wrap pressed directly onto its surface in the refrigerator. When you’re ready to assemble, give it a good whisk to restore its smooth consistency.
- Oreo Crumbs: Crush your Oreos up to 2-3 days in advance and store them in an airtight container at room temperature.
- Assembly: For the freshest taste and texture, especially for the whipped cream layer, it’s best to fold in the whipped cream and assemble the cups no more than 24 hours before you plan on serving them. This ensures the whipped cream remains light and the Oreo crumbs retain a slight crunch before softening into the pudding.
Frequently Asked Questions About Dirt Cups
- Can I make this recipe dairy-free? Yes, with some adjustments! You can use unsweetened full-fat coconut milk (from a can, chilled overnight) or your favorite plant-based milk for the pudding. For the whipped cream, you would need a dairy-free whipping cream alternative (like coconut cream or a commercial plant-based whipped topping).
- What kind of cups should I use? Clear glasses, mason jars, or even small flower pots (new and clean!) are perfect for showcasing the layers. Individual dessert cups of about 9-10 ounces are ideal.
- Can I use different cookies? Absolutely! While Oreos are classic, you could experiment with other chocolate sandwich cookies, graham crackers, or even shortbread cookies for different flavor profiles.
- How do I prevent the pudding from getting a skin? Pressing plastic wrap directly onto the surface of the hot pudding while it cools is the best way to prevent a skin from forming.
- Can I add alcohol for an adult version? For an adult twist, you could add a tablespoon of coffee liqueur, dark rum, or Irish cream to the cooled chocolate pudding before folding in the whipped cream.
More No-Bake Recipes To Enjoy!
If you’re a fan of easy, no-fuss desserts that don’t require turning on the oven, you’ll love these other fantastic no-bake treats:
- No-Bake Pumpkin Cheesecake
- Edible Cookie Dough
- Mini No-Bake Cheesecakes
- Peanut Butter Balls
- No-Bake Oreo Cheesecake
Recipe Video
While the video embed functionality is removed for clarity, you can typically find a helpful visual guide for this recipe on platforms like YouTube or the original blog post to walk you through each step.
Dirt Cups
These Oreo dirt cups are a homemade version of your favorite childhood treat. This is an easy dessert to customize for any holiday!
Pin Recipe
Ingredients
Servings: 8 cups
- 1 cup granulated sugar (200 grams)
- ⅓ cup natural unsweetened cocoa powder (30 grams)
- ¼ cup cornstarch (32 grams)
- ¼ teaspoon salt
- 3 ½ cups whole milk
- 3 tablespoons unsalted butter (45 grams)
- 1 teaspoon pure vanilla extract
- 1 cup heavy whipping cream (240 ml)
- 2 tablespoons powdered sugar (15 grams)
- 18 Oreos (regular or Double Stuf)
- 16 to 24 gummy worms
Instructions
- In a large saucepan, whisk together the sugar, cocoa powder, cornstarch, and salt until well combined.
- Gradually pour the milk into the saucepan with the dry ingredients, whisking until fully combined.
- Place the saucepan over medium heat and bring to a boil, stirring often. Once boiling, continue cooking for 1 minute until the mixture is thick.
- Remove from heat and stir in the butter, one tablespoon at a time, then stir in the vanilla extract.
- Strain the mixture through a fine-mesh strainer into a heat-proof bowl. Press plastic wrap directly onto the surface and refrigerate for 2-3 hours until chilled.
- Once chilled, whisk the pudding until smooth.
- In a separate mixing bowl, add the heavy whipping cream and powdered sugar. Whip until stiff peaks form.
- Gently fold half of the whipped cream into the chocolate pudding until just combined, then fold in the remaining whipped cream.
- Process the Oreos in a food processor or blender until you have small crumbs.
- Scoop about ⅓ cup of the chocolate pudding mixture into the bottom of eight 9-10 ounce cups. Smooth it out.
- Spoon 1 ½ tablespoons of crushed Oreos on top of the pudding layer in each cup.
- Evenly distribute the remaining pudding mixture between each cup and smooth it out.
- Top each cup with the remaining Oreo crumbs, about 1 ½ tablespoons per cup.
- Place all cups onto a baking sheet and transfer to the fridge to chill for at least 2-3 hours.
- Place two to three gummy worms on top of each cup right before serving.
Notes
Storage Instructions: Leftover dirt cups may be covered tightly and refrigerated for up to 4 days. For best freshness, consume within 24-48 hours of assembly.
Did you make this recipe?
Mention @livewellbakeoften on Instagram or tag #livewellbakeoften.