
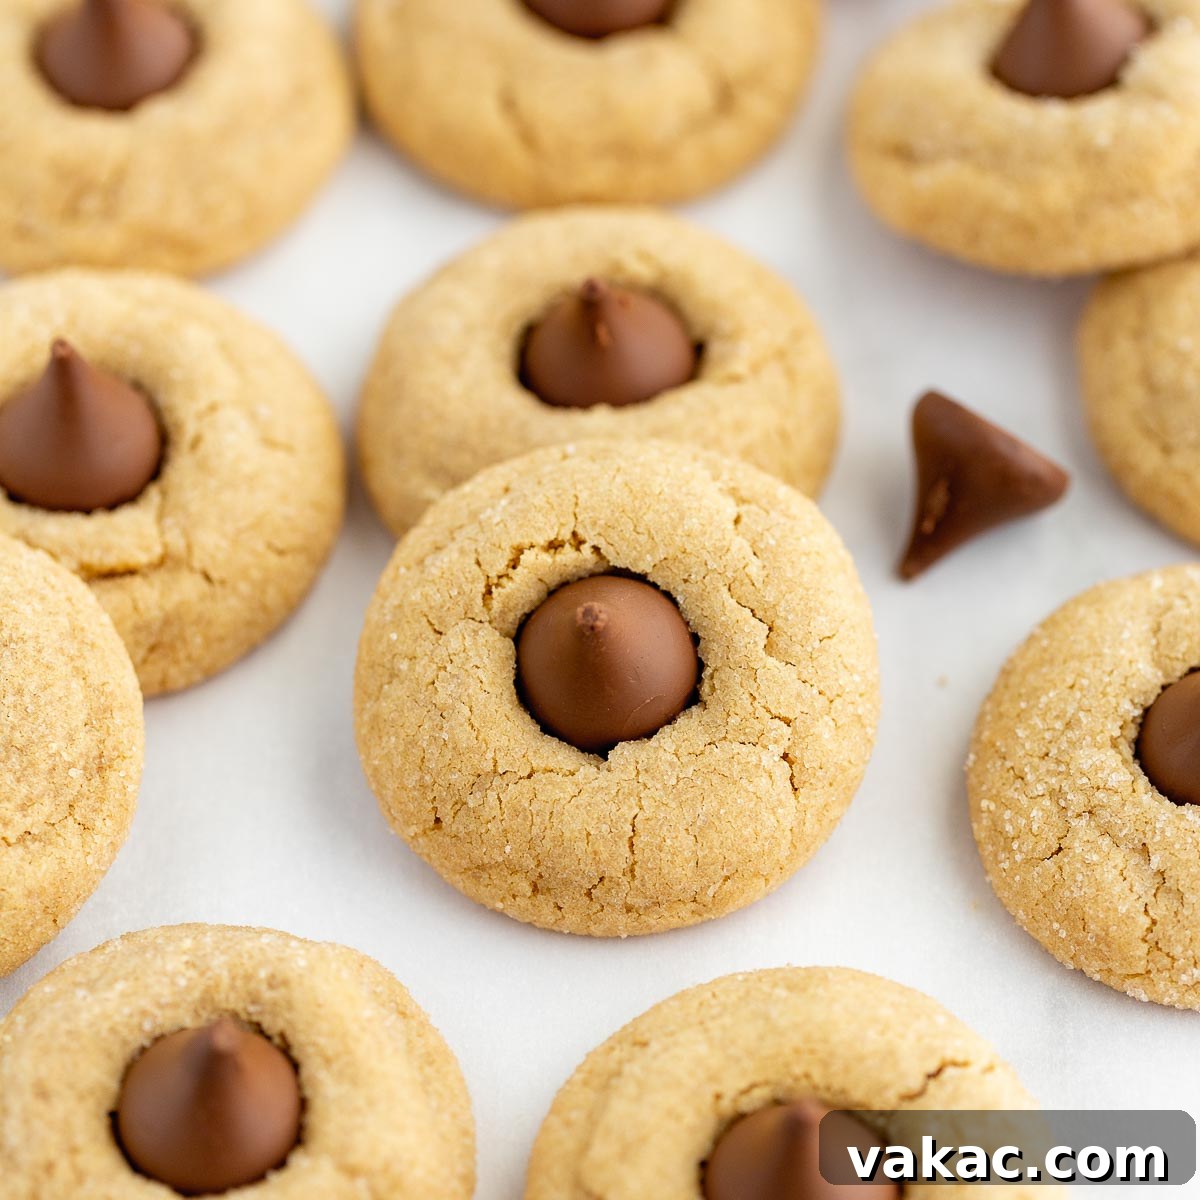
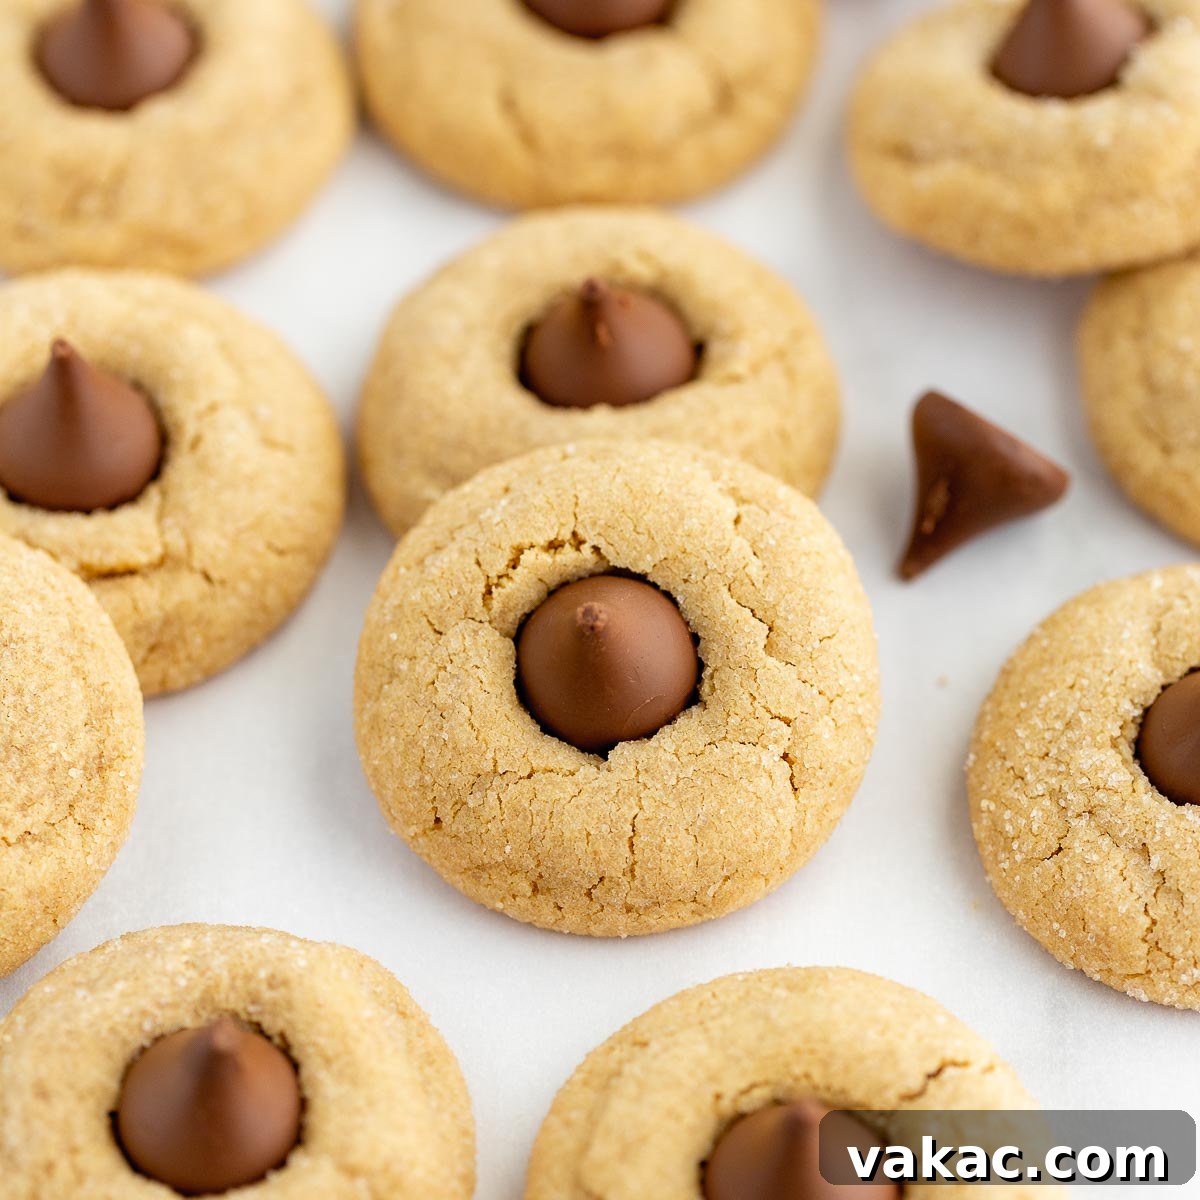
Soft peanut butter cookies topped with a chocolate kiss candy in the center. These Peanut Butter Blossoms are perfect for the holidays or any time of year!
*Pictures and post updated April 2020*
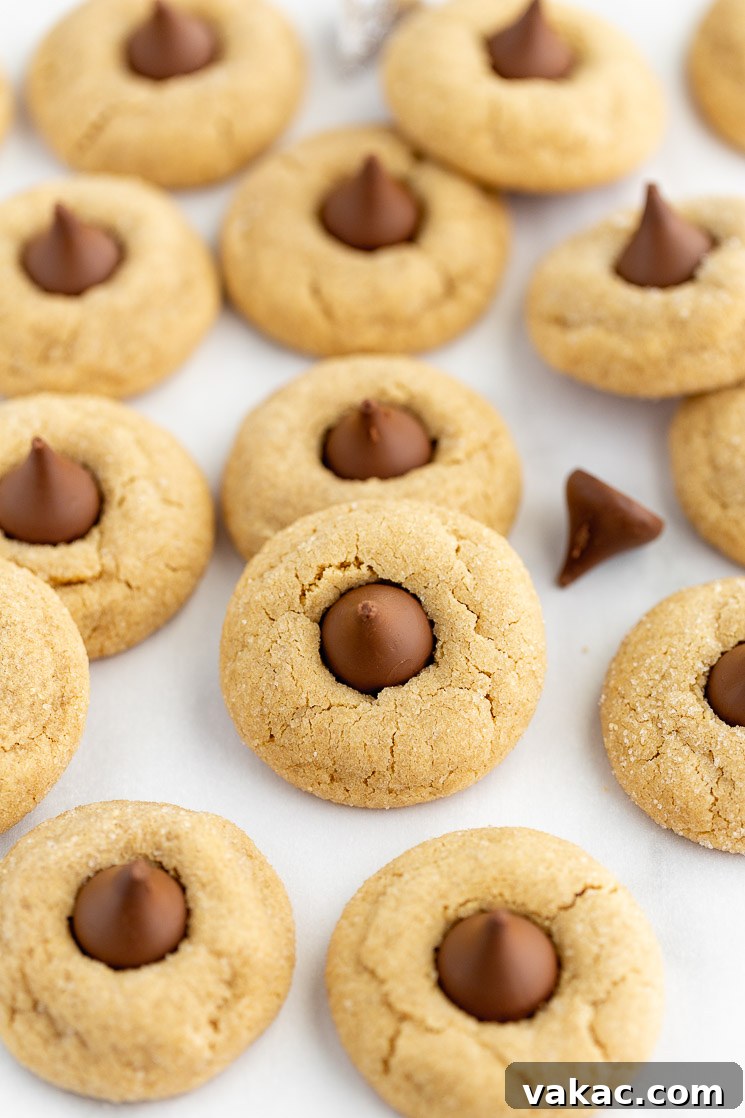
A Timeless Treat: Why Everyone Loves Peanut Butter Blossoms
There’s an undeniable charm to Peanut Butter Blossoms, a classic cookie that brings a smile to every face. These delightful treats are a true embodiment of comfort food, blending the rich, nutty flavor of peanut butter with the sweet indulgence of a chocolate kiss. Originating in the mid-20th century, these cookies have become a staple on holiday cookie platters and a beloved snack for any occasion. Their popularity isn’t just because of their irresistible taste, but also their appealing aesthetic – a golden, soft cookie crowned with a melted chocolate peak.
My adoration for these cookies spans all seasons, leading me to revisit and refine this cherished recipe. While I first shared this recipe in 2017, I’ve taken the opportunity to enhance it with clearer instructions and more vibrant images, ensuring your baking journey is as smooth and enjoyable as the cookies themselves. Beyond the updates, the sheer joy of baking another batch of these soft, chewy wonders was a temptation I simply couldn’t resist!
What sets this recipe apart is the consistent softness of the cookies. Every single time, they bake up with a tender crumb that melts in your mouth, perfectly complementing the creamy peanut butter flavor. Another fantastic feature is the convenience – there’s no need for lengthy dough chilling. This means you can whip up a batch from start to finish without significant delays, making them ideal for spontaneous baking sessions or when you need a quick dessert solution.
And for those who love to experiment, these cookies offer delightful versatility. While the traditional Hershey’s Kiss is iconic, you can easily swap it for miniature Reese’s Peanut Butter Cups to create a “peanut butter cup blossom” – a double dose of peanut butter bliss! Whichever variation you choose, I am confident that this simple, straightforward recipe will become a treasured favorite in your kitchen.
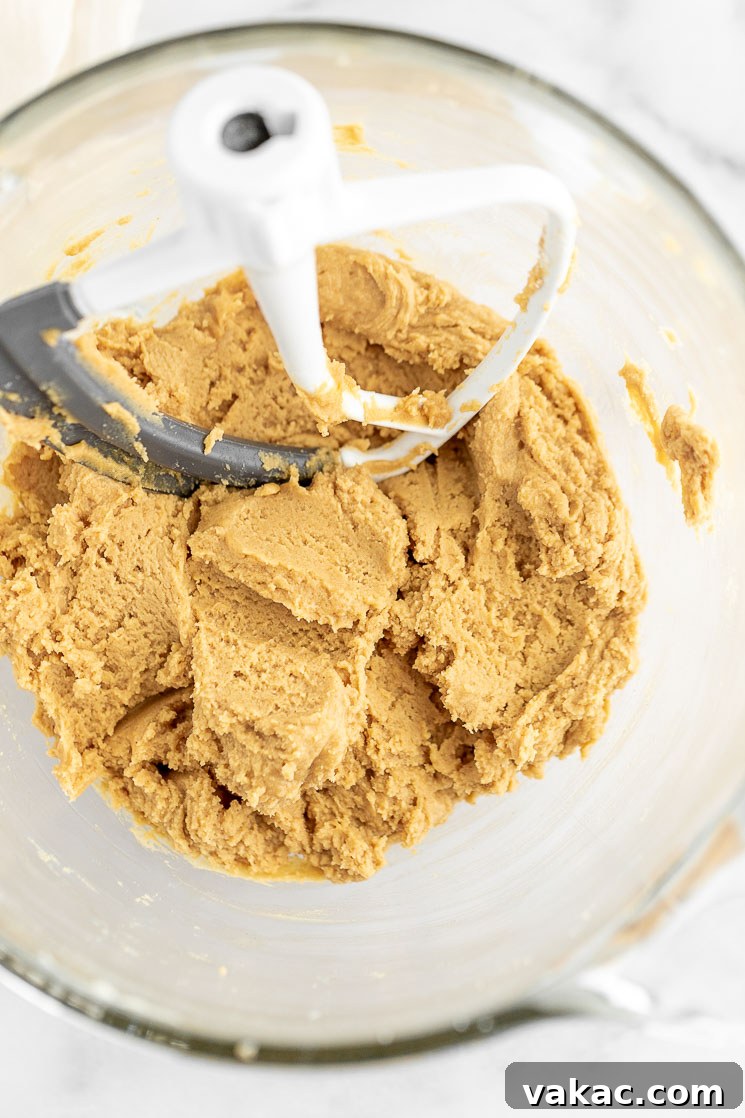
Crafting Your Peanut Butter Blossom Dough: A Step-by-Step Guide
As mentioned, these cookies are wonderfully straightforward to prepare. The key to their success lies in understanding the purpose of each ingredient and following a few simple steps. Here’s a detailed guide to creating the perfect peanut butter cookie dough:
Assembling Your Dry Ingredients
- Whisk together the dry ingredients: In a medium mixing bowl, combine all-purpose flour, baking soda, and salt. It’s crucial to whisk these ingredients thoroughly to ensure the leavening agent (baking soda) and salt are evenly distributed throughout the dough. This prevents pockets of unmixed ingredients and ensures uniform texture and flavor in every cookie. Proper flour measurement is also vital here; always spoon the flour into your measuring cup and level it off with the back of a knife to avoid over-measuring, which can lead to dry, dense cookies.
Creaming Butter and Sugars for Optimal Flavor and Texture
- Cream together the butter and sugars: This step is foundational for the cookies’ texture. You’ll want to beat your softened unsalted butter with both light brown sugar and granulated sugar for about 1-2 minutes until the mixture is light, fluffy, and well combined. The brown sugar contributes essential moisture and a chewiness to the cookies, along with a deeper, molasses-like flavor. The granulated sugar, on the other hand, helps create a slightly crisp exterior and provides structure. Ensure your butter is at room temperature for the best creaming results; it should be soft enough to indent with a finger but not melted.
Infusing Rich Peanut Butter Flavor
- Mix in the peanut butter, egg, and vanilla extract: This recipe calls for a generous ¾ cup of creamy peanut butter, guaranteeing that beloved, robust peanut butter flavor shines through. Integrate this into your creamed butter and sugar mixture until fully incorporated. Next, add one large, room temperature egg. The egg acts as a vital binder, holding the cookies together, and its room temperature state helps it emulsify better with the other ingredients, leading to a smoother dough. Finally, a teaspoon of pure vanilla extract enhances all the sweet and nutty notes in the cookie, adding a layer of sophisticated flavor.
Combining Wet and Dry for the Perfect Dough
- Add your dry ingredients: Gradually add the whisked dry ingredients to the wet mixture. Mix on low speed until they are just combined. It’s important not to overmix the dough at this stage, as overmixing can develop the gluten in the flour too much, resulting in tough cookies. Stop mixing as soon as you no longer see streaks of dry flour. Don’t hesitate to pause and scrape down the sides and bottom of your bowl with a spatula to ensure all ingredients are evenly incorporated.
Baking and Finishing Your Peanut Butter Blossoms
Preparing for Baking
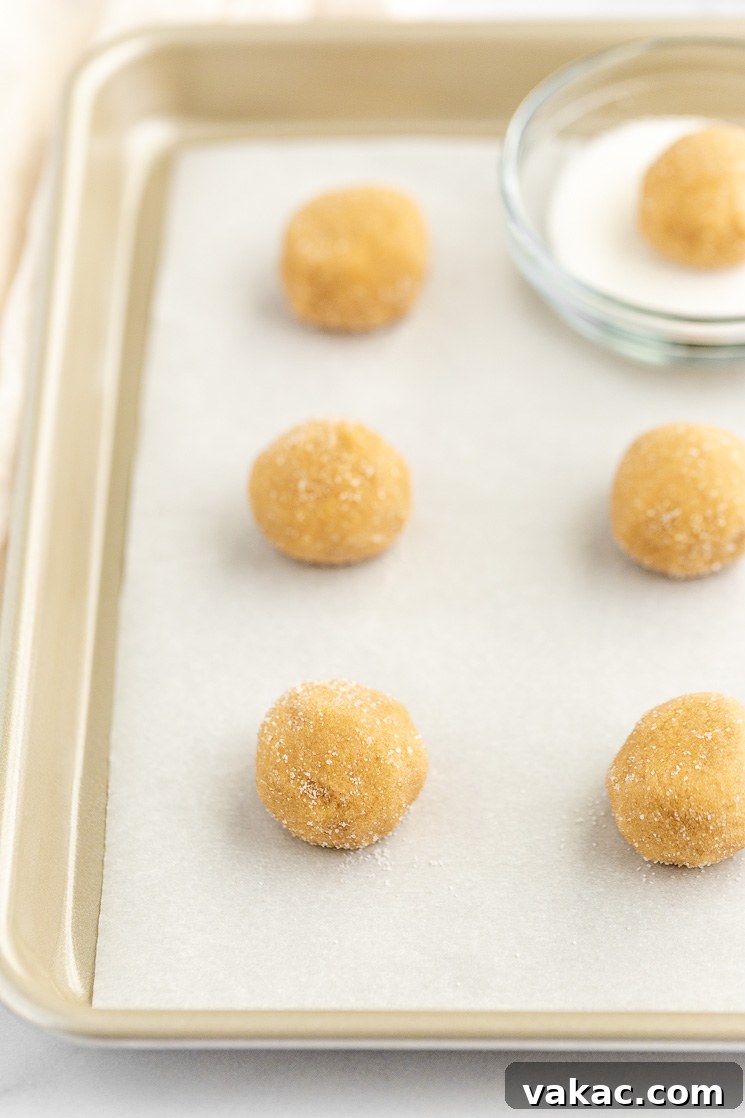
Once your dough is ready, the next step is shaping and preparing the cookies for the oven. I highly recommend using a 1.5 tablespoon cookie scoop. This size creates consistently uniform cookies, which is not only aesthetically pleasing but also ensures they bake evenly. More importantly, it yields the perfect proportion of soft cookie to the luscious chocolate candy you’ll press into the center. After scooping, gently roll each portion of dough into a smooth ball. For an added touch of sparkle and a slight textural crunch, I prefer to roll these dough balls in a shallow dish of extra granulated sugar before placing them on the baking sheet.
The Baking Process
Arrange your sugar-coated cookie dough balls on baking sheets lined with parchment paper or silicone baking mats, leaving about 2 inches between each to allow for proper spreading. Bake the cookies in a preheated oven at 350°F (177°C) for approximately 10-12 minutes. The cookies are ready when their edges are just set and slightly golden, but the centers still appear soft and slightly puffed. Be careful not to overbake, as this is key to maintaining their signature soft texture. While the cookies are baking, take the time to unwrap your Hershey’s Kisses (or chosen chocolate candy). You’ll need to work quickly once the cookies come out of the oven.
The Iconic Chocolate Kiss Topping
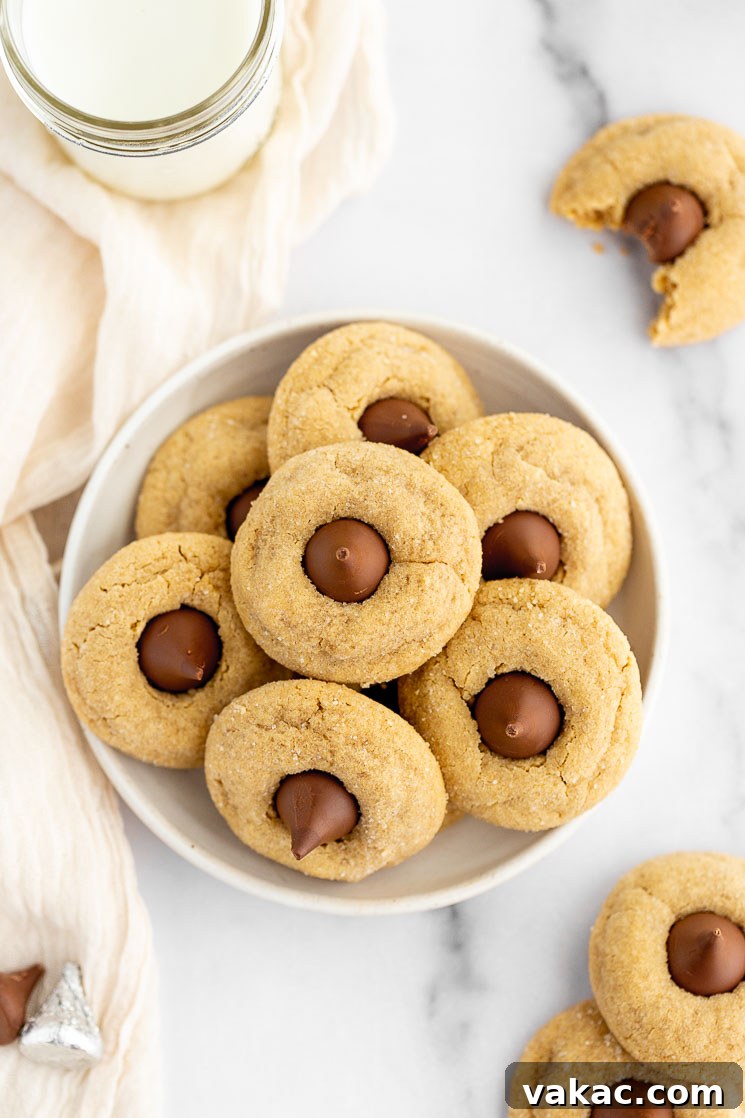
Immediately after removing the cookies from the oven, gently press one unwrapped chocolate kiss into the center of each warm cookie. The residual heat from the cookies will slightly soften the chocolate, helping it adhere and create that iconic “blossom” effect. Be sure to press slowly and with moderate pressure to avoid cracking the warm cookie too much. A small crack is natural and adds to the homemade charm, but pressing too hard can cause the cookie to crumble. Don’t worry if the chocolate seems a bit melty; it will firm up as the cookies cool.
Cooling for Perfection
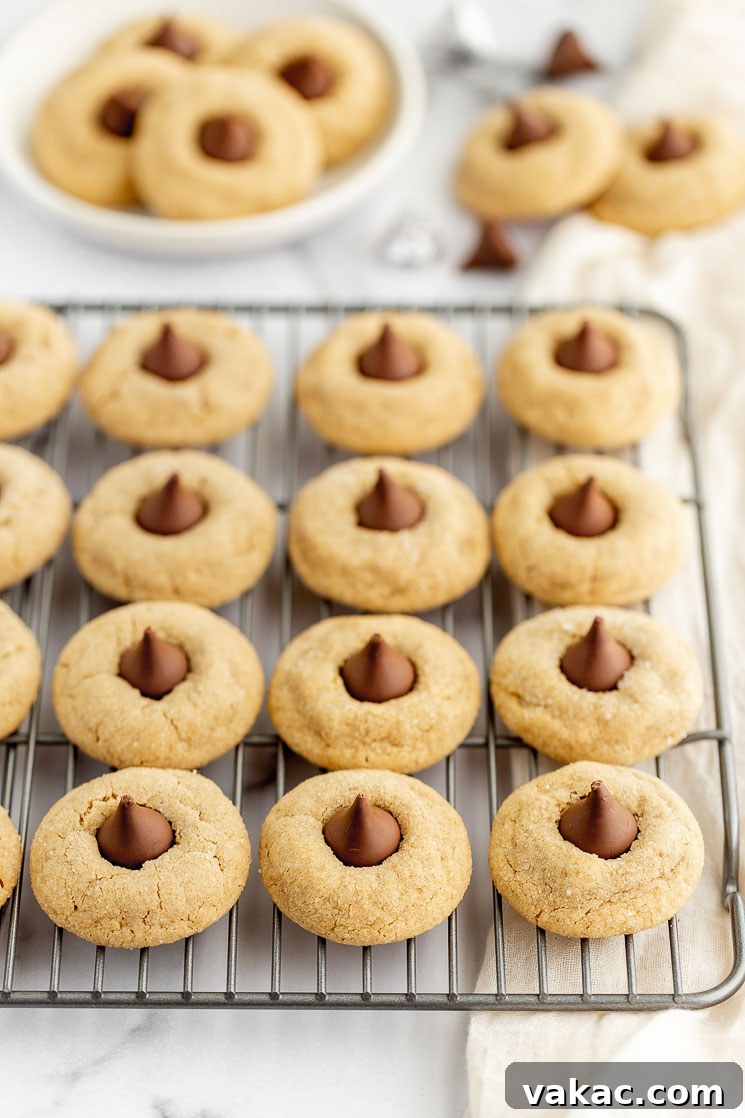
After adding the chocolate kisses, allow the cookies to cool on the baking sheet for about 5-10 minutes. This initial cooling period helps them set and firm up enough to be safely transferred. Once partially cooled, carefully move the cookies to a wire rack to cool completely. This allows air to circulate around them, preventing the bottoms from becoming soggy and ensuring a perfect texture throughout. If you’re baking in a warm environment, or if your chocolate kisses are particularly soft and seem to be melting excessively, a quick tip is to place the cooling cookies in the refrigerator for 20-30 minutes. This will help the chocolate firm up quickly, making them easier to handle and store.
Frequently Asked Questions (FAQs) About Peanut Butter Blossoms
Can the cookies or cookie dough be frozen?
Absolutely! Peanut Butter Blossoms are excellent candidates for freezing, both baked and unbaked. For baked cookies, once they have completely cooled, place them in a single layer on a baking sheet and freeze until solid. Then, transfer them to a freezer-safe bag or airtight container, separated by parchment paper, for up to 3 months. To enjoy, simply thaw them to room temperature for a few hours or overnight. If you prefer to bake fresh, you can freeze the balls of cookie dough. Roll them as directed, then place them on a baking sheet and freeze until solid. Store the frozen dough balls in a freezer bag or container for up to 3 months. When ready to bake, place them on a prepared baking sheet and bake from frozen, adding an extra 1-2 minutes to the baking time.
Can I make the cookie dough ahead of time?
Yes, preparing the cookie dough in advance is a great time-saver. You can mix the dough up to 3 days beforehand. After mixing, cover the bowl tightly with plastic wrap and chill it in the refrigerator. If the dough becomes too firm to scoop directly from the fridge, let it sit at room temperature for 20-30 minutes to soften slightly before proceeding with scooping and baking. Alternatively, you can scoop and roll the cookie dough into balls, place them on a baking sheet, cover tightly with plastic wrap, and refrigerate them for up to 3 days before baking.
How long will these cookies stay fresh?
These delightful peanut butter blossoms maintain their freshness wonderfully. Stored in an airtight container at room temperature, they will remain soft and delicious for up to one week. For longer preservation, freezing them as described above is the best option.
Can I substitute the chocolate kisses with other candies?
Yes, while the Hershey’s Kiss is traditional, feel free to get creative! Miniature Reese’s Peanut Butter Cups are a very popular alternative, offering an extra layer of peanut butter flavor. You can also try other small chocolate candies like chocolate stars, small chocolate squares, or even a different flavored kiss (e.g., Hugs, caramel kisses). If using candies that are particularly prone to melting, like Reese’s, you might find it beneficial to place the cooled cookies in the refrigerator for about 20 minutes after pressing in the candy to help them firm up.
Why are my cookies spreading too much or not enough?
Cookie spread can be influenced by several factors. If your cookies are spreading too much, it could be due to butter being too warm (or even slightly melted), using too little flour, or your oven temperature being too low. Conversely, if your cookies aren’t spreading enough, it might be that your butter was too cold, you’ve used too much flour (often from improper measurement), or your oven temperature is too high. Ensure your butter is at a true room temperature, measure flour precisely using the spoon and level method, and verify your oven temperature with an oven thermometer for best results.
Essential Baking Tips for Peanut Butter Blossom Success
- When measuring your flour, precision is key. Avoid scooping the flour directly out of the container with your measuring cup, as this can compact it and lead to using too much. Instead, gently stir the flour, spoon it into your measuring cup, and then level it off with the back of a knife. This method ensures you have the correct amount, leading to perfectly tender cookies.
- For the best texture and flavor in this recipe, I highly recommend using a creamy, processed peanut butter like Jif or Skippy. Natural peanut butters, where the oil tends to separate, can result in a different consistency in the cookie dough, potentially making the cookies drier or more crumbly.
- Feel free to customize the chocolate topping! You can easily swap out the classic chocolate kiss candies with Reese’s miniature peanut butter cups for an extra burst of peanut butter goodness. Keep in mind that peanut butter cups can melt more easily due to the warmth of the cookies. If they seem too soft after pressing, once the cookies have cooled down sufficiently, place them in the refrigerator for about 20 minutes to help the chocolate firm up.
- Avoid overcrowding your baking sheets. Leave at least two inches between each cookie dough ball to allow for proper air circulation and even baking. Baking in batches is always better than cramming too many cookies on one sheet.
- Always line your baking sheets with parchment paper or silicone baking mats. This not only prevents sticking but also ensures even heat distribution and makes for easy cleanup.
Explore More Peanut Butter Delights!
If you’re a fan of peanut butter, the possibilities in baking are endless! After mastering these delightful blossoms, be sure to explore more recipes that celebrate the rich and versatile flavor of peanut butter. Here are a few more favorites to inspire your next baking adventure:
- Peanut Butter Fudge
- Peanut Butter No-Bake Cookies
- Peanut Butter Balls
- No-Bake Chocolate Peanut Butter Bars
- Spider Cookies (perfect for Halloween!)
Classic Peanut Butter Blossoms
Pin Recipe
Leave a Review
Ingredients
- 1 and ½ cups (190 grams) all-purpose flour, spooned & leveled
- ½ teaspoon baking soda
- ¼ teaspoon salt
- ½ cup (115 grams) unsalted butter, softened to room temperature
- 1/2 cup (100 grams) light brown sugar
- ¼ cup (50 grams) granulated sugar
- ¾ cup (190 grams) creamy peanut butter
- 1 large egg room temperature
- 1 teaspoon vanilla extract
- 3 tablespoons (40 grams) granulated sugar (optional)
- 24 chocolate kiss candies unwrapped
Instructions
-
Preheat the oven to 350°F (177°C). Line two large baking sheets with parchment paper or silicone baking mats and set aside.
-
In a large mixing bowl, whisk together the flour, baking soda, and salt. Set aside.
-
In the bowl of a stand mixer fitted with the paddle attachment, or in a large mixing bowl using an electric mixer, cream together the butter, brown sugar, and granulated sugar for 1-2 minutes or until well combined.
-
Mix in the peanut butter, egg, and vanilla extract until fully combined, stopping to scrape down the sides of the bowl as needed. Mix in the dry ingredients until just combined.
-
Place the 3 tablespoons of granulated sugar in a small bowl. Using a 1.5 tablespoon cookie scoop, scoop the dough from the bowl, roll into a ball, and roll in the granulated sugar. Place each ball of cookie dough on the prepared baking sheets, making sure to leave a little room between them.
-
Bake in separate batches at 350°F (177°C) for 10-12 minutes or until the tops of the cookies are set. Remove from the oven and gently press a chocolate kiss candy in the center of each cookie. Allow to cool on the baking sheet for 5-10 minutes, then carefully transfer to a wire rack to cool completely.
Notes
Freezing Instructions: Cookie dough will freeze well for up to 3 months, bake from frozen for an additional 1-2 minutes. Baked cookies will also freeze well for up to 3 months, thaw to room temperature before serving.
Peanut Butter: I recommend using a peanut butter like Jif or Skippy for this recipe.
Egg: To bring your egg to room temperature quickly, place it in a bowl of warm water for 5-10 minutes.