
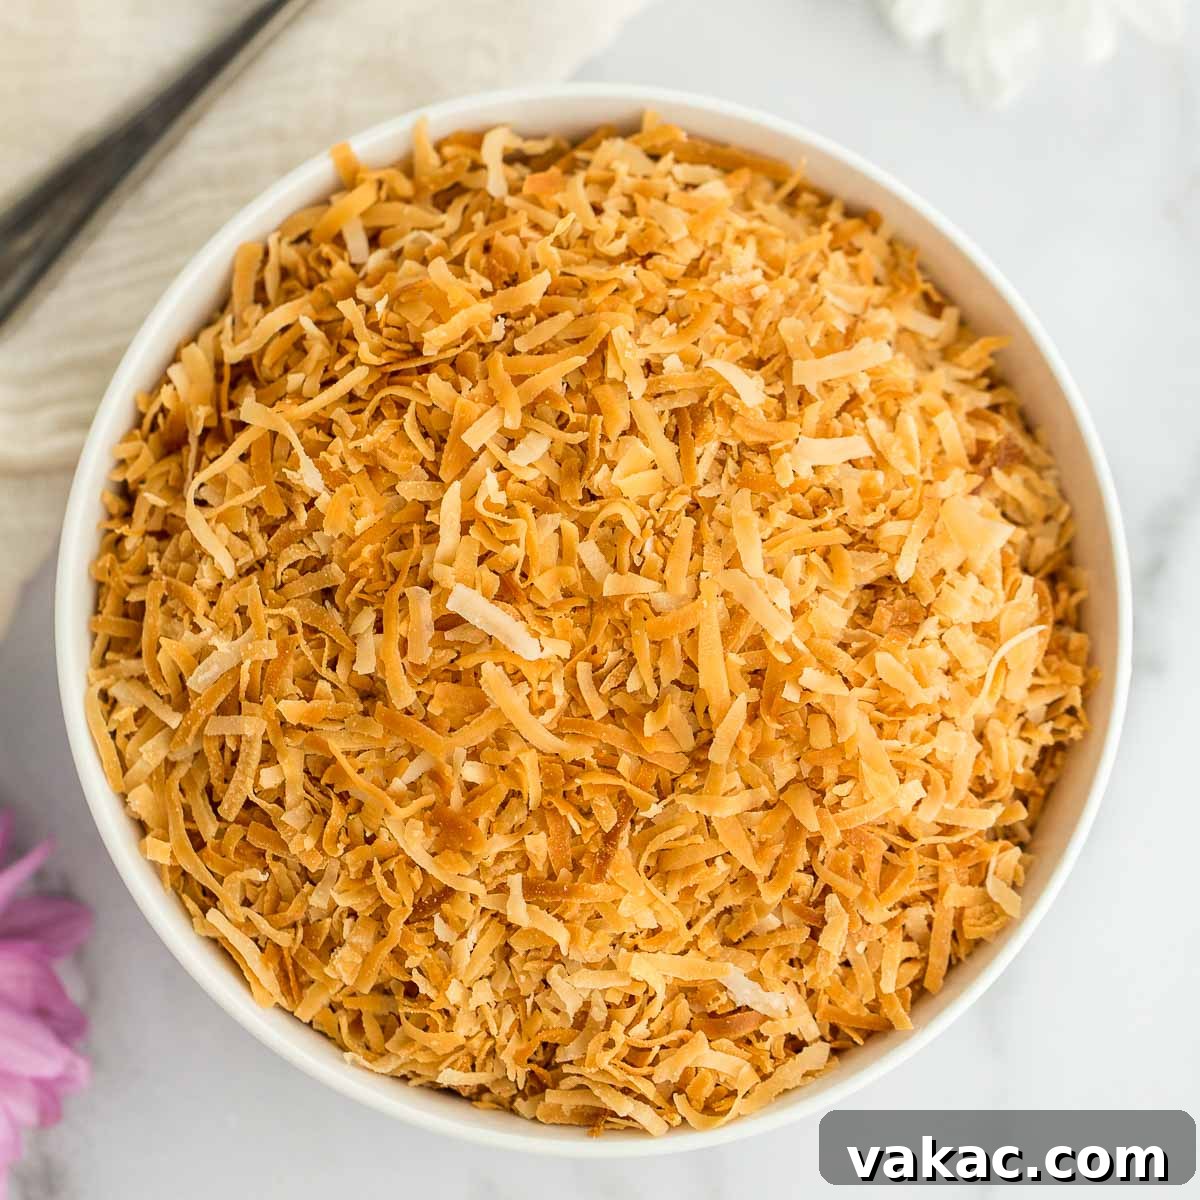
How to Toast Coconut: A Comprehensive Guide to Perfect Golden Flakes (Oven, Microwave & Skillet Methods)
There’s an undeniable magic that happens when plain shredded coconut transforms into golden, aromatic, and deliciously crunchy toasted coconut. Whether you’re a devoted coconut enthusiast or simply looking to add a layer of exquisite flavor and texture to your culinary creations, mastering the art of toasting coconut is a game-changer. This simple technique elevates the humble coconut, releasing its rich oils and enhancing its naturally sweet, nutty profile. It’s a fundamental skill for any home baker or cook, perfect for garnishing desserts, adding depth to savory dishes, or simply enjoying as a snack. Today, we’ll dive into three tried-and-true methods for achieving perfectly toasted coconut: in the oven, microwave, and on the stovetop in a skillet. Each method offers unique advantages, and we’ll guide you through each one, ensuring you get beautifully browned, flavorful coconut every time.
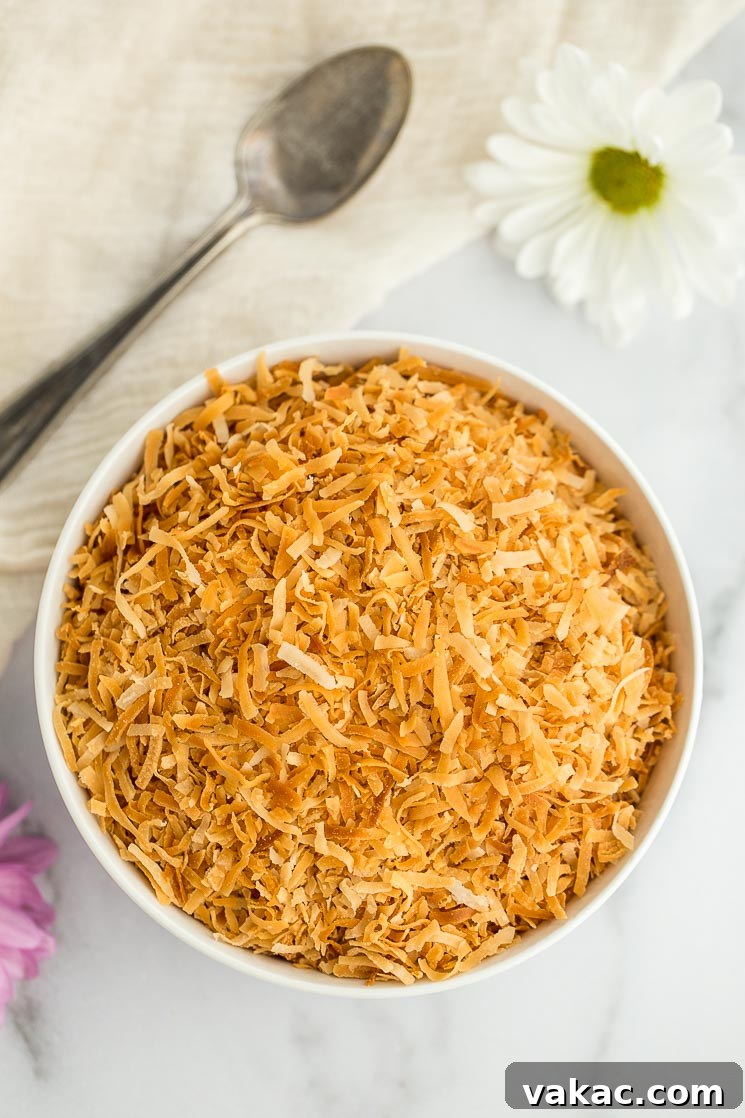
Why Toast Coconut? The Secret to Enhanced Flavor & Texture
You might wonder, why bother toasting coconut at all? While untoasted coconut offers a pleasant, mild flavor and chewy texture, toasting it unlocks a whole new dimension of sensory delights. The gentle heat causes the natural sugars within the coconut to caramelize and its oils to release, intensifying its sweetness and creating a deeply nutty, almost buttery flavor. The texture also undergoes a remarkable transformation, becoming delightfully crisp and golden. This elevated flavor and satisfying crunch make toasted coconut an invaluable ingredient for countless recipes, adding a gourmet touch to everything from simple breakfasts to elaborate desserts. It’s an easy step that yields incredibly rewarding results, making your dishes stand out.
Choosing Your Coconut: Sweetened vs. Unsweetened, Shredded vs. Flakes
Before you begin, selecting the right type of coconut is crucial. You can toast either sweetened shredded coconut or unsweetened coconut flakes, and both will yield fantastic results with slightly different characteristics. Sweetened shredded coconut, as its name suggests, contains added sugar, which helps it caramelize faster and gives it a sweeter end product. It’s often finer in texture. Unsweetened coconut flakes, on the other hand, offer a more natural, less sugary flavor and a larger, coarser texture. The choice largely depends on your personal preference and the recipe you’re preparing. For most desserts, sweetened coconut is a popular choice, while unsweetened flakes can be versatile for both sweet and savory applications where you want to control the sugar content. Regardless of your choice, the methods outlined below will guide you to perfect results.
Essential Tips for Perfectly Toasted Coconut Every Time
No matter which method you choose, a few universal principles will ensure your coconut turns out golden and delicious, not burnt. The most critical tip is vigilance. Coconut can go from perfectly toasted to burned in a matter of seconds due to its high sugar and oil content. Never walk away from it while it’s toasting! Additionally, ensure you spread the coconut in a single, even layer to promote uniform browning. This prevents some pieces from over-toasting while others remain pale. Finally, remember that even after removing it from the heat source, residual warmth can continue the cooking process, so always transfer your toasted coconut to a cool surface or a clean plate immediately to prevent over-browning. Following these simple guidelines will set you up for success.
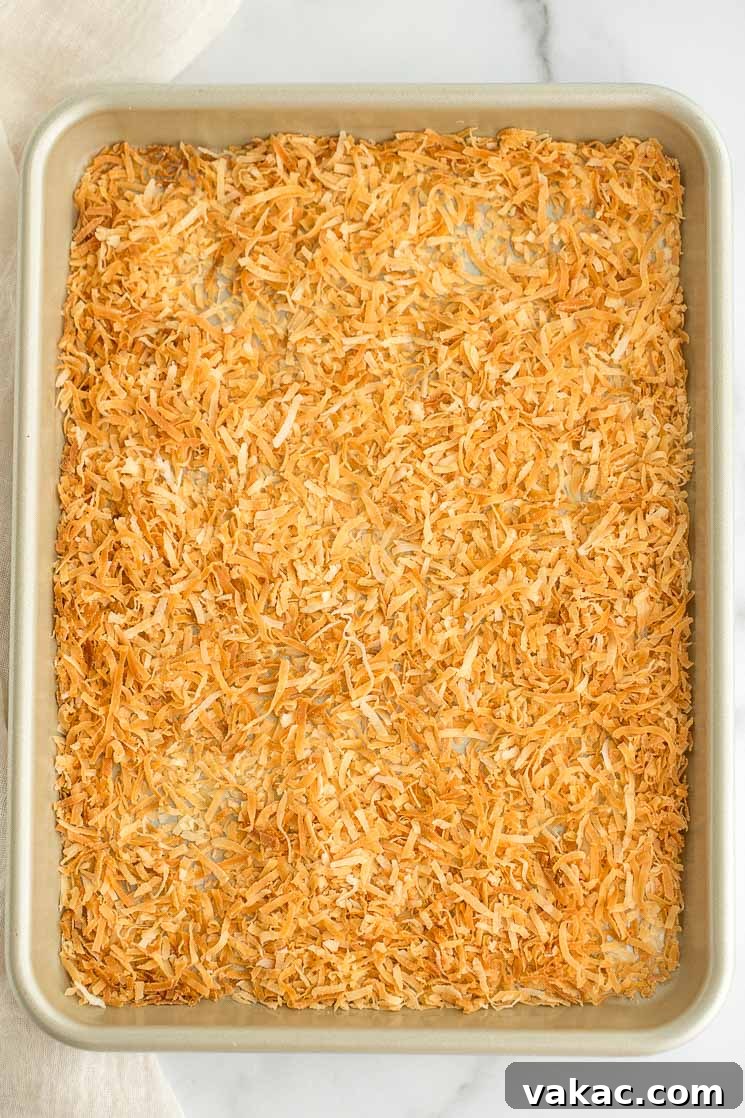
Method 1: How to Toast Coconut in the Oven (Our Top Pick for Large Batches)
Toasting coconut in the oven is arguably the most consistent and hands-off method, especially when you need a larger quantity. It provides even heat distribution, which helps prevent scorching, and allows you to toast a significant amount in one go. This makes it ideal for preparing toasted coconut for big gatherings or for batch cooking to have on hand for future recipes. The oven method is also less prone to hot spots compared to a skillet, leading to a more uniformly golden result.
Oven Instructions: Step-by-Step
1. Preheat Your Oven: Start by preheating your oven to 325°F (160°C). A slightly lower temperature allows for more controlled toasting and reduces the risk of burning compared to higher temperatures. While some recipes suggest 350°F, 325°F often provides a safer margin for beginners.
2. Prepare the Baking Sheet: Spread the desired amount of coconut (typically 1-3 cups for a standard baking sheet) into a single, even layer on a large, ungreased baking sheet. Using a parchment paper liner can make cleanup easier, but it’s not strictly necessary. Avoid piling the coconut too high, as this will lead to uneven toasting.
3. Bake and Stir: Place the baking sheet in the preheated oven. Bake for approximately 8-15 minutes. The exact time will vary based on your oven’s calibration and whether you’re using sweetened or unsweetened coconut. Sweetened coconut tends to brown a bit faster. Crucially, set a timer and stir the coconut every 3-5 minutes. This ensures even browning and prevents the edges from burning while the center remains pale. As it starts to turn golden, you’ll notice a delightful fragrance filling your kitchen.
4. Watch for Golden Perfection: Keep a very close eye on the coconut, especially towards the end of the baking time. It can go from perfectly golden to burnt in a blink. Once the coconut has reached a beautiful, uniform golden-brown color, remove it immediately from the oven. Don’t wait for it to get dark brown, as it will continue to cook slightly from residual heat.
5. Cool Completely: Transfer the toasted coconut from the hot baking sheet to a clean plate or another cool surface to stop the cooking process. Allow it to cool completely before using or storing. As it cools, it will become even crispier.
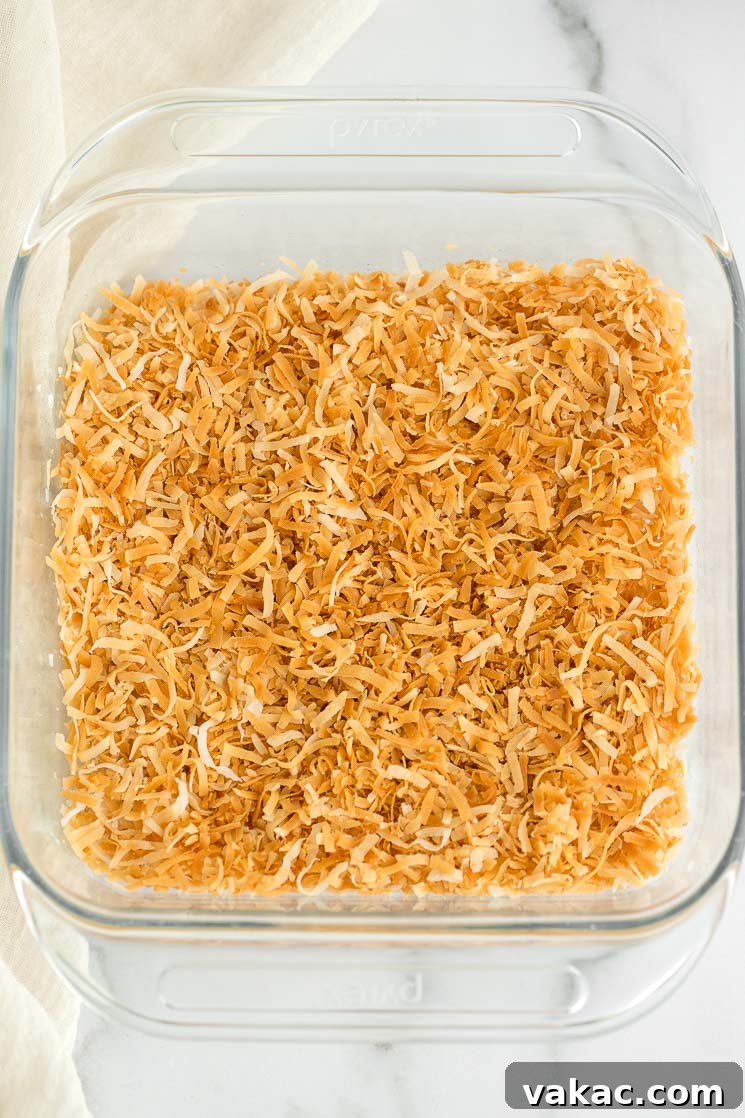
Method 2: How to Toast Coconut in the Microwave (Quick & Convenient for Small Portions)
When time is of the essence or you only need a small amount of toasted coconut, the microwave is an incredibly fast and convenient option. While it might not achieve the same uniform browning as the oven, it’s perfect for quick garnishes and saves you from heating up your entire kitchen. This method requires a bit more active participation, as microwaves can cook unevenly, but with careful stirring, it yields excellent results in minutes.
Microwave Instructions: Step-by-Step
1. Choose a Microwave-Safe Dish: Spread 1 to 1½ cups of coconut into a single, even layer in a shallow, microwave-safe baking dish or plate. A glass pie plate or an 8-inch square dish works well. Avoid using very deep bowls, as this can lead to steaming rather than toasting.
2. Microwave in Intervals: Place the dish in the microwave and microwave on high power for 30-second intervals. After each 30-second burst, immediately remove the dish and use a fork or spoon to thoroughly stir the coconut. This is crucial for promoting even toasting and preventing hot spots from burning the coconut.
3. Adjust and Observe: Continue microwaving in 30-second intervals and stirring until the coconut begins to turn a pale golden color. Once you see the first signs of browning, reduce the intervals to 15-20 seconds. This finer control helps prevent sudden burning. The total time will vary depending on your microwave’s wattage; a 1200-watt microwave might take 4-6 minutes, while a lower wattage microwave could take longer.
4. Achieve Golden Hue: Keep going until the coconut is lightly golden-brown and fragrant. Be extra cautious during the last minute or so, as the transformation from golden to burnt is very rapid in the microwave.
5. Cool Safely: Carefully remove the hot dish from the microwave (use oven mitts if needed, as the dish can get hot). Immediately transfer the toasted coconut to a wire rack or a cool plate to cool completely. This prevents any further cooking from residual heat and ensures maximum crispiness.
Method 3: How to Toast Coconut in a Skillet (For Direct Control & Intense Flavor)
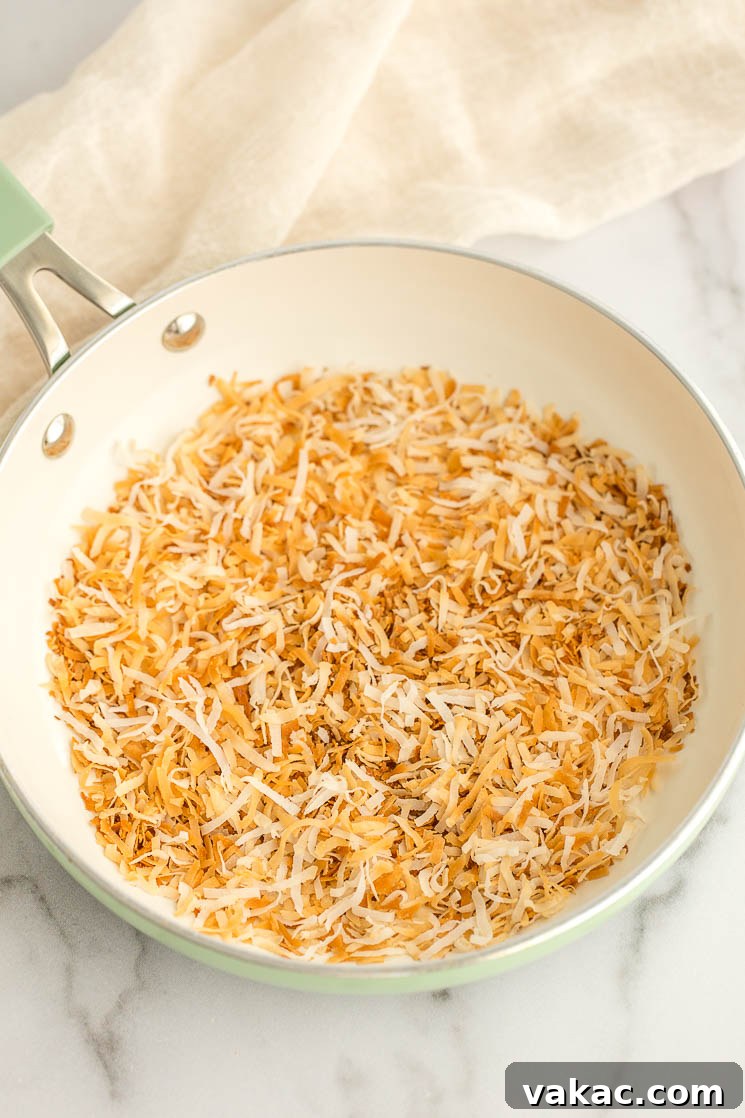
Toasting coconut in a skillet on the stovetop offers the most direct control over the heat and allows for continuous stirring, which can create a unique texture and a deeply toasted flavor. While it might require more active attention to prevent uneven browning compared to the oven, it’s a fantastic option for small to medium batches and for those who prefer to keep a close eye on their ingredients. The direct heat from the skillet can produce a slightly more intense caramelization on some pieces, which many find desirable.
Skillet Instructions: Step-by-Step
1. Choose Your Skillet: Place 1 to 2 cups of coconut in a large, dry skillet (non-stick or cast iron works well). It’s important that the skillet is dry; no oil is needed as coconut contains its own natural oils. Avoid overcrowding the pan, as this can lead to steaming instead of toasting.
2. Set the Heat: Place the skillet over low to medium-low heat. The key here is gentle, consistent heat. High heat will burn the coconut quickly before it has a chance to toast through. Adjust your stovetop temperature based on your range; you want it hot enough to toast but not so hot that it scorches.
3. Stir Constantly: This is the most crucial step for skillet toasting. Using a heat-resistant spatula or wooden spoon, stir the coconut almost constantly. Keep it moving around the pan to ensure every flake comes into contact with the hot surface and toasts evenly. You’ll notice the coconut slowly start to change color, beginning with a faint yellow and progressing to a light golden-brown.
4. Watch for Aroma & Color: Continue stirring until the coconut achieves your desired level of golden-brown. It will also become very fragrant, releasing a warm, nutty aroma. This entire process typically takes about 5-10 minutes, depending on the heat level and the amount of coconut. Be particularly vigilant as it approaches doneness.
5. Cool Immediately: As soon as the coconut is beautifully toasted, remove the skillet from the heat. Immediately transfer the hot toasted coconut onto a clean baking sheet or a cool plate to spread it out. This rapid cooling prevents any further cooking from residual heat in the skillet and helps maintain its crisp texture. Allow it to cool completely before using.
Creative Ways to Use Your Delicious Toasted Coconut
Now that you’ve mastered the art of toasting coconut, the possibilities for incorporating this flavorful ingredient into your cooking are endless. Toasted coconut adds a wonderful depth of flavor and delightful crunch to both sweet and savory dishes. Here are some of our favorite ways to enjoy it:
- Dessert Toppings: Sprinkle generously on top of cakes, cupcakes, brownies, or ice cream. It’s especially divine on a classic white cake, chocolate layer cake, or creamy vanilla and chocolate cupcakes.
- Pies and Tarts: An absolute must for coconut cream pie, key lime pie, or any fruit tart. The contrasting textures are simply irresistible. (Keep an eye out for our new and improved coconut cream pie recipe coming your way soon!)
- Cookies and Bars: Stir some into your favorite chocolate chip cookie dough before baking for an unexpected tropical twist. Or, elevate oatmeal cookies by dipping them in melted chocolate and then topping with a sprinkle of toasted coconut. It also makes a fantastic addition to granola bars or energy bites.
- Breakfast Boost: Add a sprinkle to your morning oatmeal, yogurt, fruit salad, or even pancakes and waffles for an extra layer of flavor and crunch.
- Smoothies: Blend a tablespoon or two into your favorite smoothie for a subtle nutty flavor and a touch of sweetness.
- Savory Dishes: Don’t limit it to sweets! Toasted coconut can be a wonderful garnish for curries, stir-fries, or even sprinkled over roasted vegetables for an exotic flavor profile. It adds a surprising textural element and a hint of tropical sweetness.
- Snack Mixes: Incorporate it into homemade trail mix with nuts, seeds, and dried fruit for a healthy and satisfying snack.
Storage Tips for Freshness
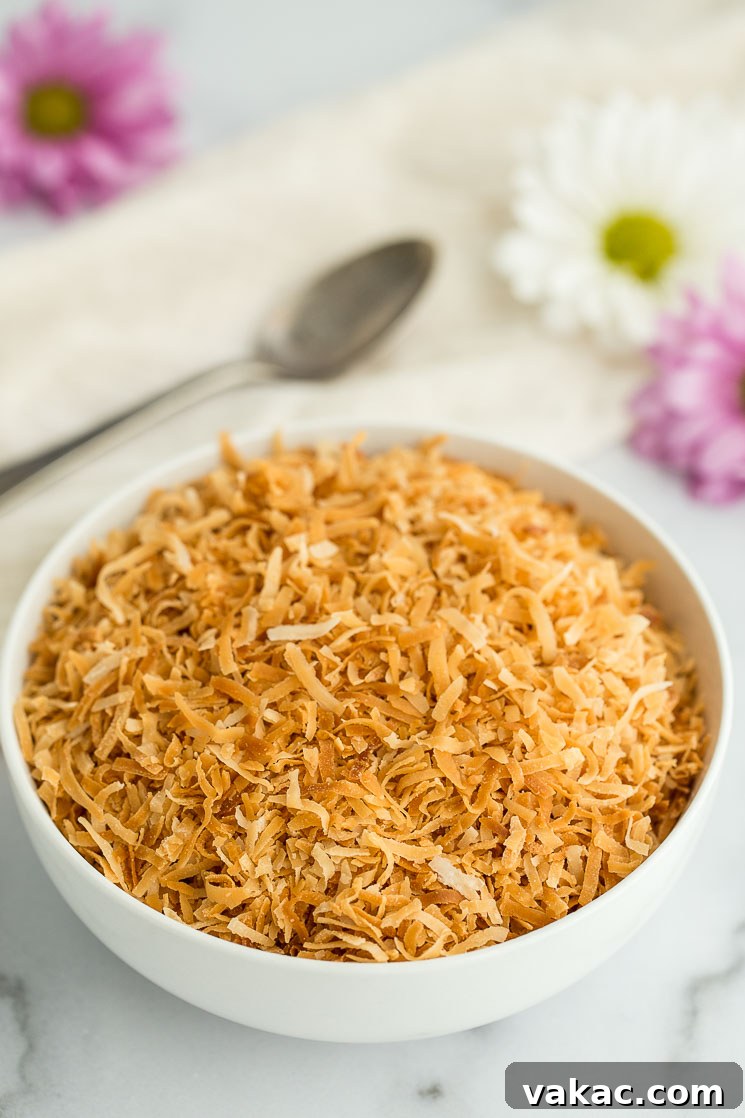
Once your coconut is perfectly toasted and completely cooled, proper storage is key to maintaining its crispness and flavor. Store toasted coconut in an airtight container at room temperature. Kept this way, it will remain fresh and delicious for 2-3 weeks. For longer storage, you can keep it in the refrigerator for up to a month or freeze it for several months. Just be sure it’s completely cooled and stored in a well-sealed container to prevent it from absorbing other flavors or moisture.
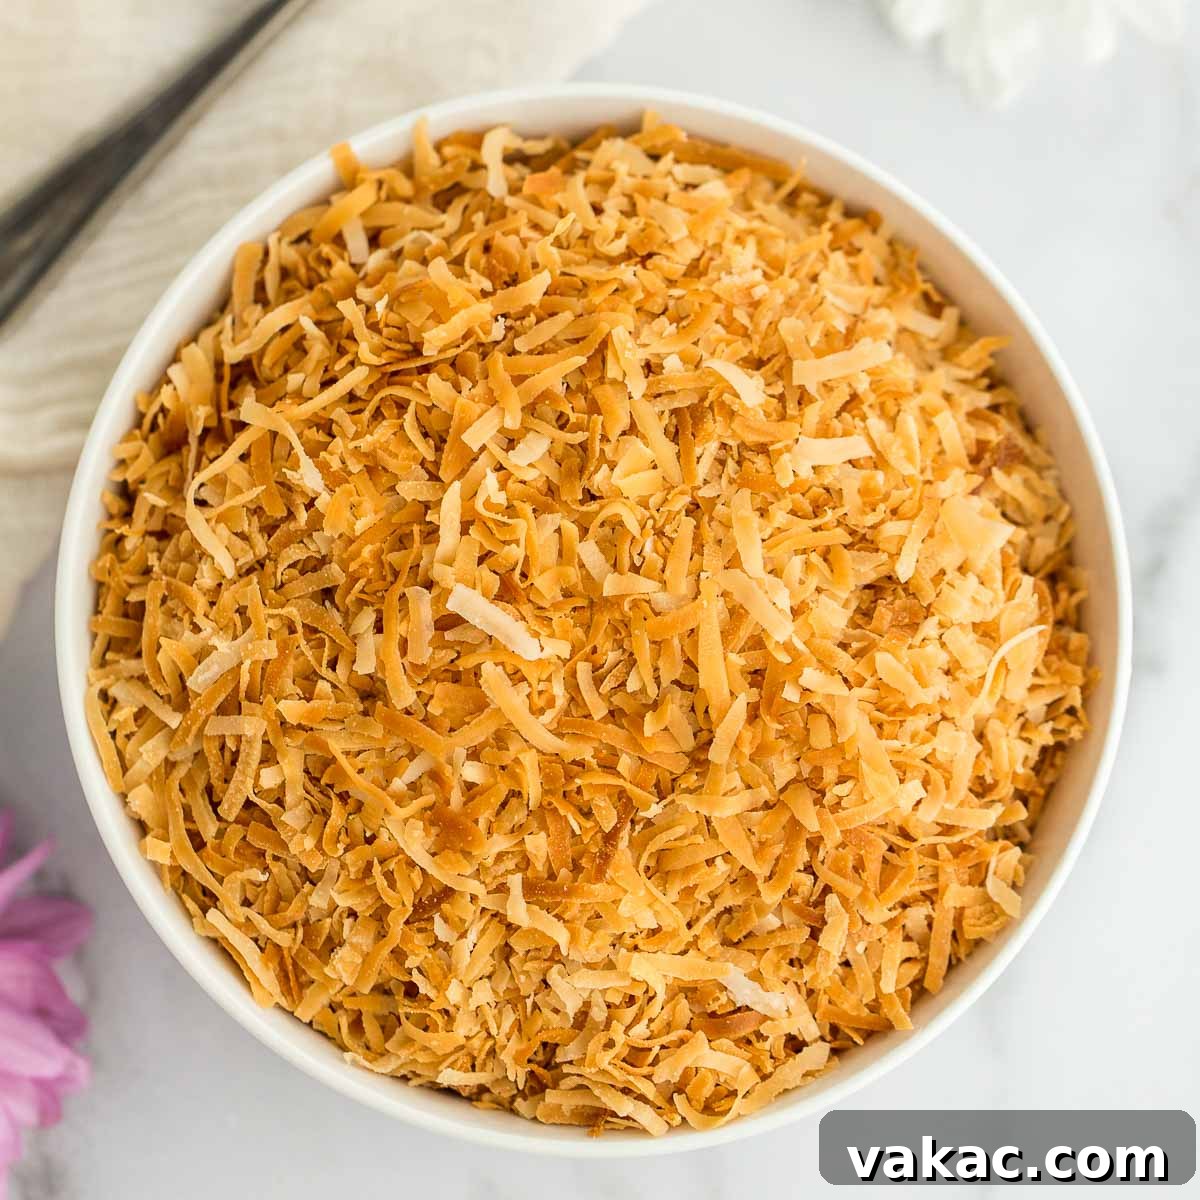
How To Toast Coconut
5 mins
10 mins
15 mins
Pin Recipe
Ingredients
- 1 -2 cups sweetened shredded coconut or sweetened coconut flakes
Instructions
To toast the coconut in the oven:
- Preheat oven to 350°F (177°C). Spread the coconut into one even layer on a large baking sheet.
- Bake at 350°F (177°C) for 8-12 minutes, stirring a few times so that the coconut browns evenly. Once the coconut is lightly browned, remove it from the oven and cool completely on the baking sheet.
To toast the coconut in the microwave:
- Add the coconut to a microwave-safe baking dish and spread it around into one even layer. Microwave on high in 30-second intervals, stopping after each interval to stir the coconut around. Once the coconut starts to lightly brown, microwave in 15-20 second intervals, stirring well after each one.
- Once all of the coconut is lightly browned (about 4-6 minutes), carefully remove the dish from the microwave (it will be hot, so make sure to use oven mitts!) and transfer to a wire rack to cool completely.
To toast the coconut in a skillet:
- Add the coconut to a large skillet and spread it around into one even layer. Place the skillet over low-medium heat, stirring often, until the coconut is lightly browned (about 5-10 minutes).
- Remove the skillet from the heat and spread the coconut on a baking sheet to cool completely.
Notes
When toasting the coconut with any of these methods, make sure to keep a close eye on it. The coconut can go from lightly browned to burned quickly!
American
Dessert
Danielle Rye
Mention @livewellbakeoften on Instagram or tag #livewellbakeoften.
Conclusion: Elevate Your Culinary Creations with Toasted Coconut
Toasting coconut is a simple yet impactful technique that unlocks a world of flavor and texture, transforming an ordinary ingredient into something truly special. Whether you prefer the steady heat of the oven, the rapid convenience of the microwave, or the hands-on control of a skillet, each method offers a pathway to perfectly golden, aromatic coconut flakes. This versatile ingredient can elevate everything from your morning oatmeal to your most decadent desserts, adding a delightful crunch and a rich, nutty sweetness. By following these straightforward instructions and keeping a watchful eye, you’ll soon be enjoying homemade toasted coconut that’s superior to any store-bought version. So go ahead, try out these methods, experiment with different types of coconut, and discover how this humble ingredient can become a star in your kitchen. Happy toasting!