
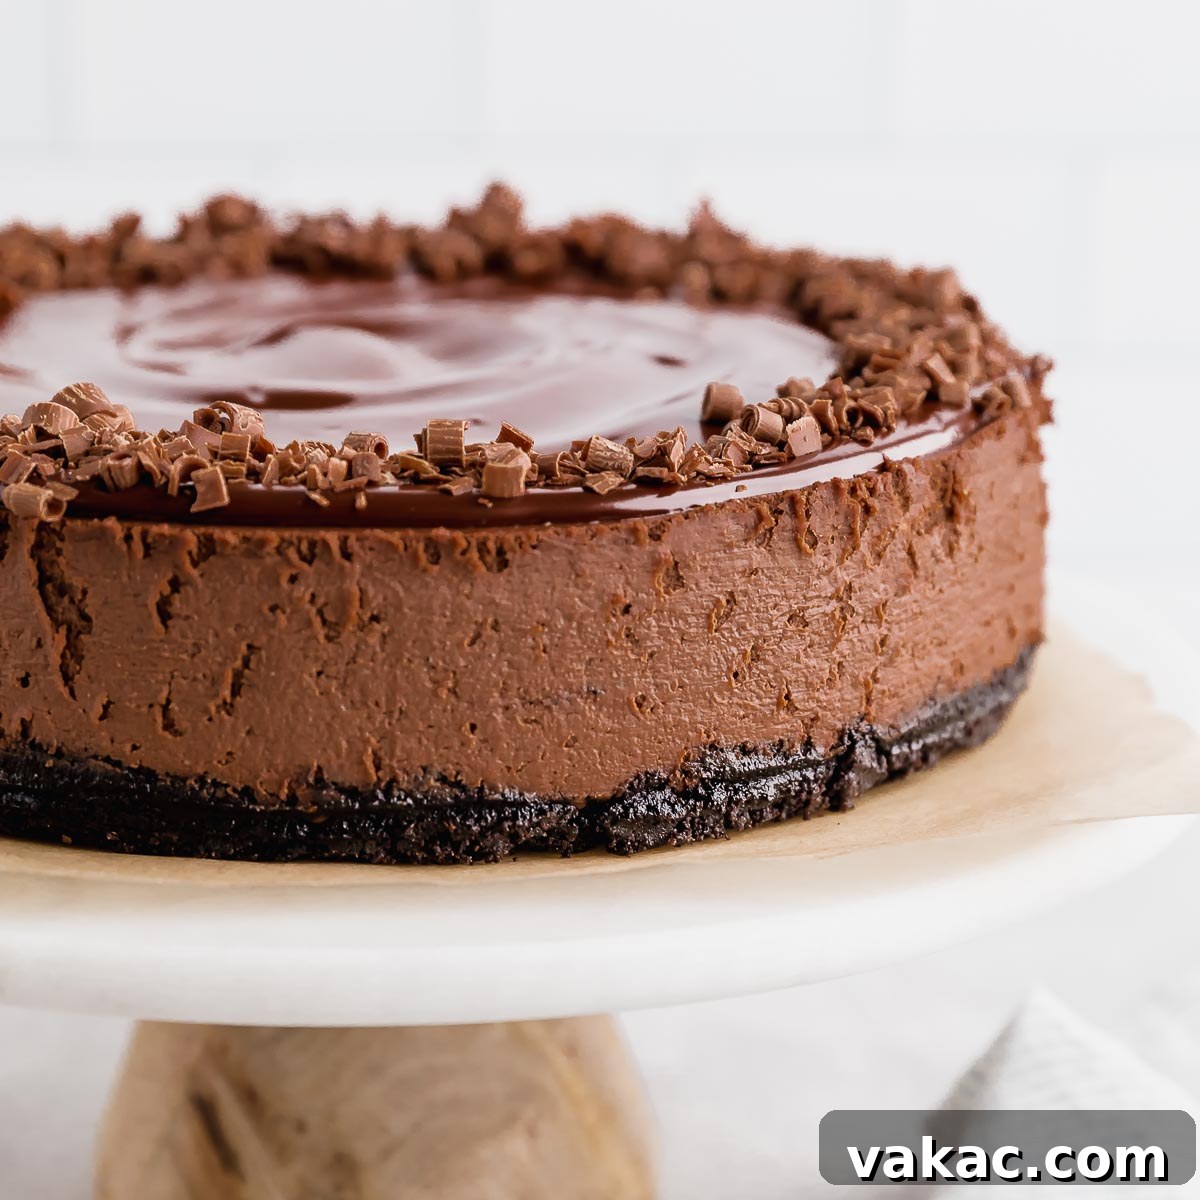
Indulge in the ultimate chocolate experience with this incredibly rich, creamy, and decadent chocolate cheesecake. While its luxurious appearance might suggest a complex process, this recipe is surprisingly easy to follow, promising an elegant dessert that will impress any crowd. To elevate the chocolate intensity to new heights, consider topping it with a luscious chocolate ganache and delicate chocolate shavings, delivering a truly triple chocolate sensation!
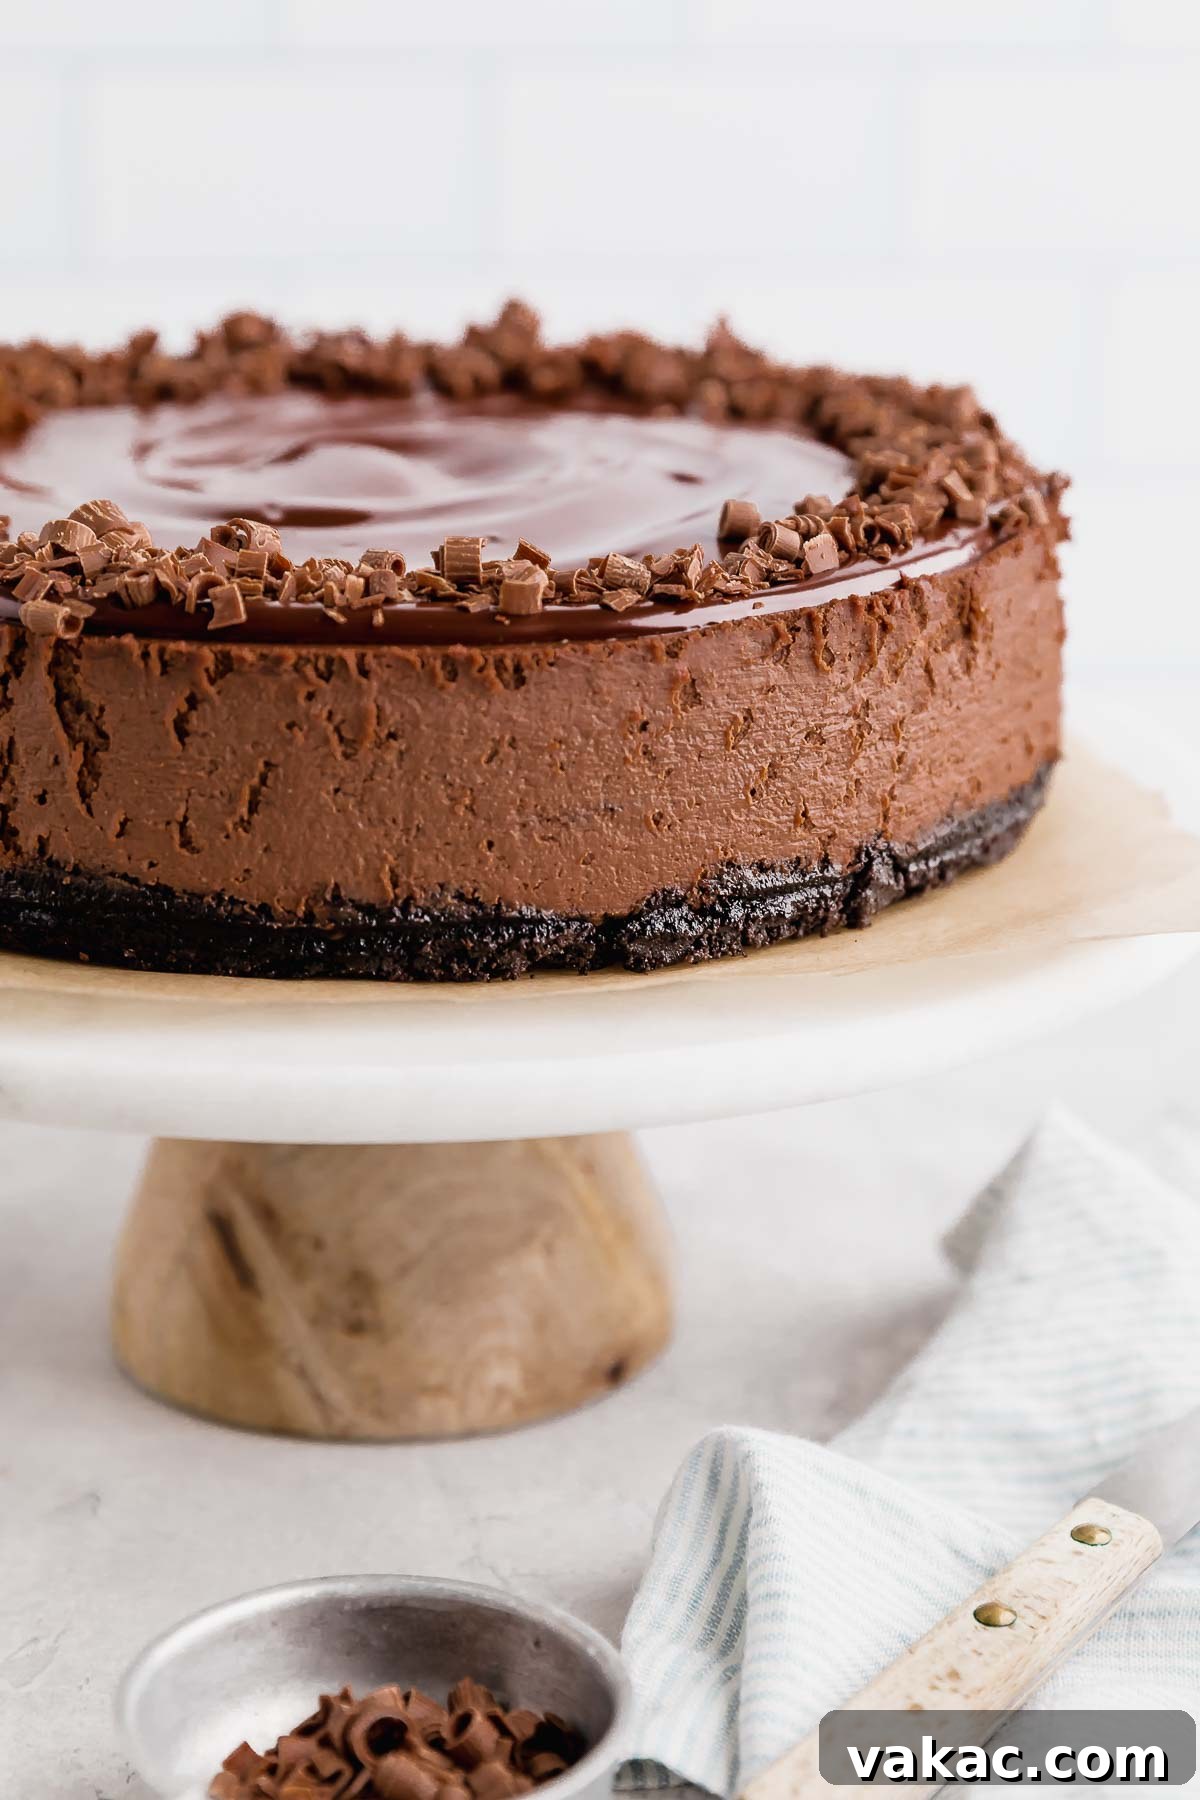
This homemade chocolate cheesecake is a dream come true for any chocolate aficionado. It features a perfectly crisp Oreo cookie crust, a velvety-smooth and intensely chocolatey filling, and an optional (yet highly recommended) glossy chocolate ganache topping. The best part? It’s a stunning, show-stopping dessert that looks professionally crafted but is secretly straightforward to prepare, making you look like a baking superstar.
Chocolate cheesecake is the quintessential make-ahead dessert, perfect for holiday feasts, birthday celebrations, or any special family gathering. Its ability to be prepared a day or two in advance means you can enjoy stress-free entertaining, allowing you to focus on your guests while a magnificent dessert awaits in the fridge.
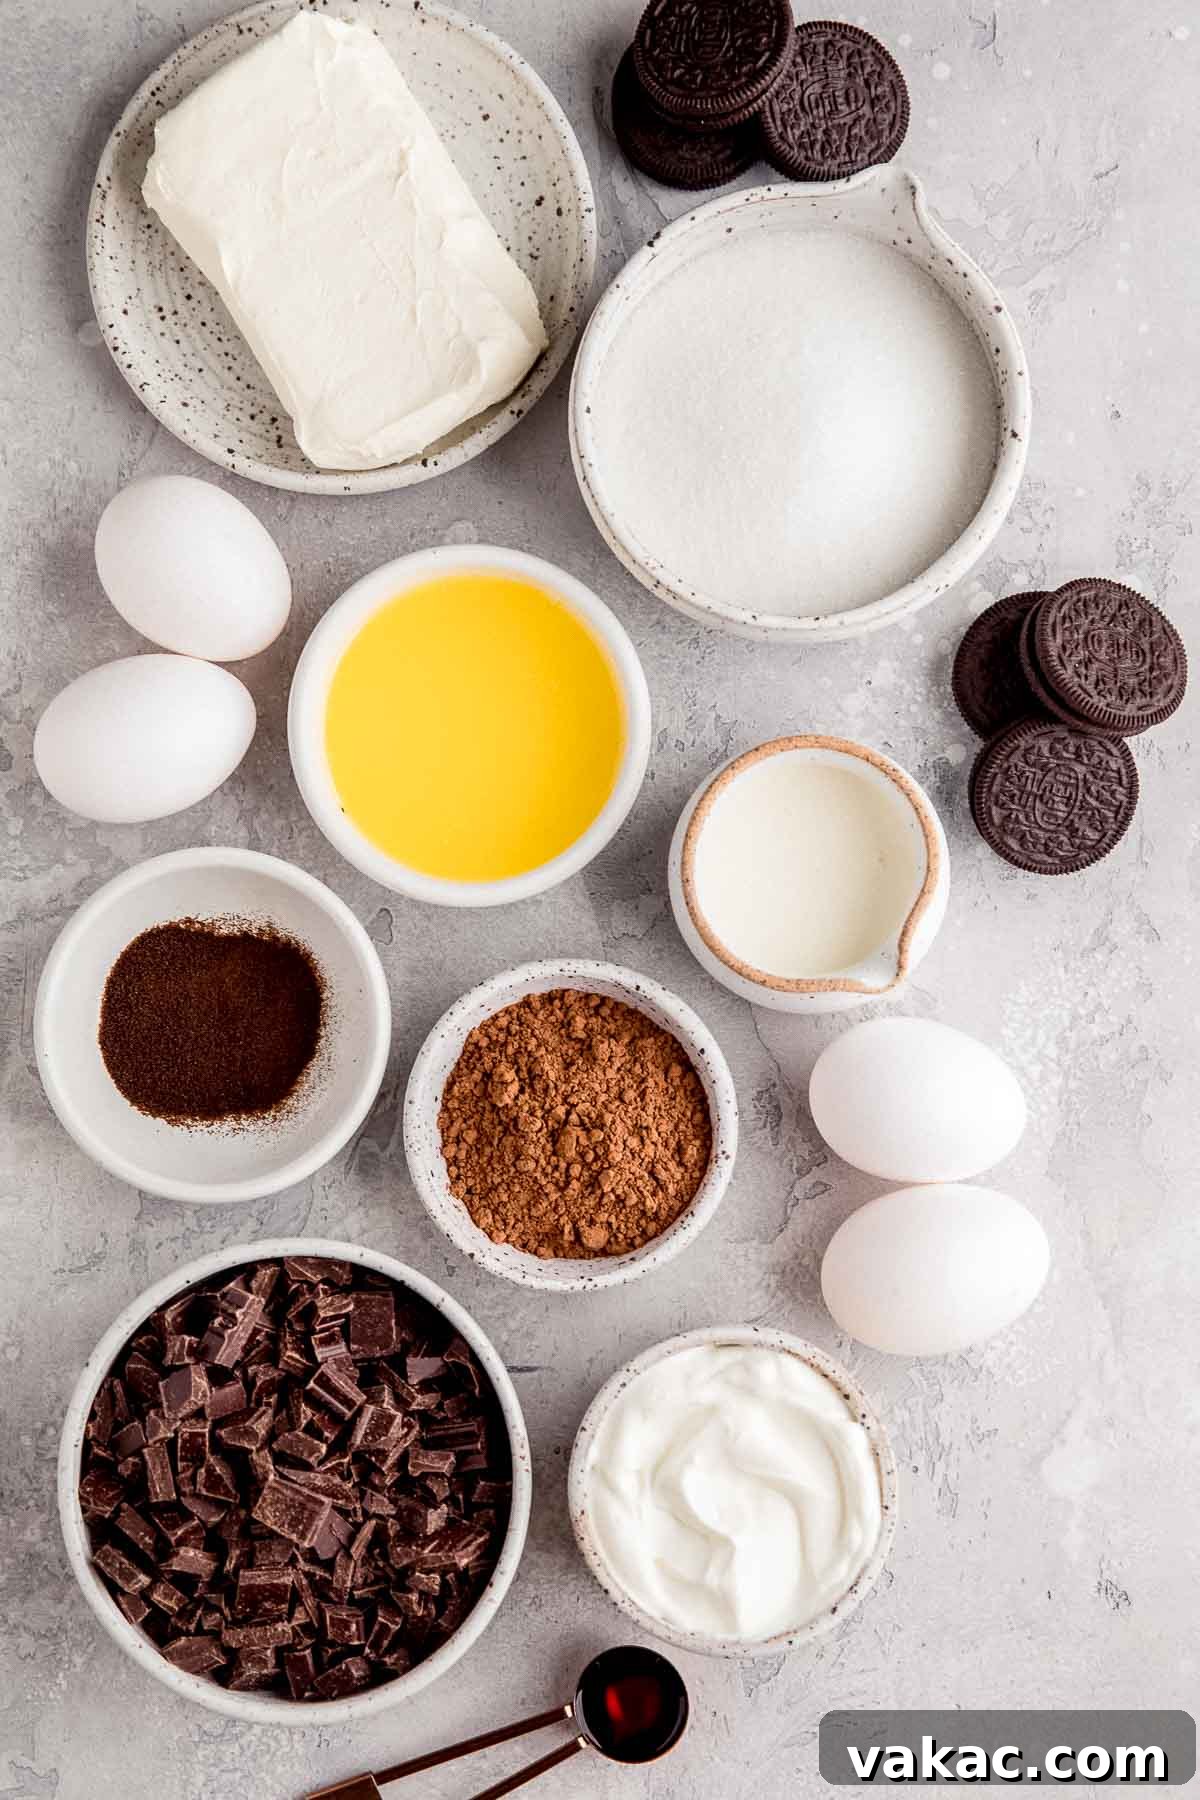
Unlocking the Flavors: Essential Ingredients for Your Chocolate Cheesecake
Crafting this easy chocolate cheesecake involves two primary components: the irresistible Oreo cookie crust and the decadent chocolate filling. While the chocolate ganache and chocolate shavings are optional garnishes, they contribute significantly to the “triple chocolate” experience and are highly recommended for that extra layer of indulgence. Let’s dive into each ingredient, understanding their role in achieving cheesecake perfection.
- Oreos: The foundation of our crust! You can use either regular or Double Stuf Oreos. There’s no need to remove the cream filling, as it contributes to the richness and binding of the crust. Ensure they are finely crushed for an even base.
- Unsalted Butter: Melted butter is crucial for binding the crushed Oreos together, creating a firm and flavorful crust that holds its shape. Using unsalted butter allows you to control the overall saltiness of the dish.
- Semisweet Chocolate Bars: For the filling, quality chocolate makes all the difference. Opt for good-quality semisweet chocolate bars, such as Baker’s or Ghirardelli, and chop them finely. Avoid chocolate chips, as they contain stabilizers that prevent them from melting smoothly, which is essential for a silky cheesecake texture.
- Espresso Powder: This is an optional but highly recommended secret ingredient! Don’t worry, your cheesecake won’t taste like coffee. Espresso powder magically enhances the natural depth of the chocolate flavor, making your cheesecake taste even more intensely chocolatey without adding any coffee notes.
- Full-Fat Brick-Style Cream Cheese: This is the star of any cheesecake. Always use full-fat, brick-style cream cheese, not the whipped or spreadable kind in tubs. It provides the necessary structure, richness, and classic tangy flavor. It’s absolutely essential for it to be softened to room temperature to ensure a smooth, lump-free filling.
- Granulated Sugar: Sweetens the chocolate filling and balances the richness of the cream cheese and chocolate. Be mindful not to add too much, as the semisweet chocolate already contributes a fair amount of sweetness.
- Unsweetened Cocoa Powder: Adds an additional layer of deep chocolate flavor and color to the filling. Ensure you use unsweetened cocoa powder. If your cocoa powder tends to be lumpy, a quick sift through a fine-mesh sieve before mixing will guarantee a silky-smooth batter.
- Full-Fat Sour Cream: Incorporating sour cream breaks up the heaviness of the cream cheese, contributing to a wonderfully smooth, slightly tangy, and unbelievably creamy texture in the finished cheesecake. Make sure it’s at room temperature for seamless integration.
- Heavy Cream: Crucial for achieving that luxurious, rich consistency. Do not attempt to substitute with lower-fat alternatives like half-and-half or whole milk, as they lack the necessary fat content. Like your other dairy, ensure the heavy cream is at room temperature to prevent curdling and achieve a homogenous mixture.
- Salt: A small pinch of salt is a flavor enhancer, balancing the sweetness and intensifying the complex notes of the chocolate, bringing all the flavors into harmony.
- Pure Vanilla Extract: A classic baking staple, pure vanilla extract adds a warm, aromatic depth that complements the chocolate beautifully. Avoid imitation vanilla for the best flavor.
- Large Eggs: Eggs provide structure and richness to the cheesecake, helping it set properly. It’s important for them to be at room temperature before adding them to the batter. Lightly beat them with a fork just before incorporating them to prevent overmixing, which can introduce too much air and lead to cracks.
Crafting Perfection: How to Make Decadent Chocolate Cheesecake
Making homemade cheesecake might seem like a daunting task, but by breaking it down into manageable steps, you’ll find it incredibly rewarding. This recipe guides you through each stage, ensuring a successful and delicious outcome.
Step 1: Constructing the Irresistible Oreo Cookie Crust
- Preheat your oven to 325°F (163°C). This ensures the crust bakes evenly and gets a slight crispness.
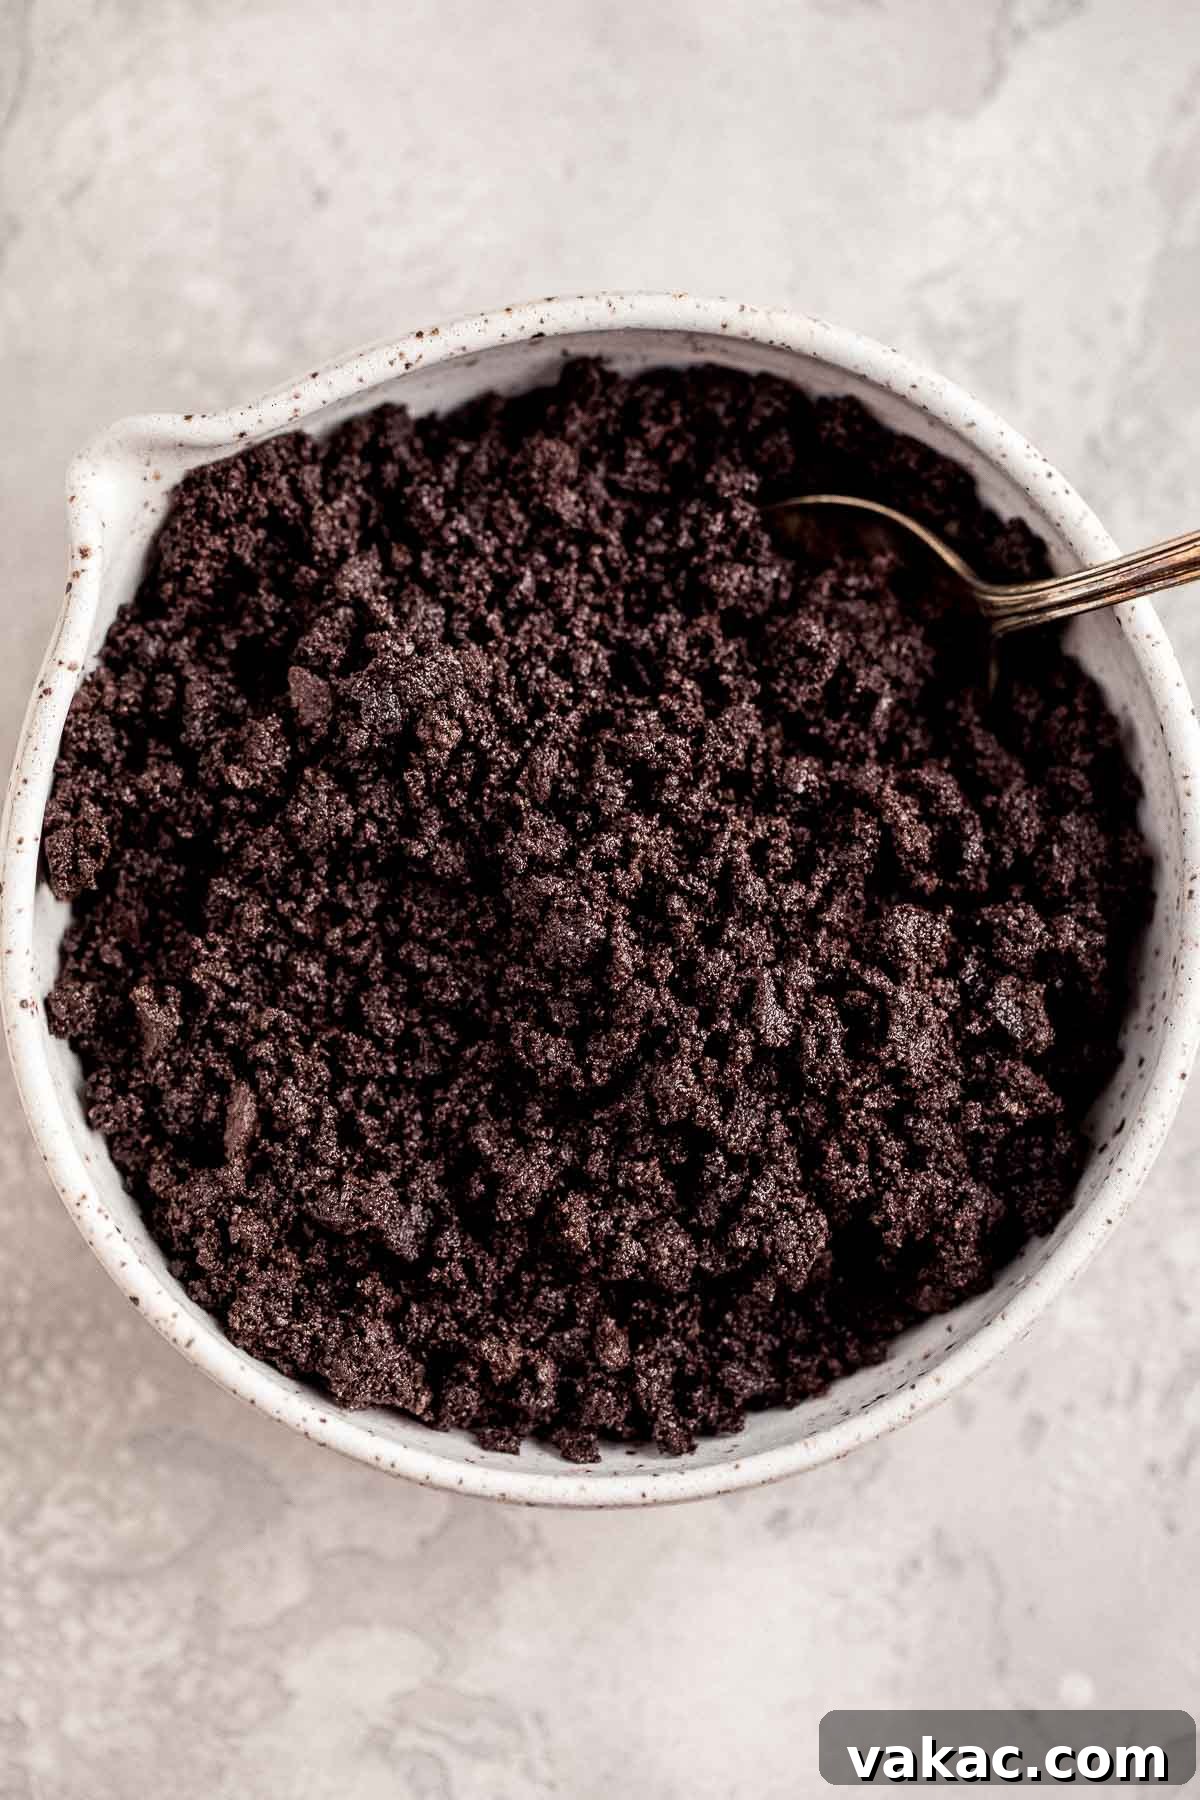
- Add your Oreos to a food processor and pulse until they transform into fine, even crumbs. Consistency is key here for a uniform crust.
- Transfer the cookie crumbs to a medium mixing bowl. Pour in the melted and slightly cooled unsalted butter. Mix thoroughly until all the crumbs are moistened and resemble wet sand. This ensures the crust will bind together properly.
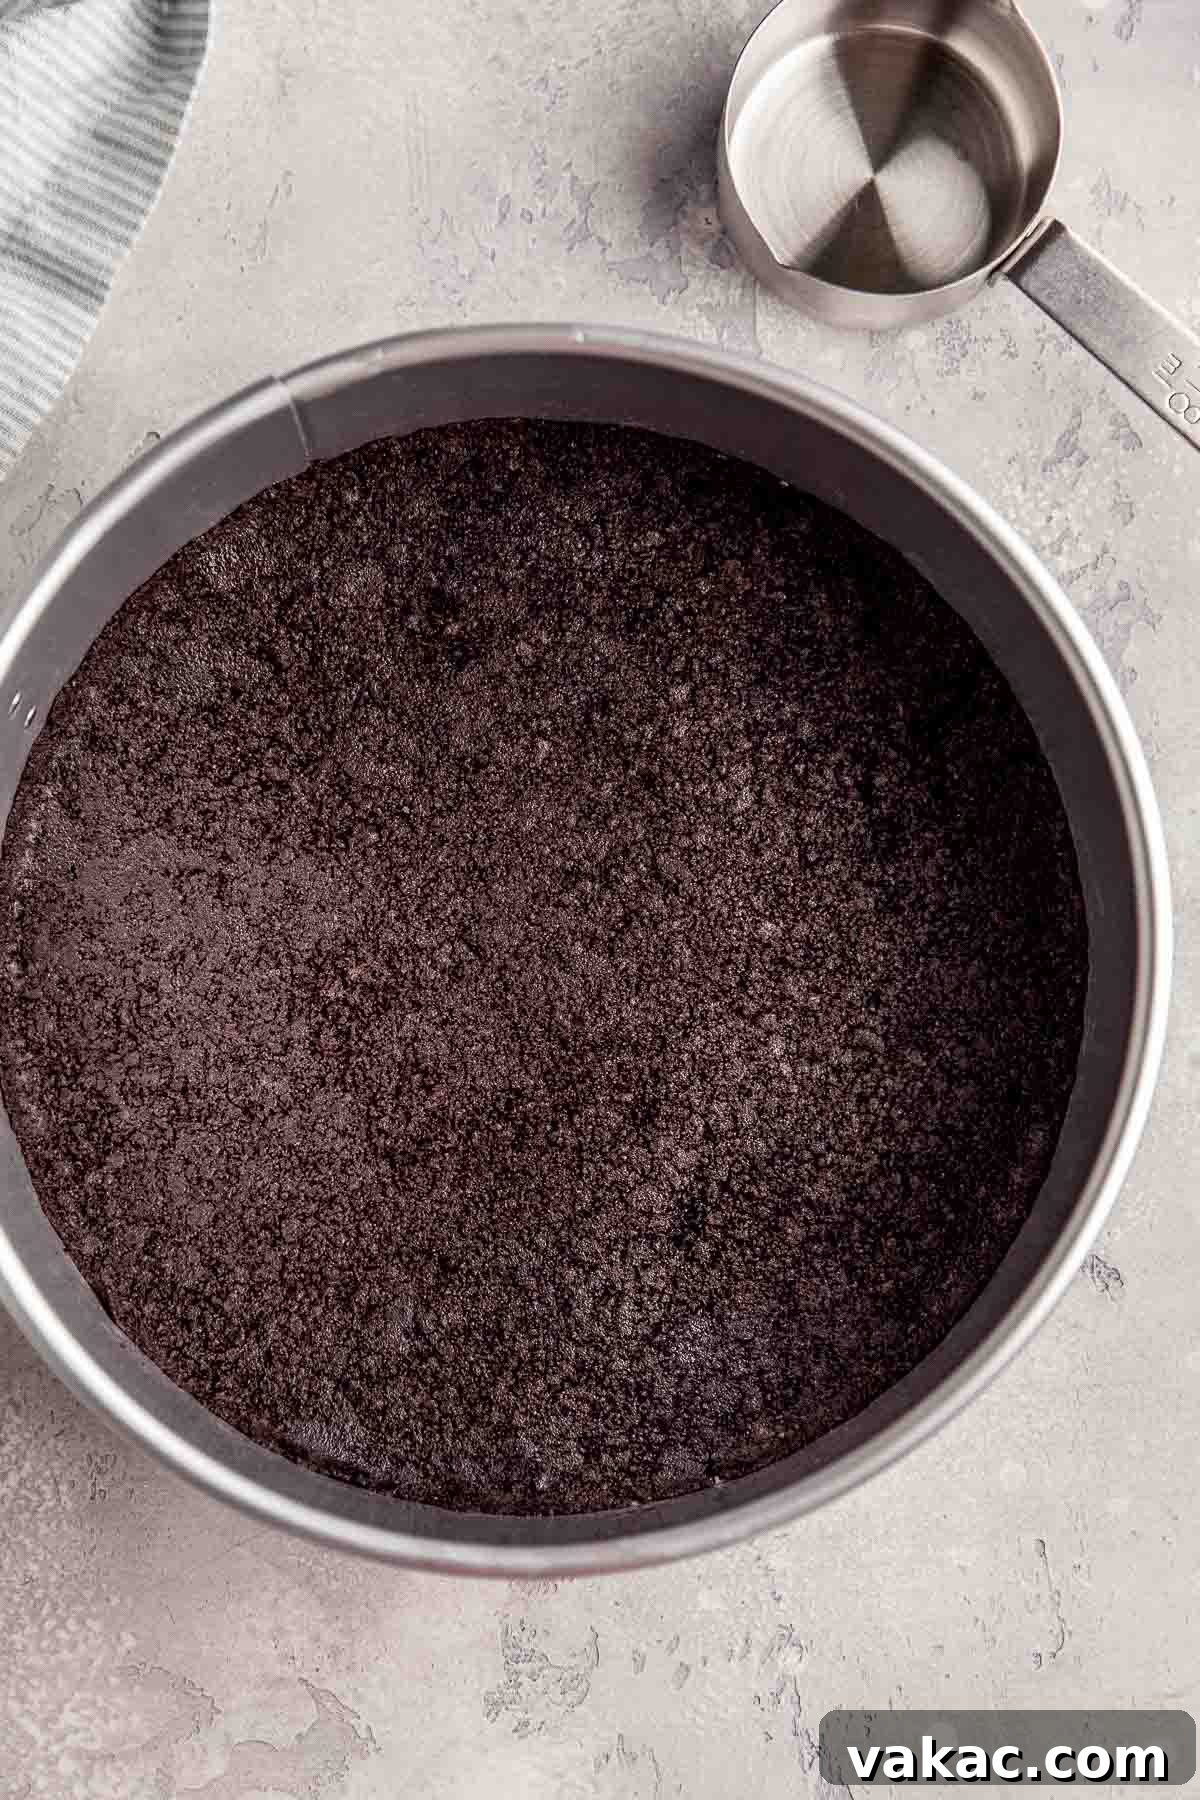
- Scoop the buttery Oreo mixture into a 9-inch springform pan. Using the bottom of a glass or your fingers, firmly press the mixture down into an even layer across the bottom of the pan. Make sure it’s compact to prevent crumbling.
- Bake the crust for 8 to 10 minutes. This short bake time helps to set the crust, making it sturdy and preventing it from becoming soggy once the filling is added. Remove it from the oven and set it aside to cool slightly while you prepare the filling.
Step 2: Preparing the Velvety Chocolate Cheesecake Filling
The filling is where the magic happens! Pay close attention to ingredient temperatures and mixing techniques for the best results.
- Before you even begin mixing the filling, place a large pot of water on the stove to boil. This will be used later for the crucial water bath. Alternatively, heat water in a kettle or dedicated hot water device.
- In a microwave-safe bowl, melt the finely chopped semisweet chocolate. Heat in 20-second intervals, stirring well after each, until the chocolate is completely smooth and melted. Whisk in the espresso powder (if using) until fully combined, then set the chocolate aside to cool slightly. It should be warm enough to be liquid, but not hot.
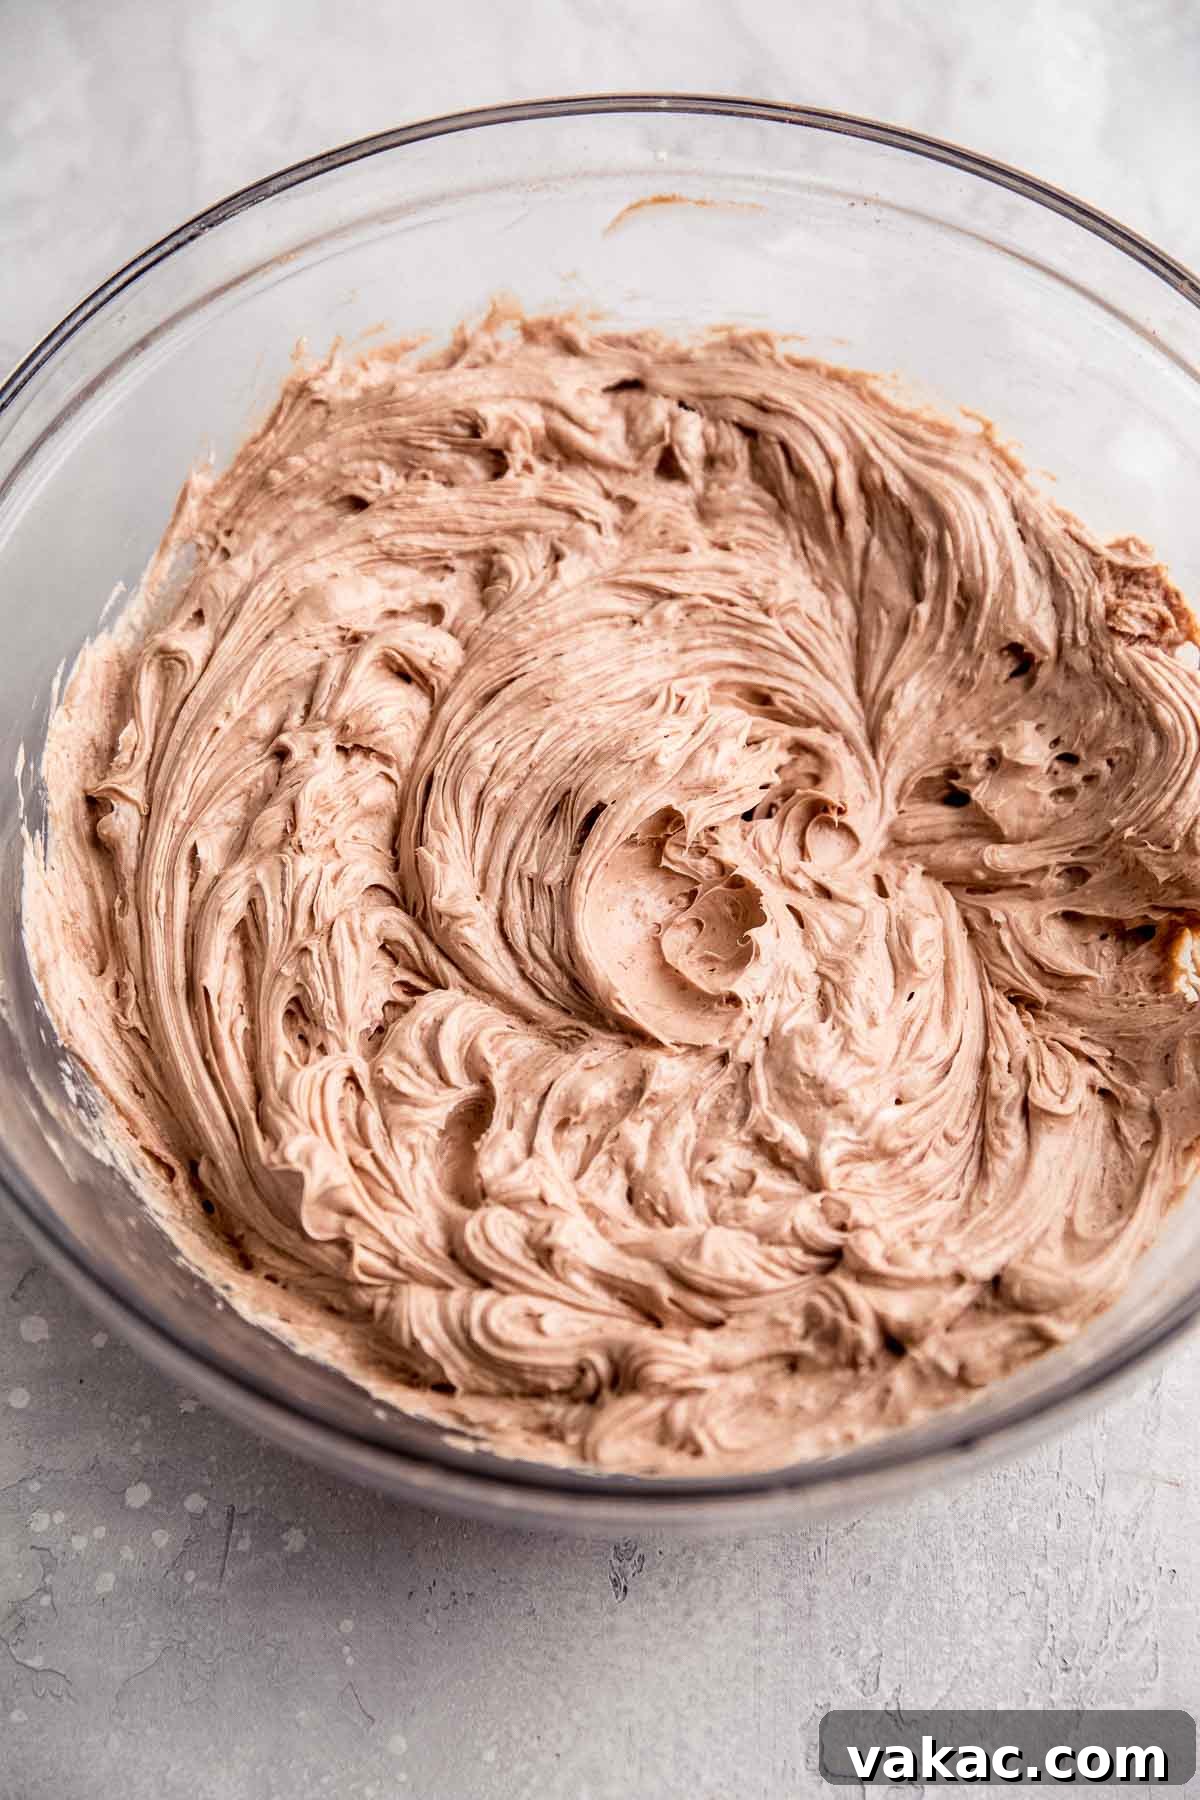
- In the bowl of a stand mixer fitted with the paddle attachment (or using a large mixing bowl and a handheld electric mixer), beat the softened cream cheese, granulated sugar, and unsweetened cocoa powder on medium speed. Continue mixing until the mixture is completely smooth and well combined, with no lumps of cream cheese remaining. Stop and scrape down the sides and bottom of the bowl frequently with a rubber spatula to ensure everything is evenly incorporated.
- Add the room temperature sour cream, heavy cream, vanilla extract, and salt to the cream cheese mixture. Mix on medium speed until just fully combined. Again, scrape down the sides of the bowl as needed to ensure a uniform batter.
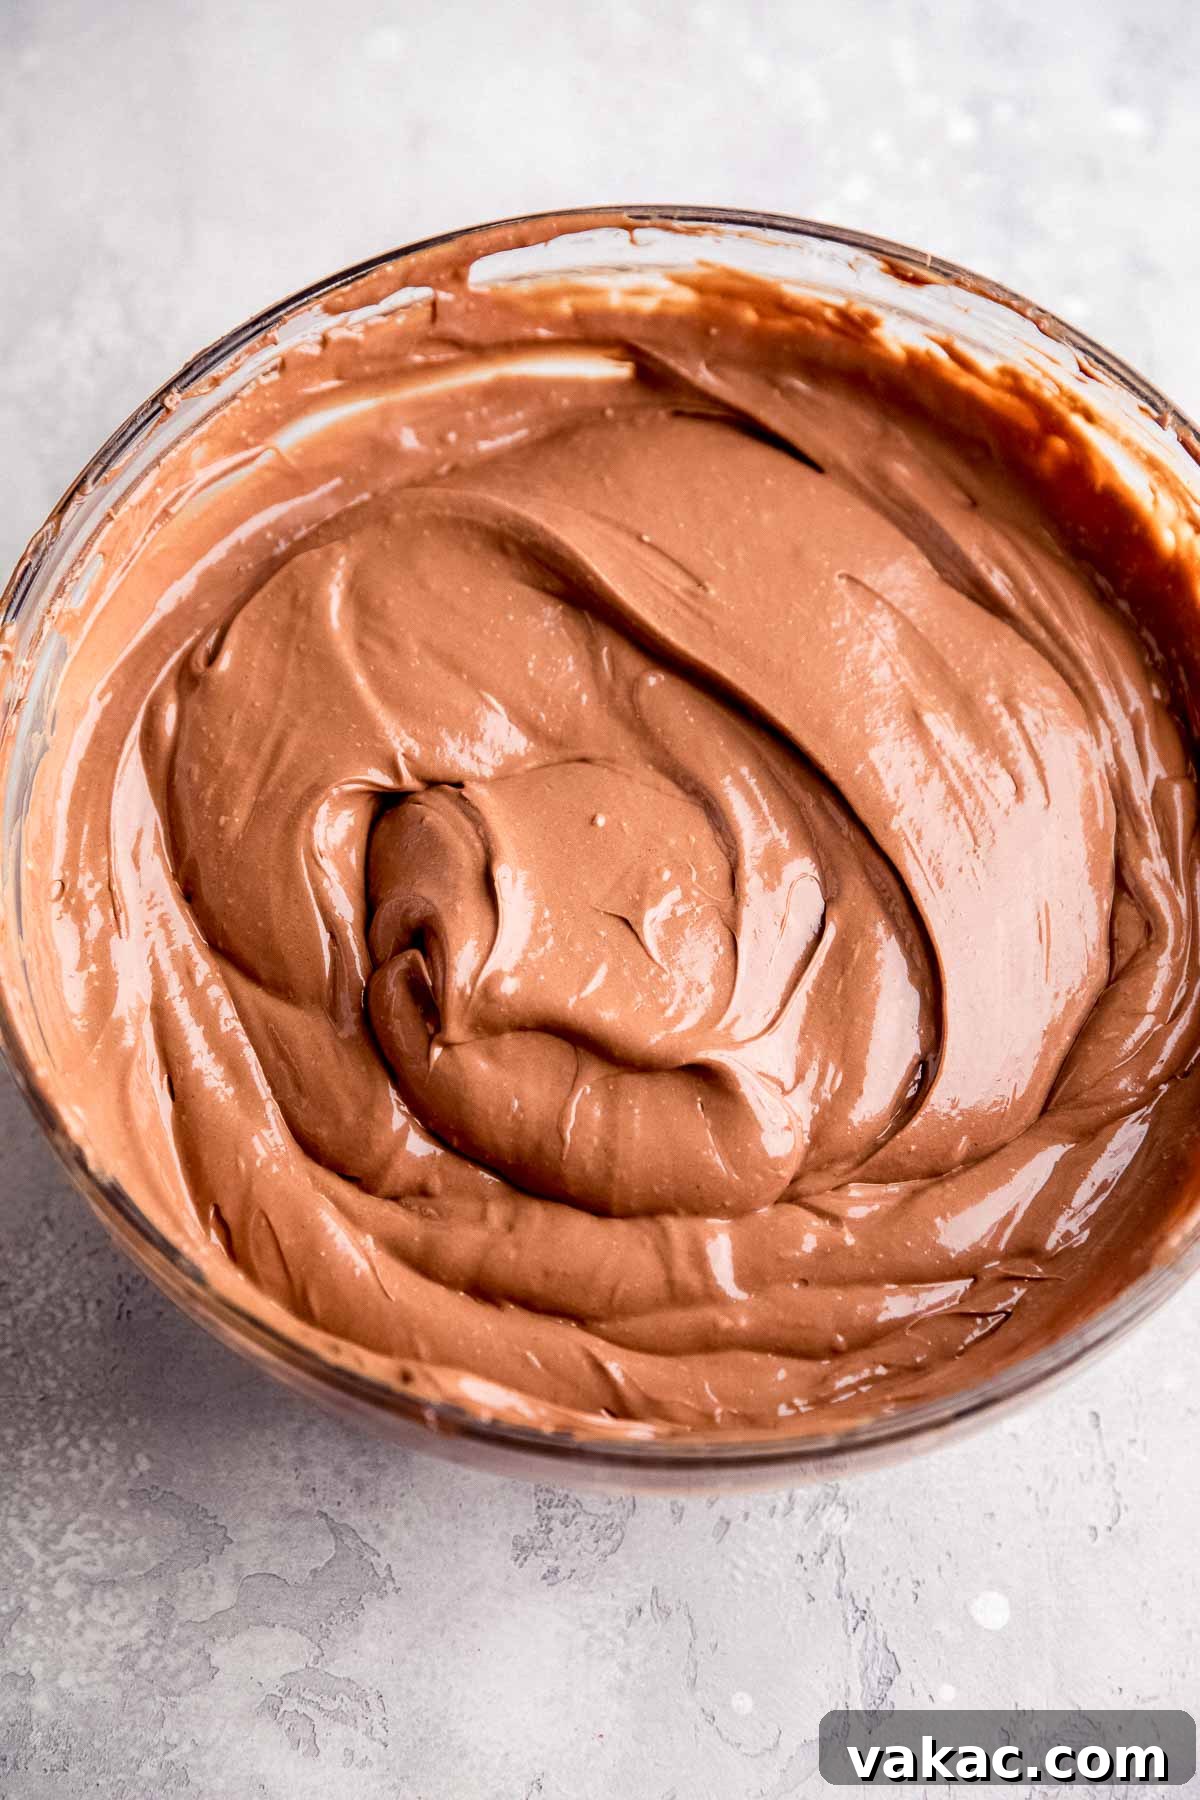
- Next, pour in the slightly cooled melted chocolate and mix on medium speed until it is thoroughly combined and the filling is completely smooth, with no streaks of unmixed chocolate.
- Finally, add the four lightly beaten, room temperature eggs. Mix on the lowest speed possible until they are just combined into the batter. This step is critical: avoid overmixing the eggs at all costs! Overmixing introduces too much air into the cheesecake batter, which can cause it to puff up excessively during baking and then crack or fall drastically as it cools.
Throughout the filling preparation, make it a habit to stop your mixer and scrape down the sides and bottom of the mixing bowl with a rubber spatula. This ensures that all ingredients are thoroughly and evenly incorporated, preventing any unmixed pockets and guaranteeing a consistently smooth texture.
Step 3: Baking Your Cheesecake to Absolute Perfection
The final stage requires careful attention to achieve a perfectly smooth, crack-free cheesecake. The secret lies in the water bath and controlled cooling.
- Wrap the cooled springform pan, which now contains your pre-baked Oreo crust, in two layers of heavy-duty aluminum foil. Ensure the foil goes all the way up the sides to create a watertight seal. Then, place the foil-wrapped pan into a large oven bag. Fold the oven bag down along the sides of the springform pan. This double-layer protection is essential to prevent any water from seeping into your cheesecake as it bakes in the water bath.
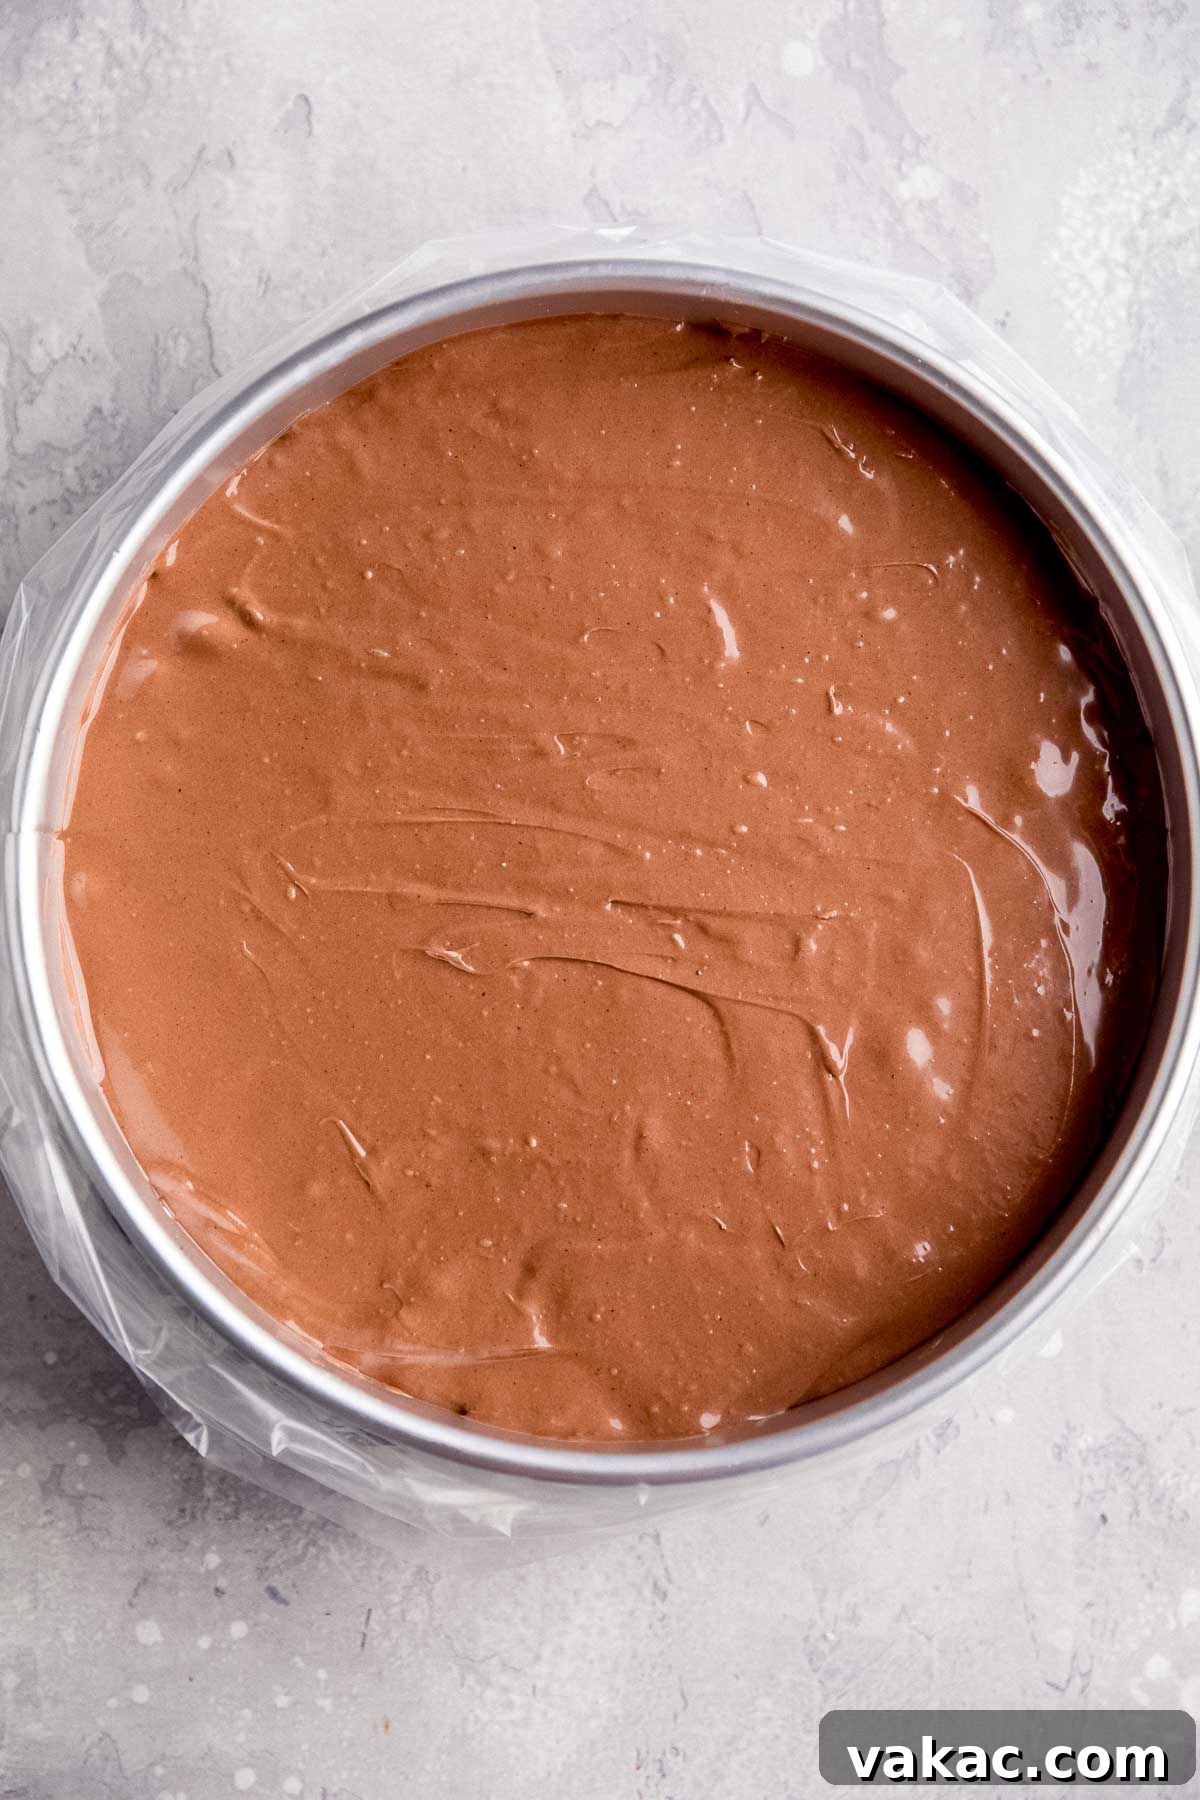
- Carefully pour the prepared chocolate cheesecake filling into the springform pan, smoothing the top into one even layer using your rubber spatula. Gently tap the pan on the counter a couple of times. This helps to bring any trapped air bubbles to the surface. Use a toothpick or skewer to pop any large air bubbles you see, which helps prevent surface cracks.
- Place the wrapped springform pan carefully into a larger roasting pan or a 12-inch cake pan with high sides. This outer pan will hold the water bath.
- Place the roasting pan with the cheesecake into the oven on the middle rack.
- With the oven rack still pulled out, very carefully and slowly pour the boiling water (that you prepared earlier) into the roasting pan around the springform pan. Fill it until the water is about 1 inch deep. Be cautious not to get any water into the cheesecake itself.
- Bake for 65 to 70 minutes at 325°F (163°C), or until the edges of the cheesecake are set, but the very center still has a slight jiggle when gently nudged. This slight jiggle indicates it’s cooked through but still moist.
- Once baked, turn the oven off. Crack the oven door slightly open and allow the cheesecake to cool inside the warm oven for 1 hour. This gradual cooling process is vital for preventing temperature shock, which is a common cause of cracks in cheesecakes.
- After the 1-hour cooling period in the oven, remove the cheesecake from the oven and carefully lift it out of the water bath. Transfer it to a wire rack to cool completely to room temperature. This can take several hours.
- Once the cheesecake has reached room temperature, cover it tightly with plastic wrap or aluminum foil and transfer it to the refrigerator. Chill for a minimum of 5 to 6 hours, or ideally, overnight. Chilling is crucial for the cheesecake to fully set, firm up, and develop its rich, decadent flavor and creamy texture.
- When you’re ready to serve, run a thin, sharp knife around the outer edge of the cheesecake to gently loosen it from the springform pan. Carefully release the springform pan collar, then slice into beautiful pieces, serve, and savor every bite!
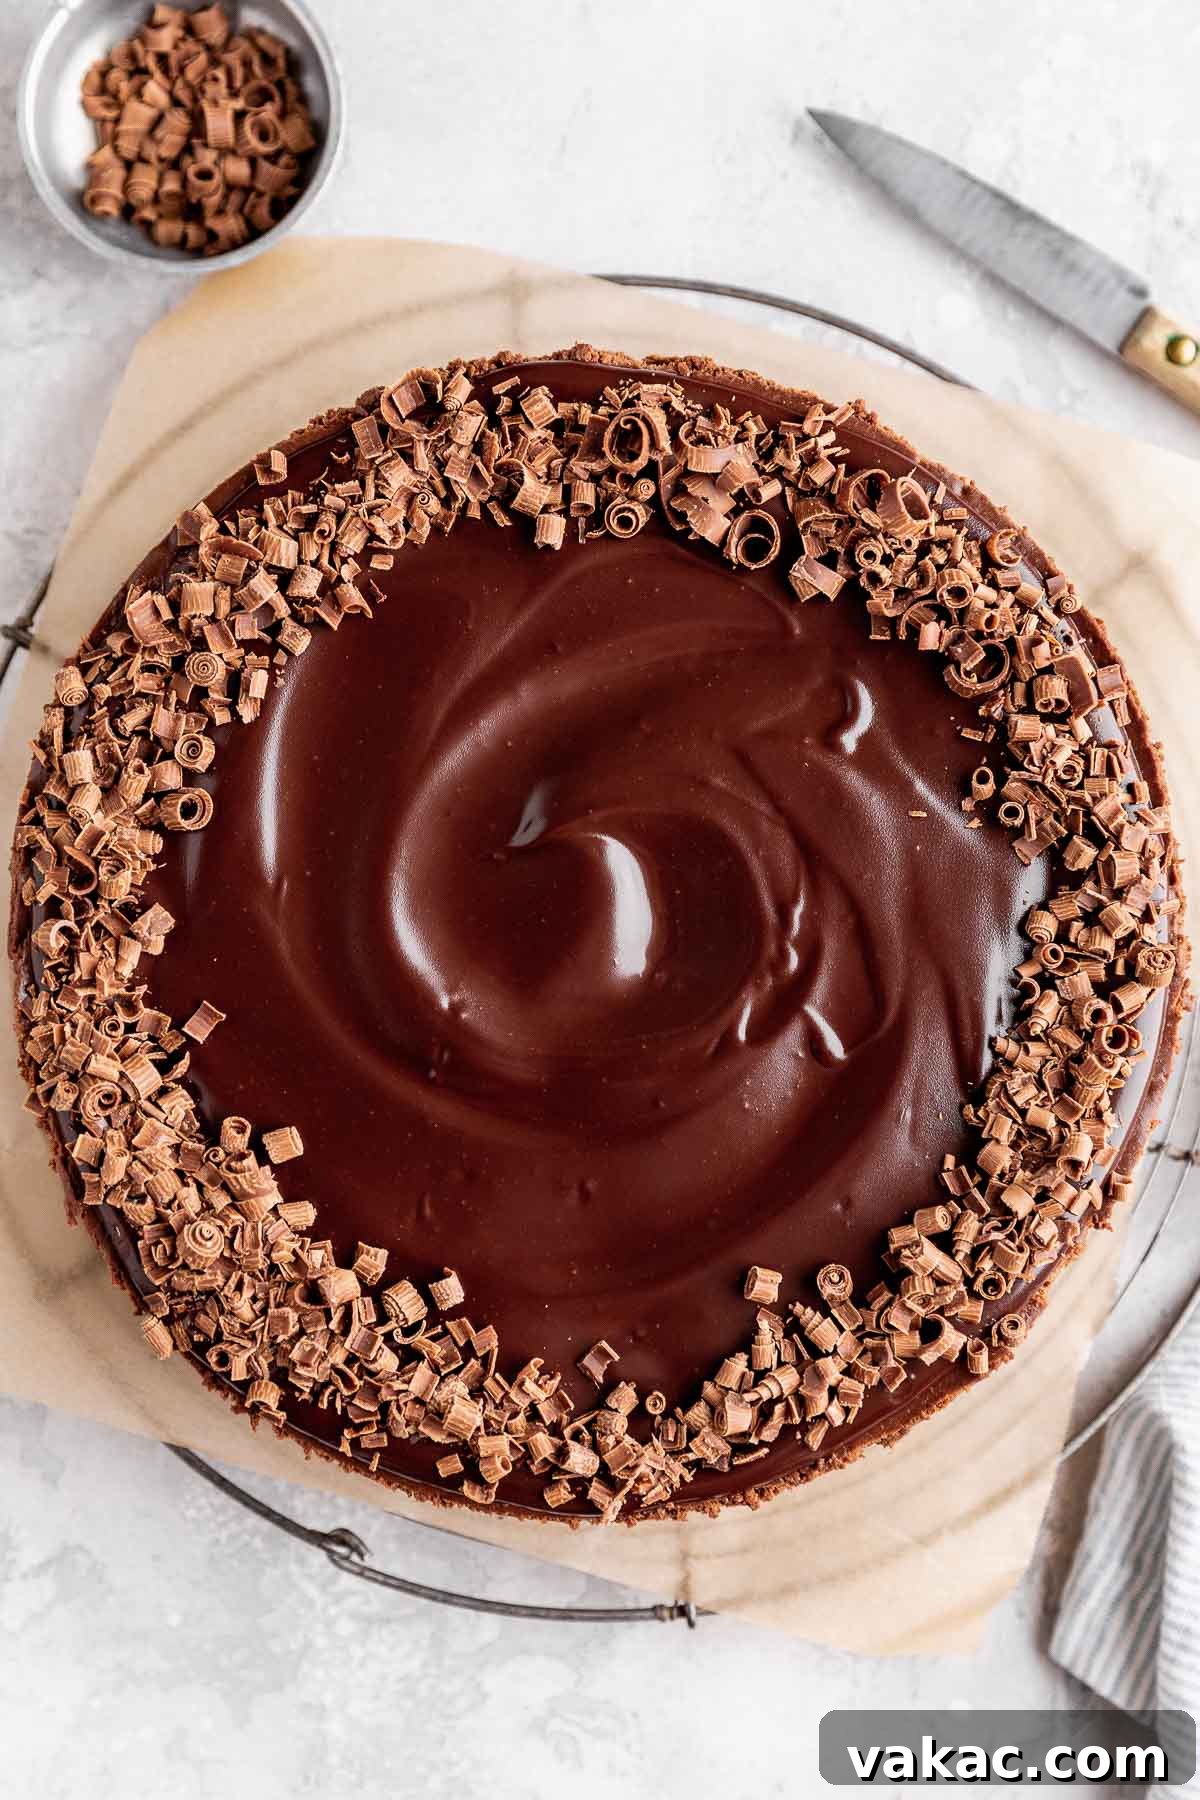
The Perfect Finish: Serving & Garnishing Your Chocolate Cheesecake
To truly achieve a triple chocolate cheesecake experience, I wholeheartedly recommend crowning your masterpiece with a homemade chocolate ganache. This simple yet elegant topping is typically made with just two ingredients—quality chocolate and heavy cream—and provides the perfect glossy, rich finish for this decadent dessert. Not only does it add an extra layer of chocolatey goodness, but it’s also a fantastic trick to elegantly disguise any minor cracks that might have appeared on your cheesecake’s surface during baking. While the ganache is optional, it truly takes the cheesecake to the next level of indulgence. Alternatively, you could top it with a generous dollop of homemade whipped cream, fresh berries, or a dusting of cocoa powder.
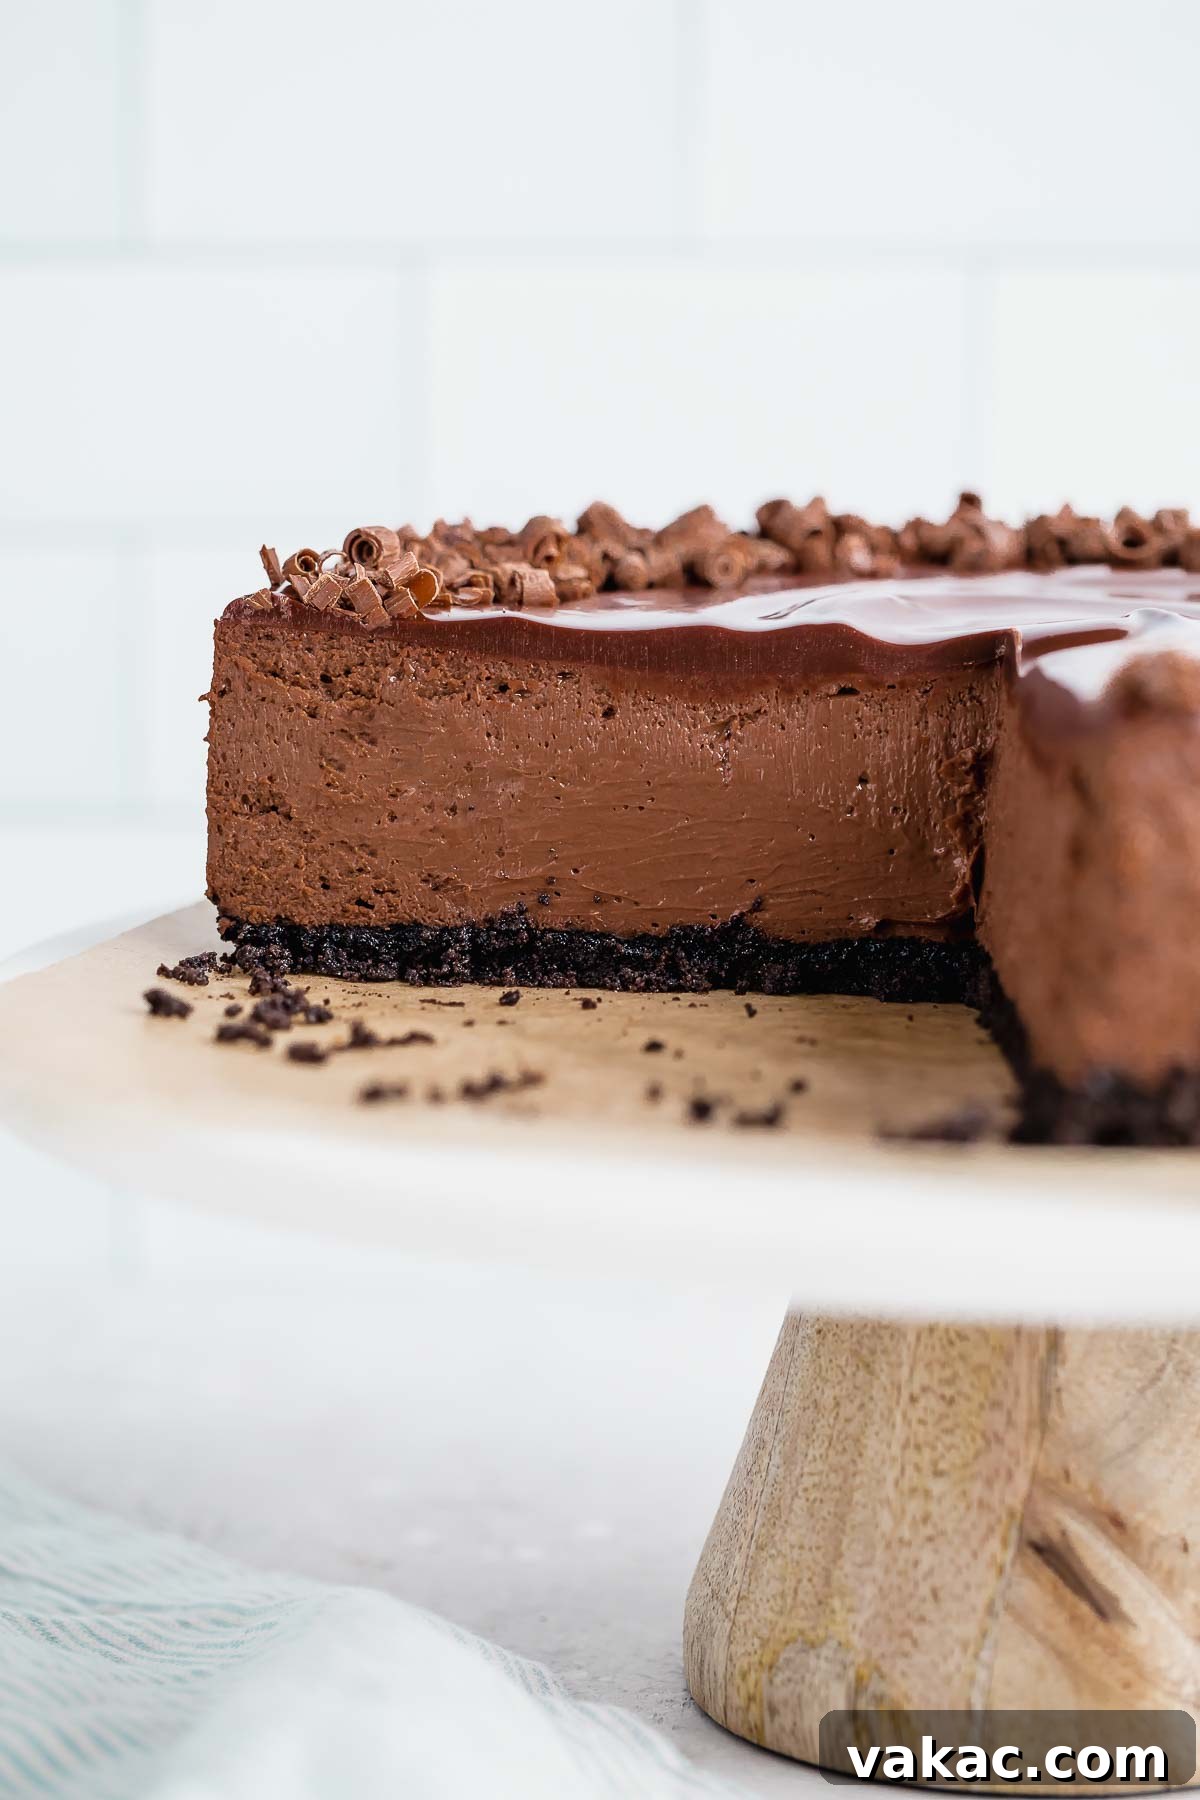
Storage Solutions for Your Decadent Cheesecake
Proper storage ensures your chocolate cheesecake remains delicious for days. Once cooled and chilled, cover the cheesecake tightly with plastic wrap or aluminum foil. It can be stored in the refrigerator for up to five days. For longer enjoyment, cheesecake freezes exceptionally well. Wrap individual slices or the whole cheesecake in a few layers of plastic wrap, then seal it tightly in a freezer-safe bag or airtight container. Frozen cheesecake will maintain its quality for up to three months. When you’re ready to enjoy a slice, simply transfer it to the refrigerator and allow it to thaw overnight.
Can This Chocolate Cheesecake Be Made in Advance?
Absolutely! In fact, cheesecake is one of those rare desserts that actually tastes better when made ahead of time. The flavors deepen and the texture becomes even more luscious after a good chill. While the cheesecake needs at least five hours in the refrigerator to properly set before serving, you can confidently prepare it 1 to 2 days in advance, making it a fantastic stress-free option for entertaining.
Can I Transform This Recipe into Mini Cheesecakes?
While this recipe is written for a standard 9-inch cheesecake, it’s certainly adaptable for making adorable mini chocolate cheesecakes if you desire! This recipe should yield approximately 24 mini cheesecakes. If you prefer a smaller batch, feel free to halve the recipe. For guidance on assembling and baking mini cheesecakes, you can refer to my classic mini cheesecakes recipe as a helpful guide for specific techniques and baking times for smaller portions. Adjusting the baking time will be key, as mini cheesecakes bake much faster.
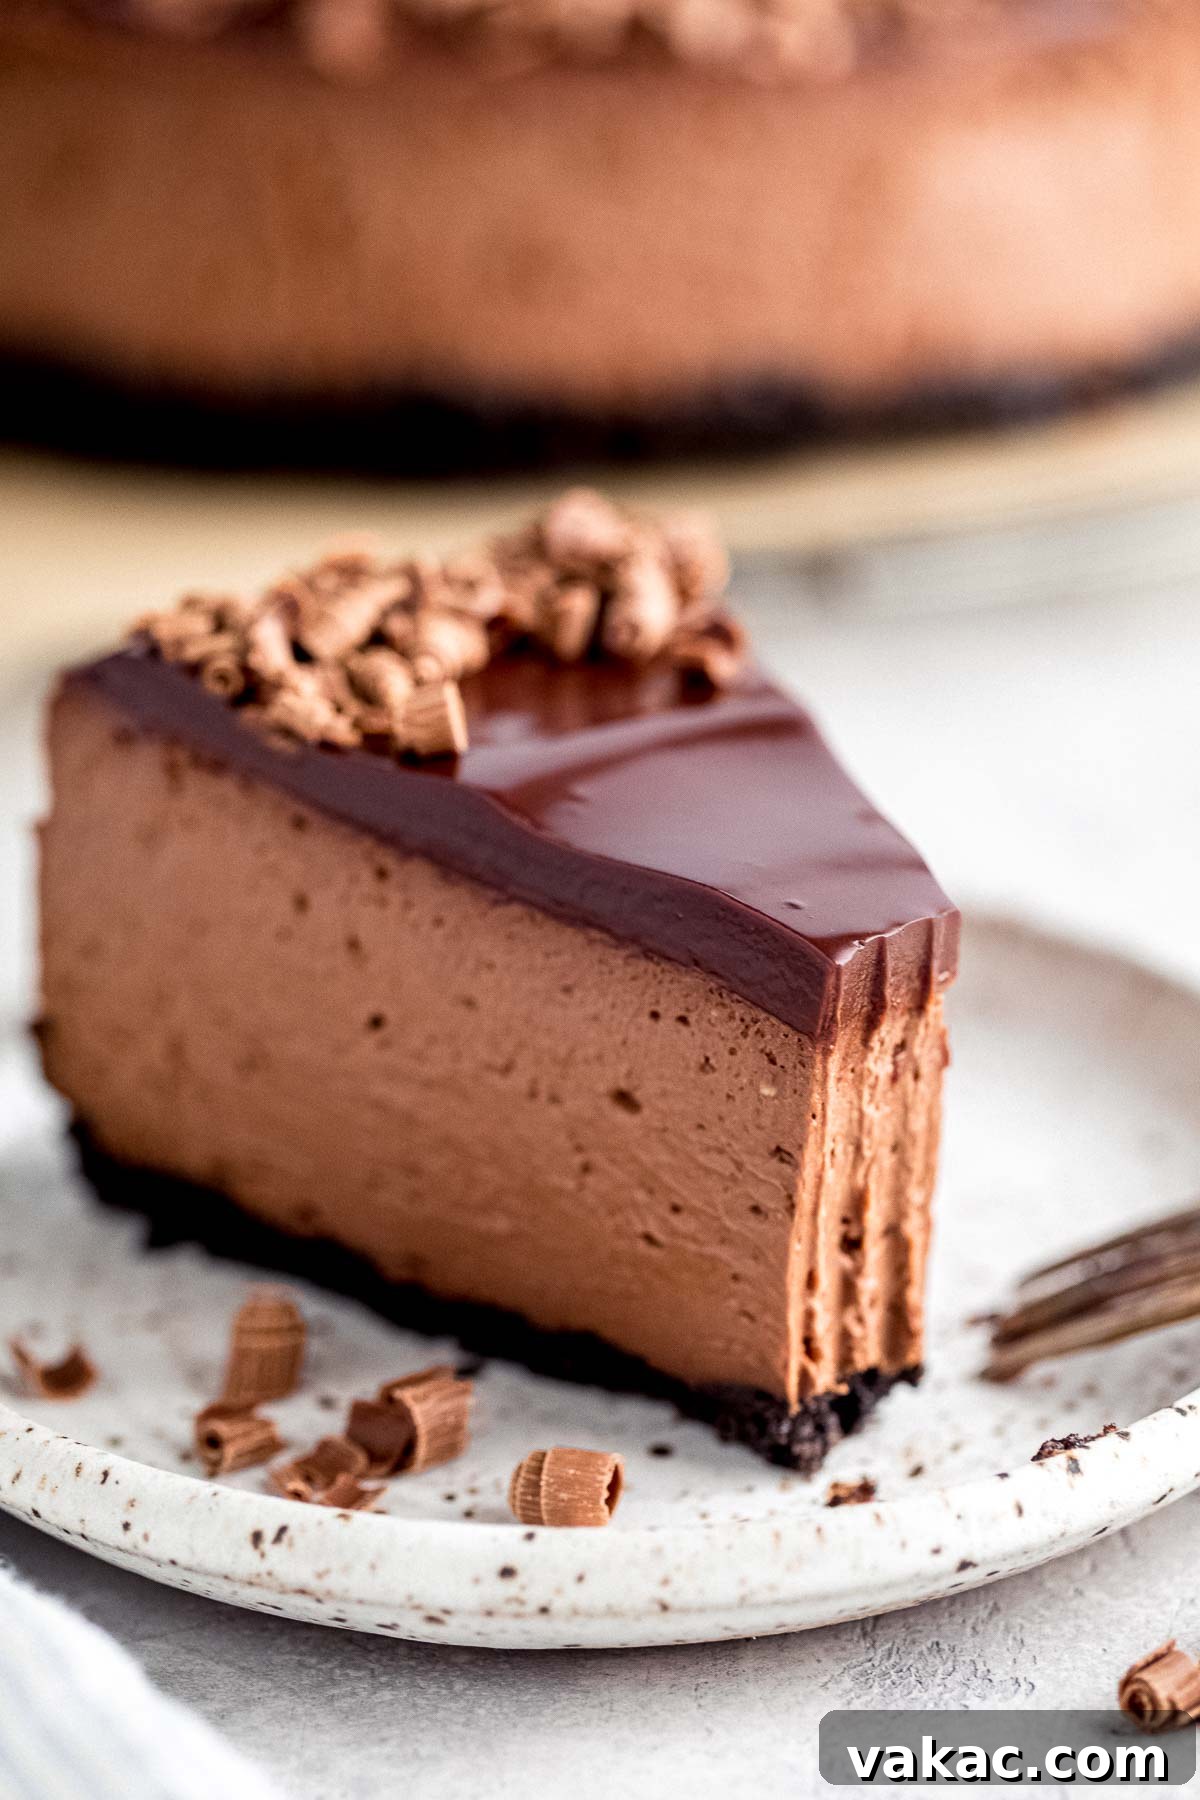
Expert Baking Tips for Cheesecake Success
- Customize Your Toppings: While I love garnishing this cheesecake with homemade chocolate ganache, feel free to get creative! A swirl of homemade whipped cream, fresh raspberries, chocolate curls, or even a drizzle of caramel sauce would be equally delightful.
- Crust Variations: This recipe calls for Oreos, but you can use any chocolate sandwich cookie you prefer for the crust. For a gluten-free option, simply use gluten-free chocolate sandwich cookies. You could also experiment with a traditional graham cracker crust for a different flavor profile.
- Achieving Perfect Slices: For clean, beautiful cheesecake slices every time, here’s a pro tip: dip a sharp knife in hot water, carefully wipe it dry with a towel, and then make your slice. Repeat this process for each cut to prevent the cheesecake from sticking and tearing.
- Room Temperature Ingredients are Key: This cannot be stressed enough! Ensuring your cream cheese, sour cream, heavy cream, and eggs are all at room temperature will prevent lumps and ensure your batter is smooth and perfectly emulsified, leading to a consistently creamy texture.
- Don’t Overmix: While you want a smooth batter, overmixing, especially after adding the eggs, incorporates too much air. This can cause the cheesecake to puff up, then fall and crack during cooling. Mix until just combined.
- The Water Bath is Your Friend: A water bath creates a humid environment in the oven, helping the cheesecake bake gently and evenly. This prevents the edges from cooking too quickly and cracking, resulting in a smooth, flawless top. Don’t skip this step!
Explore More Decadent Cheesecake Recipes
If you’ve fallen in love with this chocolate masterpiece, you’ll surely enjoy these other delightful cheesecake recipes:
- Red Velvet Cheesecake – A vibrant and tangy classic.
- No-Bake Cheesecake – Perfect for warmer days or when you need a quick dessert.
- Pumpkin Cheesecake – A seasonal favorite for fall gatherings.
- Classic Cheesecake – The timeless recipe that never disappoints.
- Lemon Cheesecake – A bright and zesty treat for citrus lovers.
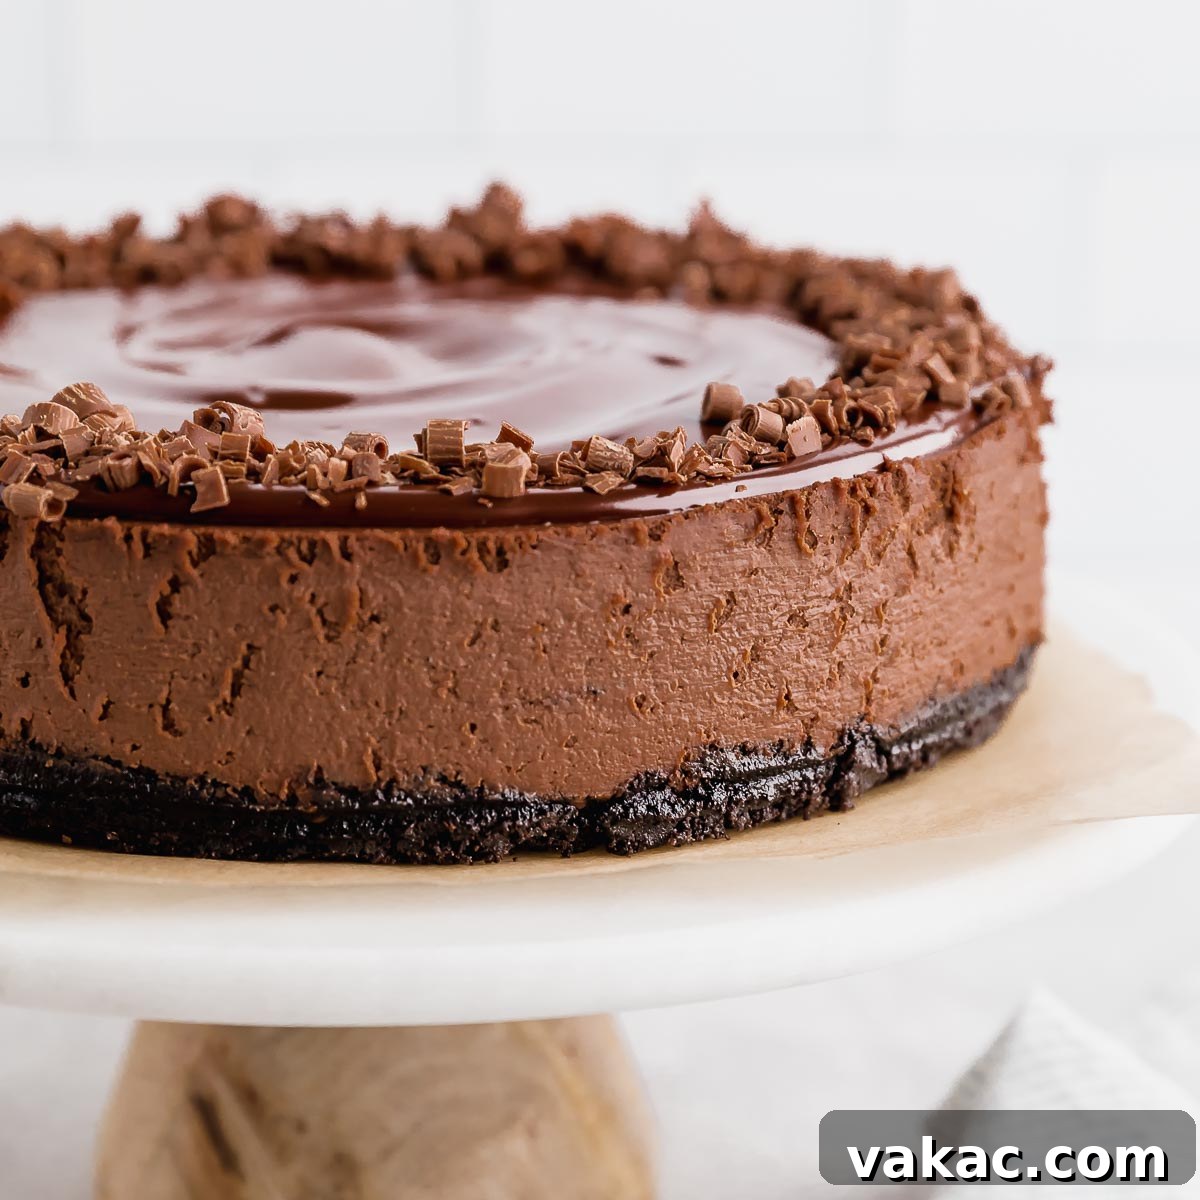
Chocolate Cheesecake
Rating: 5 out of 5 stars (based on 2 ratings)
Prep Time: 45 mins
Cook Time: 1 hr 10 mins
Cooling Time: 8 hrs
Total Time: 9 hrs 55 mins
Rich, creamy, and decadent, this chocolate cheesecake recipe is easy to make, but the final product looks so elegant. Top with chocolate ganache and chocolate shavings for triple the chocolate flavor!
Ingredients
Servings: 8 slices
For the crust:
- 24 Oreos (regular or Double Stuf)
- 4 tablespoons unsalted butter, melted and slightly cooled (60 grams)
For the filling:
- 12 ounce semi-sweet chocolate bars, roughly chopped (340 grams)
- 2 teaspoons espresso powder (optional)
- 32 ounces brick-style cream cheese, softened to room temperature (905 grams)
- 1¼ cups granulated sugar
- ¼ cup unsweetened cocoa powder (22 grams)
- 1 cup full-fat sour cream, at room temperature (240 grams)
- ¼ cup heavy cream, at room temperature (60 ml)
- 1 teaspoon pure vanilla extract
- ¼ teaspoon salt
- 4 large eggs, at room temperature and lightly beaten
Instructions
- To make the Oreo crust: Preheat the oven to 325°F (163°C). Add the Oreos to a blender or food processor and process until you have fine crumbs. Scoop the crumbs into a mixing bowl and add the melted butter. Mix together until all of the crumbs are moistened.
- Scoop the mixture into a 9-inch springform pan and firmly press it down into an even layer on the bottom of the pan.
- Bake at 325°F (163°C) for 8 to 10 minutes, then remove from the oven and set aside to cool slightly while you make the filling.
- To make the cheesecake filling: Set a large pot of water to boil for the water bath before getting started with the filling. Alternatively, heat water in a kettle or hot water boiling device.
- Add the chopped semisweet chocolate to a microwave-safe bowl.
- Heat in the microwave in 20-second intervals, stirring in between each one, until the chocolate is completely melted and smooth. Whisk in the espresso powder and set aside.
- In the bowl of a stand mixer fitted with the paddle attachment, or in a large mixing bowl using a handheld mixer, beat the cream cheese, sugar, and cocoa powder on medium speed until smooth and well combined. Scrape down the sides of the bowl.
- Add the sour cream, heavy cream, vanilla, and salt and mix until fully combined, stopping to scrape down the sides of the bowl as needed. Mix in the melted chocolate on medium speed until no lumps remain and the mixture is completely smooth, then mix in the eggs on low speed until just combined.
- To bake the cheesecake: Wrap the cooled springform pan with the pre-baked Oreo crust in 2 layers of aluminum foil, then place into a large oven bag. Fold the oven bag down the sides of the springform pan.
- Pour the cheesecake filling into the springform pan and smooth it out into one even layer. Tap the pan on the counter a couple of times to bring any air bubbles to the top, then use a toothpick or skewer to remove any large air bubbles and smooth them out.
- Carefully place the wrapped springform pan into a large roasting pan or 12” cake pan with high sides.
- Place the pan into the oven on the middle rack. With the rack pulled out, carefully and slowly add the boiling water you started before the filling into the roasting pan until it is about 1-inch deep.
- Bake at 325°F (163°C) for 65 to 70 minutes or until the edges of the cheesecake are set and the center is still slightly jiggly. Turn the oven off, crack the oven door slightly, and allow the cheesecake to cool in the warm oven for 1 hour.
- After the cheesecake has cooled for 1 hour in the oven, remove it from the oven and transfer to a wire rack to cool completely. Once cooled, cover tightly with plastic wrap or aluminum foil and transfer to the refrigerator to chill for 5 to 6 hours or overnight.
- Run a thin knife around the outside of the cheesecake to loosen it from the pan, carefully release the springform pan, then slice into pieces, serve, and enjoy!
Notes
Toppings: I garnished this cheesecake with my homemade chocolate ganache recipe. You can feel free to leave it off or top it with some homemade whipped cream instead.
Storage: Cheesecake may be stored, tightly covered, in the fridge for up to five days. It also freezes well if wrapped in a few layers of plastic wrap and sealed in a freezer bag. Frozen cheesecake will last up to three months. When ready to eat it, thaw overnight in the fridge.
Cuisine: American
Course: Dessert
Author: Danielle Rye