
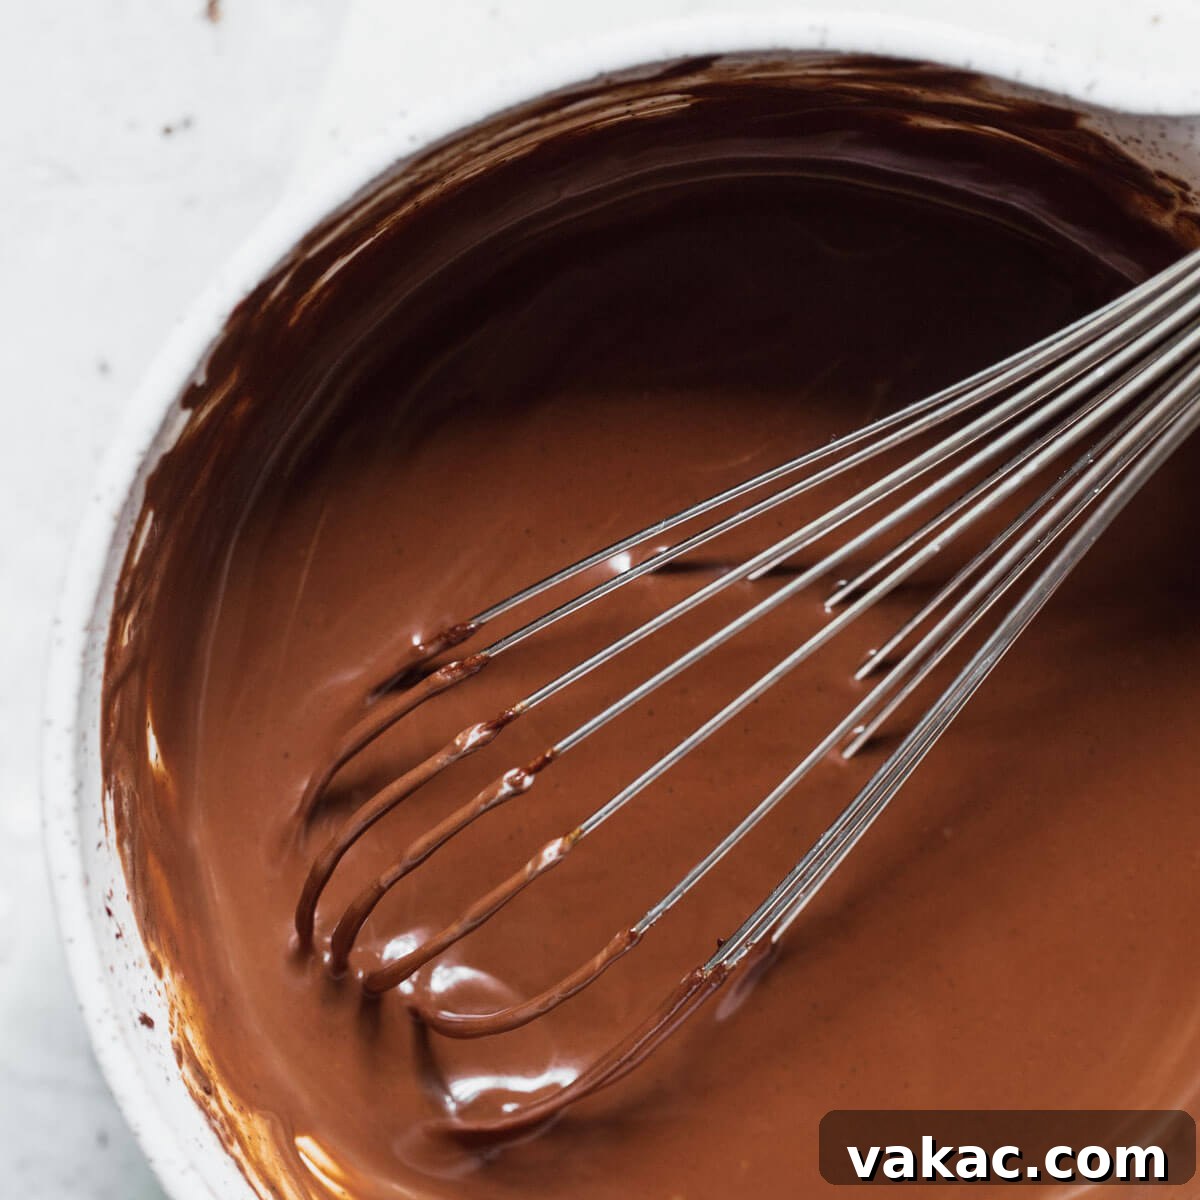
Unlock the secret to a professional-quality dessert with this incredibly easy chocolate ganache tutorial. Requiring
just two simple ingredients – chocolate and heavy whipping cream – and a mere 5 minutes of your time, you’ll
master this versatile, rich confection in no time. Forget complicated techniques; a microwave is often all you
need to create luscious ganache for all your baking adventures!
For years, the term “chocolate ganache” evoked images of gourmet kitchens and complex pastry skills in my mind. It
sounded intimidating, a delicacy reserved for professional bakers. Yet, the beautiful truth is that mastering
chocolate ganache is surprisingly straightforward, demanding only two fundamental ingredients and minimal effort. This
deceptively simple recipe opens up a world of culinary possibilities, transforming ordinary desserts into
extraordinary delights.
What Exactly Is Chocolate Ganache?
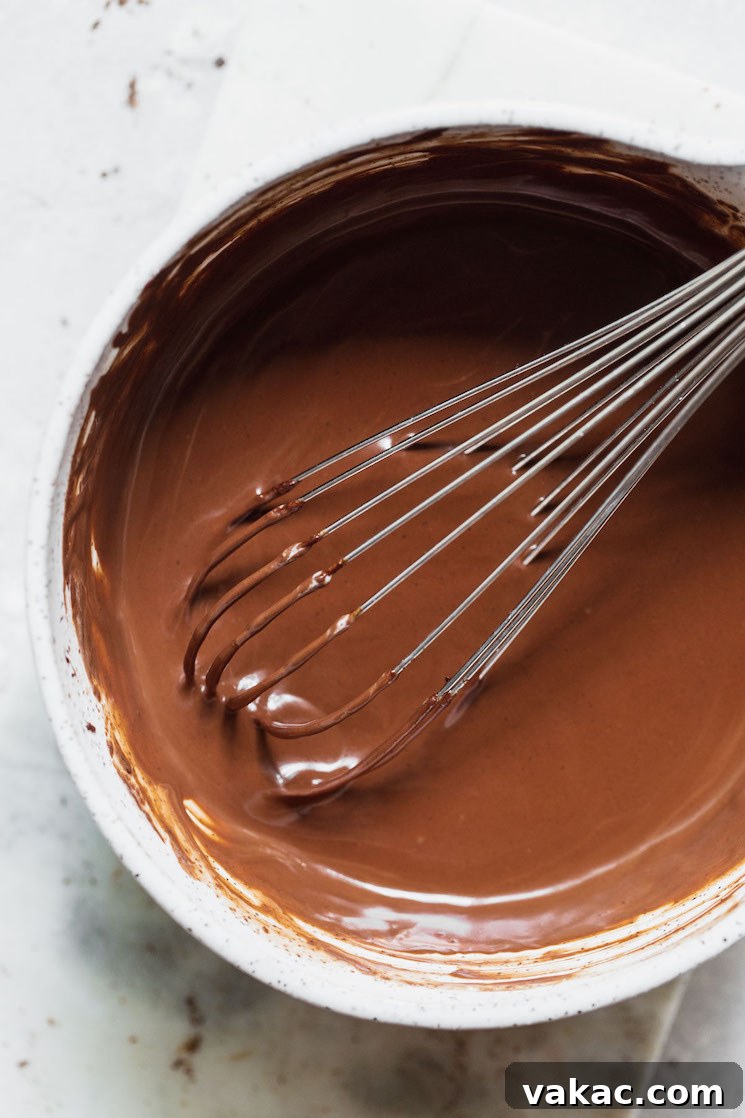
At its heart, chocolate ganache is an emulsion formed by combining warm heavy cream with finely chopped chocolate. The
process involves gently melting the chocolate with the heat from the cream, then stirring until a smooth, glossy, and
uniform mixture is achieved. This classic French confection is a testament to culinary elegance born from simplicity.
Its magic lies in its adaptability; by merely adjusting the proportions of chocolate to cream, you can achieve a
spectrum of textures, from a delicate, pourable glaze to a firm, sliceable filling.
Ganache’s versatility makes it an indispensable tool in any baker’s arsenal. A thinner consistency might serve as a
luxurious glaze for cakes and pastries, creating a beautiful, mirror-like finish. A slightly thicker ganache can be
whipped into a light and airy frosting, piped onto cupcakes, or used as a decadent filling between cake layers. When
made with a higher chocolate ratio and allowed to cool, it forms a pliable base perfect for rolling into exquisite
chocolate truffles or shaping into decorative elements. Its rich flavor and smooth texture elevate everything it
touches, adding a touch of gourmet sophistication to homemade treats.
In this comprehensive guide, we’ll delve into the nuances of creating the perfect chocolate ganache, exploring the
essential ingredients, precise ratios for various applications, and a foolproof step-by-step method. We’ll also
uncover how to transform this humble mixture into an ethereal whipped ganache frosting, perfect for adorning cakes and
cupcakes with a light, chocolatey cloud.
The Essential Two Ingredients for Perfect Ganache
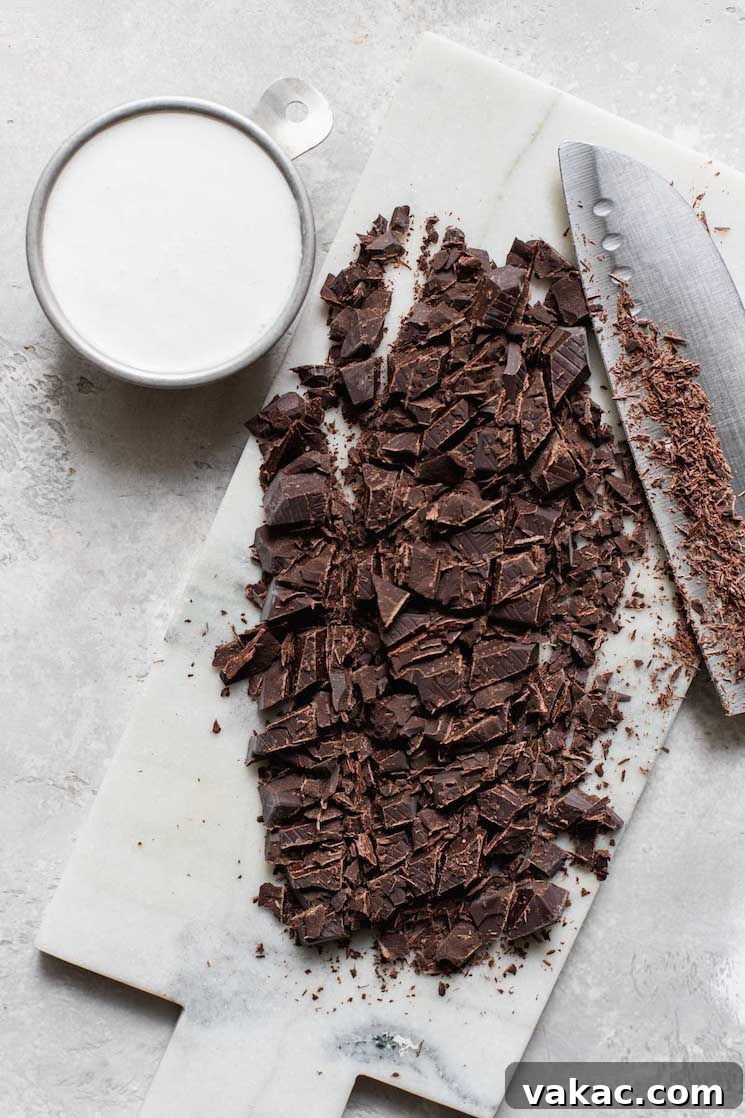
The beauty of this easy chocolate ganache recipe lies in its minimalist ingredient list. You only need two key
components, but choosing high-quality versions of each is crucial for achieving the best flavor and texture.
-
Semi-Sweet Chocolate: The foundation of your ganache. While chocolate chips are convenient, solid
chocolate bars typically yield a superior ganache. This is because chocolate chips often contain stabilizers
(like soy lecithin) that prevent them from melting as smoothly as bar chocolate, sometimes resulting in a grainier
texture. For optimal results, opt for good quality semi-sweet chocolate bars such as Bakers or Ghirardelli. Their
consistent melt and rich flavor will shine through. If using chocolate chips, be aware that the texture might be
slightly different, and a very gentle, patient stirring approach is recommended. You can also experiment with dark
chocolate for a more intense flavor or milk chocolate for a sweeter, creamier ganache, though ratios may need
slight adjustment. -
Heavy Cream: This is the liquid component that emulsifies with the chocolate, creating its
signature smooth texture. Also known as heavy whipping cream, it’s vital to use cream with a minimum milk fat
content of 36%. The high-fat content is essential for a stable emulsion and a rich mouthfeel. Lower-fat creams
like half-and-half or light cream will not create the same luxurious texture and may lead to a thinner, less
stable ganache. The warmth of the cream is key to melting the chocolate evenly, so ensure it’s heated properly
but not boiled.
Mastering Ganache Ratios: Tailor Your Texture
The magic of homemade chocolate ganache truly lies in its incredible versatility, which is primarily dictated by the
ratio of chocolate to heavy cream. By altering these proportions, you can achieve vastly different consistencies,
allowing you to customize your ganache for almost any dessert application. Understanding these ratios is key to
becoming a ganache guru. The measurements provided here are typically by weight (ounces or grams) for precision, as
volume measurements for chocolate can vary.
-
1:2 Ratio (Chocolate to Cream) – The Pourable Glaze:
This ratio uses one part chocolate to two parts heavy cream. For example, 4 ounces (113 grams) of semi-sweet
chocolate combined with 8 ounces (240 ml) of heavy cream. This creates a very thin, fluid ganache that is
perfect for a pourable glaze. It sets into a soft, shiny coating, ideal for covering Bundt cakes, drizzling over
pancakes or waffles, or creating elegant plate designs. It’s light, delicate, and will slowly drip down the sides
of a cake for a beautiful aesthetic. -
1:1 Ratio (Chocolate to Cream) – The Versatile Drip or Thick Glaze:
This is perhaps the most commonly used and versatile ratio, and it’s the one we’ll focus on in our step-by-step
recipe. It calls for equal amounts of chocolate and heavy cream by weight – for instance, 4 ounces (113 grams)
of semi-sweet chocolate to 4 ounces (120 ml) of heavy whipping cream. This ratio produces a moderately thick
ganache that is excellent for a slightly thicker glaze. When cooled slightly, it’s ideal for a controlled drip
effect on cakes and cupcakes, providing a more defined, luscious cascade. I frequently use this ratio for the
perfect drip on my chocolate cupcakes with peanut butter frosting, adding both visual appeal
and rich flavor. It also works beautifully as a soft, luxurious filling for tarts or pastries that don’t require
a firm set. -
2:1 Ratio (Chocolate to Cream) – The Firm Filling or Truffle Base:
For a much thicker, richer ganache, you’ll use two parts chocolate to one part heavy cream. An example would be 8
ounces (226 grams) of semi-sweet chocolate and 4 ounces (120 ml) of heavy cream. This dense ganache firms up
significantly as it cools, making it perfect for applications where a more solid texture is desired. It’s the
go-to ratio for crafting homemade chocolate truffles, as it can be easily scooped, rolled, and coated. It also
makes an excellent, sturdy filling for layer cakes that need to hold their shape, or for creating a rich, fudgy
bar.
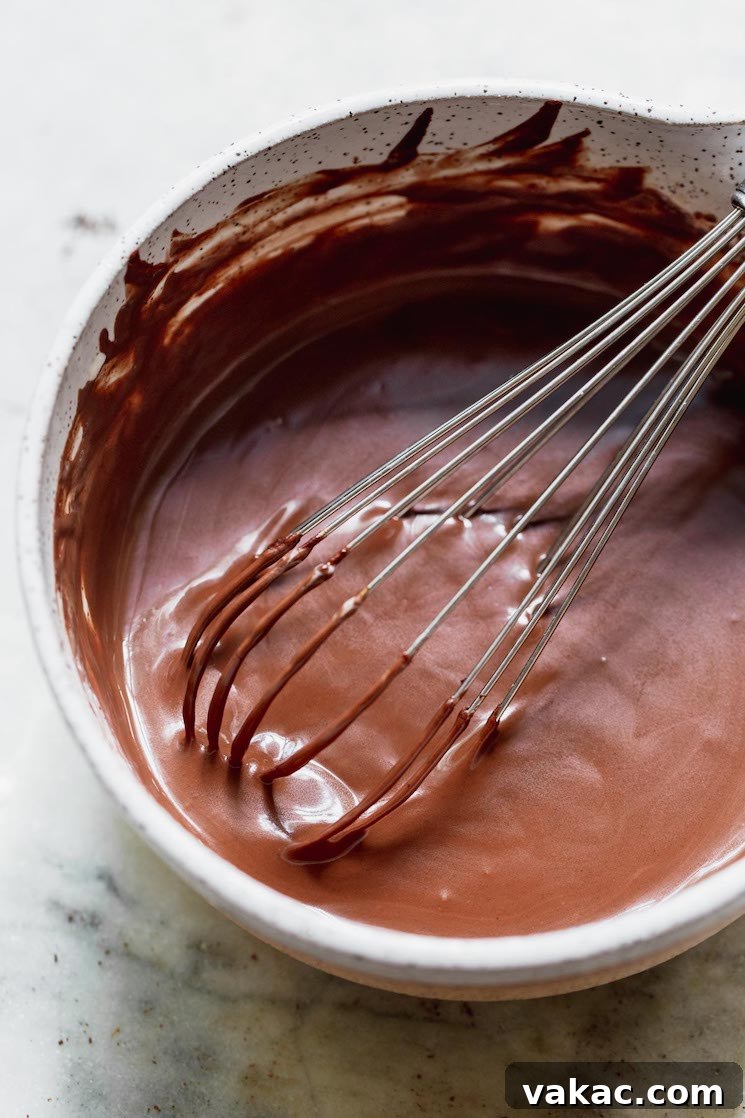
Step-by-Step: How to Make Silky Smooth Chocolate Ganache
Creating a flawless chocolate ganache is simpler than you might imagine. Follow these detailed steps to achieve a
velvety, rich, and utterly delicious result every time. We’ll be focusing on the versatile 1:1 ratio for this
tutorial.
-
Prepare Your Chocolate: Start by finely chopping your semi-sweet chocolate bar. The smaller the
pieces, the quicker and more evenly the chocolate will melt, resulting in a smoother ganache. Place the chopped
chocolate into a medium-sized, heat-proof bowl. Ensure the bowl is completely dry, as even a tiny drop of water
can cause chocolate to seize. Set the bowl aside. -
Gently Heat the Heavy Cream: Pour your heavy whipping cream into a microwave-safe measuring cup
or bowl. While a stovetop can also be used, the microwave offers incredible convenience and precision for smaller
batches. Heat the cream in the microwave for approximately 45 seconds to 1 minute. The goal is to get the cream
hot enough to melt the chocolate but not boiling. Watch it closely to prevent it from bubbling over, which can
happen quickly. If using a stovetop, heat the cream in a small saucepan over medium-low heat until small bubbles
form around the edges, but do not allow it to come to a rolling boil. -
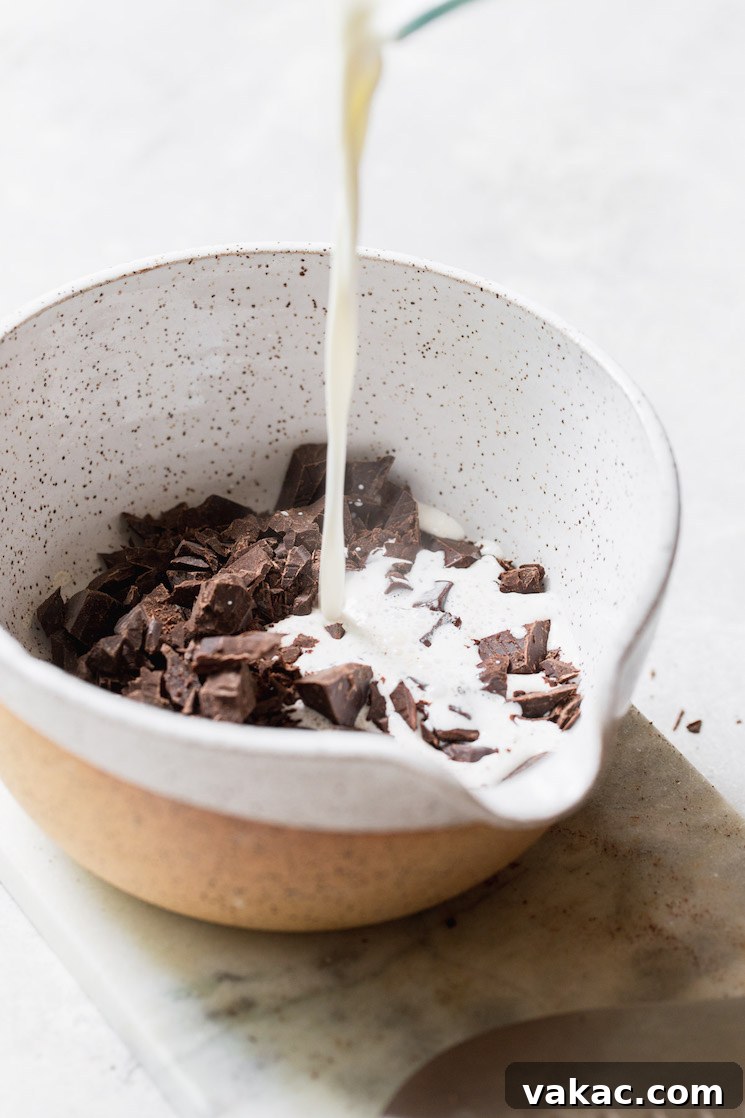
Combine and Rest: Immediately pour the warm heavy cream directly over the chopped chocolate in
your heat-proof bowl. Do not stir yet! This resting period is crucial; it allows the residual heat from the cream
to gently soften and melt the chocolate pieces. Let the mixture sit undisturbed for 2 to 3 minutes. This passive
melting helps create a stable emulsion when you eventually stir. -
Emulsify and Stir: After the resting period, you’ll notice the chocolate beginning to look soft
and glossy. Now, take a whisk or a spoon and begin stirring very slowly, starting from the center of the bowl.
Continue stirring in one consistent direction (either clockwise or counter-clockwise). This controlled stirring
technique helps to form a stable emulsion between the fat in the chocolate and the fat in the cream. Gradually
work your way outwards, incorporating all the chocolate until the mixture is completely smooth, glossy, and free
of any lumps. Resist the urge to stir vigorously or haphazardly, as this can introduce air bubbles or even cause
the ganache to “split” (where the fat separates from the solids). -
Cool and Use: Your chocolate ganache is now ready! Allow it to cool slightly before using, as
its consistency will thicken as it cools. For a pourable glaze, use it while still warm. For a thicker glaze, a
drip, or a filling, let it cool to room temperature or chill slightly until it reaches the desired thickness.
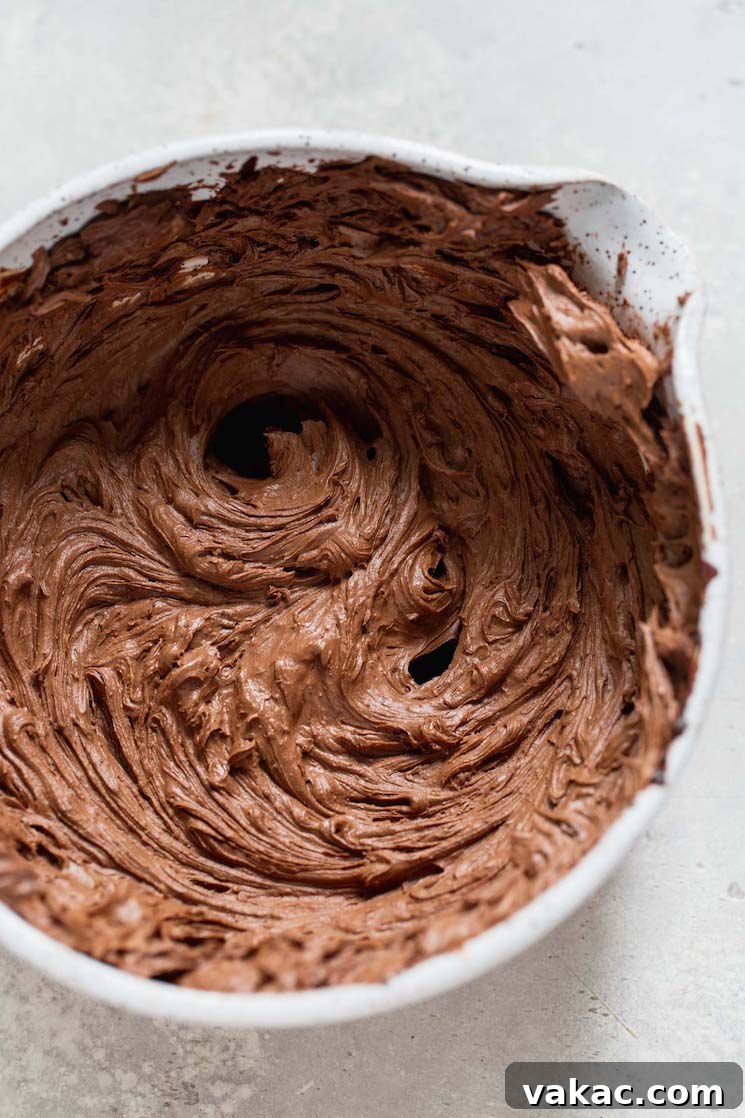
Transforming Ganache into Decadent Whipped Frosting
One of the most delightful transformations you can achieve with chocolate ganache is whipping it into a light, airy,
and intensely chocolatey frosting. This whipped ganache frosting is incredibly versatile and can be used to frost
cakes, fill cupcakes, or pipe intricate decorations. The key to successful whipped ganache is starting with the
correct ratio and allowing ample chilling time.
To create this luscious frosting, you’ll want to use the 1:1 ratio of chocolate to heavy cream, as
detailed above. This ensures the ganache has enough body to hold its shape when whipped, but remains creamy and
spreadable.
-
Prepare the Ganache: Follow the steps above to make your 1:1 ratio chocolate ganache. Once
it’s smooth and perfectly emulsified, transfer it to a clean mixing bowl – ideally, one you can use with an
electric mixer later. This minimizes additional cleanup. -
Chill Thoroughly: This is a critical step. Cover the bowl with plastic wrap, ensuring the wrap
touches the surface of the ganache to prevent a skin from forming. Transfer the bowl to the refrigerator and
chill for at least 1 hour, or until it is firm but still pliable (like soft butter). For best results, you can
even chill it for 2-3 hours. Do not rush this step; insufficient chilling will result in a runny, unstable
frosting. -
Whip to Perfection: Once thoroughly chilled, remove the ganache from the refrigerator. Using an
electric mixer (either a stand mixer with a whisk attachment or a hand mixer), begin beating the ganache on
medium-high speed. As you whip, you’ll notice it gradually lighten in color and become fluffy, almost like a
mousse. Continue whipping until it reaches a thickened, spreadable, and light consistency – similar to the
texture of regular buttercream frosting. Be careful not to over-whip, as this can cause the ganache to become
grainy or seize. Stop as soon as it holds its shape.
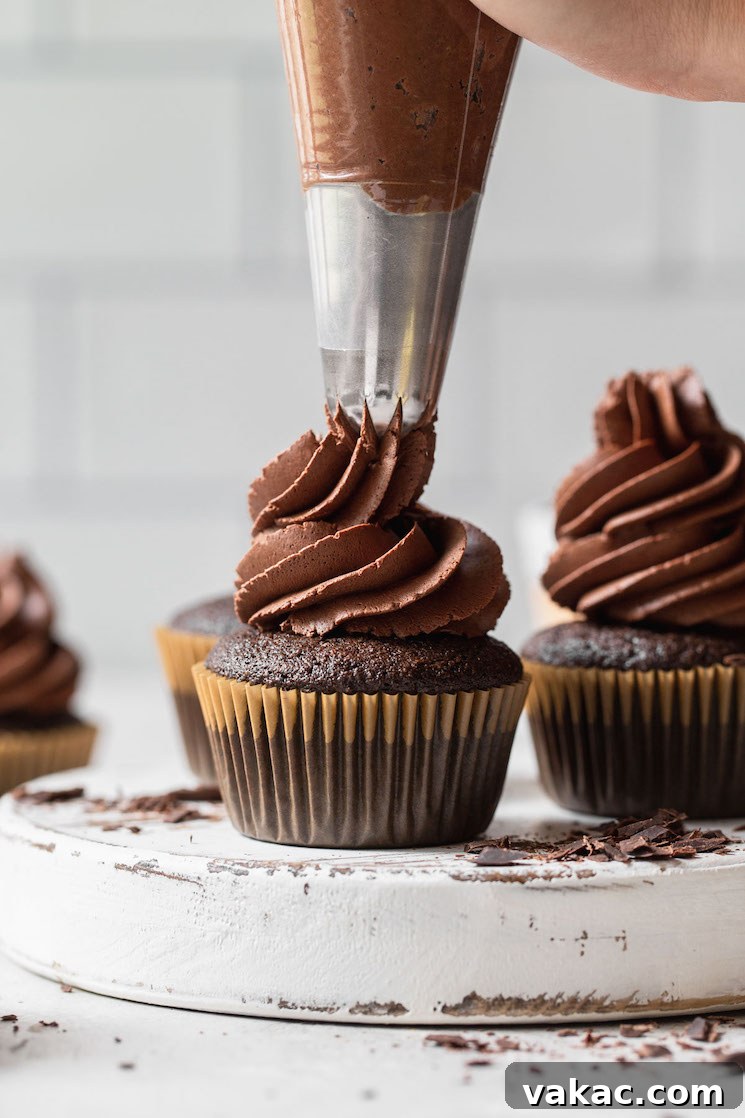
Your homemade whipped chocolate ganache frosting is now ready to impress! Pipe it onto cupcakes for a bakery-worthy
finish, spread it generously between cake layers for a rich filling, or use it to elegantly frost an entire cake. It’s
remarkably simple to make, yet delivers an unparalleled depth of chocolate flavor and a wonderfully smooth texture.
Frequently Asked Questions About Chocolate Ganache
Can I use white chocolate for ganache?
Absolutely, you can make white chocolate ganache, but it requires different ratios due to white chocolate’s unique
composition. White chocolate contains cocoa butter but no cocoa solids, making it inherently softer and sweeter than
semi-sweet or dark chocolate. For a drip consistency similar to the 1:1 semi-sweet ganache ratio, I recommend using
6 ounces (approximately 1 cup) of good quality white chocolate (bar or chips) with 1/3 cup (80 ml) of heavy whipping
cream. You might need to adjust slightly based on the brand of white chocolate, as cocoa butter content can vary.
Always chop white chocolate finely for the best melt.
Can I use semi-sweet chocolate chips instead of chocolate bars?
While you certainly can use semi-sweet chocolate chips, I generally prefer using high-quality semi-sweet chocolate
bars. Chocolate chips often contain stabilizers like soy lecithin, which are added to help them retain their shape
during baking. This characteristic means they don’t melt as smoothly or emulsify as easily as pure chocolate bars,
sometimes leading to a slightly grainier ganache texture. If using chocolate chips, ensure they are good quality and
allow them extra time to melt in the warm cream before stirring. For the 1:1 ratio, approximately 2/3 cup of
semi-sweet chocolate chips is equivalent to 4 ounces by weight.
Does chocolate ganache harden completely?
Chocolate ganache will firm up significantly as it cools, especially if it has a higher chocolate-to-cream ratio or
if refrigerated. However, it will not typically harden to a snap like a solid chocolate bar. The presence of cream
keeps it relatively soft and pliable, even when chilled. A thicker ganache (like a 2:1 ratio) will become firm enough
to roll into truffles or slice as a filling, but it will always retain a creamy, melt-in-your-mouth texture rather
than a hard one.
Does ganache need to be refrigerated for storage?
For immediate use (within 1-2 days), ganache can be stored at room temperature in an airtight container, especially
if you live in a cool environment. However, to maximize freshness and extend its shelf life, it’s generally best to
refrigerate ganache. Stored in an airtight container, it will keep well in the refrigerator for up to 2 weeks. Before
using refrigerated ganache, you’ll need to gently rewarm it (in the microwave at short intervals or over a double
boiler) or allow it to come to room temperature, depending on your intended use, as it will be quite firm when cold.
Pro Baking Tips for Flawless Ganache
-
Finely Chop Your Chocolate: This cannot be stressed enough. Smaller, uniform chocolate
pieces will melt more quickly and evenly, ensuring a silky-smooth, lump-free ganache without requiring
excessive stirring. -
Watch Your Cream Closely: Whether you’re using a microwave or stovetop, keep a vigilant eye
on the heavy cream as it heats. You want it hot, steaming, and just shimmering, but never boiling vigorously.
Boiling can alter the cream’s properties and negatively impact the ganache’s texture. In the microwave, this
often means 45-60 seconds, but microwaves vary in power. -
Patience During the Rest: Resist the urge to stir immediately after pouring the hot cream
over the chocolate. Allowing the mixture to sit for 2 to 3 minutes gives the chocolate ample time to soften
from the ambient heat, leading to a much smoother emulsion when you finally stir. -
Gentle, Consistent Stirring: Once the resting time is up, begin stirring slowly from the
center, moving outwards in a consistent, circular motion. This encourages a stable emulsion and prevents the
ganache from “splitting” or becoming greasy. Avoid vigorous whisking, which can incorporate too much air. -
Troubleshooting Split Ganache: If your ganache appears greasy or separated, don’t despair!
This usually means the emulsion has broken. Try adding a tablespoon of warm (not hot) heavy cream and whisking
gently until it comes back together. Sometimes, a tiny bit of cold cream can also help bring it back. -
Temperature is Key: Pay attention to the ganache’s temperature for different uses. Warm
ganache is pourable. Room temperature ganache is thicker for drips or filling. Chilled ganache (after whipping)
is perfect for frosting. -
Flavor Variations: Once your ganache is smooth, you can stir in extracts (vanilla, almond,
peppermint), liqueurs (Grand Marnier, Kahlua, rum), or even a pinch of instant espresso powder to enhance
its flavor profile.
Delightful Ways to Utilize Your Homemade Chocolate Ganache
The possibilities with chocolate ganache are virtually endless. Its rich flavor and versatile textures make it a star
ingredient in countless desserts. Here are some inspiring ideas to get you started:
-
Cupcake Topping: Drizzle a warm 1:1 ratio ganache over chocolate
cupcakes for a simple yet elegant finish, or whip it into a fluffy frosting for a truly decadent treat. -
Rich Tart & Cookie Fillings: Use a cooled 1:1 ganache as a luscious filling for tart shells,
sandwich cookies, or even these delightful mint
chocolate cookie cups. -
Homemade Chocolate Truffles: The 2:1 ratio ganache is your secret weapon for making exquisite
chocolate truffles. Once chilled, scoop and roll into balls, then dust with cocoa powder, chopped nuts, or
confectioners’ sugar. -
Ice Cream & Dessert Topping: A warm, thinner 1:2 ratio ganache makes an incredibly indulgent
sauce for pouring over ice cream sundaes, fruit, or even a slice of cheesecake. -
Elegant Cake Drips: Achieve that professional, gravity-defying drip effect on a classic chocolate layer
cake or a festive chocolate strawberry cake using a 1:1 ratio ganache. Apply it when it’s just warm enough
to flow, but not too hot. -
Glaze for Pastries & Donuts: A warm 1:2 ganache provides a thin, shiny glaze for croissants,
eclairs, or homemade donuts. -
Mousse Base: A soft ganache can be folded into whipped cream to create a rich and airy chocolate
mousse.
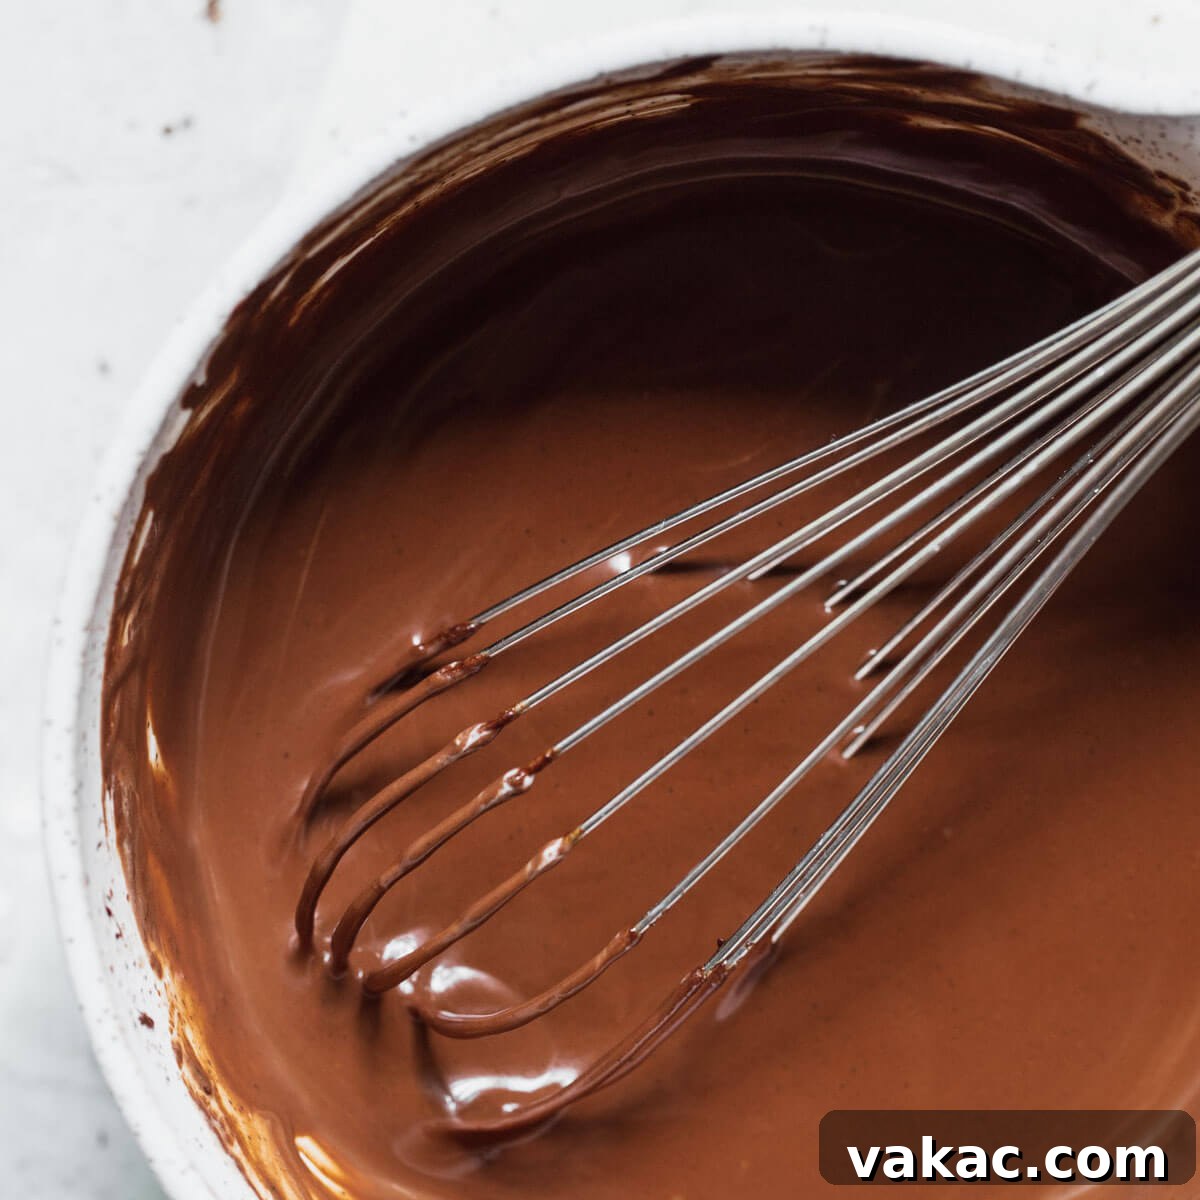
How To Make Chocolate Ganache
5 mins
5 mins
cream, a microwave, and 5 minutes to make this simple ganache recipe!
Ingredients
-
4 ounces
(113 grams) semi-sweet chocolate, finely chopped -
1/2 cup
(120 ml) heavy whipping cream (at least 36% milk fat)
Instructions
-
Chop the semi-sweet chocolate into very small, uniform
pieces and place them in a large, heatproof bowl. Set aside. -
Pour the heavy whipping cream into a microwave-safe bowl or
glass measuring cup. Heat in the microwave for 45 seconds to 1 minute, or until steaming hot
but not boiling. Monitor closely to prevent it from bubbling over. -
Immediately pour the warm heavy whipping cream over the
chopped chocolate. Let the mixture sit undisturbed for 2 to 3 minutes to allow the chocolate
to melt. -
After resting, begin whisking slowly from the center of the
bowl, moving in one consistent direction. Continue whisking gently until the chocolate is
completely melted and the mixture is smooth, glossy, and fully combined. -
Allow the ganache to cool completely to reach the desired
thickness before using it on your dessert.
Notes
up to 4 days. If it becomes too firm, gently rewarm in the microwave at 10-second intervals or allow
it to come to room temperature before using.
Freezing Instructions: Ganache freezes beautifully for up to 3 months. Store in
a freezer-safe bag or container. Thaw overnight in the refrigerator before using.
To Make Whipped Chocolate Ganache Frosting: After mixing the ganache (using the
1:1 ratio), transfer it to a clean bowl, cover, and chill in the refrigerator for at least 1 hour (or
until firm). Then, use an electric mixer to beat the chilled ganache until it’s thickened, fluffy,
and lightened in color.
Chocolate Choice: For the best results, I recommend using high-quality semi-sweet
chocolate bars like Bakers or Ghirardelli. If using semi-sweet chocolate chips, approximately 2/3 cup
is equivalent to 4 ounces.
White Chocolate Variation: For a white chocolate drip similar to the 1:1 ratio,
use 6 ounces (about 1 cup) of white chocolate (bar or chips) and 1/3 cup (80 ml) of heavy whipping
cream.