
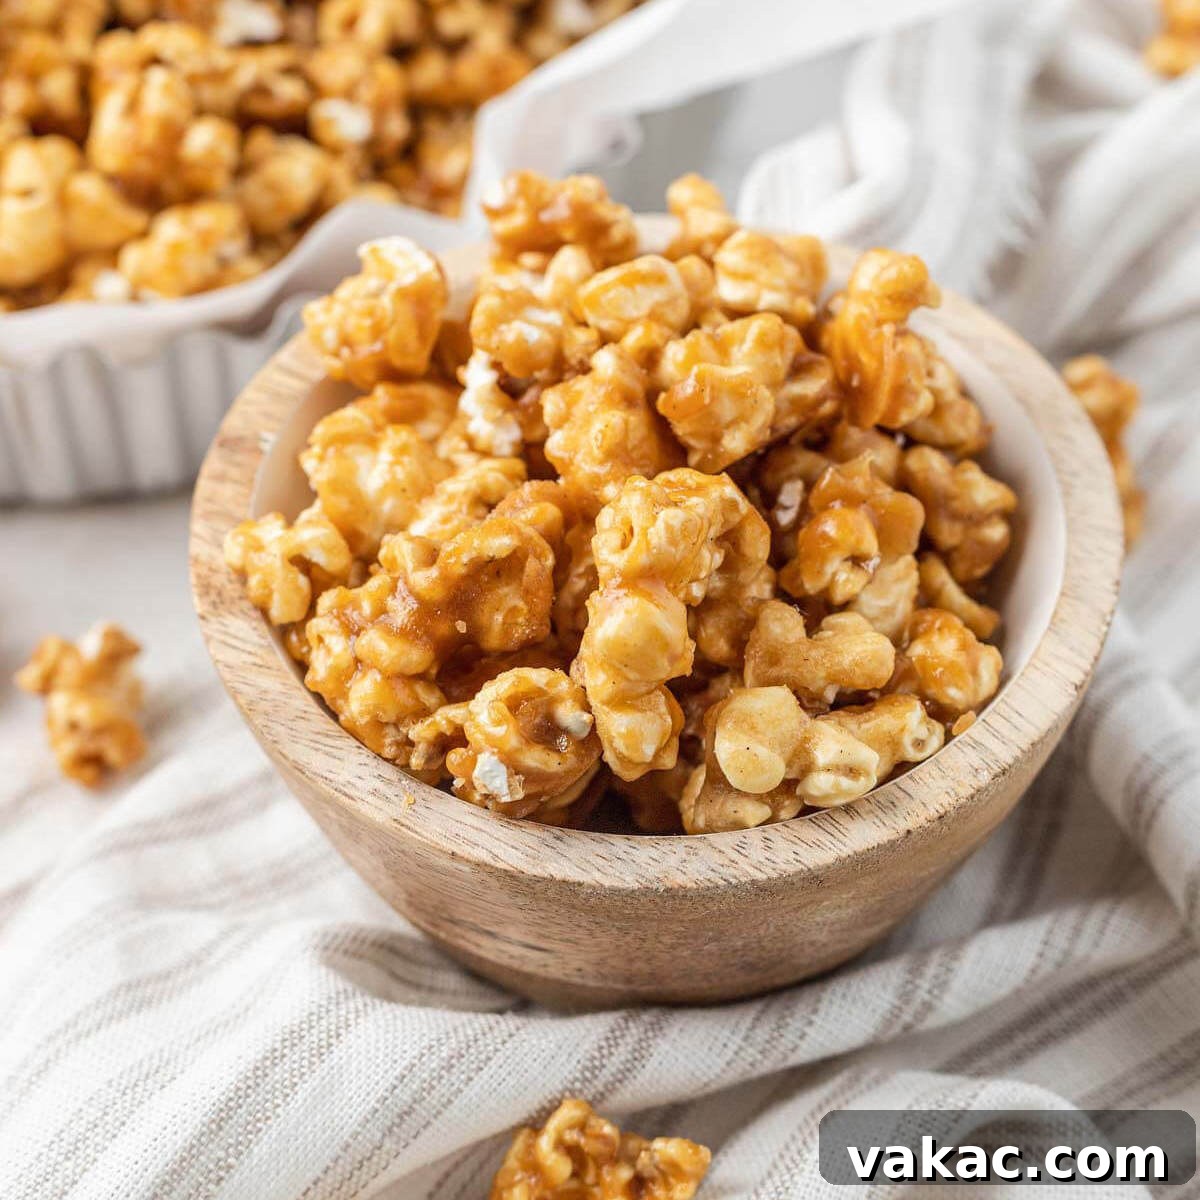
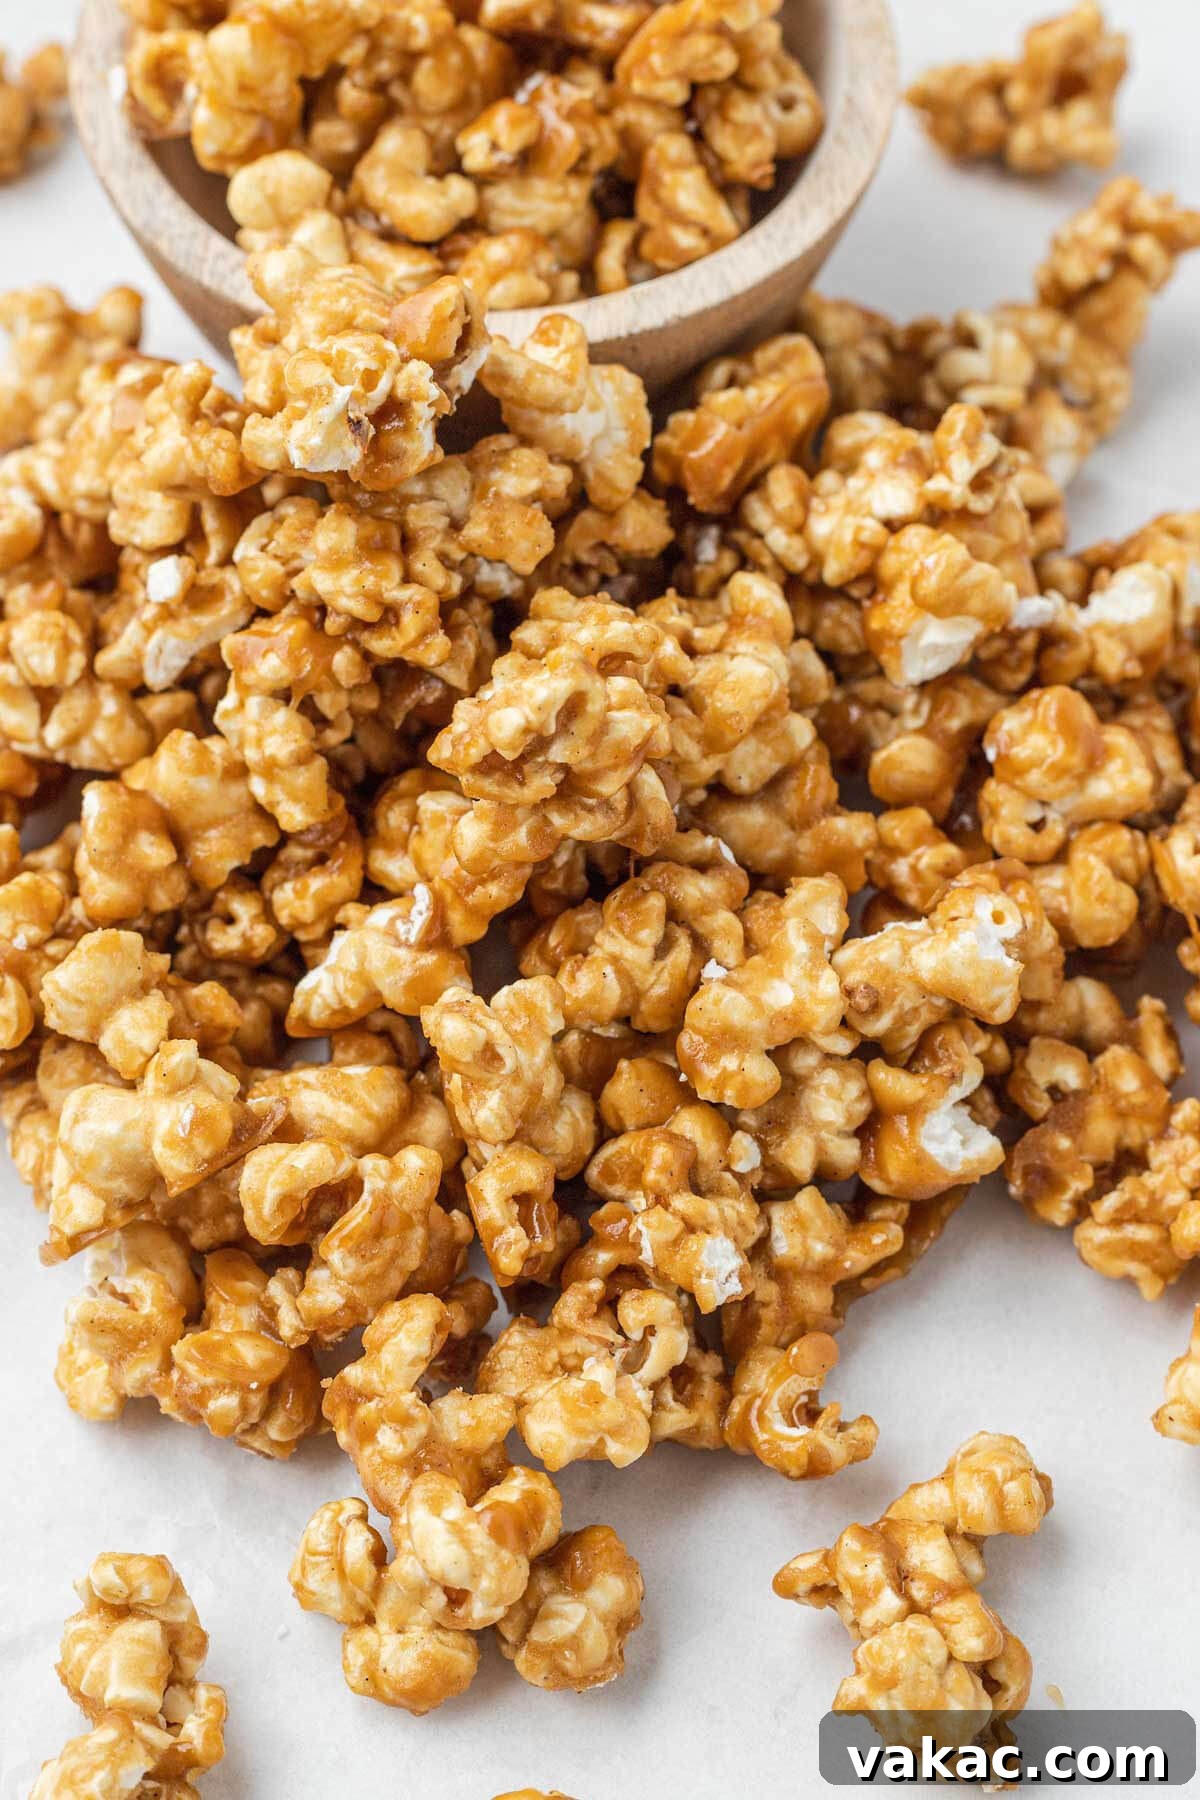
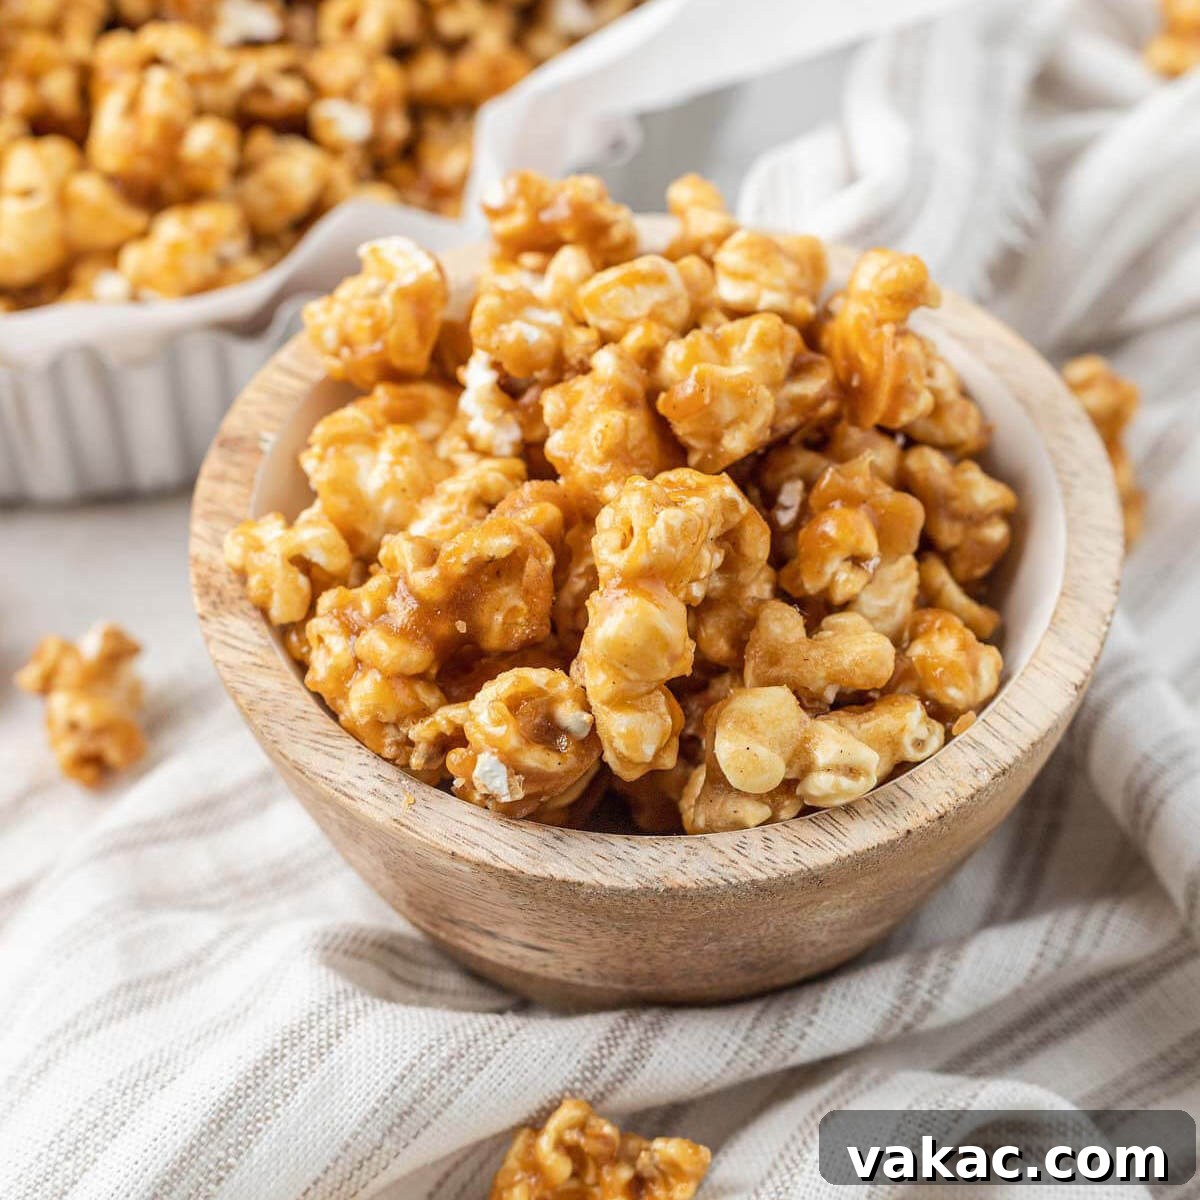
There’s an undeniable magic in homemade treats, and few things capture that nostalgic charm quite like a batch of freshly made caramel popcorn. Imagine golden, crisp popcorn kernels generously coated in a rich, buttery, and perfectly sweet caramel mixture, then baked to achieve that irresistible crunch. This isn’t just a snack; it’s an experience, a delightful fusion of sweet and salty that promises to be a new family favorite. Whether you’re planning a cozy movie night, preparing thoughtful gifts for loved ones, or simply craving a truly special indulgence, this homemade caramel corn recipe delivers perfection every time.
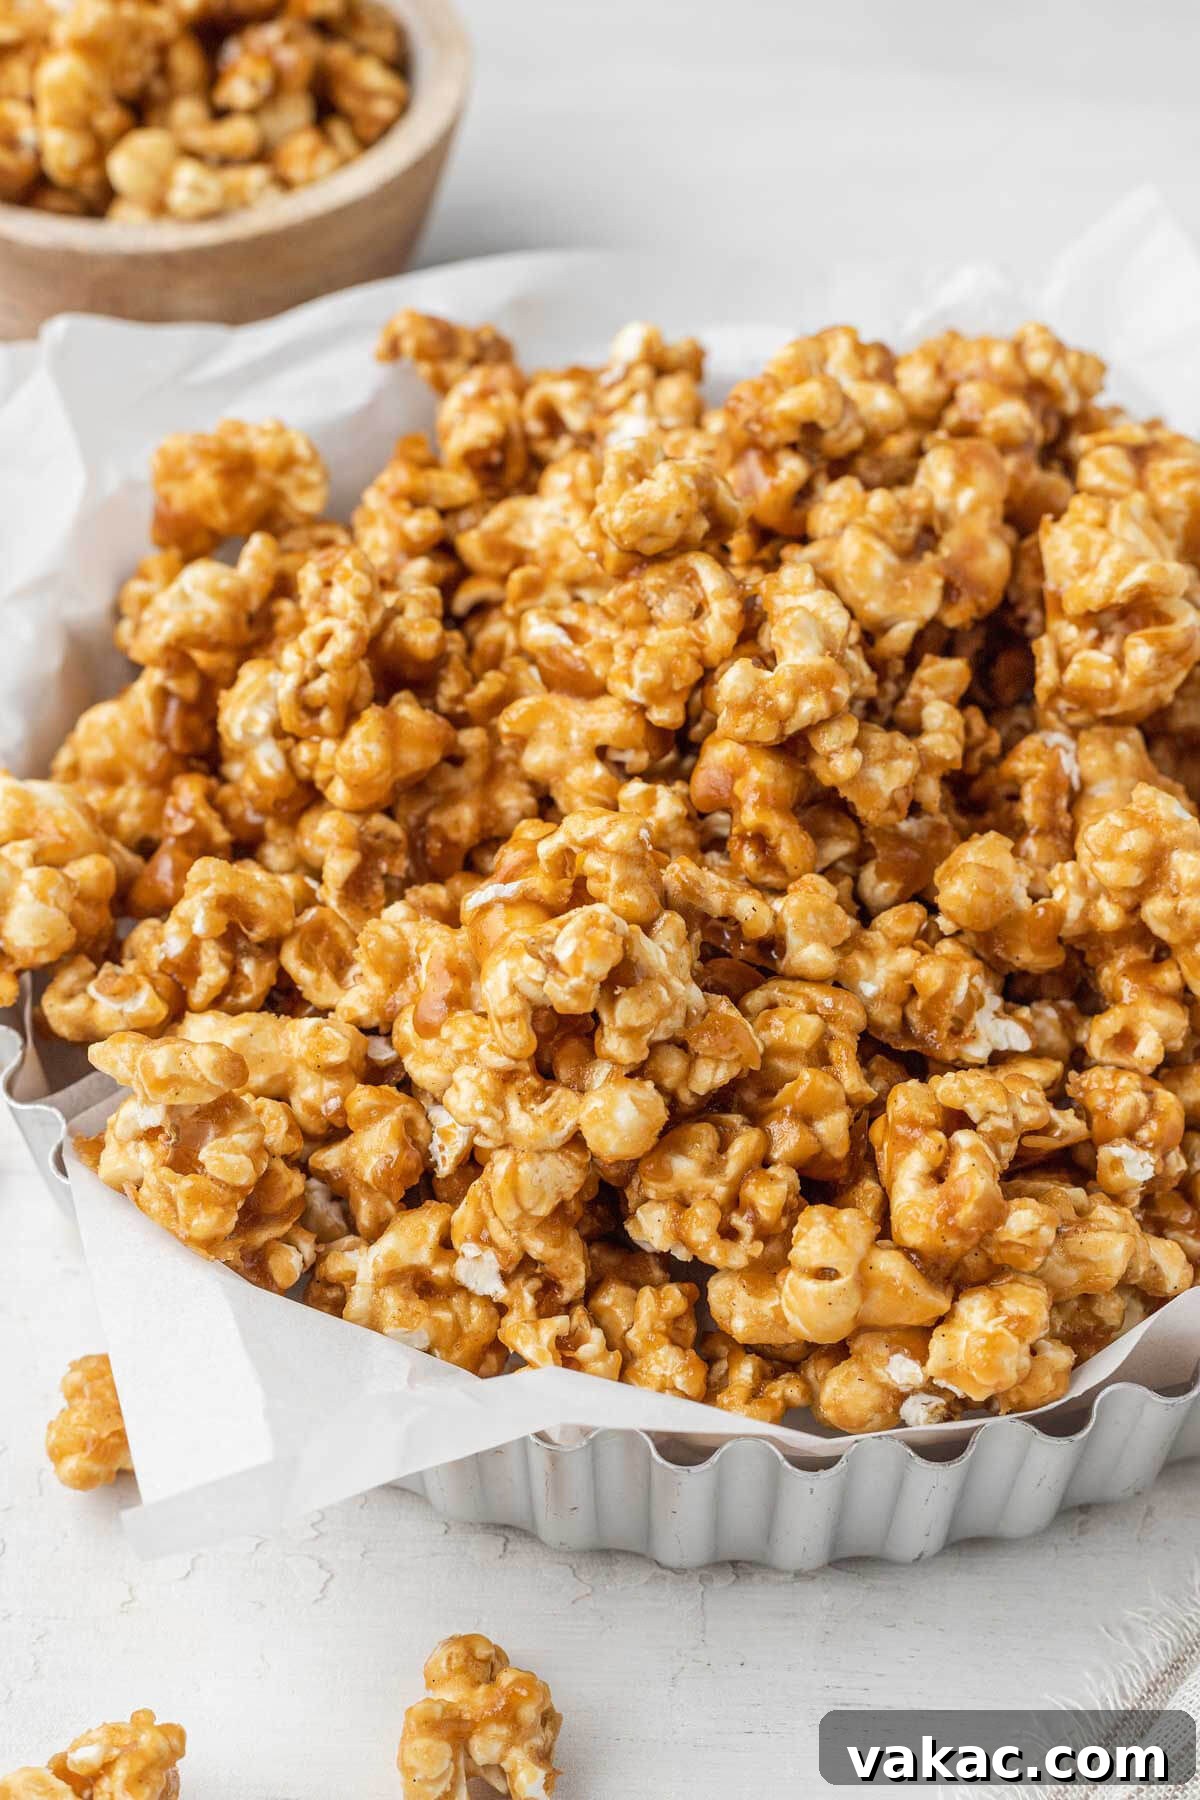
While the convenience of store-bought caramel corn is tempting, crafting it from scratch offers unparalleled advantages. The depth of flavor in a homemade caramel sauce, made with real butter and brown sugar, simply can’t be matched by mass-produced alternatives. Plus, the satisfaction of creating such a delicious snack from basic ingredients is truly rewarding. Not only does it taste superior, but making your own caramel popcorn is also surprisingly cost-effective, allowing you to enjoy generous quantities without breaking the bank. A single batch yields approximately eight cups of this delectable treat, and it stays wonderfully fresh at room temperature for up to two weeks, making it ideal for advance preparation.
Beyond its incredible taste and freshness, homemade caramel popcorn is remarkably versatile. It’s the perfect companion for at-home entertainment, a fantastic addition to holiday dessert tables, or an excellent edible gift that shows you truly care. Its ability to be prepared weeks in advance makes it a stress-free option for entertaining or holiday gifting. Get ready to elevate your snack game with this simple yet sensational recipe that will undoubtedly become a staple in your kitchen!
The Essential Ingredients for Perfect Caramel Popcorn
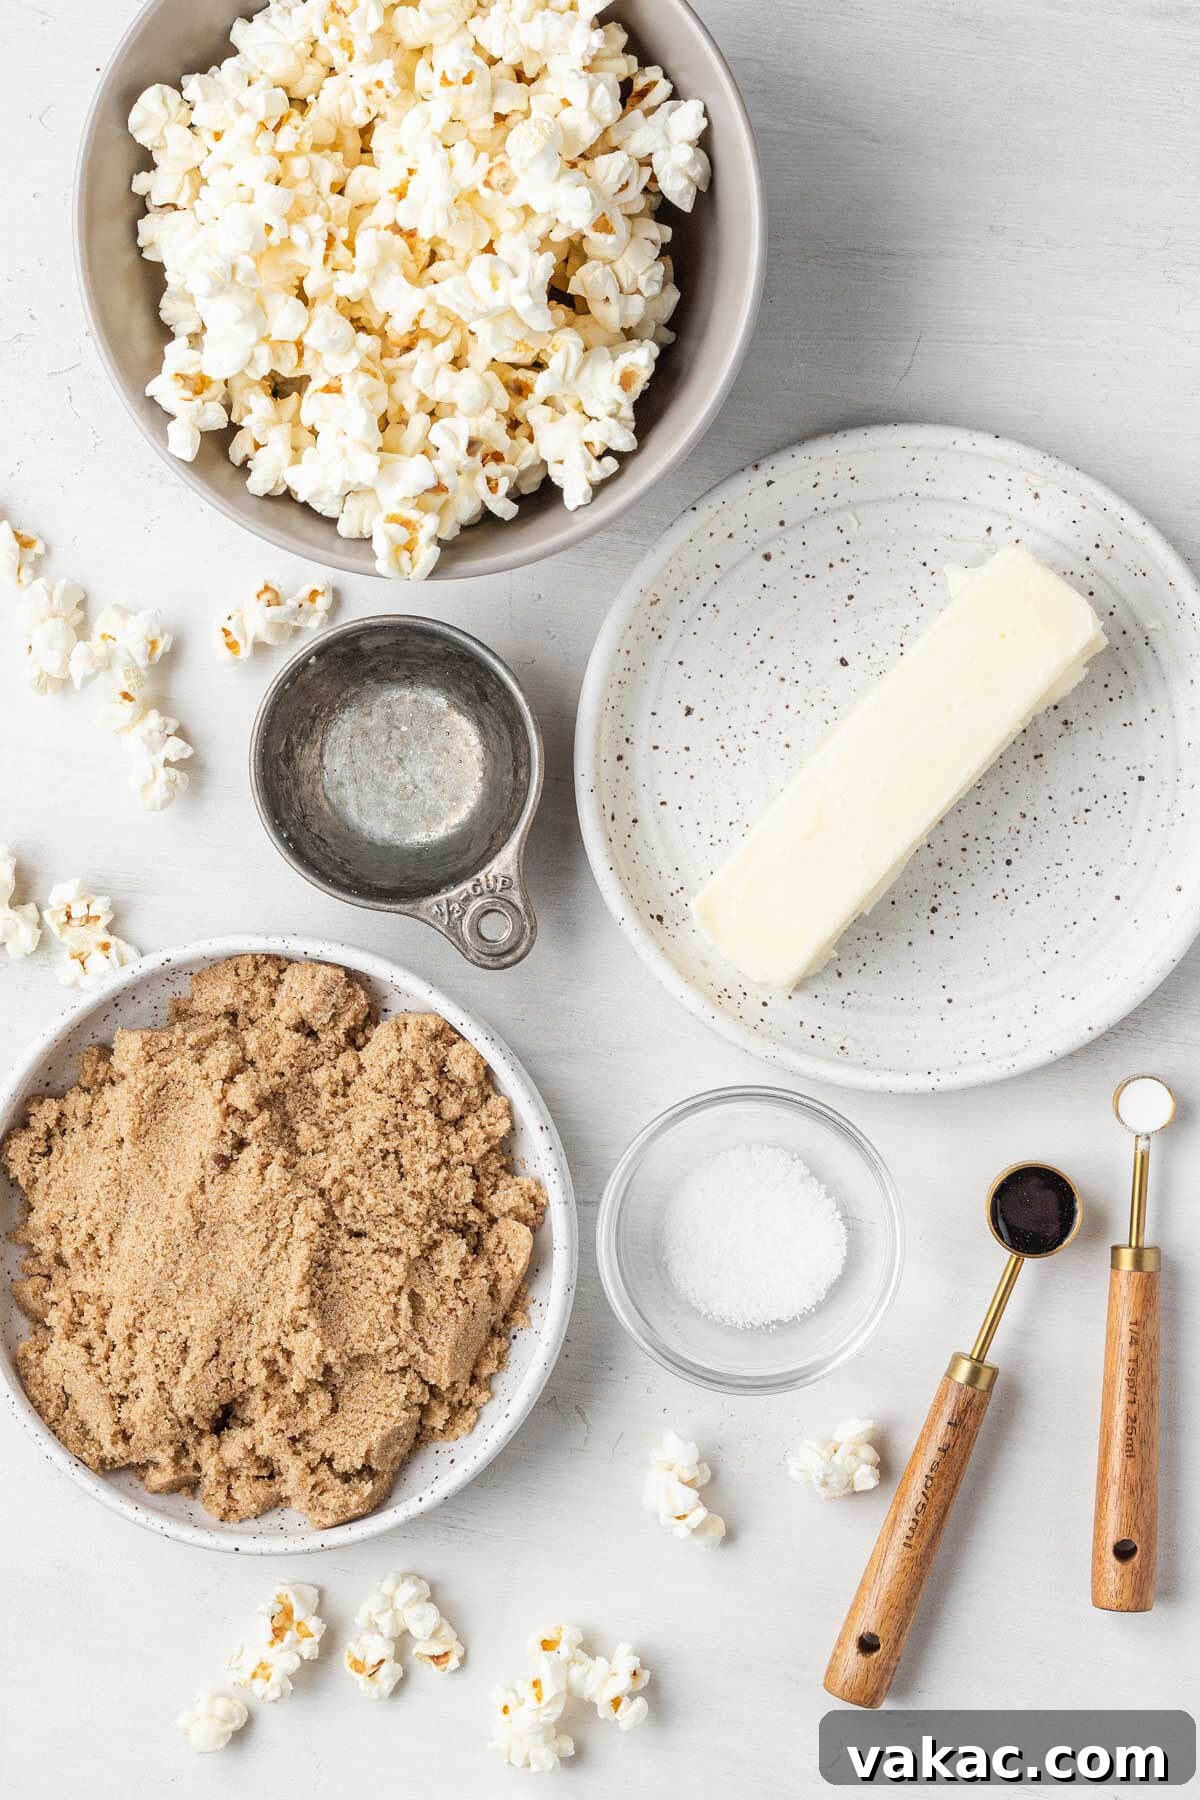
One of the beauties of this homemade caramel popcorn recipe is its reliance on just a few basic, readily available ingredients. You likely have most of these in your pantry right now! To create this buttery, salty, and sweet masterpiece, you’ll need popcorn, unsalted butter, light brown sugar, light corn syrup, salt, pure vanilla extract, and a touch of baking soda. While the list is short, understanding the role of each component is key to achieving that perfect crunchy, non-sticky caramel coating.
- Popcorn: The foundation of our snack! It’s crucial to use plain popcorn. Avoid any pre-seasoned varieties, as their flavors can clash with the rich caramel. You can either pop your own kernels using an air popper, stovetop, or microwave, or opt for a bag of unseasoned, plain popped popcorn from the grocery store for convenience. We’ll aim for 8 to 9 cups of popped corn for this recipe.
- Unsalted Butter: Butter is more than just a fat here; it’s a flavor powerhouse. Using unsalted butter allows you to control the overall saltiness of the caramel, perfectly balancing the sweetness. The fat content contributes to the caramel’s smooth texture and luxurious mouthfeel.
- Light Brown Sugar: This is the primary sweetener and provides that signature molasses-rich flavor that distinguishes caramel. Packed light brown sugar ensures accurate measurement and contributes to the deep, golden hue of the caramel.
- Light Corn Syrup: This ingredient might seem unusual if you’re new to caramel making, but it’s incredibly important. Corn syrup acts as an invert sugar, preventing the caramel from crystallizing and becoming grainy. It helps maintain the caramel’s smooth, pliable texture, making it easier to coat the popcorn evenly and preventing it from turning into a rock-hard candy shell once cooled. It also adds a subtle sweetness.
- Salt: A pinch of salt is vital for balancing the intense sweetness of the caramel. It enhances all the flavors and provides that addictive sweet-and-salty contrast that makes caramel corn so irresistible. Don’t skip it!
- Pure Vanilla Extract: Added at the end, vanilla extract infuses the caramel with a warm, aromatic depth that rounds out the flavor profile beautifully. Always use pure vanilla for the best results.
- Baking Soda: This might be the most surprising ingredient, but it’s a secret weapon for tender, never-too-hard caramel. When baking soda is added to the hot caramel mixture, it reacts with the acid in the brown sugar, creating tiny carbon dioxide bubbles. These bubbles aerate the caramel, giving it a softer, more pliable, and less brittle texture. This ensures your caramel corn is wonderfully crisp without being hard on your teeth.
Perfecting Your Popcorn Base: How to Pop Kernels for Caramel Corn
Starting with the right popcorn is essential. While you can certainly buy plain, pre-popped popcorn, making your own ensures ultimate freshness and control. Here’s a simple and effective microwave method to get the perfect plain popcorn base:
- Measure out about 2 tablespoons of unpopped popcorn kernels.
- Place the kernels into a standard brown paper lunch bag.
- Fold the top of the bag over tightly to seal it, creating a secure package.
- Microwave on high power for approximately 1 ½ to 2 ½ minutes. The exact time will vary depending on your microwave’s wattage. Listen carefully!
- Once the popping sound slows to about 2 seconds between individual pops, the popcorn is done. Remove it immediately to prevent burning.
For this recipe, you’ll need 8 to 9 cups of popped popcorn. You’ll likely need to repeat the microwave popping process twice, using fresh kernels for each batch, to yield the desired quantity.
Crafting Crunchy Perfection: A Step-by-Step Guide to Homemade Caramel Corn
Making caramel corn might sound intimidating, but it’s a straightforward process that yields incredibly delicious results. Follow these steps carefully, and you’ll be rewarded with a batch of perfectly crunchy, sweet, and salty caramel popcorn.
Preparation is Key
- Preheat Your Oven: Begin by preheating your oven to 250ºF (120°C). This low temperature is crucial for slowly baking the caramel onto the popcorn, ensuring it becomes crisp without burning.
- Prepare Your Baking Sheet: Line a large, rimmed baking sheet with parchment paper. This prevents the sticky caramel from adhering to the pan and makes cleanup a breeze. Set it aside.
- Pop Your Popcorn: Ensure you have your 8 to 9 cups of plain, popped popcorn ready. Place it in a very large mixing bowl to make the coating process easier.
Making the Decadent Caramel Sauce
- Melt the Butter: In a medium-sized, heavy-bottomed saucepan, melt the unsalted butter over medium heat. A heavy bottom helps distribute heat evenly and prevents scorching.
- Add Sugars and Syrup: Once the butter is fully melted, stir in the packed light brown sugar, light corn syrup, and salt. Mix thoroughly until all ingredients are well combined and the sugar starts to dissolve.
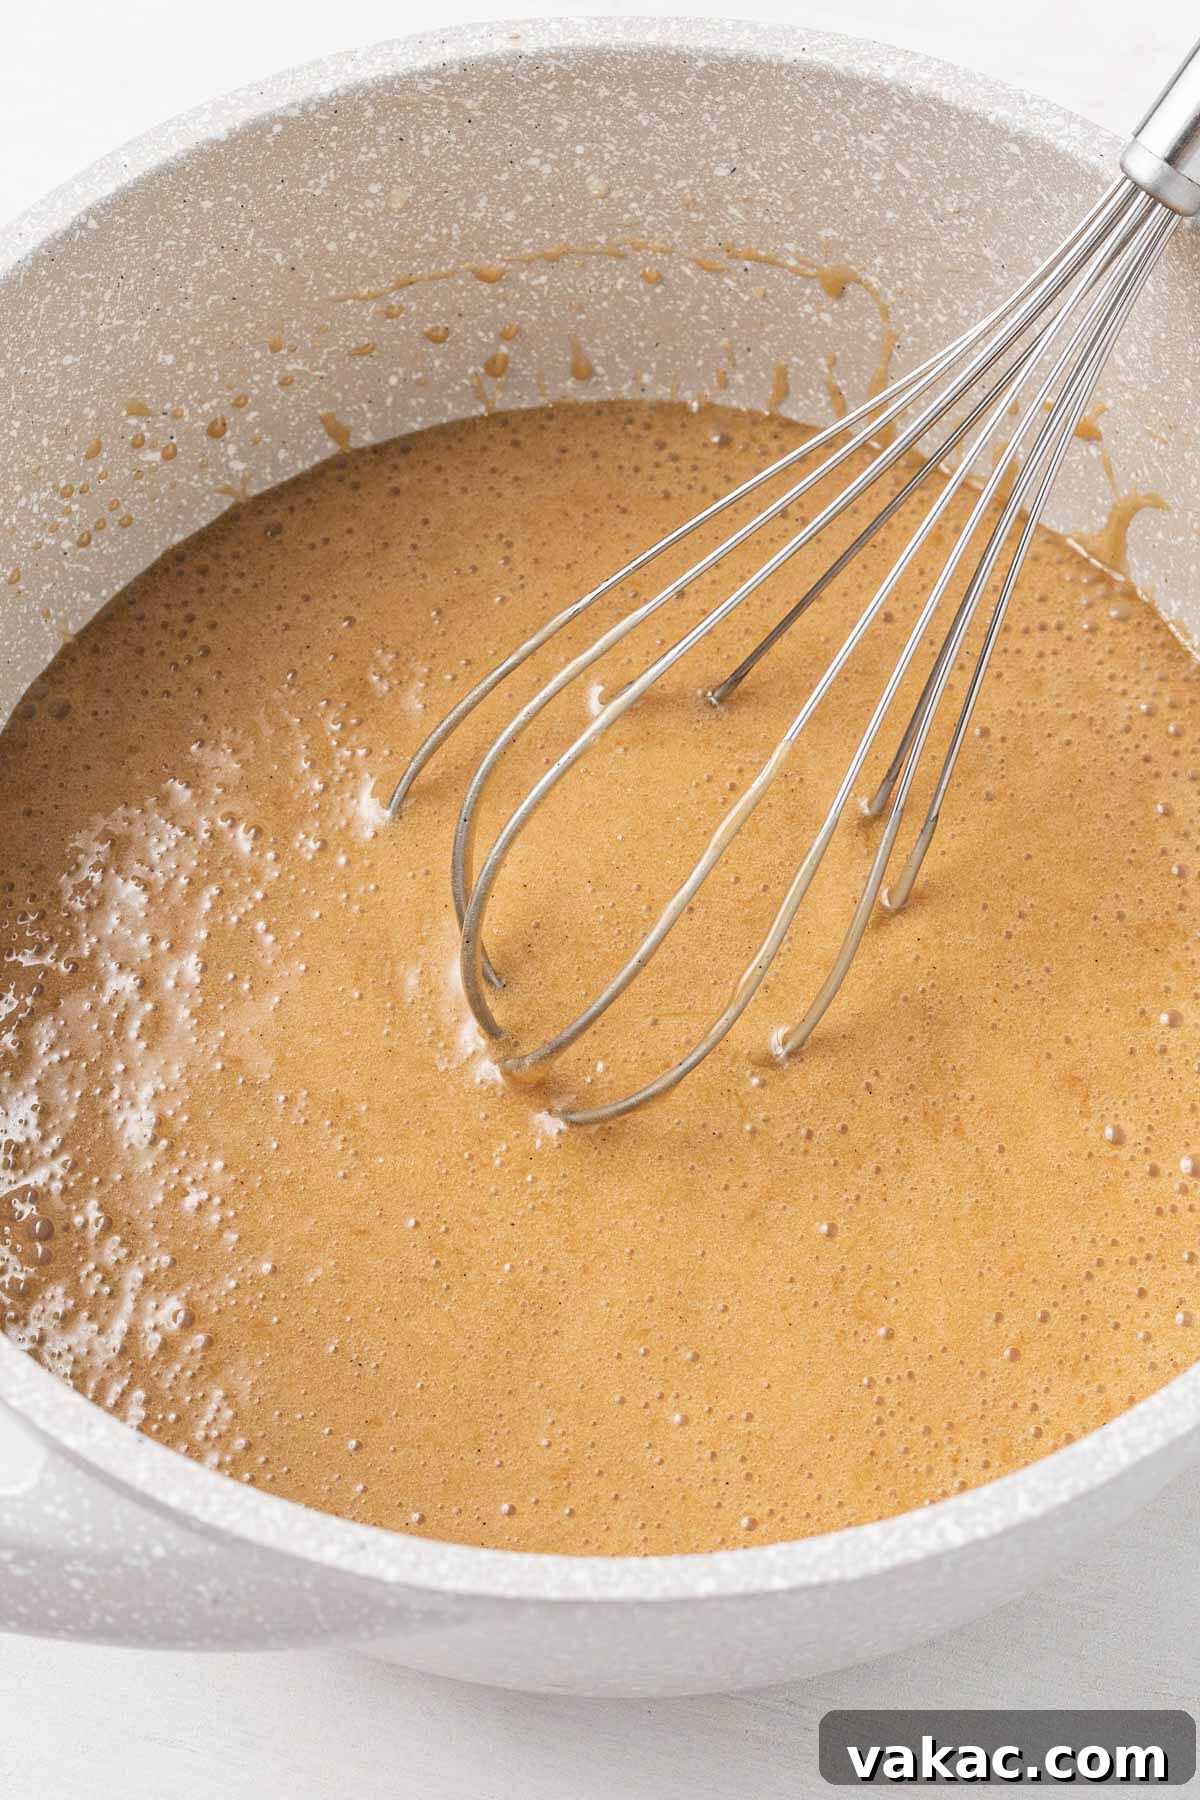
- Bring to a Boil and Simmer: Increase the heat slightly to bring the mixture to a rolling boil. Once boiling, reduce the heat to a simmer and continue to cook for 5 minutes. Throughout this entire process, stir the mixture often, almost constantly, to prevent it from sticking to the bottom of the pan and burning. Burning caramel is bitter and cannot be salvaged, so vigilance is key.
- The Magic of Baking Soda and Vanilla: After 5 minutes of simmering, remove the saucepan from the heat immediately. Quickly stir in the pure vanilla extract and, most importantly, the baking soda. You’ll notice the mixture will bubble up and foam quite vigorously. This is a normal and desired reaction, thanks to the baking soda, which is working its magic to create that tender, airy caramel texture. Stir until everything is fully incorporated.
Coating and Baking for Ultimate Crispness
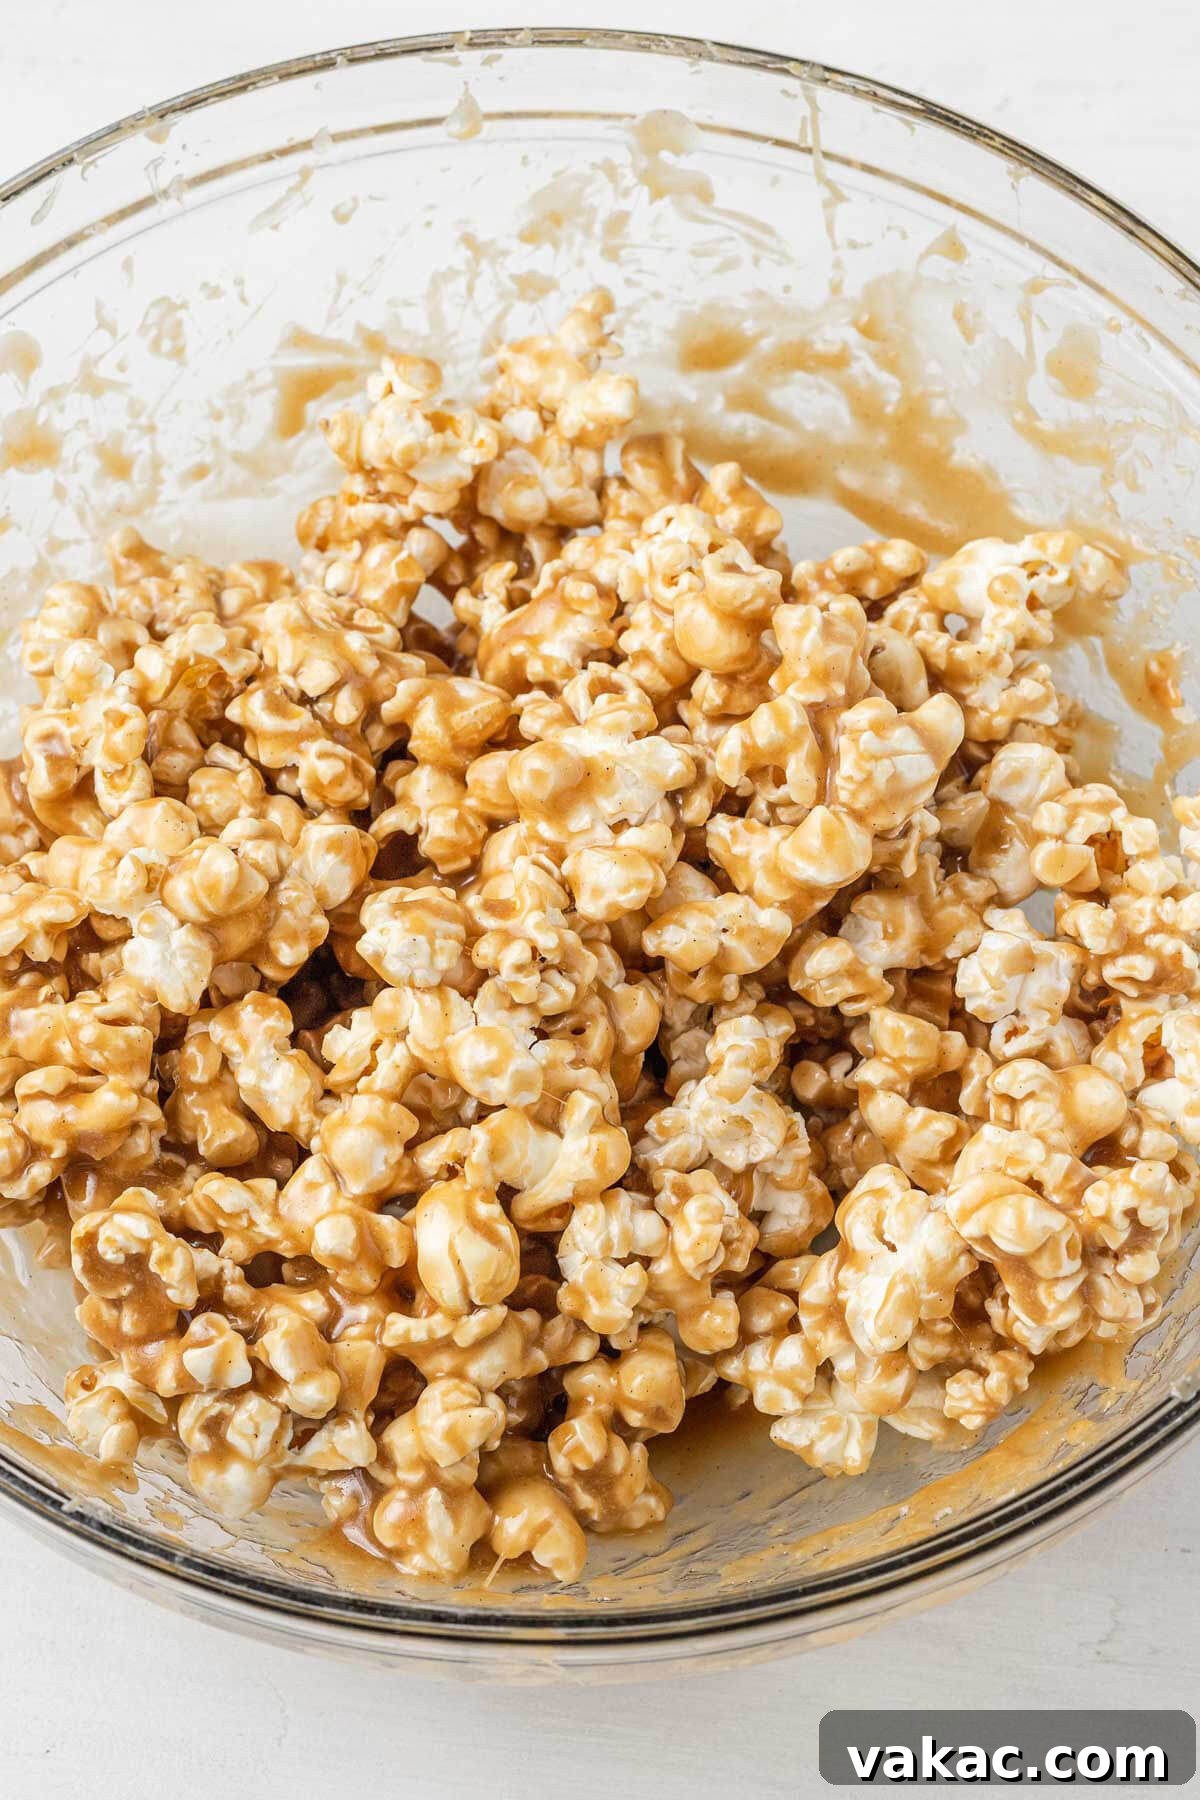
- Combine Caramel and Popcorn: Pour the hot, bubbly caramel mixture over the plain popcorn in the large mixing bowl. Using a large spoon or spatula, carefully but quickly mix the popcorn, tossing gently until each kernel is as evenly coated with the rich caramel sauce as possible. Work swiftly, as the caramel will begin to thicken as it cools.
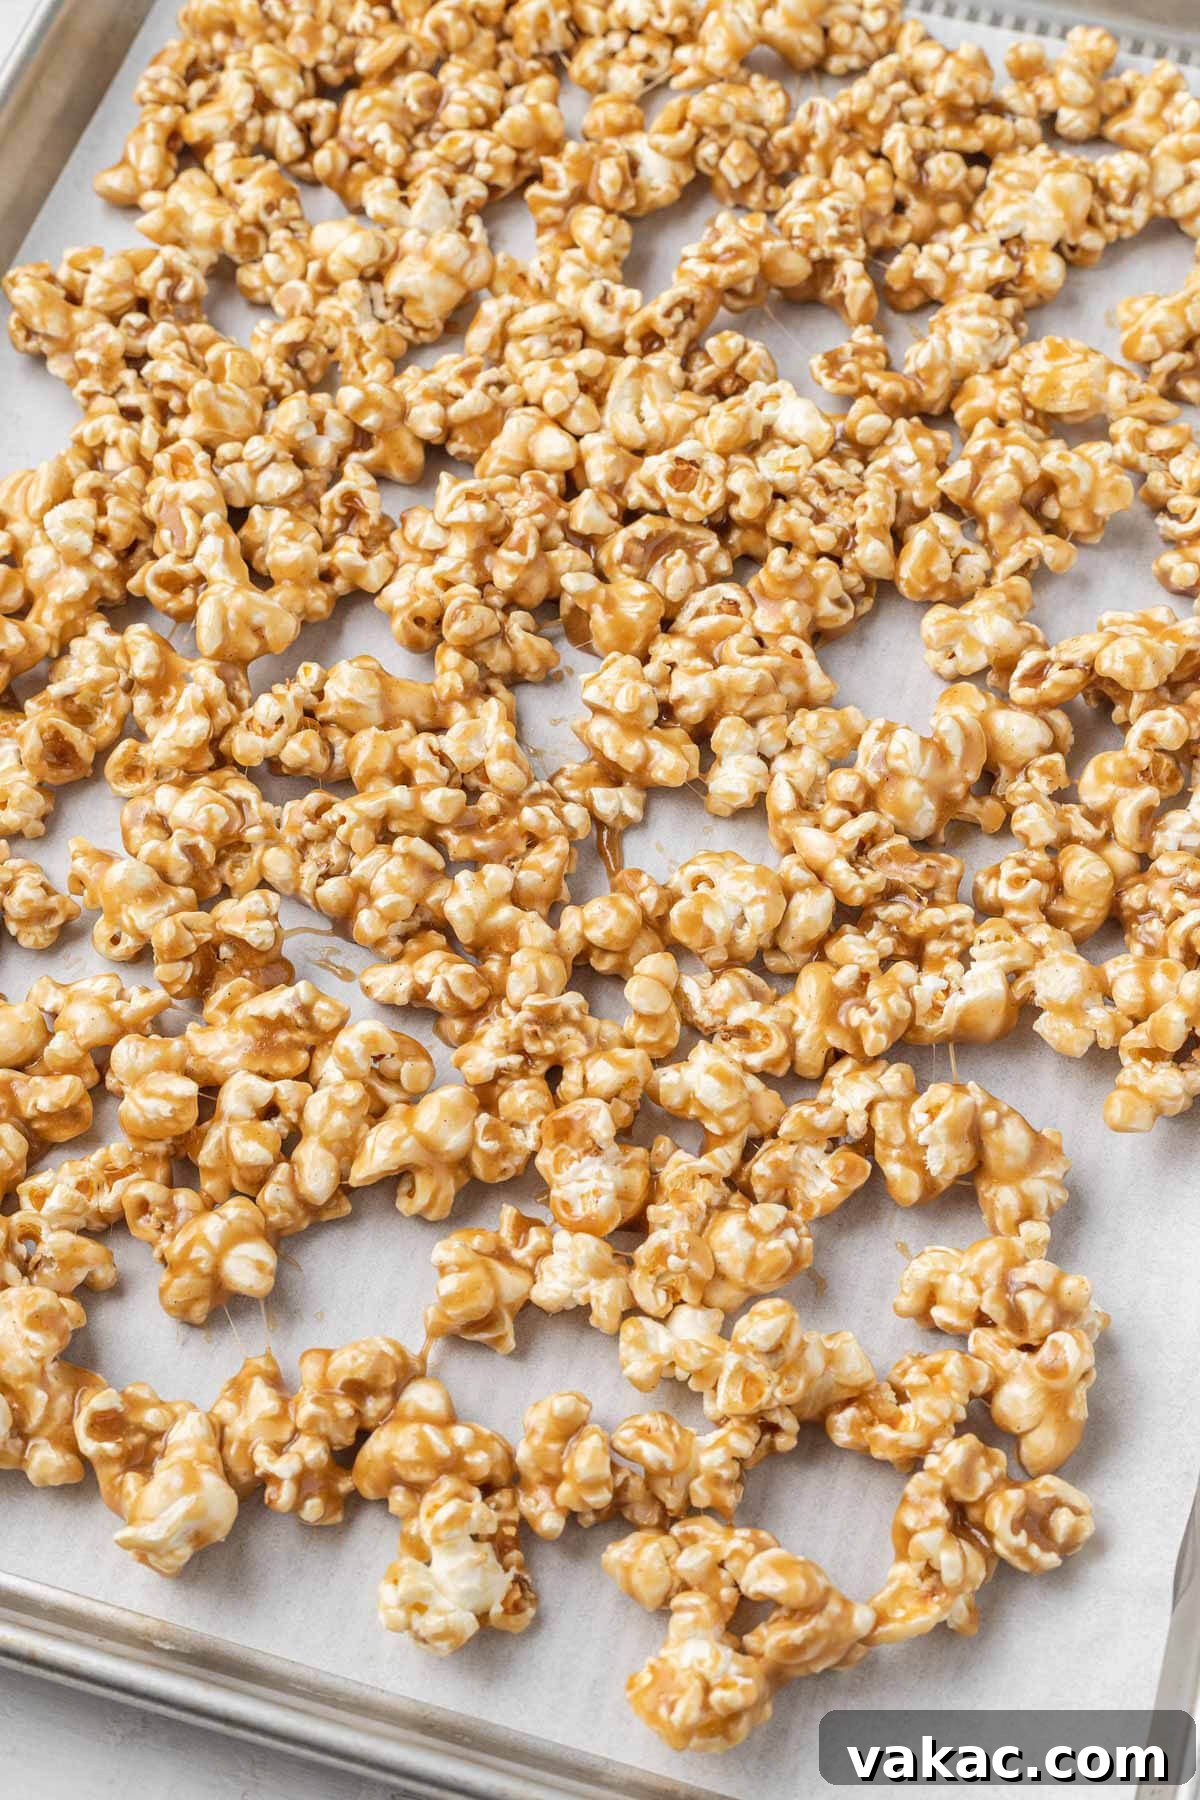
- Bake to Perfection: Transfer the caramel-coated popcorn to your prepared parchment-lined baking sheet, spreading it out into a single, even layer. This ensures consistent baking and crisping.
- The Baking Process: Place the baking sheet in the preheated oven and bake for a total of 45 minutes. The crucial step during baking is to stir the caramel corn every 15 minutes. This continuous stirring prevents the caramel from pooling, ensures all sides of the popcorn get evenly toasted, and promotes that desirable crunchy texture. It also helps prevent any individual pieces from sticking together excessively.
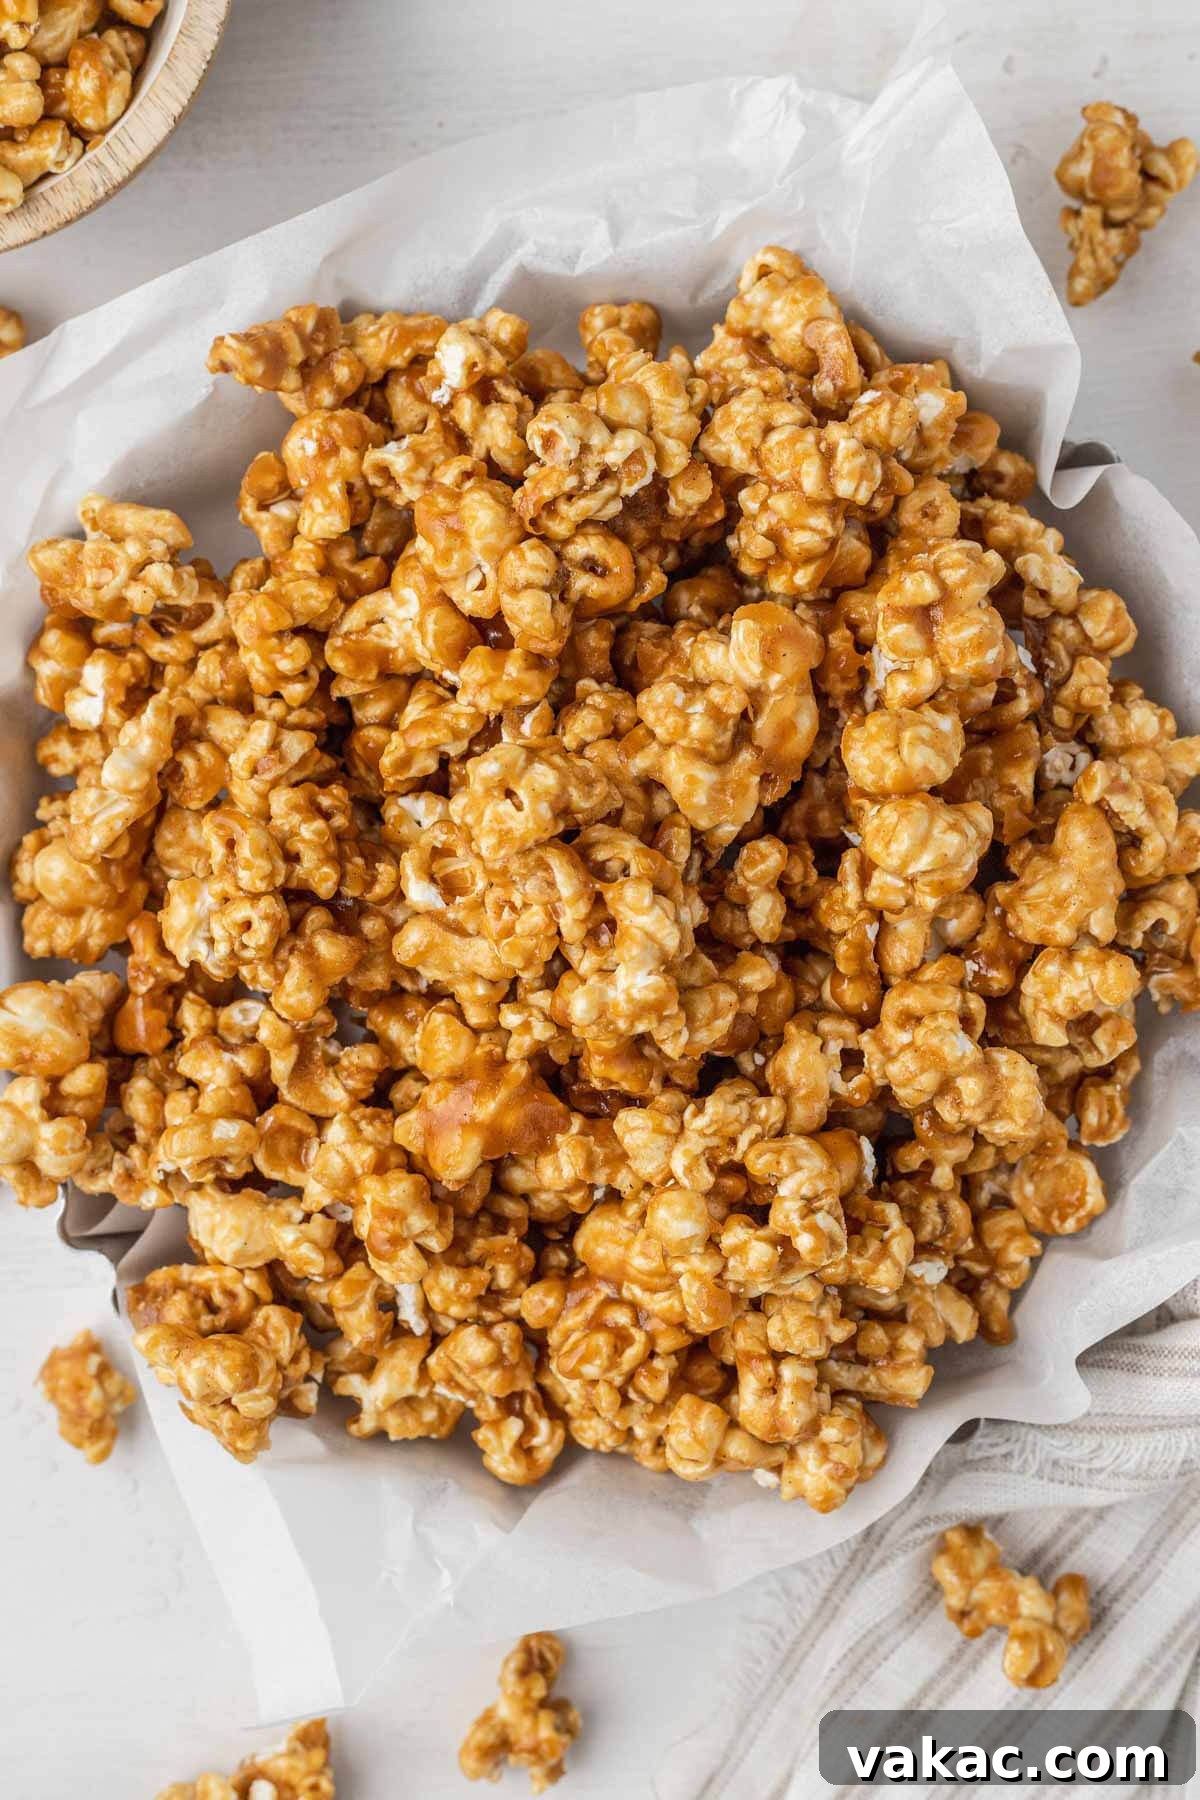
- Cool Completely: Once the 45 minutes of baking are up, remove the baking sheet from the oven. Give the popcorn one final stir to break up any large clumps. Let the caramel popcorn cool completely on the baking sheet for at least 1 hour, or until it reaches room temperature. It will be soft when it first comes out of the oven, but as it cools, the caramel will harden and become wonderfully crisp. Once fully cooled, break it apart into individual pieces and get ready to enjoy!
Frequently Asked Questions About Homemade Caramel Popcorn
Can I substitute corn syrup with something else?
Yes, if you prefer not to use corn syrup, maple syrup can be an effective substitute. It offers a similar viscosity that helps prevent crystallization in the caramel. Be aware that maple syrup will impart a slightly different flavor profile to your caramel corn, which some people enjoy. Another alternative is golden syrup, popular in many parts of the world, which functions very similarly to light corn syrup.
Can I add nuts to my caramel corn?
Absolutely! The combination of crunchy caramel corn and nuts is a classic for a reason. If you enjoy the added texture and flavor, feel free to add up to 1 cup of roasted and salted nuts to the popcorn before coating it with the caramel sauce. Pecans, cashews, almonds, or peanuts work wonderfully. Stir them in with the popcorn, then proceed with drizzling the caramel and baking as directed.
Is baking the caramel corn truly necessary?
Yes, baking is a critical step in this recipe and should not be skipped. While it might seem like an extra step, baking the caramel-coated popcorn at a low temperature for an extended period is what transforms it from merely coated popcorn into crispy, crunchy caramel corn. Without baking, the caramel mixture would remain sticky and moist, resulting in soggy popcorn that doesn’t keep well. Baking hardens the caramel, dries out any remaining moisture, and helps preserve the freshness and crispness for a much longer period. It’s the secret to that perfect, satisfying crunch!
Why did my caramel turn out sticky or soft?
If your caramel corn is sticky or soft, it’s likely due to one of two reasons: either the caramel wasn’t cooked long enough, or it wasn’t baked sufficiently. Ensure your caramel sauce reaches a full boil and simmers for the recommended 5 minutes, stirring constantly. More commonly, insufficient baking is the culprit. The 45-minute bake time with regular stirring is crucial for drying out the caramel and making it crisp. Don’t pull it out of the oven too soon! It will continue to firm up as it cools, but the baking is what sets it up for success.
Can I make chocolate-drizzled caramel corn?
Absolutely! Once your caramel corn has completely cooled and broken into pieces, you can melt about 1/2 cup of chocolate chips (milk, dark, or white) in a microwave-safe bowl. Drizzle the melted chocolate over the cooled caramel corn, then let it set on parchment paper until the chocolate hardens. This adds another layer of deliciousness!
Storage and Gifting Homemade Caramel Popcorn
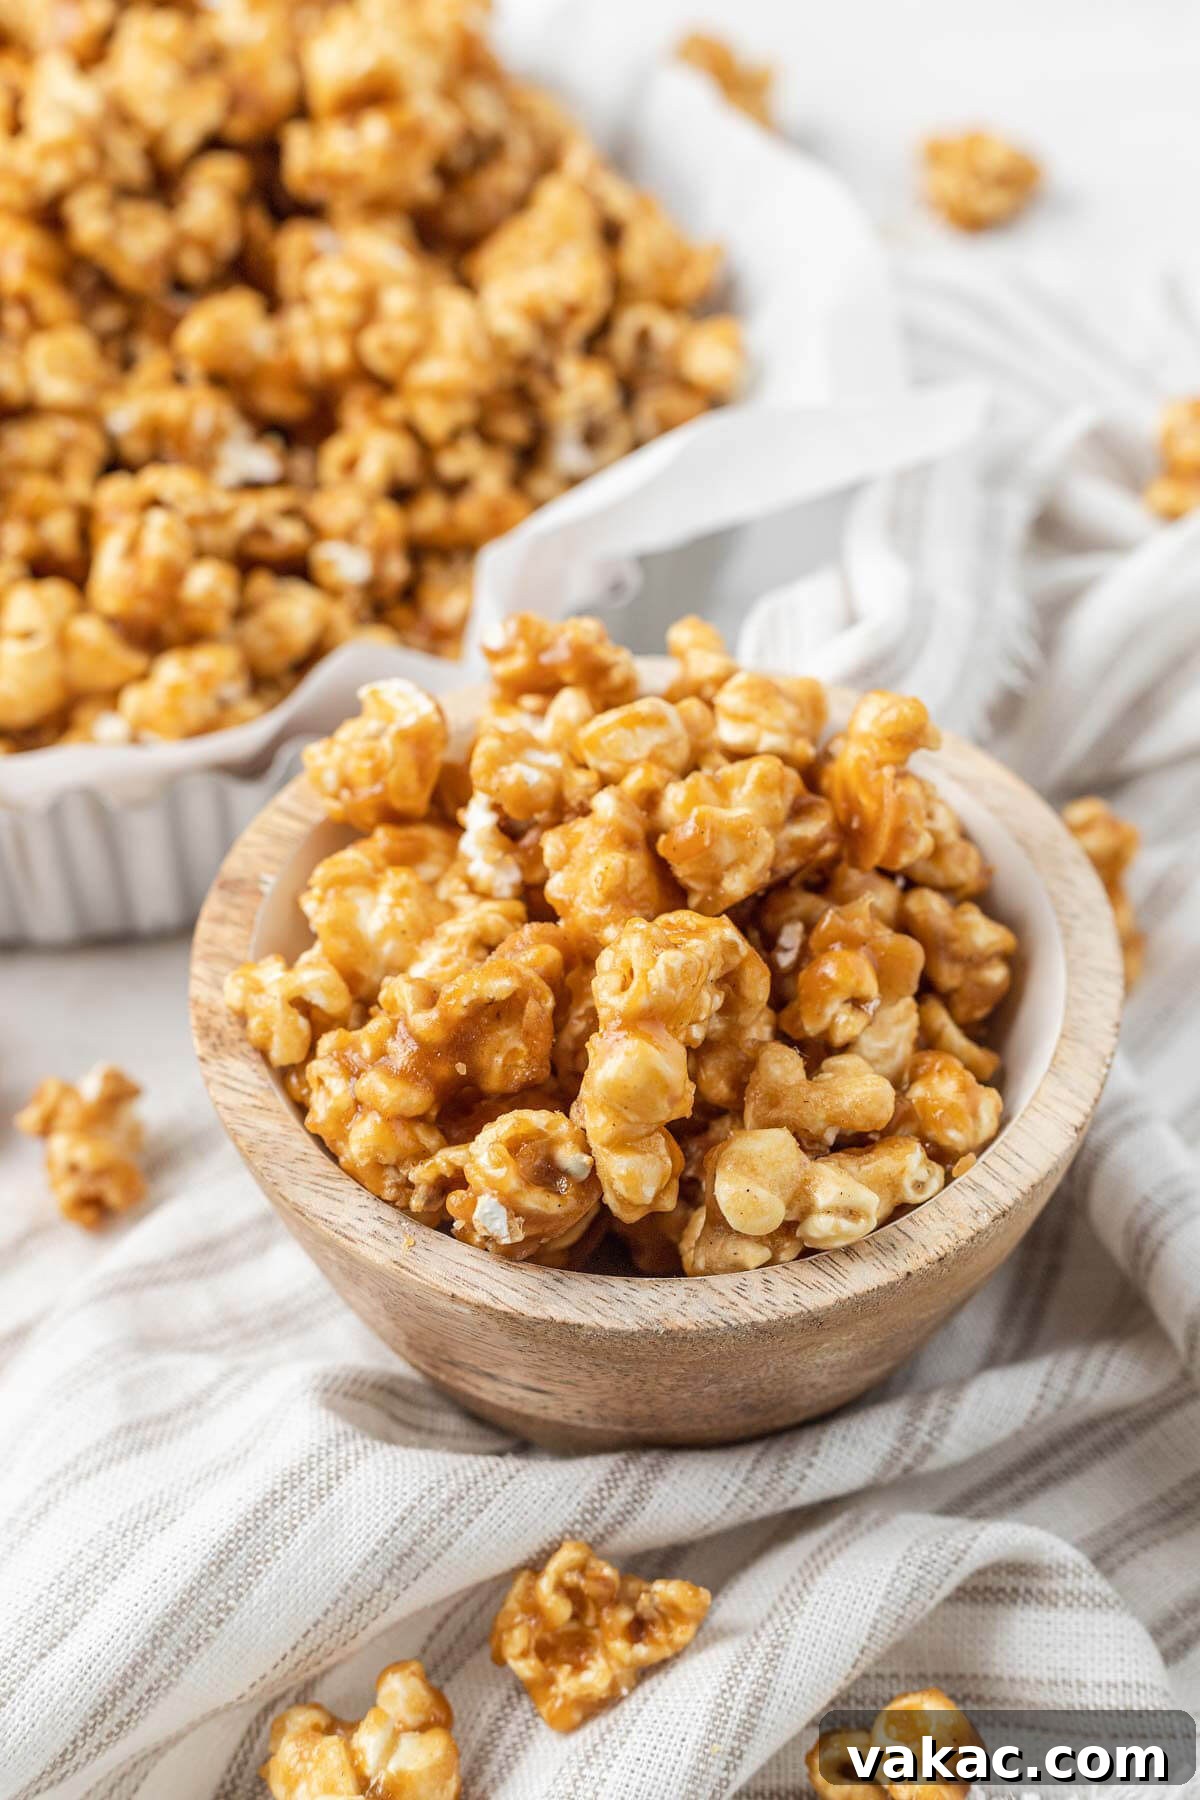
One of the many benefits of this homemade caramel popcorn is its excellent shelf life, making it perfect for preparing ahead of time or for gifting. Once your caramel popcorn has cooled completely and been broken into individual pieces, store it in an airtight container at room temperature. A large cookie jar, a plastic container with a tight-fitting lid, or even heavy-duty Ziploc bags work well. When stored correctly, your delicious caramel corn will maintain its freshness and crispness for up to two weeks. Avoid refrigerating it, as the moisture in the fridge can make it soft and sticky.
If you’re planning on gifting your homemade caramel corn, presentation can make it even more special. Clear glass jars with airtight lids are an excellent choice, as they not only preserve freshness but also beautifully showcase the golden treat inside. You can also use decorative cellophane bags tied with festive ribbons. Homemade caramel popcorn makes a wonderful gift for holidays, hostess presents, teacher appreciation, or just a thoughtful gesture to brighten someone’s day.
Expert Tips for the Best Homemade Caramel Popcorn
Achieving bakery-quality caramel popcorn at home is easier than you think with these expert tips:
- Stick to Plain Popcorn: This cannot be stressed enough – use only plain, unflavored popcorn. Any butter, salt, or other seasonings from pre-packaged popcorn will interfere with the caramel’s flavor and coating ability. Pop it yourself for freshness or buy unseasoned.
- Constant Caramel Stirring: When making the caramel sauce, commit to stirring frequently, especially once it comes to a boil. This prevents the sugar from scorching at the bottom of the pan, which can impart a bitter taste.
- Don’t Rush the Bake: The oven baking step is non-negotiable for crunchy caramel corn. Resist the urge to pull it out early. The low heat slowly bakes the caramel onto each kernel, firming it up and removing moisture.
- Stir During Baking: Remember to stir the caramel corn every 15 minutes during its time in the oven. This ensures even baking, prevents large clumps, and helps every piece get that glorious crisp texture.
- Patient Cooling is Key: Caramel corn is fragile when hot. It will be soft when it comes out of the oven, and that’s perfectly normal. Let it cool completely on the baking sheet at room temperature. As it cools, the caramel will harden, transforming into those distinct, delightful crunchy pieces you crave. Breaking it apart too soon can lead to sticky, chewy results.
- Proper Equipment: A large, heavy-bottomed saucepan for the caramel is ideal to prevent burning. For mixing, use a very large, sturdy bowl that can handle the volume of popcorn and caramel.
More Delicious Caramel Recipes to Explore!
If you’ve fallen in love with the rich flavor of homemade caramel, you’re in for a treat! Here are some other delightful caramel-infused recipes to try:
- Caramel-Stuffed Snickerdoodles
- Salted Caramel Brownie Bites
- Salted Caramel Turtles
- Pumpkin Caramel Icebox Cake
- Homemade Caramel Sauce
- Millionaire Shortbread
Homemade Caramel Popcorn Recipe
Summary
Plain popcorn is coated in a homemade caramel mixture, then baked until crunchy. This homemade caramel popcorn can be prepped weeks in advance and is excellent for gifting!
Prep Time: 30 mins
Cook Time: 45 mins
Cooling Time: 1 hour
Total Time: 2 hrs 15 mins
Yields: 8 cups
Ingredients
- 8 to 9 cups plain popcorn (approximately 45 grams of kernels)
- ½ cup unsalted butter (1 stick; 115 grams)
- 1 cup packed light brown sugar (200 grams)
- ⅓ cup light corn syrup
- ½ teaspoon salt
- 2 teaspoons pure vanilla extract
- ¼ teaspoon baking soda
Instructions
- Preheat the oven to 250°F (120°C). Line a large, rimmed baking sheet with parchment paper and set aside.
- Place the plain, popped popcorn in a very large mixing bowl and set aside.
- In a medium-sized, heavy-bottomed saucepan, melt the butter over medium heat. Once melted, add the brown sugar, corn syrup, and salt. Mix thoroughly until well combined.
- Bring the mixture to a rolling boil, stirring often to prevent burning. Reduce the heat and simmer for 5 minutes, continuing to stir frequently.
- Remove the saucepan from the heat. Quickly stir in the vanilla extract and baking soda until fully combined. The mixture will bubble and foam; this is a normal and desired reaction.
- Immediately drizzle the hot caramel mixture over the popcorn in the large bowl. Using a large spoon or spatula, carefully mix and toss the popcorn until it is as evenly coated as possible.
- Transfer the coated popcorn to the prepared baking sheet, spreading it out into a single, even layer.
- Bake for 45 minutes, making sure to stir the caramel corn every 15 minutes to ensure even baking and crispness.
- Remove the baking sheet from the oven and give the popcorn one last thorough mix.
- Allow the caramel popcorn to cool completely on the baking sheet, for about 1 hour, or until it has hardened and reached room temperature. Once cooled, break it apart into pieces before serving or storing.
Notes
- Storage Instructions: Once completely cooled, store homemade caramel popcorn in a large airtight container at room temperature for up to 2 weeks to maintain its freshness and crunch.
- To make your own popcorn: Add 2 tablespoons of popcorn kernels to a brown paper bag and fold the top to seal it. Microwave on high for 1 ½ to 2 ½ minutes (time varies by microwave), listening for the popping to slow to about 2 seconds between pops. You will likely need to repeat this process once more to get the required 8 to 9 cups of popcorn.
Recipe Details
- Cuisine: American
- Course: Snack
- Author: Danielle Rye