
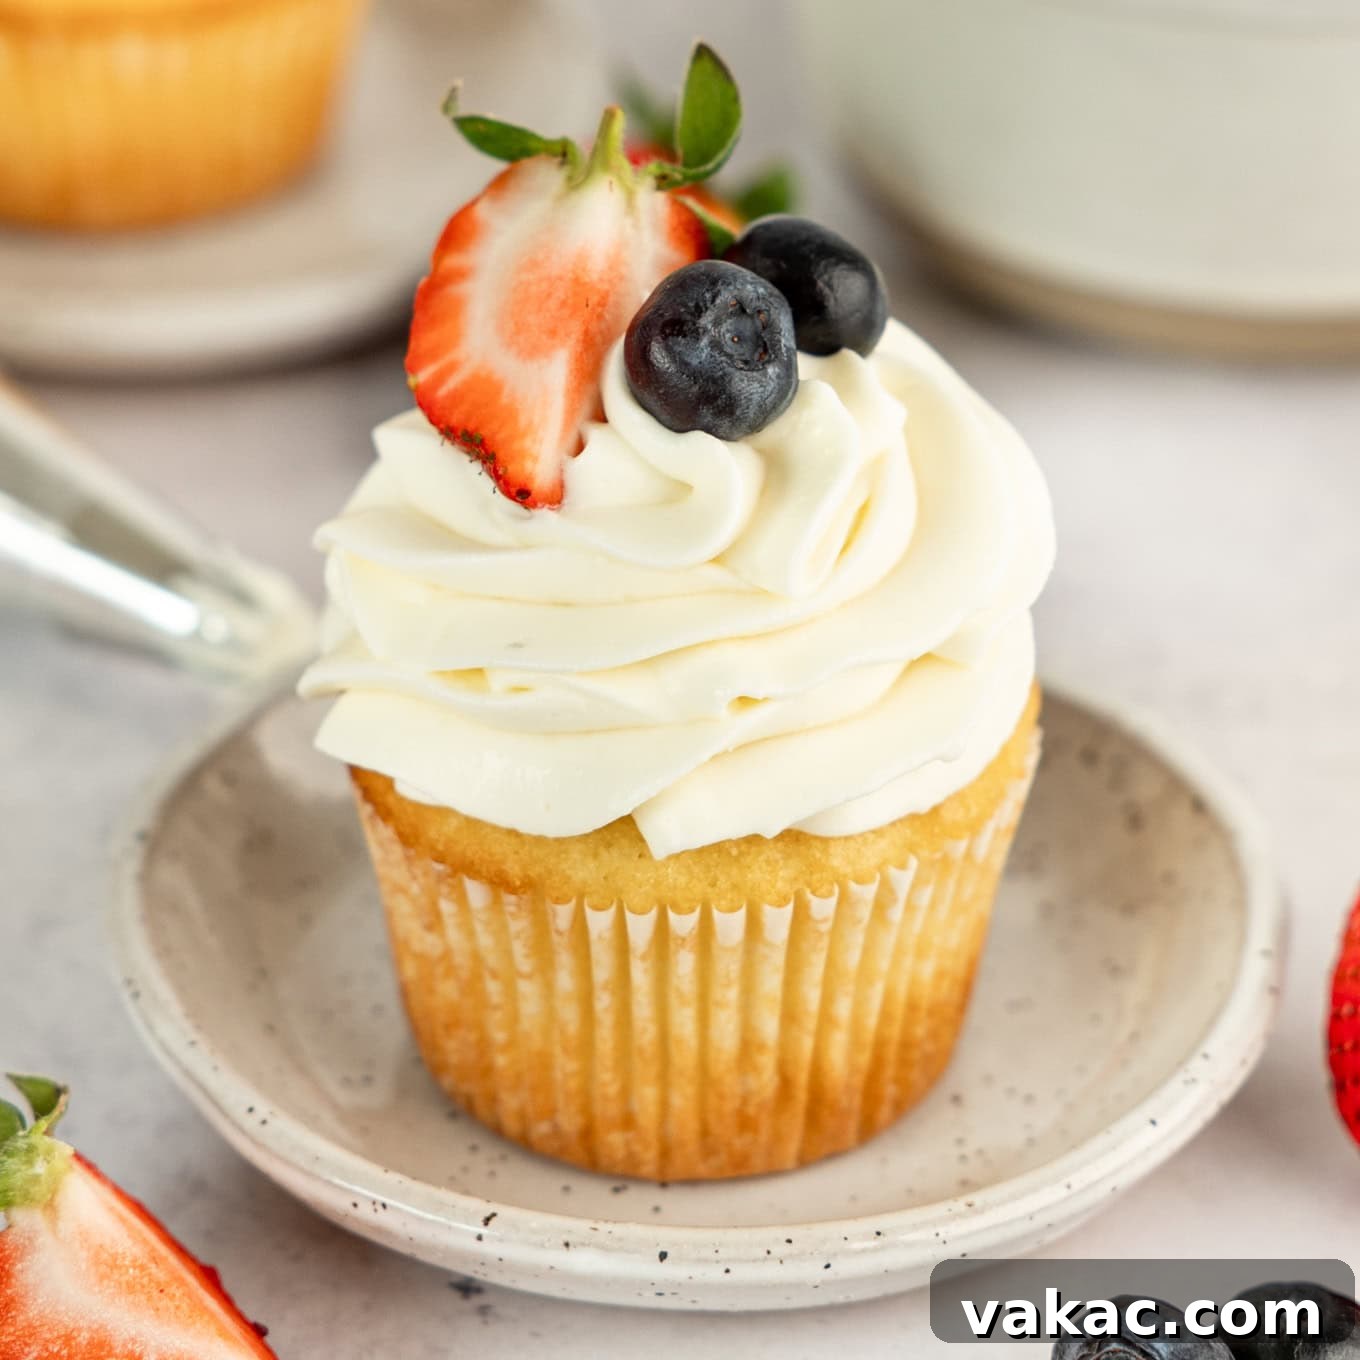
Unlock the secret to a lighter, airier dessert experience with this incredible whipped cream cheese frosting. Forget dense, heavy frostings; this recipe delivers a velvety smooth texture that’s both decadently creamy and wonderfully fluffy. Crafted in under 10 minutes with just four essential ingredients, it’s the perfect embellishment for your favorite cakes, cupcakes, and other sweet treats. Prepare to transform your baking with a frosting that’s not just delicious, but also a dream to work with!
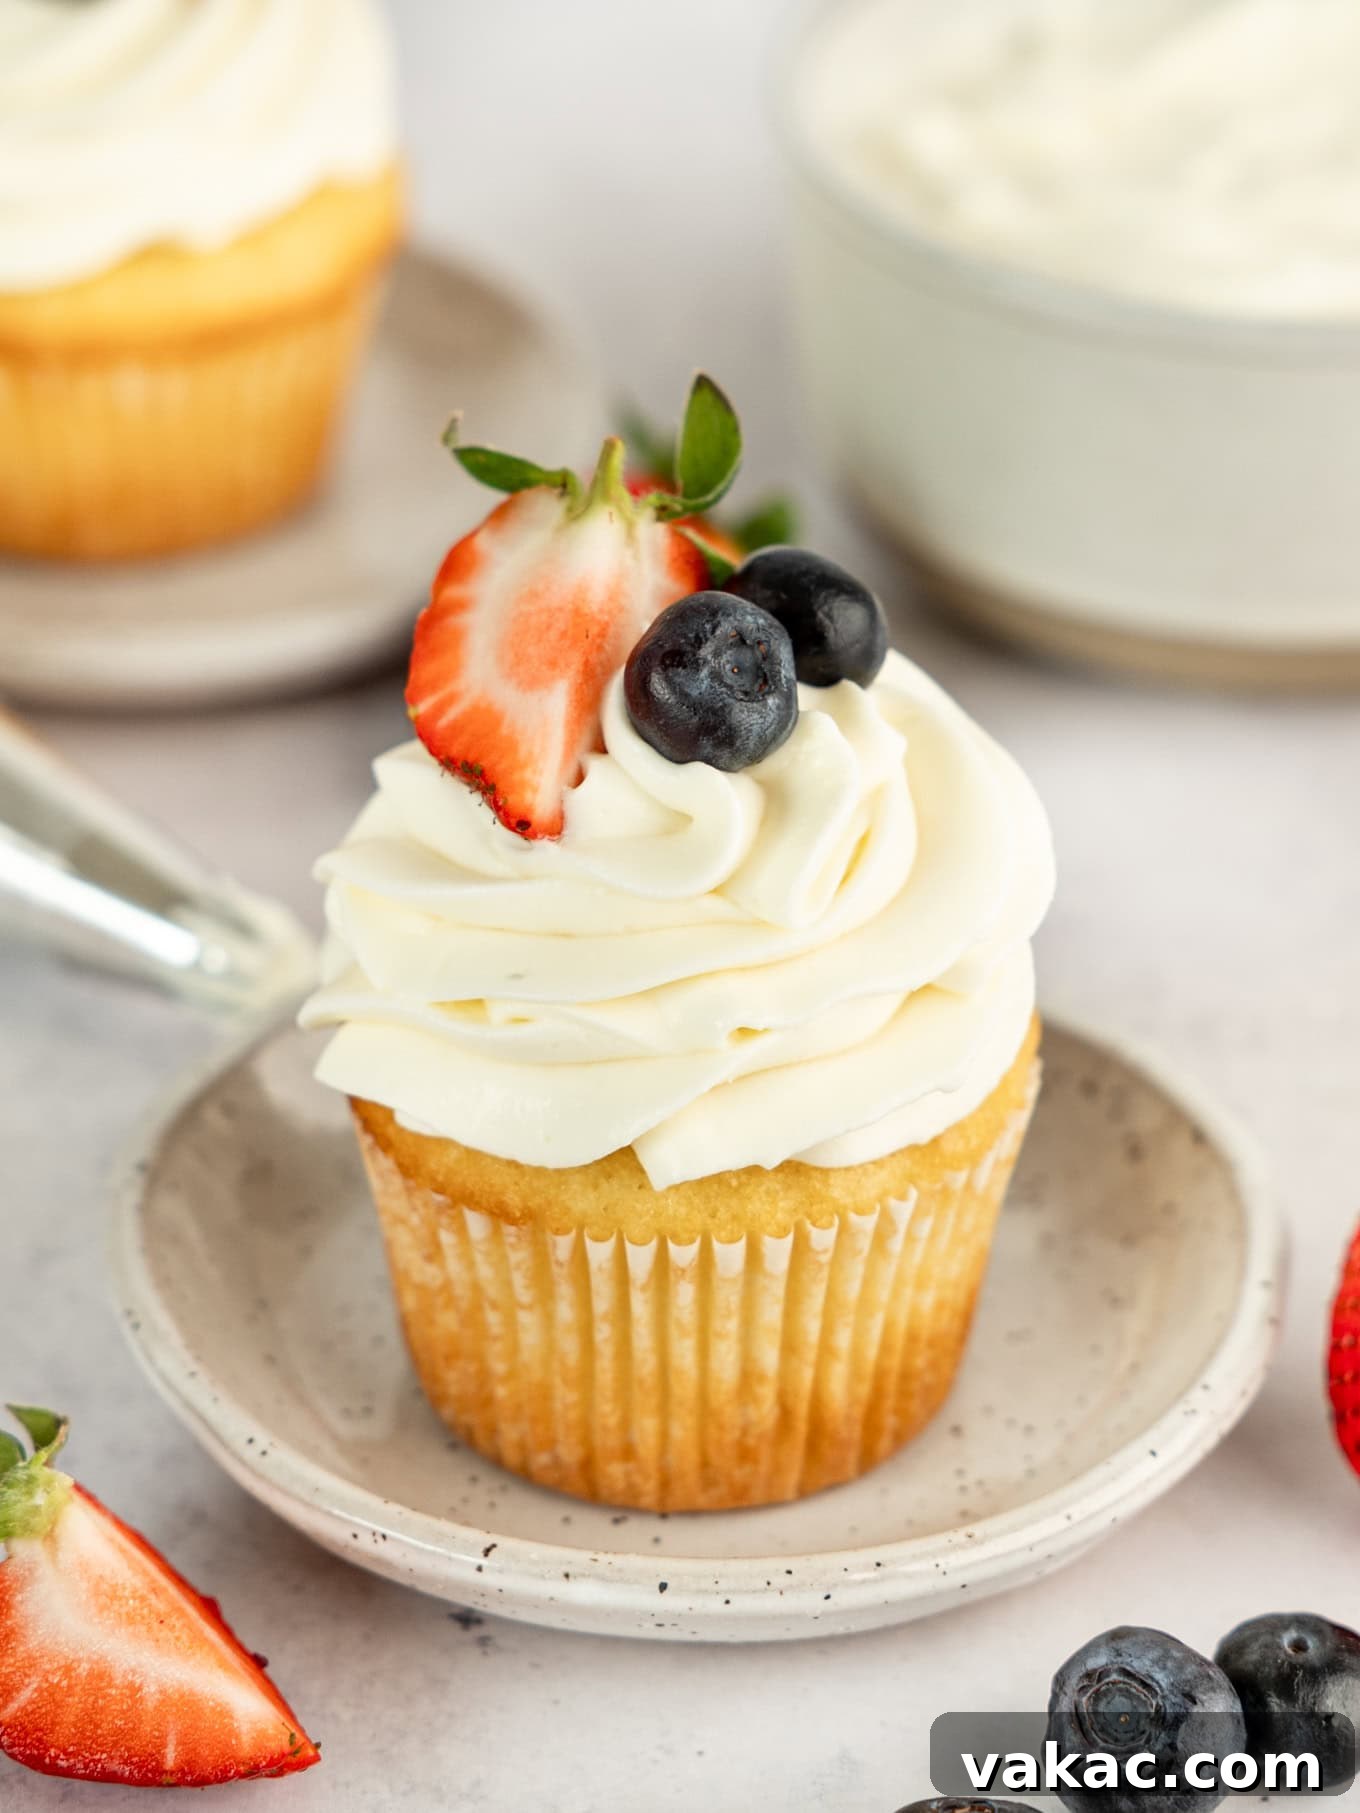
This whipped cream cheese frosting truly embodies everything you could wish for in a delectable topping. It boasts an irresistibly smooth and creamy consistency, yet it’s remarkably lighter and more ethereal than its traditional cream cheese frosting counterparts. The magic lies in a clever technique: instead of incorporating butter, we gently fold freshly whipped cream into a sweet, tangy cream cheese base. This innovative approach not only lightens the frosting considerably but also adds a delicate stability, allowing it to hold its beautiful shape and texture for days, even when refrigerated.
Beyond its delightful taste and texture, this frosting is a true pleasure to pipe, making intricate decorations effortless. Its balanced flavor profile makes it exceptionally versatile, pairing exquisitely with a wide array of baked goods. Imagine it crowning a slice of light and airy white cake, enhancing the classic taste of vanilla cake, or adding a sophisticated touch to delicate angel food cupcakes. The possibilities are endless, and the results are always impressive. Get ready to elevate your desserts with a frosting that’s as impressive as it is easy to make!
Watch The Full Recipe Video To See How It’s Made
Essential Ingredient Notes for Optimal Frosting
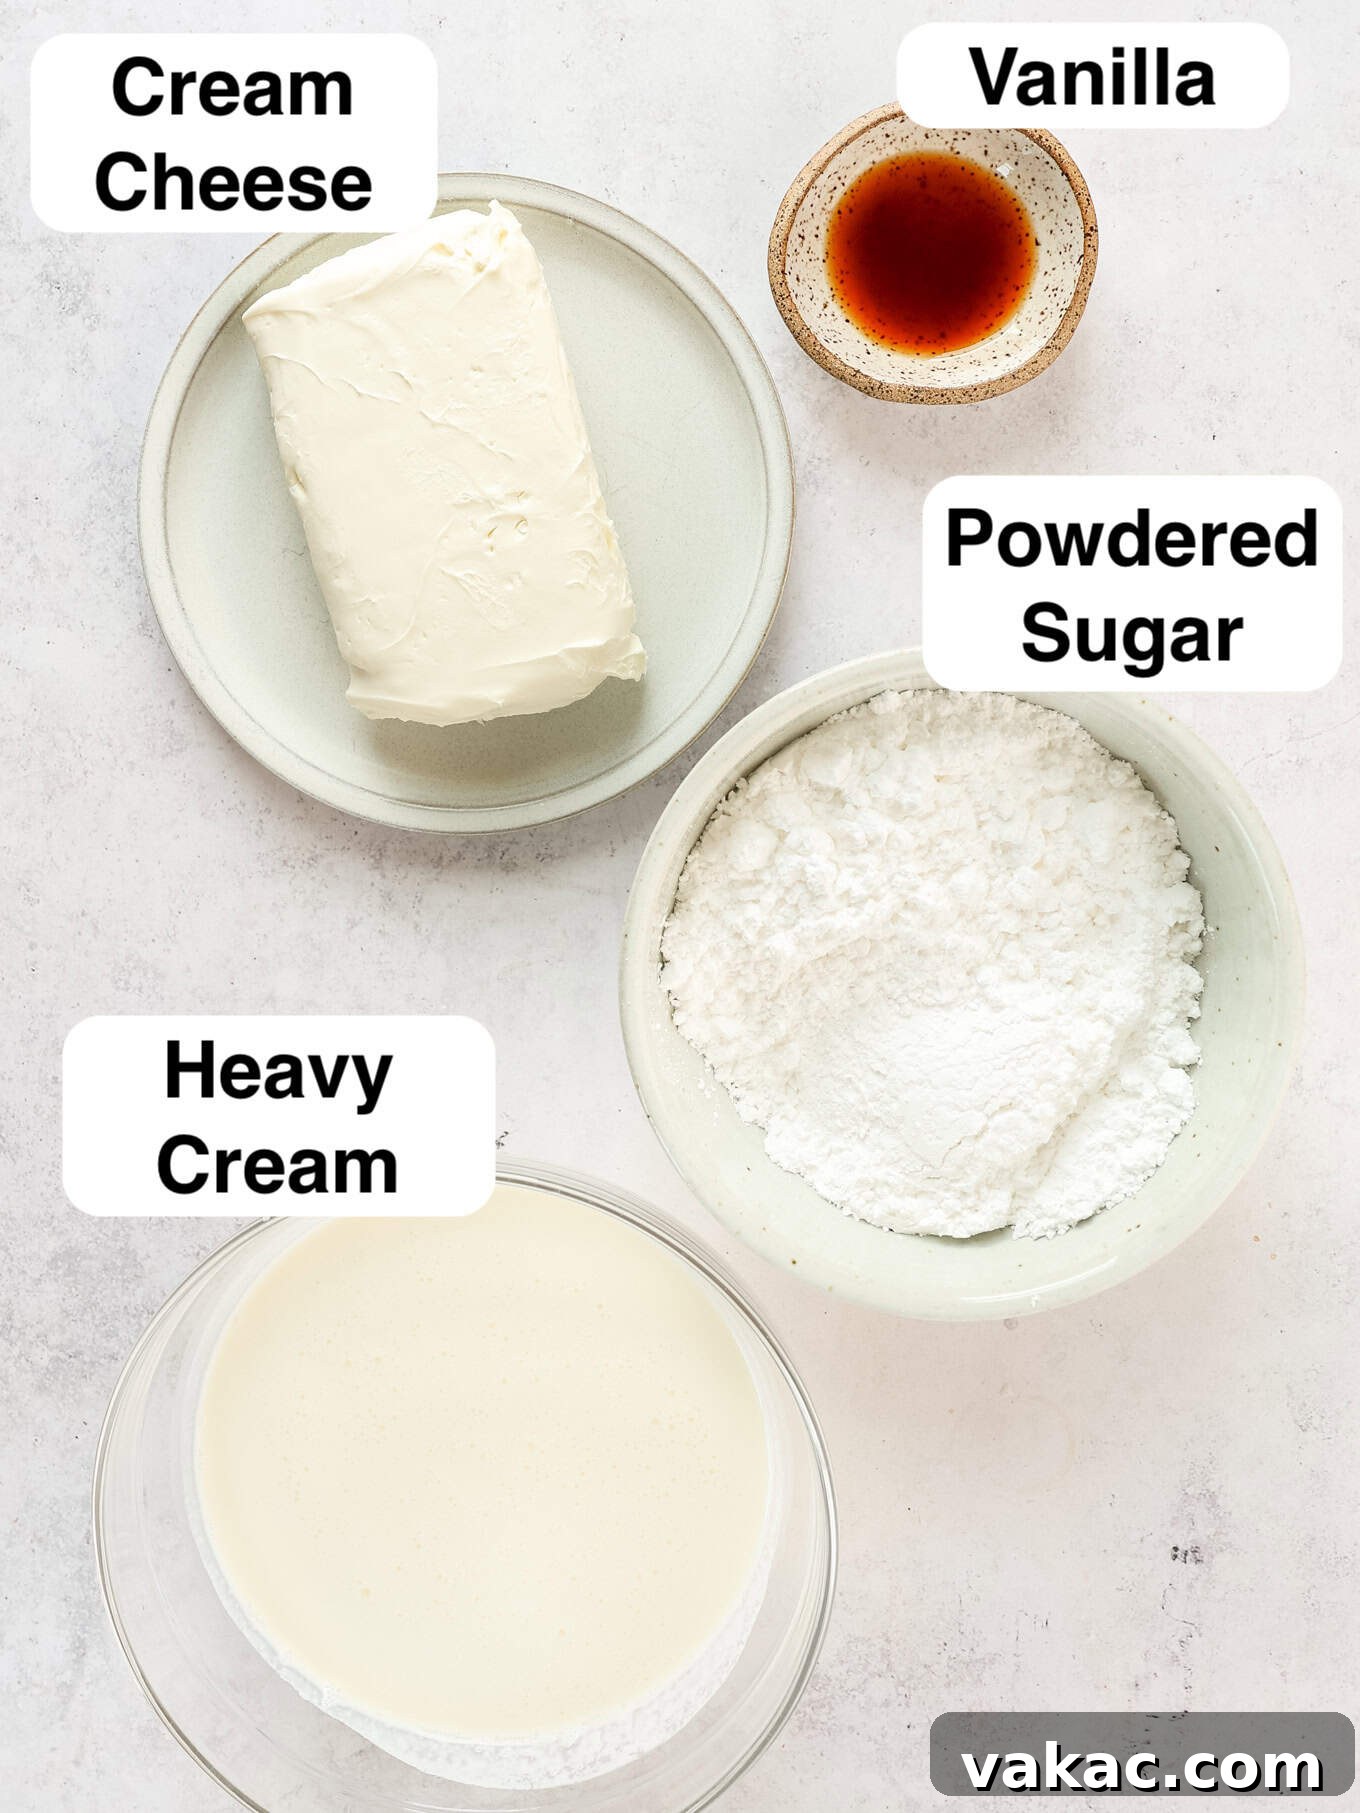
Creating the perfect whipped cream cheese frosting starts with understanding the role of each ingredient. Quality and preparation are key to achieving that smooth, fluffy texture and stable finish. Here’s what you need to know about the stars of this recipe:
Cream Cheese: The Foundation of Flavor and Texture
For a frosting that’s rich, thick, and perfectly pipeable, selecting the right cream cheese is crucial. Always opt for full-fat, brick-style cream cheese that comes wrapped in foil. The dense, firm nature of brick cream cheese is what provides the necessary structure and tangy creaminess. It’s imperative to avoid anything labeled “light,” “low-fat,” or “whipped” cream cheese. These varieties contain higher water content and air, which will result in a runny, unstable frosting that simply won’t hold its shape when piped. Furthermore, ensure your cream cheese is properly softened to room temperature before you begin mixing. This prevents lumps and ensures a silky-smooth base for your frosting.
Heavy Whipping Cream: The Secret to Lightness and Volume
Heavy whipping cream is what transforms this frosting from ordinary to extraordinarily light and airy. For the best results, look for cream with a minimum fat content of 36%. The higher fat content is essential for creating stable, voluminous stiff peaks. Critical to its success, the heavy cream must be kept thoroughly chilled in the refrigerator until the very moment you’re ready to whip it. Cold cream whips significantly faster and holds its peaks much more effectively than cream that has warmed up. This cold temperature is your best friend in achieving that coveted fluffy texture.
Powdered Sugar: Sweetness and Structure
Also known as confectioners’ sugar, powdered sugar not only sweetens the frosting but also contributes to its smooth texture. Its fine consistency dissolves easily, preventing graininess. While not explicitly mentioned in the original notes, sifting your powdered sugar before adding it to the cream cheese mixture is a valuable step. This helps eliminate any lumps, ensuring an even smoother and more consistent frosting.
Pure Vanilla Extract: A Touch of Aromatic Sweetness
Vanilla extract adds a foundational layer of warm, sweet aroma and flavor that complements the tanginess of the cream cheese beautifully. For the best taste, always choose pure vanilla extract over imitation varieties. The quality of your vanilla can significantly impact the overall flavor profile of your frosting. While a standard amount is usually specified, feel free to adjust slightly to your personal preference or to balance with any additional flavorings you might introduce.
Mastering the Art of Beating Whipped Cream to Stiff Peaks
The success of this whipped cream cheese frosting hinges on achieving perfectly whipped cream. Since you’ll be gently folding whipped cream into the cream cheese mixture, understanding how to whip it properly is paramount. If you’re new to this technique, dedicating a moment to read this section will greatly enhance your chances of success.
You have a few excellent options for beating heavy cream: a handheld electric mixer, a stand mixer equipped with a whisk attachment, or the classic method of a good old-fashioned bowl and whisk for those who prefer an arm workout! For optimal results and increased stability, I highly recommend a pro tip: chill your mixing bowl and whisk attachment (or beaters) in the freezer for about 10-15 minutes before you begin. The cold surfaces dramatically aid in whipping the cream faster and help it maintain its stiff, airy structure.
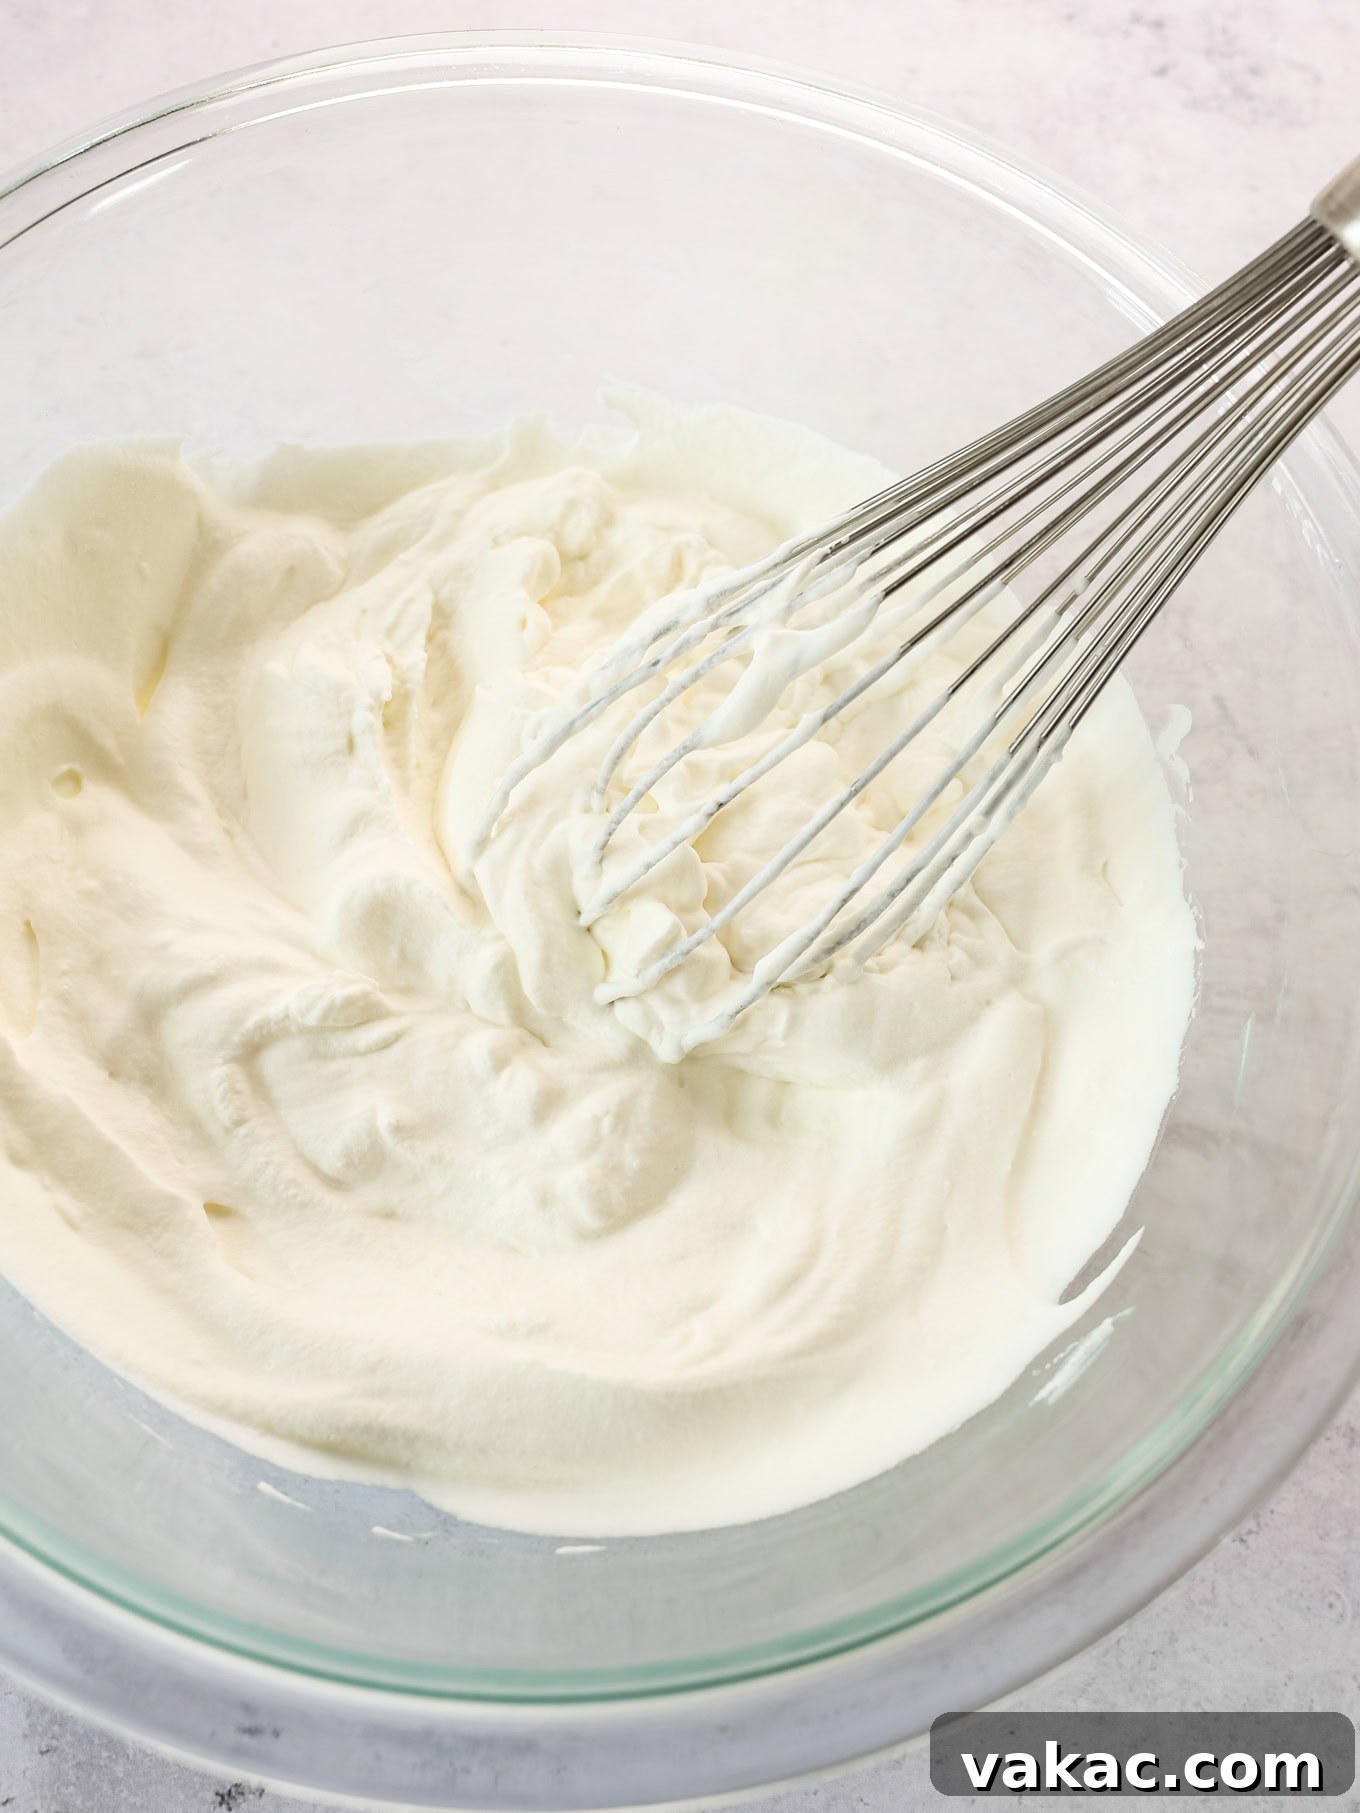
Once your tools are chilled, pour the cold heavy cream (straight from the fridge is best – never room temperature!) into your mixing bowl. Begin mixing on low-medium speed for approximately 1 minute. This initial gentle mixing helps to gradually incorporate air without over-agitating the cream. After this minute, increase your mixer speed to medium-high. Continue mixing, keeping a close eye on the consistency. The cream will gradually thicken, passing through soft peaks until it reaches the desired stiff peaks.
How do you know when you’ve hit the stiff peak stage? Turn off your mixer and lift the whisk or beaters out of the cream. If the peaks stand straight up without curling or drooping at the tip, your whipped cream is perfect. If the tips are still a bit soft and curl over, continue mixing for a short while longer. However, exercise caution: over-mixing is the enemy of whipped cream! If you mix too long, the cream will start to curdle and separate, forming butter. It’s better to err on the side of slightly under-whipped than over-whipped. A perfectly whipped batch ensures a light and stable frosting.
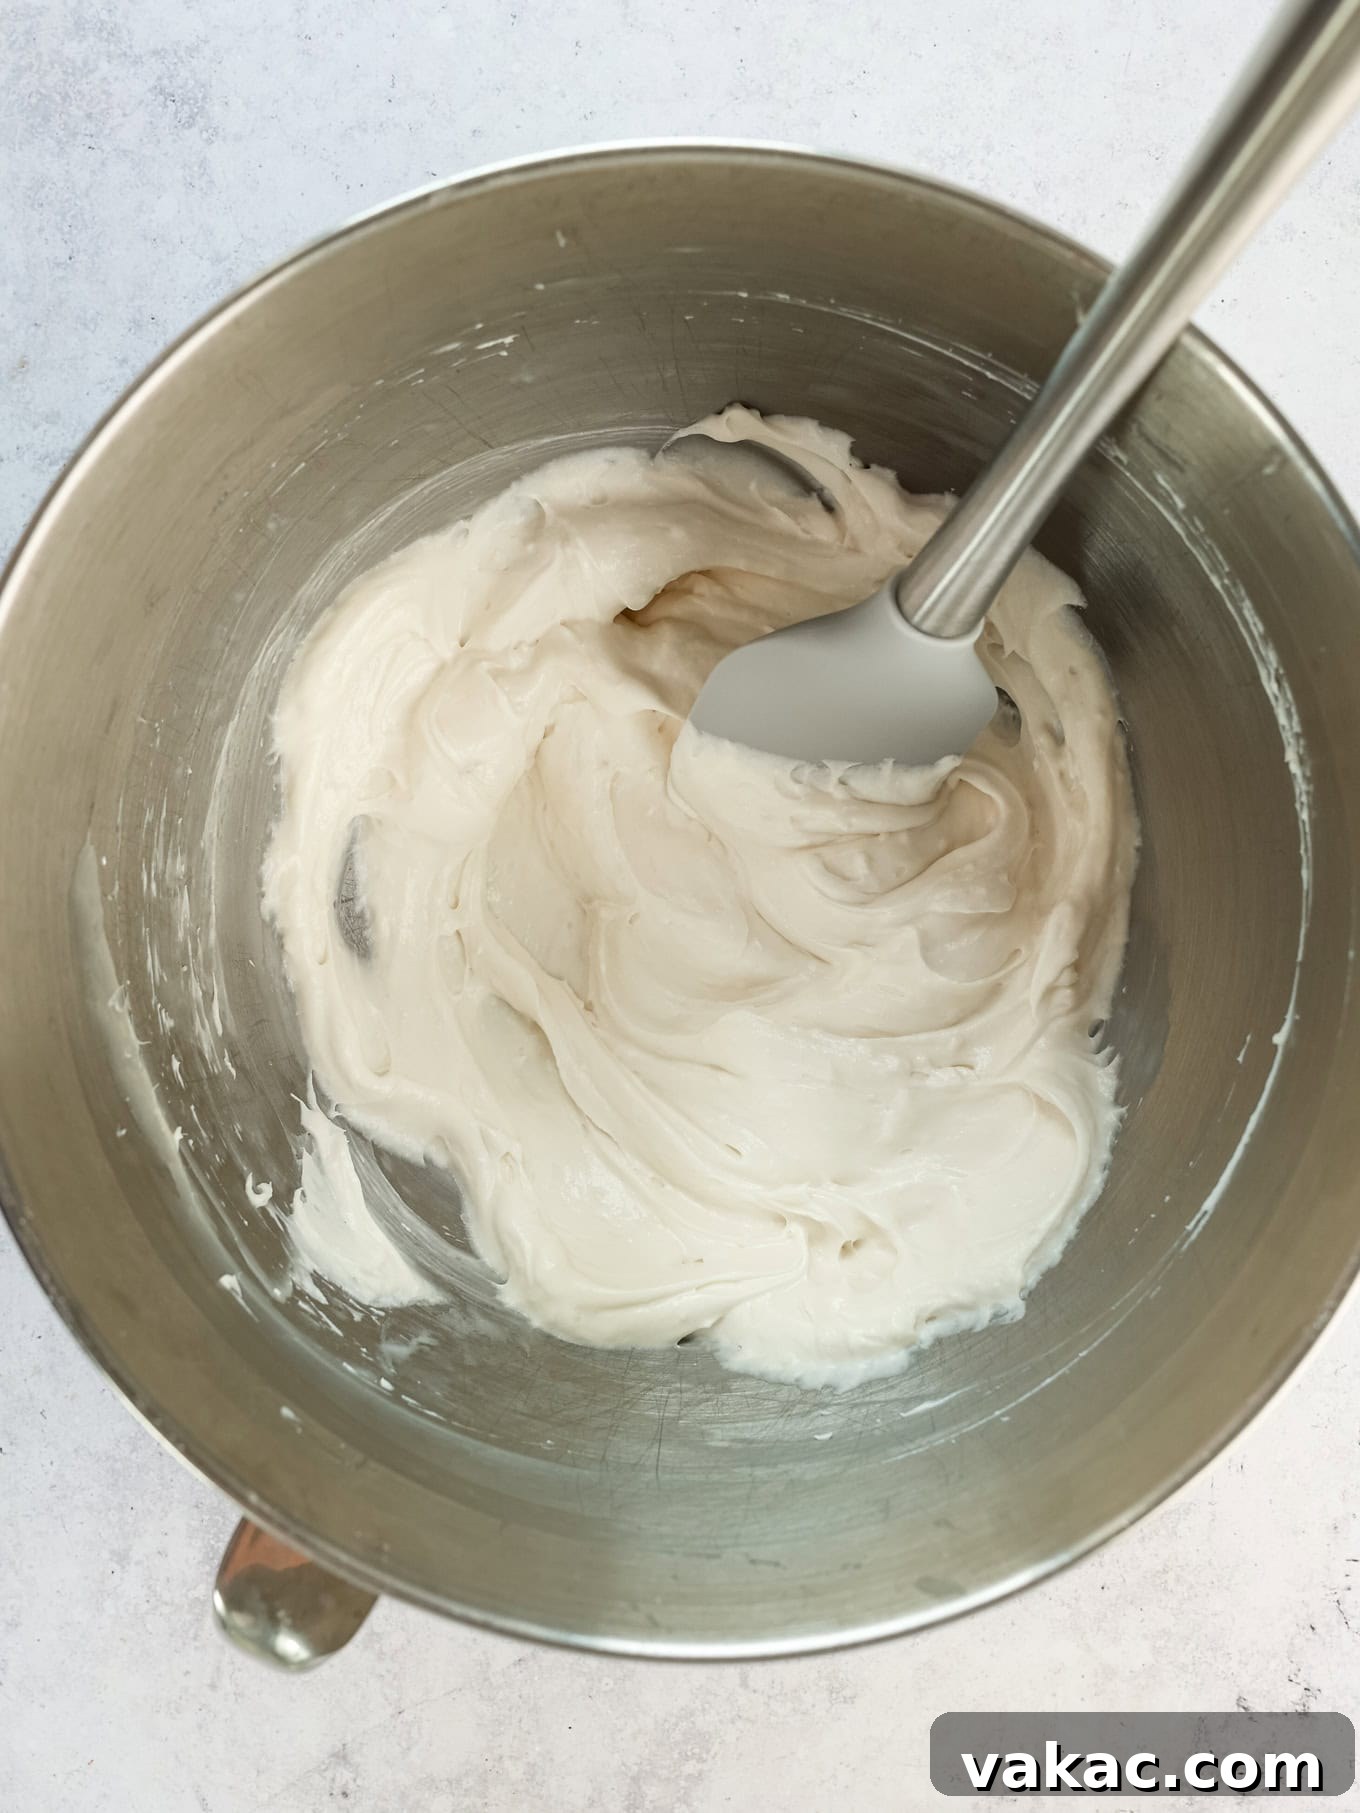
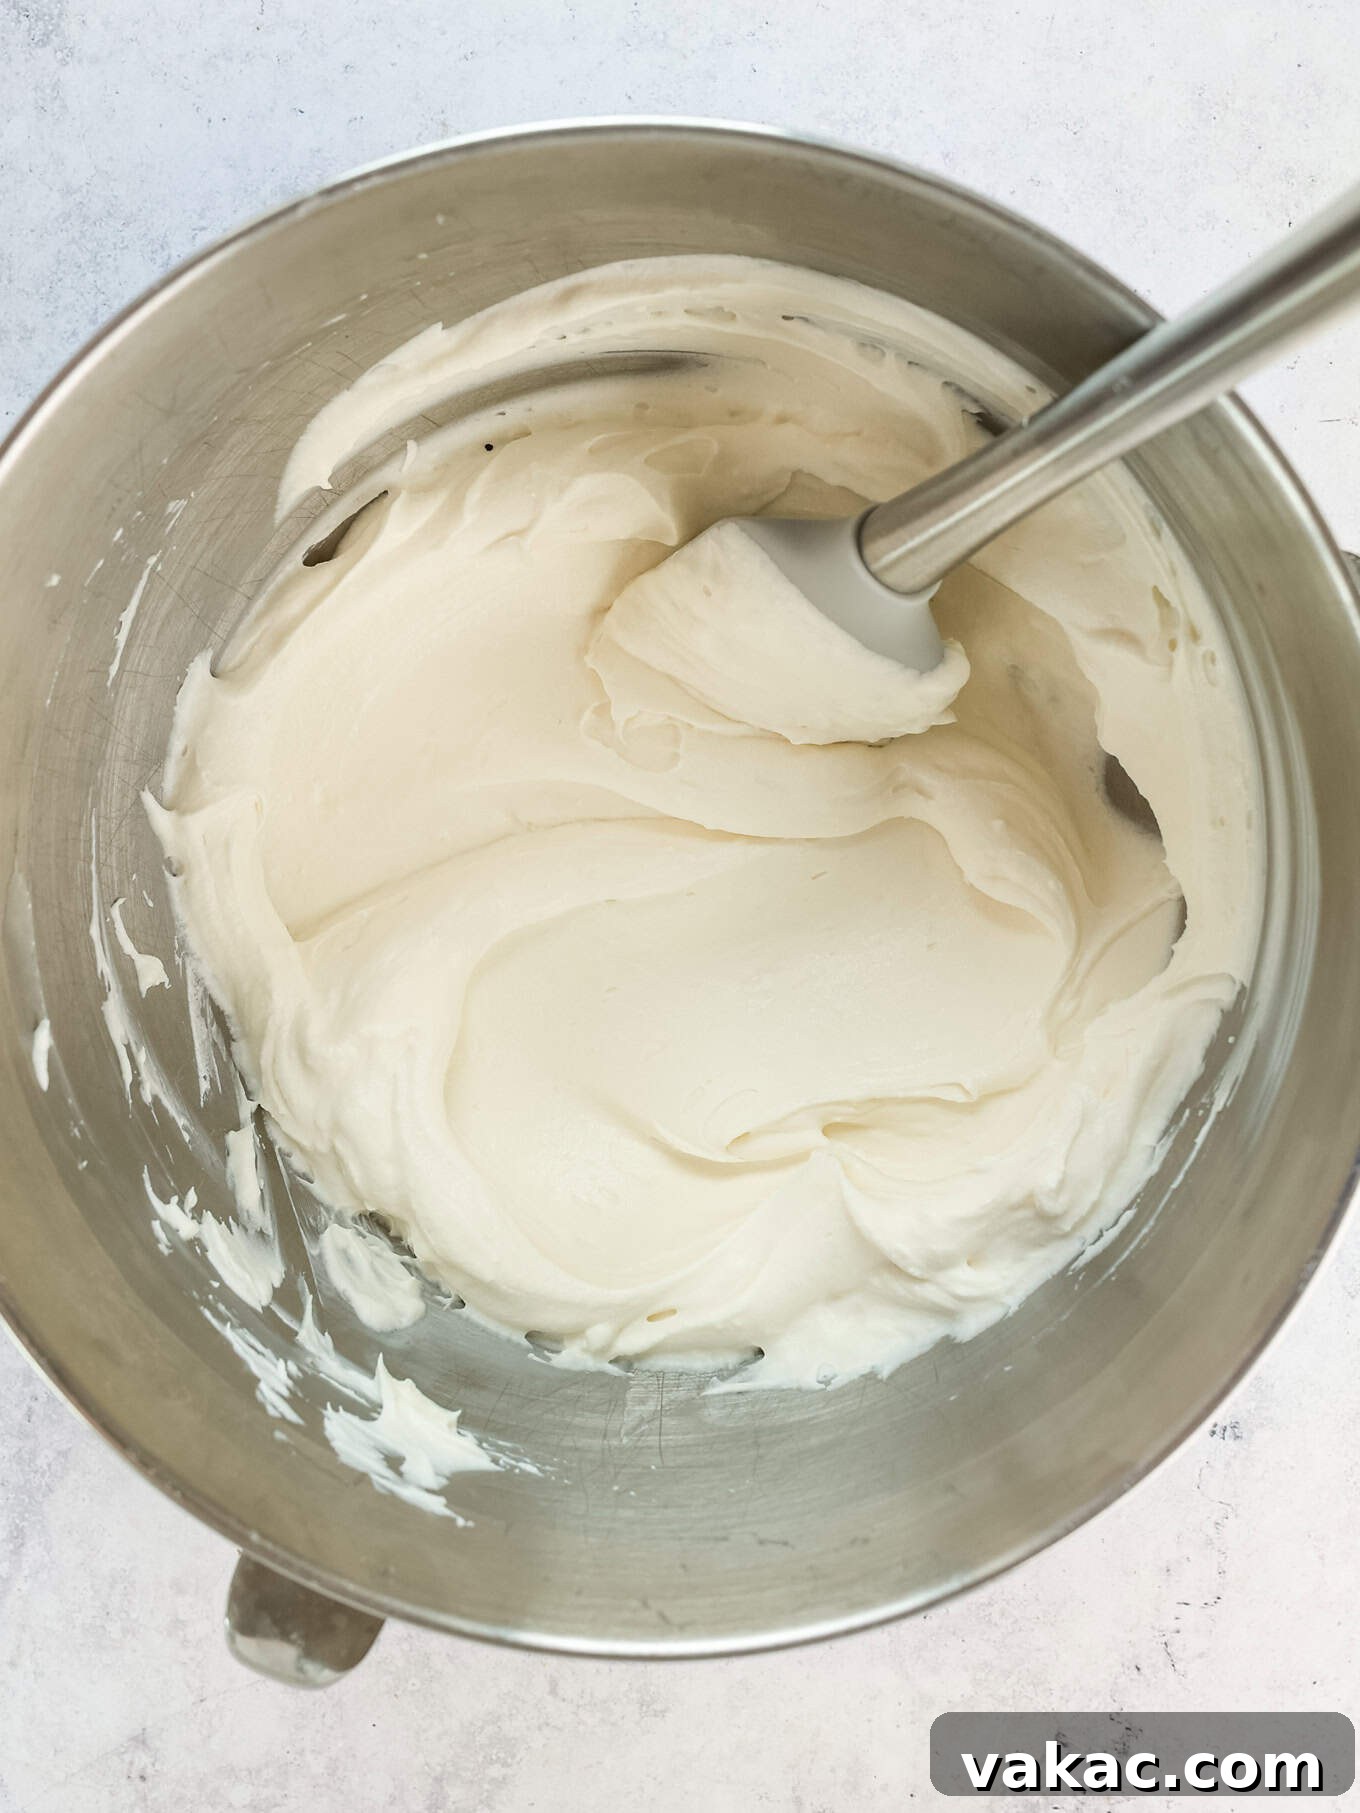
Expert Tips for a Flawless, Creamy Whipped Cream Cheese Frosting
Achieving bakery-quality whipped cream cheese frosting is simpler than you think with a few key techniques. These tips will ensure your frosting is not only incredibly smooth and creamy but also stable and perfectly pipeable every time.
- The Crucial Role of Ingredient Temperature: This is arguably the most important factor. Your cream cheese MUST be softened to room temperature. Cold cream cheese will inevitably result in a lumpy frosting, no matter how much you beat it. Set it out on the counter at least an hour before you plan to start, or cut it into smaller cubes to speed up the softening process. Conversely, your heavy cream needs to be as cold as possible, ideally straight from the fridge. Cold cream whips faster and maintains its volume much better, ensuring those essential stiff peaks.
- Scrape Down the Bowl Religiously: Especially during the initial mixing of the cream cheese, powdered sugar, and vanilla, frequently stopping to scrape down the sides and bottom of your mixing bowl is non-negotiable. This simple action ensures that all ingredients are thoroughly incorporated, preventing unmixed pockets and guaranteeing a uniformly smooth, lump-free cream cheese base.
- Sift Your Powdered Sugar for Ultimate Smoothness: While not explicitly stated in all recipes, sifting your powdered sugar before adding it to the cream cheese mixture is a game-changer. Powdered sugar often contains tiny clumps, which can make your frosting grainy. A quick sift ensures a completely smooth, ethereal texture.
- Do NOT Overmix the Whipped Cream: Once your heavy cream reaches stiff peaks, stop immediately. Overmixing beyond this point will cause the cream to separate and curdle, turning it grainy and watery, or even into butter. Remember, we’re aiming for a smooth and creamy frosting, not a lumpy disaster! If you accidentally overmix slightly, sometimes adding a tablespoon or two of fresh, cold heavy cream and gently folding it in can rescue it.
- The Art of Gentle Folding: This step is critical for maintaining the light, airy texture of your frosting. When combining the whipped cream with the cream cheese mixture, do so in stages. Start by gently folding in about one-third of the whipped cream into the cream cheese base until just combined. This lightens the cream cheese mixture, making it easier to incorporate the remaining whipped cream without deflating it. Then, carefully fold in the rest of the whipped cream until no streaks remain. The goal is to preserve as much of that lovely whipped air as possible, ensuring your cream cheese frosting retains its beautiful, cloud-like texture. Use a spatula and a gentle “cut-and-fold” motion from the bottom up.
- Avoid Overmixing the Final Frosting: Once the whipped cream is fully incorporated into the cream cheese mixture, stop mixing. Further beating can deflate the frosting, costing you that desired light and airy consistency.
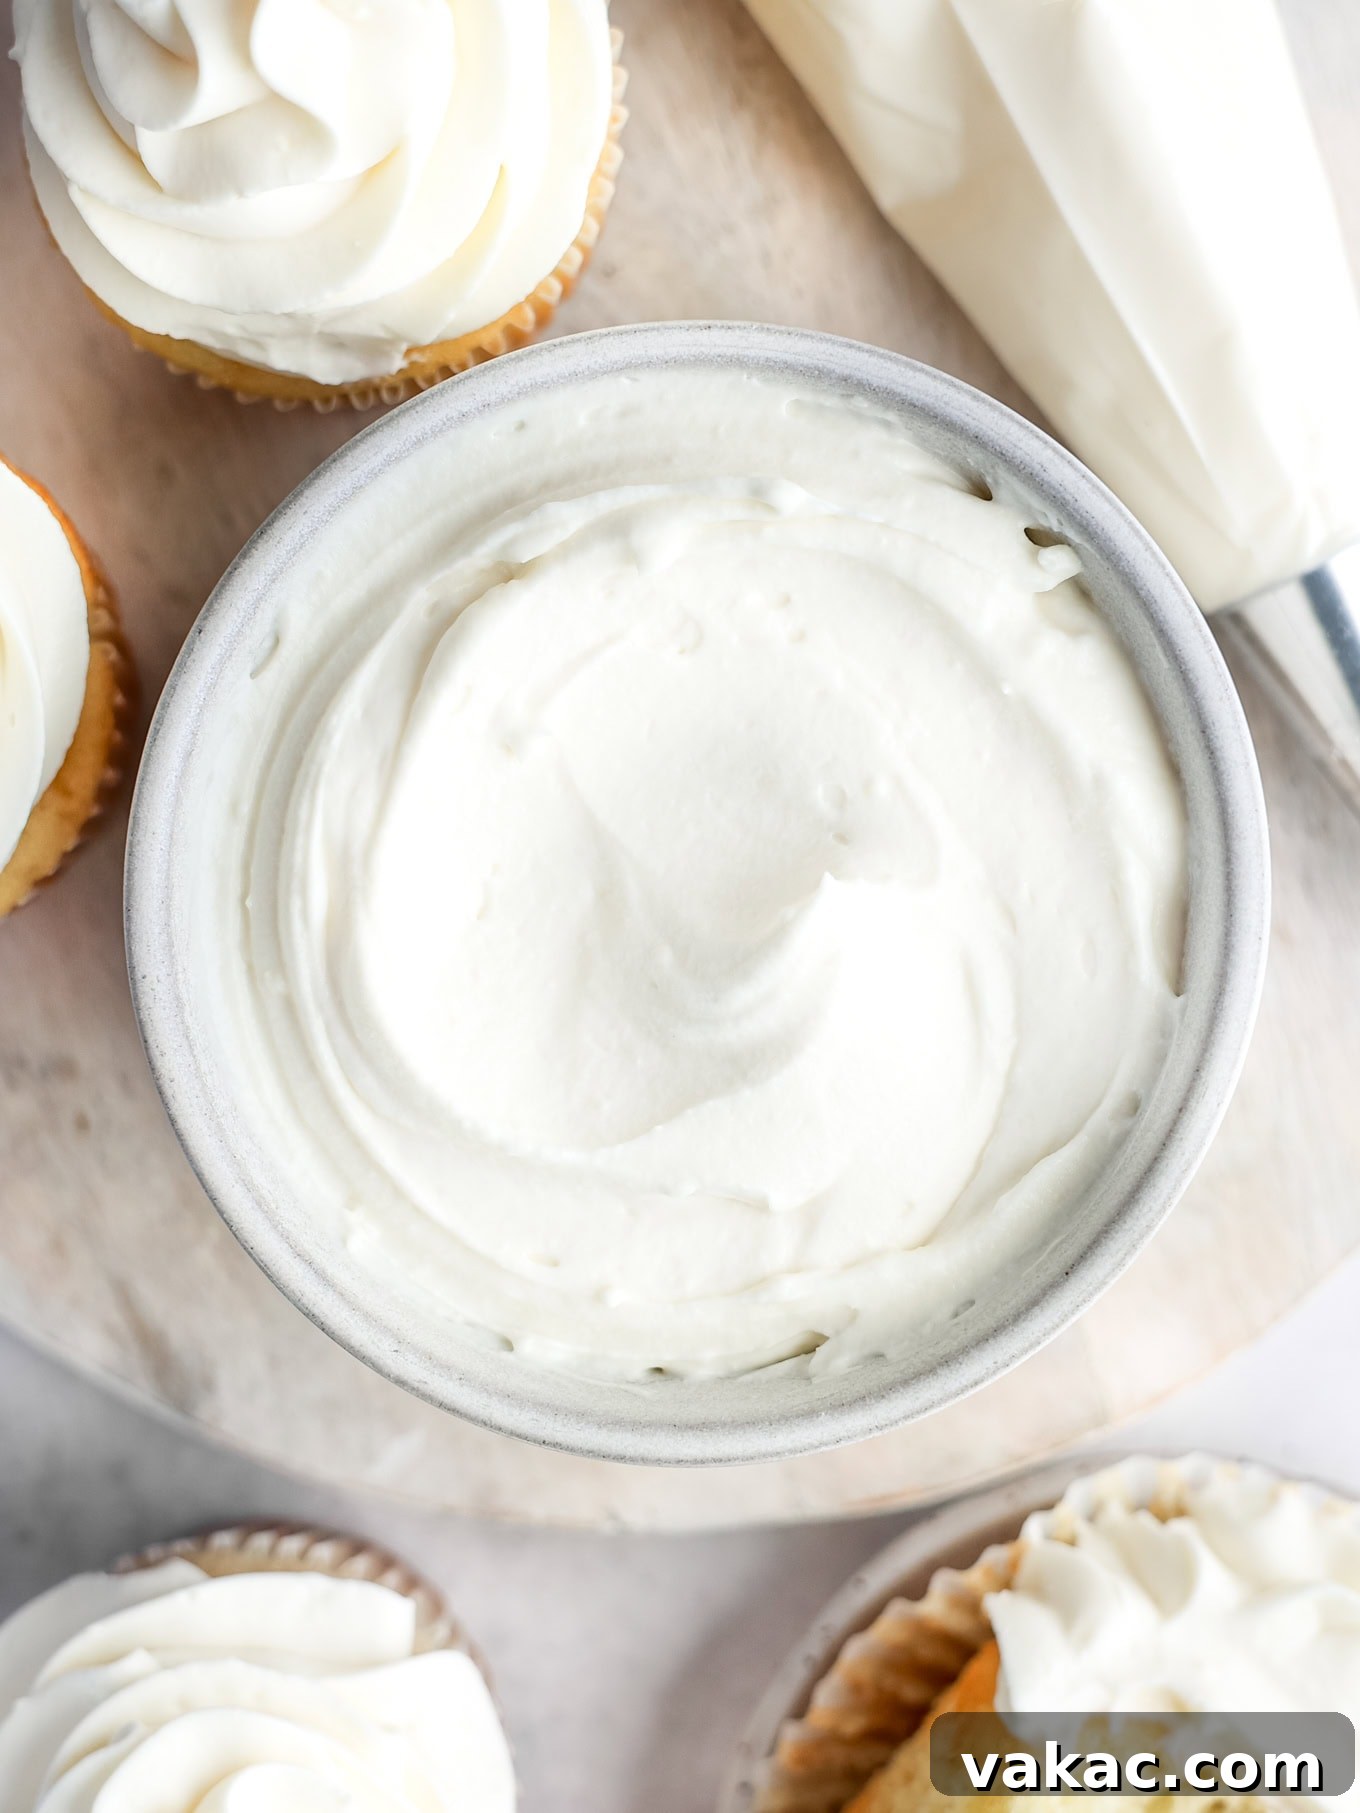
Flavorful Variations: Can I Add Zest Or Extracts?
Absolutely! One of the joys of this whipped cream cheese frosting is its adaptability. You can easily introduce a variety of flavors to complement any dessert. Experimenting with zest and extracts is a fantastic way to customize your frosting.
Adding Citrus Zest for a Bright Kick
For a vibrant, fresh flavor, adding citrus zest is a brilliant choice. You can incorporate 2 to 3 teaspoons of finely grated lemon, lime, or orange zest into this frosting. If you crave an even more intense citrus punch, feel free to add a little extra. The zest provides a natural, aromatic oil that imparts a pure citrus flavor without adding excess liquid, which could thin out your frosting. For effortless and efficient zesting, I highly recommend using a microplane. Its razor-sharp blades ensure you only get the flavorful zest, leaving the bitter white pith behind.
Exploring Other Extracts for Unique Profiles
Beyond vanilla, a whole world of extract flavors awaits. If you wish to infuse your frosting with notes of mint, almond, or additional lemon (beyond zest), start with a small amount, typically ¼ to ½ teaspoon, and then slowly add more to taste. These extracts are considerably more potent than vanilla extract, so a little goes a long way. Always add them incrementally, tasting as you go, to avoid overpowering your frosting with too much flavor at once.
Crafting a Chocolate Whipped Cream Cheese Frosting
To transform this into a rich chocolate frosting, simply sift in ⅓ to ½ cup of unsweetened cocoa powder along with the powdered sugar. Adjust the amount based on your desired chocolate intensity. Ensure the cocoa powder is well combined with the cream cheese mixture before folding in the whipped cream. This yields a light, yet deeply satisfying chocolate version that’s perfect for chocolate cakes or brownies.
Seasonal Spices for Warmth
For seasonal delights, consider adding a pinch of ground cinnamon, nutmeg, or pumpkin pie spice. These spices pair wonderfully with carrot cake, pumpkin spice muffins, or apple desserts, lending a comforting warmth to your frosting. Start with ¼ teaspoon and increase to taste.
How To Achieve Beautifully Colored Frosting
Adding color to your whipped cream cheese frosting can make your baked goods truly pop! The key is to approach it strategically to maintain the frosting’s delicate texture and achieve vibrant, consistent hues.
I highly recommend using gel food coloring for the best results. Gel colors are concentrated and won’t add unnecessary liquid to your frosting, which could thin it out. Liquid food coloring can work for lighter, pastel shades, but using too much will compromise the consistency of your whipped frosting.
The optimal time to add your food coloring is to the cream cheese mixture before you fold in the whipped cream. This allows you to thoroughly mix the color into the base without risking overmixing and deflating the delicate whipped cream. If you add the food coloring after the whipped cream has been incorporated, you might find yourself overworking the frosting in an attempt to achieve a uniform color, which can lead to a less airy final product.
Keep in mind that the color of the frosting will appear slightly lighter once the white whipped cream is fully folded in. Therefore, don’t be afraid to go a little darker with the initial cream cheese mixture to achieve your desired final shade. Start with a small drop of gel color, mix it in, and then add more gradually until you reach the perfect hue. This method ensures a beautifully colored, perfectly textured frosting every time.
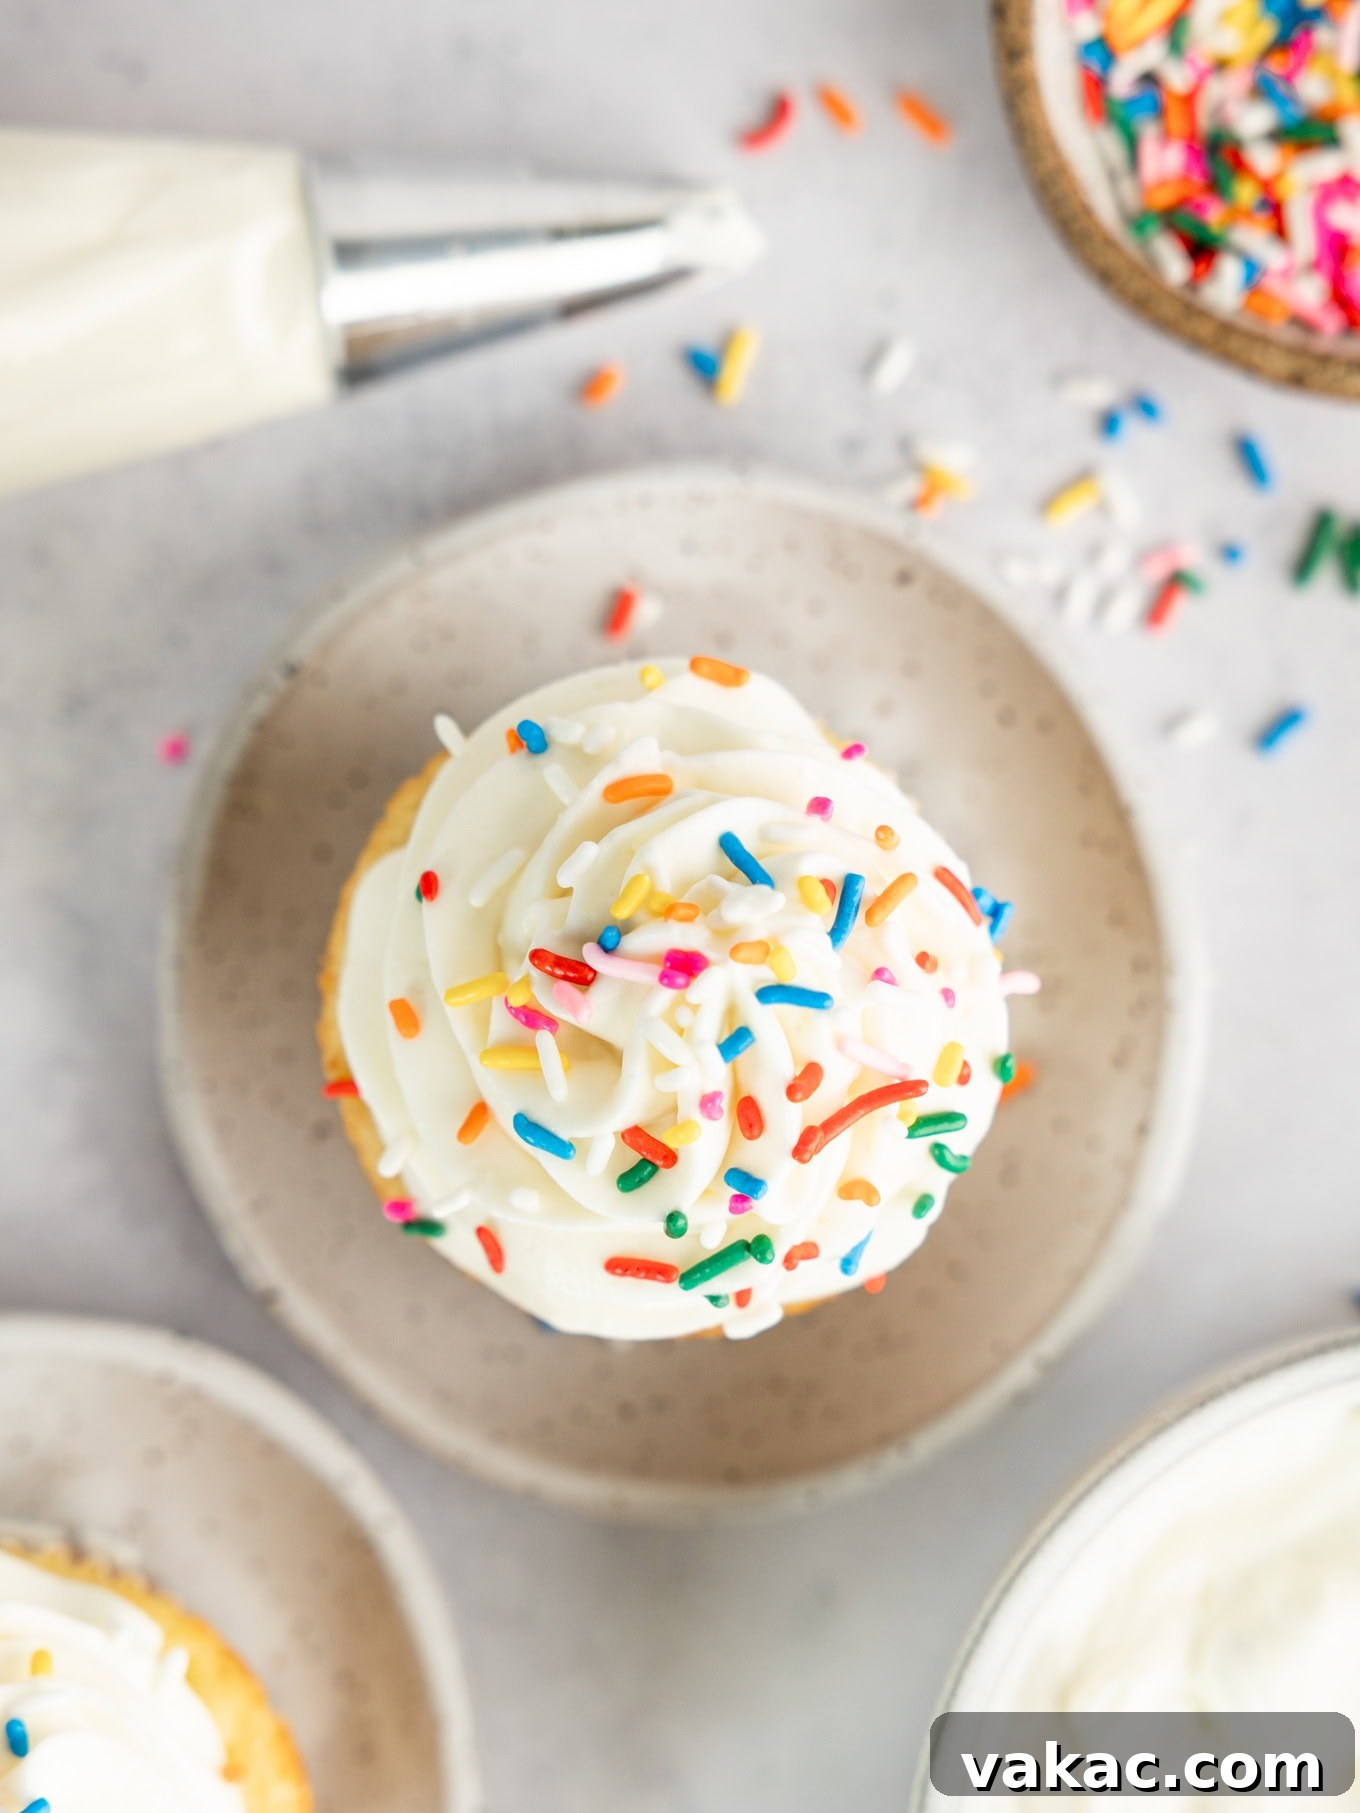
Yield and Versatile Serving Suggestions
This recipe generously yields approximately 4.5 cups of luscious whipped cream cheese frosting. This ample quantity is perfectly suited for a variety of baking projects, including:
- A classic two-layer 9-inch round cake.
- A single 9×13-inch sheet cake.
- Frosting a full batch of 24 standard-sized cupcakes.
- Providing a delightful, lighter frosting for a three-layer cake.
Beyond these traditional uses, the light and airy nature of this frosting makes it incredibly versatile. Consider pairing it with:
- Red Velvet Cake or Cupcakes: The tangy cream cheese beautifully complements the mild cocoa notes.
- Carrot Cake: A classic pairing, the lightness of this frosting balances the richness of carrot cake.
- Pumpkin Spice Desserts: Perfect for fall-themed cakes, cupcakes, or even swirled into pumpkin bars.
- Fruit Tarts and Pies: A dollop adds a creamy, sweet finish.
- Gingerbread or Spice Cookies: A festive and flavorful topping.
- Banana Bread or Zucchini Bread: Elevates simple quick breads into dessert-worthy treats.
- As a Dip: Serve alongside fresh berries, graham crackers, or vanilla wafers for a lighter snack.
Storage and Freezing Instructions
One of the many benefits of this whipped cream cheese frosting is its excellent stability, allowing you to prepare it in advance or store leftovers for future indulgence. Proper storage is key to maintaining its fresh taste and perfect texture.
Refrigeration for Short-Term Storage
If you plan to use the frosting within a few days, simply transfer it to an airtight container. Press a piece of plastic wrap directly onto the surface of the frosting to prevent a crust from forming and to keep it fresh. Store it in the refrigerator for up to 4 days. When you’re ready to use it, allow it to sit at room temperature for about 15-20 minutes to soften slightly, then give it a quick whisk by hand or with an electric mixer on low speed for a few seconds to restore its fluffy consistency before piping or spreading.
Freezing for Long-Term Enjoyment
This whipped cream cheese frosting freezes beautifully, making it an excellent option for meal prepping your desserts or saving extra batches. To freeze, place the frosting in an airtight, freezer-safe container. Again, pressing plastic wrap directly onto the surface before sealing the container will provide extra protection against freezer burn. The frosting will maintain its quality in the freezer for up to 3 months.
When you’re ready to use your frozen frosting, transfer it to the refrigerator to thaw overnight. Once thawed, it may appear slightly deflated or separated. Don’t worry, this is normal! Simply give it a good whisk with a handheld mixer or the whisk attachment of your stand mixer on medium speed for a minute or two until it becomes light and fluffy again. It will be as good as freshly made!
Common Questions About Whipped Cream Cheese Frosting
Many bakers have questions about working with this delicate yet stable frosting. Here are answers to some frequently asked questions:
Is this frosting stable in warm weather?
Compared to traditional buttercream, this frosting is more sensitive to heat due to the whipped cream. While the cream cheese does add stability, it’s best kept refrigerated until serving, especially in warmer environments. For outdoor events, consider keeping frosted desserts in a cooler or serving them shortly after preparation.
Can I make this frosting ahead of time?
Yes, absolutely! This frosting holds up wonderfully when made ahead. Prepare it up to 2-3 days in advance and store it in an airtight container in the refrigerator. Before using, let it come to room temperature for about 15-20 minutes, then whisk it briefly to regain its light, airy texture.
Why is my frosting runny?
A runny frosting is usually due to a few common culprits:
- Warm Heavy Cream: Ensure your heavy cream is very cold when whipped.
- Overmixed Whipped Cream: If the whipped cream was over-whipped and started to curdle, it won’t hold air properly.
- Softened Cream Cheese Not Firm Enough: While softened is good, it shouldn’t be overly warm or melted.
- Using Low-Fat/Whipped Cream Cheese: These products have too much water content.
- Adding Too Much Liquid: Be cautious with liquid flavorings or food coloring.
Can I use low-fat cream cheese?
It is strongly advised against using low-fat or “light” cream cheese. These varieties contain more water and less fat, which will prevent the frosting from becoming thick and stable. Stick to full-fat, brick-style cream cheese for the best results.
What if my frosting is too sweet?
You can slightly reduce the amount of powdered sugar if you prefer a less sweet frosting, but be mindful that powdered sugar also contributes to the frosting’s structure. You can also balance sweetness by adding more citrus zest or a pinch of salt to enhance other flavors.
Now that you’re armed with all the knowledge, it’s time to get whipping! This frosting is sure to become a staple in your baking repertoire. If you make this frosting, don’t forget to leave a comment below letting me know what delicious treats you piped it onto!
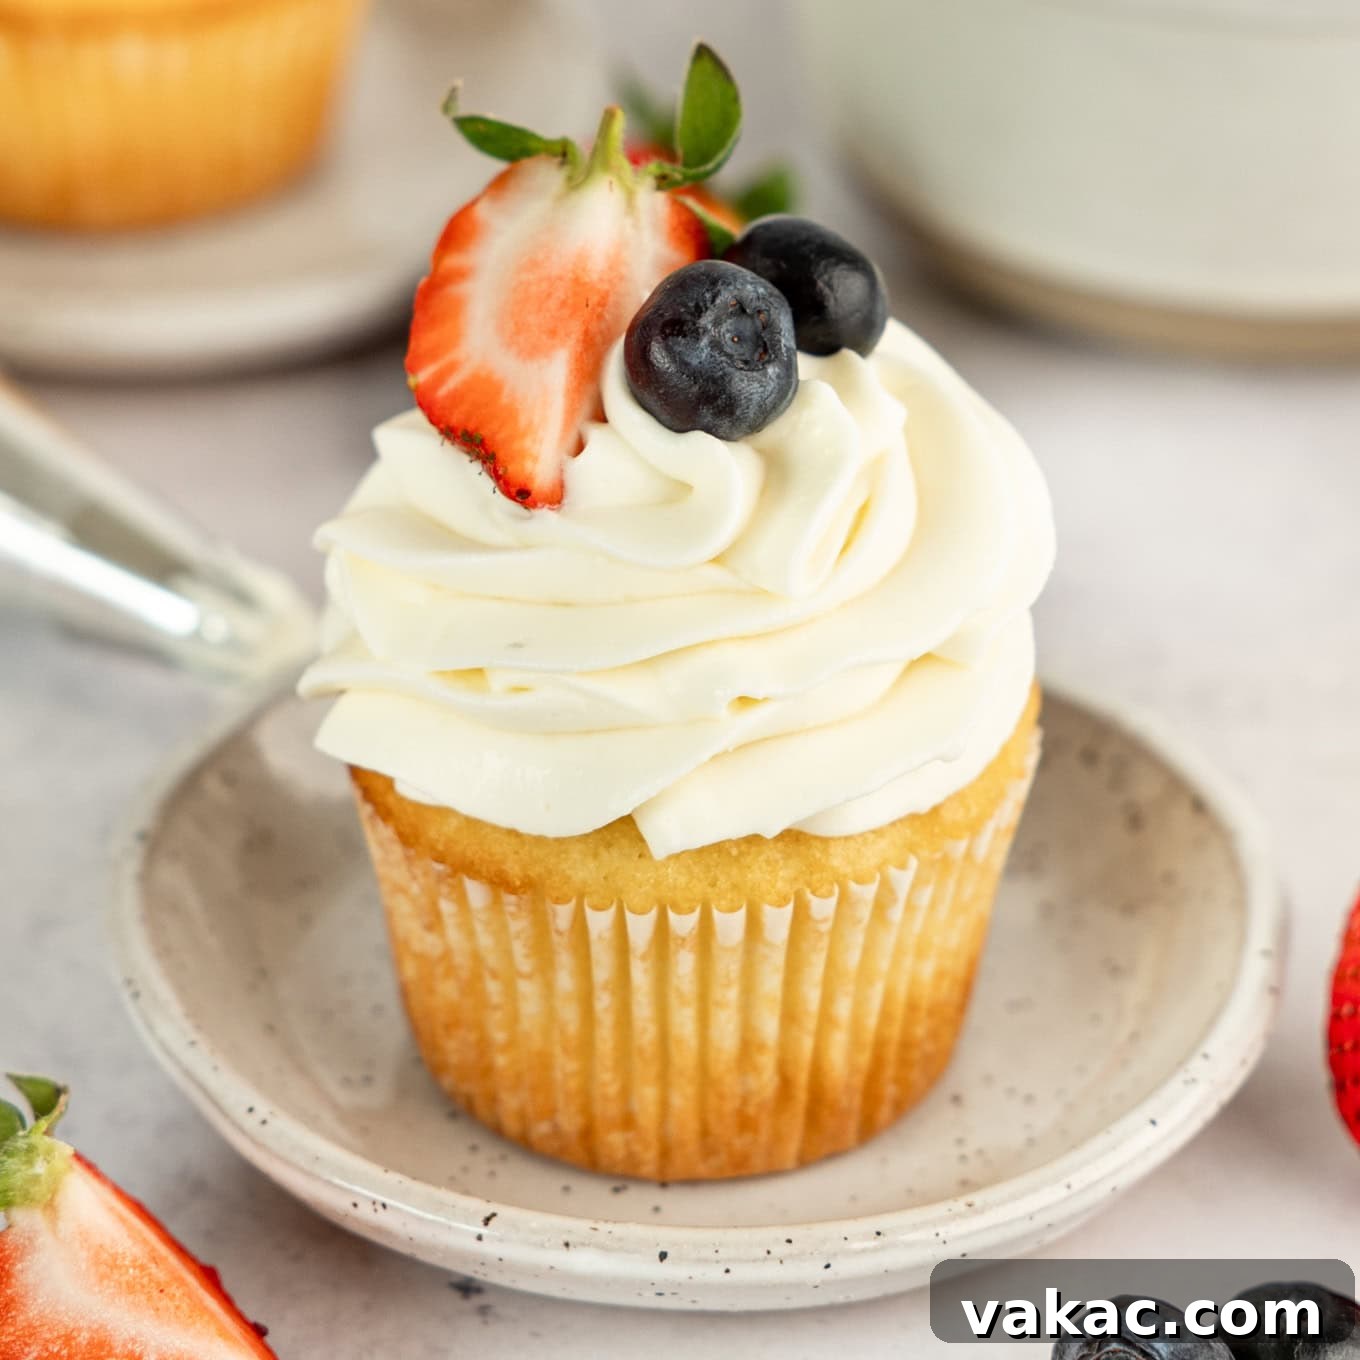
Whipped Cream Cheese Frosting Recipe
Pin Recipe
SaveSaved!
Leave a Review
Ingredients
- 8 ounces brick-style cream cheese softened (226 grams; 1 block)
- 1 cup powdered sugar (120 grams)
- 1 ½ teaspoons pure vanilla extract
- 1 ½ cups cold heavy whipping cream (360 ml)
Instructions
-
In the bowl of a stand mixer fitted with the paddle attachment or in a large mixing bowl using a handheld mixer, beat the cream cheese on medium speed until smooth and creamy. Ensure there are no lumps.8 ounces brick-style cream cheese
-
Add the sifted powdered sugar and vanilla extract to the cream cheese mixture. Mix on low speed until just combined, then increase to medium speed and beat until fully incorporated, light, and fluffy, stopping frequently to scrape down the sides and bottom of the bowl as needed to ensure no dry pockets remain.1 cup powdered sugar,1 ½ teaspoons pure vanilla extract
-
In a separate, very cold mixing bowl, add the cold heavy whipping cream. Using a handheld mixer or a stand mixer fitted with the whisk attachment, begin mixing on low-medium speed for about 30 seconds to 1 minute to gently incorporate air. Then, increase the speed to medium-high and continue mixing until stiff peaks form. Be very careful not to overmix, as this will curdle the cream.1 ½ cups cold heavy whipping cream
-
Gently fold one-third of the whipped cream into the cream cheese mixture using a spatula until just combined. This lightens the cream cheese base. Then, carefully fold in the remaining whipped cream until no streaks of white remain and the frosting is uniformly light and airy. Avoid overmixing to preserve the fluffy texture.
-
Your whipped cream cheese frosting is now ready to use! Pipe it onto cupcakes, spread it generously on cakes, or use it to fill pastries. If not using immediately, cover it tightly and refrigerate until ready to use.
Notes
Freezing Instructions: For longer storage, the frosting freezes exceptionally well for up to 3 months. Thaw overnight in the fridge. Once thawed, re-whip on medium speed for a minute or two to restore its original consistency.