
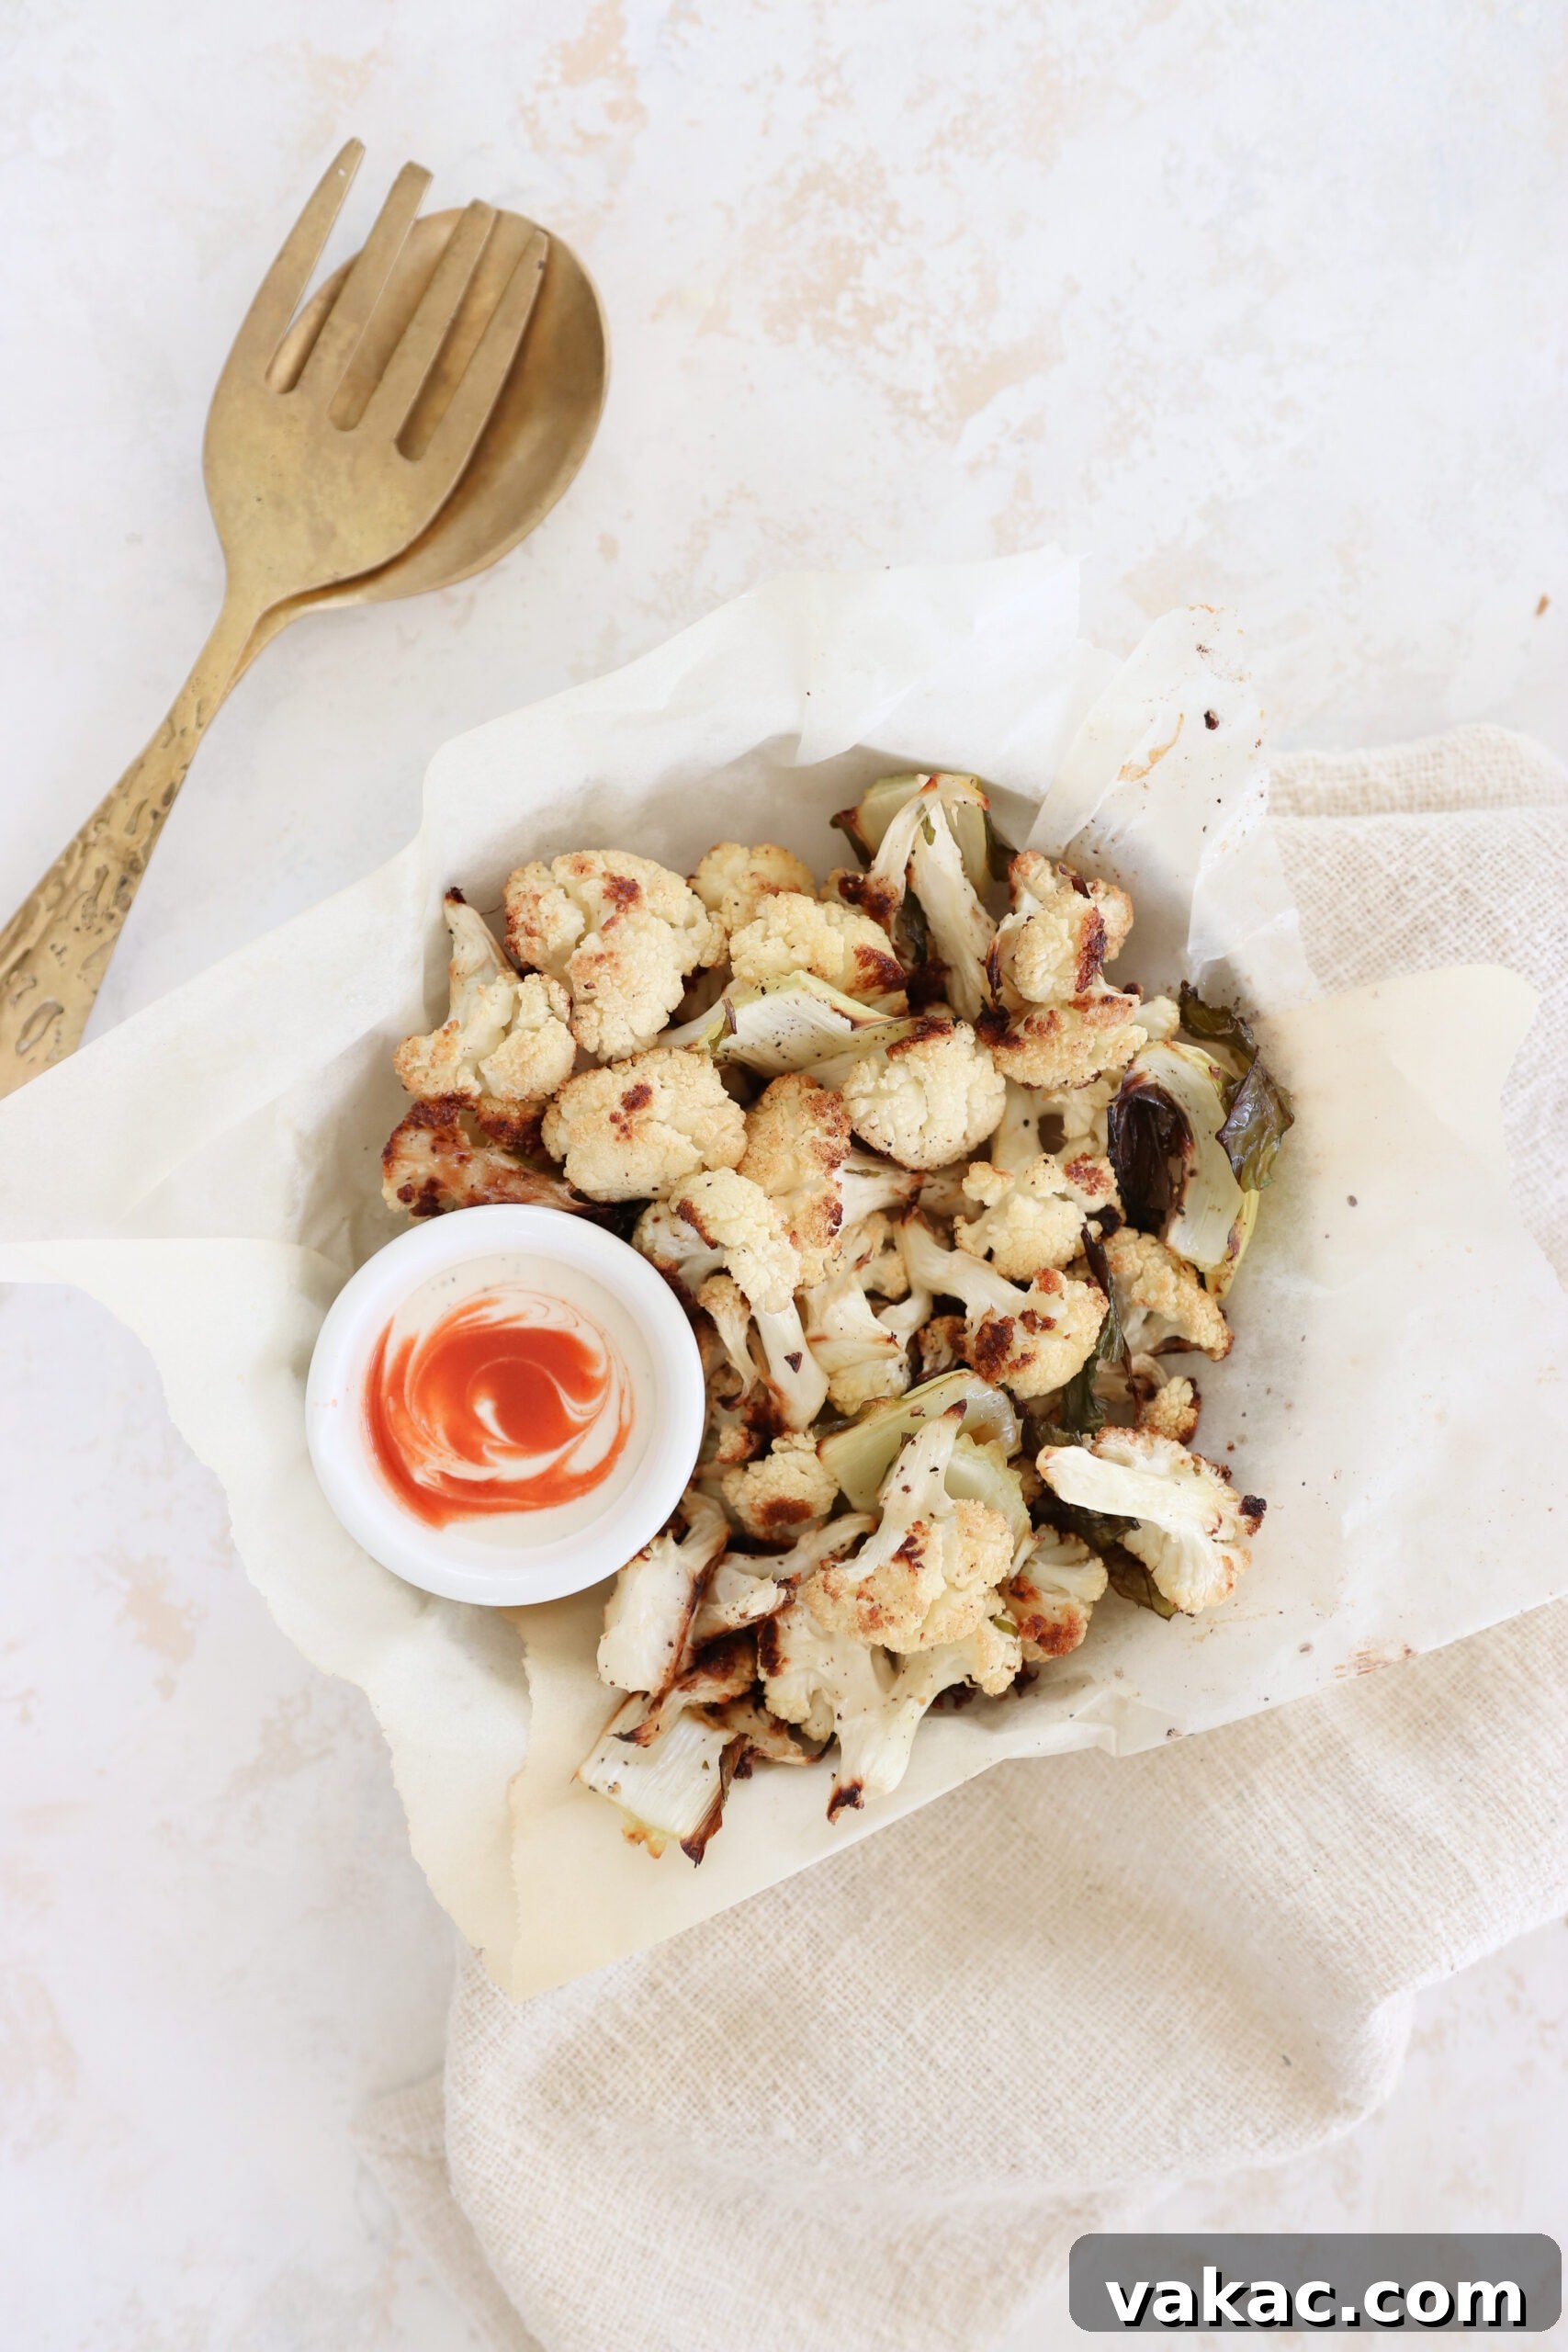
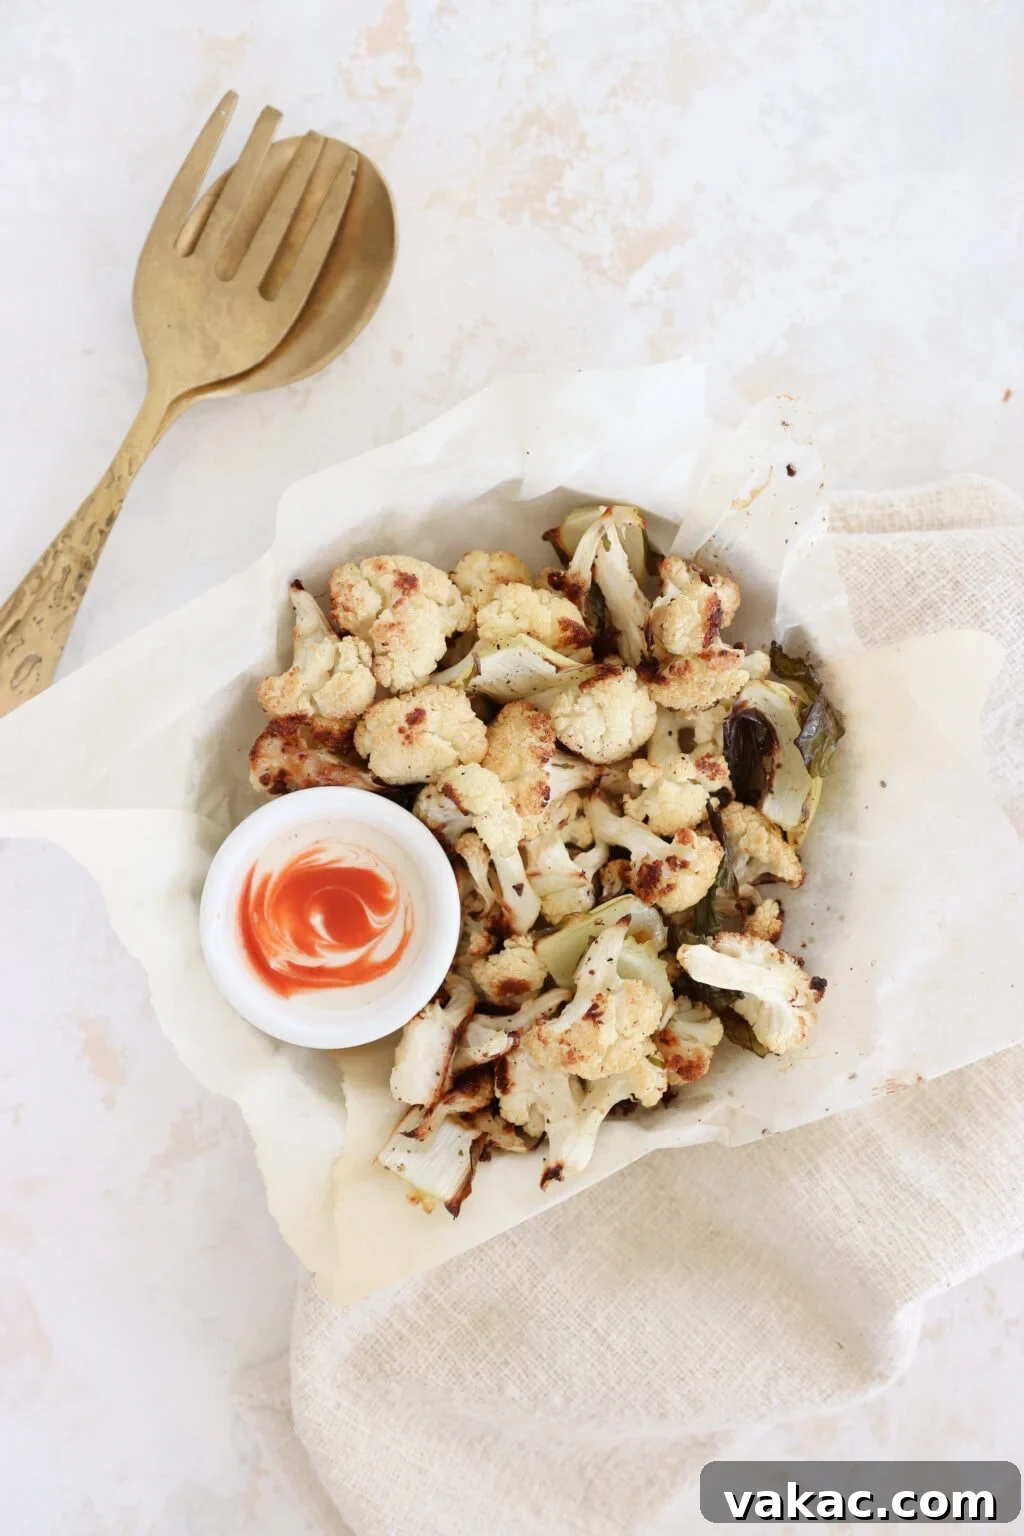
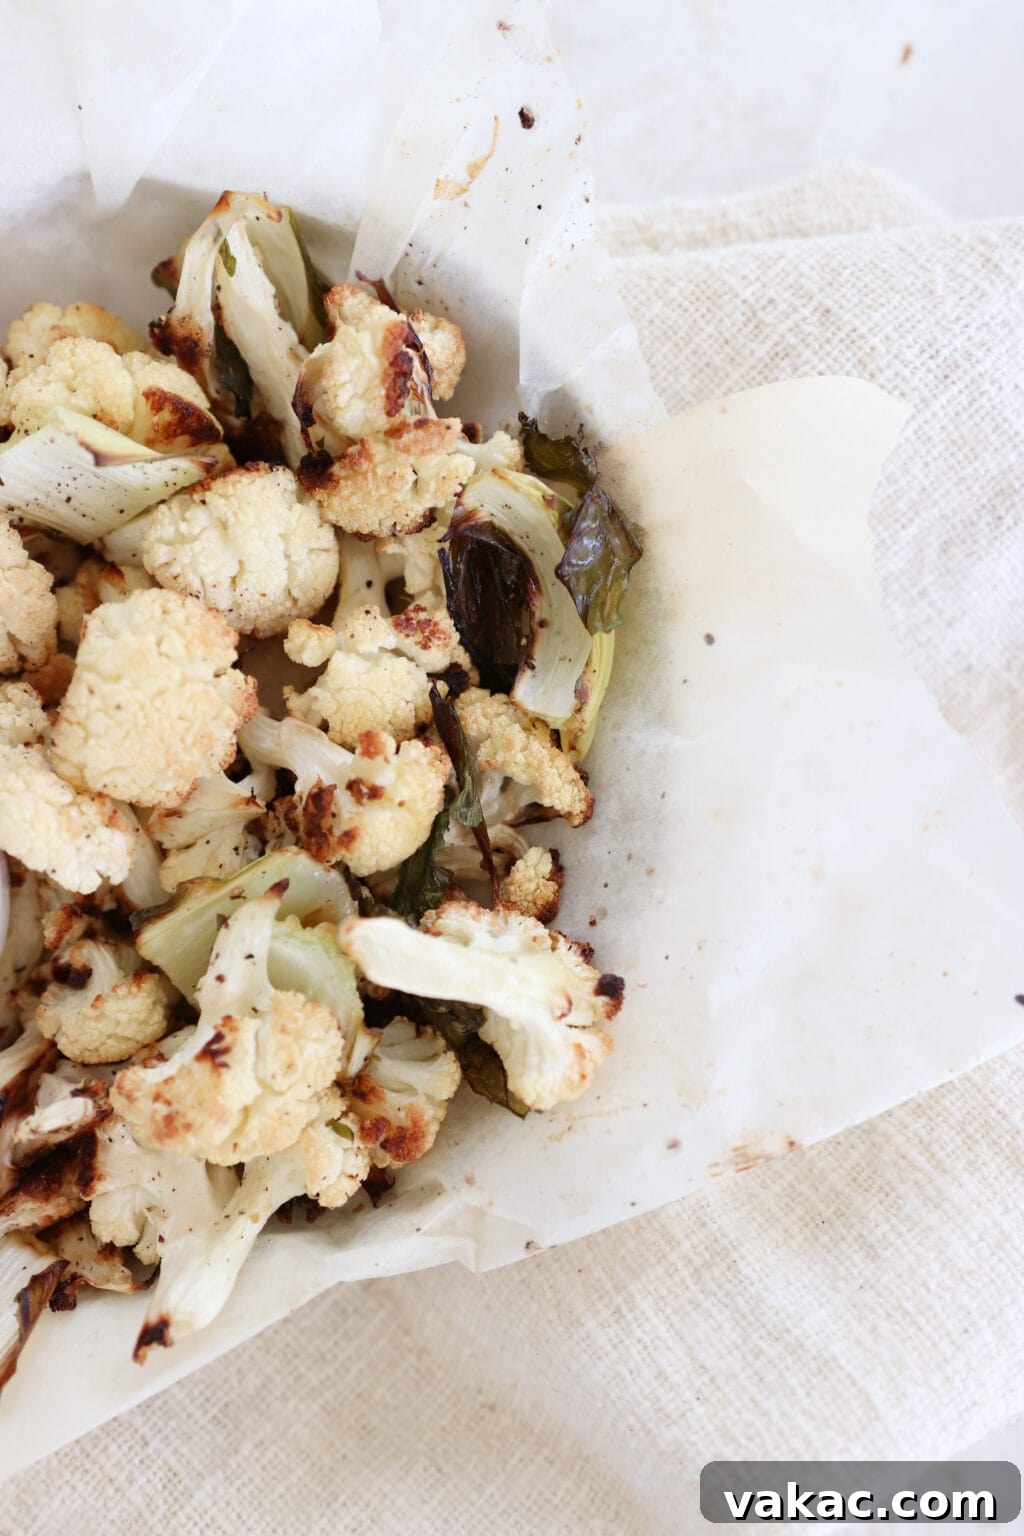
This oven roasted cauliflower is a staple in my house. Packed full of vitamins, fiber, and flavor, it’s easy to meal prep and use throughout the week for an added boost of nutrition to your plate. Enjoy it on its own with a spicy yogurt dip or add it to tacos, salads, or bowls. The options are limitless.
If you’ve been following me for a while, you know that I’m a Registered Dietitian who is passionate about making healthy eating accessible and delicious. When I was first introduced to meal planning, I, like many people, thought that it was just a repetitive cycle of bland chicken, broccoli, and rice every single day. This perception often leads to burnout and discourages people from embracing meal prep as a sustainable lifestyle.
As a passionate food lover who thrives on variety, I quickly realized that meal planning doesn’t have to be monotonous. The secret lies in prepping core ingredients that can be transformed into diverse and exciting recipes throughout the week. This foundational principle is what inspired the development of my signature 3-2-1 Meal Plans, designed to bring flexibility and flavor to your table.
Among my favorite ingredients to always have readily available in the fridge is perfectly roasted cauliflower. Cauliflower is not just a vegetable; it’s a true nutrition powerhouse. It’s brimming with essential nutrients like Vitamin C, K, and B6, along with a significant amount of fiber and powerful antioxidants. Beyond its impressive nutritional profile, roasted cauliflower is incredibly versatile and undeniably delicious in a multitude of dishes. I frequently incorporate it into recipes such as these flavorful roasted cauliflower and chickpea tacos, add it to my vibrant roasted kale and broccoli salad for an extra burst of texture and flavor, or simply enjoy it on its own as a wholesome snack or a satisfying side dish. Its adaptability makes it an invaluable component of any meal prep strategy.
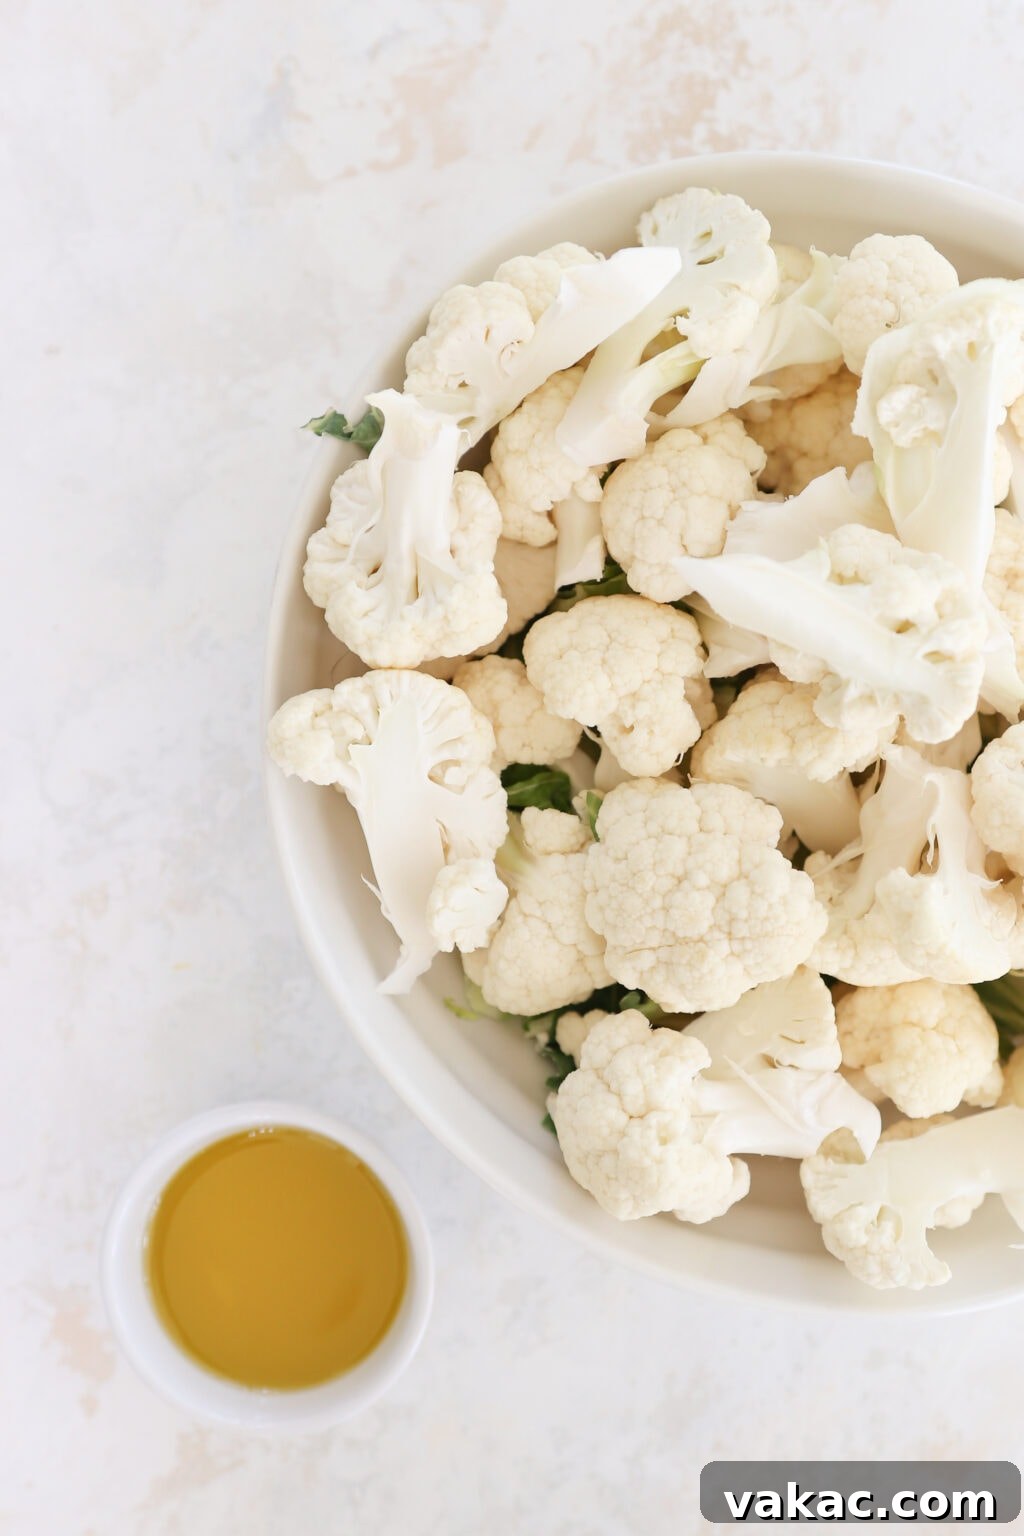
Essential Ingredients for Perfectly Roasted Cauliflower & Versatile Substitutions
Achieving perfectly roasted cauliflower requires just a few simple ingredients, but the beauty lies in their quality and your ability to customize. Here’s a breakdown of what you’ll need and how you can adapt the recipe to your preferences or what you have on hand:
Cauliflower: Naturally, the star of this recipe is the cauliflower itself. When selecting a head of cauliflower, look for one that is firm, compact, and creamy white, with no dark spots or signs of wilting. While you can purchase pre-cut florets for ultimate convenience, buying a whole head and cutting it yourself often results in fresher, more uniform pieces. Don’t discard the vibrant green leaves and tender inner stem; these are also edible and become wonderfully crisp and flavorful when roasted alongside the florets, adding extra texture and nutrients. Simply trim them and toss them with the florets.
If cauliflower isn’t available or you’re looking to explore other options, this roasting method works beautifully with a variety of other vegetables. Consider experimenting with broccoli florets, halved Brussels sprouts, carrot chunks, or bell pepper strips. Keep in mind that cooking times may vary depending on the density and size of your chosen vegetables. The goal remains consistent: you want the exterior to achieve a lovely crispness and golden-brown caramelization, while the interior should be tender enough to pierce easily with a fork.
Avocado Oil: Avocado oil is my go-to choice for high-heat cooking like roasting, and for good reason. Its neutral, mild flavor won’t overpower the delicate taste of the cauliflower, and its exceptionally high smoke point (around 520°F or 271°C) means it can withstand the oven’s high temperatures without breaking down or producing harmful compounds. This ensures your cauliflower roasts beautifully without any burnt flavors. If avocado oil isn’t accessible, other excellent high-heat cooking oils include grapeseed oil, canola oil, or sunflower oil. While olive oil is delicious, it has a lower smoke point, so it’s best reserved for drizzling after roasting or for lower-temperature cooking.
Salt & Pepper: For routine batch meal prepping of roasted cauliflower, a generous seasoning of salt and freshly ground black pepper is usually all I use. This minimalist approach allows the natural flavors of the cauliflower to shine and provides a versatile base that can be easily incorporated into a wide array of dishes later in the week without clashing with other flavor profiles. However, this is also where your culinary creativity can truly flourish! Don’t hesitate to mix it up and experiment with various spice blends. Consider adding:
- Savory Enhancers: Garlic powder, onion powder, smoked paprika for depth.
- Spicy Kicks: A pinch of cayenne pepper, chili powder, or red pepper flakes for heat.
- Herbaceous Notes: Dried oregano, thyme, rosemary, or a blend of Italian seasoning.
- Global Flavors: Curry powder, cumin, and turmeric for an Indian-inspired twist; za’atar for a Middle Eastern touch.
- Citrus Brightness: A squeeze of fresh lemon juice or a sprinkle of lemon zest after roasting.
- “Cheesy” Umami: Nutritional yeast for a savory, dairy-free cheesy flavor.
The possibilities are endless, allowing you to tailor your roasted cauliflower to perfectly complement any meal you envision.
Mastering the Art of Perfectly Roasted Cauliflower: A Step-by-Step Guide
Achieving that coveted golden-brown, tender-crisp roasted cauliflower is simpler than you might think. Follow these easy steps to guarantee delicious results every time:
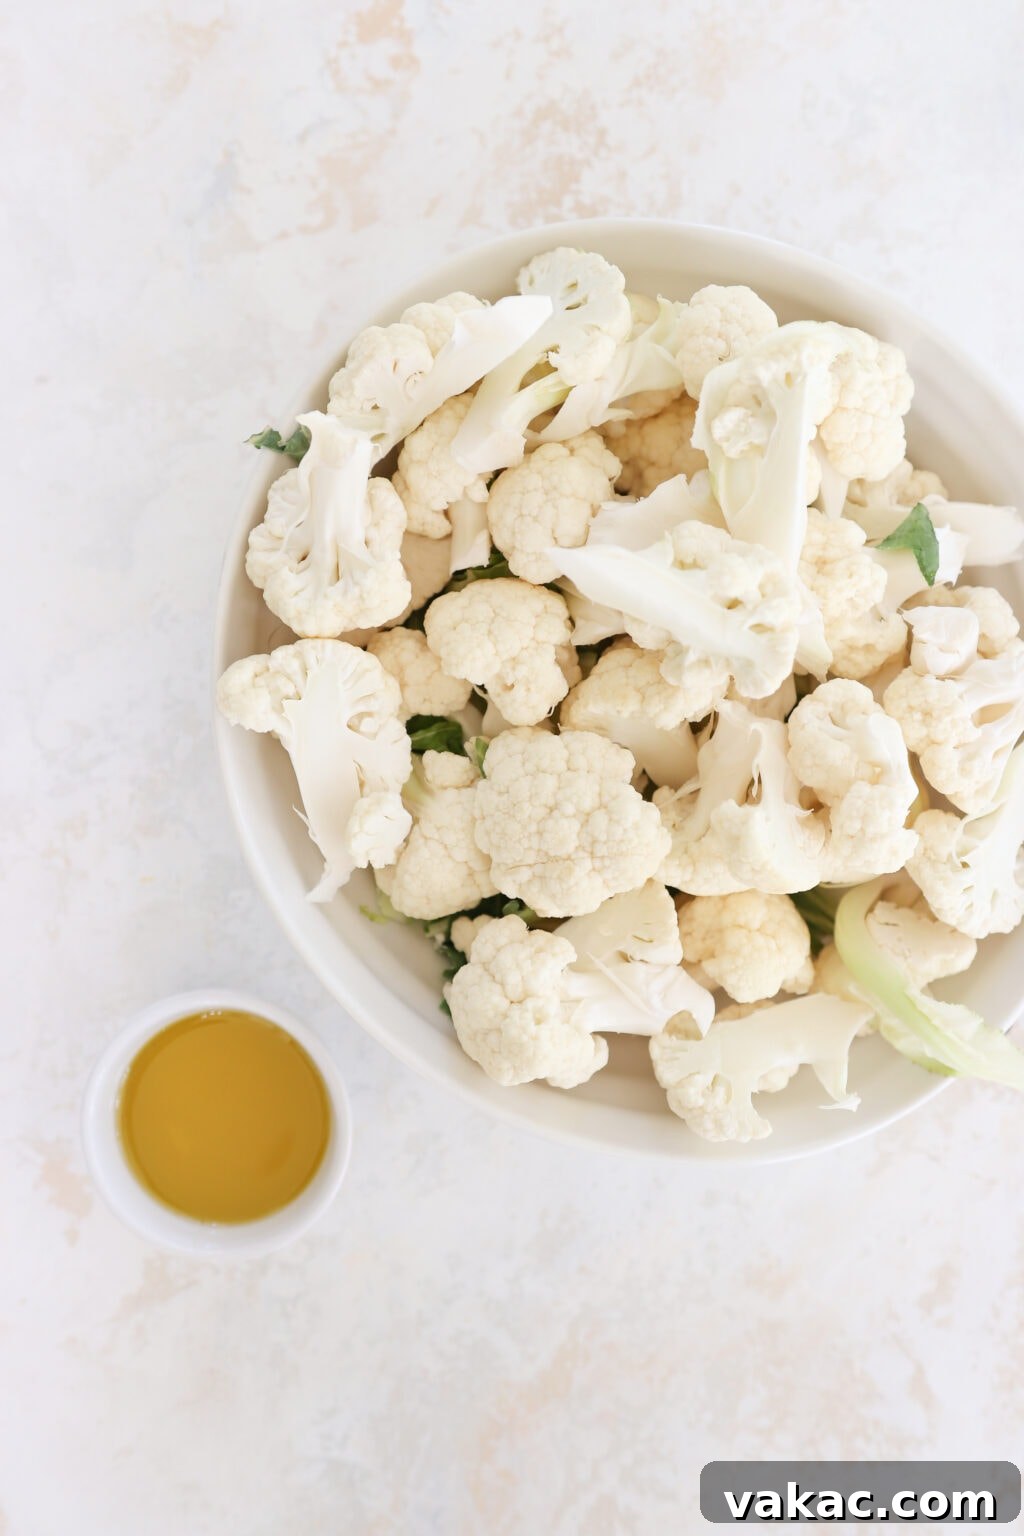
Step 1: Preheat and Prepare. Begin by preheating your oven to a robust 425°F (220°C). This high temperature is crucial for ensuring the cauliflower roasts rather than steams, leading to those desirable crispy edges. While the oven heats, line two large baking sheets with parchment paper. Parchment paper is invaluable here; it prevents sticking, makes cleanup a breeze, and helps with even roasting. In a medium-sized mixing bowl, combine your bite-sized cauliflower florets with the avocado oil. Toss thoroughly to ensure every piece is lightly and evenly coated. Then, sprinkle generously with salt and freshly ground black pepper, or your chosen seasoning blend. Ensure the seasoning adheres well to the oiled florets.
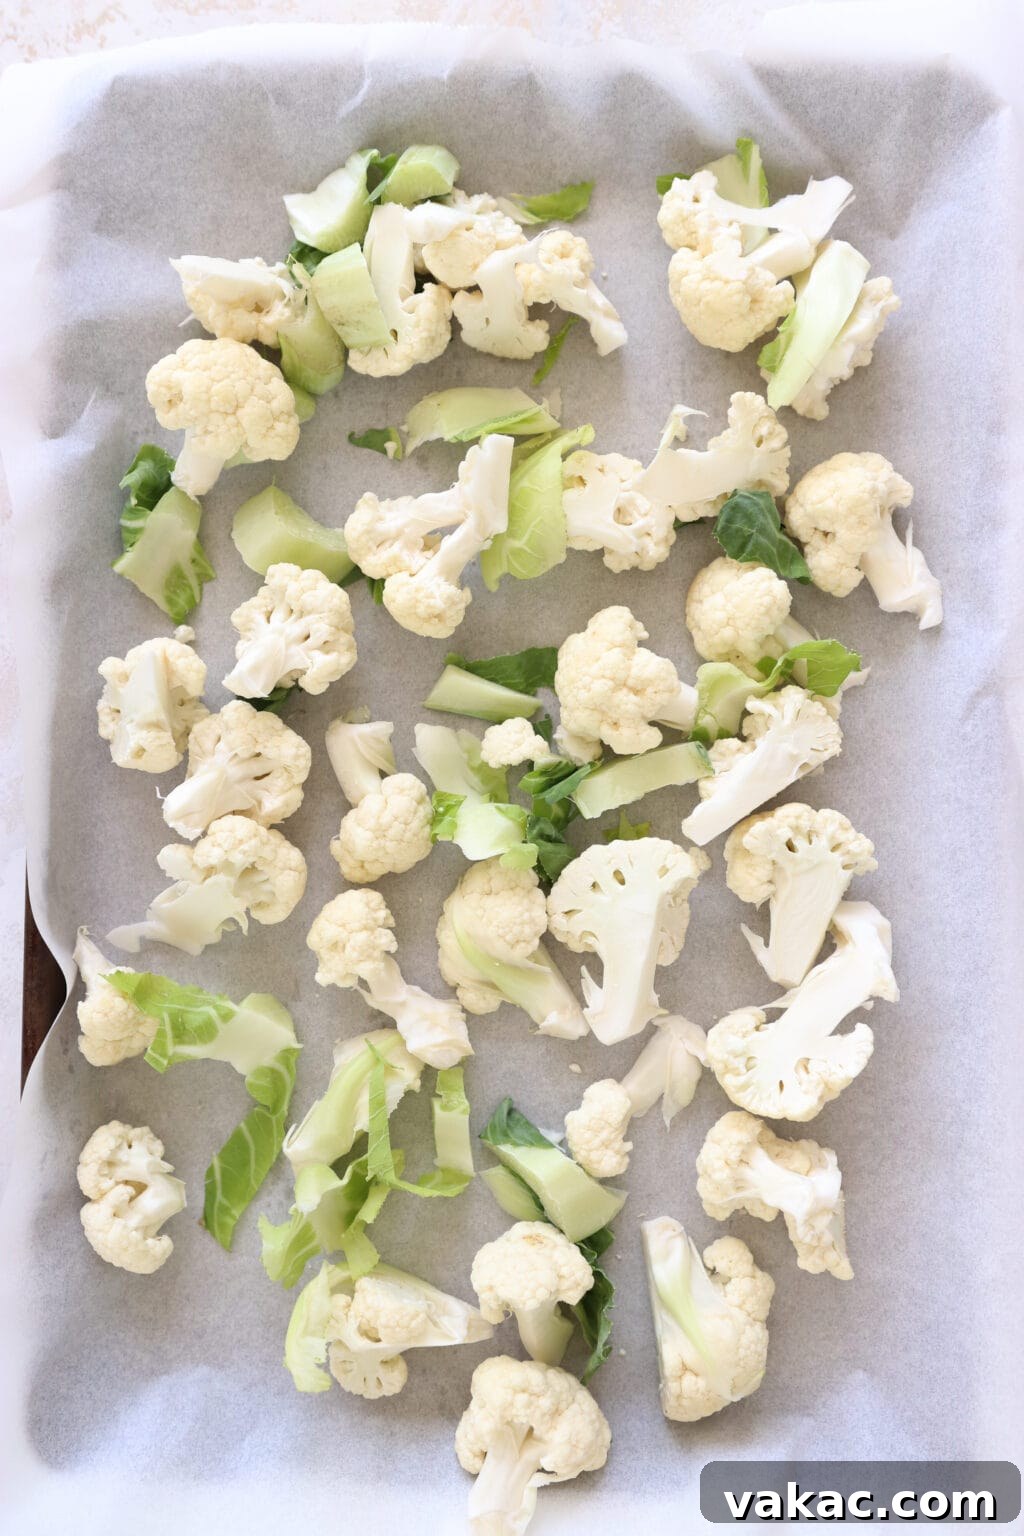
Step 2: Spread Evenly. This step is paramount for achieving crispness. Arrange the seasoned cauliflower florets in a single layer across the two prepared baking sheets. Critically, ensure there’s ample space between each floret. Overcrowding the baking sheets is a common mistake that causes the cauliflower to steam in its own moisture, resulting in a soggy texture rather than a beautifully roasted one. Using two baking sheets allows for proper air circulation, which is key to achieving those coveted crispy, caramelized edges.
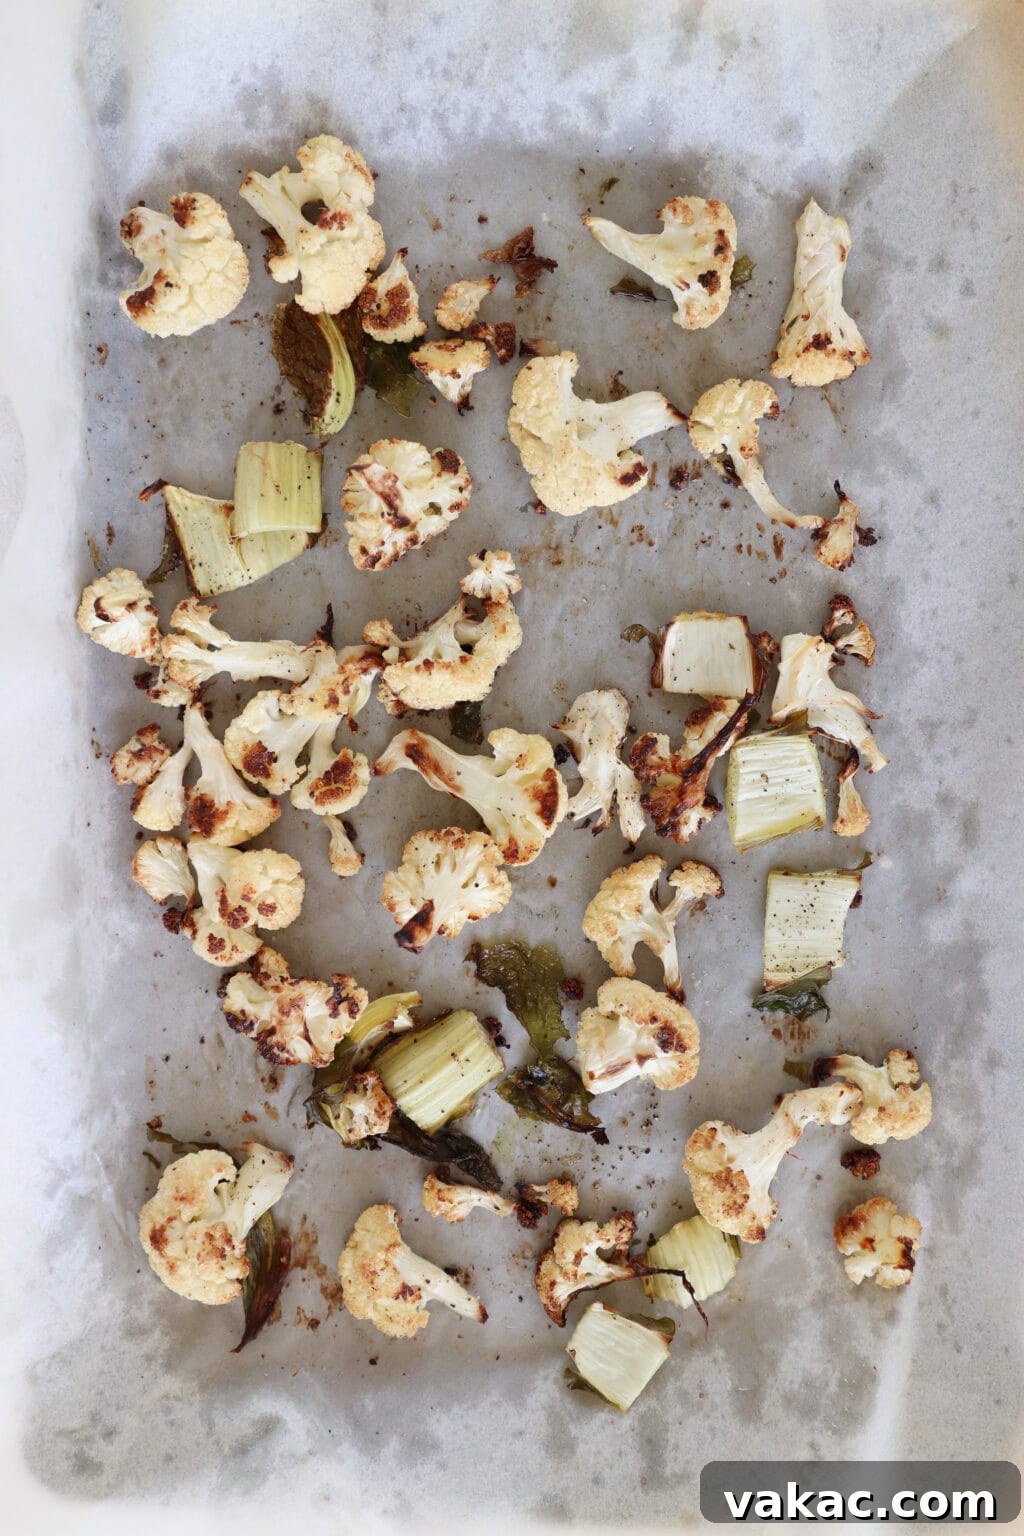
Step 3: Roast to Perfection. Carefully place both baking sheets into the preheated oven. Roast for a total of 40 to 45 minutes. Halfway through the cooking time (around the 20-25 minute mark), use a spatula or wooden spoon to gently stir and flip the cauliflower florets. This ensures even browning and crisping on all sides. The cauliflower is ready when it has transformed into a beautiful golden-brown color, showing signs of caramelization on its edges. It should be tender when pierced with a fork, yet still retain a slight crispness, offering a delightful texture contrast.
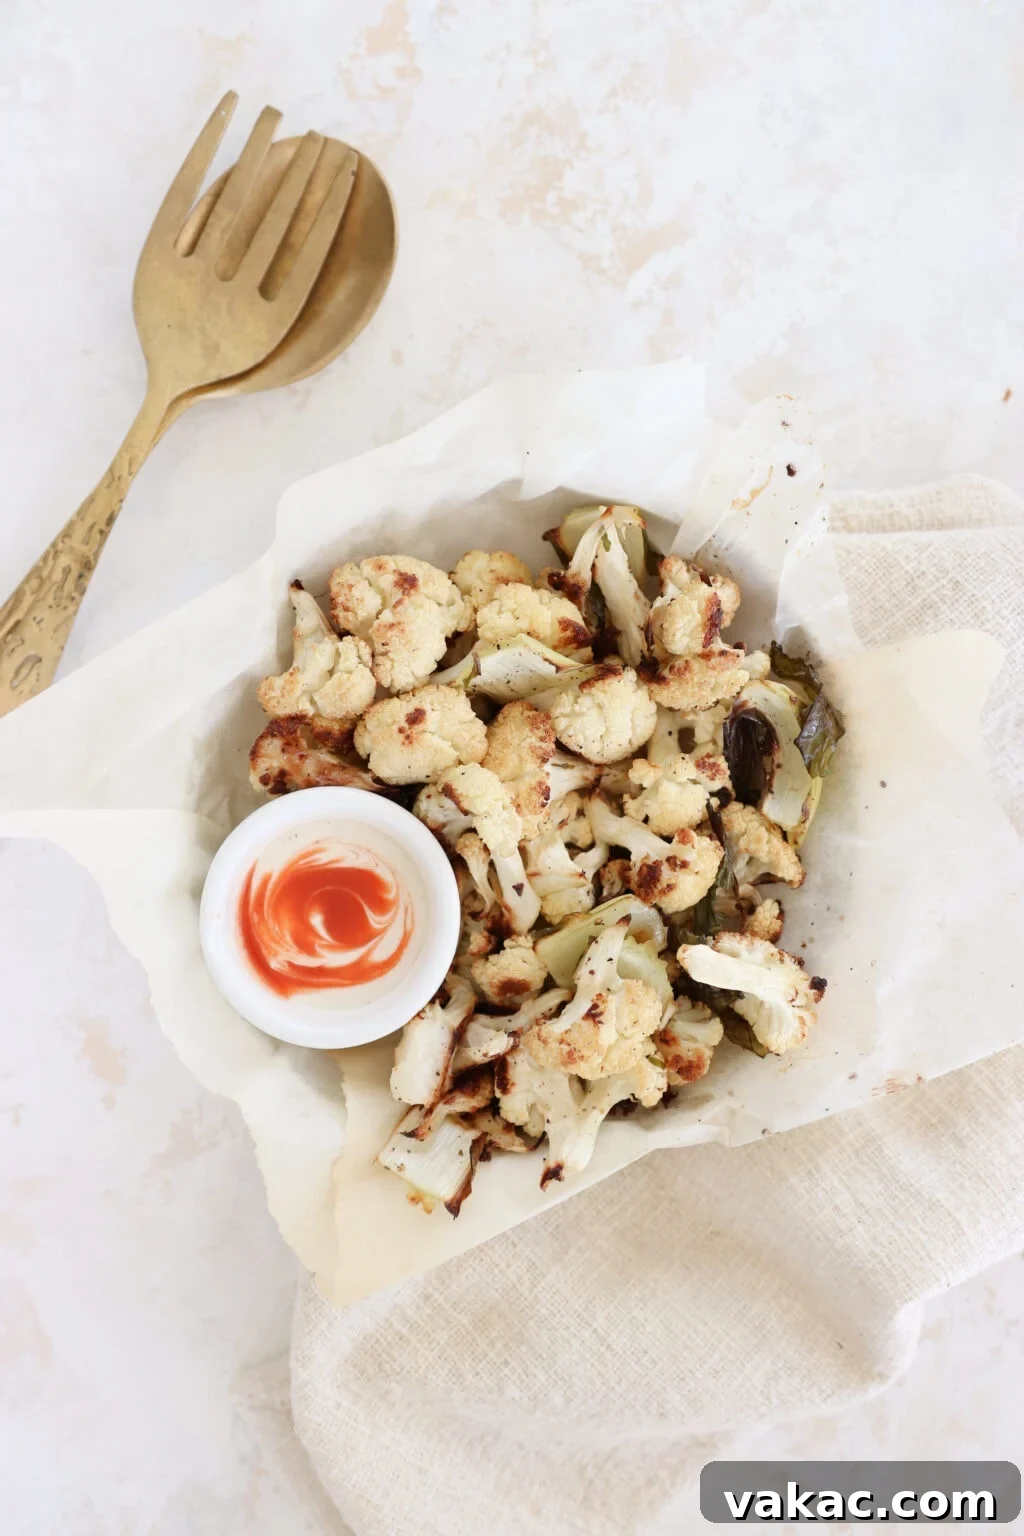
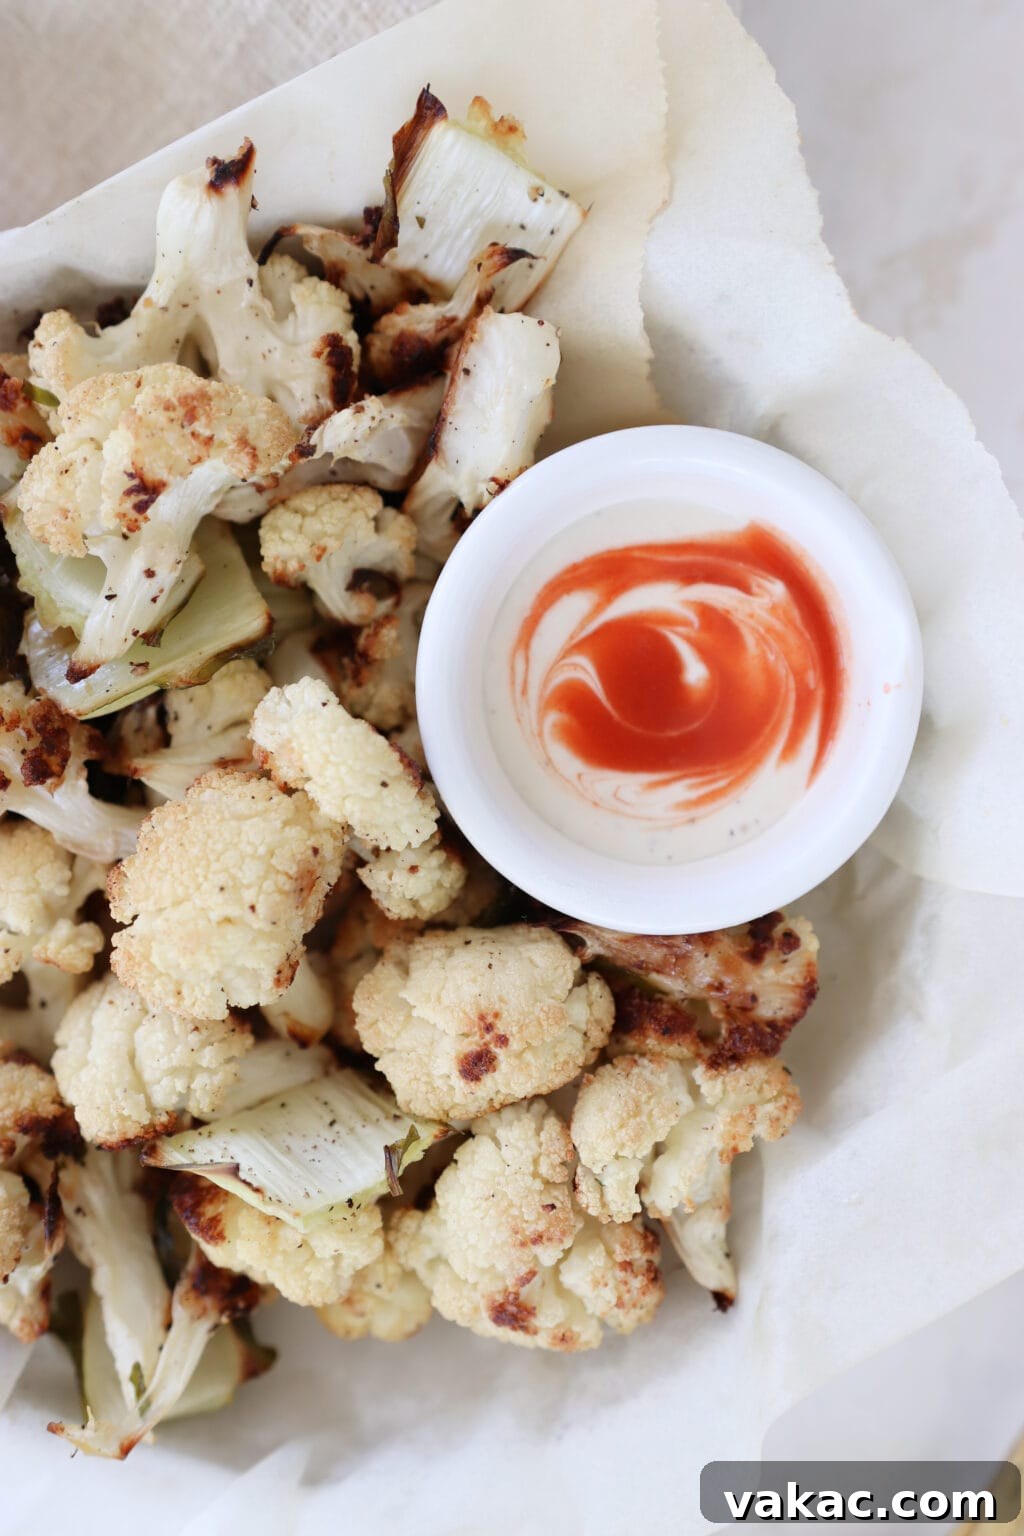
Step 4: Serve and Store. Once the cauliflower has reached its peak perfection, remove the baking sheets from the oven. For immediate enjoyment, serve hot as a side dish, or with a delicious spicy yogurt dip. If you’re meal prepping, allow the roasted cauliflower to cool completely before transferring it to an airtight container. Store it in the fridge for future use, ready to elevate your meals throughout the week.
Common Mistakes and How to Fix Them for Crispy Cauliflower
Even though roasting cauliflower is relatively simple, there are a few common pitfalls that can prevent you from achieving that coveted crispy, flavorful result. Understanding these mistakes and their simple fixes will ensure your roasted cauliflower is always a success:
Overcrowding the Baking Sheet: This is perhaps the most frequent error. Placing too many cauliflower florets on a single baking sheet leads to overcrowding. When the pan is too full, there isn’t enough space for proper hot air circulation around each piece. Instead of roasting and crisping, the cauliflower essentially steams in its own moisture, resulting in a soft, mushy, and unappetizing texture.
Fix: Always err on the side of caution. If you have a large head of cauliflower, use two, or even three, baking sheets if necessary. Spread the cauliflower florets in a single, uncrowded layer, ensuring each piece has room to breathe and brown properly. This allows the heat to distribute evenly and encourages crispy edges.
Not Enough Oil or Uneven Coating: Oil plays a vital role in roasting. It not only helps in crisping the cauliflower by conducting heat but also acts as a medium for the seasonings to adhere, enhancing flavor. If there isn’t enough oil, or if the florets aren’t evenly coated, they can dry out, stick to the pan, or fail to achieve that desirable golden crust.
Fix: Ensure every floret is lightly and evenly coated with oil. A good method is to toss the cauliflower in a bowl with the oil before spreading it on the baking sheet. For extra assurance, an avocado oil spray can be helpful to achieve a fine, even coating on all surfaces.
Not Stirring or Flipping Halfway Through: Neglecting to stir or flip the cauliflower during the roasting process can result in uneven browning. The side of the florets touching the hot baking sheet will brown and crisp more quickly, while the top may remain pale.
Fix: Use a spatula or wooden spoon to gently turn the cauliflower florets halfway through the roasting time. This ensures all sides get direct contact with the hot air and the baking sheet, promoting even browning and crispness throughout. If using multiple baking sheets, it’s also a good idea to rotate them between oven racks to compensate for potential hot spots.
Forgetting to Preheat the Oven: Placing vegetables into a cold oven means they slowly come up to temperature, extending the cooking time and often leading to a steamed rather than roasted result. The initial blast of high heat is crucial.
Fix: Always preheat your oven to the specified temperature (425°F or 220°C in this recipe) before you even think about putting the cauliflower in. A hot oven immediately sears the exterior of the cauliflower, quickly sealing in moisture and jumpstarting the caramelization process. This quick sealing ensures that the outside gets wonderfully crispy and caramelized, while the inside remains tender and “juicy.”
Wet Cauliflower: Moisture is the enemy of crispiness when roasting. If your cauliflower florets are wet from washing, that water will steam off in the oven before any browning can begin, leading to a soggy texture.
Fix: After washing your cauliflower, dry it thoroughly. You can use a salad spinner for efficiency, or spread the florets on a clean kitchen towel or paper towels and pat them completely dry. The drier the cauliflower, the crispier your results will be.
Unevenly Cut Florets: Cutting florets into varying sizes means they will cook at different rates. Smaller pieces might burn while larger ones remain undercooked.
Fix: Aim for uniformly sized, bite-sized florets. This ensures consistent cooking and browning across the entire batch.
By avoiding these common mistakes, you’ll consistently achieve perfectly roasted cauliflower that’s tender on the inside, crispy on the outside, and bursting with flavor.
Unpacking the Nutritional Powerhouse: Benefits of Cauliflower
Let’s truly “nerd out” about cauliflower! This humble cruciferous vegetable is far more than just a bland side dish; it’s a nutritional gold mine, packed with a spectrum of vitamins, minerals, and potent plant compounds that contribute significantly to overall health and well-being. I even frequently incorporate homemade prepped cauliflower rice into smoothies—it’s surprisingly delicious in this strawberry and cream smoothie, adding an undetectable boost of nutrients without altering the flavor.
Cauliflower is an exceptional source of several key vitamins and minerals, each playing a crucial role in bodily functions:
- Vitamin C: A single cup of cauliflower provides nearly 60% of your daily recommended intake of Vitamin C. This powerhouse antioxidant is essential for a robust immune system, helping your body ward off illness. It also plays a critical role in collagen synthesis, which is vital for healthy skin, bones, and connective tissues, and significantly aids in the absorption of iron from plant-based foods. Furthermore, its antioxidant properties help protect cells from damage, potentially reducing the risk of chronic diseases like heart disease.
- Vitamin K: Packed with approximately 15% of your daily requirement, Vitamin K is crucial for blood health, specifically for proper blood clotting. Beyond that, it’s increasingly recognized for its vital role in bone metabolism and maintaining bone density, helping to prevent conditions like osteoporosis.
- Vitamin B6 (Pyridoxine): A serving of cauliflower offers about 15% of your daily Vitamin B6 needs. This versatile vitamin is a coenzyme in numerous metabolic processes, supporting nervous system health, red blood cell formation, and immune function. It also plays a role in mood regulation by aiding in the production of neurotransmitters like serotonin and norepinephrine.
- Folate (Vitamin B9): Cauliflower is rich in folate, a B-vitamin critical for cell growth and DNA formation. It’s particularly important during periods of rapid growth, such as pregnancy, and helps prevent certain birth defects.
- Potassium: An essential electrolyte, potassium is key for maintaining fluid balance, nerve signals, and muscle contractions, including those of the heart. Adequate potassium intake is associated with healthy blood pressure levels.
- Magnesium: Involved in over 300 enzymatic reactions in the body, magnesium supports muscle and nerve function, blood glucose control, and blood pressure regulation. It’s also vital for energy production and bone health.
- Fiber: Cauliflower is an excellent source of dietary fiber, which is paramount for digestive health. It promotes regularity, helps prevent constipation, and supports a healthy gut microbiome. Fiber also contributes to satiety, helping you feel full and satisfied, which can be beneficial for weight management. Furthermore, it helps regulate blood sugar levels, preventing sharp spikes after meals.
- Antioxidants & Phytonutrients: Beyond vitamins, cauliflower is rich in a variety of antioxidants, including glucosinolates and isothiocyanates, notably sulforaphane. These compounds are extensively studied for their anti-inflammatory properties and their potential role in cancer prevention by supporting detoxification pathways in the body and protecting cells from oxidative stress.
Furthermore, its low-calorie, low-carbohydrate nature makes it an excellent choice for individuals following ketogenic, paleo, or general low-carb diets. It’s naturally vegan, gluten-free, and adaptable to virtually any dietary requirement, truly making it a versatile and indispensable vegetable for a health-conscious diet.
Maximizing Efficiency: How to Meal Prep and Store Perfectly Roasted Cauliflower
Embracing the habit of batch prepping roasted cauliflower is a game-changer for quick, healthy meals throughout the week. I consistently roast one or two large heads of cauliflower every week to ensure I always have a nutritious, ready-to-use ingredient on hand. Here are some key tips to master your meal prep and storage:
- Ensure Adequate Roasting Space: The golden rule for crispy roasted vegetables is avoiding overcrowding. As discussed, crowding cauliflower on a single baking sheet traps moisture, leading to steaming instead of roasting. To achieve optimal crispness, always use a second, or even a third, baking sheet if necessary, spreading the florets in a single, uncrowded layer. This allows for proper air circulation and direct contact with the hot pan, promoting beautiful browning.
- Stir and Rotate for Even Cooking: Don’t just set it and forget it! Stirring the cauliflower halfway through the roasting process is essential for even browning and crisping on all sides. If you’re using more than one baking sheet and your oven tends to have hot spots, it’s also a smart move to swap their positions in the oven (e.g., top rack to bottom rack) at this point. This simple rotation ensures that every floret cooks evenly and develops that perfect golden-brown exterior.
- Cool Completely Before Storing: This tip is crucial for both food safety and maintaining texture. After removing the cauliflower from the oven, allow it to cool completely at room temperature on the baking sheet or in a separate shallow dish. Storing hot food directly into an airtight container in the fridge or freezer can create condensation, which introduces excess moisture and can lead to a soggy texture and potentially accelerate spoilage.
Once your roasted cauliflower has cooled, transfer it to an airtight container. It will stay fresh and delicious in the refrigerator for up to 5 days. For longer storage, you can freeze roasted cauliflower in a sealable freezer-safe bag or container for up to 3 months. To thaw, simply transfer it to the refrigerator overnight or reheat directly from frozen using one of the methods below.
Creative Ways to Utilize Your Prepped Roasted Cauliflower
The true magic of oven-roasted cauliflower lies in its incredible versatility. Once prepped, it can be added to almost anything, instantly elevating the nutritional content, flavor, and texture of your meals. Whether you’re looking for a quick addition to a salad, a hearty component for a bowl, or a nutritious side for your protein, the possibilities are virtually endless.
I typically use prepped roasted cauliflower cold in salads for a refreshing crunch, and I’ll warm it up when adding it to bowls or serving it as a hot side dish. When reheating roasted cauliflower, you have a few excellent options, each yielding slightly different results:
- Microwave: This is the quickest method for reheating. Place cauliflower in a microwave-safe dish and heat for 1-2 minutes until warmed through. While fast, this method tends to make the cauliflower softer and may sacrifice some crispness.
- Pan Frying: For regaining some of that delightful crispness, pan-frying is ideal. Heat a little oil in a skillet over medium-high heat, then add the cauliflower and cook for 3-5 minutes, stirring occasionally, until hot and slightly re-crisped.
- Toaster Oven/Regular Oven: This method is fantastic for restoring maximum crispness. Spread the cauliflower on a baking sheet and heat at 350-375°F (175-190°C) for 5-10 minutes, or until heated through and crisp again.
Here are just a few of my favorite ways to incorporate prepped roasted cauliflower into meals:
Salads:
- Oven Roasted Kale and Broccoli Salad: Adds heartiness and a roasted depth.
- 10 Minute Crunchy Kale and Pomegranate Salad: A great textural contrast.
- My Famous Kale Caesar Salad: A delicious alternative or addition to croutons.
- Hearty Summer Rainbow Power Salad: Boosts the vegetable count and adds substance.
- Roasted Beet and Kale Salad with Lemon Tahini Dressing: Complements earthy flavors.
- Any Green Salad: Simply toss a handful of cold roasted cauliflower into your favorite mixed greens for extra nutrition and chew.
Bowls & Tacos:
- Cajun Fish Taco Bowl: Adds a robust, roasted vegetable element.
- Crispy Honey Garlic Cauliflower Bowl: Use this roasted cauliflower recipe as a shortcut if you don’t have time to make breaded cauliflower from scratch.
- Green Goddess Glow Bowl: Enhances the nutrient profile and texture.
- Buddha Bowl with Lemon Tahini Dressing: A staple ingredient for any satisfying grain or Buddha bowl.
- Mediterranean Farro and Green Lentil Bowl with Feta, Olives and Sun-dried Tomatoes: Provides a hearty vegetable base.
- Prep Ahead Crunchy Cauliflower Chickpea Tacos: The perfect base for plant-based tacos.
- Breakfast Bowls: Add to savory grain bowls with a fried egg and avocado.
Protein Sides & Main Dishes:
- Chimichurri Salmon: A perfect, quick side that pairs well with rich fish.
- Sun-Dried Tomato Aioli Salmon: Offers a balanced and flavorful accompaniment.
- Easy Oven Baked Miso Salmon: A healthy and simple vegetable pairing.
- Grilled Skirt Steak with Chimichurri: A lighter, yet satisfying, vegetable side for meat.
- One Pan Greek Chicken with Blistered Tomatoes: Can be added as an extra vegetable to sheet pan meals.
- Omelets/Scrambles: Chop finely and mix into eggs for a nutritious breakfast or brunch.
- Pasta Dishes: Stir into warm pasta with sauce for added vegetables and texture.
- Wraps & Sandwiches: Add to your favorite wraps or sandwiches for extra bulk and nutrients.
- Soups & Purees: Blend into creamy soups for added body and nutrition, or serve as a topping.
If you meal prep this healthy oven roasted cauliflower, it would truly make my day if you would leave a comment and/or star rating below—I absolutely love hearing your feedback and seeing your culinary creations! And don’t forget to snap a pic and tag me on Instagram @lindsaypleskot.rd so I can see your delicious versions! It brings me so much joy to see these recipes come to life in your kitchens! Xo
The Feel-Good Meal Plan
My Bestselling Cookbook is Now Available!
A fresh take on meal prep with over 100 nourishing recipes to feed your family with ease.
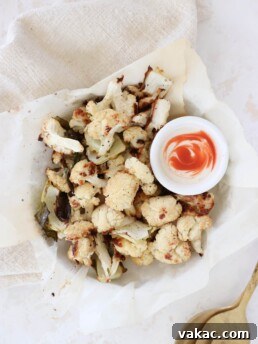
How to Meal Prep Healthy Oven Roasted Cauliflower
- Author: Lindsay Pleskot, RD
- Prep time: 10 minutes
- Cook time: 40-45 minutes
Description
This oven roasted cauliflower is a staple in my house. Packed full of vitamins, fiber, and flavor, it’s easy to meal prep and use throughout the week for an added boost of nutrition to your plate. Enjoy it on its own with a spicy yogurt dip or add it to tacos, salads, or bowls.
Ingredients
- 1 medium cauliflower, cut into bite-size florets
- 2 tablespoons (30 mL) avocado oil or other high-heat cooking oil
- Salt and freshly ground black pepper (and/or other desired spices)
Instructions
- Preheat the oven to 425°F (220°C). Line two baking sheets with parchment paper.
- In a medium bowl, toss the cauliflower florets in the avocado oil until evenly coated. Sprinkle generously with salt and pepper (and/or your chosen spices). Spread the cauliflower out in a single layer between the two baking sheets, ensuring ample space between pieces so the cauliflower crisps up and doesn’t steam.
- Place the baking sheets in the oven and roast for 40 to 45 minutes, stirring and flipping the cauliflower halfway through (around the 20-25 minute mark). The cauliflower is done when it’s beautifully golden brown, shows signs of caramelization on both sides, and is tender yet crisp when pierced with a fork.
- Remove from the oven and enjoy immediately with a spicy yogurt dip, or allow to cool completely before storing in an airtight container in the fridge for future use.