
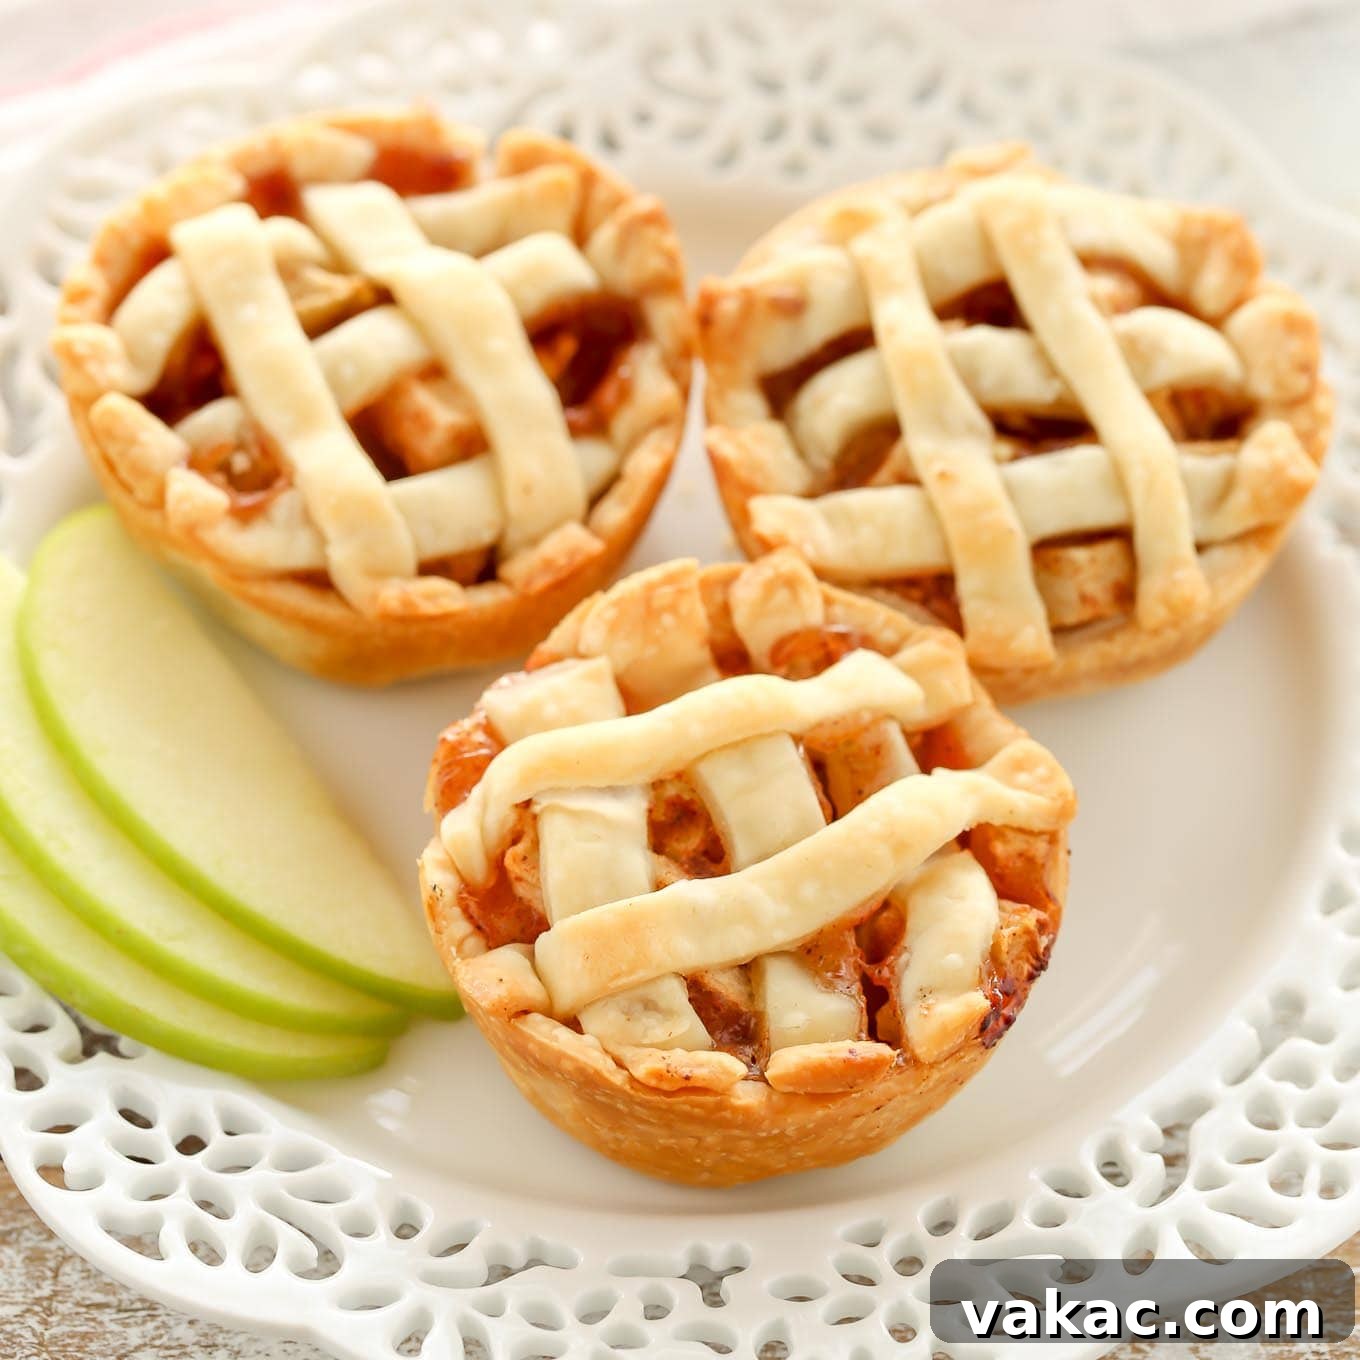
Experience the joy of fall baking with these delightful Mini Apple Pies. Crafted for ease and brimming with a simple, yet utterly delicious, homemade apple pie filling, these individual treats are the quintessential mini dessert for any autumn gathering or holiday celebration.
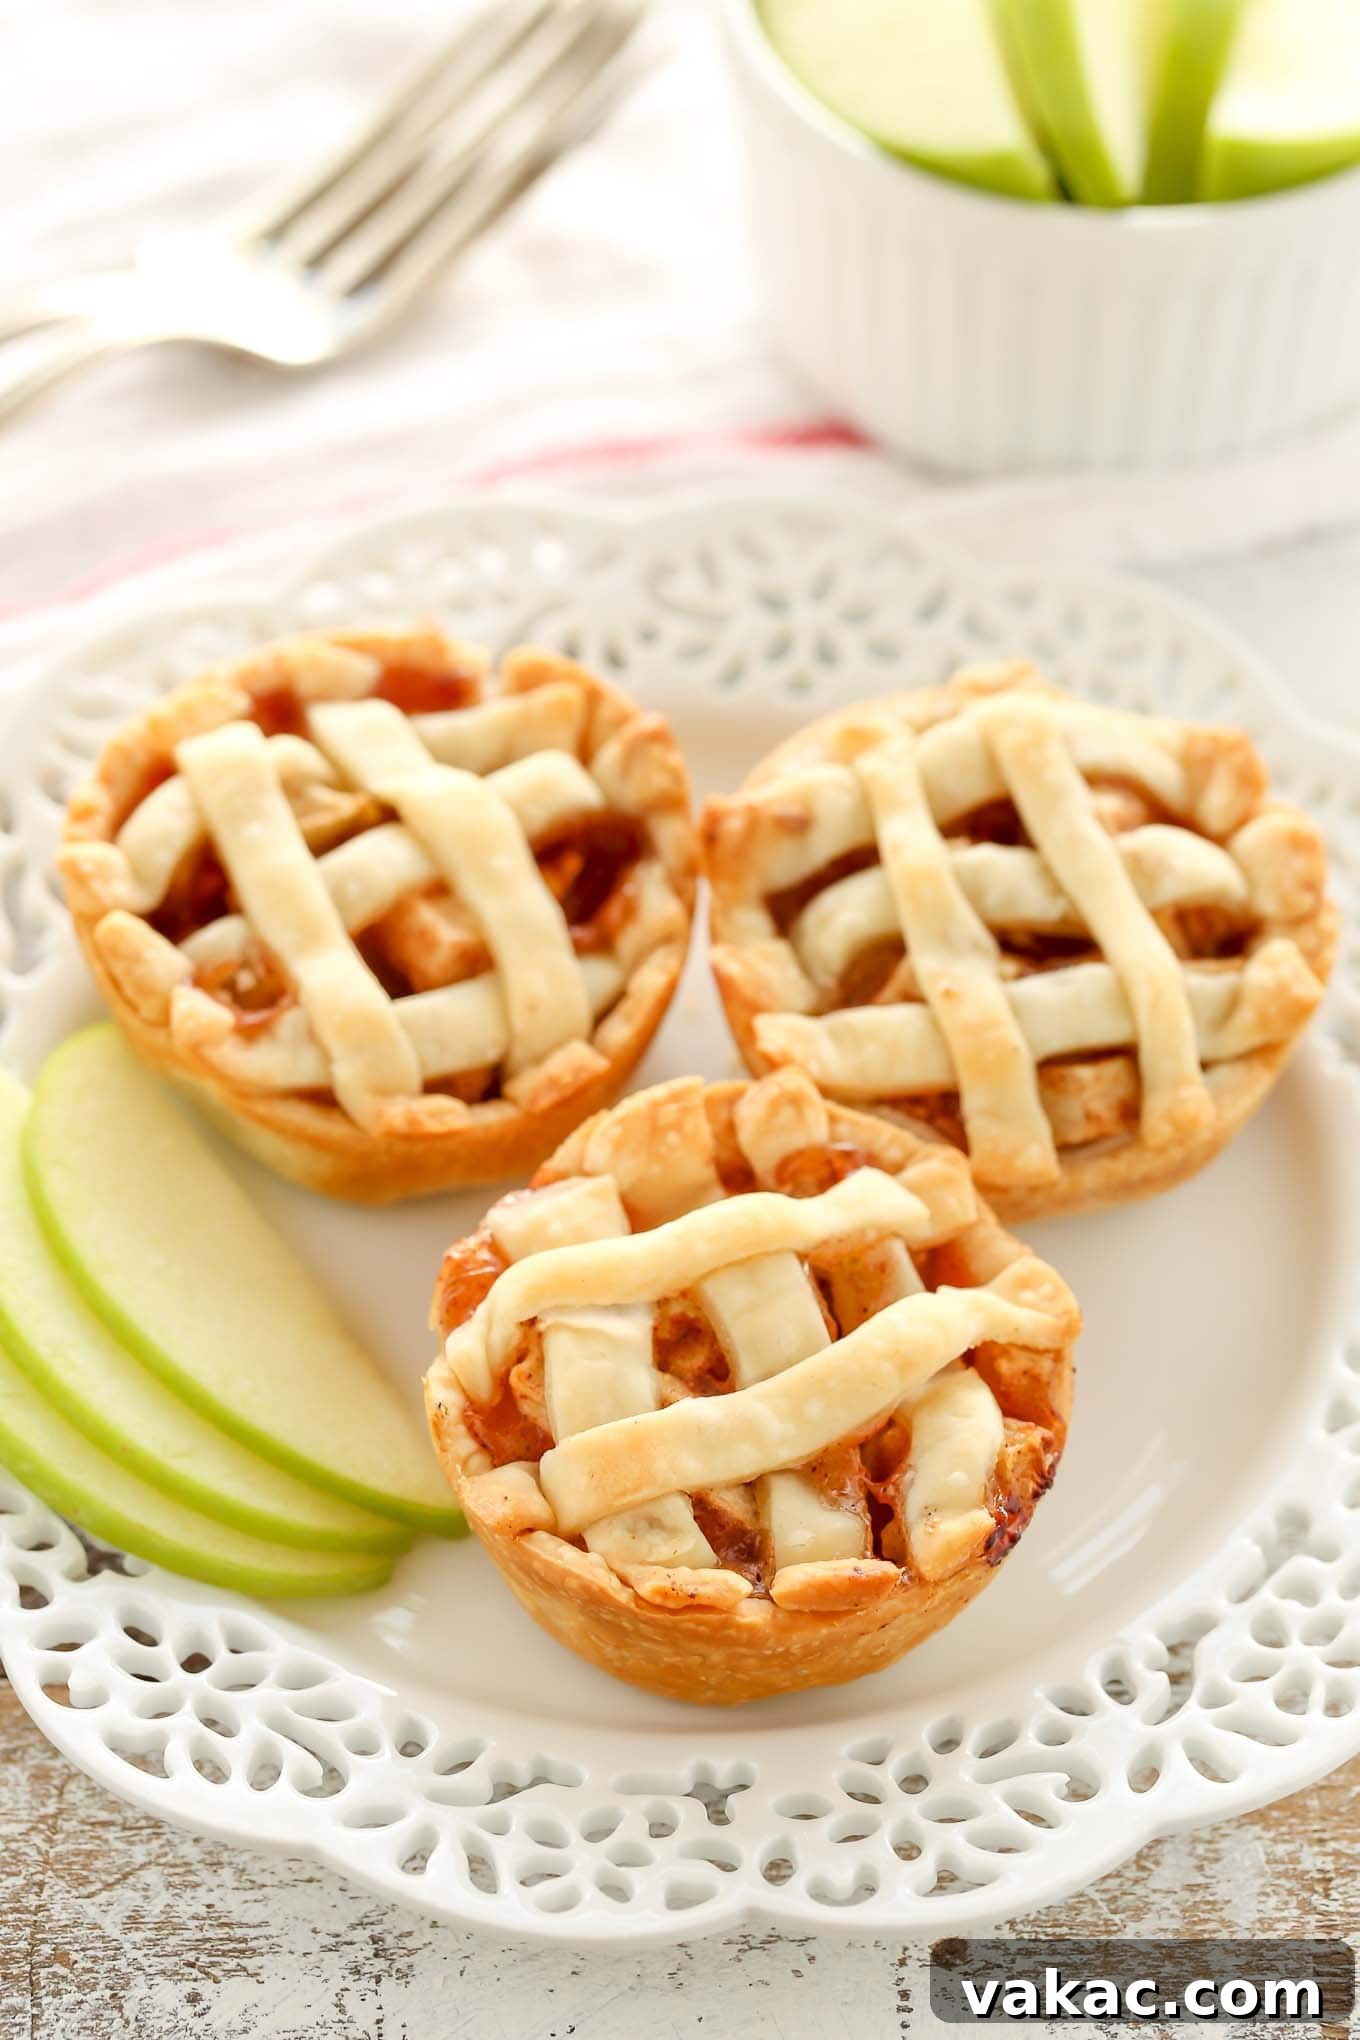
For those who have followed along with our culinary journey, these charming mini apple pies might look familiar! This beloved recipe first graced our pages in 2017 and has since blossomed into a steadfast reader favorite, particularly as the festive season approaches. There’s something undeniably special about a personal-sized dessert, and these apple pies truly deliver on both flavor and convenience.
Much like our popular carrot cake recipe, we felt it was high time to give this cherished classic a comprehensive update. We’ve meticulously enhanced this guide with a wealth of new step-by-step photographs, ensuring visual clarity for every stage of the baking process. Moreover, we’ve infused it with even more helpful tips and tricks, designed to guarantee that your mini apple pies emerge from the oven perfectly golden, flaky, and bursting with apple goodness, every single time.
We’re confident that this is one recipe you’ll be eager to add to your repertoire for all upcoming holidays and seasonal events. After all, isn’t there an inherent charm to mini desserts that makes them just a little bit better than their full-sized counterparts? They’re perfect for portion control, ideal for sharing, and irresistibly cute. Prepare to fall in love with these handheld delights!
Why You’ll Adore These Mini Apple Pies
There are countless reasons why these individual apple pies have captured the hearts of so many bakers and dessert enthusiasts:
- Perfect Portions: Each mini pie is a delightful individual serving, making them ideal for gatherings, parties, or simply a treat for one. No need for slicing or serving utensils!
- Easy to Make: Despite their charming appearance, these pies are surprisingly straightforward to prepare. The homemade apple pie filling comes together quickly, and assembly is a breeze, especially with our updated step-by-step guide.
- Homemade Flavor: While convenient, these pies don’t compromise on taste. The filling is made from scratch with fresh apples and warm spices, delivering that comforting, authentic apple pie experience.
- Festive & Adorable: Their small size makes them incredibly appealing and adds a touch of rustic elegance to any dessert spread. They’re perfect for fall holidays like Thanksgiving, Christmas, or any autumnal celebration.
- Customizable: Whether you prefer a simple crust topping or an intricate lattice, these mini pies are easy to personalize to your liking.
Essential Ingredients for Your Mini Apple Pies
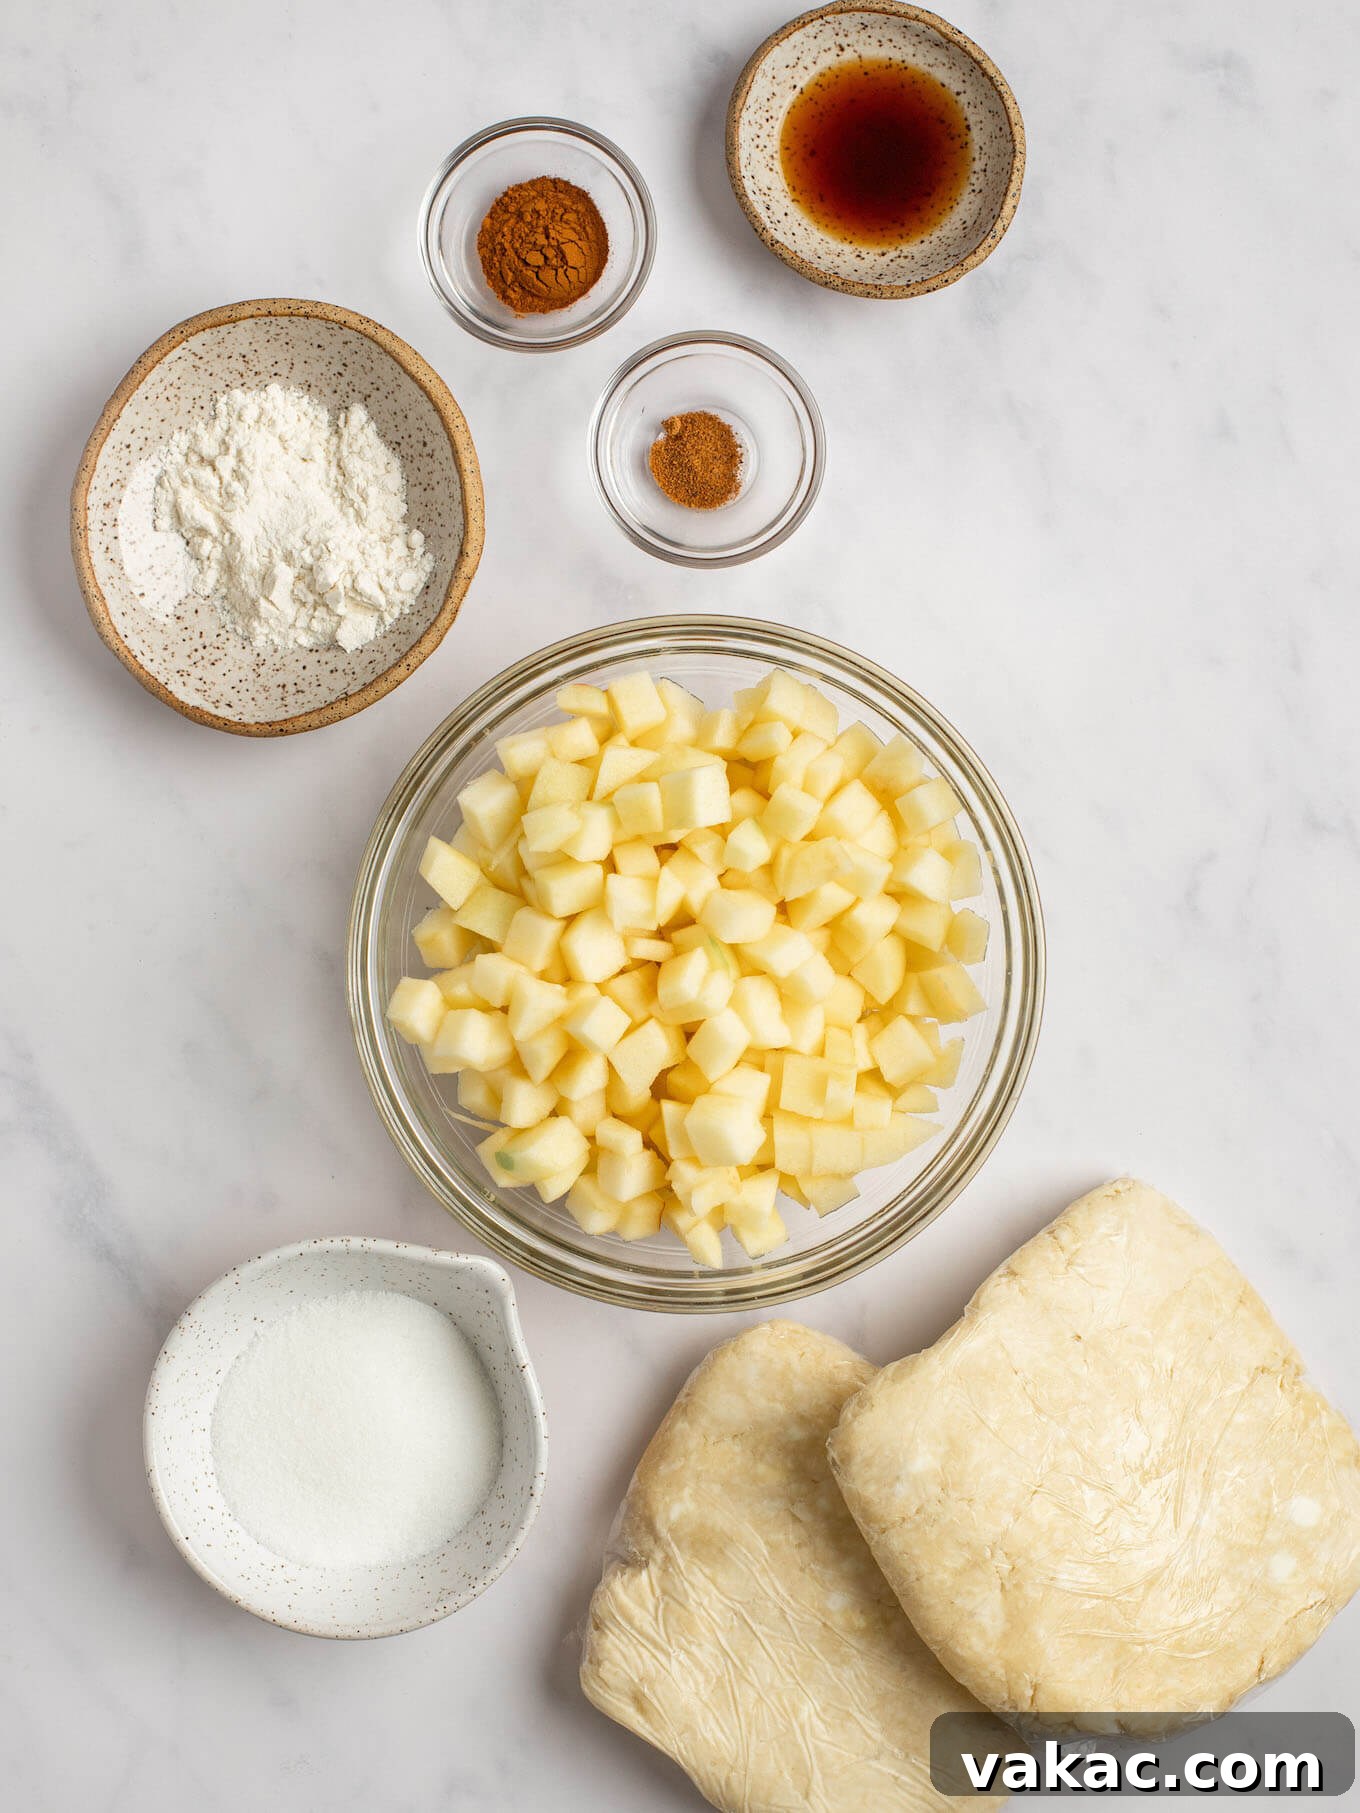
The beauty of these mini apple pies lies in their remarkably simple and accessible ingredient list. You’ll find it quite similar to our beloved classic apple pie recipe, thoughtfully scaled down to produce twelve perfect mini servings. Here’s a detailed look at what you’ll need to create these autumn masterpieces:
- Pie Crust: For this recipe, you’ll need two pie crusts. You have the flexibility to choose between making our tender, flaky homemade pie crust, which truly elevates the flavor, or opting for the convenience of a good quality store-bought package. If using store-bought, ensure it’s thawed according to package directions before use.
- Apples: The heart of any apple pie! We highly recommend using a harmonious blend of sweet and tart apples to achieve a balanced flavor profile. In our test kitchen, a combination of Granny Smith (for tartness and firmness) and Honeycrisp (for sweetness and crisp texture) proved to be exquisite. Other fantastic choices include Braeburn, Fuji, or Pink Lady apples, each offering unique contributions to the pie’s overall taste and texture. Aim for approximately 2 ½ cups of finely chopped apples.
- Granulated Sugar: To keep the filling deliciously sweet but not overly rich, this recipe calls for just ¼ cup of granulated sugar. This amount perfectly complements the natural sweetness of the apples. Should you prefer a deeper, more molasses-like flavor, feel free to substitute with light or dark brown sugar according to your preference.
- All-Purpose Flour: This crucial ingredient acts as a thickening agent for our apple pie filling, preventing it from becoming watery. Proper measurement is key here; make sure to measure your flour correctly (spooned and leveled) to avoid a dry or gummy filling. Approximately 2 tablespoons will do the trick.
- Vanilla Extract: A touch of pure vanilla extract adds a layer of warm, complex flavor that enhances the overall sweetness and spice of the filling. We strongly advocate for pure vanilla extract over imitation vanilla for a superior taste experience.
- Spices: The quintessential flavors of fall! Our recipe features a comforting blend of ground cinnamon and a hint of ground nutmeg. These spices evoke the quintessential aroma of autumn baking. If your palate desires more warmth or a broader spice profile, don’t hesitate to adjust the amounts or even incorporate a pinch of allspice or ground cloves to suit your personal taste.
- Unsalted Butter: While technically optional, we’ve found that adding a small amount of unsalted butter (about 1 tablespoon, diced) to the filling truly elevates these pies. It melts into the apples during baking, adding an extra layer of richness, moisture, and luscious flavor, creating a more luxurious filling.
Kitchen Tools You’ll Need
Gathering your tools before you begin ensures a smooth baking process. For these mini apple pies, you’ll want to have:
- Standard 12-cup Muffin Pan: This is essential for shaping your mini pies.
- Rolling Pin: For evenly rolling out your pie crusts.
- 3.5-inch Round Cookie Cutter or Glass: To cut out perfect circles for the pie bases.
- Large Mixing Bowl: For preparing the apple pie filling.
- Spatula or Wooden Spoon: For mixing.
- Wire Rack: For cooling the baked pies.
- Sharp Knife and Cutting Board: For chopping apples.
Crafting Your Mini Apple Pies: A Step-by-Step Guide
Baking these mini apple pies is a delightful experience, yielding professional-looking results with minimal effort. Follow these detailed steps to create your own batch of individual apple pie perfection.
Step 1: Preparing the Pie Crusts
- Begin by preheating your oven to 425°F (220°C). This ensures the oven is at the correct temperature when your pies are ready to bake, contributing to a perfectly flaky crust.
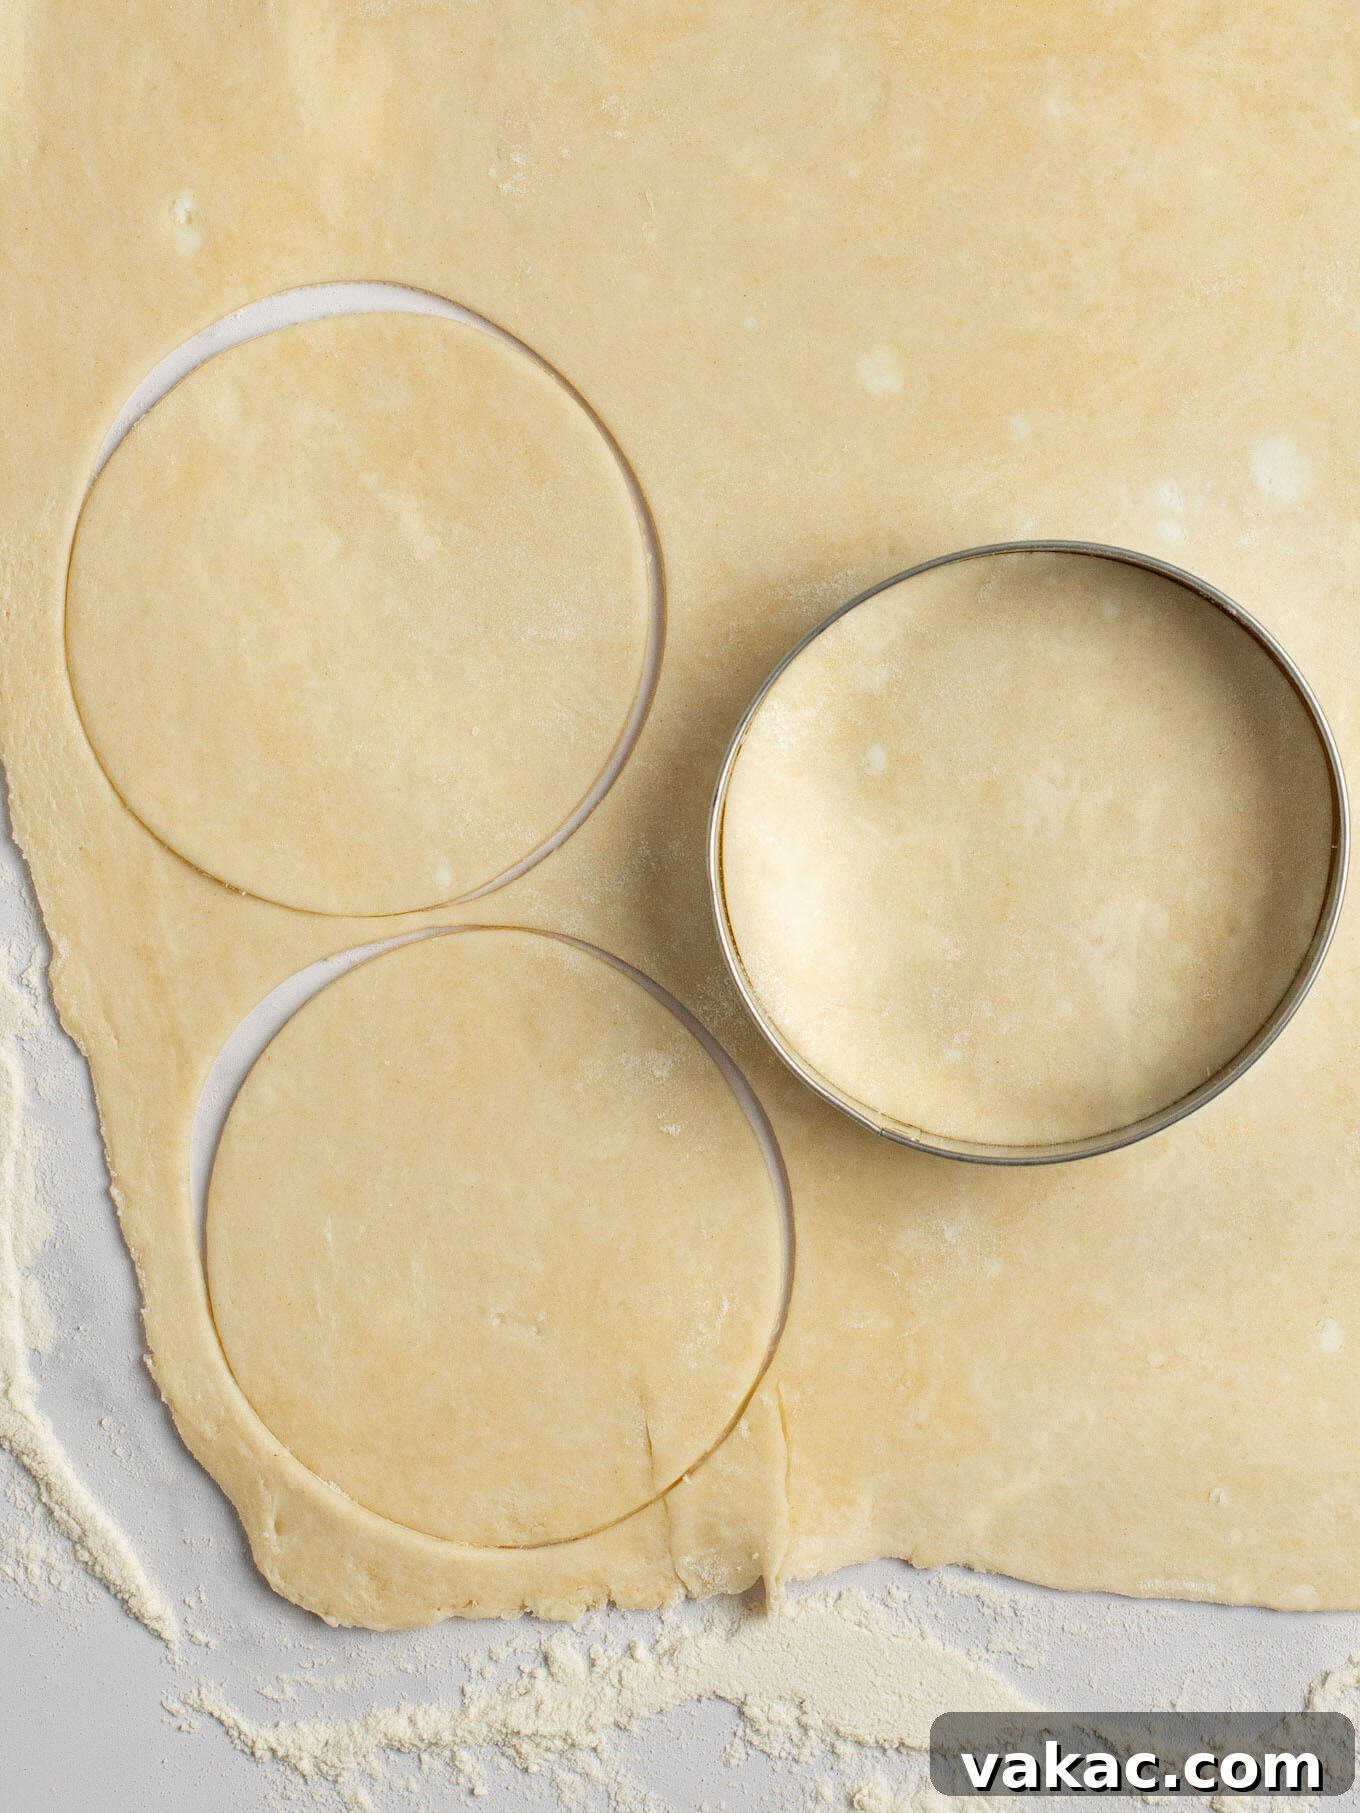
- On a lightly floured surface, unroll your two pie crusts. Using a rolling pin, gently roll them out until they are approximately 1/8-inch thick. This uniform thickness is important for consistent baking.
- Next, grab a 3.5-inch round cookie cutter. If you don’t have one, a drinking glass with a similar diameter works just as well! Use it to cut out 12 circles from your rolled-out pie crusts. Don’t worry about scraps; you can re-roll any leftover dough as needed to achieve all 12 circles.
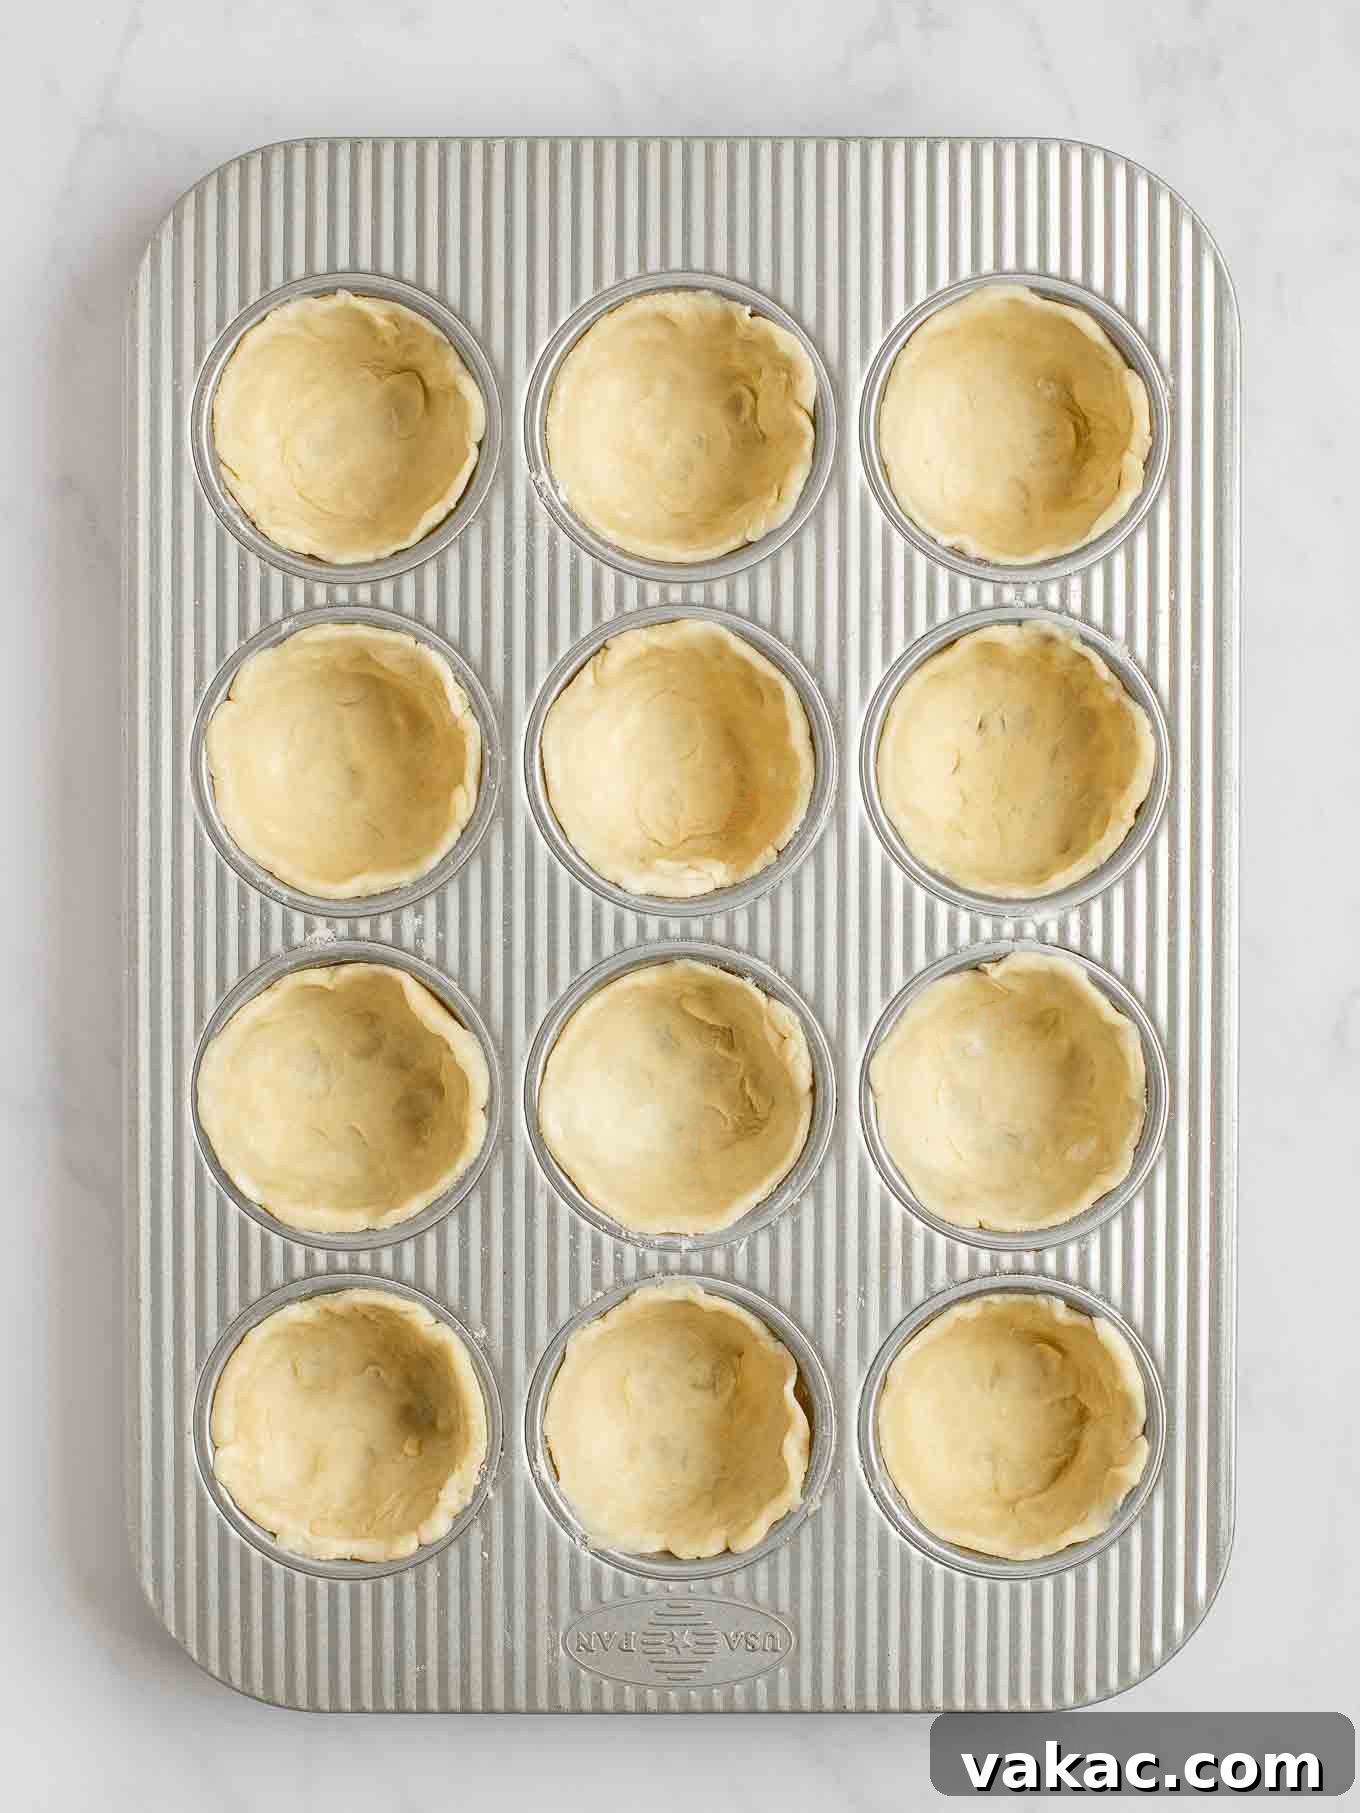
- Carefully press each pie crust circle into the individual cavities of a standard 12-cup muffin pan. Ensure the crust fits snugly in the bottom and extends gently up the sides, forming a cup. This will be the base for your delicious filling. Once all cavities are lined, transfer the muffin pan, along with any remaining pie crust dough (which you might use for decorations), to the refrigerator. Chilling the dough at this stage is crucial as it helps keep the butter cold, leading to a wonderfully flaky and tender crust once baked.
Step 2: Crafting the Homemade Apple Pie Filling
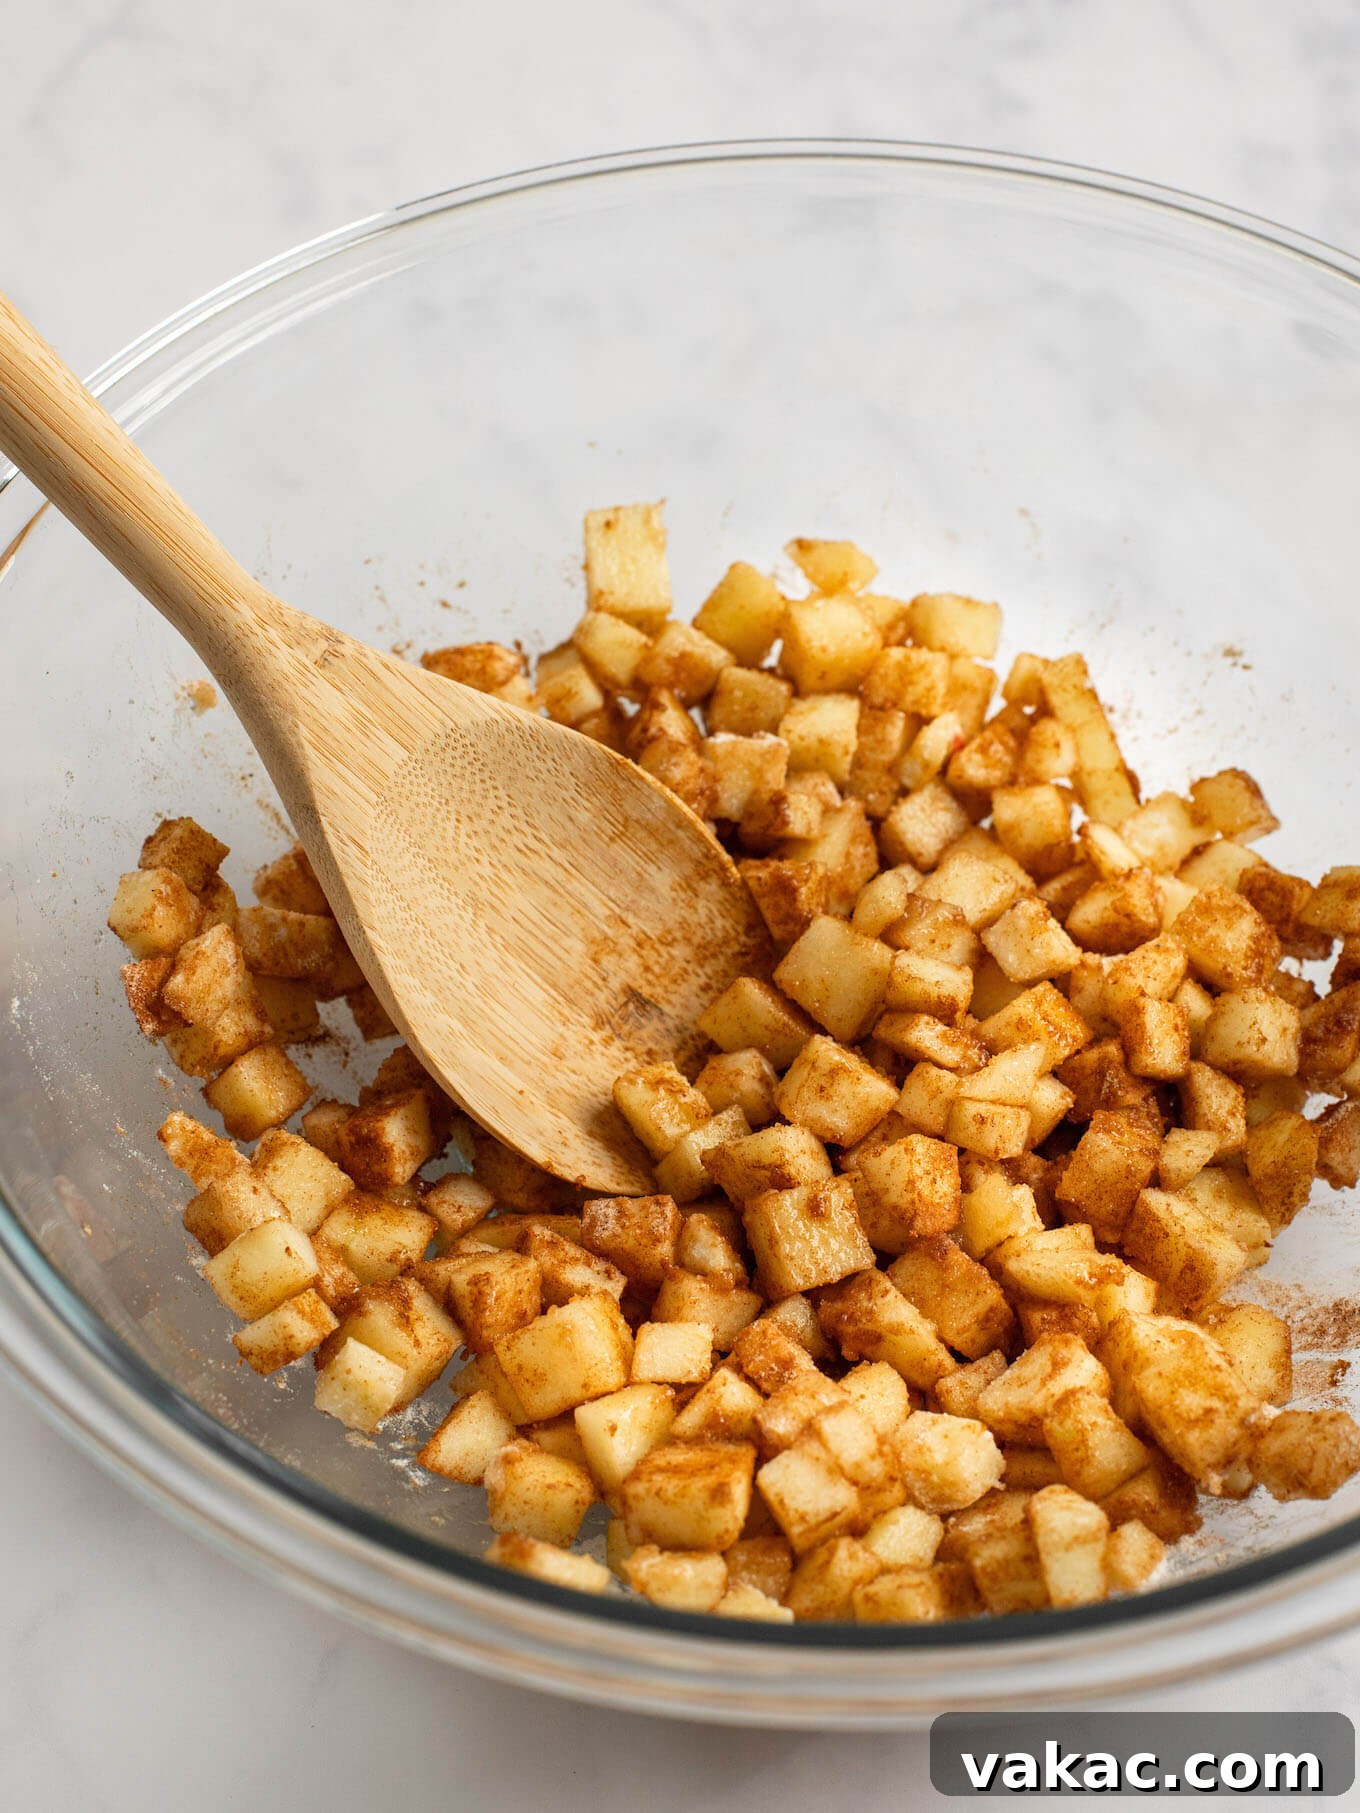
- In a large mixing bowl, combine your freshly chopped apples with the granulated sugar, all-purpose flour, ground cinnamon, pure vanilla extract, and ground nutmeg. Gently stir the mixture until every piece of apple is thoroughly coated with the delicious spice and sugar blend. This ensures even flavor distribution throughout the filling.
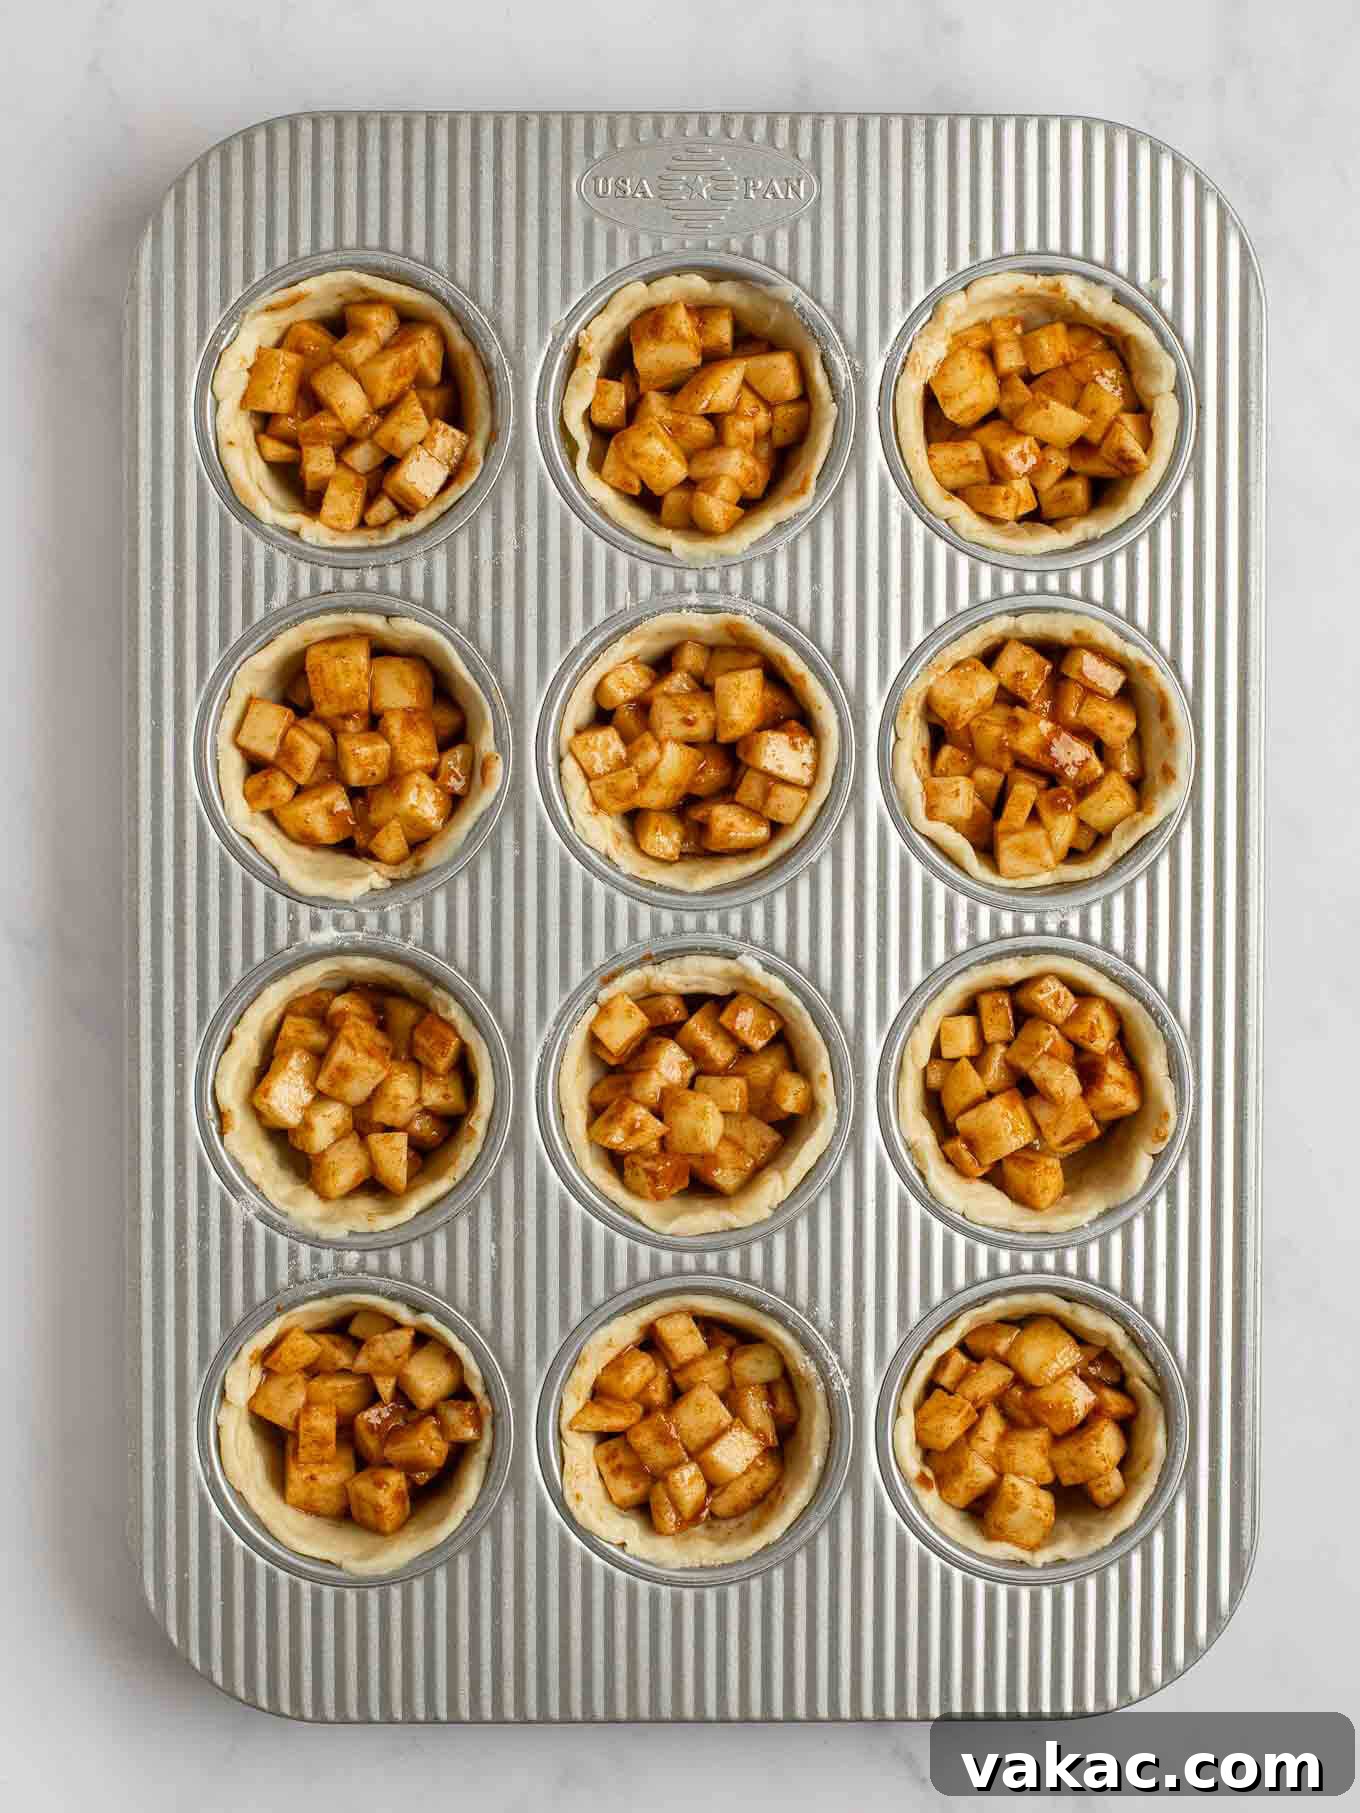
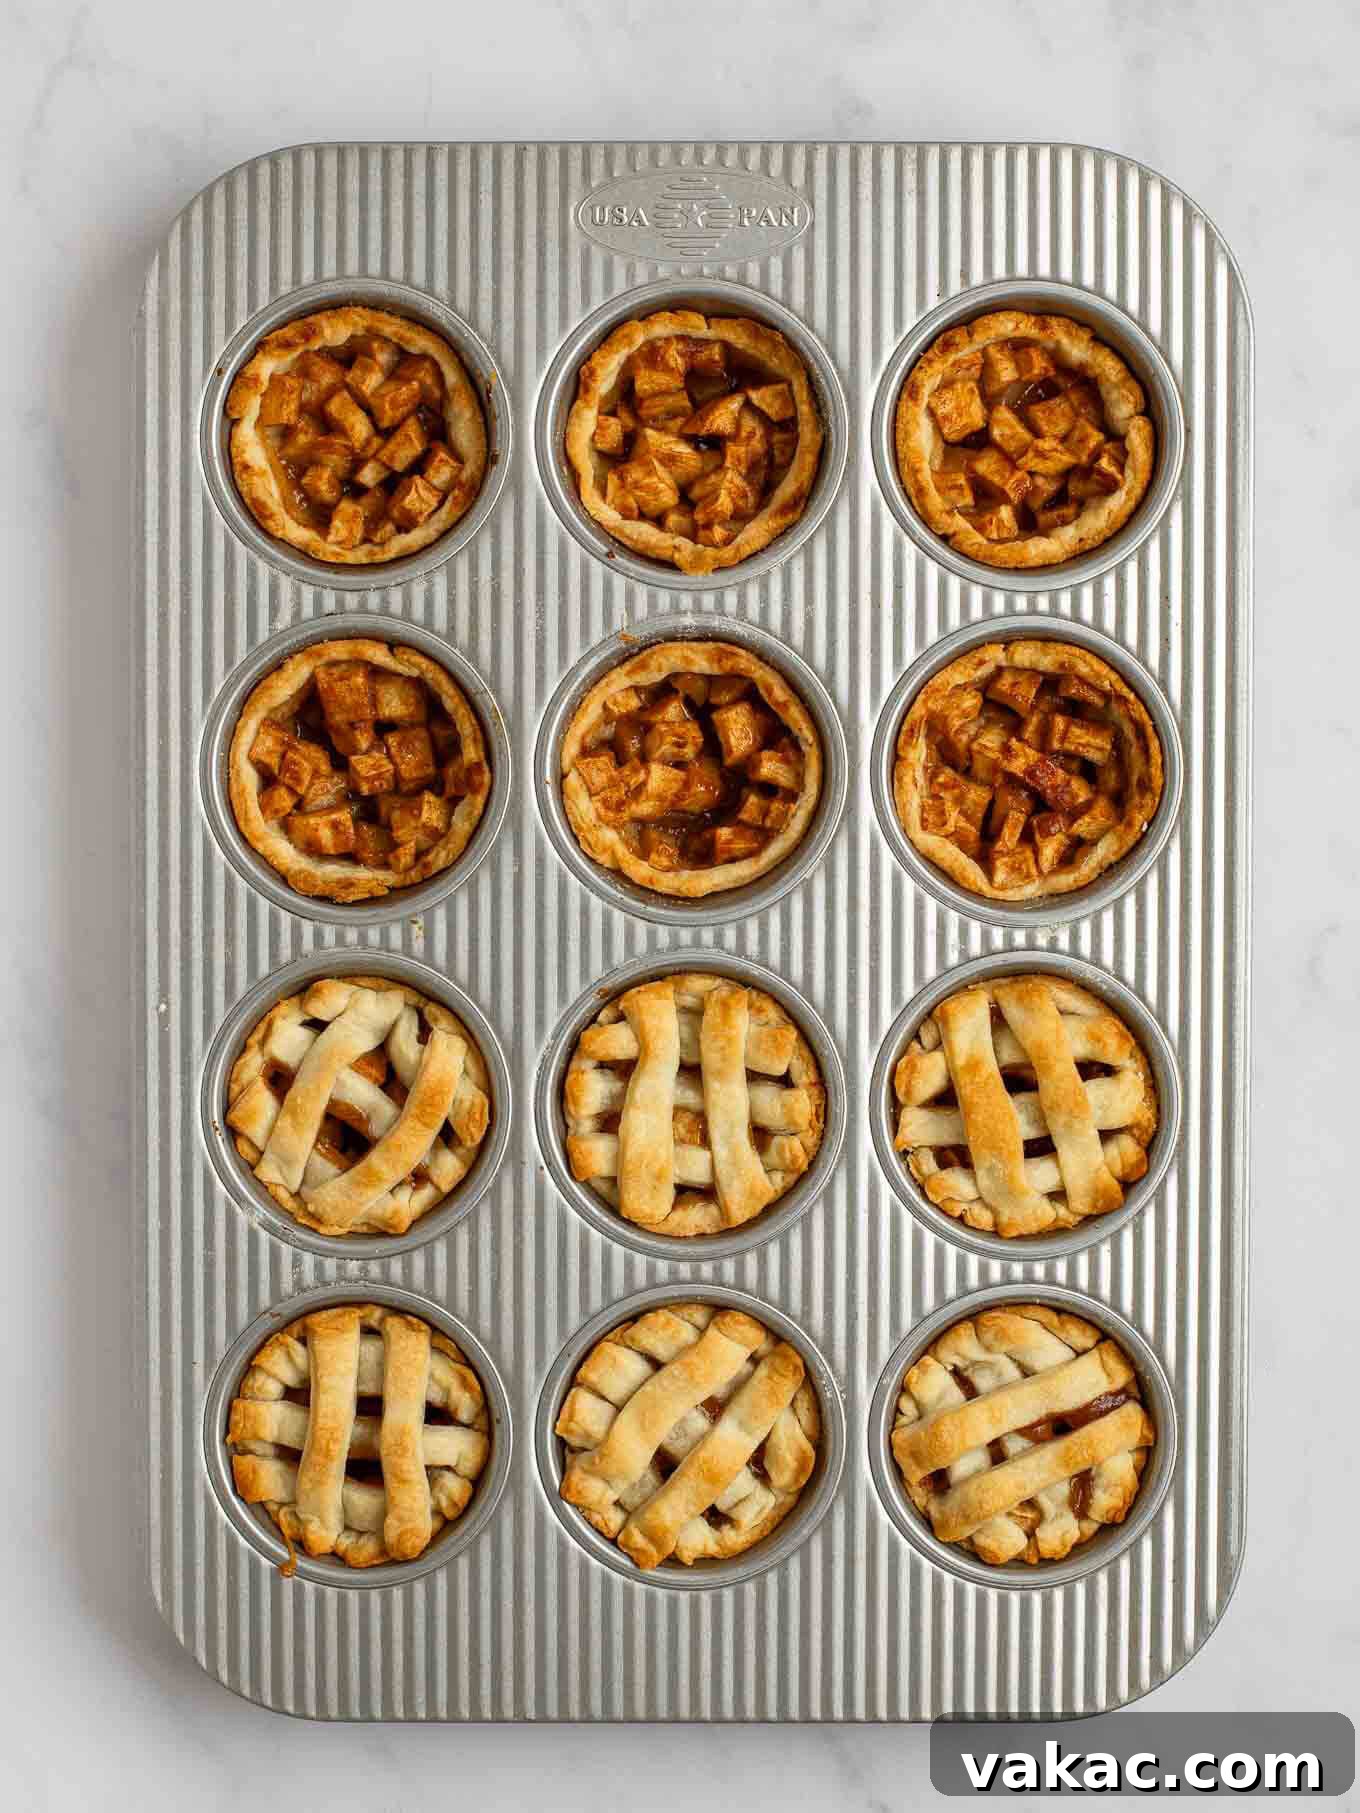
- Retrieve your chilled muffin pan from the refrigerator. Spoon approximately 3 generous tablespoons of the prepared apple pie filling into each pie crust-lined cavity. Aim for an even distribution among all twelve pies. If you’ve chosen to include butter for extra richness, now is the time to dice your tablespoon of unsalted butter into 12 small pieces and place one piece on top of the filling in each mini pie. This butter will melt down, enriching the apple mixture as it bakes.
Step 3: Assemble and Bake to Golden Perfection
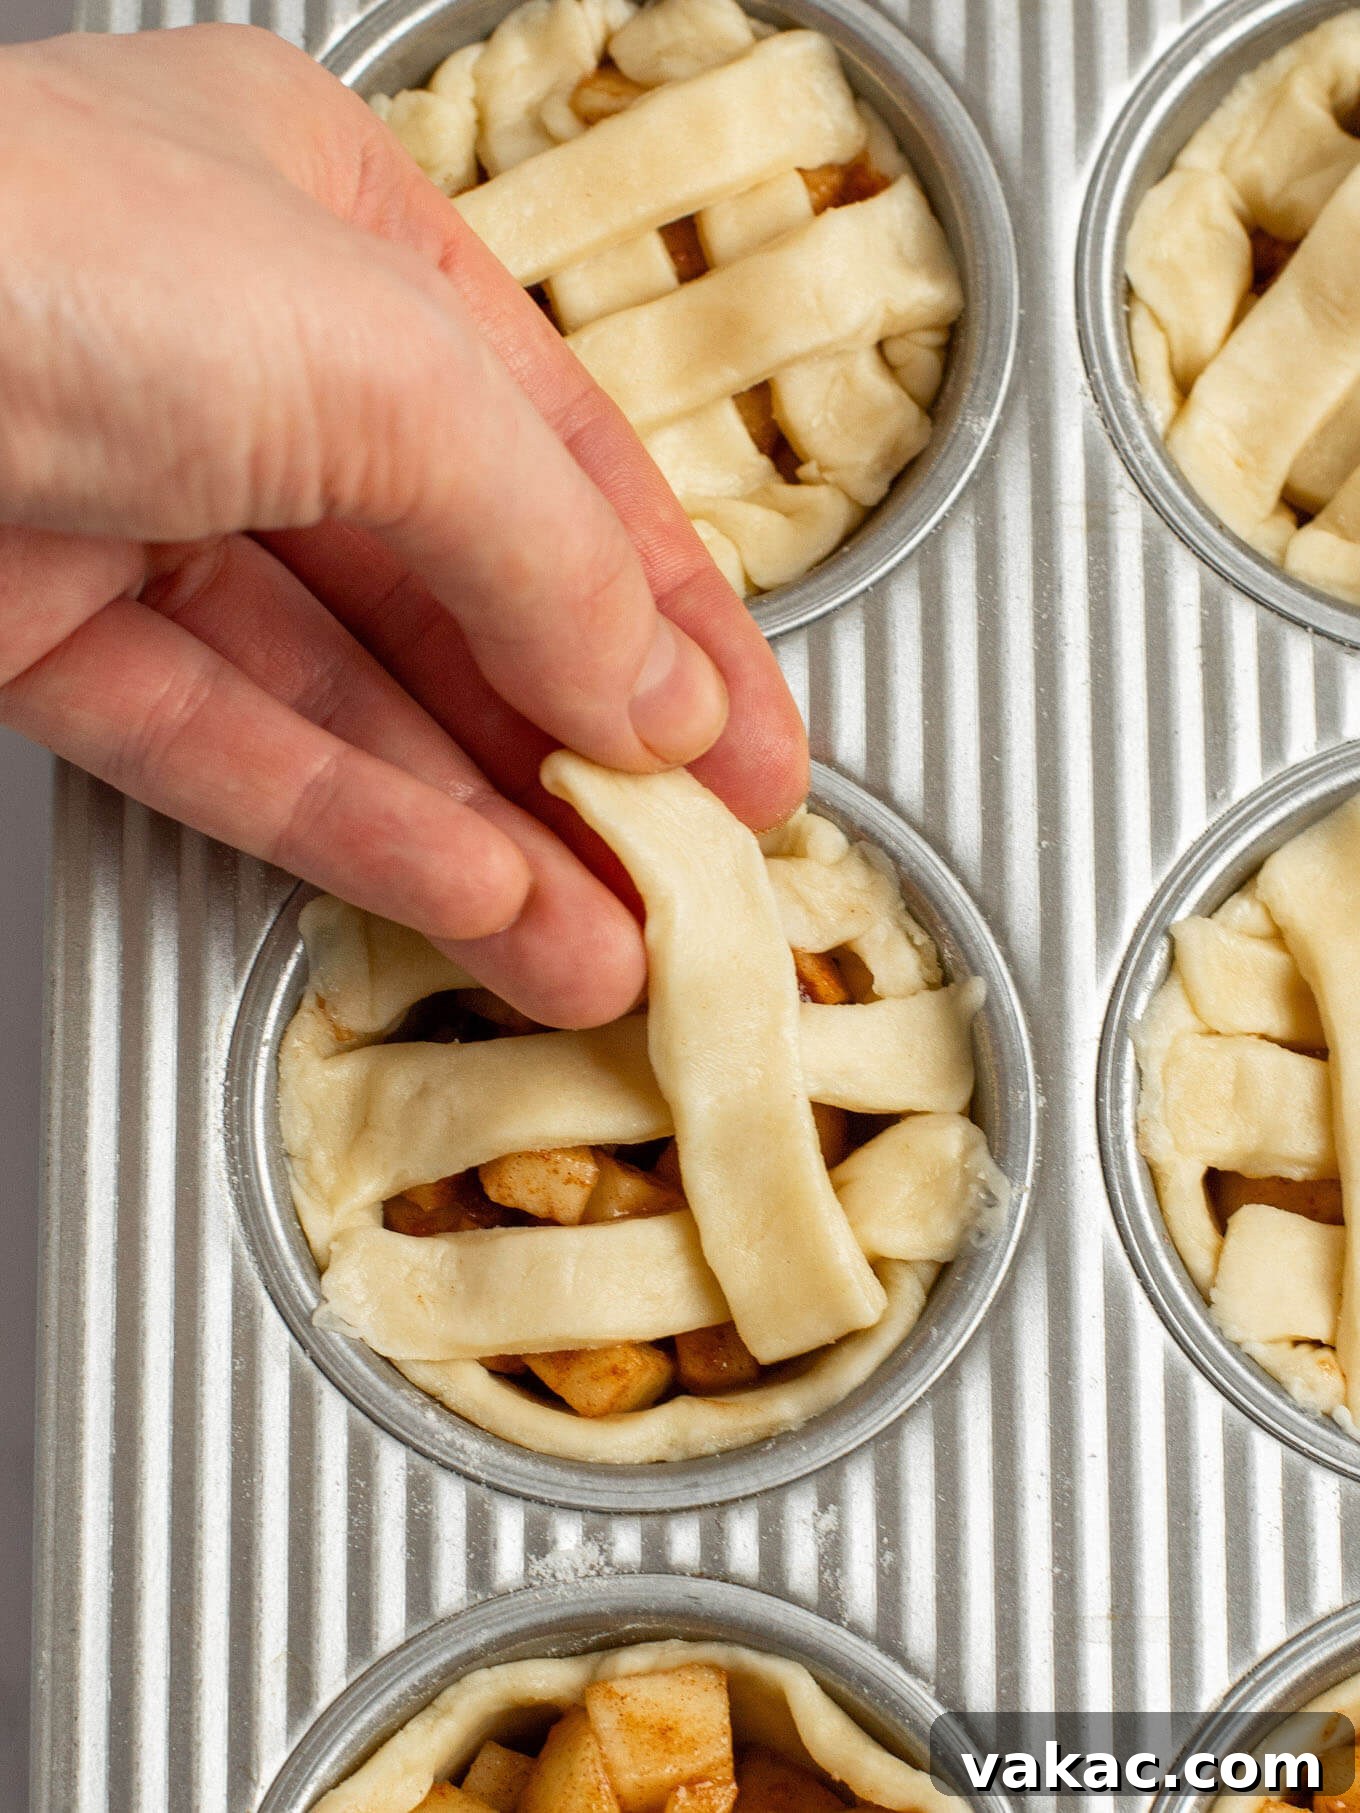
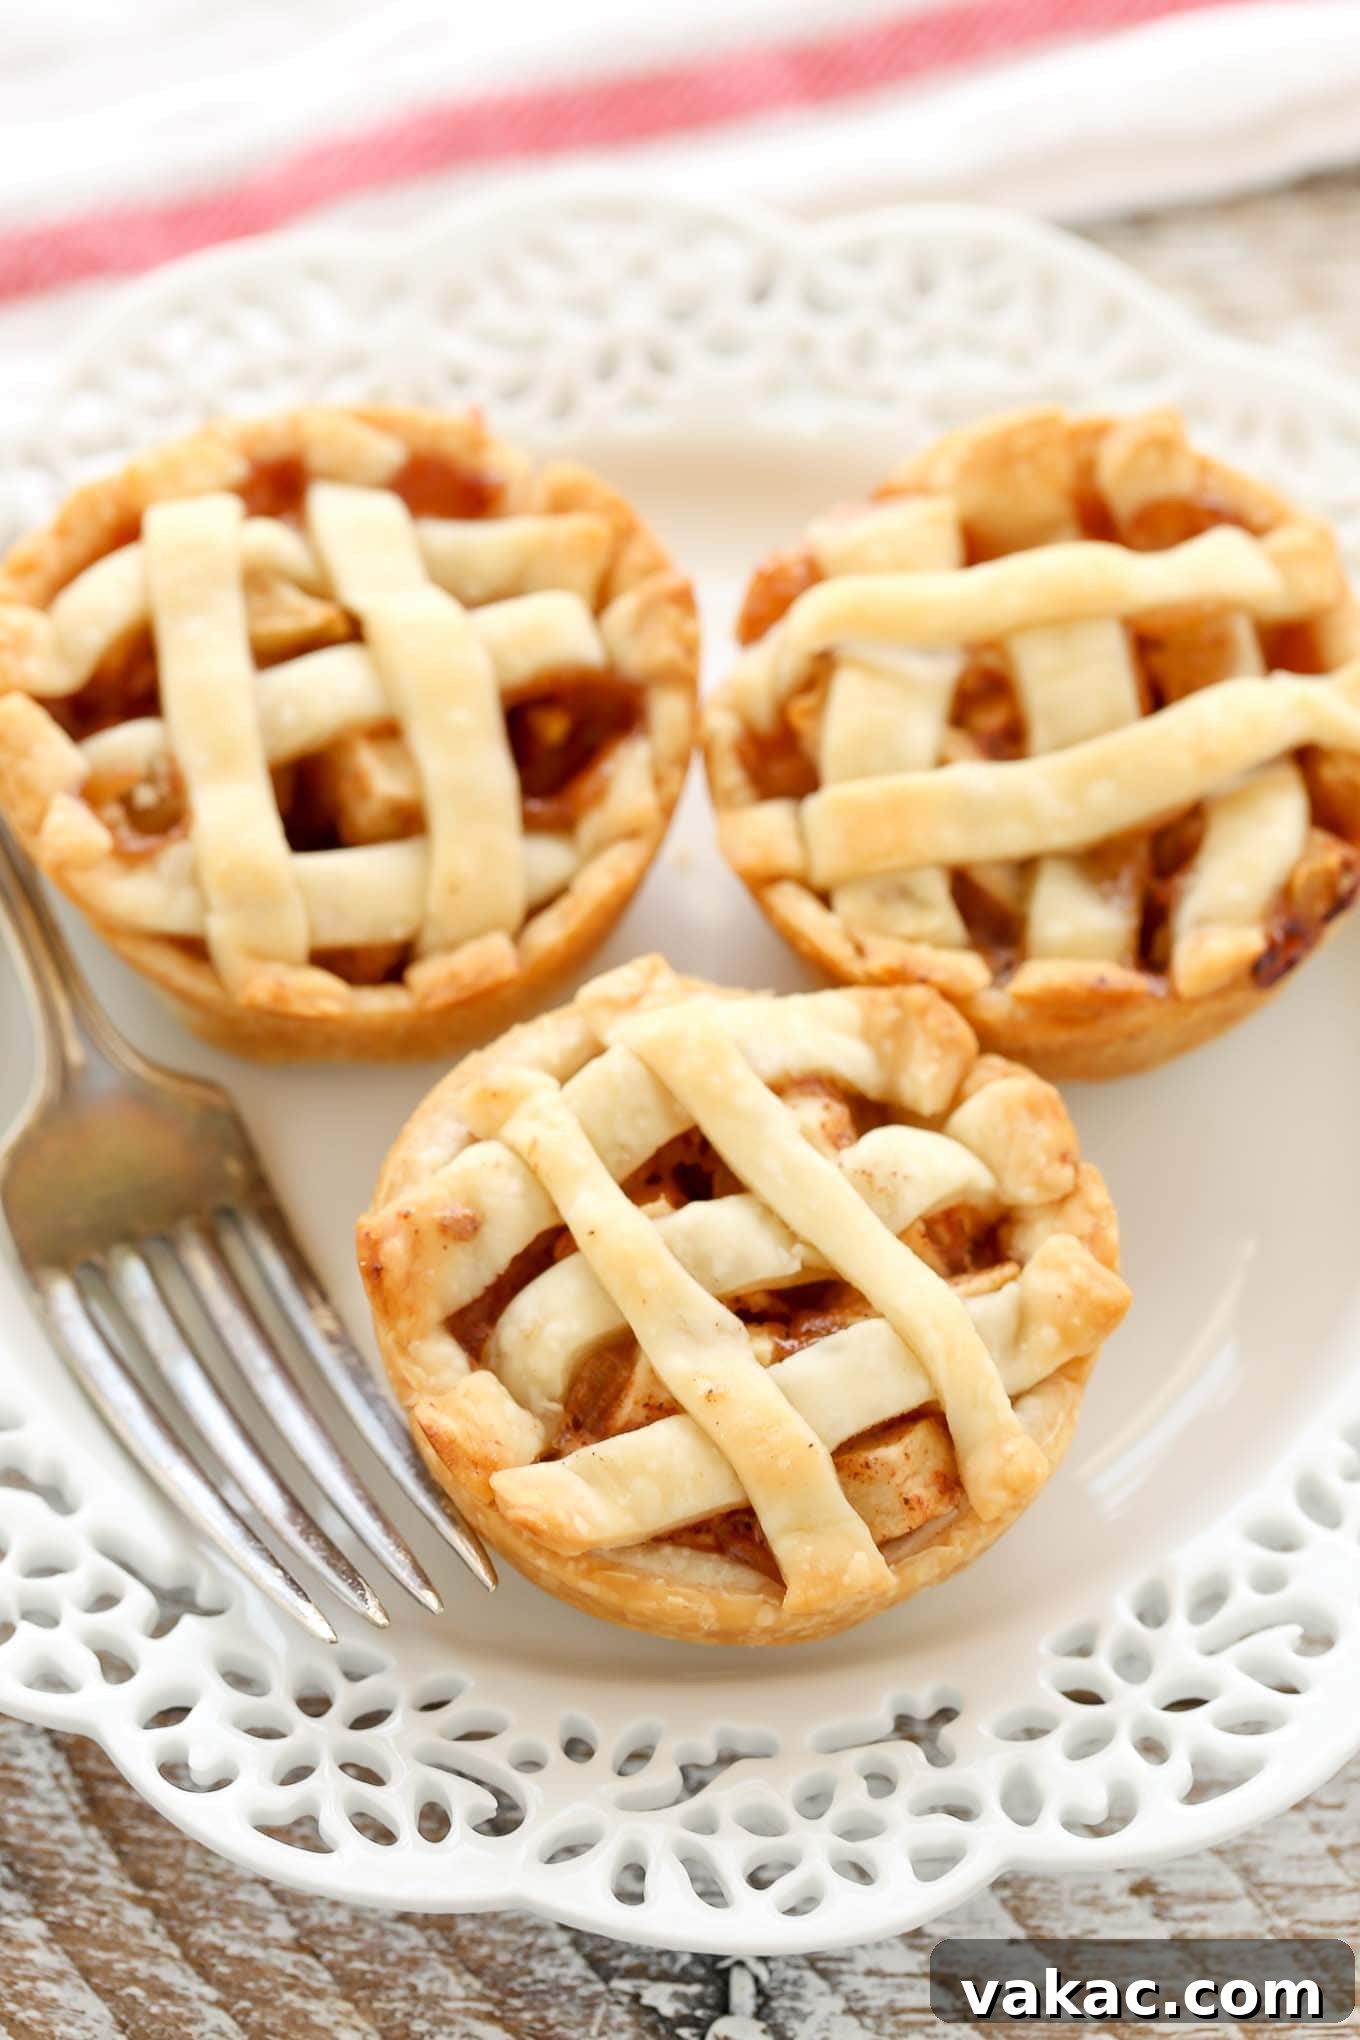
- Now for the fun part: decorating! If you have any leftover pie crust dough from step 2, you can use it to create beautiful toppers for your mini pies. A simple lattice topping is always a crowd-pleaser and easier than it looks – simply cut thin strips and arrange them across the top without complex weaving. Alternatively, use small cookie cutters to create festive shapes like leaves, stars, or tiny apples to adorn your pies. For those who enjoy a more intricate design, we have a dedicated post demonstrating how to make a lattice pie crust in full detail.
- Place the muffin pan containing your assembled mini pies into the preheated oven. Bake for 18 to 23 minutes at 425°F (220°C). Keep a close eye on them; you’re looking for the pie crusts to turn a beautiful light golden brown and for the apple filling to begin bubbling enticingly around the edges. This bubbling indicates that the apples are tender and the filling is perfectly cooked.
- Once baked, carefully remove the muffin pan from the oven. Allow the pies to cool in the pan for 10 to 15 minutes. This crucial cooling period allows the pies to set, making them easier to remove without breaking. After this initial cooling, gently lift each mini pie from its cavity and transfer them to a wire rack to cool completely. Or, if you simply can’t wait, cool them just enough to handle and enjoy warm!
Storage & Freezing Instructions
Ensuring your delicious mini apple pies stay fresh and flavorful is simple with these storage guidelines:
- Room Temperature: For immediate enjoyment, these pies will remain perfectly fine stored in an airtight container at room temperature for up to 2 days. This is ideal for quick grab-and-go treats.
- Refrigerator Storage: To extend their freshness, transfer the cooled mini pies to an airtight container and store them in the refrigerator for 4 to 5 days. This is highly recommended if you’re making them a few days in advance for an event.
- Freezing for Longer: These mini apple pies freeze beautifully! To freeze, first allow them to cool completely. Then, wrap each individual pie tightly in plastic wrap, ensuring no air exposure. Once wrapped, place them in a large freezer bag or an airtight freezer-safe container. They can be stored in the freezer for up to 3 months, making them a fantastic make-ahead dessert option.
- Thawing Frozen Pies: To thaw, simply transfer the frozen pies to the refrigerator overnight. For a quicker thaw, you can place them on the kitchen counter for several hours to bring them back to room temperature.
- Reheating: For a warm, freshly baked experience, reheat refrigerated or thawed pies. You can microwave them in 20 to 30-second increments until warmed through, or for a crispier crust, heat them in an oven preheated to 300°F (150°C) until thoroughly warmed.
Expert Baking Tips for the Best Mini Apple Pies
Achieving perfectly baked mini apple pies is easier than you think with these helpful tips:
- Greasing the Muffin Pan: Pie crust inherently contains a good amount of fat, which generally prevents it from sticking to a muffin pan. However, if you’re concerned about them sticking or want an extra layer of assurance, feel free to lightly grease your muffin pan cavities with a bit of nonstick cooking spray or a thin layer of butter before pressing in the crusts.
- Simple Topping Options: Don’t feel pressured to create an elaborate top crust! These mini pies taste absolutely delicious even with just a simple round top or no top crust at all. For a quick and charming finish, you can also sprinkle the top of the filling with a bit of cinnamon sugar before baking.
- Preventing Over-Browning: If you notice the tops of your pies browning too quickly before the filling is fully cooked and bubbling, a simple solution is to loosely tent the muffin pan with a piece of aluminum foil. This will shield the crust from excessive heat while allowing the filling to finish cooking through.
- To Egg Wash or Not to Egg Wash: While an egg wash can give pie crusts a beautiful golden sheen, we personally prefer to skip it for these mini pies, embracing their rustic charm. However, if you desire that extra golden glow and slight crispness, you can certainly add one. Whisk together one egg with 1 tablespoon of milk or water and gently brush this mixture over the top crusts before baking.
- Choosing the Right Apples for the Filling: As mentioned, a mix of sweet and tart apples (like Granny Smith and Honeycrisp) provides the best balance of flavor and texture. Firmer apples are also preferred as they hold their shape better during baking, preventing a mushy filling.
- Don’t Overwork the Dough: When rolling out and cutting the pie crust, handle it as little as possible. Overworking the dough develops the gluten, which can lead to a tough rather than flaky crust. Keeping the dough cold also helps maintain its flakiness.
- Cooling is Key: Resist the urge to remove the pies from the muffin pan immediately after baking. The 10-15 minute cooling period in the pan allows the filling to set and the crust to firm up, making them much easier to remove cleanly without falling apart.
Serving Suggestions for Your Mini Apple Pies
These delightful mini apple pies are wonderful on their own, but they truly shine with a few simple additions. Here are some of our favorite ways to serve them:
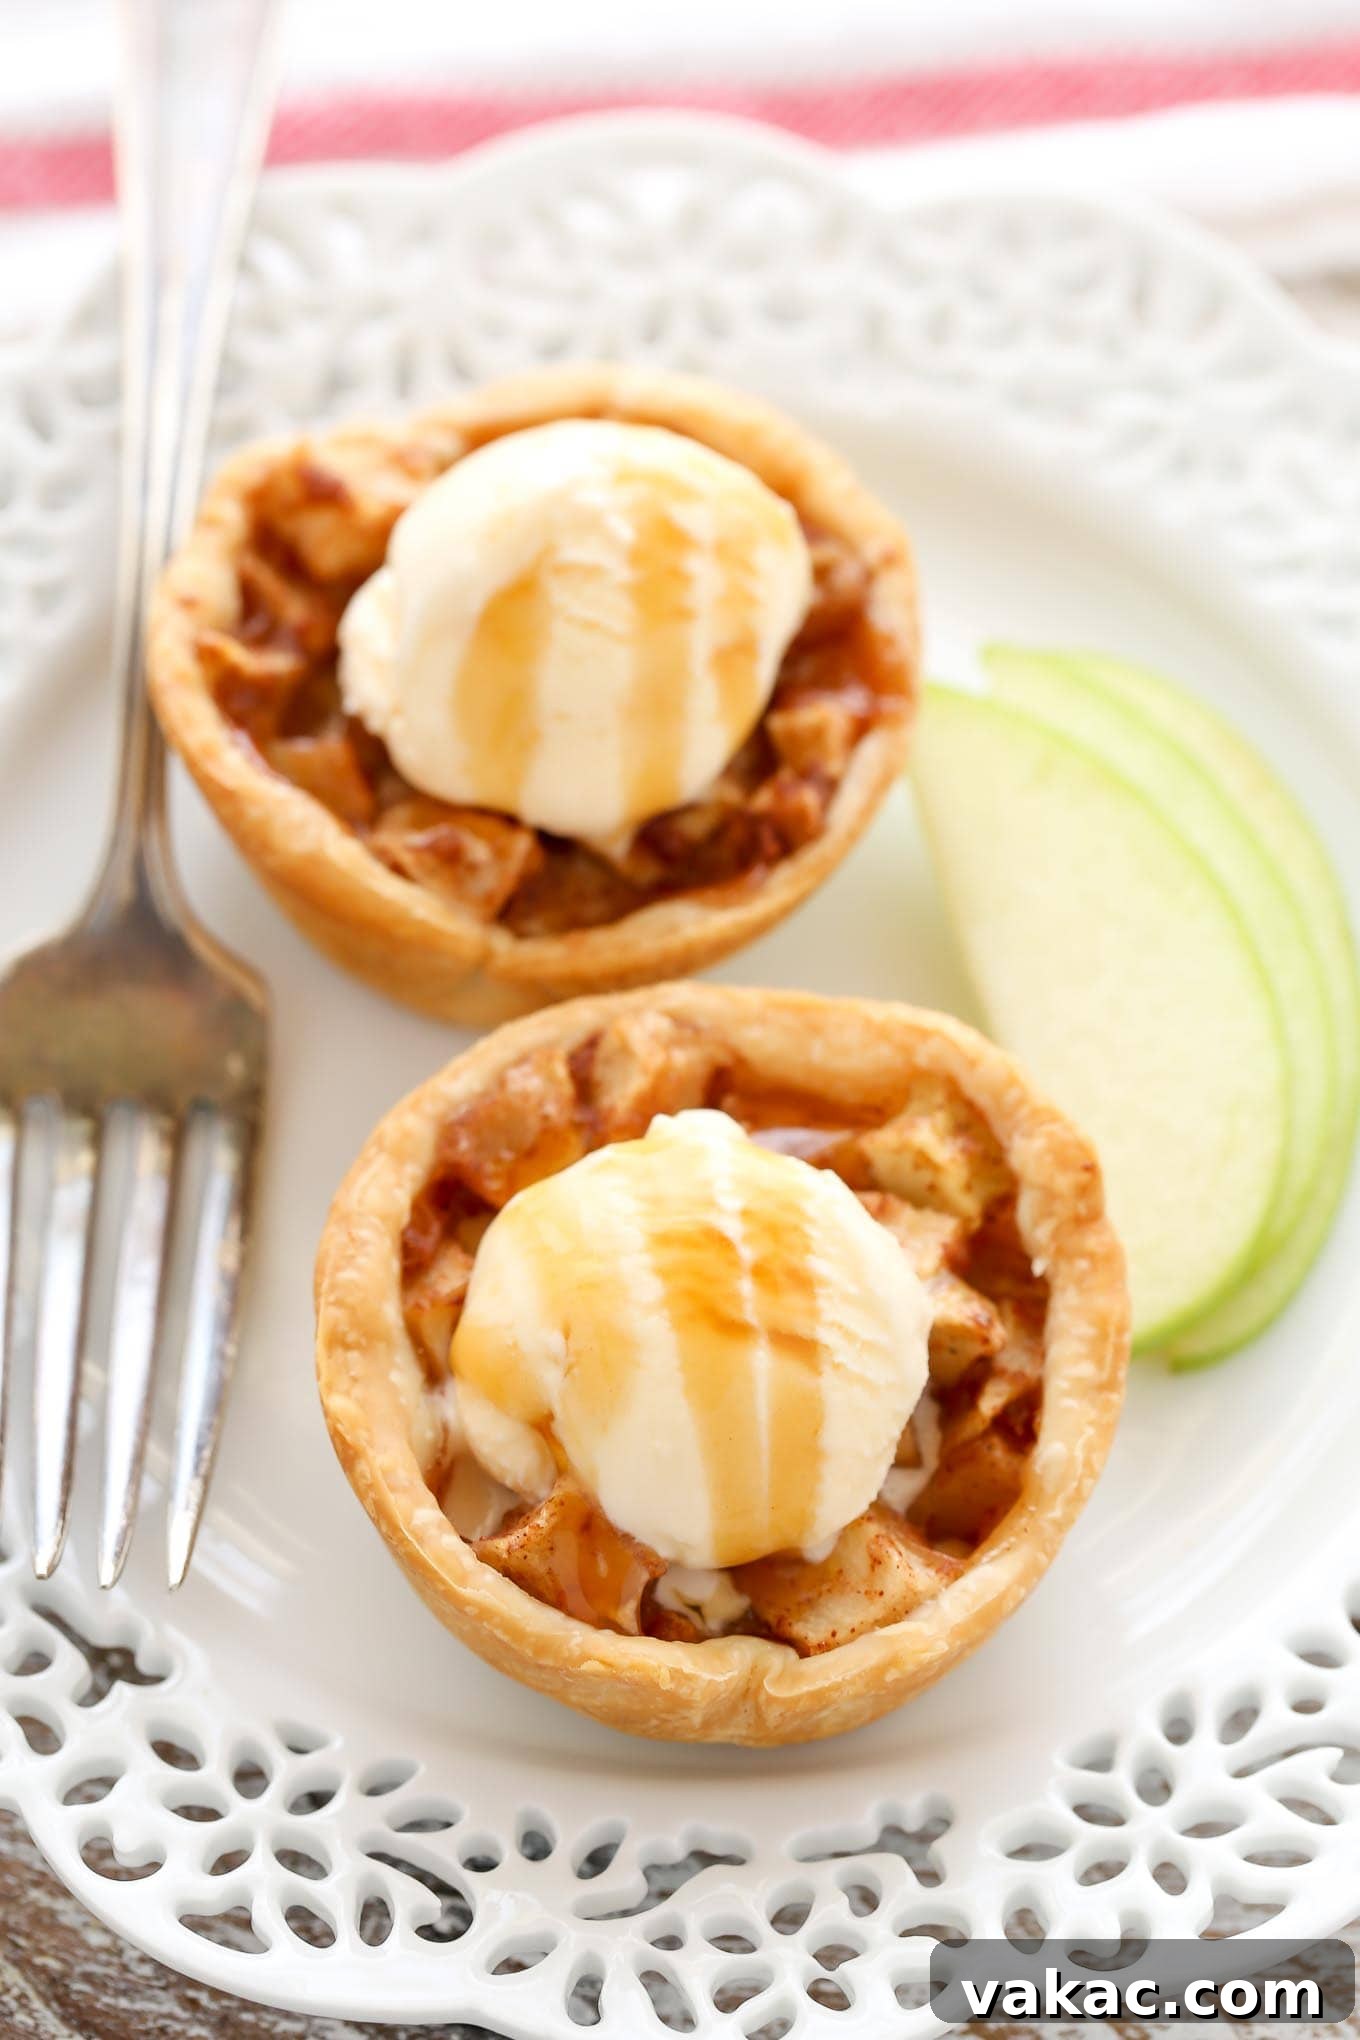
- Classic à la Mode: A small scoop of vanilla bean ice cream melting over a warm mini pie is simply divine. The cold creaminess perfectly contrasts the warm, spiced apples.
- Caramel Drizzle: Elevate the flavor with a generous drizzle of homemade salted caramel sauce. The salty-sweet notes are an incredible pairing with apple.
- Whipped Cream: A dollop of freshly whipped cream, perhaps with a touch of cinnamon or maple syrup mixed in, adds a light and airy touch.
- Dusting of Sugar: A simple dusting of powdered sugar or cinnamon sugar on top adds an elegant finish and an extra hint of sweetness.
- Cheese Pairing: For a more traditional American touch, serve with a thin slice of sharp cheddar cheese. The unexpected savory note is surprisingly delicious!
Variations and Customizations
While classic mini apple pies are perfect, don’t hesitate to get creative:
- Spice It Up: Beyond cinnamon and nutmeg, consider adding a pinch of allspice, ground ginger, or a dash of apple pie spice blend to your filling.
- Different Fruit Fillings: This recipe is highly adaptable. Try substituting apples with pears, peaches (when in season), or even a mix of berries for different mini fruit pies.
- Crumb Topping: Instead of a full top crust or lattice, sprinkle a buttery streusel crumb topping over the apple filling before baking for an “apple crumble pie” experience in miniature.
- Citrus Zest: A little lemon or orange zest added to the apple filling can brighten the flavors beautifully.
Frequently Asked Questions About Mini Apple Pies
Here are answers to some common questions about making these delicious mini apple pies:
- Can I use canned apple pie filling?
While you technically could, we highly recommend using the homemade filling detailed in this recipe. The fresh apples and custom blend of spices yield a far superior flavor and texture that canned fillings simply cannot match. The extra few minutes spent making the filling from scratch are well worth it! - How do I prevent soggy bottoms?
A common issue with any pie! To minimize a soggy bottom, ensure your pie crust is chilled before adding the filling and baking. The high initial oven temperature (425°F) also helps to crisp up the bottom crust quickly. Additionally, avoid overfilling the pies, as too much moisture can lead to a soggy base. - Can I make these gluten-free?
Yes! You can easily adapt this recipe to be gluten-free by using a good quality gluten-free pie crust. Most store-bought gluten-free pie crusts work well in muffin pans. Ensure all your other ingredients are naturally gluten-free. - What if I don’t have a 3.5-inch cookie cutter?
No problem at all! A simple drinking glass with a rim diameter of approximately 3.5 inches works perfectly as a substitute. You can also trace a circle onto parchment paper and use it as a guide to cut the dough with a knife. - Can I prepare these ahead of time?
Absolutely! You can prepare the apple pie filling a day in advance and store it in an airtight container in the refrigerator. You can also assemble the pies (including the top crusts) and refrigerate the unbaked pies for a few hours before baking. For longer storage, freezing is an excellent option as detailed in the “Storage & Freezing Instructions” section.
Even More Apple Recipes To Try This Fall!
- Cinnamon Apple Crisp
- Apple Crumble Pie
- Apple Bread (with cinnamon sugar topping!)
- Homemade Apple Fritters
- Apple Hand Pies

Mini Apple Pies
Ingredients
- 2 pie crusts (homemade or store-bought)
- 2 ½ cups chopped apples (315 grams)
- ¼ cup granulated sugar (50 grams)
- 2 tablespoons all-purpose flour (measured correctly, 15 grams)
- 1 teaspoon ground cinnamon
- 1 teaspoon pure vanilla extract
- ⅛ teaspoon ground nutmeg
- 1 tablespoon unsalted butter (15 grams) (optional)
Instructions
- Preheat the oven to 425°F (220°C).
- Roll the pie crusts out to 1/8-inch thickness on a lightly floured surface. Using a 3.5-inch cookie cutter (or a cup) cut out 12 circles from the pie crusts. Re-roll any scrap pieces of pie dough as needed to cut out the circles.
- Place each circle of pie crust in each cavity of a standard 12-count muffin pan. Gently press the dough down and around the sides, making sure the dough fits snuggly in each cavity of the muffin pan. Transfer the muffin pan and any leftover pie crust dough to the refrigerator while you make the filling.
- In a large mixing bowl, mix together the chopped apples, sugar, flour, ground cinnamon, vanilla extract, and ground nutmeg until fully combined.
- Remove the muffin pan from the refrigerator and evenly distribute the apple pie filling (about 3 tablespoons) between all of the cavities in the muffin pan.
- Dice the tablespoon of butter into 12 small pieces and place one piece on top of the filling in each pie.
- Remove the extra pie dough from the refrigerator, cut out your designs for the tops of the pies, and place them on top.
- Bake for 18 to 23 minutes or until the pie crust is lightly golden brown and the filling is bubbly. Remove from the oven and set aside to cool for 10 to 15 minutes. Carefully remove the mini pies from the pan and transfer to a wire rack to finish cooling.
Notes
We hope you enjoy baking and sharing these delightful mini apple pies. They truly embody the warmth and comfort of autumn, bringing smiles with every bite. Don’t forget to share your creations and tag us on social media!