
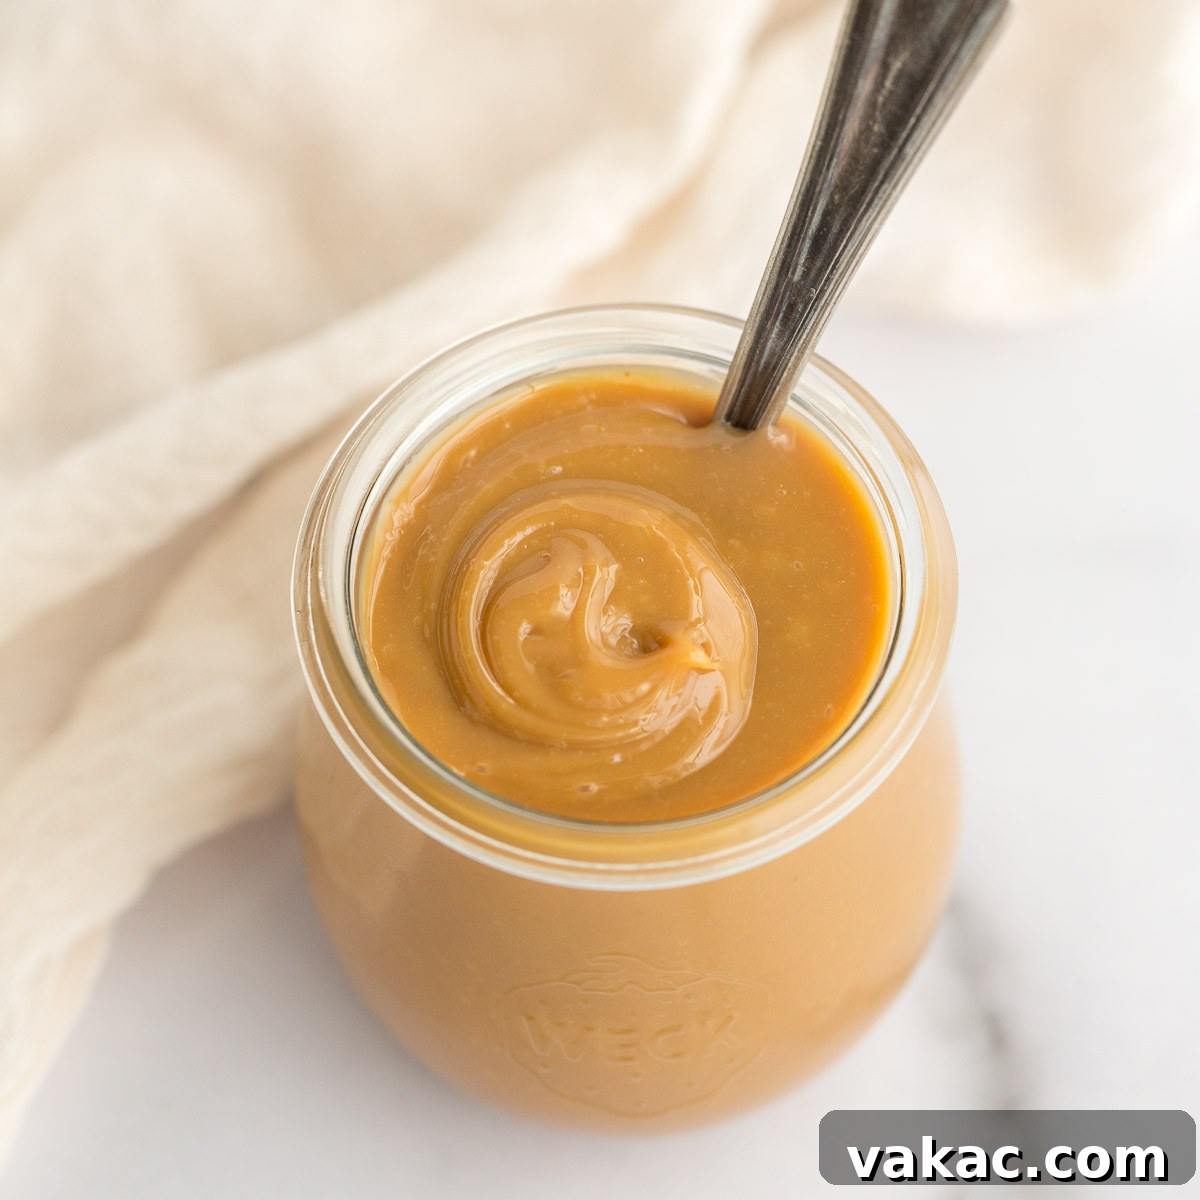
Indulge in the rich, creamy goodness of homemade Dulce de Leche with this incredibly simple, one-ingredient recipe. Forget complicated techniques – this guide reveals how to transform a humble can of sweetened condensed milk into a luxurious, amber-hued caramel-like sauce that will elevate all your favorite desserts. Easy to make and wonderfully versatile, prepare to discover your new favorite sweet treat!
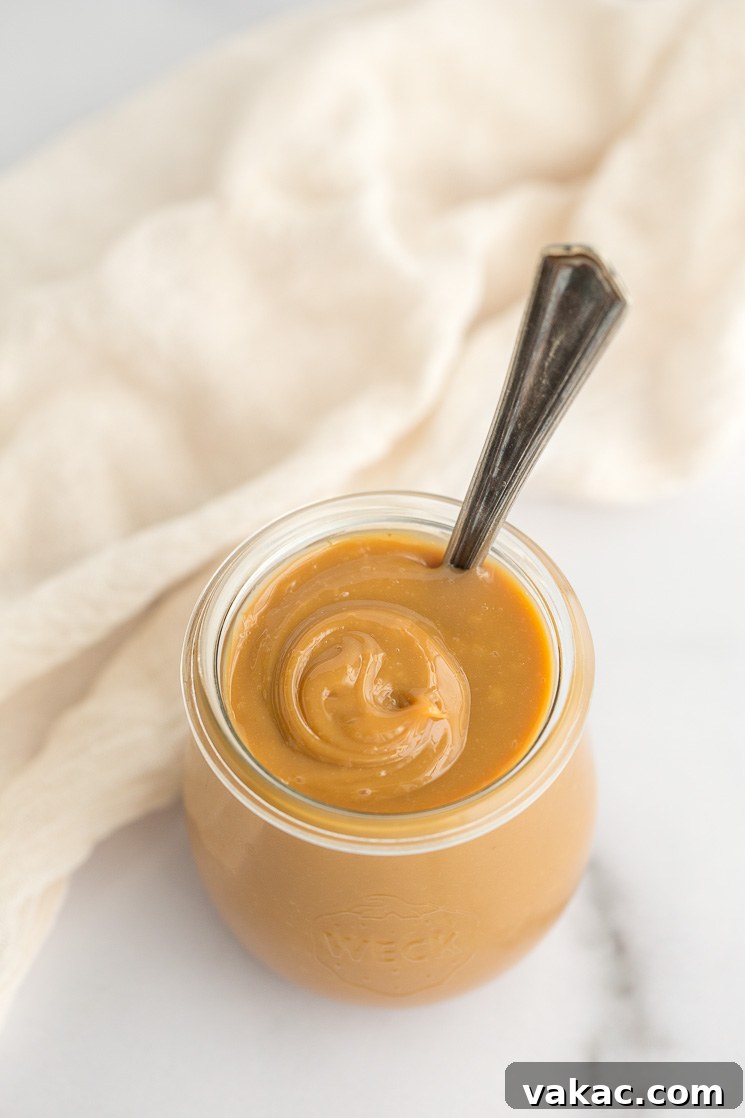
What Exactly Is Dulce de Leche? Unveiling a Latin American Treasure
Have you ever been captivated by the deep, complex flavor of dulce de leche, only to assume that such a delectable confection must be a monumental undertaking to create at home? Many believe this rich, milky spread is beyond the reach of the average home cook, a secret reserved for professional pastry chefs. However, that couldn’t be further from the truth! Prepare to be amazed as we unveil one of the simplest and most rewarding dessert recipes you’ll ever encounter.
At its heart, dulce de leche is a sweet, thick, caramel-like spread or sauce that originated in Latin America, where its name literally translates to “sweetness of milk.” While it shares some similarities with traditional caramel – both are sweet, brown, and deeply flavorful – dulce de leche possesses a distinct character. Unlike classic caramel, which is primarily made from granulated sugar heated until it melts and caramelizes, dulce de leche is created by slowly heating milk and sugar together (or, in our simplified version, sweetened condensed milk) until the sugars caramelize and the milk proteins undergo a Maillard reaction. This process results in a product with a uniquely creamy texture and a more nuanced, milky, and toasted flavor profile that sets it apart from the often sharper, sometimes slightly bitter notes of pure sugar caramel.
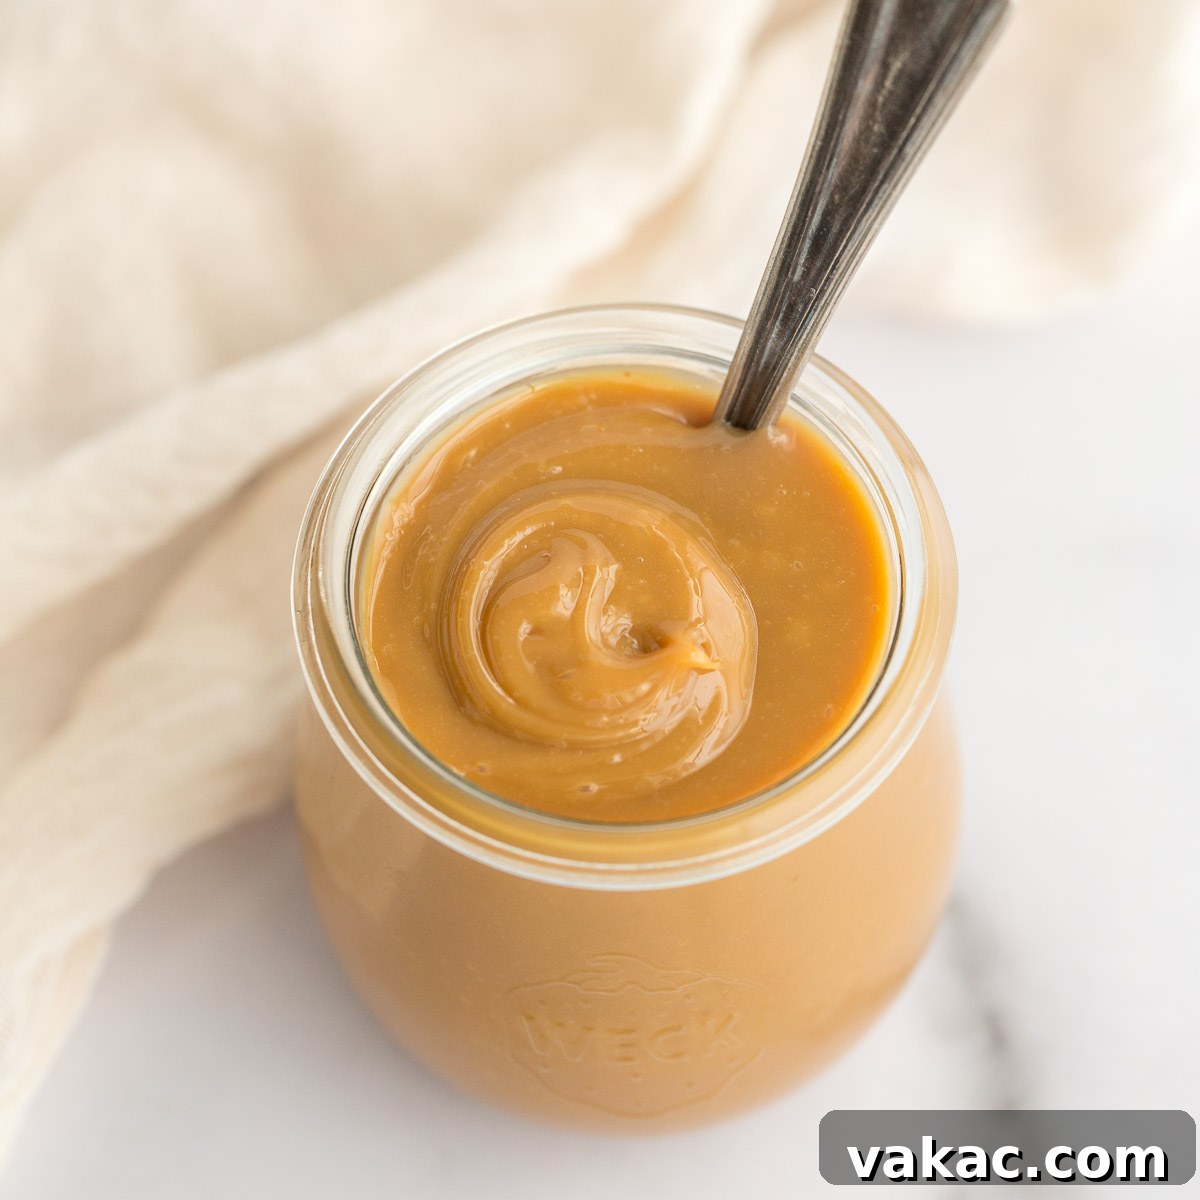
Its color ranges from a pale golden to a deep amber, and its consistency can vary from a pourable sauce to a thick, spoonable spread, depending on how long it’s cooked. This incredible versatility makes it a beloved ingredient in countless desserts across South America and beyond. Today, we’re not just showing you how to make it; we’re inviting you into the wonderfully easy world of homemade dulce de leche, complete with a fool-proof method and a myriad of ways to enjoy your delicious creation!
The One Magical Ingredient You Need
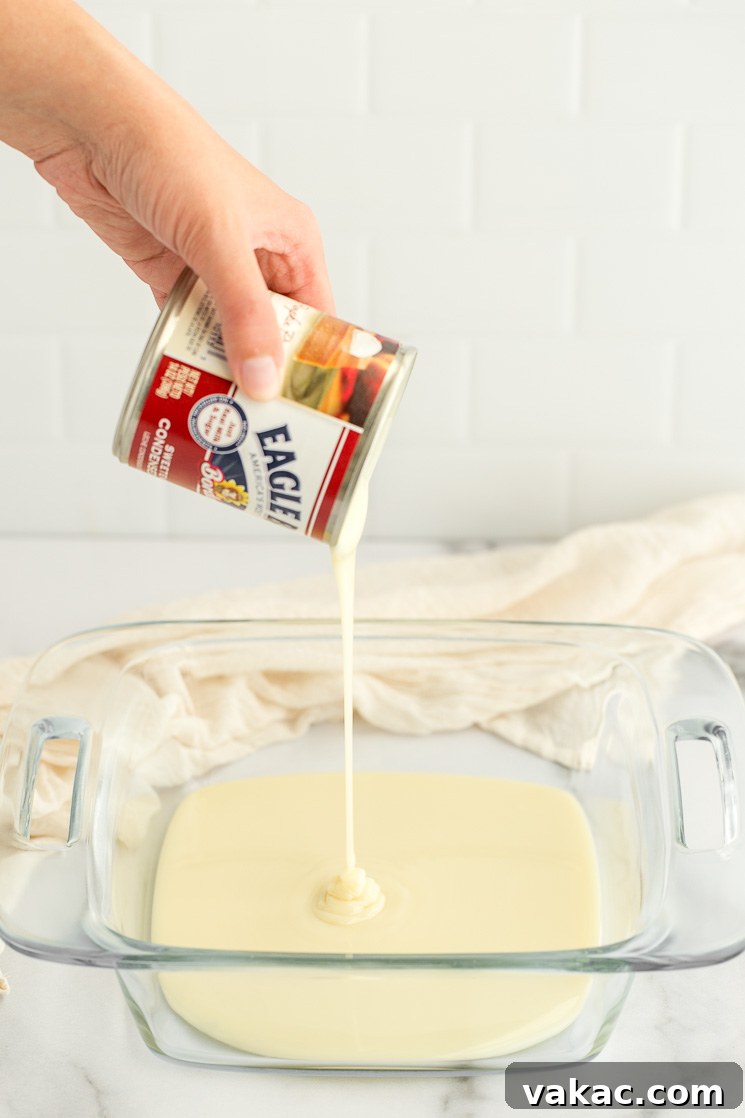
The beauty of this recipe lies in its utter simplicity. To craft your very own batch of irresistible dulce de leche, you literally only need one ingredient: sweetened condensed milk. Yes, you read that correctly – just one!
For this recipe, I’ve often used popular brands like Eagle Brand Sweetened Condensed Milk, known for its consistent quality. However, don’t feel limited! Most generic or store-brand sweetened condensed milk varieties work just as effectively, producing equally fantastic results. So, feel free to choose whatever brand is most accessible or preferred for your pantry.
It is absolutely crucial to note that sweetened condensed milk is fundamentally different from evaporated milk. This distinction is vital for the success of your dulce de leche. Sweetened condensed milk is a thick, syrupy, and incredibly sweet product, made by removing water from milk and adding a substantial amount of sugar. Evaporated milk, on the other hand, is unsweetened and much thinner in consistency, with water removed but no sugar added. Using evaporated milk in this recipe would not yield dulce de leche; it would simply result in concentrated, unsweetened milk. Always double-check your label to ensure you’re grabbing the right can!
Mastering the Art: How to Make Dulce de Leche with Ease
While there are several methods for making dulce de leche – some involving pressure cookers for speed, or even simmering an unopened can (a method that carries significant safety risks and is generally not recommended due to explosion hazards) – the water bath method in the oven is by far my preferred technique. It’s safe, largely hands-off, and consistently delivers a perfectly smooth, rich, and beautifully colored dulce de leche every time.
Step-by-Step Guide to Oven-Baked Dulce de Leche:
- Initial Setup and Preheating: Begin by preparing your work area. Place a large pot of water on your stovetop and bring it to a rolling boil. This hot water will be essential for creating the water bath, or bain-marie, a crucial step we’ll delve into shortly. Simultaneously, preheat your oven to a steady 425°F (218°C). This ensures your oven is at the optimal temperature when your dulce de leche is ready to bake, providing consistent heat from the start.
- Prepare the Sweetened Condensed Milk: Carefully open one 14-ounce (approximately 397g) can of sweetened condensed milk. Pour the entire contents into a small, oven-safe baking dish. An 8-inch square glass dish works wonderfully, as does a 9-inch pie plate or any similar heat-proof vessel. The key is to select a dish that will fit comfortably inside a larger roasting pan, which will be used for the water bath. Ensure the sweetened condensed milk is spread into an even layer for uniform cooking.
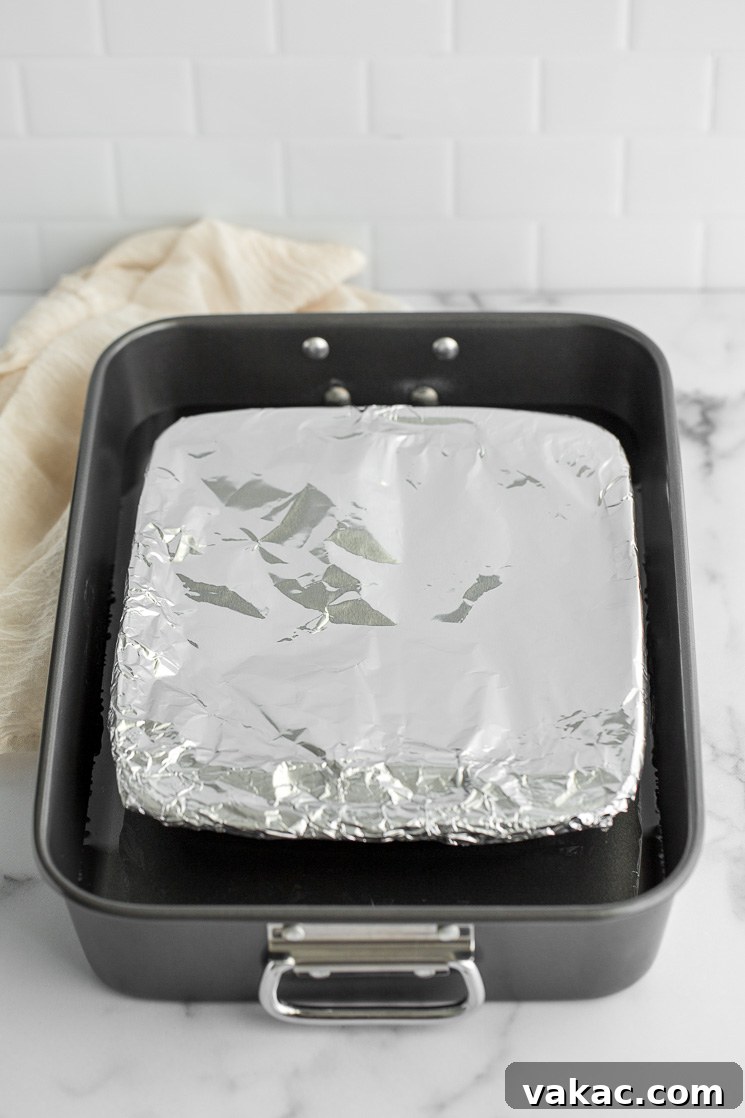
- Assemble the Water Bath (Bain-Marie): Once the sweetened condensed milk is in its baking dish, cover the dish tightly with aluminum foil. This foil serves a dual purpose: it prevents a skin from forming on top of the dulce de leche, and it helps to trap moisture, ensuring even cooking. Now, place this foil-covered baking dish into a larger roasting pan. Carefully pour the hot, boiled water from your stovetop into the roasting pan, ensuring the water level reaches approximately halfway up the sides of the smaller baking dish. The water bath is critical as it provides a gentle, indirect heat that prevents the milk from scorching, encouraging a slow, even caramelization.
- Baking and Transformation: With the water bath assembled, carefully transfer the entire roasting pan into your preheated oven. Let the sweetened condensed milk bake for a duration of 1 hour and 30 minutes to 1 hour and 45 minutes. The baking time can vary slightly depending on your oven and desired consistency. I recommend checking it at the 90-minute mark. At this point, the mixture should have thickened considerably and transformed into a beautiful, rich amber color. If it hasn’t quite reached this stage or you prefer a darker, deeper flavor, allow it to bake for an additional 15 minutes, checking again.
- Maintain Water Levels: It’s essential to monitor the water level in the roasting pan throughout the baking process. About halfway through the baking time, carefully open the oven and check the water. If it has evaporated significantly, add more hot water (straight from the tap or a kettle) to maintain the halfway mark up the sides of the baking dish. This prevents the small dish from overheating and ensures the water bath remains effective.
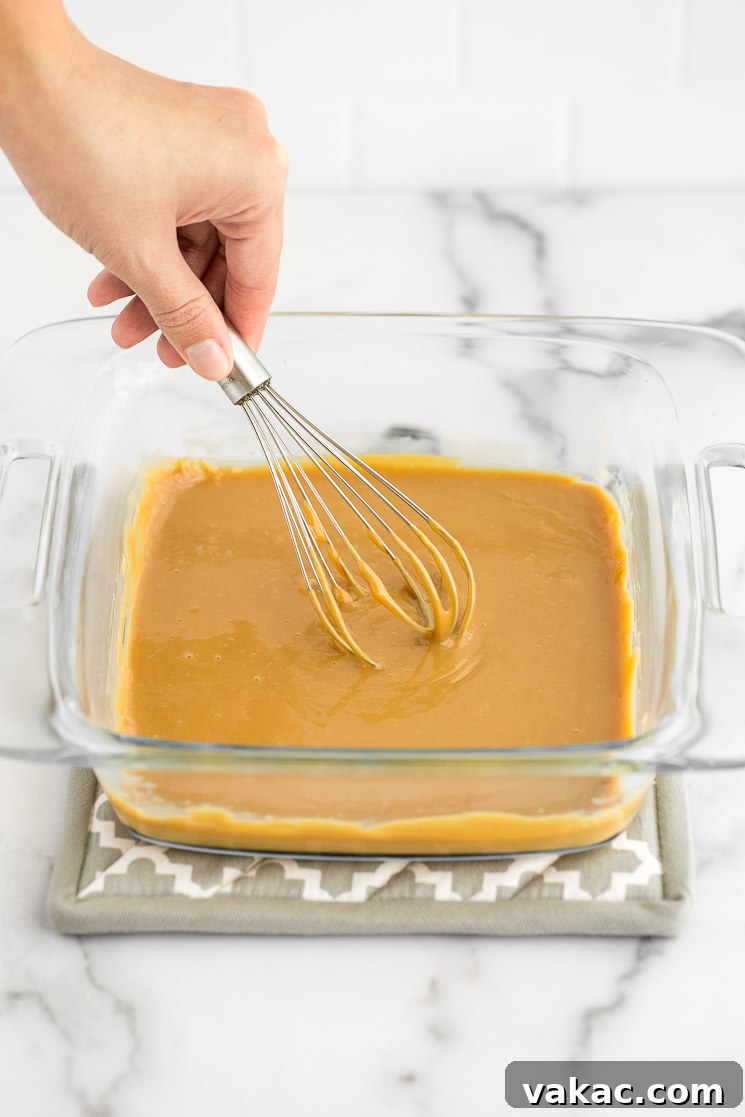
- Cooling and Finishing Touches: Once the dulce de leche has achieved its perfect amber hue and thick consistency, carefully remove the roasting pan from the oven. Using oven mitts, gingerly lift the smaller baking dish out of the hot water bath and place it on a wire rack. Gently remove the foil cover. You’ll notice a thick, often slightly lumpy, caramelized milk mixture. At this stage, vigorously whisk the dulce de leche for a couple of minutes until it becomes wonderfully smooth and uniform in texture. This whisking step is key to achieving that signature creamy consistency.
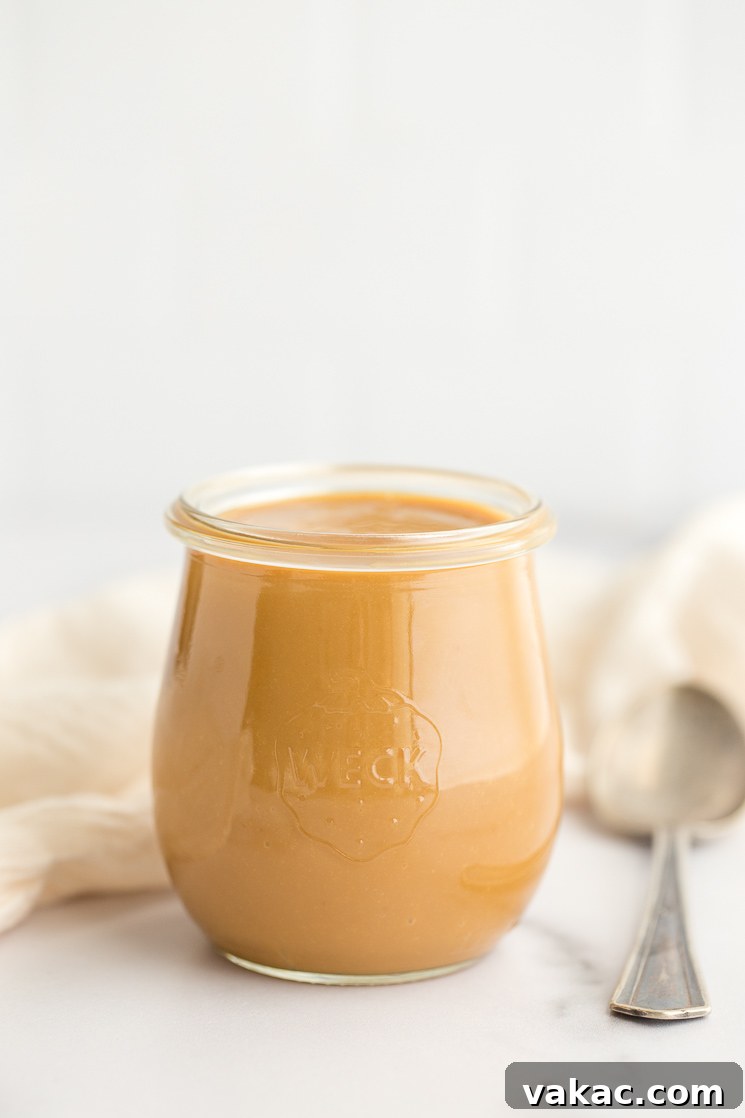
- Storage: After whisking, allow the dulce de leche to cool completely on the wire rack. As it cools, it will continue to thicken. Once it has reached room temperature, transfer your homemade dulce de leche to an airtight container. It can be stored safely in the refrigerator for up to one week, ready to be enjoyed whenever a sweet craving strikes. For longer storage, it can often be frozen for up to 2-3 months in a freezer-safe container, though its texture may change slightly upon thawing.
Unleashing the Versatility: Delicious Ways to Use Dulce de Leche
Once you’ve crafted your perfect batch of homemade dulce de leche, the culinary possibilities are endless! Its rich, sweet, and milky flavor profile makes it a spectacular addition to both simple and sophisticated dishes. Here are just a few of my favorite ways to incorporate this heavenly sauce into your daily treats and special occasion desserts:
- Elevate Your Cheesecakes: Drizzle generously over a classic cheesecake or use it as a decadent topping for individual mini cheesecakes. Its creamy texture pairs beautifully with the tangy cream cheese.
- Cupcake Filler Extraordinaire: Inject it into the center of fluffy vanilla cupcakes or rich chocolate cupcakes for an unexpected burst of flavor, or swirl it into your frosting.
- Ice Cream’s Best Friend: Spoon it over a scoop of vanilla, chocolate, or even coffee ice cream for an instant upgrade. It hardens slightly when chilled, creating delightful chewy streaks.
- Funnel Cake Fantasy: Warm it gently and drizzle it lavishly over crispy homemade funnel cakes at your next carnival-themed gathering.
- Breakfast Bliss: Swirl it into your morning oatmeal or yogurt, spread it on toast, pancakes, or waffles. It’s a game-changer for French toast too!
- Cookie & Bar Enhancer: Use it as a filling for sandwich cookies, a layer in millionaire’s shortbread, or swirled into brownie batter before baking.
- Fruit Dipper: Serve it alongside sliced apples, bananas, or pears for a simple yet elegant snack or dessert.
- Coffee & Drink Sweetener: Stir a spoonful into your coffee, hot chocolate, or a milkshake for a rich, milky, and caramelized twist.
- Pie & Tart Filling: Use it as a base for pies or tarts, or combine it with nuts for a pecan pie-like creation.
Frequently Asked Questions (FAQ’s) About Dulce de Leche
How long does homemade dulce de leche last?
Once prepared and cooled, homemade dulce de leche should be transferred to an airtight container. It can be stored in the refrigerator for up to one week. For best quality, consume it within this timeframe. If you want to keep it longer, you might consider freezing it in a freezer-safe container for up to 2-3 months, though thawing may slightly alter its texture, making it a bit softer.
Can I use fat-free sweetened condensed milk for this recipe?
No, it is essential to use regular, full-fat sweetened condensed milk for this recipe. The fat content in regular sweetened condensed milk contributes significantly to the creamy texture and rich flavor of the final dulce de leche. Fat-free versions lack the necessary components to properly caramelize and achieve the desired consistency and taste. Any brand of regular sweetened condensed milk will work perfectly, so feel free to use your preferred option.
Essential Baking Tips for Perfect Dulce de Leche
Achieving perfect homemade dulce de leche is simpler than you think, especially with a few key tips in mind. Follow these guidelines to ensure your batch turns out beautifully rich, smooth, and utterly delicious every time:
- Pre-Boil Your Water: Before you even start assembling, make sure to set a large pot of water on the stove to boil. Having hot water ready for your water bath will save you time and ensure a consistent temperature from the moment you place the roasting pan in the oven.
- Monitor Water Levels Diligently: The water bath (bain-marie) is crucial for even, gentle cooking. Check the water level in the roasting pan about halfway through the baking time. If it has significantly evaporated, carefully add more hot water to ensure it continues to reach halfway up the sides of your smaller baking dish. This prevents the milk from scorching and promotes steady caramelization.
- Observe for Color and Consistency: The sweetened condensed milk should transform into a thick, amber-colored concoction. While the suggested baking time is 1 hour 30 minutes to 1 hour 45 minutes, use your eyes! If, at the 90-minute mark, it’s not quite as thick or deeply colored as you’d like, let it bake for an additional 15 minutes, then check it again. Don’t rush this step; the color indicates the depth of flavor.
- Whisk for Silkiness: Once you remove the baking dish from the oven and carefully take it out of the water bath, don’t skip the whisking step. Whisk the warm dulce de leche vigorously for a couple of minutes until it becomes beautifully smooth and free of any lumps. This ensures that signature silky texture.
- Cool Completely: Patience is a virtue here! After whisking, allow the dulce de leche to cool completely on a wire rack before transferring it to storage. It will thicken further as it cools, reaching its ideal consistency.
- Use the Right Equipment: An oven-safe glass baking dish (like an 8-inch square or 9-inch pie plate) and a larger roasting pan are essential for the water bath method. Ensure the smaller dish fits snugly within the roasting pan without being too tight, allowing space for the water.
- Avoid Opening the Oven Too Often: While checking water levels is important, try to minimize opening the oven door unnecessarily, especially during the initial baking phase, to maintain a consistent oven temperature.
Explore More Delicious Homemade Sauces & Syrups!
If you’ve enjoyed the process of creating your own dulce de leche, you’ll love exploring other homemade sauces and syrups that can elevate your desserts and breakfasts. Homemade always tastes better, and these recipes are just as rewarding:
- Homemade Blueberry Sauce: Perfect for pancakes, ice cream, or yogurt.
- Strawberry Sauce: A fresh and vibrant topping for almost any sweet treat.
- Homemade Salted Caramel Sauce: For those who love a sophisticated sweet and salty kick.
- Microwave Lemon Curd: A surprisingly quick way to make this tangy, creamy spread.
- Homemade Magic Shell: Recreate this fun ice cream topping from your childhood.
Dulce de Leche Recipe
Cook Time: 1 hr 30 mins
Total Time: 1 hr 40 mins
Ingredients
- 1 (14-ounce) can sweetened condensed milk
Instructions
- Set a large pot of water on the stove to boil. Preheat oven to 425°F (218°C).
- Add the sweetened condensed milk to an 8-inch square baking dish (or 9-inch pie plate) and spread into one even layer. Cover the baking dish tightly with foil and place it in a large roasting pan.
- Fill the roasting pan with the hot water you set on the stove to boil earlier until it reaches halfway up the sides of the baking dish.
- Place the roasting pan in the oven and bake at 425°F (218°C) for 1 hour and 30 minutes to 1 hour and 45 minutes or until the mixture is thickened and it turns an amber color. Make sure to check the roasting pan about halfway through the baking time and add more hot water if needed.
- Remove from the oven and carefully remove the baking dish from the roasting pan. Place on a wire rack and carefully remove the foil from the dish. Whisk the dulce de leche until smooth, then allow to cool completely.
- Once cooled, transfer the dulce de leche to an airtight container and store in the refrigerator.
Notes
Leftover dulce de leche can be stored in an airtight container in the refrigerator for up to one week.
Sweetened condensed milk: You can use any brand of sweetened condensed milk for this recipe, just avoid using the fat-free kind.
Course: Dessert
Author: Danielle Rye