
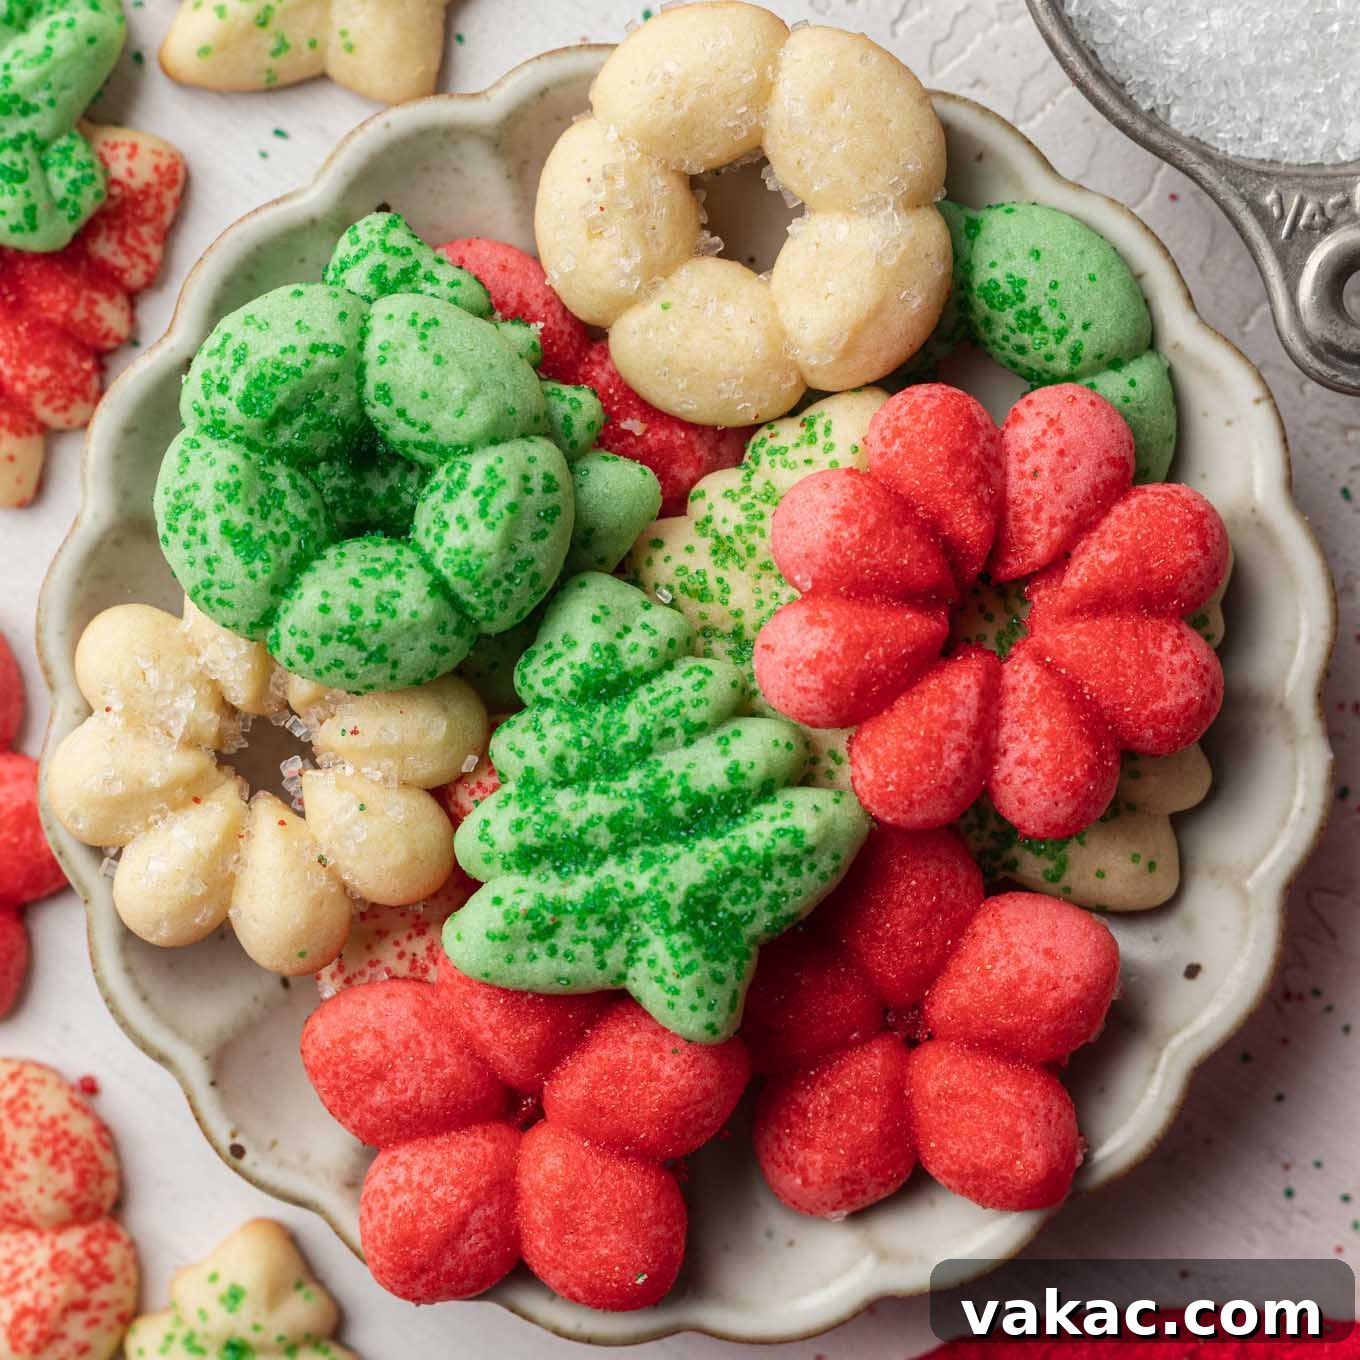
Delightfully crisp, wonderfully buttery, and utterly irresistible, classic spritz cookies are a staple for any holiday celebration. These tender treats offer the best of both worlds, combining the rich, melt-in-your-mouth texture of a delicate sugar cookie with the satisfying snap of a traditional shortbread. It’s no wonder they vanish quickly from any dessert platter, leaving you reaching for “just one more”!

The Enchanting World of Spritz Cookies: A Holiday Tradition
No holiday dessert spread is truly complete without a generous plate piled high with beautifully shaped, festive spritz cookies. These charming Christmas cookies are more than just a sweet treat; they’re a cherished tradition that brings joy and vibrant color to tables worldwide. Known for their distinct buttery flavor and delicate, crisp texture, spritz cookies are uniquely satisfying, offering a delightful bite that melts away, leaving a lingering warmth on your palate.
The name “spritz” itself provides a clue to their creation. Derived from the German word “spritzen,” meaning “to squirt” or “to spray,” it perfectly describes the method of their making. Unlike traditional roll-and-cut cookies, spritz cookies are formed by pressing a soft dough through a specialized cookie press. This ingenious tool, equipped with various decorative discs, allows bakers to create an array of intricate shapes – from classic stars and wreaths to elegant trees and festive flowers – with remarkable ease. This method not only makes baking a fun and creative process but also results in cookies with a consistently delicate structure that cooks evenly and beautifully.
What truly sets spritz cookies apart is their versatility and simple elegance. Crafted from just a few basic, high-quality ingredients, their pure butter flavor shines through. While delicious in their natural golden hue, these cookies truly come alive with the addition of food coloring, transforming them into a canvas for holiday cheer. Imagine vibrant reds, lush greens, or even cool blues, all finished with a shimmering sprinkle of sanding sugar. This optional final touch not only adds a beautiful sparkle but also introduces a delightful, subtle crunch that perfectly complements the smooth, buttery cookie dough beneath. Whether you’re aiming for a grand display or a simple, homemade gesture, spritz cookies offer endless possibilities for customization and festive expression.
Mastering the Ingredients for Perfect Spritz Cookies
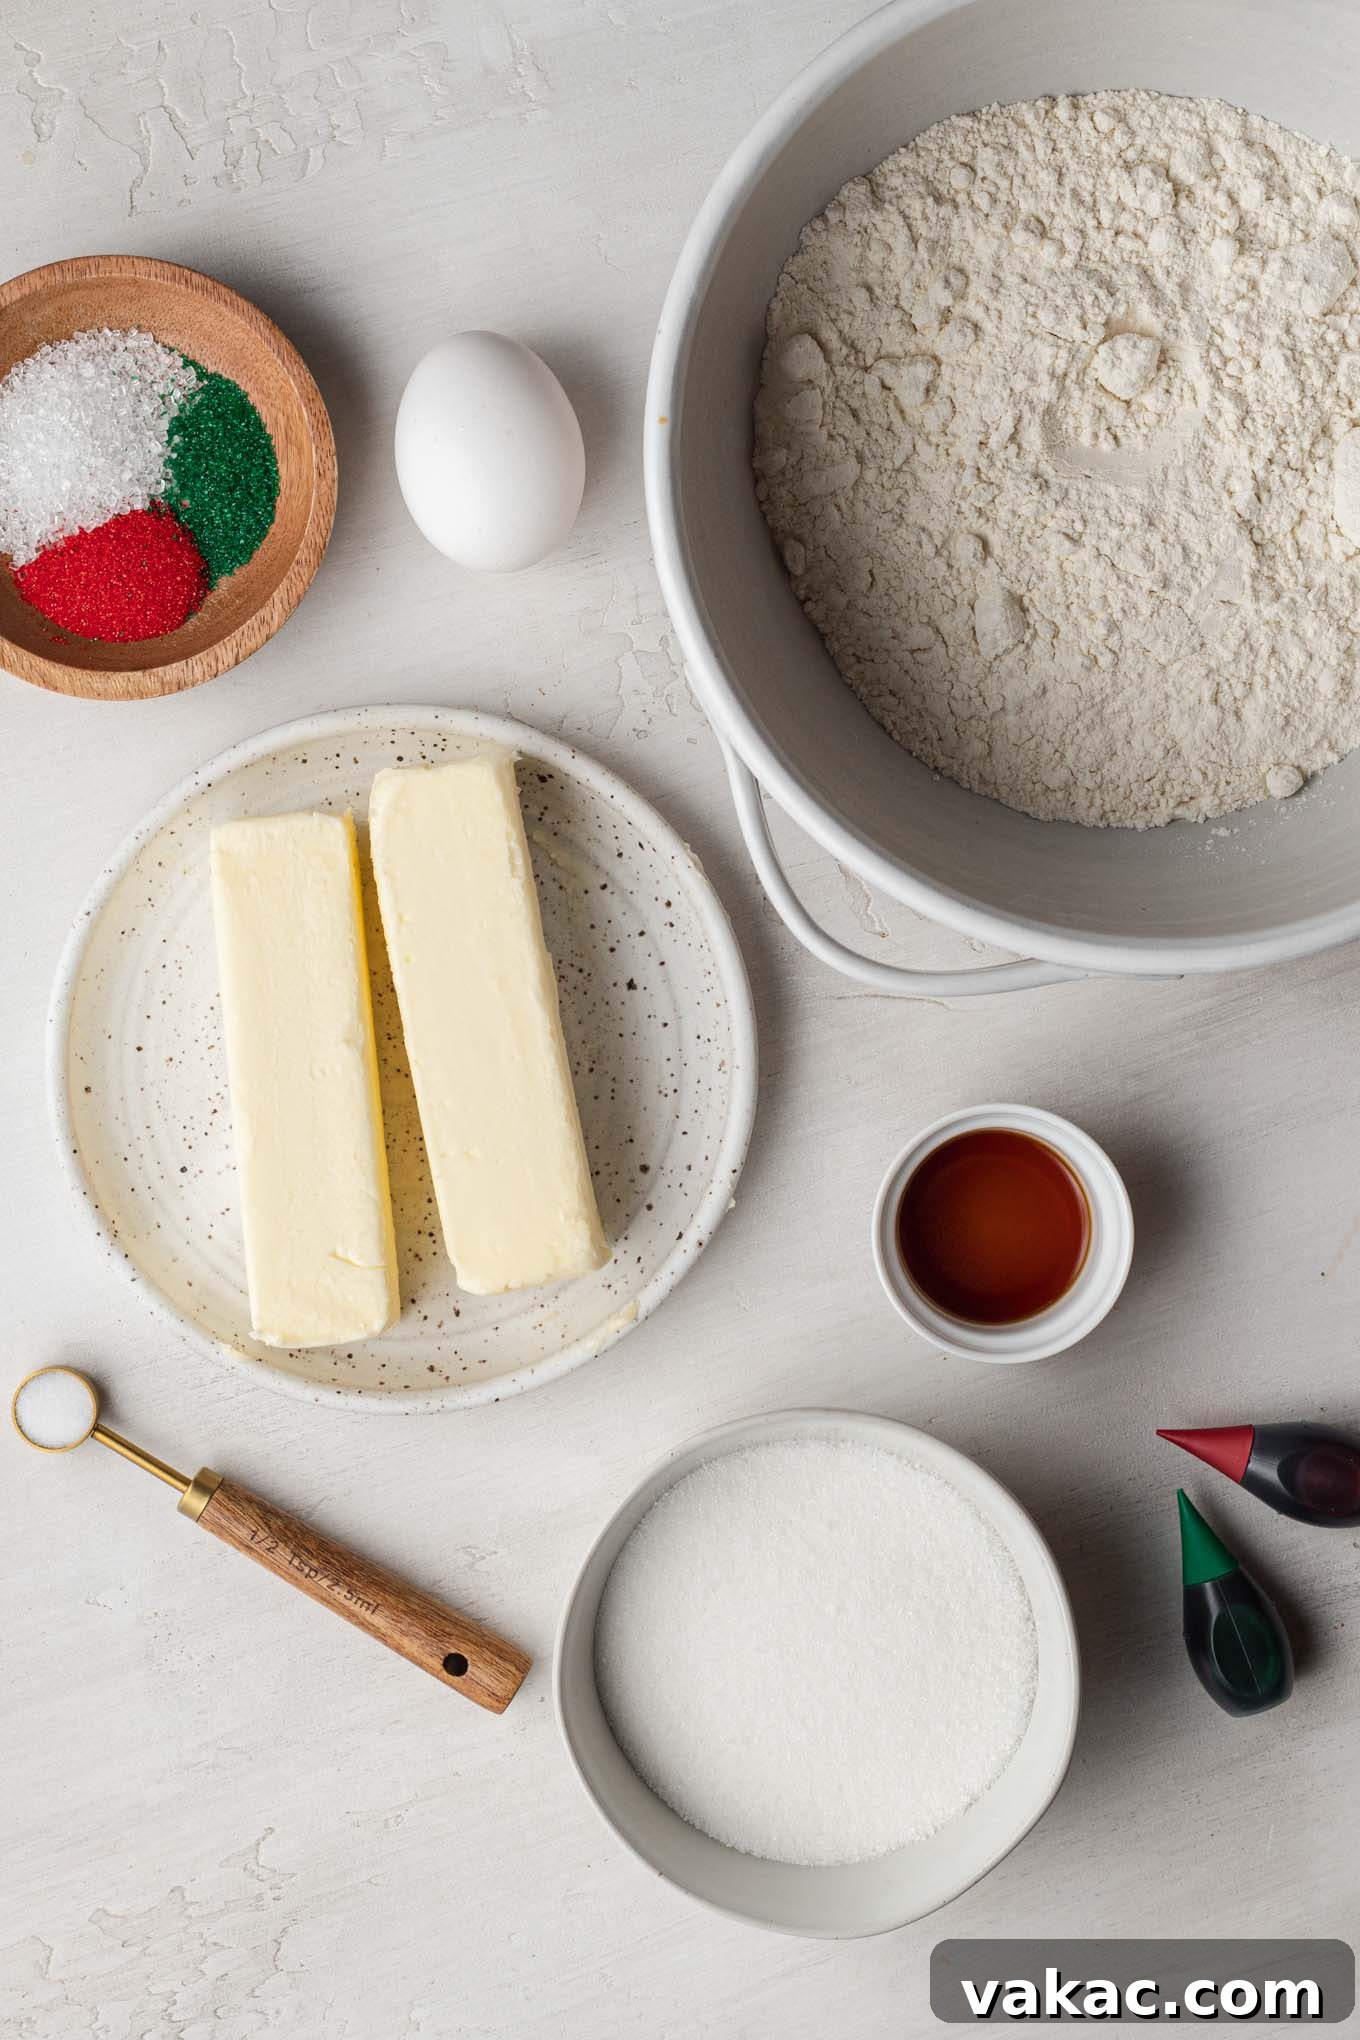
Achieving the perfect spritz cookie relies on a few fundamental, high-quality ingredients and a keen eye for detail. This classic recipe, intentionally simple, allows the natural richness of butter and vanilla to truly shine. Given the short ingredient list, understanding the role of each component is key to baking success. Here’s a closer look at what you’ll need and why each element is so important:
- Unsalted Butter: The cornerstone of any great butter cookie. For optimal results, your butter should be at a cool room temperature – not melted, but soft enough that pressing your finger into it leaves a slight indent. This temperature ensures that the butter creams beautifully with the sugar, incorporating air that contributes to the cookies’ tender texture and preventing a greasy or tough outcome. Remember to set your butter out about an hour before you plan to start baking. Using unsalted butter gives you precise control over the salt content in the recipe.
- Granulated Sugar: Beyond merely sweetening the cookies, granulated sugar plays a crucial role in their structure and crispness. It helps to tenderize the dough and, when creamed with butter, creates tiny air pockets that contribute to the light, delicate crumb. The fine crystals dissolve during baking, ensuring a smooth, uniform texture without masking the rich, buttery flavor that defines spritz cookies.
- Large Egg: The humble egg acts as a vital binder, bringing all the ingredients together and adding richness and stability to the dough. It helps prevent the cookies from becoming excessively crumbly and contributes to their overall structure. Just like the butter, using a room temperature egg is paramount. A cold egg won’t emulsify properly with the creamed butter and sugar, leading to a lumpy mixture and an unevenly textured dough. If you’re short on time, simply place the egg in a bowl of warm tap water for about 10 minutes to quickly bring it to temperature.
- Pure Vanilla Extract: This is where much of the cookie’s signature flavor comes from. I recommend a generous 1½ teaspoons to ensure the vanilla notes are prominent and fragrant. Always opt for pure vanilla extract over imitation varieties for the most authentic and robust flavor profile. It truly makes a noticeable difference in the final taste of your homemade spritz cookies.
- All-Purpose Flour: The structural backbone of your cookies. However, it’s crucial to measure flour correctly to avoid a dry, crumbly, or tough dough. The most accurate method is to spoon the flour into your measuring cup and then level it off with the back of a knife. Never scoop directly from the bag, as this compacts the flour, leading to an excess amount that will absorb too much moisture and negatively impact the texture of your delicate butter spritz cookies.
- Salt: A small but mighty ingredient, salt is essential for balancing the sweetness of the sugar and enhancing the rich, complex flavors of both the butter and vanilla. It prevents the cookies from tasting bland and helps to bring all the flavors into perfect harmony.
- Food Coloring (Optional): For those who love to add a festive touch, food coloring is your secret weapon. Gel food colorings are often preferred for their vibrant hues and concentrated pigments, requiring less to achieve a strong color without altering the dough’s consistency. For holiday themes, dividing the dough and coloring batches red and green creates a stunning visual impact.
- Sanding Sugar or Sprinkles (Optional): These decorative additions aren’t just for looks; they provide a delightful textural contrast. Sanding sugar, with its larger crystals, adds a satisfying crunch, while small sprinkles like nonpareils offer a playful pop of color and a subtle textural interest. They adhere beautifully to the raw dough, making your spritz cookies even more appealing.
Your Step-by-Step Guide to Baking Perfect Spritz Cookies
If you’re new to using a cookie press, fear not! Spritz cookies are an excellent starting point for mastering this fun baking tool. The process is straightforward, and with a few key tips, you’ll be creating beautifully shaped cookies in no time. Here’s an expanded overview of the baking process, ensuring your butter spritz cookies come out perfectly crisp and tender:
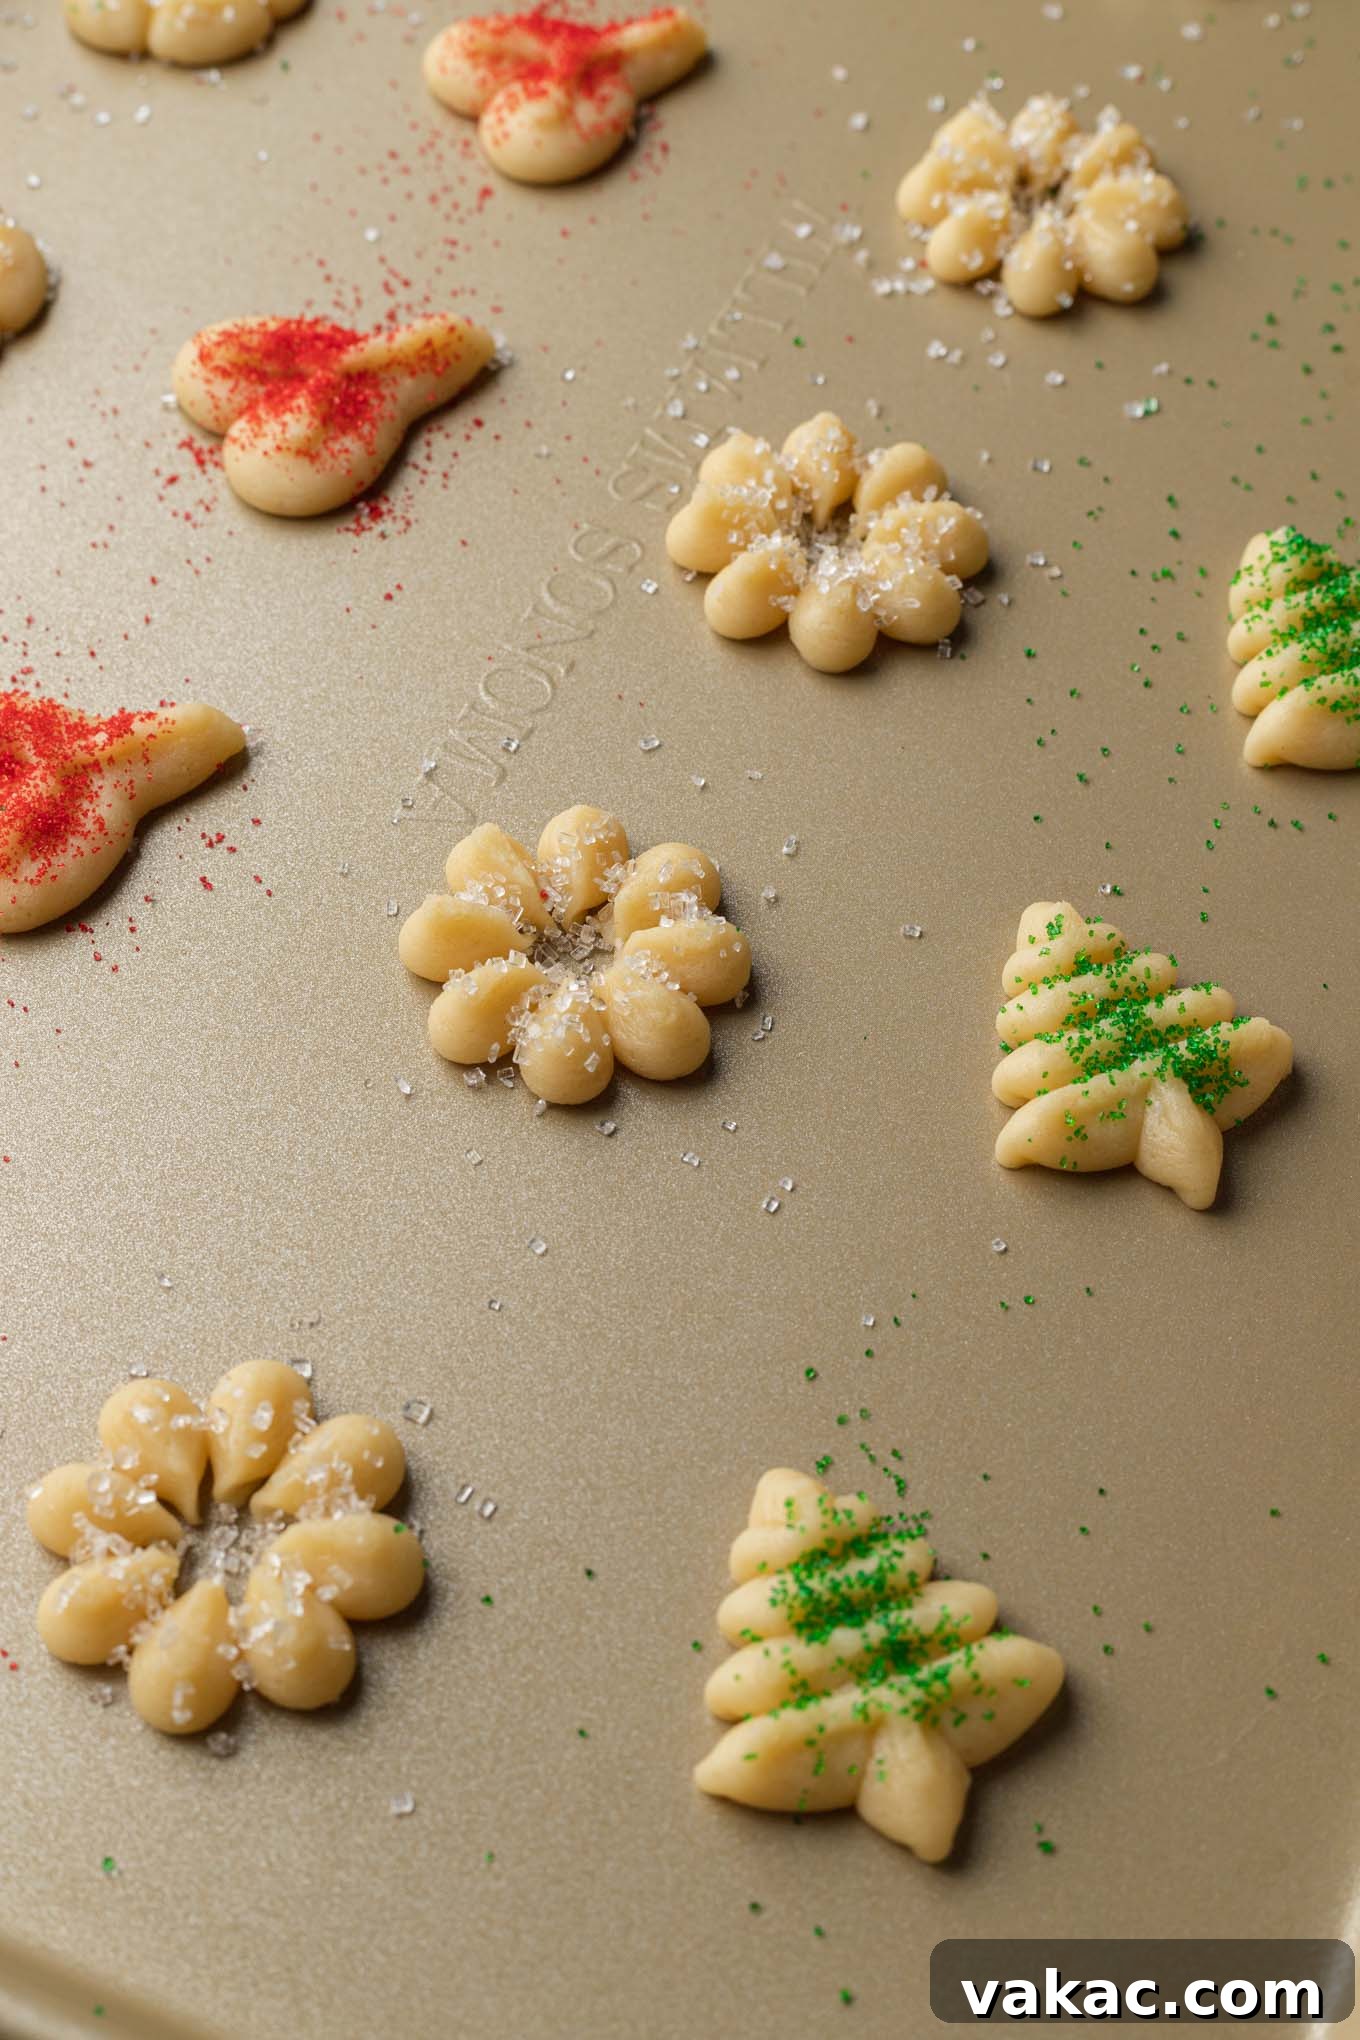
- Prepare Your Oven and Baking Sheets: Begin by preheating your oven to 400°F (204°C). This higher initial temperature helps the cookies set quickly. Crucially, place three large, ungreased baking sheets in the refrigerator as the oven preheats. Cold baking sheets are a game-changer for spritz cookies; they ensure the dough adheres easily when pressed and, more importantly, prevent the cookies from spreading too much in the oven, helping them maintain their intricate shapes.
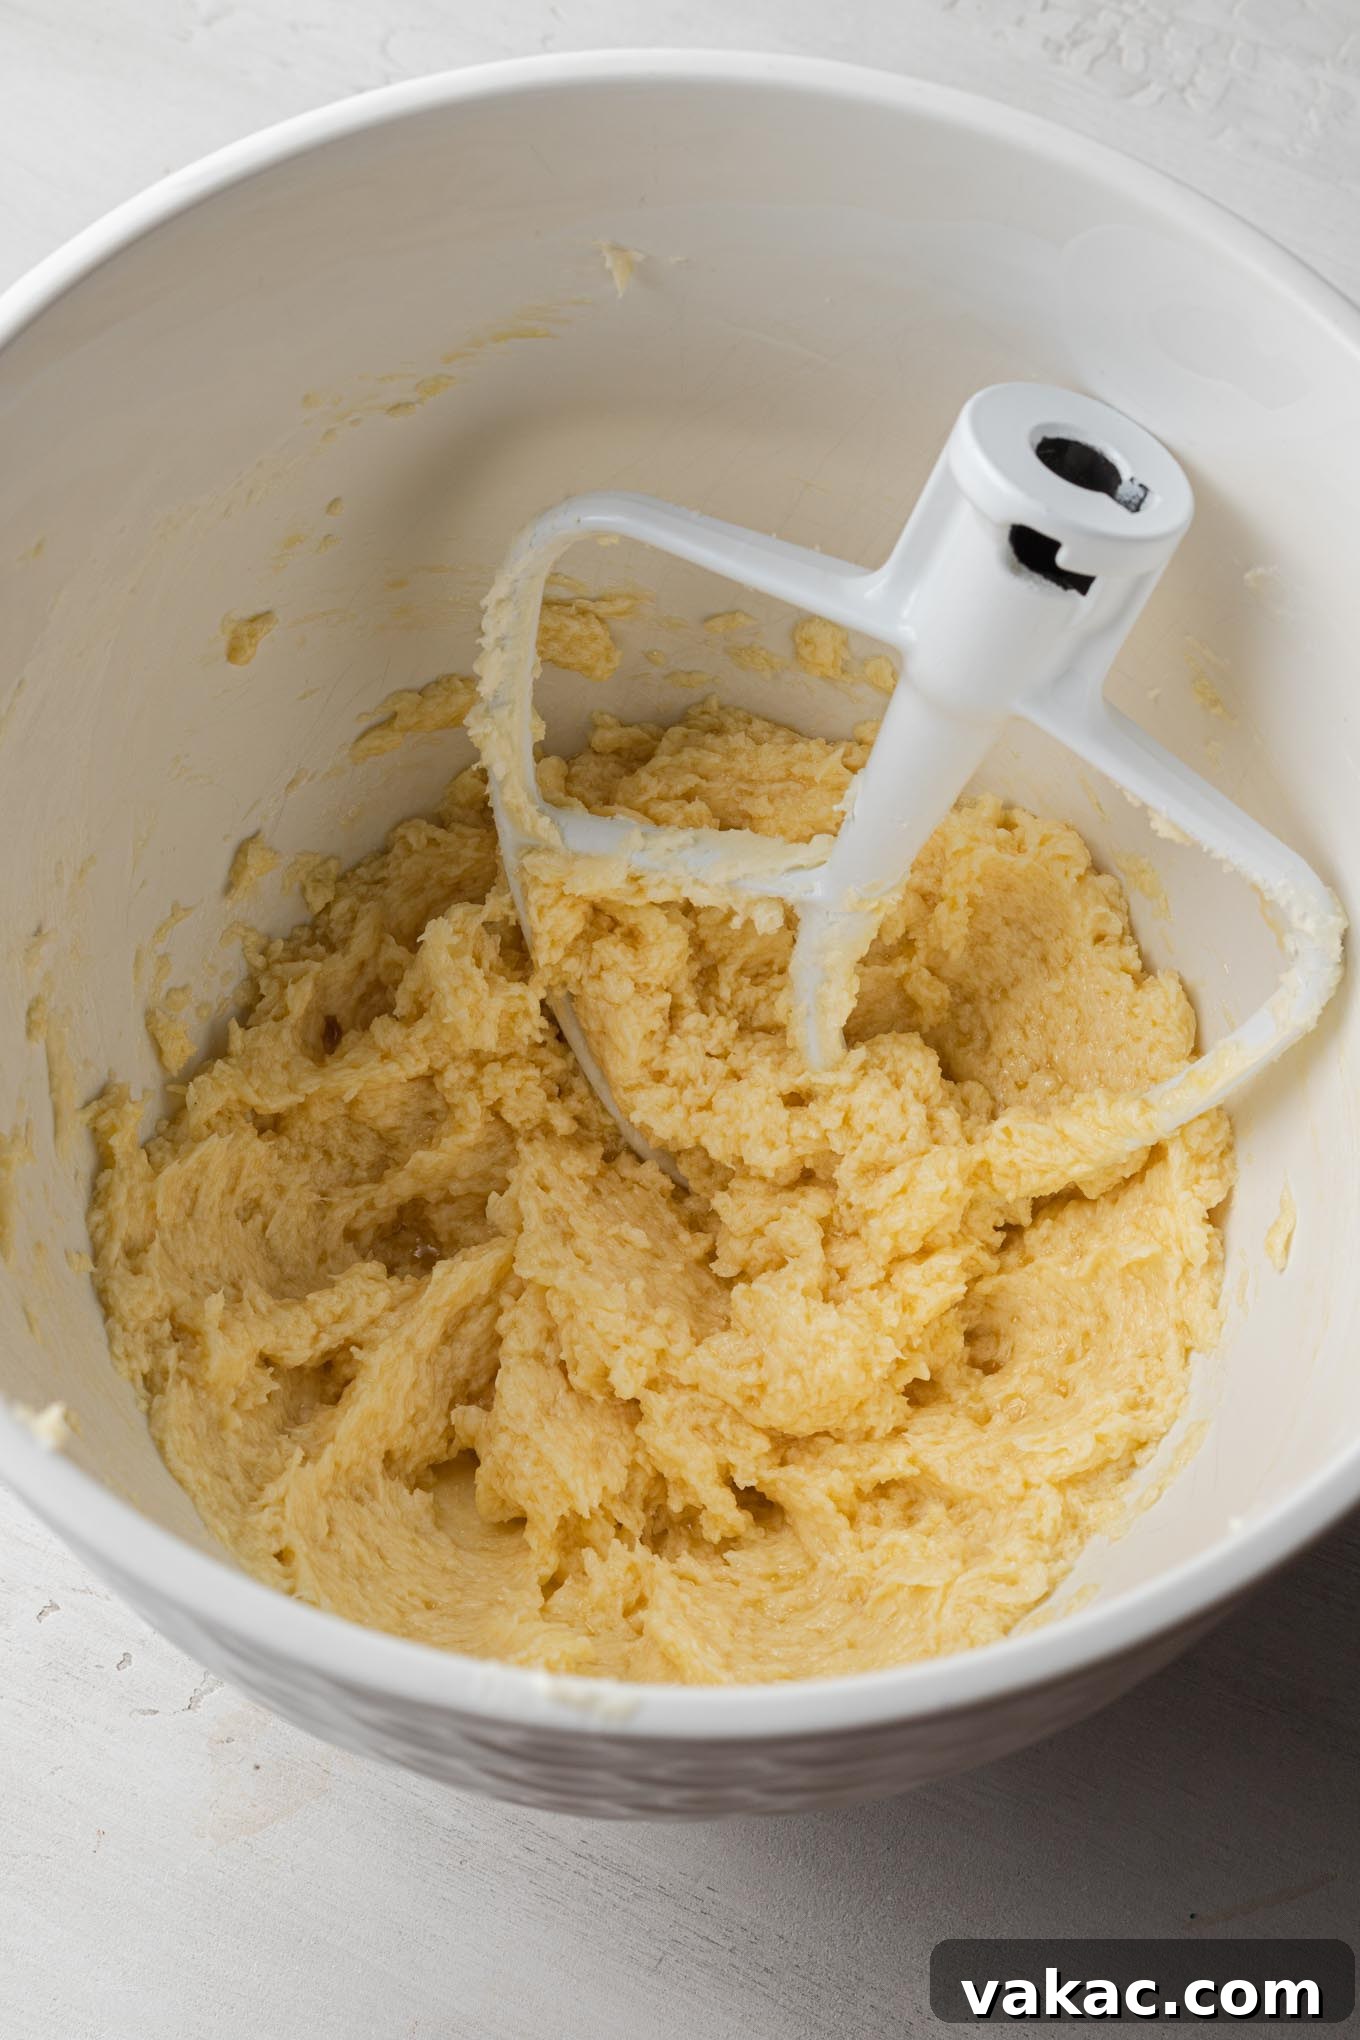
- Cream Butter and Sugar: In the bowl of a stand mixer fitted with a paddle attachment (or using a handheld mixer in a large bowl), combine your softened unsalted butter and granulated sugar. Beat them together on medium speed for 1 to 2 minutes, or until the mixture is light, fluffy, and well combined. This creaming process incorporates air, which is vital for the cookies’ delicate texture.
- Incorporate Egg and Vanilla: Add the room temperature egg and pure vanilla extract to the creamed butter and sugar mixture. Continue to beat until fully incorporated, pausing occasionally to scrape down the sides and bottom of the bowl with a rubber spatula. This ensures all ingredients are evenly mixed, preventing any pockets of unmixed butter or sugar.
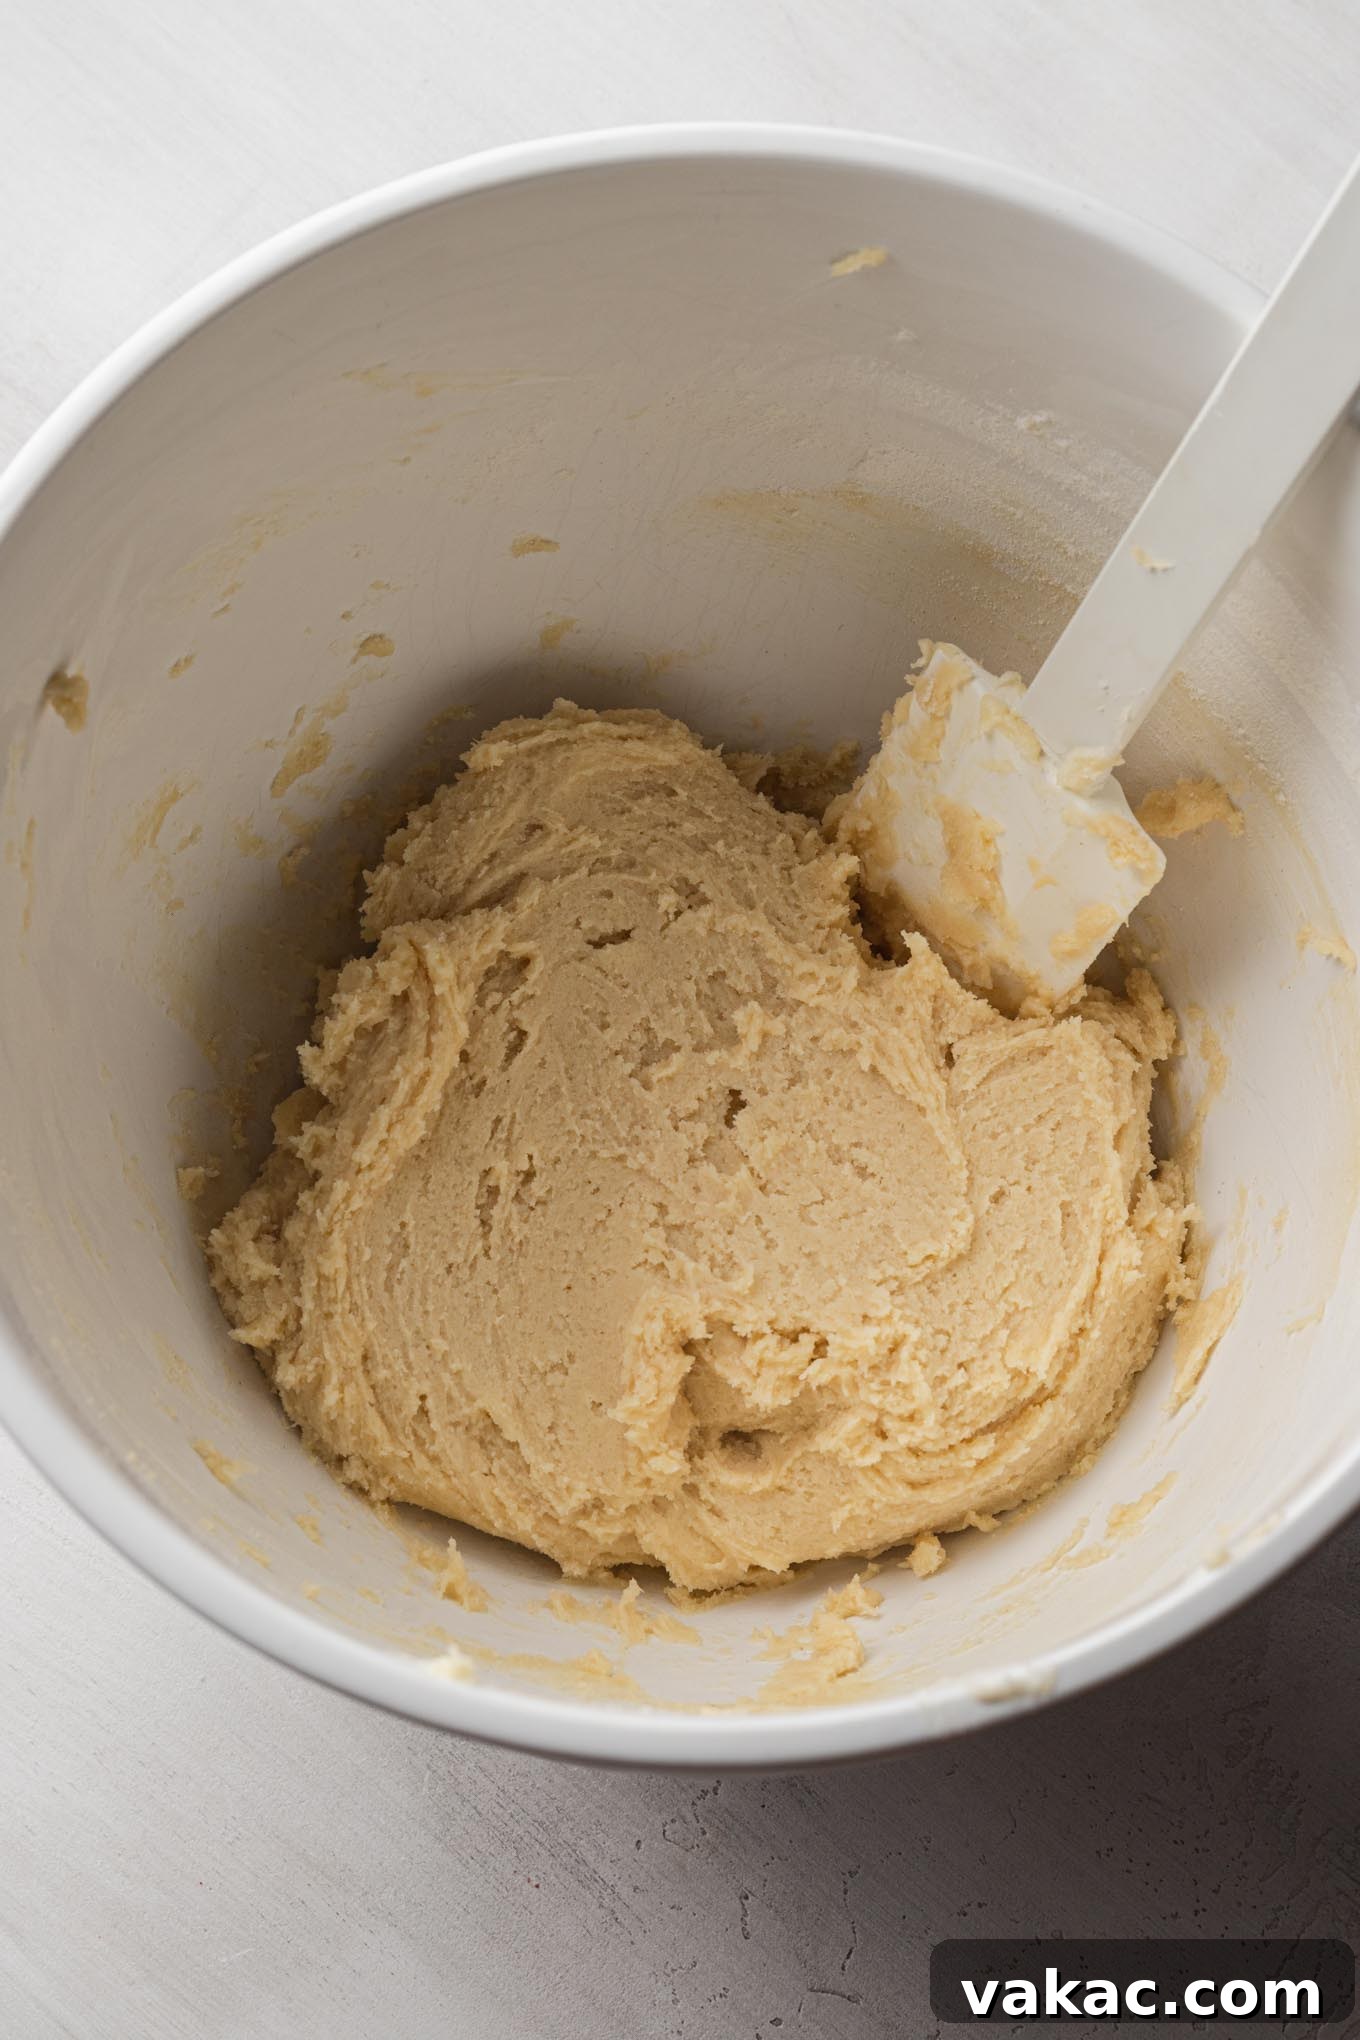
- Add Flour and Salt: Gradually add the properly measured all-purpose flour and salt to the wet ingredients. Mix on low speed until just combined. The dough may appear slightly crumbly at first, but it will come together into a soft, pliable consistency as you continue to mix. Be careful not to overmix, as this can develop the gluten in the flour, resulting in tough cookies. Stop mixing as soon as no dry streaks of flour remain; the dough should resemble the texture shown in the image above on the right – cohesive but still soft.
- Color the Dough (Optional): If you plan to color your cookies, now is the time. Divide the dough into equal portions based on how many colors you desire. Add a few drops of gel food coloring to each portion and mix until the color is uniform. This can be done by hand or with the mixer on low speed for a brief moment. Remember that color deepens slightly upon baking.
- Load the Cookie Press: Select your desired template (disc) and fit it into your cookie press according to the manufacturer’s instructions. Fill the barrel of the cookie press with your prepared dough. For best results, avoid packing the dough too tightly, but ensure there are no large air pockets.
- Press the Cookies: Retrieve your chilled baking sheets from the refrigerator. Hold the cookie press firmly against the cold, ungreased baking sheet and press the dough to form each cookie. The cold surface of the baking sheet helps the dough stick easily, allowing it to release cleanly from the press. If a cookie doesn’t release perfectly, gently remove it and re-press or use your finger to smooth it out. Aim for consistent sizing for even baking.

- Decorate with Toppings (Optional): Immediately after pressing, sprinkle each cookie with sanding sugar, nonpareils, or your chosen sprinkles. The slight stickiness of the fresh dough will help the decorations adhere during baking. This step not only adds visual appeal but also a delightful textural crunch.
- Bake to Golden Perfection: Place the baking sheets into your preheated oven. Butter spritz cookies bake quickly, typically in just 6 to 8 minutes. You’ll know they are perfectly done when the edges are lightly golden, and the tops are just set, no longer appearing wet or shiny. Do not overbake, as they can quickly become dry and lose their delicate texture.
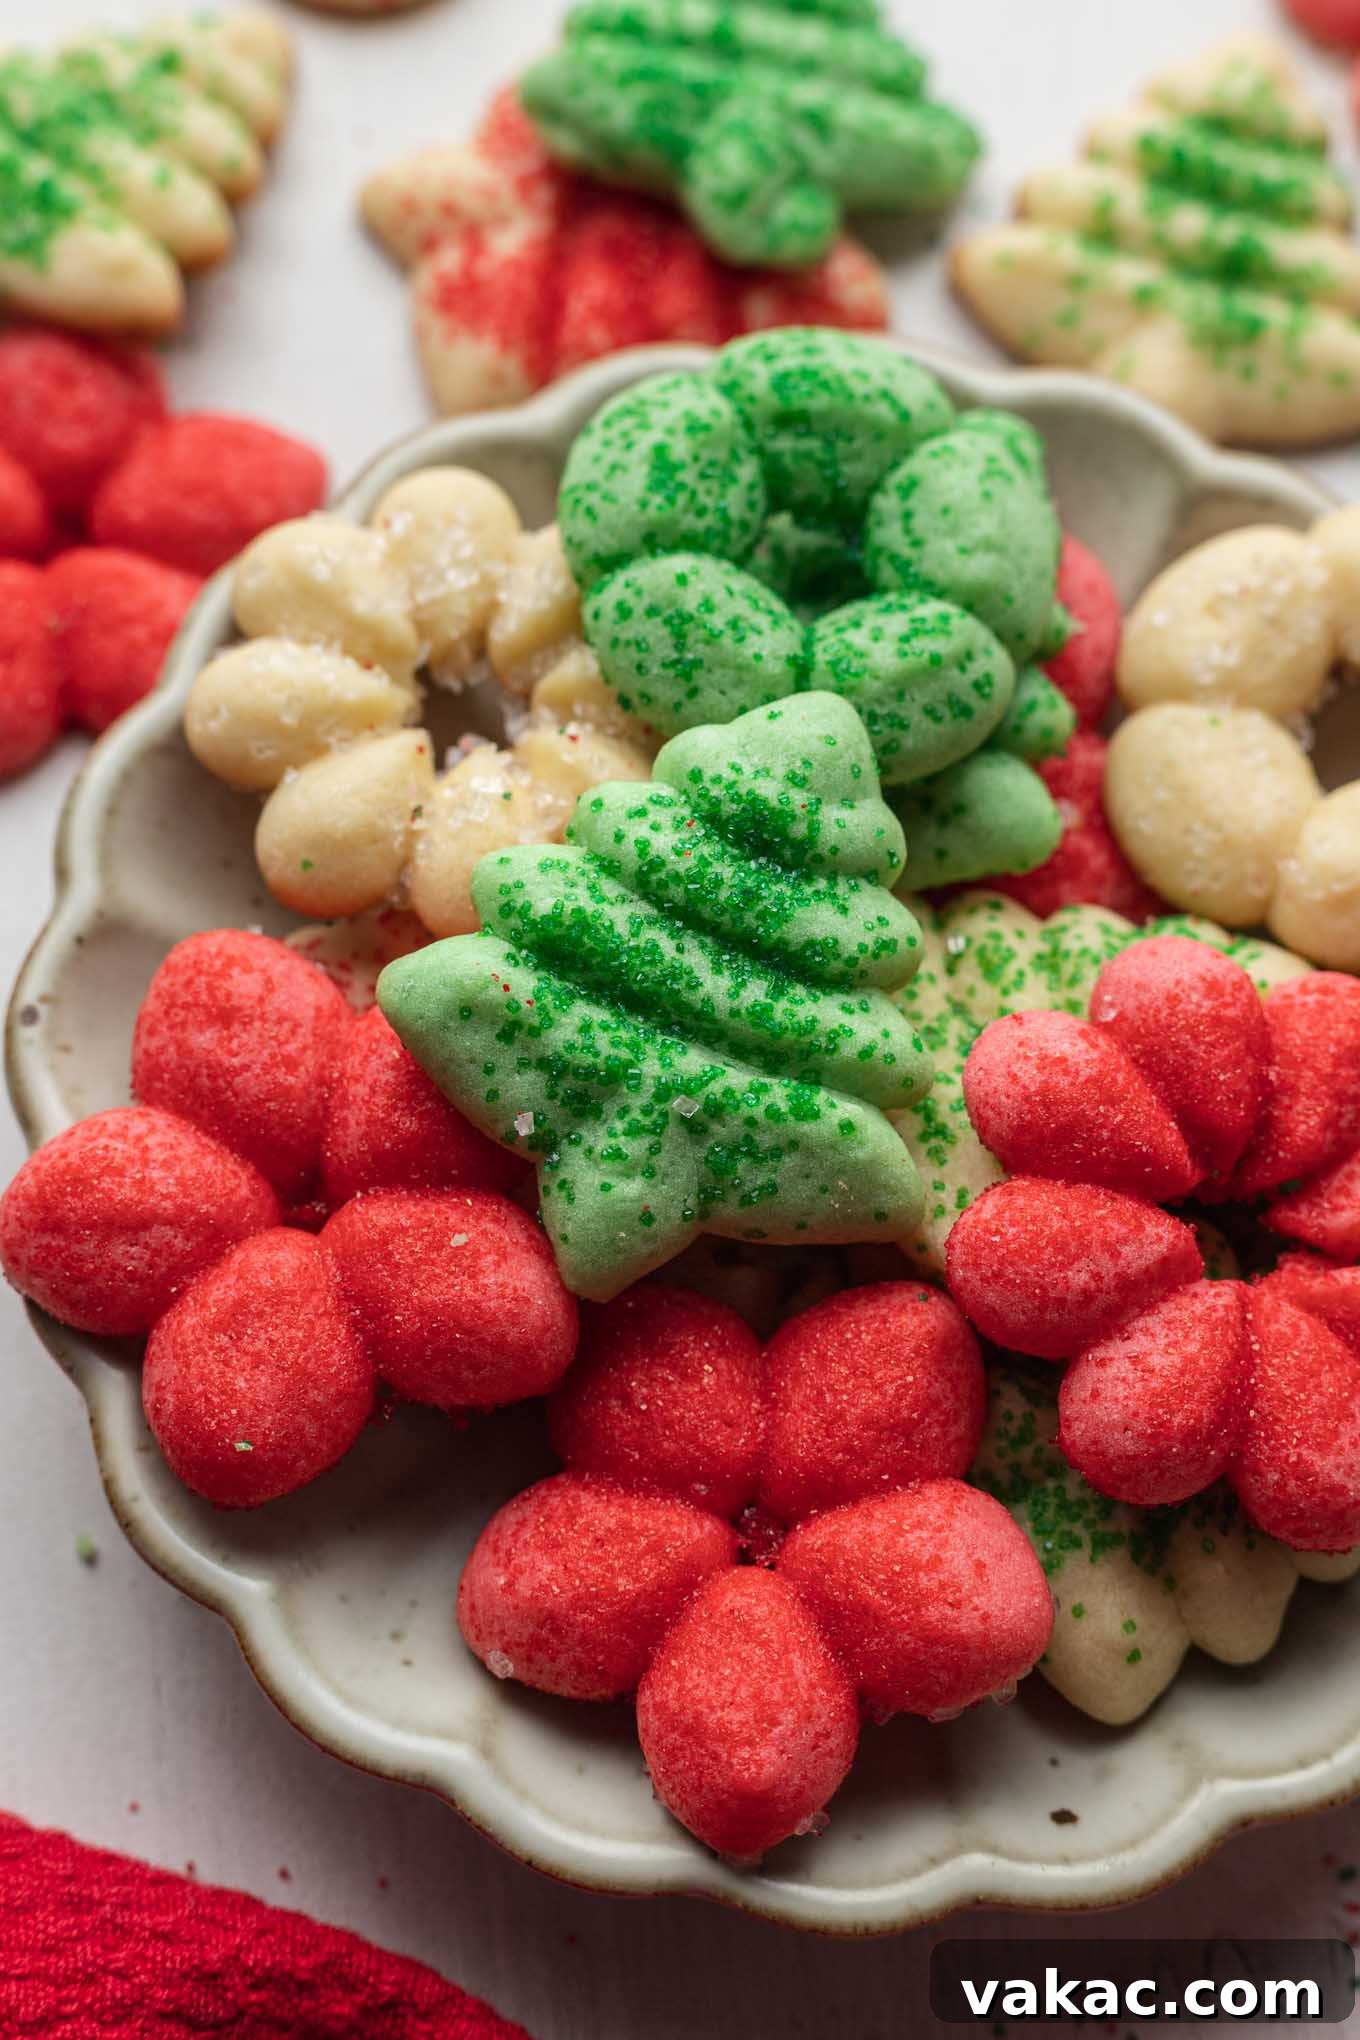
- Cool and Remove: As soon as the cookies come out of the oven, immediately and very gently slide a thin metal spatula underneath each cookie. This small but crucial step prevents them from sticking to the ungreased baking sheet as they cool and firm up. Allow the cookies to cool completely on the baking sheets before attempting to transfer them to a wire rack or serving platter. This allows them to fully set and prevent breakage.
Frequently Asked Questions About Spritz Cookies
Why Won’t My Spritz Cookies Stick to the Pan or Release from the Press?
This is a common issue for first-time spritz cookie bakers, but it’s usually easy to remedy. Several factors can influence whether your cookies stick to the pan or successfully release from the cookie press:
- The Baking Sheet Isn’t Cold Enough: The most frequent culprit! As highlighted in the instructions, chilling your baking sheets in the refrigerator for at least 30 minutes (or even briefly in the freezer for 10-15 minutes if you’re in a hurry) is absolutely essential. The cold surface instantly chills the portion of dough that touches it, making it firm enough to adhere to the pan while simultaneously detaching cleanly from the cookie press mechanism. If your sheets are at room temperature, the dough might soften too quickly and spread or simply refuse to stick.
- The Cookie Dough is Too Cold or Too Warm: The dough’s temperature needs to be just right – pliable enough to press easily but not so warm that it’s greasy. If your dough is too cold (perhaps you refrigerated it for too long), it will be stiff and difficult to press, causing the press to jam or the cookies to break. Let it sit at room temperature for an additional 10 to 15 minutes to soften slightly. Conversely, if your dough is too warm, it will be too soft and sticky, leading to misshapen cookies that spread excessively. If this happens, try chilling the dough in the refrigerator for 15-20 minutes before attempting to press again.
- Greased Baking Sheets: Never grease your baking sheets for spritz cookies! The dough needs a clean, ungreased surface to adhere to. Parchment paper or silicone baking mats are also generally not recommended for traditional spritz cookies as the dough struggles to stick to these surfaces as well.
Can You Make Spritz Cookies Without A Cookie Press?
While the cookie press is integral to the classic intricate shapes of spritz cookies, you can still achieve a similar buttery, melt-in-your-mouth experience without one. If you don’t own a cookie press, I recommend using a dedicated butter cookie recipe that is formulated for piping. Such recipes often have slight adjustments to the fat or flour content to make the dough more suitable for piping bags, resulting in lovely piped shapes. Using a star tip with a sturdy piping bag is your best alternative for creating decorative butter cookies akin to spritz.
Can You Freeze These Cookies or the Dough?
Absolutely! Spritz cookies are excellent candidates for freezing, either as unbaked dough or as finished cookies, making them perfect for holiday meal prep or extending their enjoyment:
- To Freeze the Dough: Shape the dough into a log or disk, then wrap it tightly in several layers of plastic wrap, followed by a layer of aluminum foil, or place it in a large freezer-safe bag. It can be frozen for up to 3 months. When you’re ready to bake, thaw the dough overnight in the refrigerator, then let it come to room temperature for about 30-60 minutes before loading it into your cookie press. This ensures it’s pliable enough to press.
- To Freeze Baked Cookies: Once your spritz cookies have cooled completely, arrange them in a single layer on a baking sheet and flash freeze them for about an hour until firm. Then, transfer the frozen cookies to an airtight freezer-safe container or a large freezer bag, separating layers with parchment paper to prevent sticking. They will keep well in the freezer for up to 3 months. To serve, simply thaw them to room temperature; no reheating is typically necessary.
Essential Baking Tips for Spritz Cookie Success
Ensuring your spritz cookies turn out beautifully every time involves a few simple but effective techniques:
- Ungreased Baking Sheets are Key: Always press your cookie dough onto ungreased, unlined baking sheets. The raw dough needs a direct, slightly sticky surface to properly adhere. This allows the intricate shapes to form without spreading. The trade-off is that they can stick once baked, so remember to gently slide a thin spatula under them immediately after removing them from the oven to loosen them before they cool and become stubbornly attached.
- Smooth Out Imperfections: If, after pressing, some of the dough appears a little rough or sticks up around the edges, don’t worry! You can very gently tap or smooth it down with a clean fingertip before baking. This helps create perfectly defined shapes.
- Make Ahead Convenience: Spritz cookie dough is wonderfully forgiving and can be prepared in advance. You can make the dough, wrap it tightly, and refrigerate it for up to 3 days. When you’re ready to bake, simply bring the dough back to room temperature until it’s soft and pliable enough to easily pass through your cookie press. This is a fantastic time-saver, especially during busy holiday seasons.
More Classic Christmas Cookies to Elevate Your Holiday Table
If you’ve fallen in love with the joy of holiday baking, consider adding these other festive favorites to your repertoire:
- Gingerbread Cookies
- Linzer Cookies
- Chewy Sugar Cookies
- Shortbread Cookies
- Thumbprint Cookies
Recipe Video
Spritz Cookies Recipe
Spritz Cookies
Prep Time: 35 mins
Cook Time: 8 mins
Total Time: 43 mins
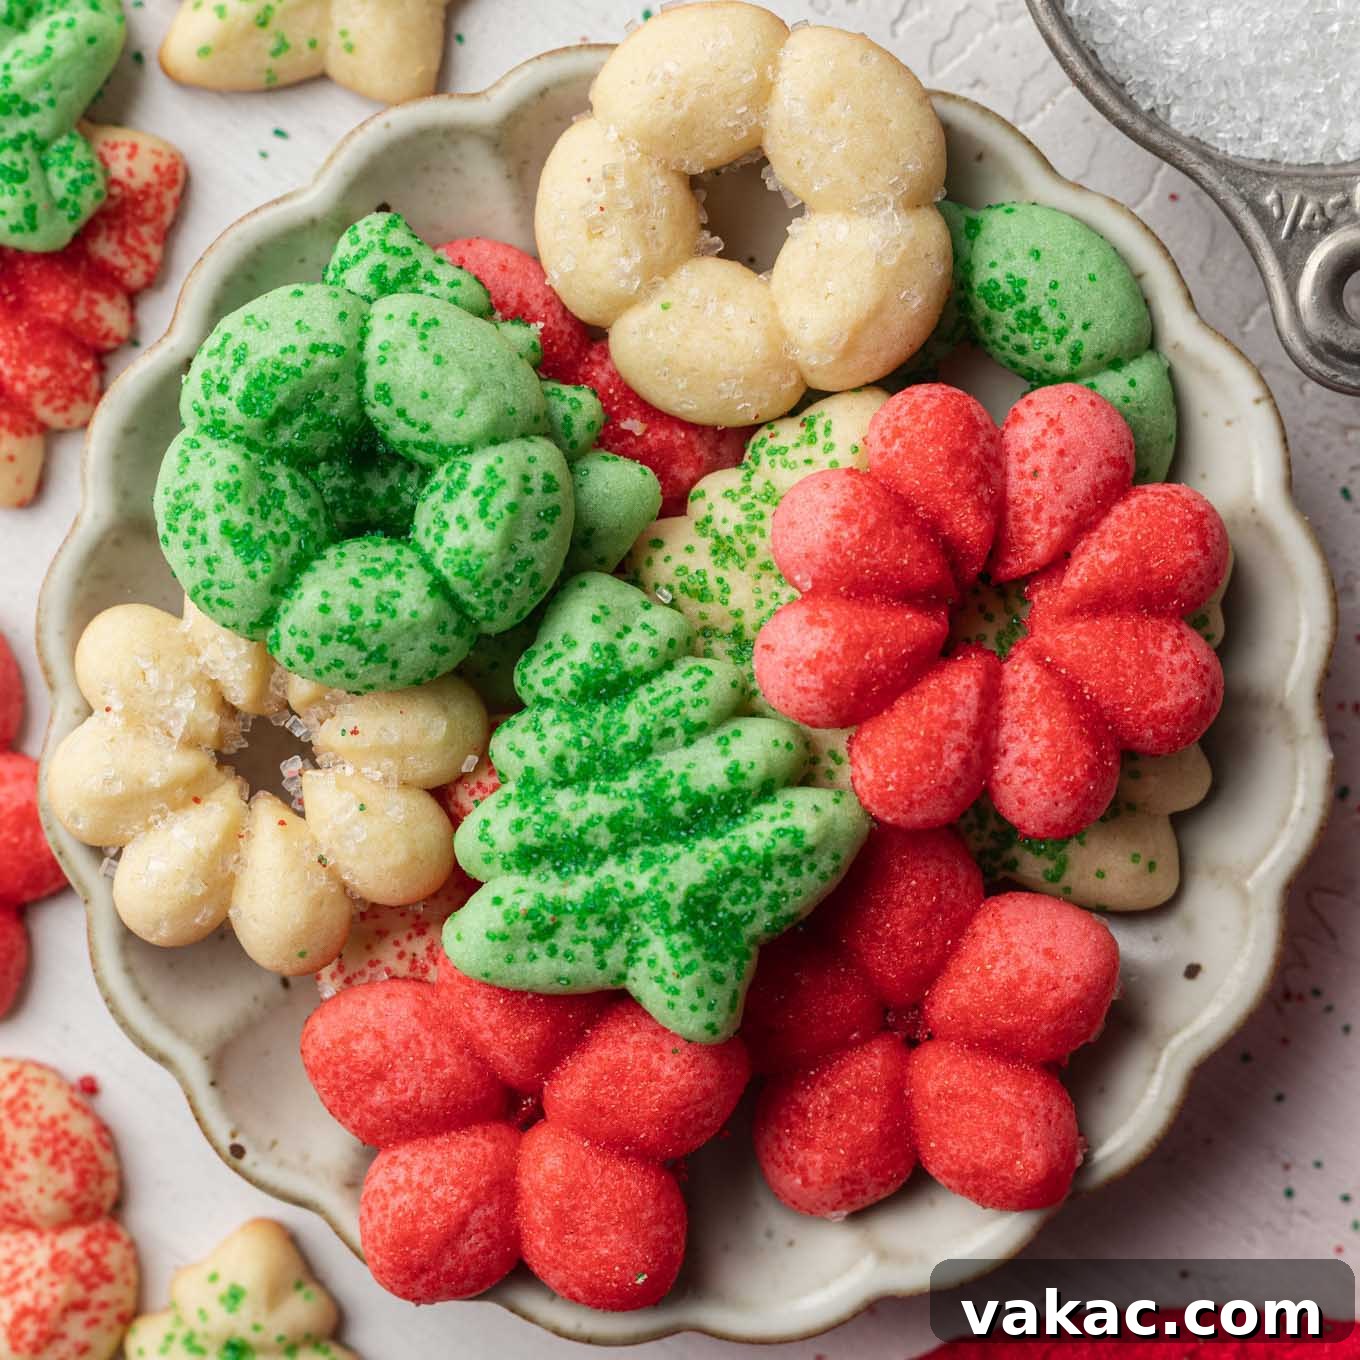
Crisp and buttery, classic spritz cookies taste like a cross between sugar cookies and shortbread. Each bite melts in your mouth, and it’s far too easy to keep eating one after another!
Pin Recipe
Ingredients
Servings: 84 cookies
- 1 cup unsalted butter, softened (230 grams; 2 sticks)
- ⅔ cup granulated sugar (135 grams)
- 1 large egg, at room temperature
- 1 ½ teaspoons pure vanilla extract
- 2 ½ cups all-purpose flour, spooned and leveled (315 grams)
- ¼ teaspoon salt
- Optional: Food coloring
- Optional: Sprinkles and sanding sugar for topping
Instructions
- Preheat the oven to 400°F (204°C). Place three large, ungreased baking sheets in the refrigerator to chill.
- In the bowl of a stand mixer fitted with the paddle attachment, or using a handheld mixer, beat the softened butter and granulated sugar together for 1 to 2 minutes until light and well combined.
- Mix in the room temperature egg and pure vanilla extract until fully incorporated. Remember to stop and scrape down the sides of the bowl as needed to ensure even mixing.
- Gradually add the measured all-purpose flour and salt. Mix on low speed until the ingredients are just combined and no dry streaks of flour remain. Be careful not to overmix.
- If using food coloring, divide the dough into separate portions for each color. Mix the food coloring into each portion until the desired hue is achieved.
- Fit your cookie press with your chosen template. Fill the cookie press barrel with dough. Remove the chilled baking sheets from the refrigerator and press the dough onto the ungreased sheets to form your cookies.
- Optionally, top each cookie with sanding sugar or sprinkles immediately after pressing.
- Bake for 6 to 8 minutes, or until the tops of the cookies are just set and the edges are lightly golden. Do not overbake.
- As soon as the cookies come out of the oven, carefully slide a thin spatula underneath all of them to prevent sticking to the baking sheet as they cool.
- Allow the cookies to cool completely on the baking sheets before removing them and transferring them to a wire rack or airtight container.
Notes
- Storage Instructions: Spritz cookies can be stored in an airtight container at room temperature for up to one week, maintaining their crispness and flavor.
- Freezing Instructions:
- Cookie Dough: Unbaked cookie dough freezes well for up to 3 months. Wrap it tightly in plastic wrap and then foil, or place in a freezer bag. Thaw overnight in the refrigerator, then bring to room temperature before pressing.
- Baked Cookies: Cooled, baked cookies can be frozen for up to 3 months in an airtight container with parchment paper between layers. Thaw to room temperature before serving.
Cuisine: American
Course: Dessert
Author: Danielle Rye
Recipe from my cookbook Live Well Bake Cookies