
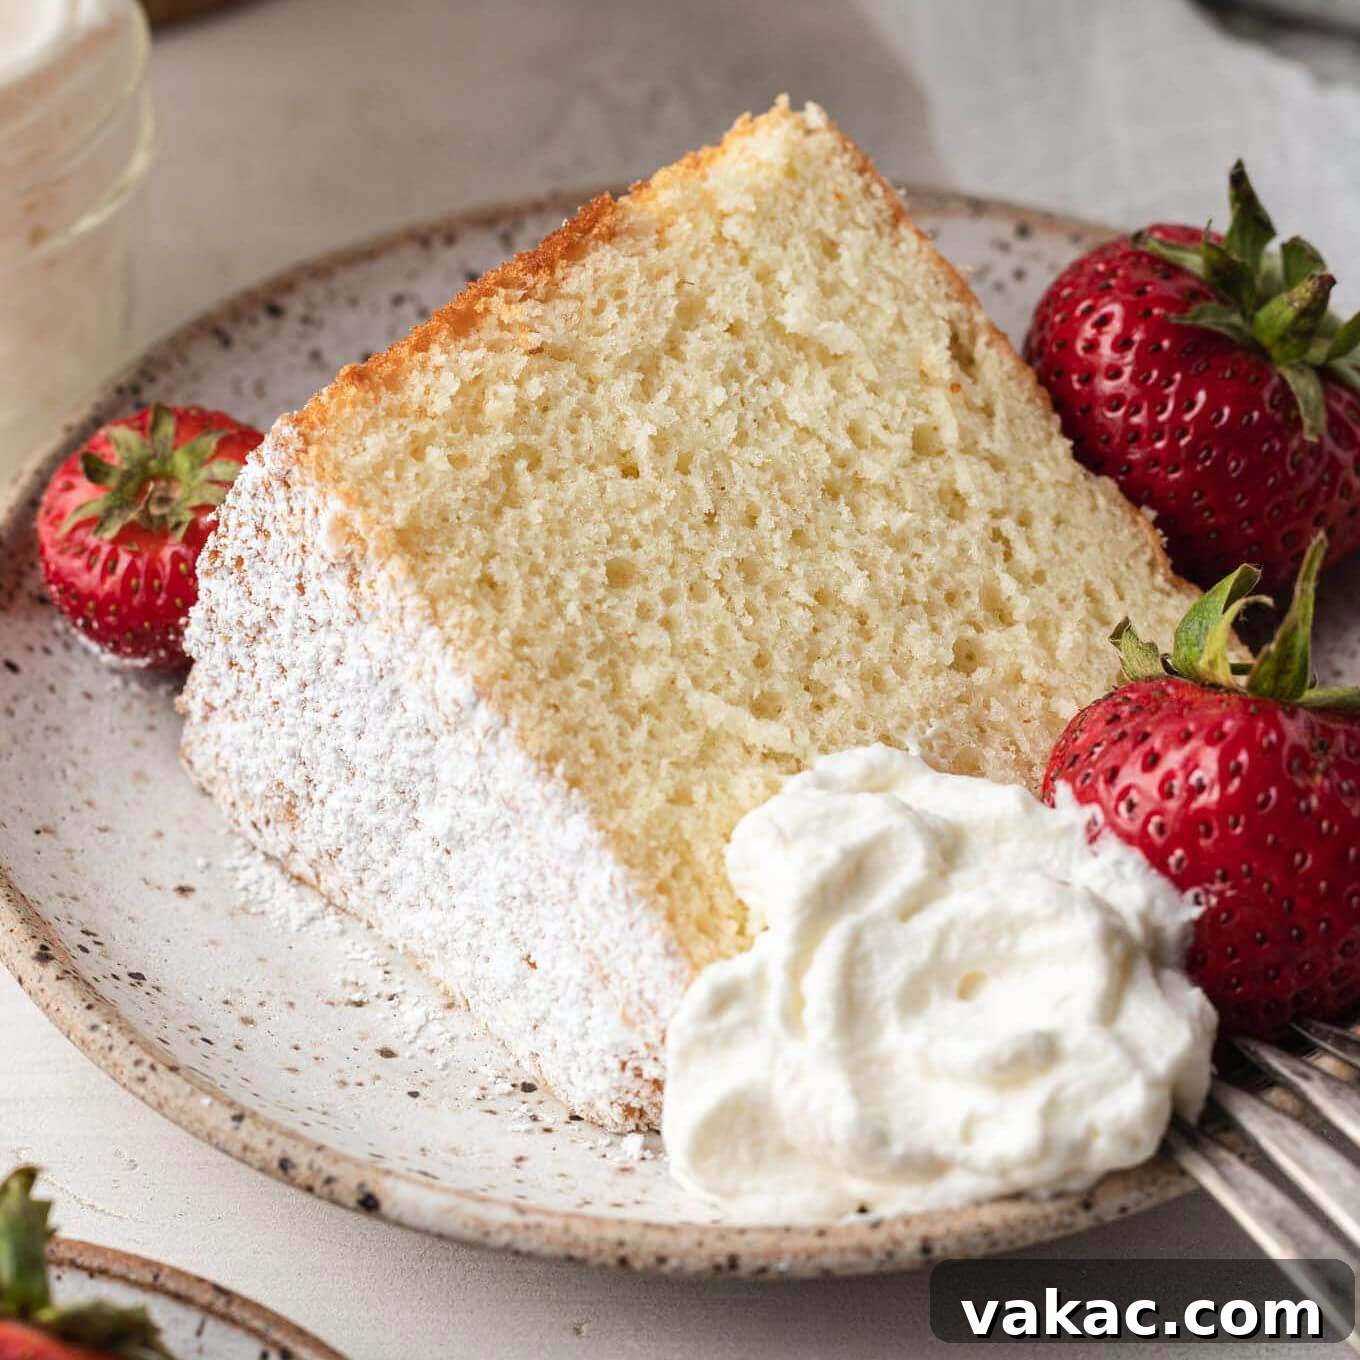
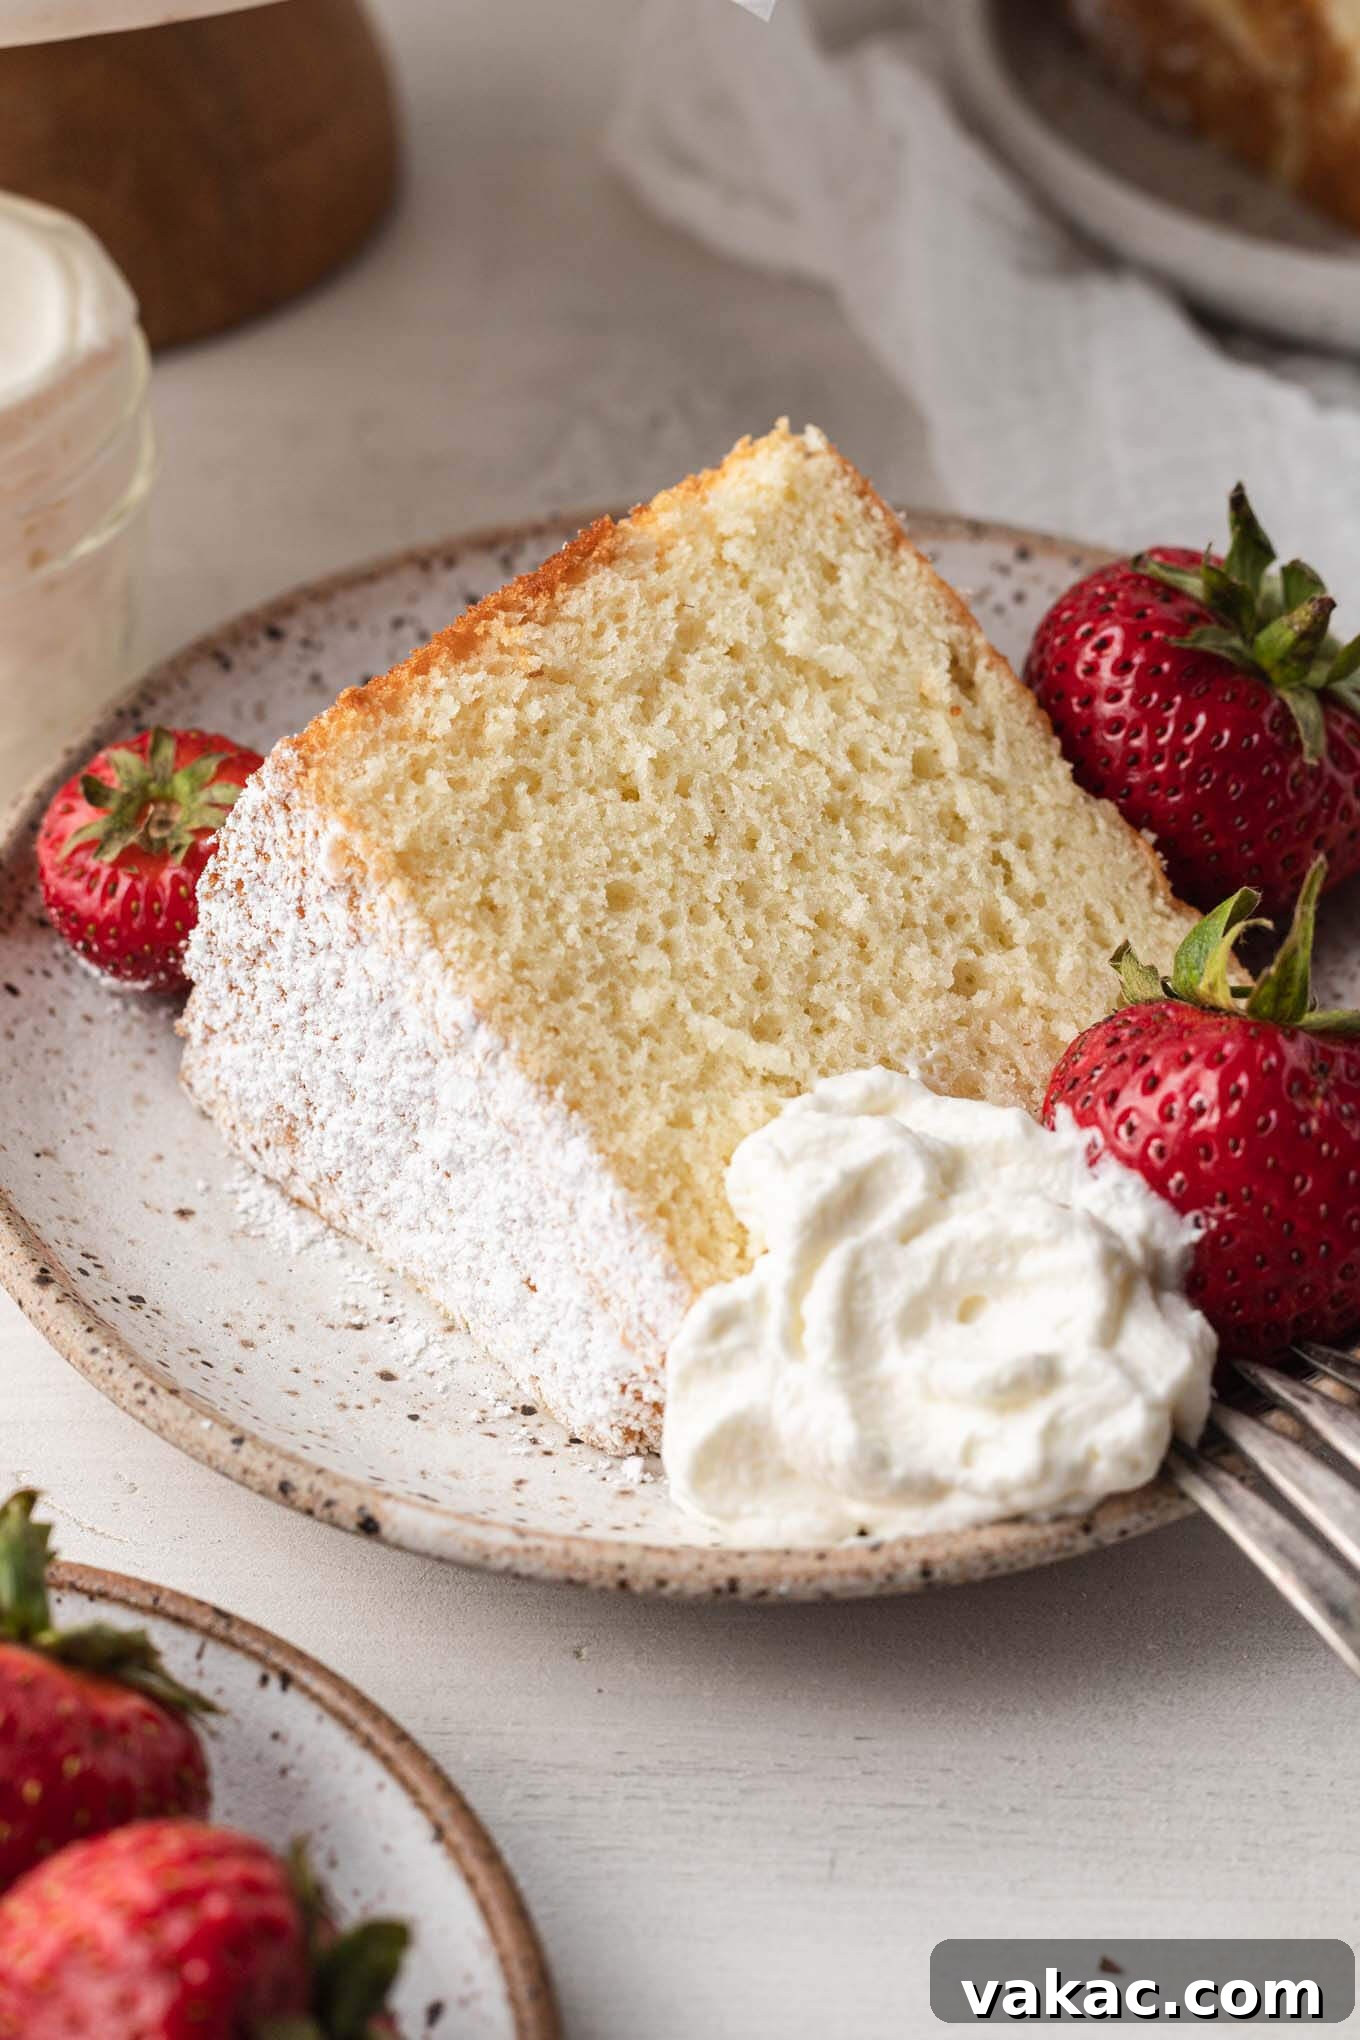
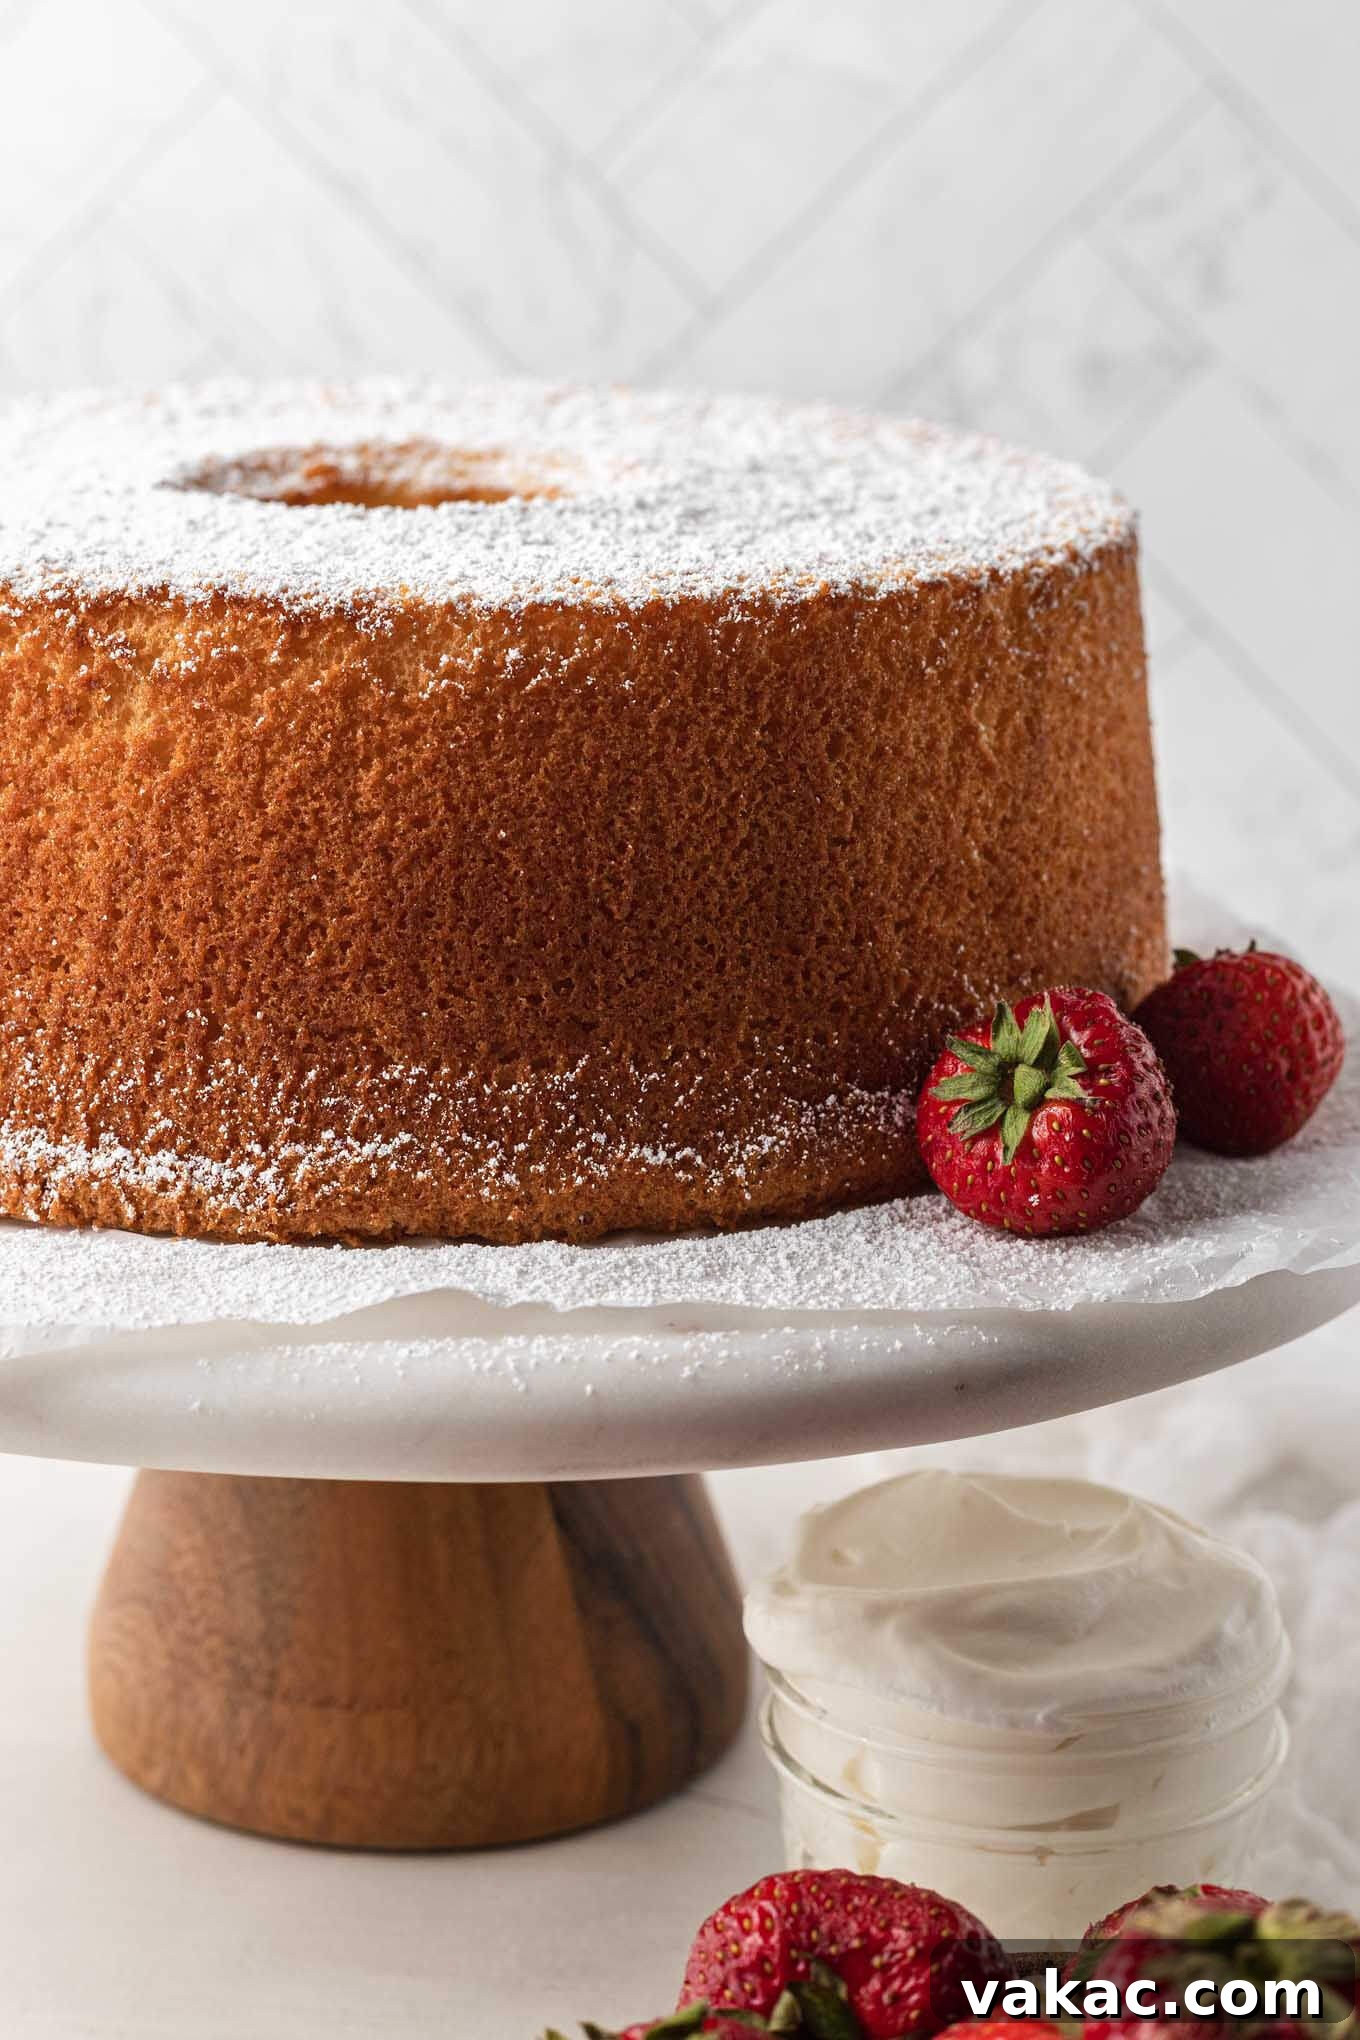
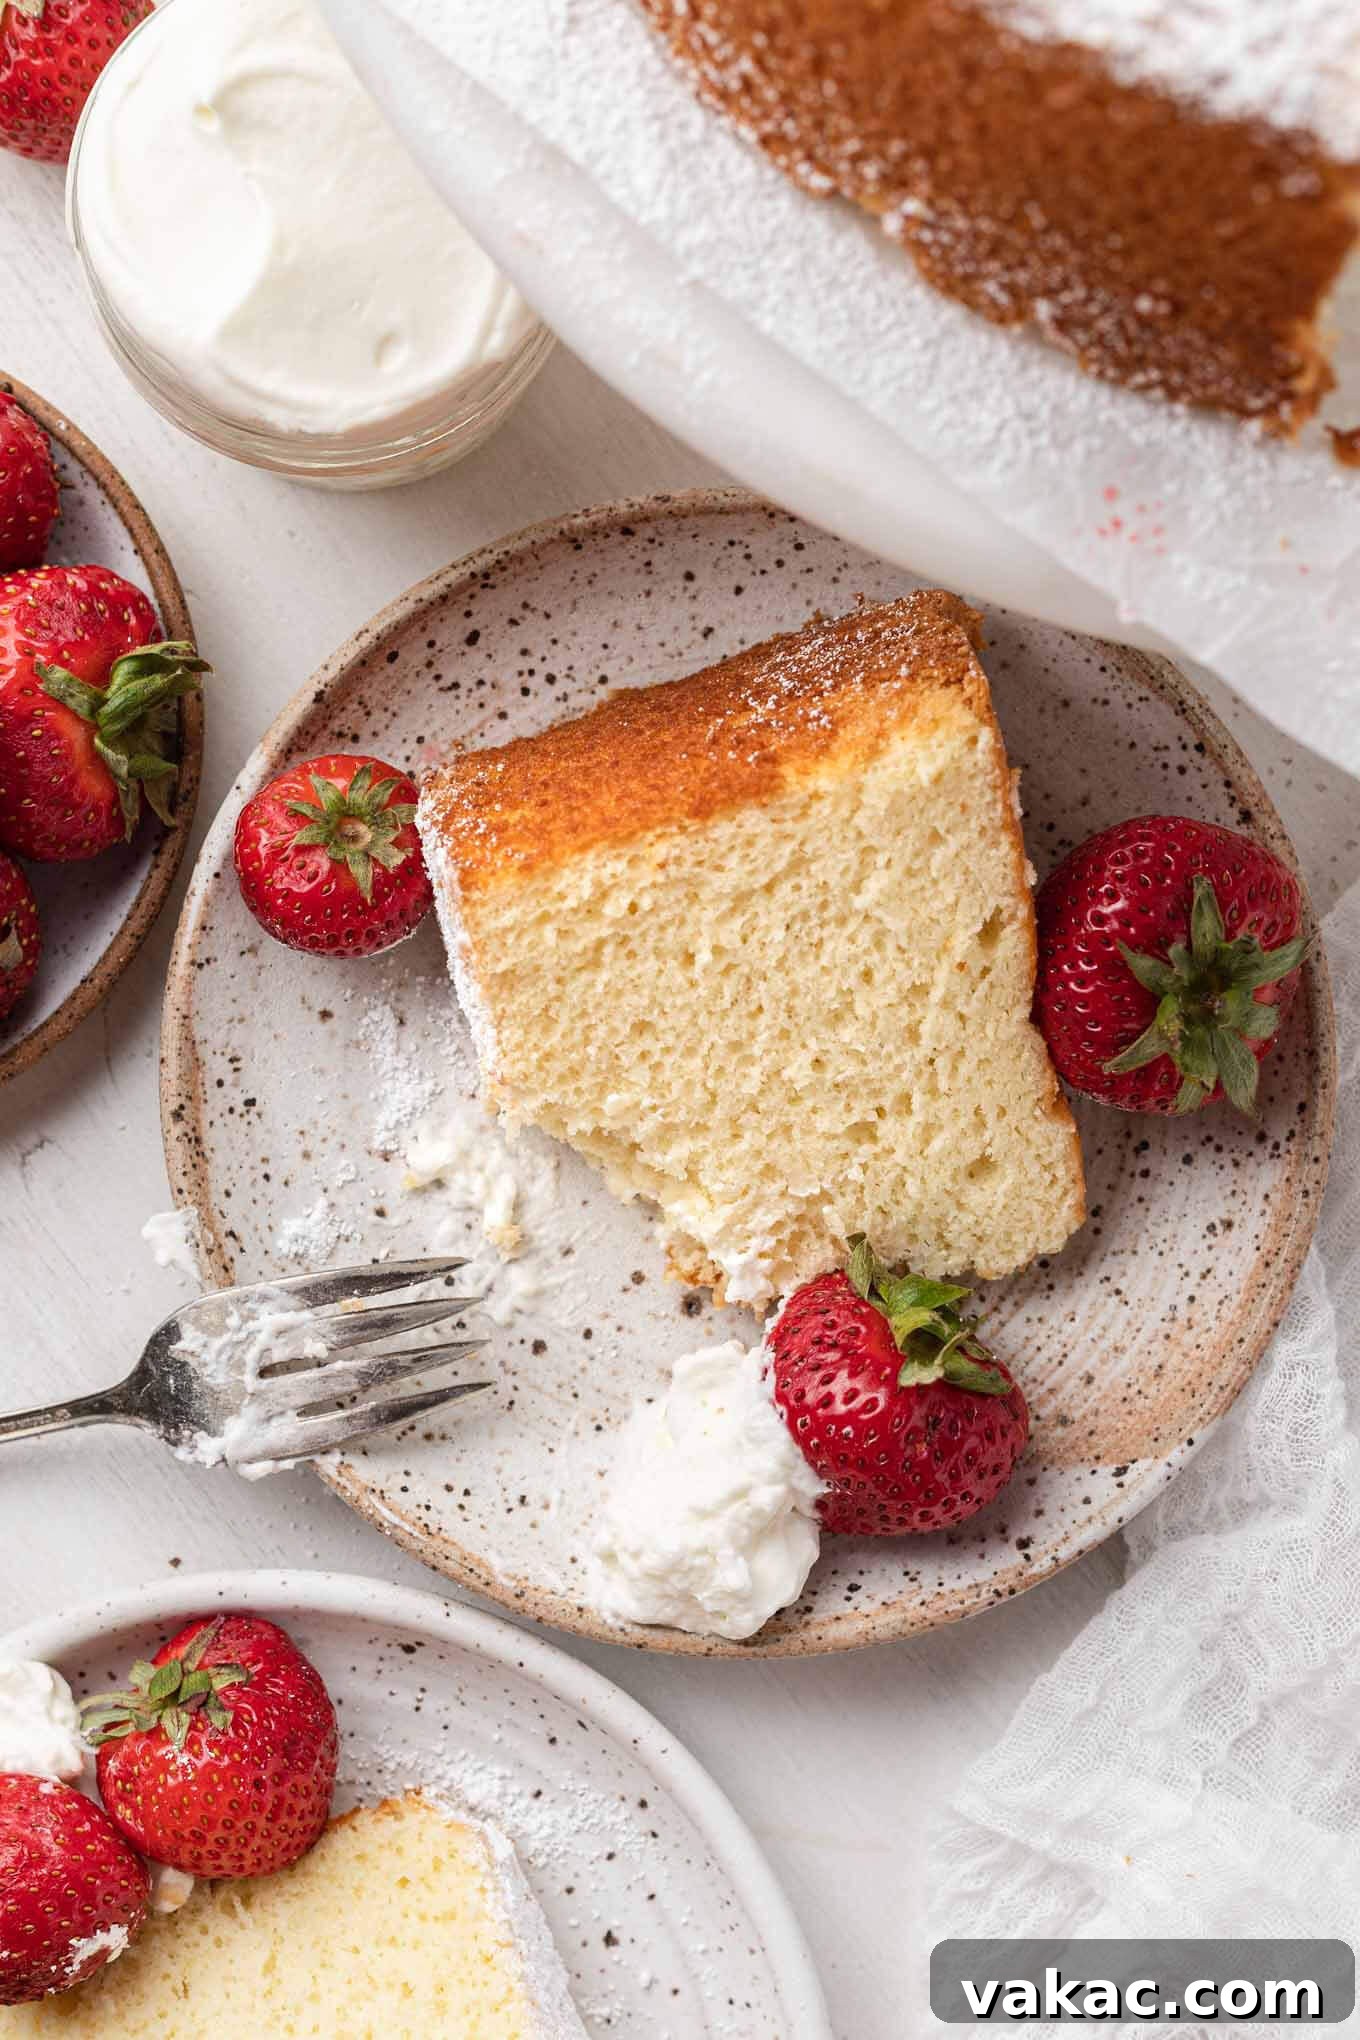
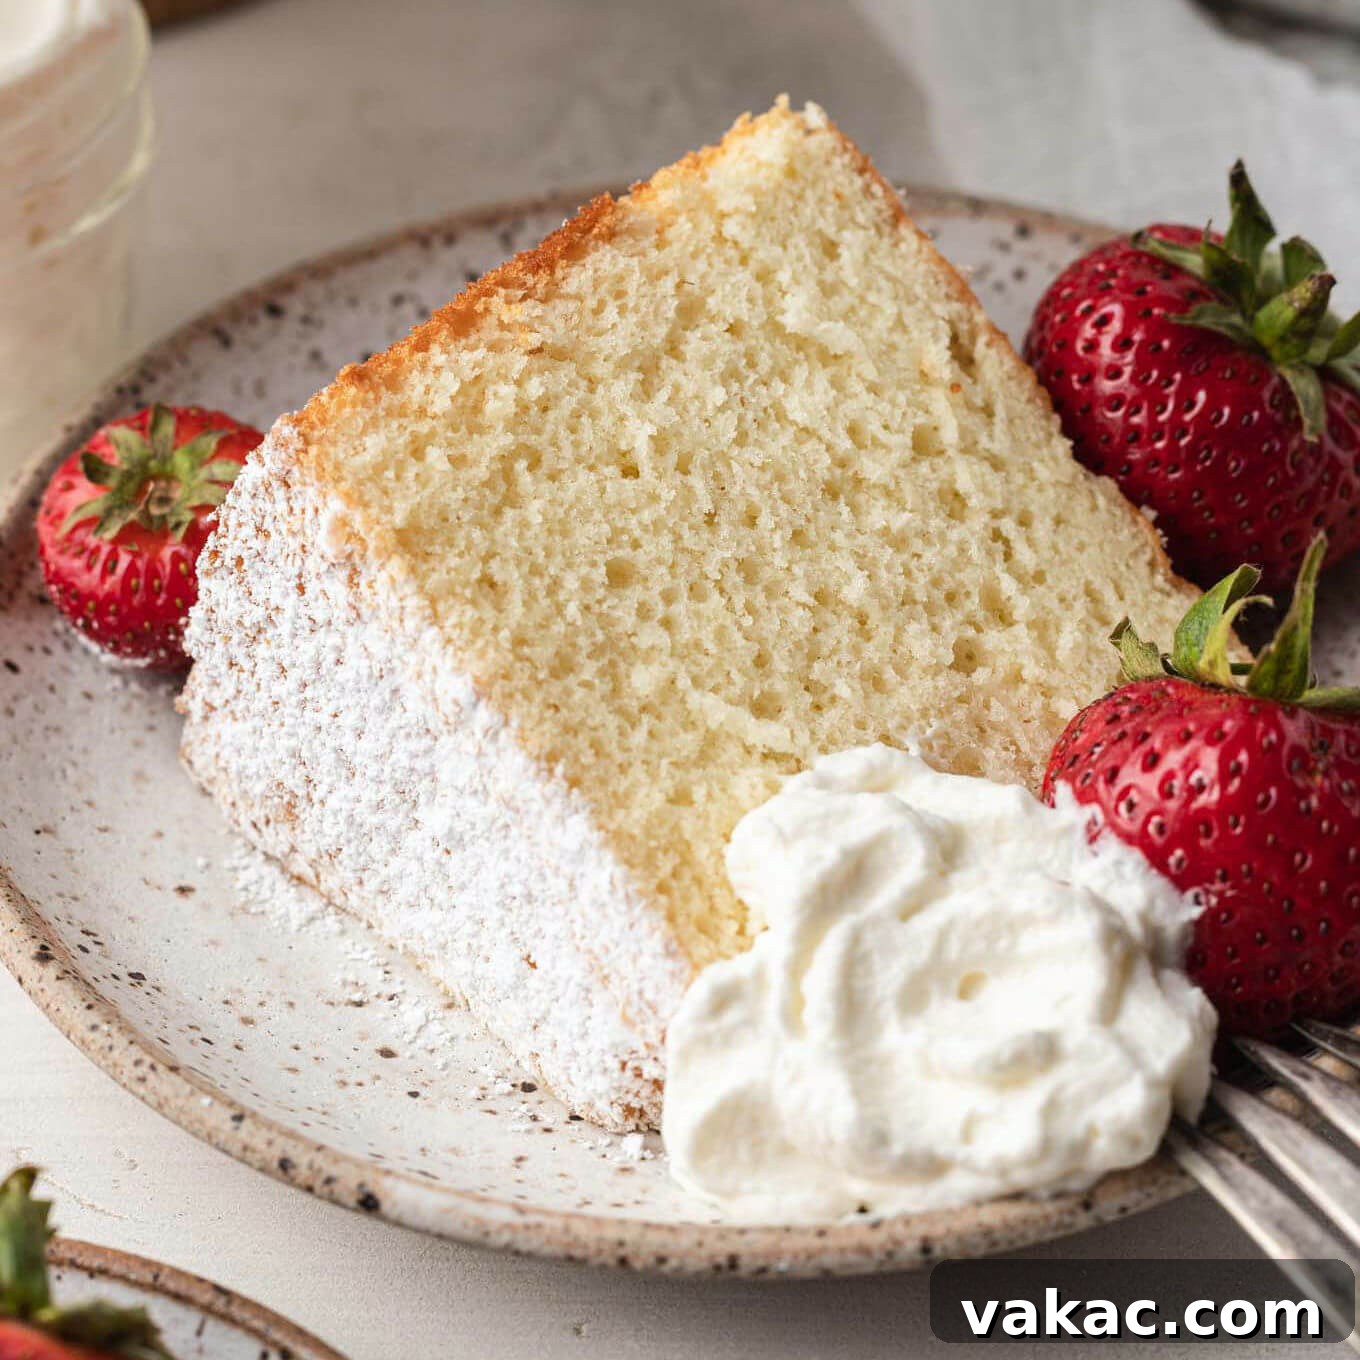
Delight in the ethereal lightness of a classic chiffon cake, a true masterpiece of home baking. This cake is renowned for its incredibly tender, airy texture and delicate vanilla flavor, making it a beloved dessert for any occasion. Finished with a simple dusting of powdered sugar, it presents an elegant simplicity that can be further enhanced with a vibrant garnish of fresh berries and a dollop of homemade whipped cream, inviting you to savor every delicate bite.
Unveiling the Chiffon Cake: A Symphony of Air and Flavor
Chiffon cake stands as a unique creation in the world of baking, often drawing comparisons to its equally light relatives: sponge cake and angel food cake. What truly sets chiffon cake apart is its ingenious combination of ingredients that contribute to its signature cloud-like texture and rich flavor. Unlike many traditional cakes, chiffon cake incorporates vegetable oil, providing a moistness and tenderness that butter-based cakes can’t achieve. This, coupled with a generous amount of baking powder for an impressive rise and separated egg whites beaten to stiff peaks, results in an extraordinary lightness and airiness.
The distinction between chiffon cake and sponge cake primarily lies in their fat content and leavening. Traditional sponge cakes typically rely solely on beaten eggs for their lift and often contain little to no added fat or chemical leavening agents like baking powder. Chiffon cake, however, embraces oil for its tender crumb and utilizes baking powder to ensure maximum volume and a consistently light structure.
When comparing chiffon cake to angel food cake, the differences become even more pronounced. Angel food cake is famous for being fat-free, made exclusively from egg whites, sugar, and flour, and relies entirely on the aeration of the egg whites for its rise. Chiffon cake, while still incredibly light, uses whole eggs (yolks and whites), along with oil and baking powder, which gives it a slightly richer flavor profile and a more tender, less chewy crumb than angel food cake.
This vanilla chiffon cake is remarkably versatile, making it a perfect dessert for any season or occasion. While a simple dusting of powdered sugar offers an understated elegance, pairing it with a generous dollop of freshly whipped cream and a medley of seasonal fruits elevates it to a truly spectacular treat. Its delicate nature and inviting flavor make it a consistent crowd-pleaser, effortlessly adapting to various garnishes and accompaniments.
Essential Ingredients for Your Perfect Chiffon Cake
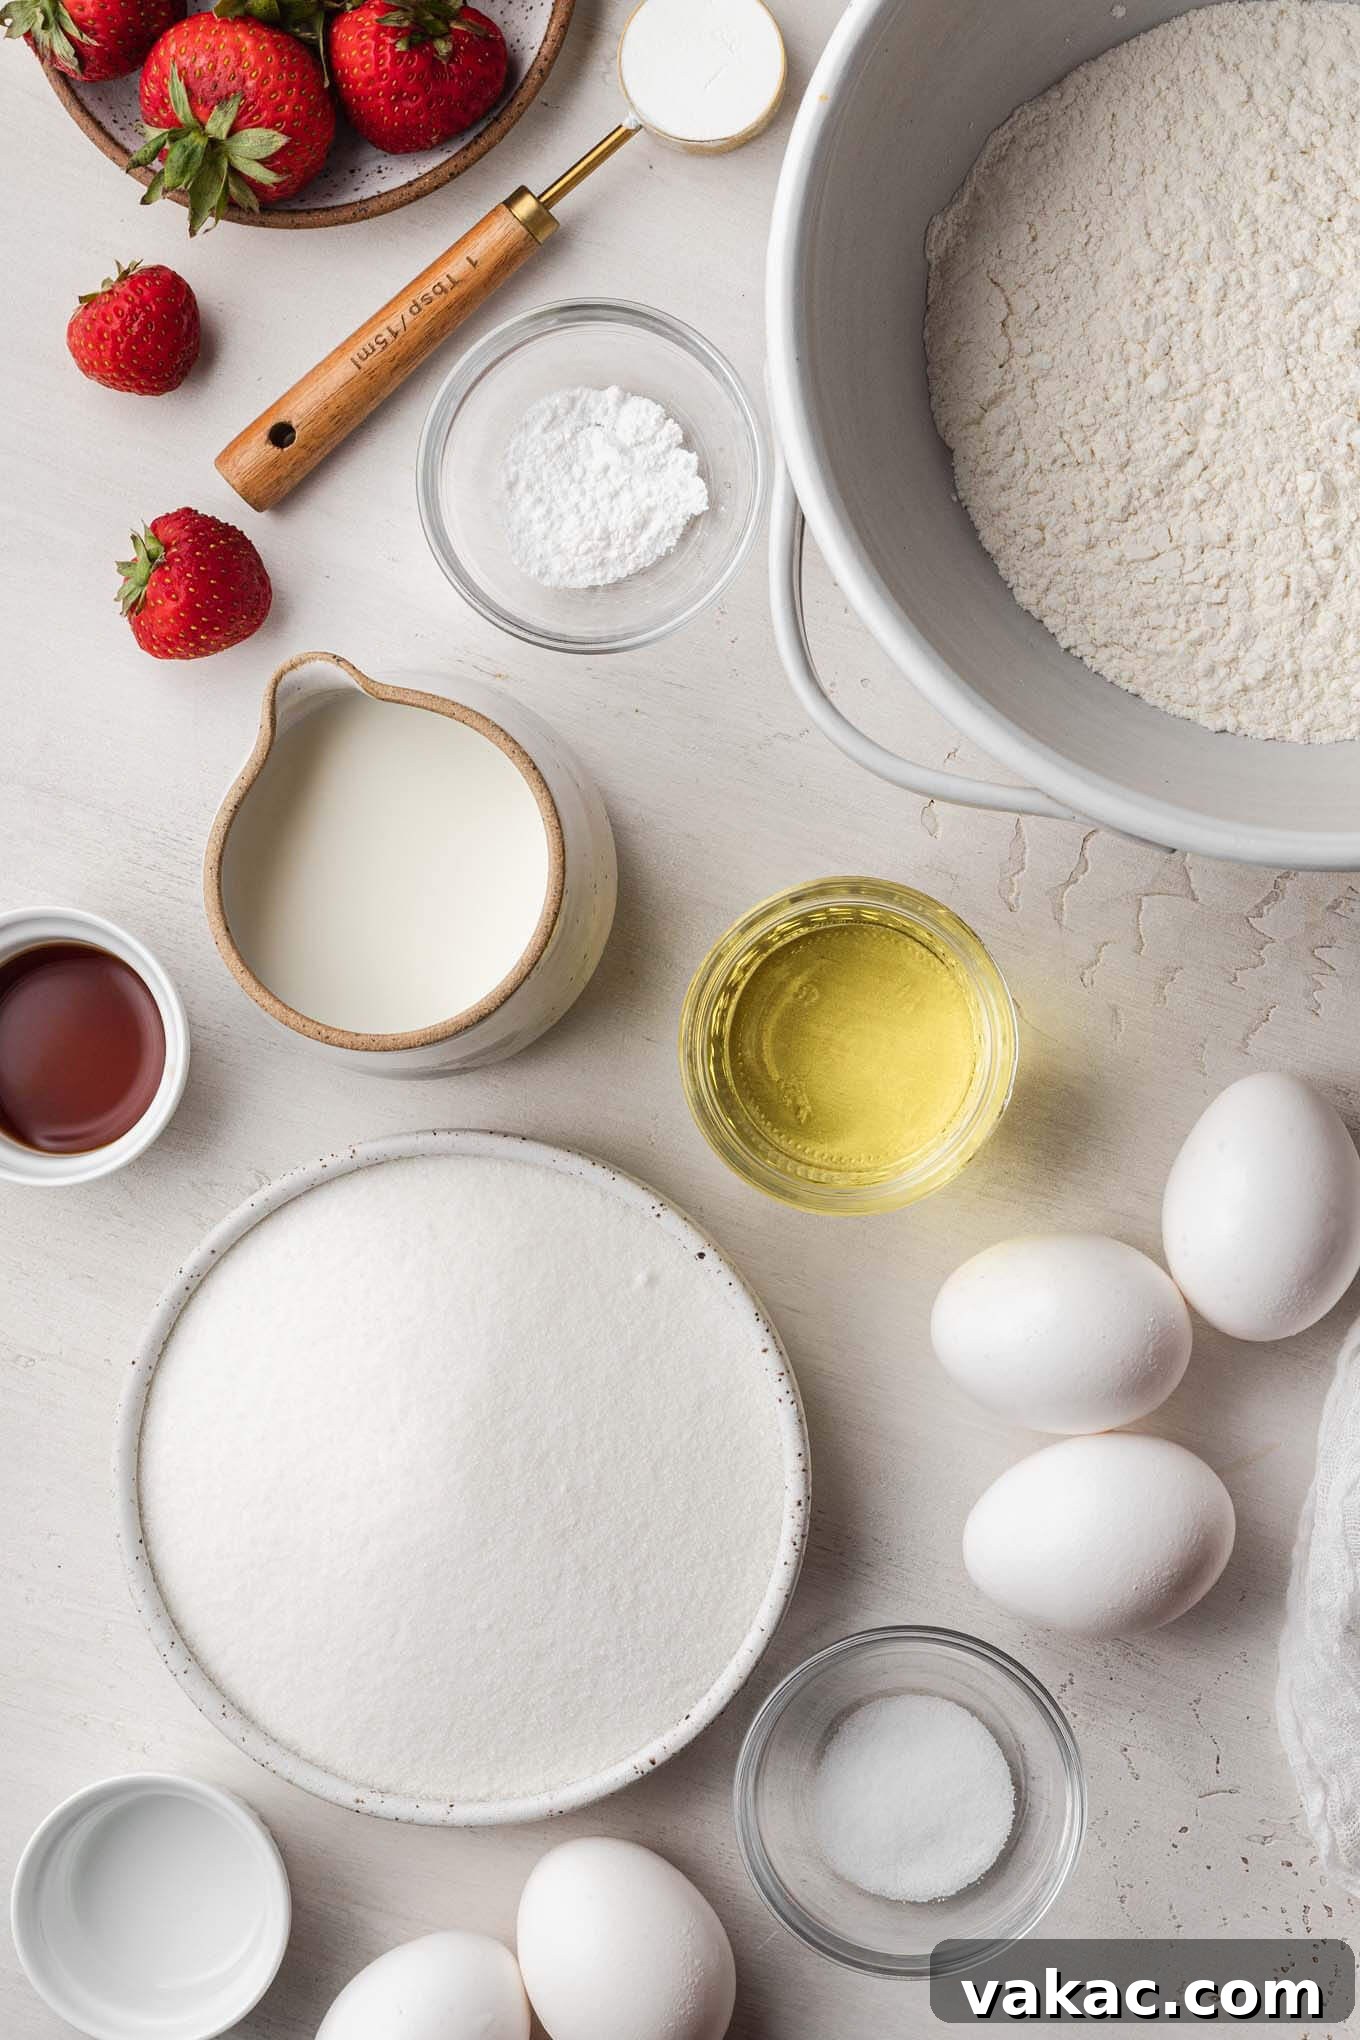
Crafting this exquisite chiffon cake relies on a selection of everyday ingredients, most of which you likely already have in your pantry. When meticulously combined, these humble components transform into a truly spectacular and memorable dessert. Let’s delve into the key ingredients and understand the role each plays in achieving the cake’s signature texture and flavor.
- Cake Flour: This specialized flour is paramount for achieving the chiffon cake’s signature tender and delicate crumb. With a lower protein content compared to all-purpose flour, cake flour produces less gluten, resulting in a softer, lighter, and more finely textured cake. If cake flour isn’t readily available, you can easily create a substitute by combining all-purpose flour with a small amount of cornstarch. This homemade blend helps to mimic the lower protein structure required for a tender cake.
- Eggs: This recipe calls for six large eggs, which are crucial for both structure and moisture. A critical step is separating the yolks from the whites. The egg yolks contribute richness, color, and moisture to the batter, while the egg whites are beaten separately to incorporate air, providing the majority of the cake’s incredible lift and airy texture. Separating them before you begin mixing ensures a smoother and more efficient preparation process. For best results, use room temperature eggs, as they separate more easily and their whites whip up to a greater volume.
- Baking Powder: A full tablespoon of baking powder is a non-negotiable ingredient in this chiffon cake recipe, providing a powerful chemical leavening boost. This is not a typo! The significant amount ensures that the cake rises beautifully and maintains its lofty, airy structure, contributing to its light-as-a-cloud feel.
- Oil: Opt for a neutral-flavored oil, such as canola or vegetable oil. Unlike butter, which can make cakes denser, oil keeps the chiffon cake exceptionally moist and tender without adding heaviness. Its liquid state also contributes to the cake’s delicate texture and ensures it remains soft over time.
- Cream of Tartar: This acidic ingredient is vital for stabilizing the egg whites. When added to egg whites before beating, cream of tartar helps them achieve and maintain stiff peaks, preventing them from collapsing. This stability is essential for the chiffon cake’s impressive volume and airy structure.
- Almond Extract: While optional, a touch of almond extract introduces a wonderfully subtle and sophisticated depth of flavor that complements the vanilla beautifully. It adds an extra layer of complexity that truly elevates the cake. If you don’t have almond extract, an additional amount of vanilla extract can be used as a worthy substitute, ensuring the cake still boasts a delightful aroma and taste.
- Granulated Sugar: Beyond sweetness, sugar plays a vital role in tenderizing the cake and stabilizing the whipped egg whites. It helps create a fine crumb and contributes to the golden-brown crust.
- Milk: Whole milk, preferably at room temperature, adds moisture and richness to the cake batter, contributing to its tender texture.
- Vanilla Extract: A staple in most dessert recipes, vanilla extract provides the warm, classic flavor that defines this vanilla chiffon cake.
- Salt: A pinch of salt enhances all the other flavors, balancing the sweetness and making the cake’s profile more vibrant.
Mastering the Art of Chiffon Cake: A Step-by-Step Guide
While chiffon cake exudes an aura of sophistication, it is a surprisingly simple recipe that any home baker can master with a few key techniques. Before you begin, take a moment to read through all the instructions, as some steps diverge from typical cake-making methods (for instance, the tube pan remains ungreased). This will help ensure a successful and delightful baking experience.
- Prepare Your Dry Ingredients: Begin by sifting together the cake flour, granulated sugar, baking powder, and salt into a large mixing bowl. Sifting is crucial for aerating the flour and ensuring a lump-free, uniformly mixed batter, contributing to the cake’s light texture. Set this bowl aside.
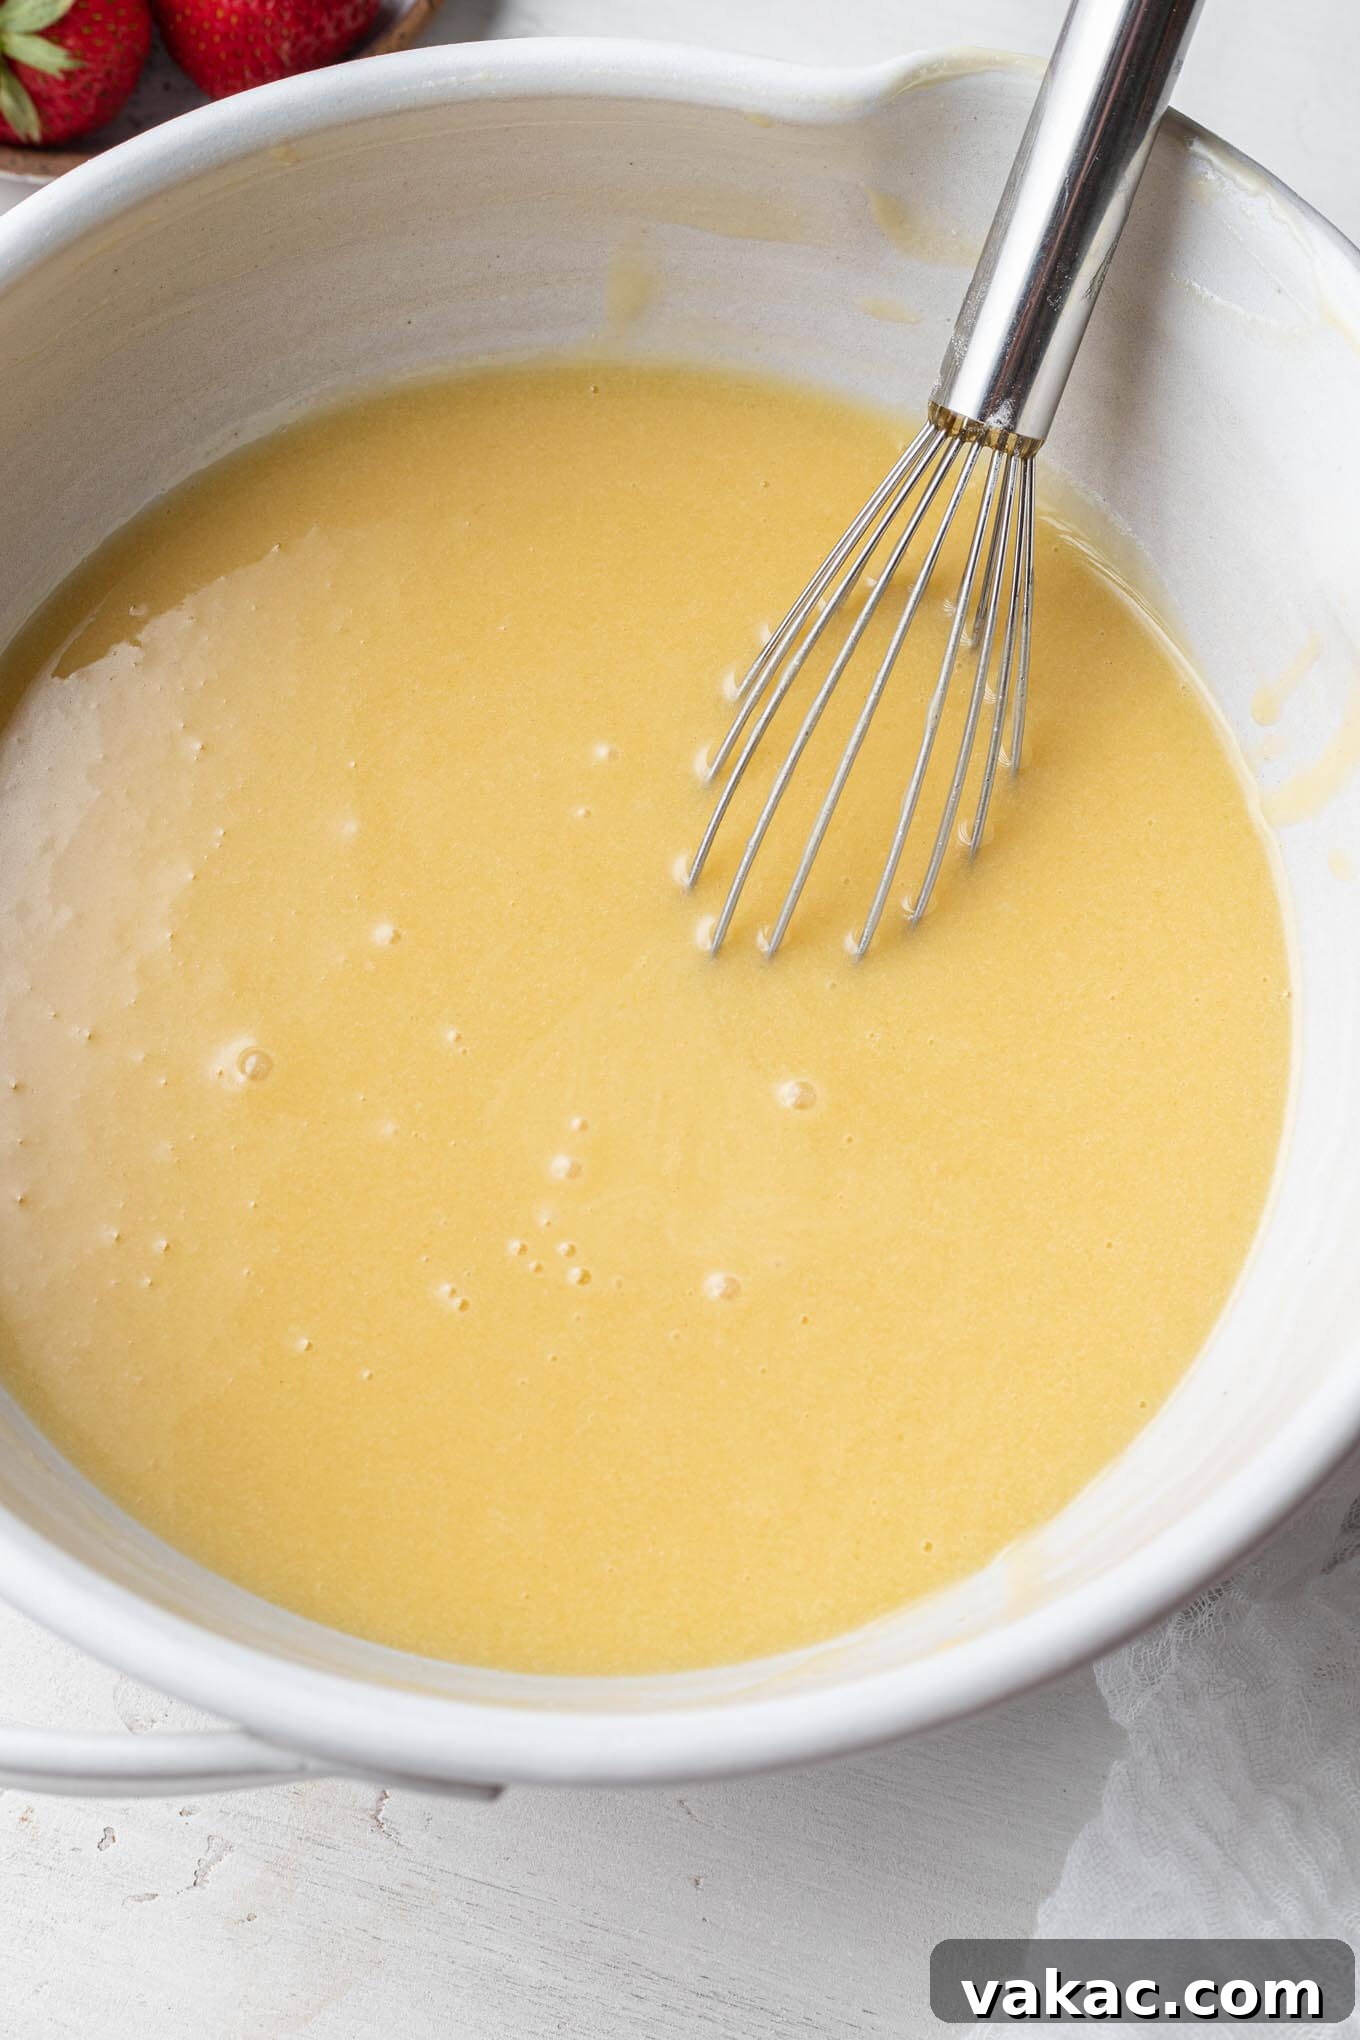
- Combine the Wet Ingredients: In a separate, medium-sized bowl, whisk together the egg yolks, milk, vegetable or canola oil, vanilla extract, and almond extract (if using). Whisk until the mixture is smooth and well combined, ensuring all liquid ingredients are fully integrated.
- Integrate Wet and Dry: Pour the wet ingredients into the bowl containing the sifted dry ingredients. Gently mix until they are just combined. Overmixing at this stage can develop too much gluten, leading to a tougher cake. A rubber spatula is ideal for this task, allowing you to fold carefully until no dry streaks remain. Set this batter aside.
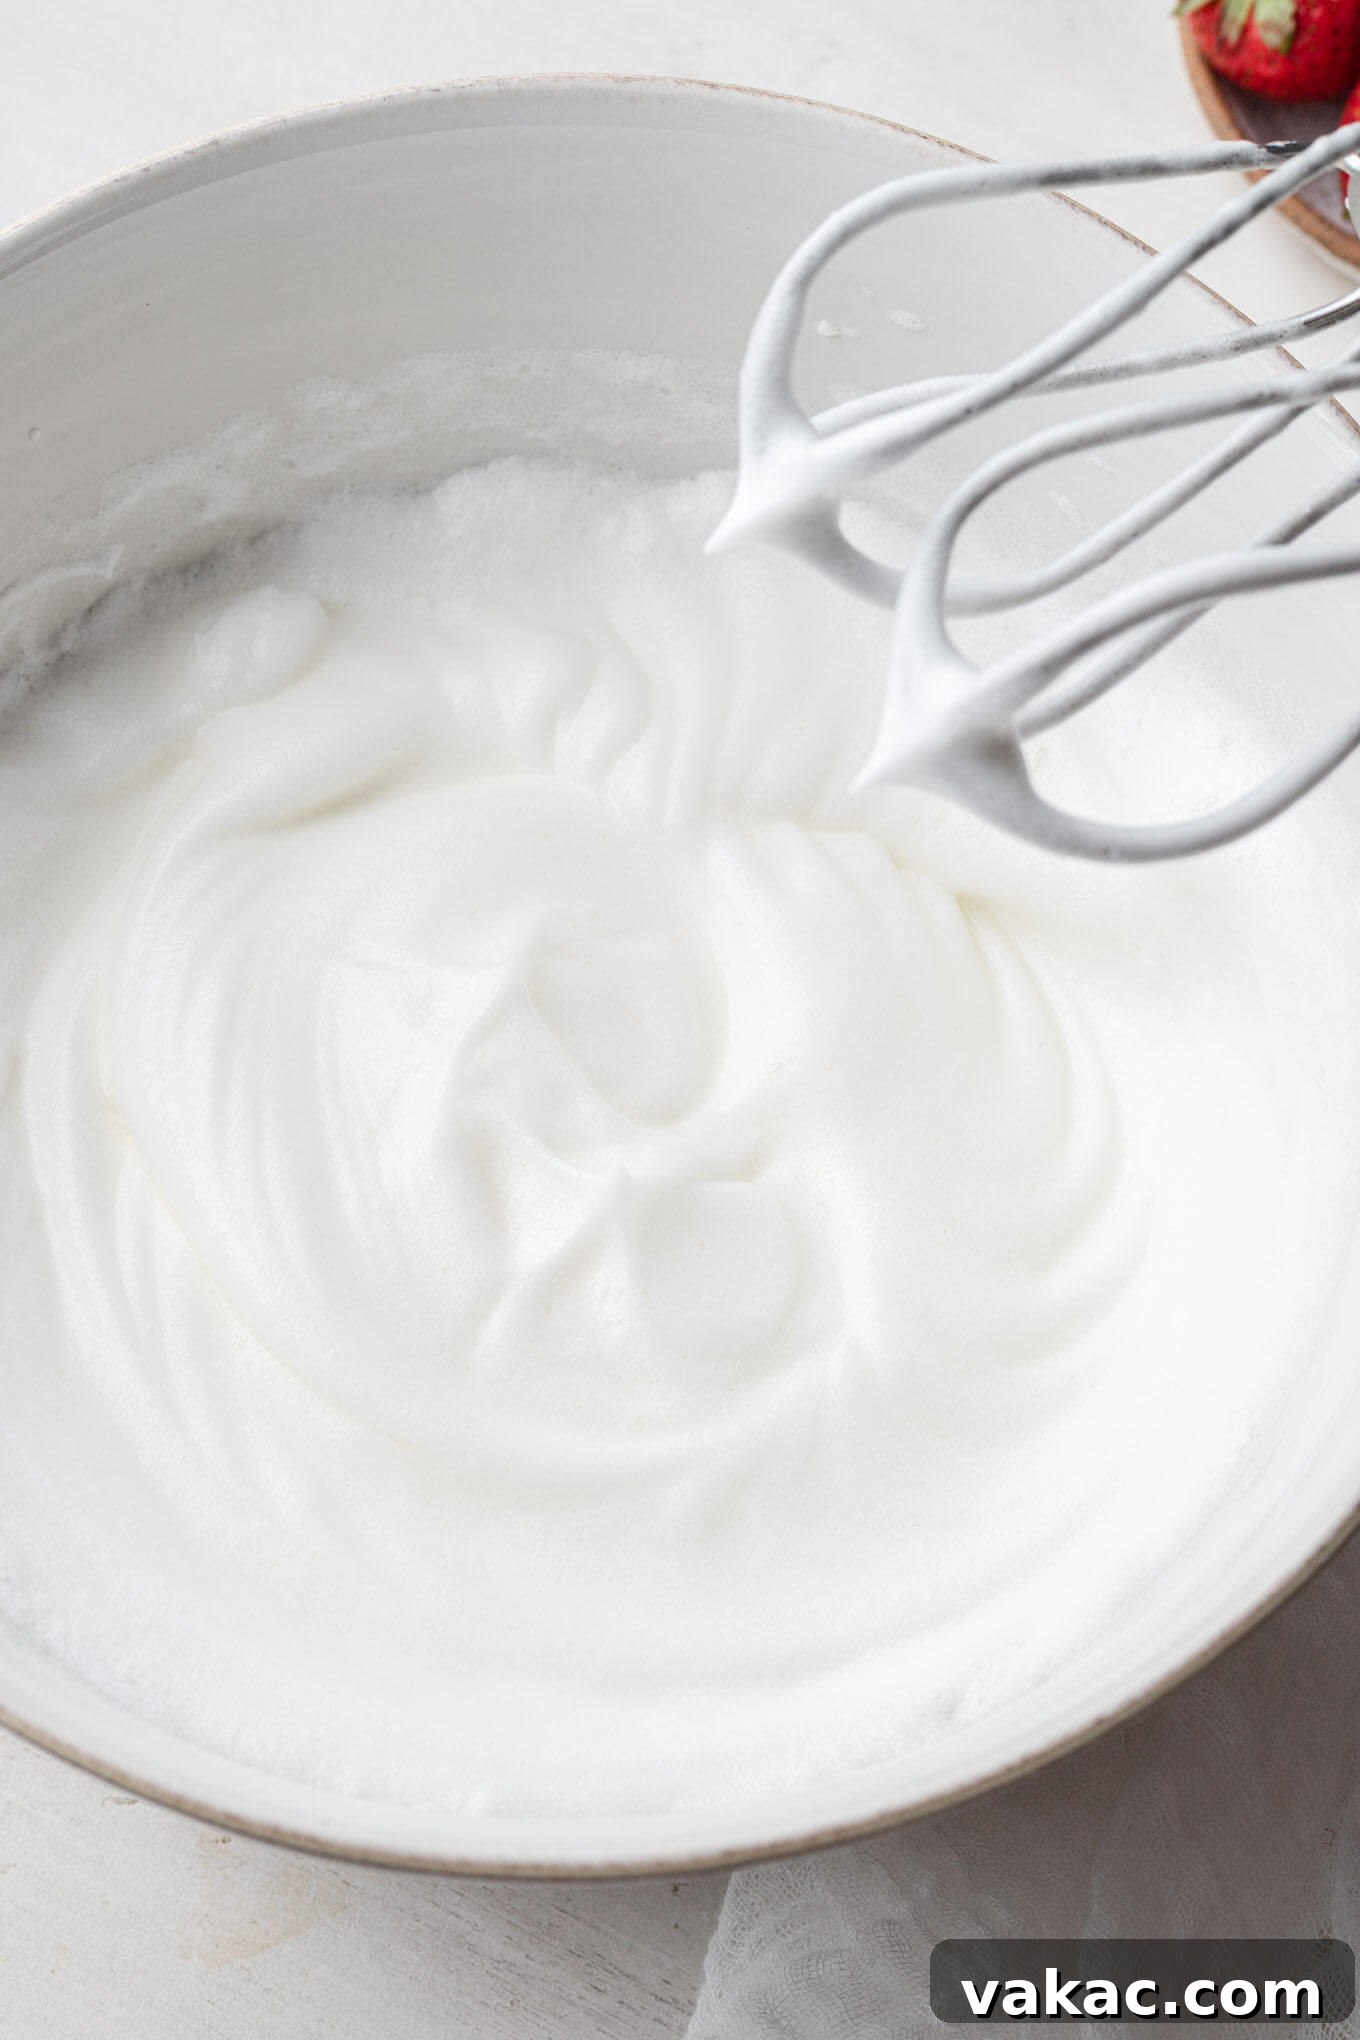
- Whip the Egg Whites to Perfection: In a meticulously clean bowl (any grease can prevent the whites from whipping properly), combine the reserved egg whites and cream of tartar. Using an electric mixer, start on medium-low speed until the whites become foamy. Then, increase the speed to medium-high and continue beating until they form stiff, glossy peaks. This means when you lift the whisk, the peaks hold their shape firmly. Properly whipped egg whites are the secret to chiffon cake’s incredible volume.
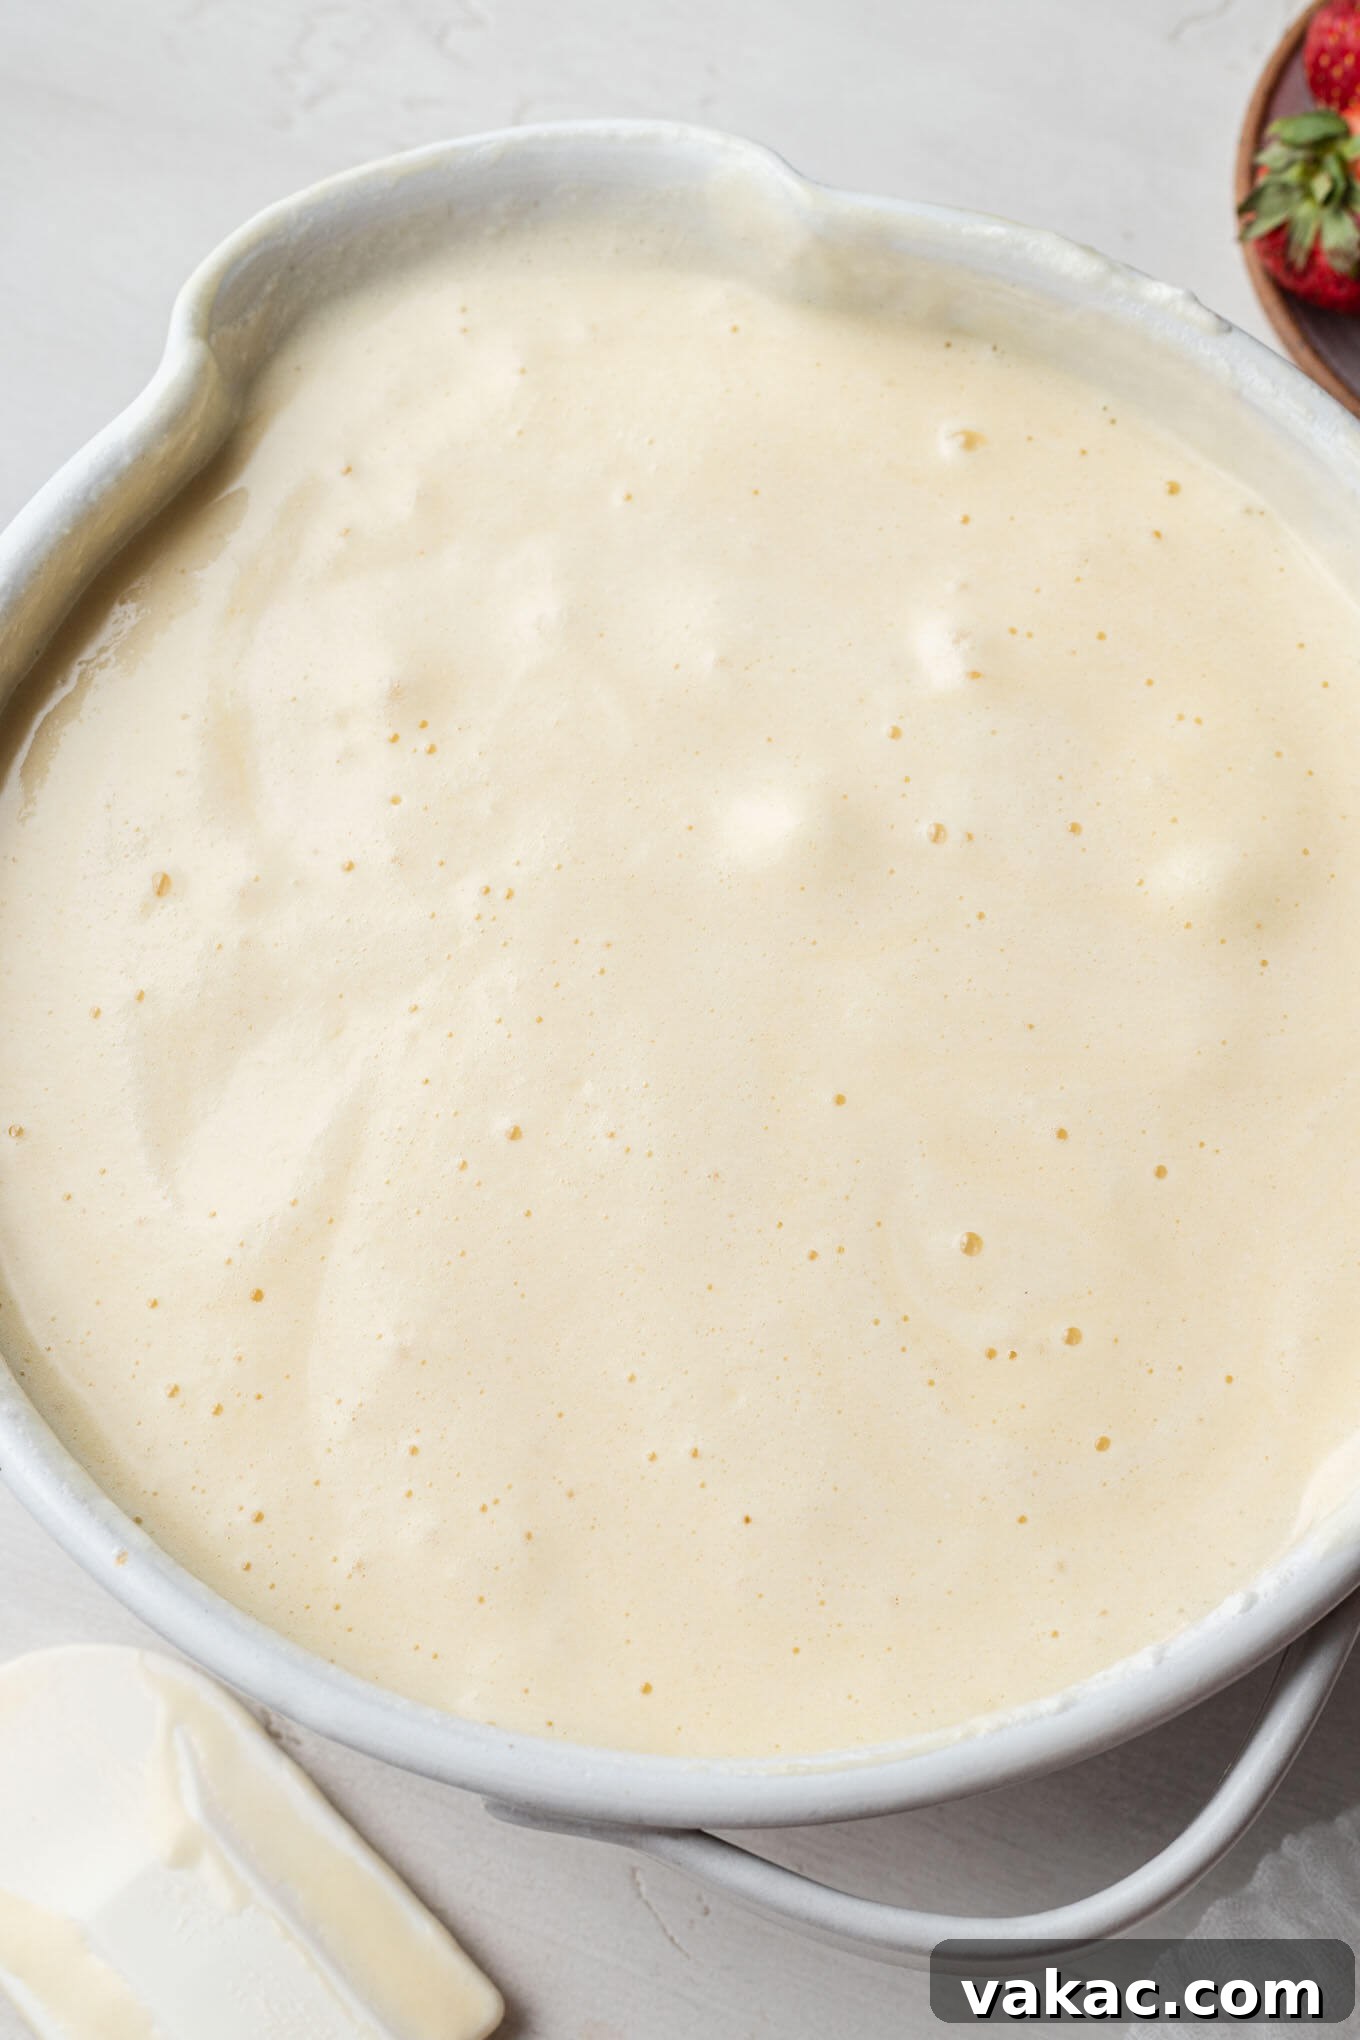
- Delicately Fold in the Egg Whites: This is arguably the most critical step. Begin by gently folding about one-quarter of the whipped egg whites into your main batter. This initial incorporation helps to lighten the denser batter, making it easier to fold in the remaining whites without deflating them. Then, carefully fold in the rest of the whipped egg whites in two additions. Use a large rubber spatula and a gentle, cutting-and-folding motion, rotating the bowl as you go. The goal is to incorporate the whites fully while preserving as much of the air as possible. Stop as soon as no streaks of white remain.
- Prepare for Baking: Carefully pour the airy cake batter into an ungreased 10-inch tube pan (preferably one with a removable bottom). Do not grease the pan; the batter needs to cling to the sides to climb and rise properly in the oven. Gently run a knife or thin spatula through the batter in a circular motion to eliminate any large air pockets, then smooth the top into an even layer.
- Bake to Golden Perfection: Place the cake in your preheated oven and bake for 55 to 65 minutes, or until a wooden skewer or toothpick inserted into the center of the cake comes out completely clean. If you notice the top browning too quickly, loosely tent the pan with aluminum foil for the remaining baking time.
- The Essential Cooling Process: As soon as the cake emerges from the oven, immediately invert the entire tube pan onto a wire cooling rack. This crucial step prevents the cake from collapsing under its own weight as it cools, allowing it to set in its lofty state. Allow the cake to cool completely in the inverted pan, which can take 2 to 3 hours, or even longer. Patience is key here; attempting to remove it too soon will almost certainly lead to deflation.
- Release and Serve: Once the cake is completely cool, carefully run a thin offset spatula or a sharp knife around the outer and inner edges of the pan to loosen the cake. If using a pan with a removable bottom, you can often push the bottom up through the sides. Gently turn the pan onto a serving plate and carefully remove the bottom piece.
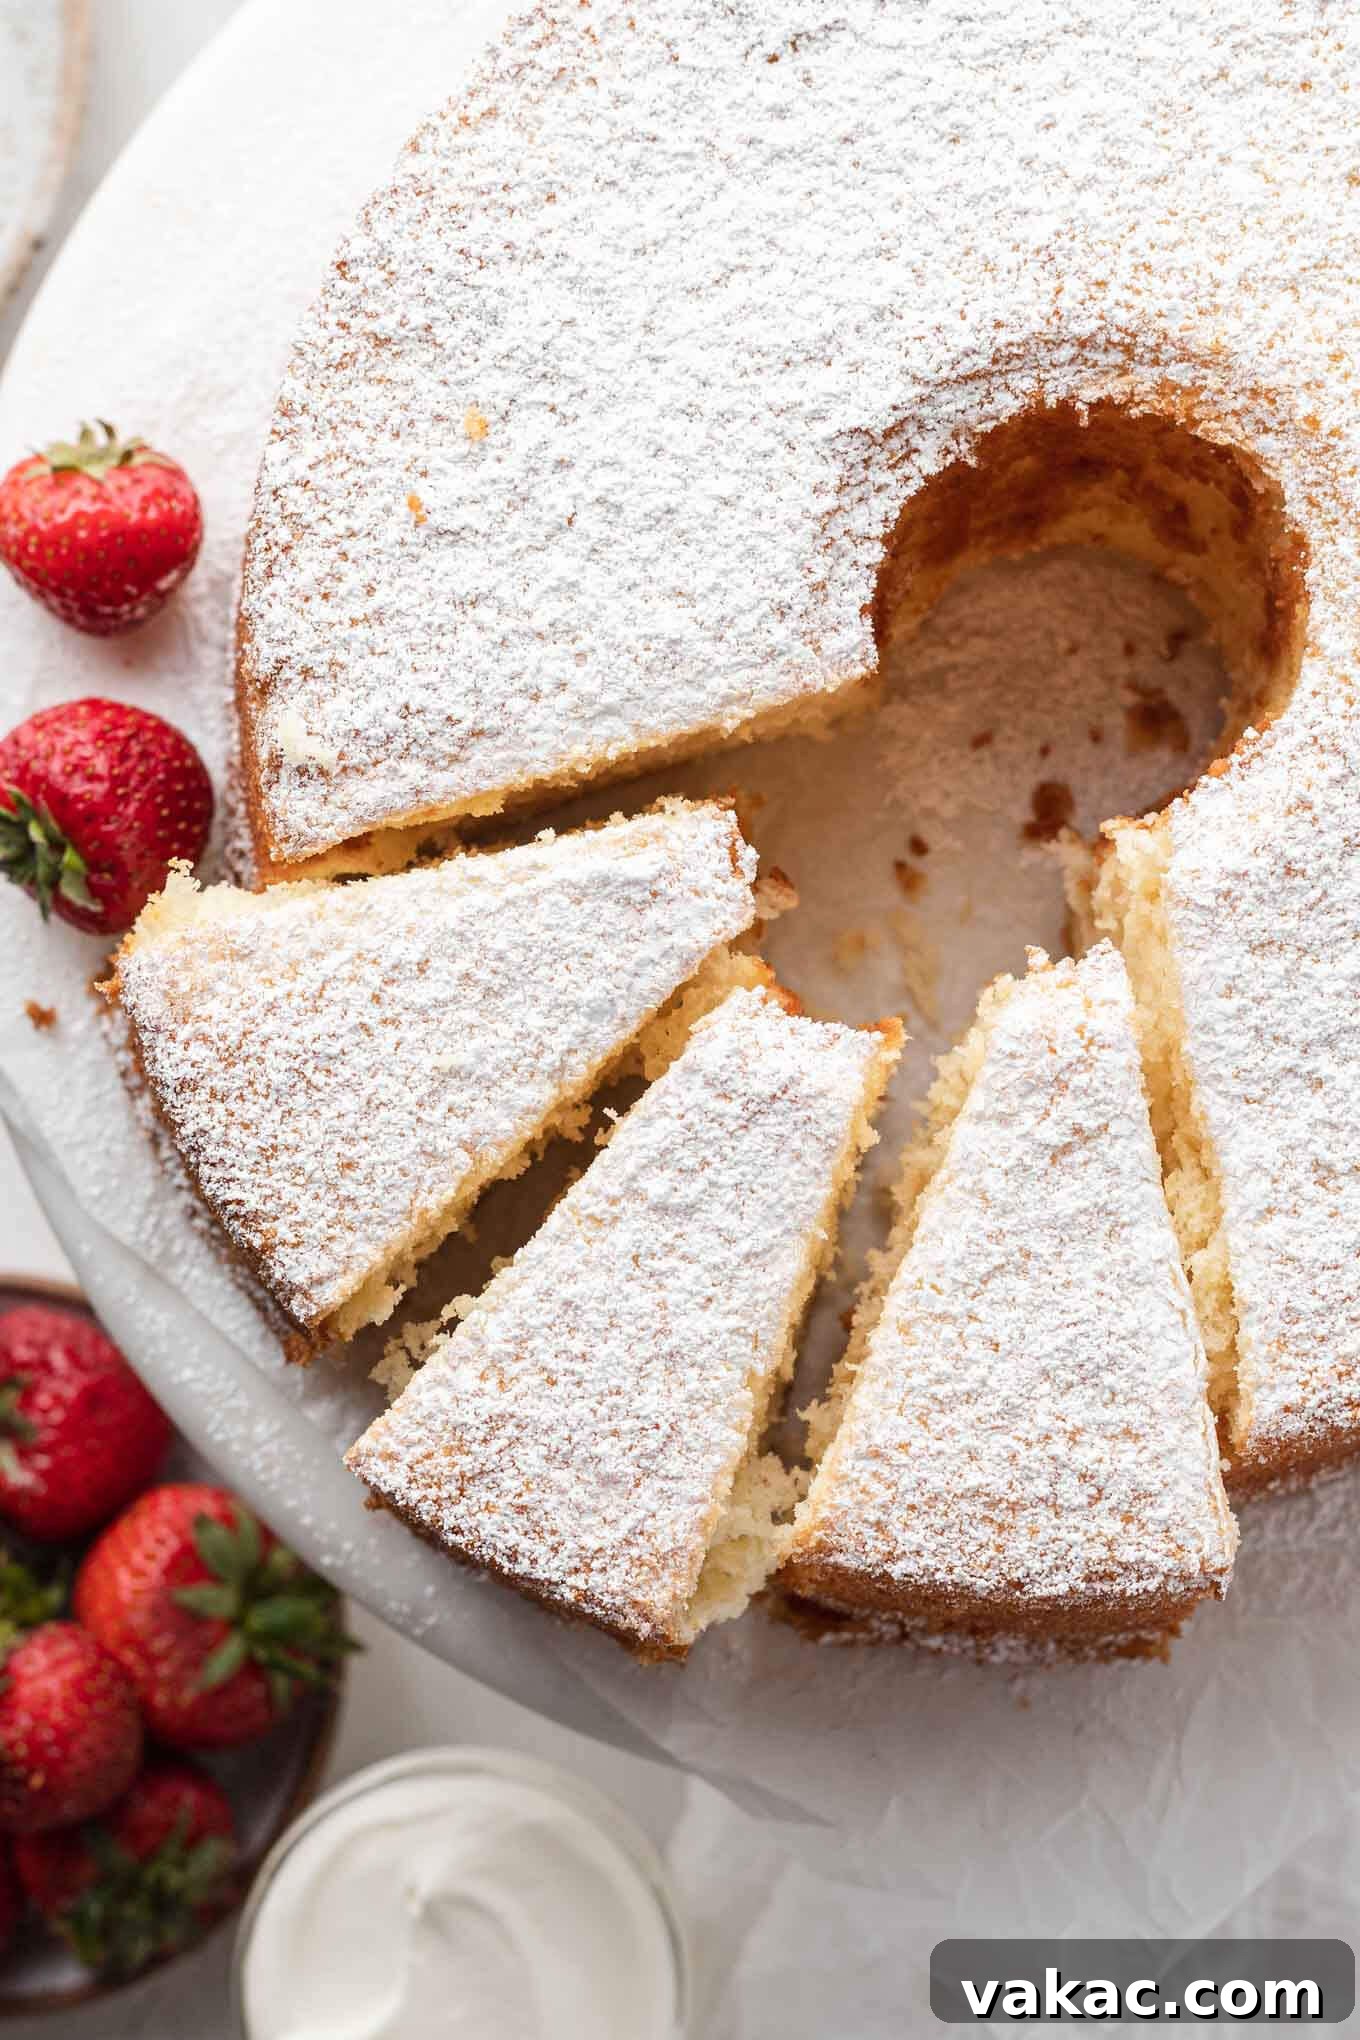
- Garnish and Enjoy: For an elegant presentation, dust the cooled chiffon cake generously with powdered sugar. Serve individual slices, optionally accompanied by a dollop of fresh whipped cream and an abundance of seasonal fresh berries, such as strawberries, raspberries, or blueberries. The combination of the light cake and fresh toppings is simply irresistible.
Frequently Asked Questions About Chiffon Cake
Absolutely! Chiffon cake freezes exceptionally well, making it a fantastic make-ahead dessert. Once the cake has cooled completely to room temperature, you can wrap the entire cake or individual slices tightly with plastic wrap. For added protection against freezer burn, place the wrapped cake or slices into a large freezer bag or an airtight container. It can be stored in the freezer for up to 3 months. When you’re ready to enjoy it, simply transfer the cake to your countertop and allow it to thaw slowly to room temperature, which helps maintain its delicate texture.
This is one of the most crucial instructions for baking a successful chiffon cake, a characteristic it shares with angel food cake. Chiffon cake batter relies heavily on its ability to cling to the sides of the ungreased tube pan as it rises in the oven. This grip provides the necessary support for the cake to climb high and develop its characteristic towering structure. If you grease the tube pan, the batter will have nothing to adhere to, causing it to slip back down the sides and collapse, resulting in a dense, flat cake. So, resist the urge to grease!
A collapsed or deflated chiffon cake is a common frustration, but it’s usually due to a few identifiable factors:
- Under-Beaten Egg Whites: The egg whites are the primary source of lift. If they weren’t beaten to stiff, stable peaks, they won’t provide enough structure to support the cake, leading to collapse.
- Greased or Non-Stick Pan: As explained above, the batter must cling to an ungreased pan. Using a non-stick pan or greasing a regular tube pan will cause the cake to slide down and deflate.
- Not Inverting Immediately: It is imperative to invert the cake pan onto a wire rack as soon as it comes out of the oven. This allows the cake to stretch and cool upside down, preventing it from shrinking or collapsing under its own weight. Delaying this step will almost certainly lead to deflation.
- Underbaking: An underbaked cake lacks the internal structure to hold its shape. Even if you follow all other steps correctly, if the cake isn’t fully baked through, it will fall in the middle. Always test for doneness by inserting a skewer or toothpick into the center; it should come out clean, with no wet batter clinging to it.
For best results and the signature tall, airy structure, a 10-inch tube pan (also known as an angel food cake pan) is highly recommended. The central tube allows heat to penetrate the cake more evenly, promoting a consistent rise. Using a Bundt pan or a standard round cake pan is not advised, as these pans are often greased, and their shapes don’t provide the necessary structure for a chiffon cake to climb effectively.
Room temperature eggs are essential for better separation and for egg whites to whip up to maximum volume. If you forgot to take them out in advance, simply place the whole eggs (still in their shells) in a bowl of warm (not hot) water for 5-10 minutes. This will bring them to temperature quickly without cooking them.
Pro Baking Tips for Chiffon Cake Success
Achieving a perfect chiffon cake is highly rewarding, and these pro tips will help ensure your cake turns out beautifully light and fluffy every time:
- Start with Room Temperature Eggs: This tip is crucial for both separating yolks and whites cleanly and for achieving maximum volume when whipping egg whites. Room temperature whites incorporate air more easily and whip to a more stable foam. If you’re short on time, place your eggs in a bowl of warm water for 5-10 minutes to quickly bring them to temperature.
- Handle Whipped Egg Whites with Care: The air incorporated into the egg whites is the primary leavening for your chiffon cake. When folding them into the batter, use a gentle hand and a rubber spatula, employing a cutting and folding motion. Overmixing will deflate the precious air, resulting in a dense, rather than airy, cake. Fold just until no streaks of white remain.
- Never Grease Your Tube Pan: This cannot be stressed enough! Chiffon cake batter needs to cling to the sides of the pan to climb and rise to its full potential. Greasing the pan will cause the batter to slide down, leading to a collapsed cake. Ensure your tube pan is completely clean and dry before adding the batter.
- Ensure Your Mixing Bowl for Whites is Spotless: Even a tiny speck of grease or egg yolk can prevent egg whites from whipping up properly. Always use a thoroughly clean, dry bowl and whisk attachment when preparing your meringue.
- Sift Dry Ingredients Diligently: Sifting cake flour, sugar, baking powder, and salt together not only removes lumps but also aerates the dry mixture, making it lighter and easier to incorporate into the wet ingredients, which contributes to a more tender crumb.
- Measure Precisely: Baking, especially with delicate cakes like chiffon, is a science. Use a kitchen scale for accuracy if possible, particularly for flour and sugar. Otherwise, ensure you spoon and level your flour rather than scooping it, which can compact the flour and lead to an overly dense cake.
- Immediate Inversion After Baking: The moment your chiffon cake comes out of the oven, invert the pan immediately onto a wire rack. This critical step allows the cake to cool while suspended, preventing it from collapsing and ensuring it maintains its impressive height and airy structure. Allow it to cool completely, often for several hours, before attempting to remove it from the pan.
Vanilla Chiffon Cake Recipe
Chiffon Cake
Ingredients
- 2 cups cake flour (spooned & leveled, 230 grams)
- 1 ½ cups granulated sugar (300 grams)
- 1 tablespoon baking powder
- ½ teaspoon salt
- 6 large eggs (separated and at room temperature)
- ¾ cup whole milk (at room temperature, 180 ml)
- ½ cup vegetable or canola oil (120 ml)
- 2 teaspoons vanilla extract
- ½ teaspoon almond extract
- ½ teaspoon cream of tartar
Instructions
- Preheat your oven to 325°F (163°C).
- In a large mixing bowl, sift together the cake flour, 1 cup of the granulated sugar (reserving ½ cup for the egg whites), baking powder, and salt. Whisk briefly to combine thoroughly, then set aside.
- In a separate large mixing bowl, whisk together the egg yolks, whole milk, vegetable or canola oil, vanilla extract, and almond extract by hand for 1 to 2 minutes until completely smooth and well combined.
- Gradually add the sifted dry ingredients to the wet ingredients, whisking until just combined. Be careful not to overmix; a few small lumps are acceptable. Set this batter aside while you prepare the egg whites.
- In the impeccably clean bowl of an electric stand mixer fitted with a whisk attachment (or using a handheld mixer in a large bowl), beat the egg whites and cream of tartar on medium-low speed until they become foamy.
- Gradually add the remaining ½ cup of granulated sugar to the egg whites while continuing to beat. Increase the mixer speed to medium-high and continue beating until stiff, glossy peaks form. When you lift the whisk, the peaks should stand upright and hold their shape.
- Gently fold one-quarter of the whipped egg whites into the main batter using a rubber spatula. This step helps to lighten the batter, making it easier to incorporate the remaining whites without deflating them. Then, carefully fold in the remaining whipped egg whites in two additions, using a light hand and a folding motion until just combined and no white streaks are visible. It’s crucial to be very gentle to preserve the air.
- Carefully pour the aerated batter into an ungreased 10-inch tube pan (preferably one with a removable bottom). Do not grease the pan. Gently run a knife or thin spatula through the batter in a circular motion to release any large air pockets, then smooth the top.
- Bake for 55 to 65 minutes, or until a wooden skewer or toothpick inserted into the center of the cake comes out completely clean. If the top begins to brown too quickly, loosely tent the pan with aluminum foil for the remainder of the baking time.
- Immediately upon removing the cake from the oven, invert the entire cake pan over a wire rack. This critical step prevents the cake from collapsing as it cools. Allow the cake to cool completely in the inverted pan, which typically takes 2 to 3 hours, or even longer.
- Once the cake is fully cooled, carefully run an offset spatula or a thin, sharp knife around the outer edge and the inner tube of the pan to detach the cake. Turn the cake pan onto a serving plate and gently tap the bottom to release the cake. If you have a pan with a removable bottom, carefully use a butter knife or angled spatula to help separate the cake from the bottom piece.
- Serve your exquisite chiffon cake dusted generously with confectioners’ sugar. For an extra touch of elegance and flavor, accompany each slice with a dollop of fresh whipped cream and an assortment of fresh seasonal berries.
Notes
Freezing Instructions: Chiffon cake freezes beautifully for up to 3 months. To freeze, wrap the cooled cake or individual slices tightly with plastic wrap, then place in a large freezer bag or an airtight freezer-safe container. Thaw overnight in the refrigerator or for several hours on the countertop until it reaches room temperature.