
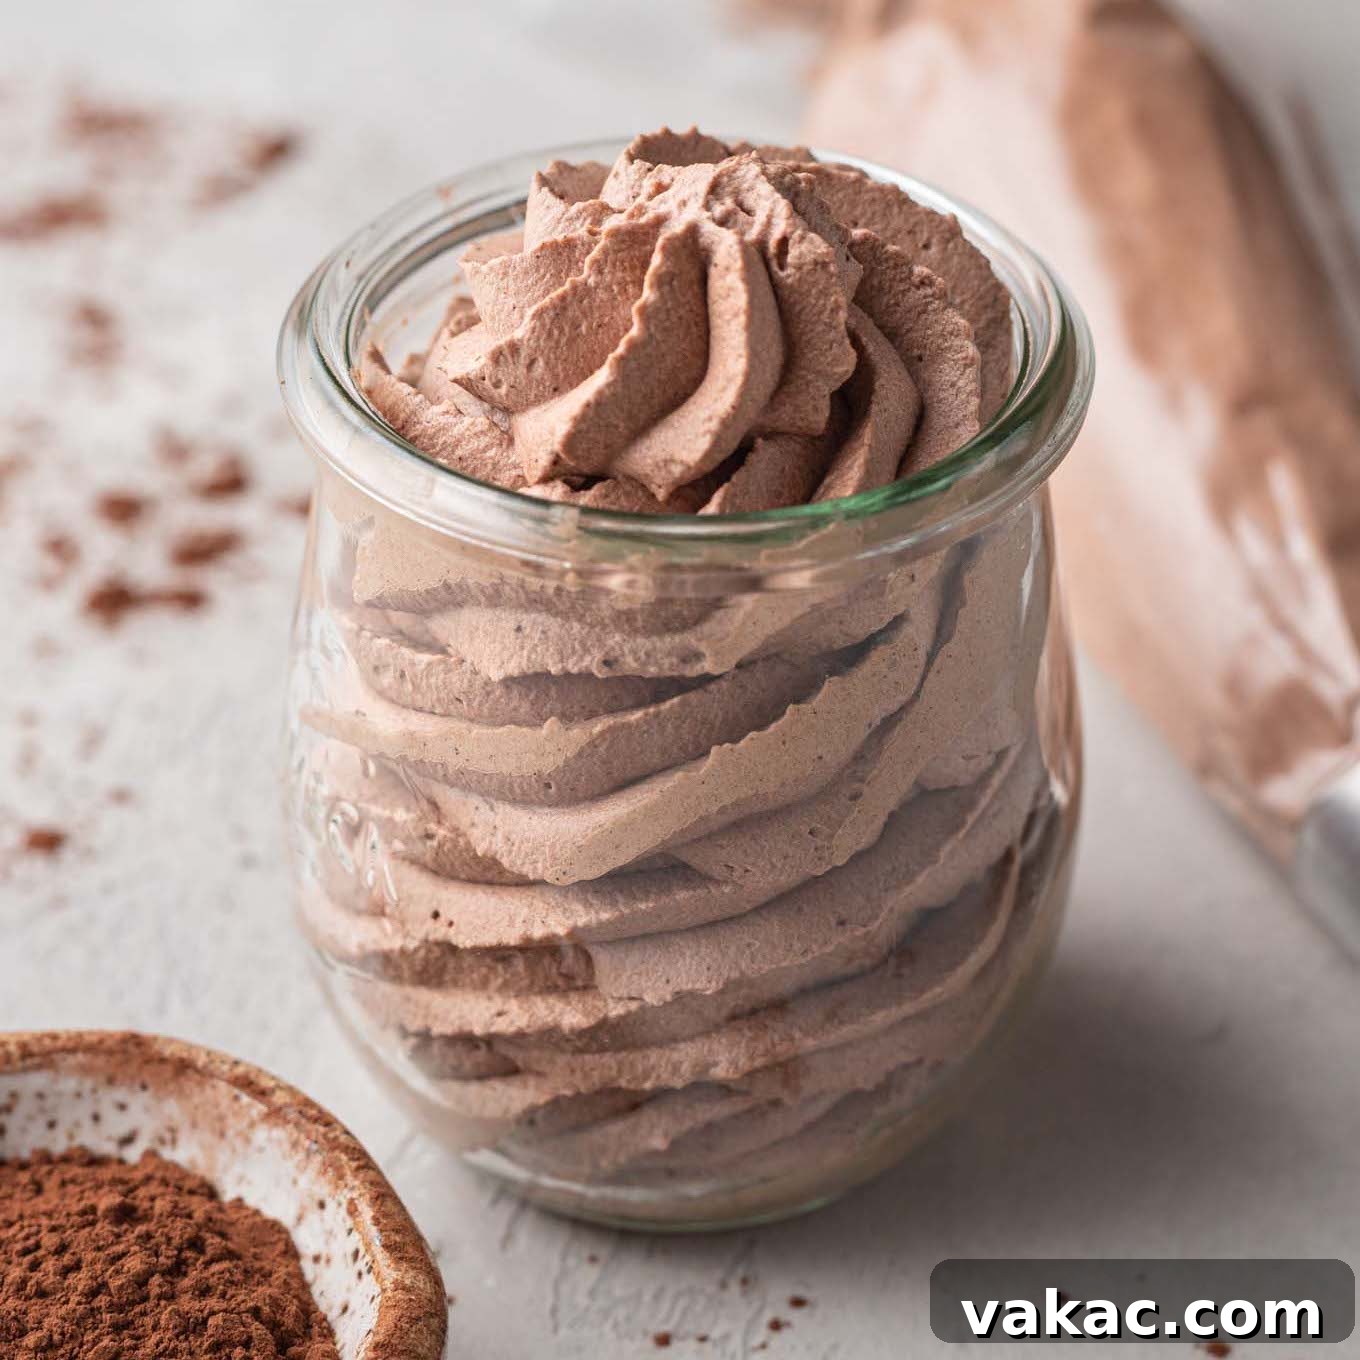
Irresistible Homemade Chocolate Whipped Cream: Your Ultimate Dessert Topping
Are you searching for that perfect finishing touch to elevate your favorite chocolate desserts from delightful to absolutely divine? Look no further! This homemade chocolate whipped cream recipe is your answer. Velvety smooth, incredibly creamy, and bursting with rich chocolate flavor, it’s designed to be the ultimate companion for any sweet treat.
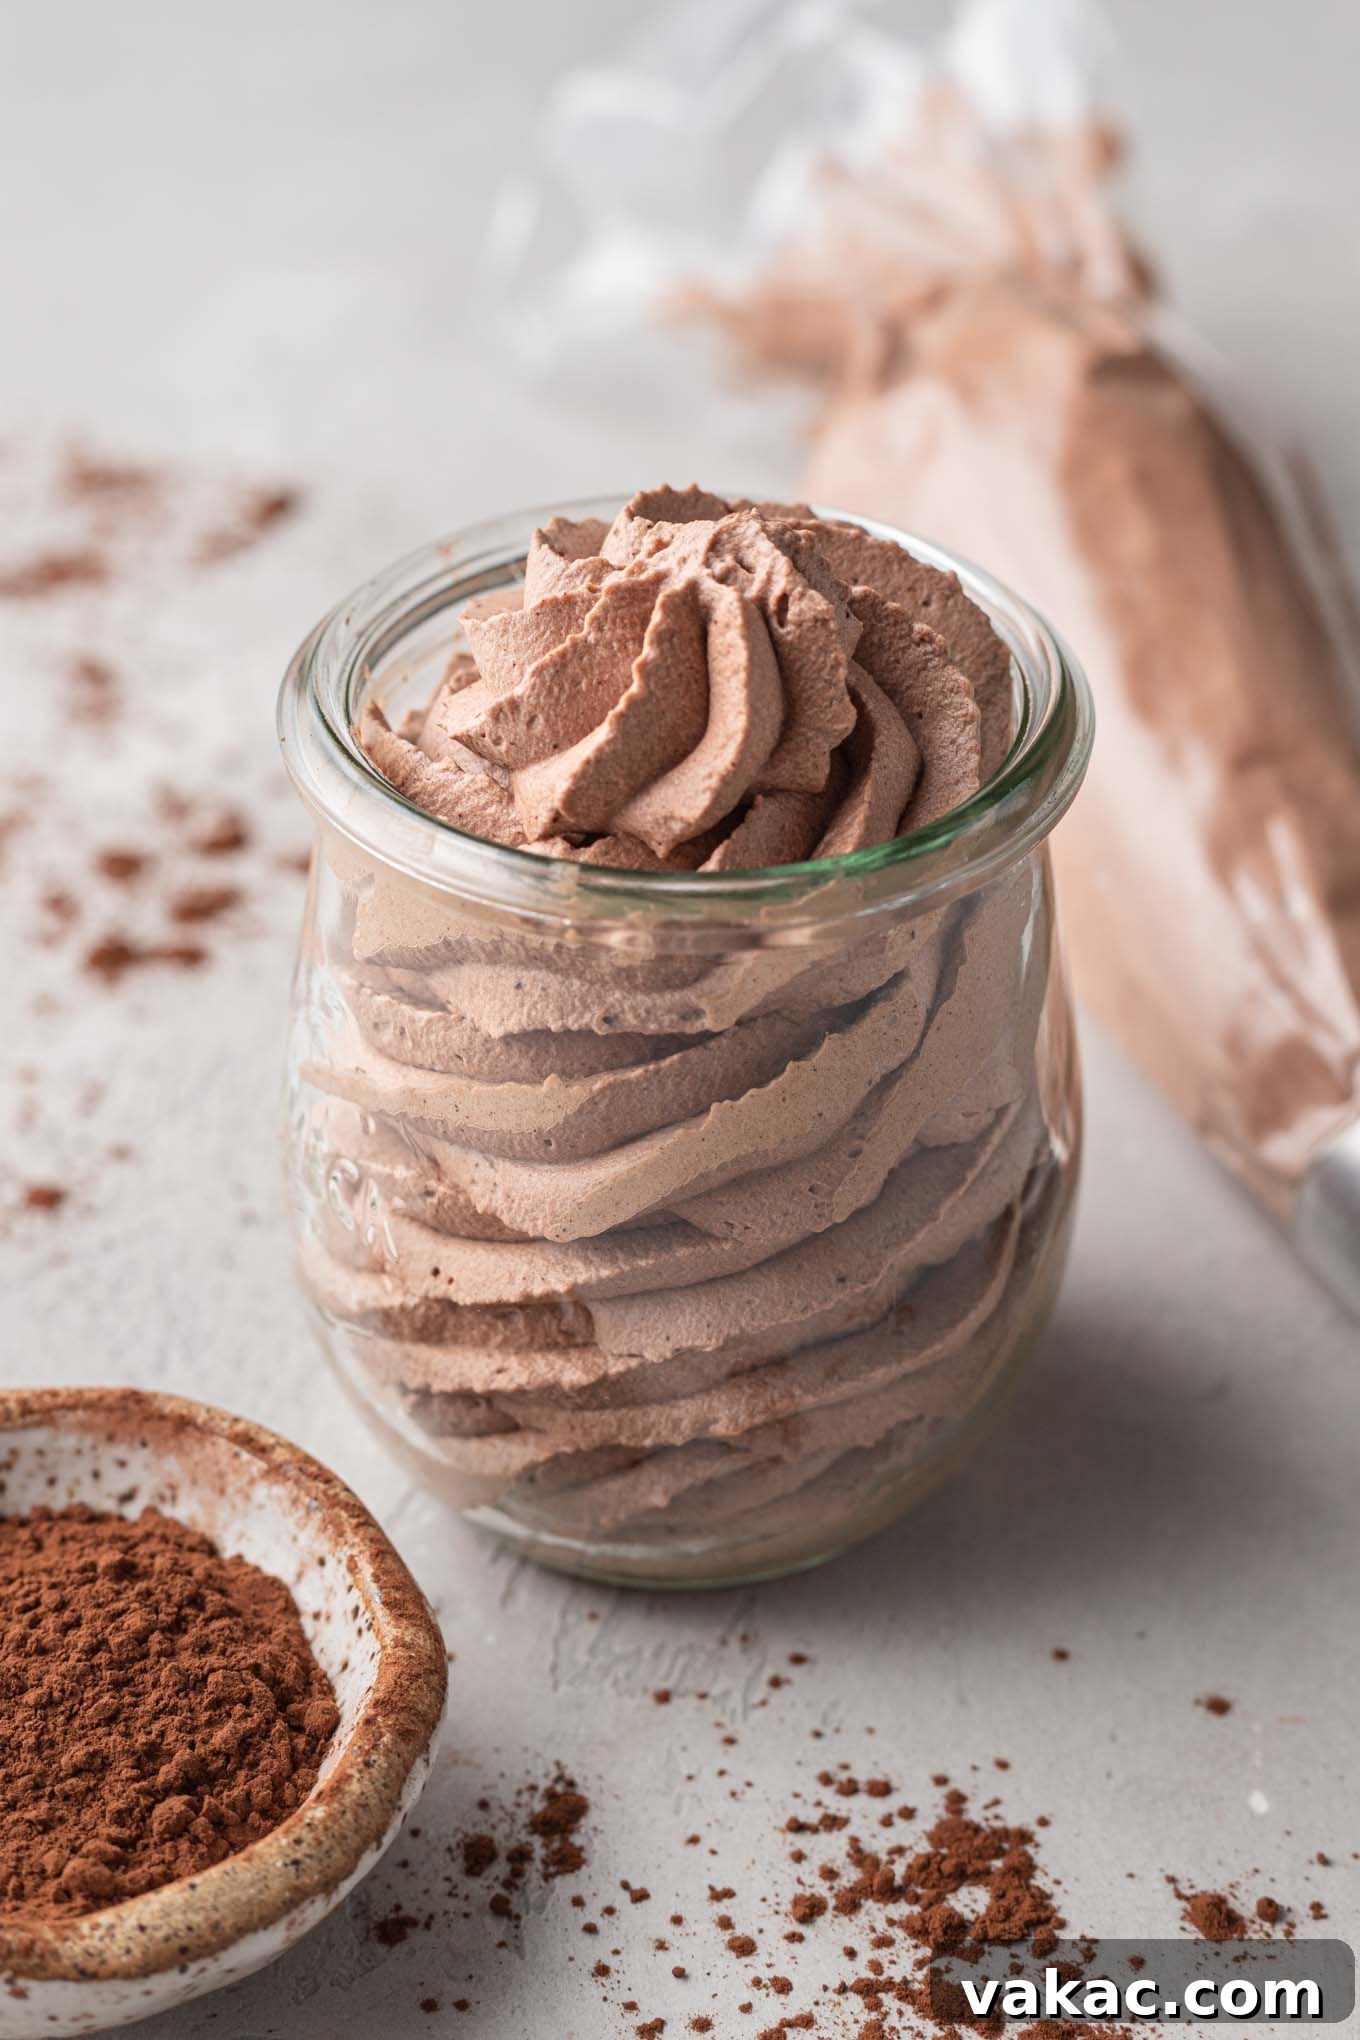
For years, my classic homemade whipped cream recipe has been a cherished favorite among readers. Its simplicity and luscious texture have garnered countless rave reviews. Over time, I’ve received numerous requests for a chocolate variation, and I’m thrilled to finally share this much-anticipated creation. I poured my heart into developing a recipe that captures the essence of decadent chocolate while maintaining that signature light and airy whipped cream texture. And honestly, the results exceeded all expectations.
This chocolate whipped cream is everything you dream of: wonderfully smooth, luxuriously creamy, and perfectly sweetened, striking an ideal balance with its deep chocolate notes. It’s not overly rich, allowing the chocolate flavor to truly shine without overwhelming your palate. Whether you’re a seasoned baker or just starting out, this simple recipe promises to transform your desserts.
If you’re seeking an effortless yet impactful topping to enhance any chocolate creation, then you absolutely must give this recipe a try. It’s incredibly versatile and guaranteed to become a staple in your kitchen.
Why Homemade Chocolate Whipped Cream?
While store-bought options exist, nothing compares to the freshness, flavor, and delightful texture of homemade whipped cream. When you make it yourself, you control the quality of ingredients, the level of sweetness, and the intensity of the chocolate flavor. This recipe is also surprisingly quick and easy, requiring minimal effort for maximum reward. It’s a game-changer for elevating everything from a simple slice of pie to an elaborate cake, adding a touch of gourmet elegance that will impress everyone.
Essential Ingredients for Perfect Chocolate Whipped Cream
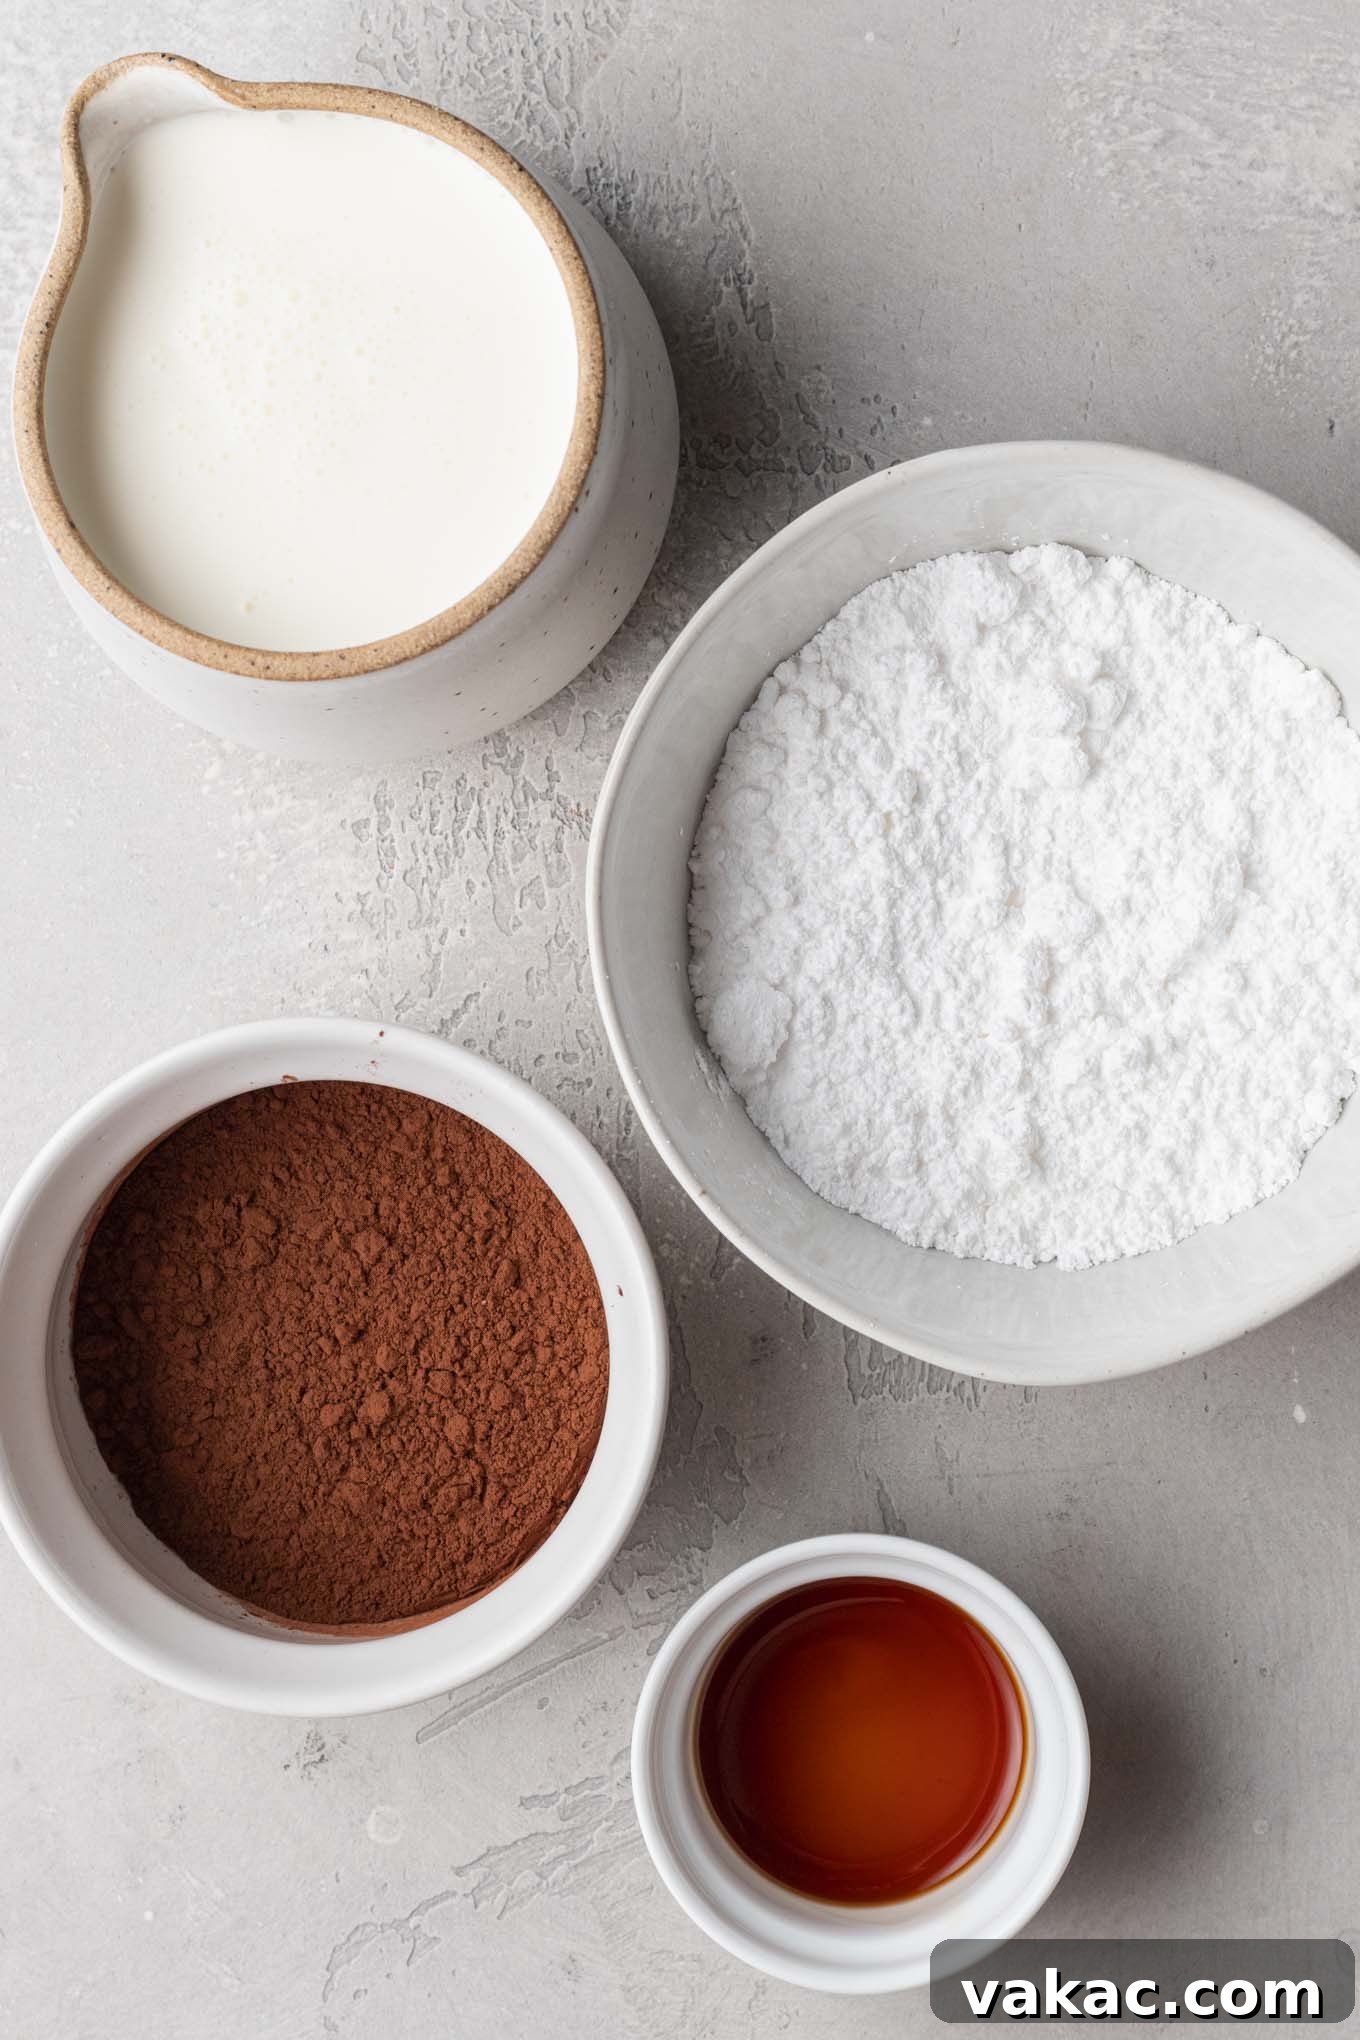
Crafting the perfect chocolate whipped cream starts with selecting the right ingredients. Each component plays a crucial role in achieving that silky-smooth texture and rich, balanced flavor.
- Heavy Whipping Cream: This is the foundation of your whipped cream, and using the correct type is paramount. Always opt for heavy whipping cream, which contains at least 36% milk fat, as opposed to “whipping cream” (which has a slightly lower fat content of around 30-35%). The higher fat content in heavy cream ensures it whips up to a stable, voluminous consistency and holds its shape beautifully. Crucially, your heavy cream should be straight from the refrigerator and as cold as possible. Cold cream whips faster and achieves a better volume because the fat globules are firmer, allowing them to entrap more air.
- Powdered Sugar: For whipped cream, powdered sugar (also known as confectioners’ sugar or icing sugar) is the preferred sweetener. Unlike granulated sugar, which can leave a slightly gritty texture, powdered sugar dissolves seamlessly, resulting in an impeccably smooth finish. Beyond sweetness, the cornstarch often found in powdered sugar acts as a mild stabilizer, helping the whipped cream maintain its structure for longer periods without weeping or collapsing.
- Vanilla Extract: A touch of pure vanilla extract is essential to enhance and complement the chocolate flavor, adding depth and warmth. While it might seem counterintuitive to add vanilla to a chocolate recipe, it truly brings out the best in the cocoa. For the most authentic taste, stick with pure vanilla extract. If you have it on hand, vanilla bean paste is another fantastic option, offering even more intense vanilla notes and those beautiful speckles of vanilla bean.
- Cocoa Powder: This is where the chocolate magic happens! You have a choice between Dutch process cocoa powder and natural cocoa powder, and either will work wonderfully in this recipe. Understanding the difference between the two can help you achieve your desired flavor and color profile.
Decoding Cocoa Powder: Natural vs. Dutch Process
The type of cocoa powder you choose significantly impacts the color and flavor of your chocolate whipped cream. While both are excellent, they offer distinct characteristics:
- Dutch Process Cocoa Powder: This cocoa powder has been treated with an alkali solution to neutralize its acidity. This process results in a darker, often richer, reddish-brown color and a milder, less bitter chocolate flavor that is smooth and earthy. In this whipped cream recipe, Dutch process cocoa yields a significantly darker finished product and a deep, pronounced chocolate taste. If you prefer a more intense, classic “dark chocolate” profile, Dutch process is the way to go.
- Natural Cocoa Powder: Untreated and acidic, natural cocoa powder is lighter in color, typically a light brown. It possesses a stronger, slightly bitter, and more fruity chocolate flavor. When used in this recipe, it produces a lighter brown whipped cream with a brighter, more assertive chocolate taste. This option is perfect if you enjoy a vibrant, less mellow chocolate experience.
I conducted a side-by-side test, and as you can see, the whipped cream made with Dutch process cocoa (on the left in my mental image, if not explicitly pictured here) was noticeably darker and offered a slightly stronger chocolate flavor profile. Conversely, the version made with natural cocoa powder (on the right) was lighter in hue but still deliciously chocolatey, with a more subtle and bright flavor.
Personally, I leaned towards the deeper, more robust flavor provided by the Dutch process cocoa. However, my husband actually preferred the natural cocoa powder version for its lighter, brighter chocolate notes. The beauty is that both varieties produce fantastic results in this recipe, so feel free to use whichever you have in your pantry or whichever you prefer! Don’t let the choice hold you back from trying this delightful topping.
Essential Equipment
Making chocolate whipped cream is simple, and you likely already have most of the necessary tools:
- Mixing Bowl: A large, preferably metal or glass, mixing bowl. Chilling this bowl is key!
- Electric Mixer: Either a stand mixer fitted with a whisk attachment or a handheld electric mixer will work best. While you *can* whip cream by hand, an electric mixer makes the process much quicker and ensures consistent results.
- Whisk Attachment/Beaters: For optimal aeration.
- Fine-Mesh Sieve: Crucial for sifting cocoa powder to prevent lumps.
- Spatula: For scraping down the sides of the bowl and folding in any unmixed cream.
- Measuring Cups and Spoons: For accurate ingredient proportions.
How to Make Perfect Chocolate Whipped Cream
Creating this rich and creamy chocolate whipped cream is a straightforward process. Follow these steps for flawless results every time:
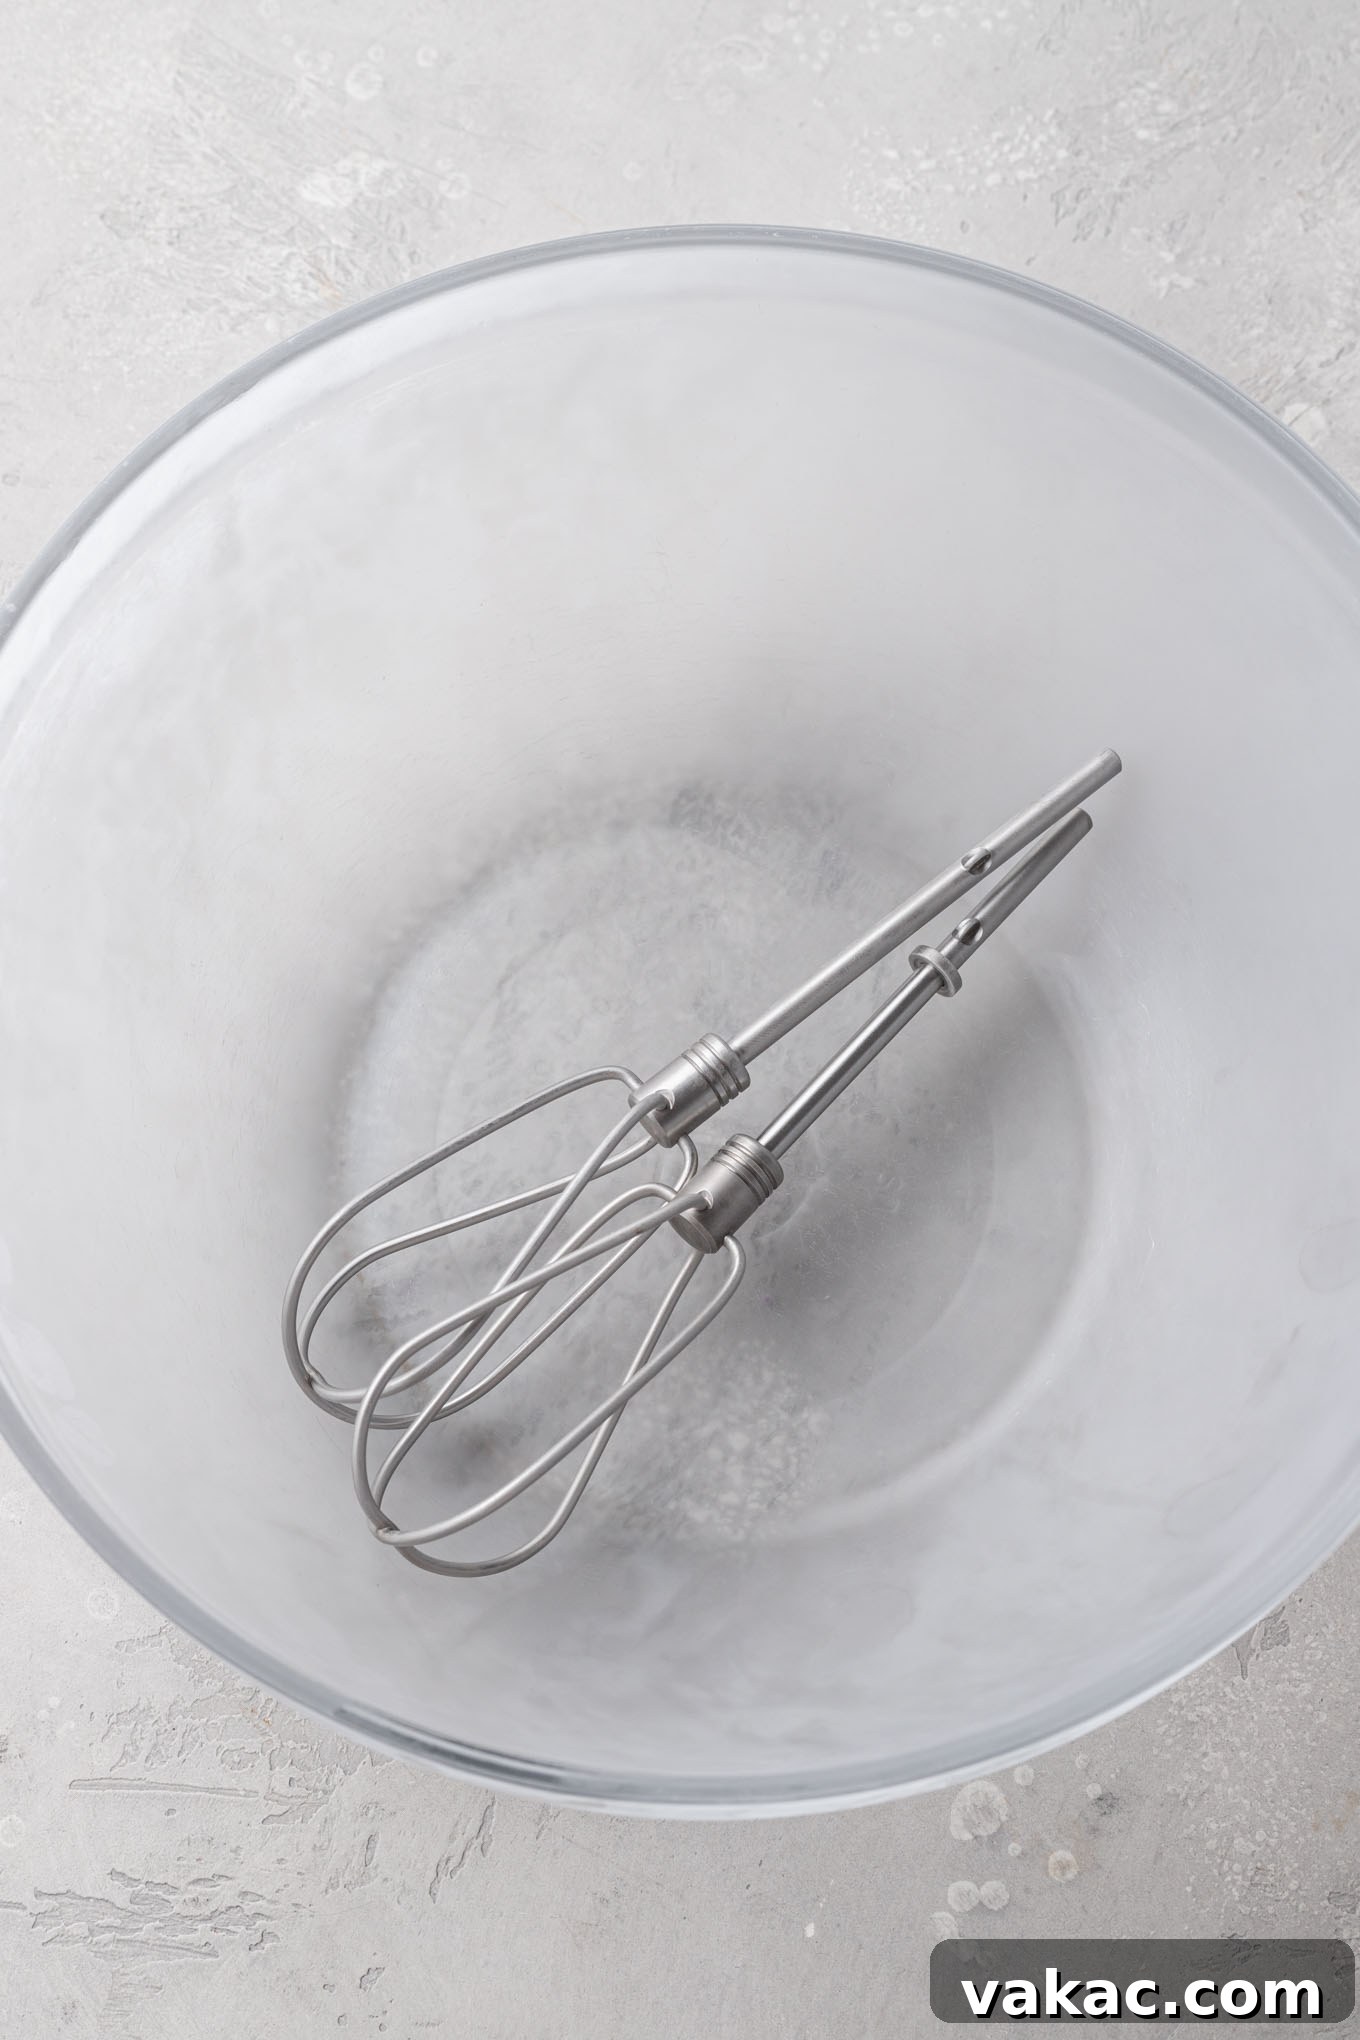
- Chill Your Equipment: This crucial first step significantly aids in achieving light and fluffy whipped cream. Place your mixing bowl (preferably metal or glass) and your electric mixer beaters (or whisk attachment) into the freezer for 5 to 10 minutes. This pre-chilling allows the cream to stay colder for longer during whipping, helping the fat globules firm up and incorporate air more efficiently, resulting in greater volume and stability. You can do this while you gather and measure your ingredients.
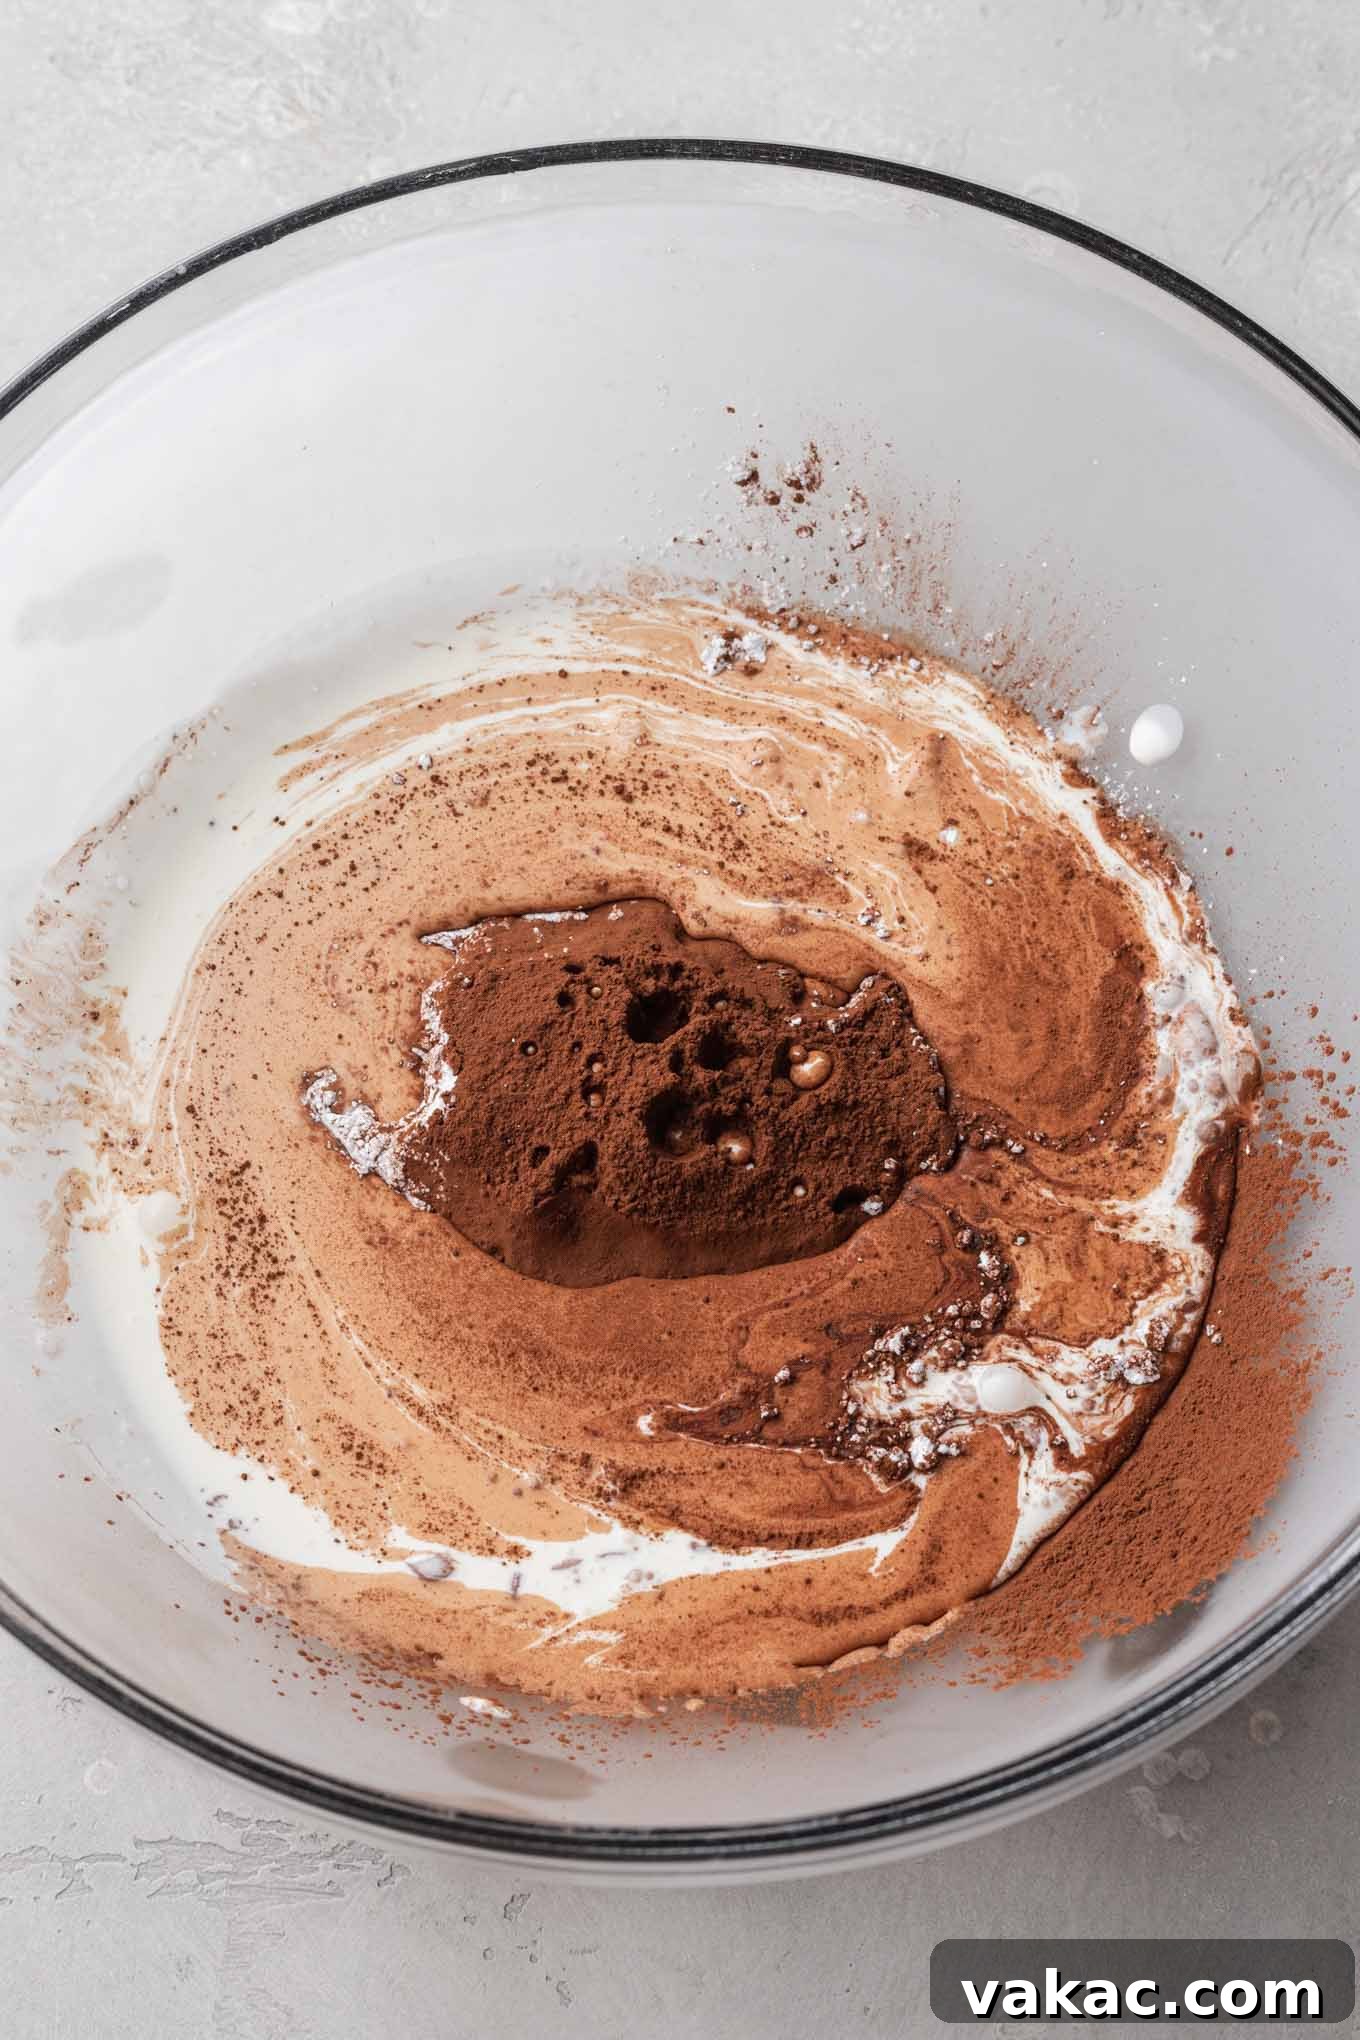
- Combine All Ingredients: Once your equipment is thoroughly chilled, remove it from the freezer. Into the cold mixing bowl, add the cold heavy whipping cream, sifted powdered sugar, sifted cocoa powder, and pure vanilla extract. Sifting the cocoa powder is vital to prevent any powdery lumps from forming in your final whipped cream.
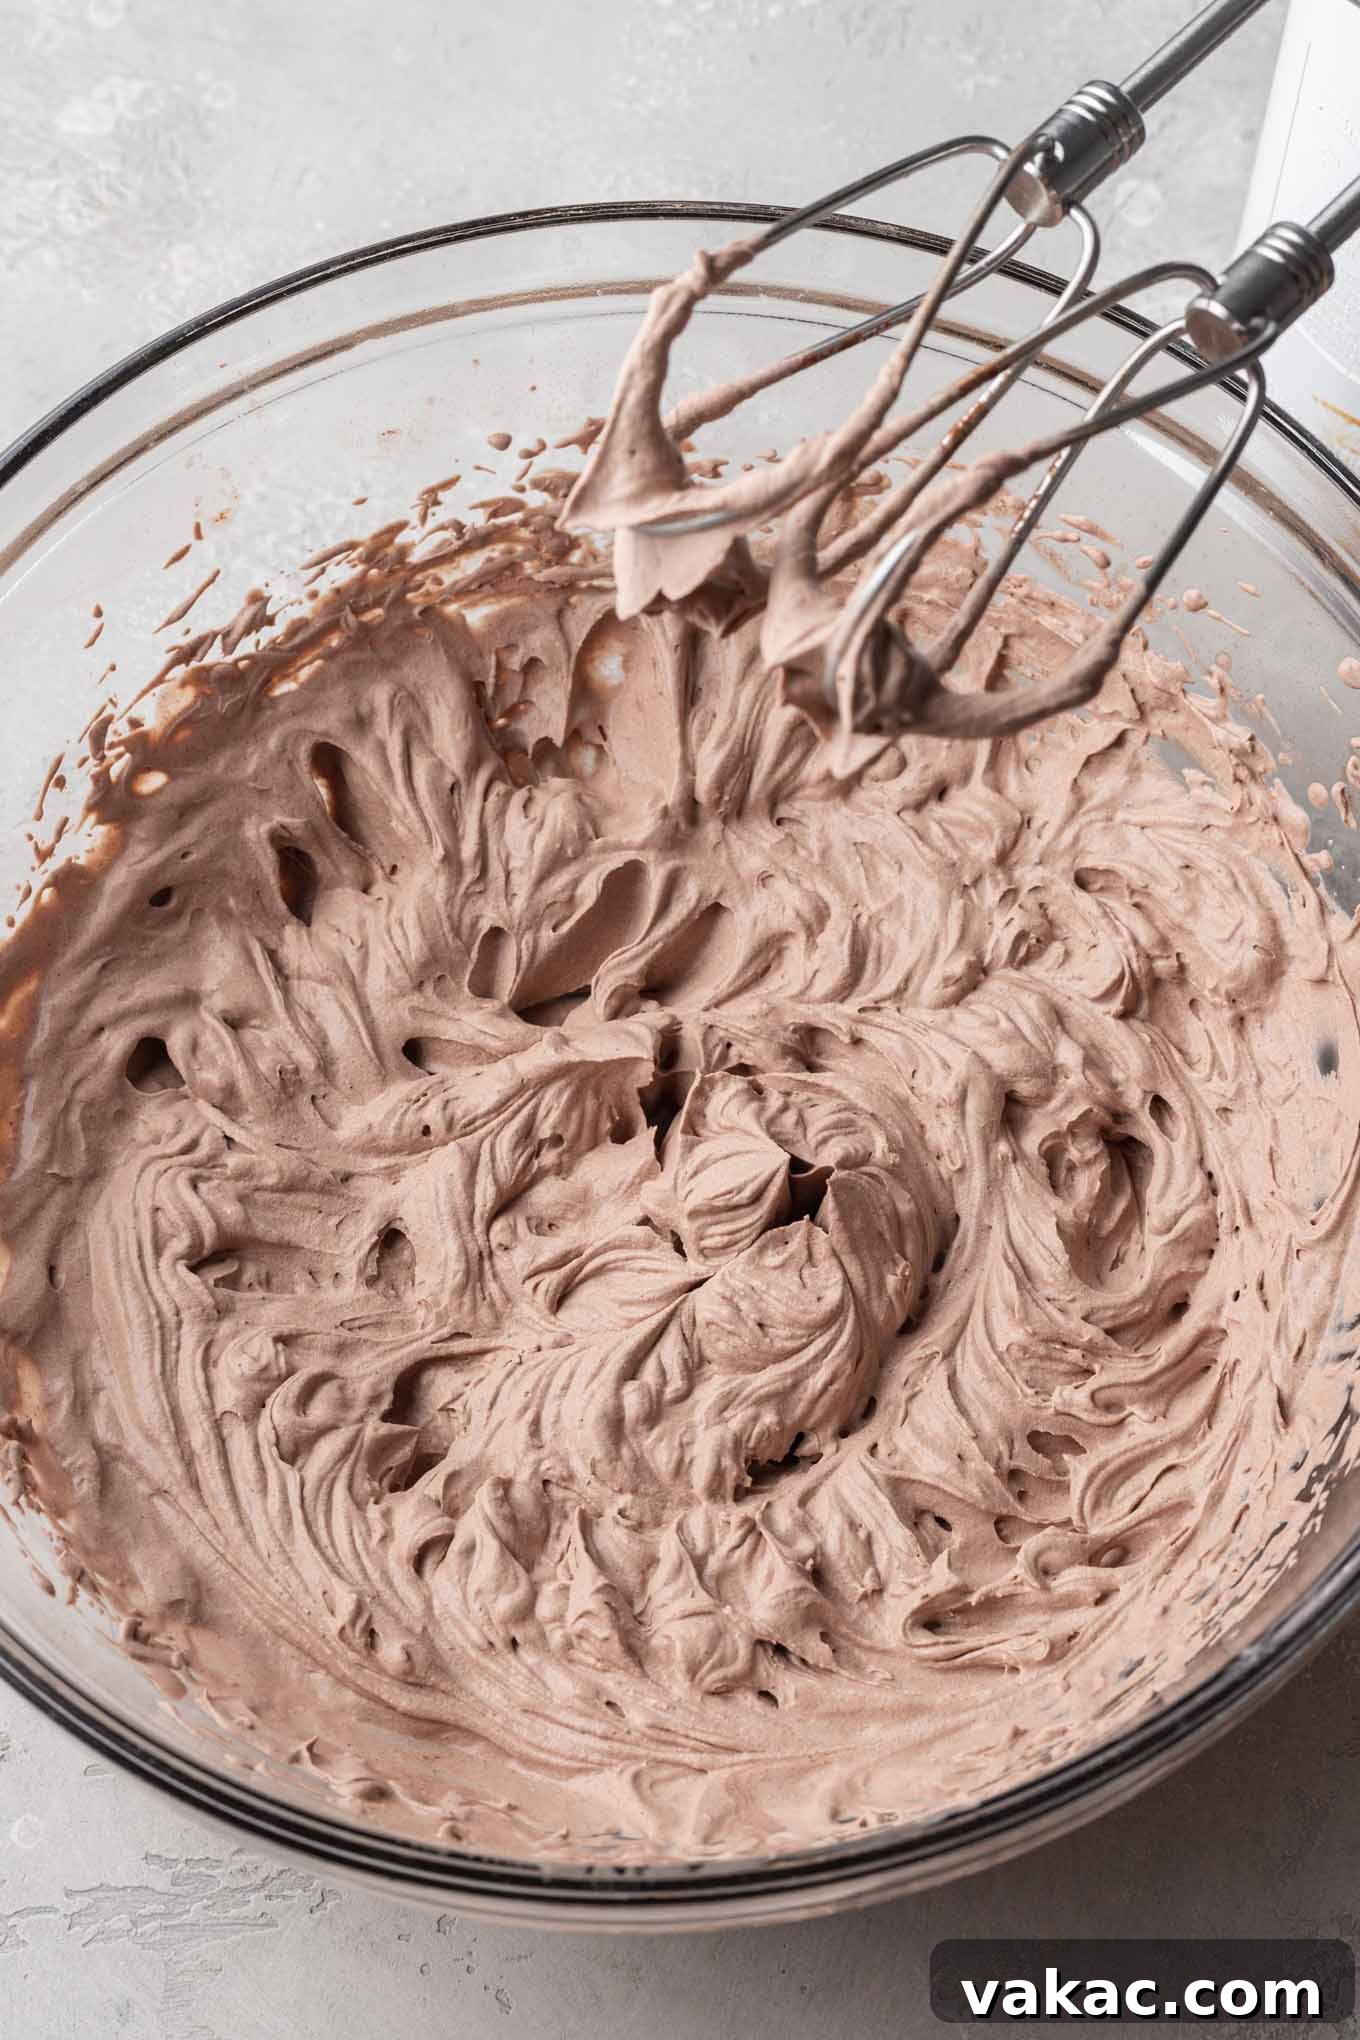
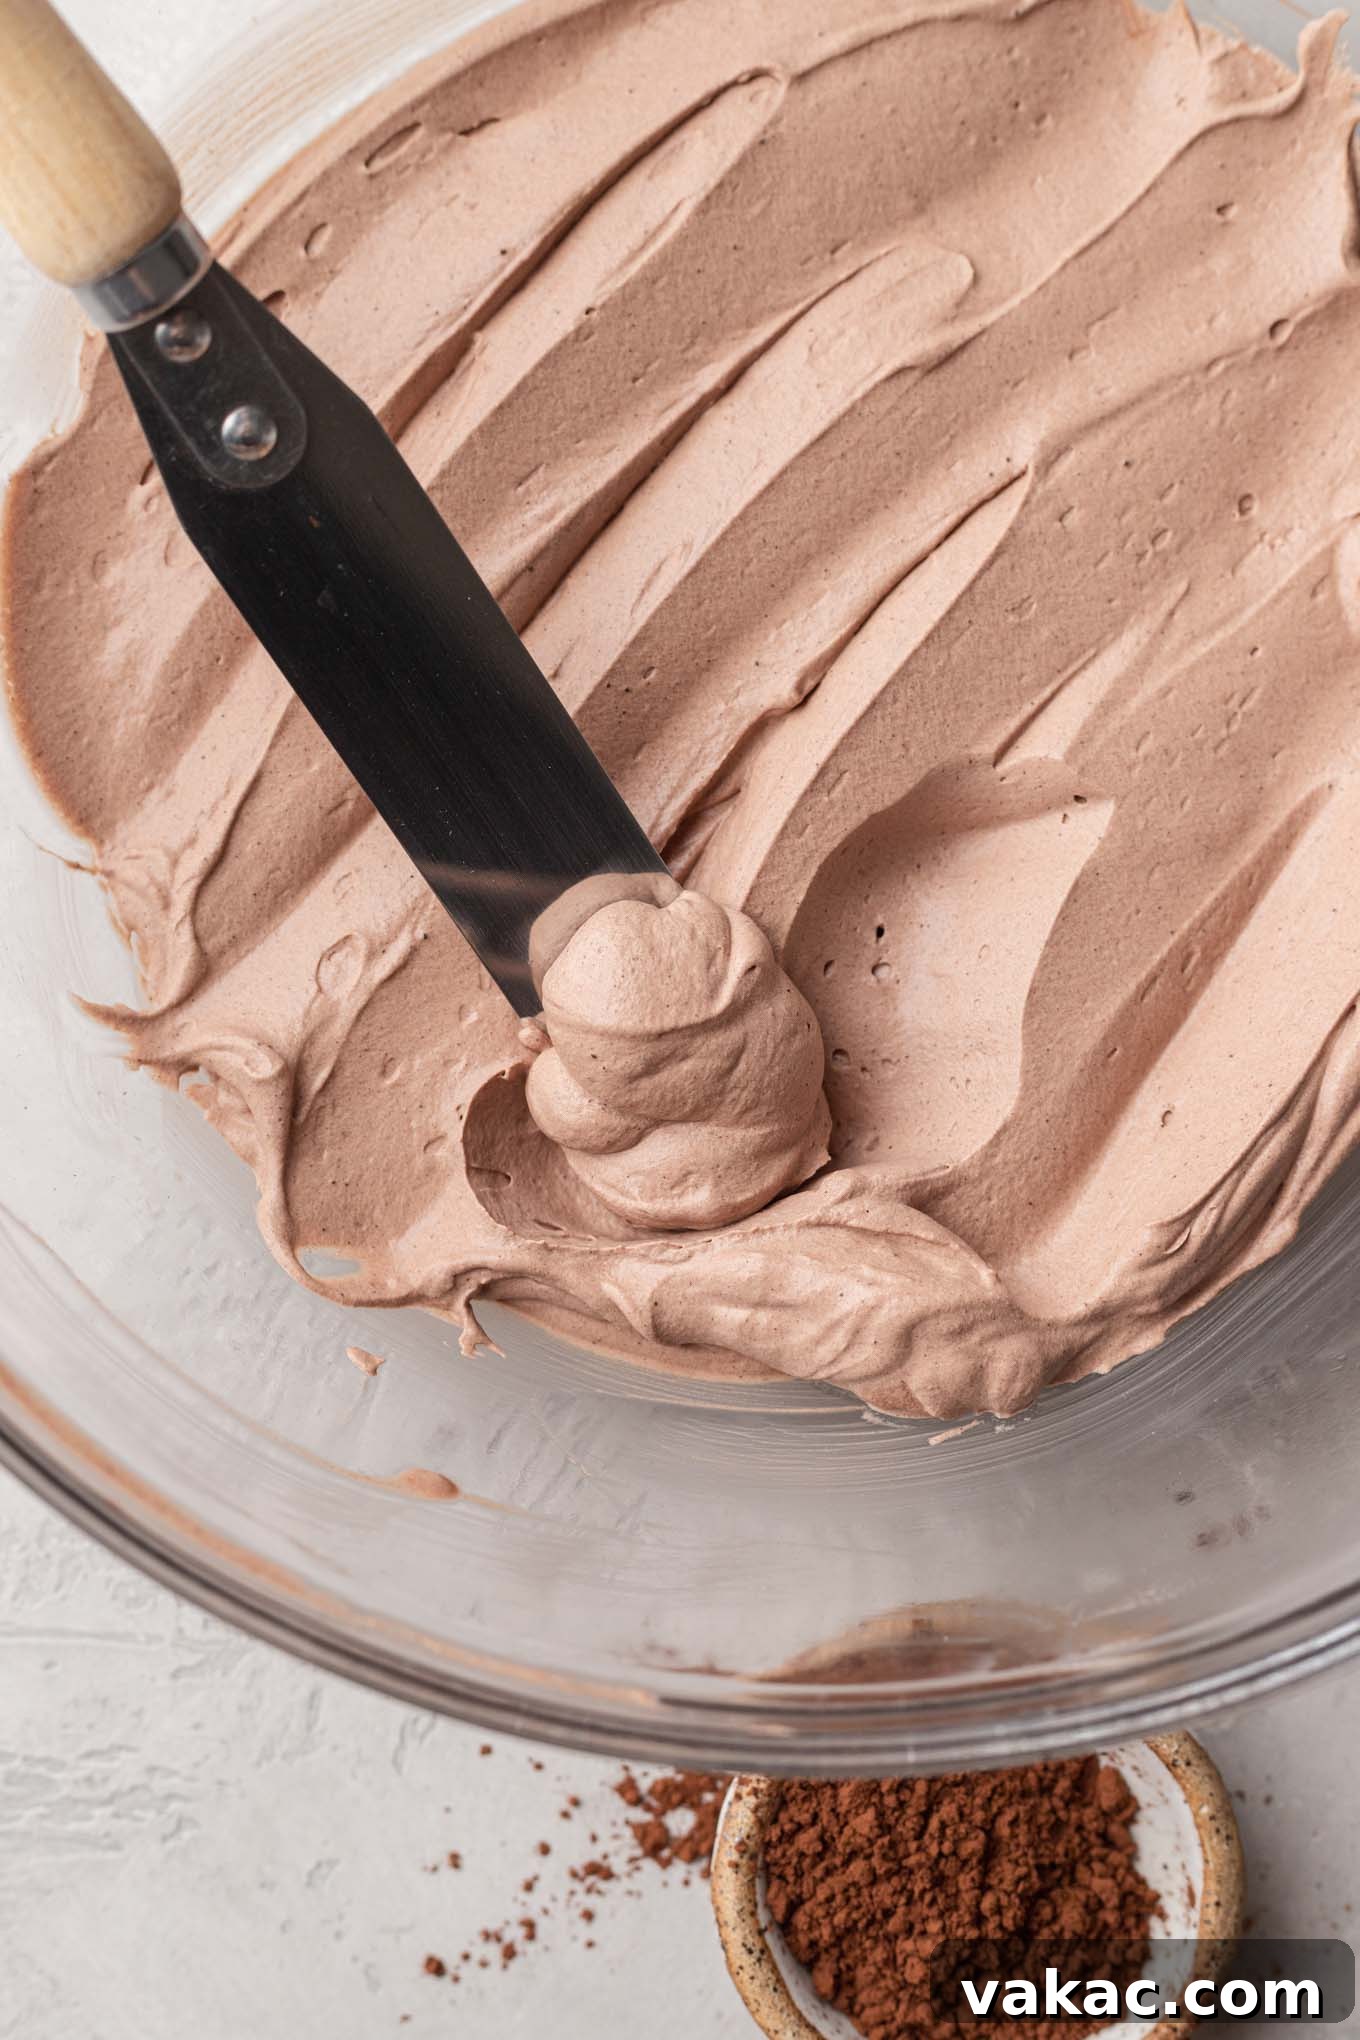
- Beat to Stiff Peaks: Begin mixing on a low to medium speed to gently combine the ingredients and prevent splashing. After about 30 seconds to a minute, as the mixture starts to increase in volume and thicken slightly, gradually increase the speed of your mixer to medium-high. Continue beating until stiff peaks form. Stiff peaks mean that when you lift your beaters or whisk out of the bowl, the whipped cream stands straight up and holds its shape firmly. Be vigilant during this stage, as whipped cream can go from perfect to over-whipped (grainy or buttery) very quickly. Stop mixing as soon as stiff peaks are achieved.
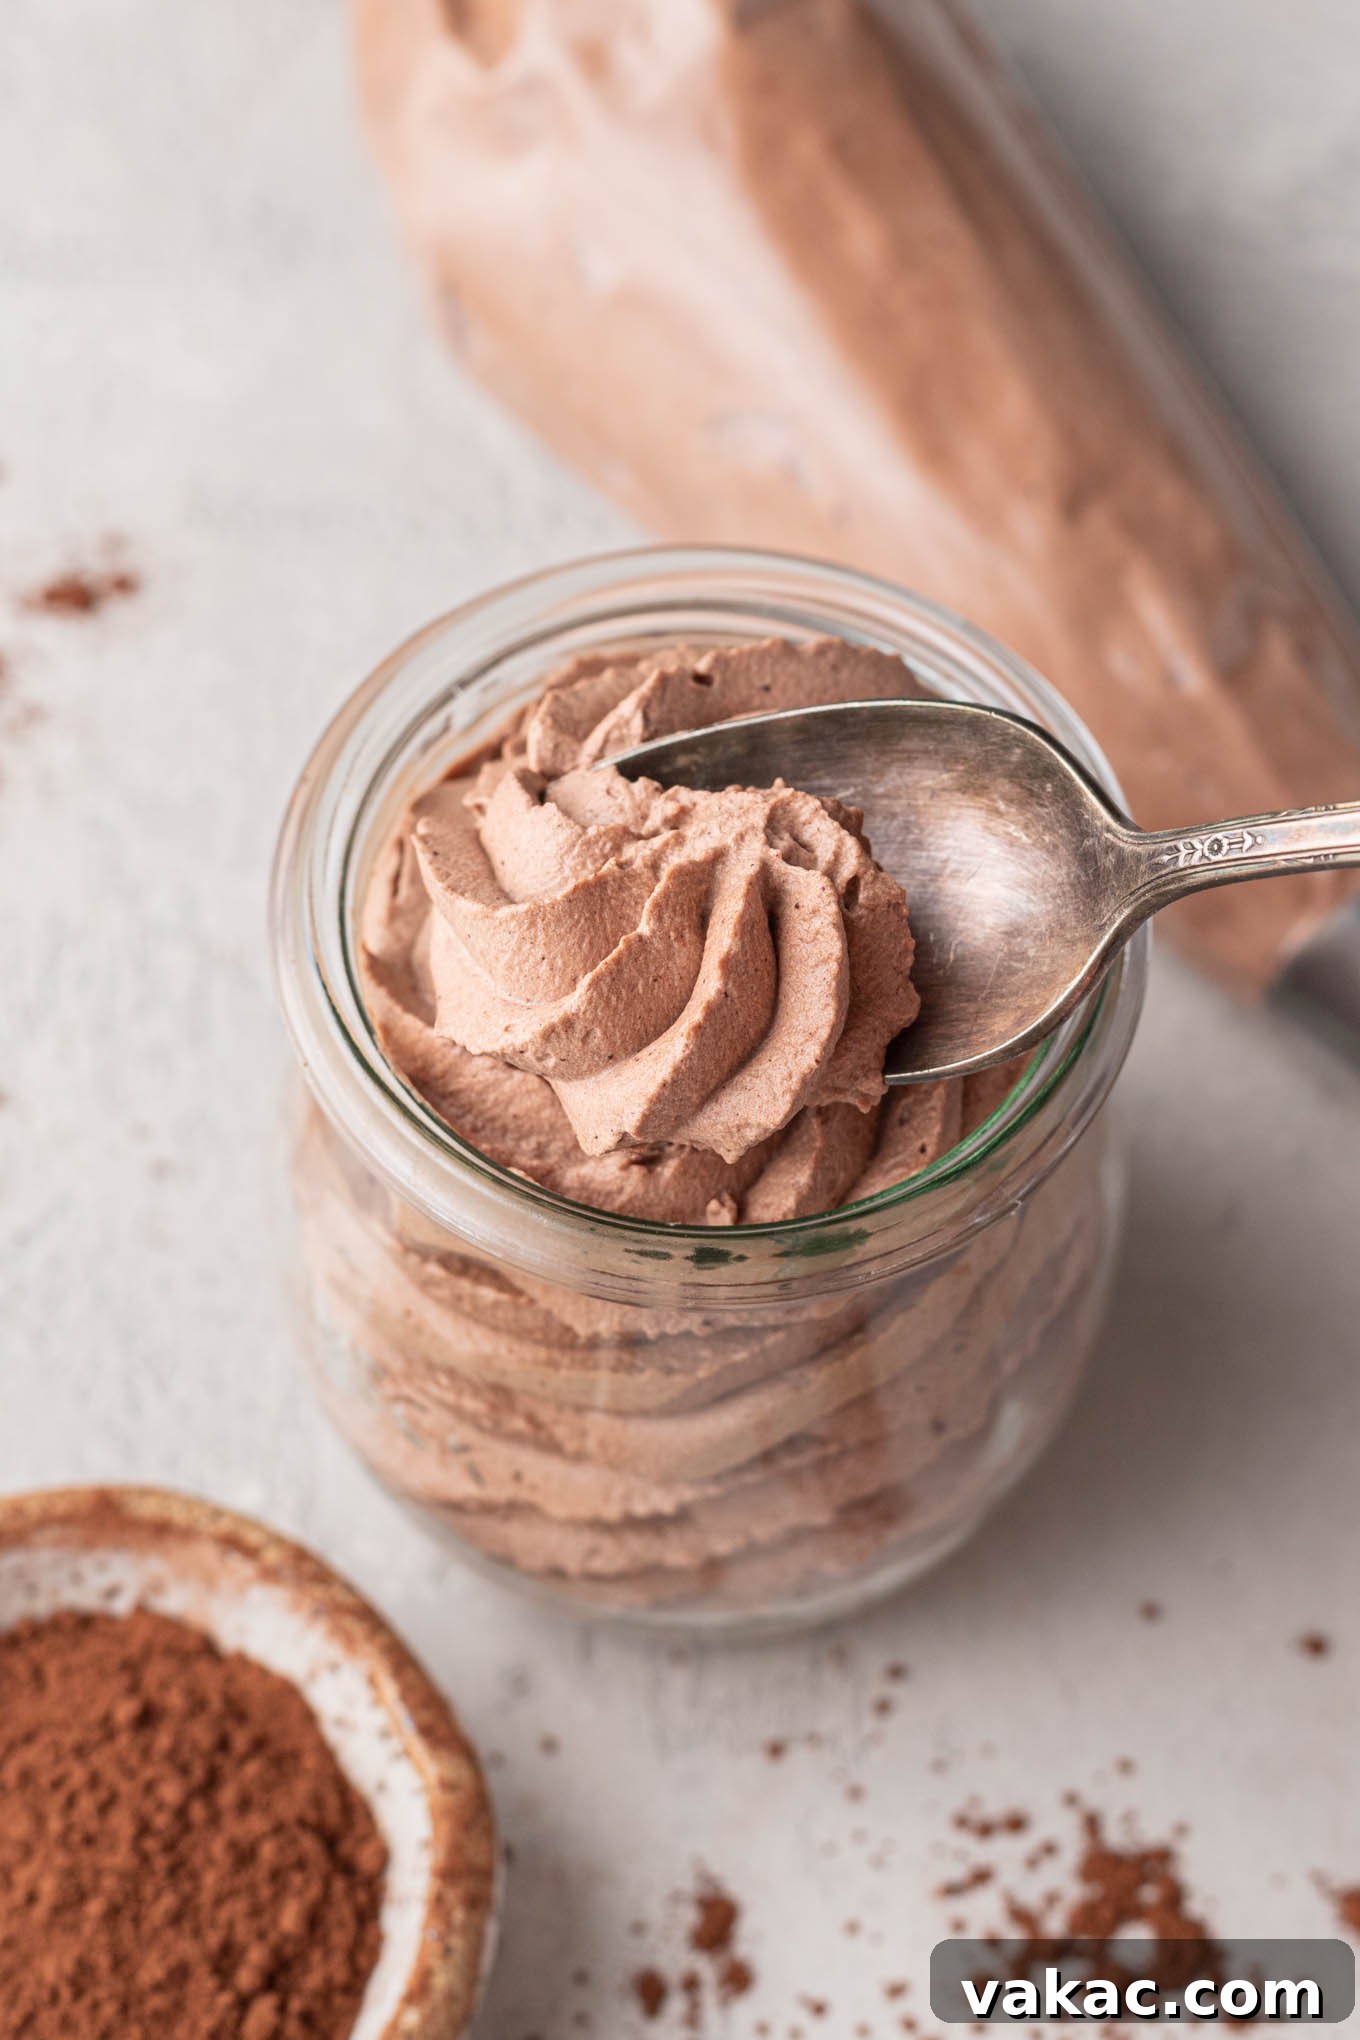
- Serve or Refrigerate: Your glorious chocolate whipped cream is now ready to enjoy! You can immediately spread it, pipe it, or dollop it onto your favorite desserts. If you’re not serving it right away, transfer it to an airtight container, cover it tightly, and store it in the refrigerator for up to 1 to 2 days. For best results, give it a quick whisk by hand before serving if it’s been sitting for a while.
Serving Suggestions: Elevate Your Desserts
This chocolate whipped cream isn’t just a topping; it’s a celebration in a bowl! Its versatility means it pairs beautifully with an array of desserts. Here are some of my personal favorites and other delightful ideas:
- Pies and Tarts: It’s absolutely heavenly on classic chocolate desserts like my French Silk Pie, Homemade Chocolate Cream Pie, or even a simple banana cream pie for a chocolate twist.
- Cheesecakes: A generous dollop atop a rich Chocolate Cheesecake or a plain vanilla cheesecake creates a stunning contrast in flavor and texture.
- Cupcakes and Cakes: Forget traditional frosting! This whipped cream makes a light and airy “frosting” for Chocolate Cupcakes, Vanilla Cupcakes, or your favorite chocolate layer cake. It’s less sweet and incredibly refreshing.
- Brownies and Cookies: Serve it alongside warm brownie bites (recipe coming soon!), fudgy chocolate cookies, or even a simple chocolate chip cookie for an indulgent treat.
- Hot Beverages: Swirl a spoonful into hot cocoa, coffee, or espresso for an instant upgrade.
- Fruits: It’s a surprisingly elegant pairing with fresh berries like strawberries, raspberries, or sliced bananas.
- Pancakes and Waffles: For an extra special breakfast or brunch, top your favorite pancakes or waffles with this chocolatey goodness.
- Trifles and Parfaits: Layer it with cake pieces, fruit, and pudding for a quick and impressive dessert.
Top Tips for Flawless Chocolate Whipped Cream
Achieving light, airy, and stable chocolate whipped cream is easy with a few simple techniques:
- Always Chill Your Bowl and Beaters: I cannot stress this enough! Cold equipment helps the heavy cream maintain a low temperature, which is essential for whipping quickly and achieving maximum volume. A chilled bowl and beaters lead to a stiffer, more stable whipped cream that holds its shape longer.
- Sift Your Cocoa Powder (and Powdered Sugar!): Cocoa powder, especially, tends to clump. Sifting it through a fine-mesh sieve before adding it to the cream ensures a silky-smooth whipped cream free of any gritty bits or unmixed pockets. It’s a small step that makes a big difference in texture.
- Avoid Overmixing: This is perhaps the most common pitfall when making whipped cream. Cream can go from perfectly whipped to grainy and separated (approaching butter) in a matter of seconds. Keep a close eye on it, especially as it approaches stiff peaks. Stop mixing as soon as the cream holds its shape firmly when the beaters are lifted. If you accidentally overmix it slightly and it looks a bit grainy, you can often save it by gently folding in a tablespoon or two of fresh, cold heavy cream until it smooths out.
- Consider Stabilizing for Longer Hold: While this chocolate whipped cream holds up surprisingly well for a day or two in the refrigerator, if you need it to last longer or withstand warmer temperatures, consider stabilizing it. This usually involves adding a small amount of gelatin, cornstarch, or cream cheese. You can find detailed instructions in my stabilized whipped cream recipe.
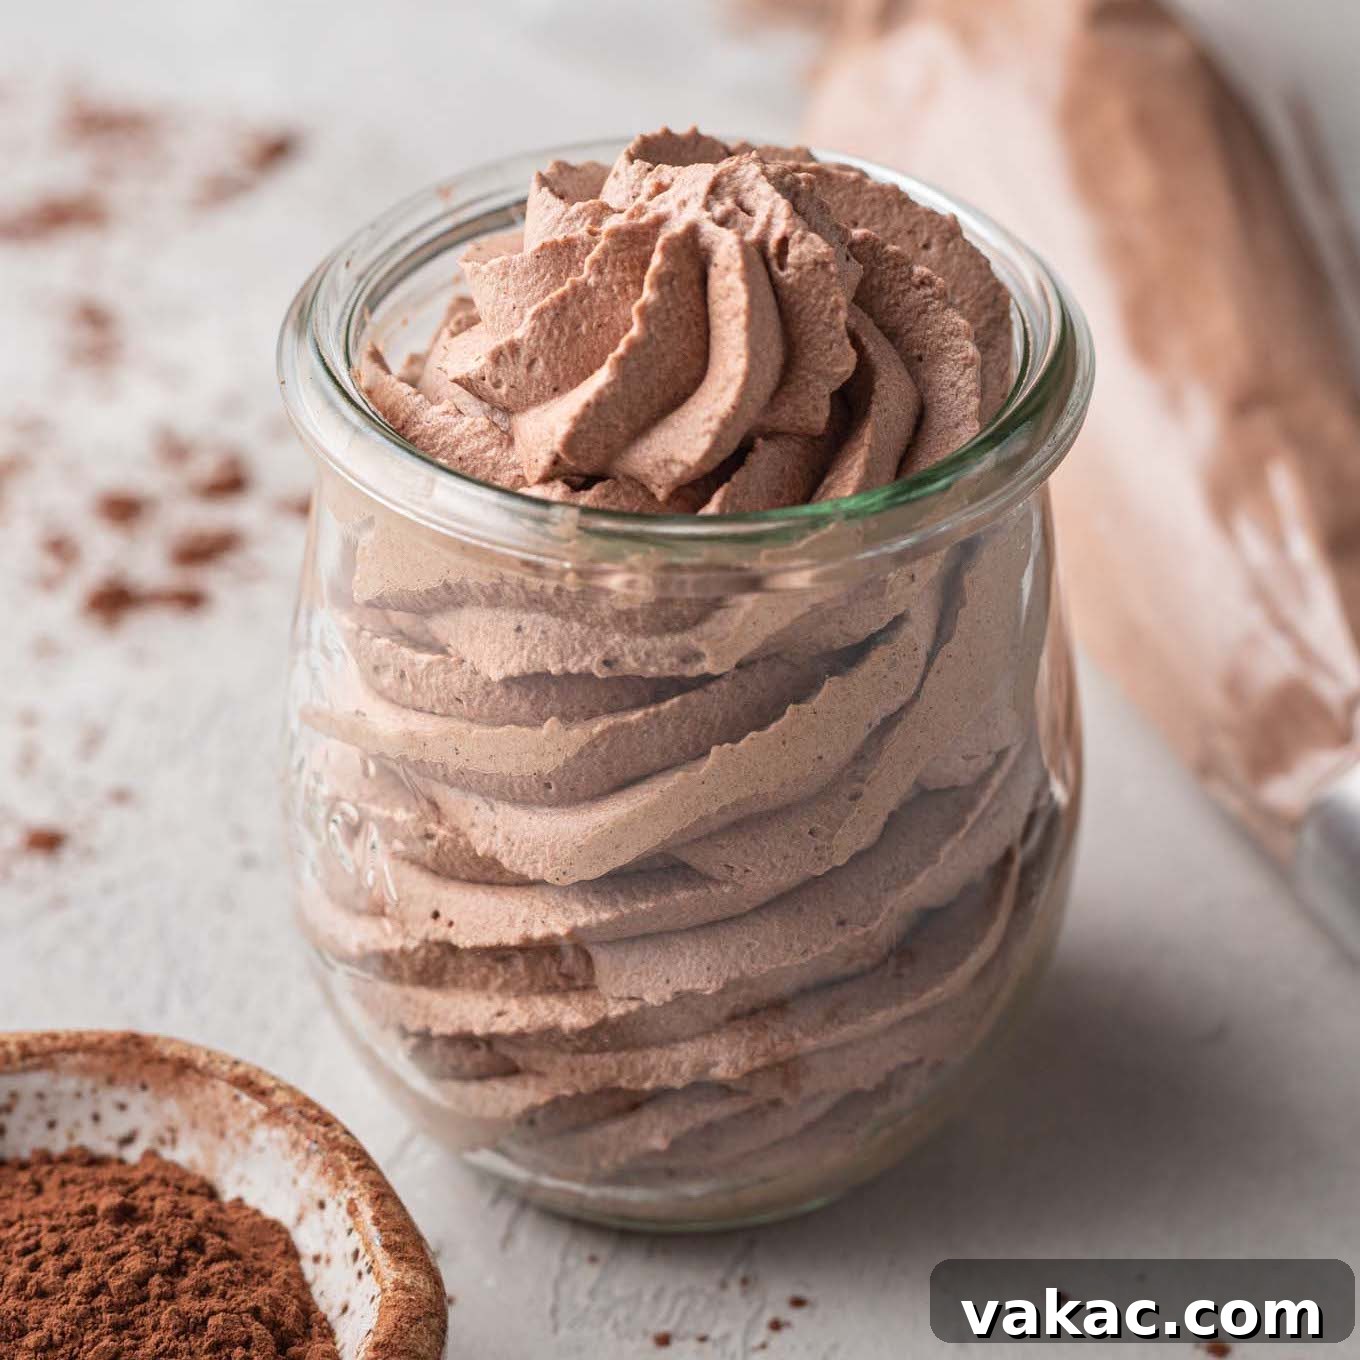
Decadent Chocolate Whipped Cream
Prep Time: 10 mins
Total Time: 10 mins
If you’re looking for the perfect topping for your favorite chocolate dessert, then look no further! This chocolate whipped cream is smooth, creamy, and packed with chocolate flavor.
Pin Recipe
Ingredients
Servings: 2 cups
- 1 cup heavy whipping cream (240 ml)
- ⅓ cup powdered sugar (40 grams)
- 3 tablespoons unsweetened cocoa powder, sifted (17 grams)
- ½ teaspoon pure vanilla extract
Instructions
- Preparation: Before getting started, place your mixing bowl and beaters (or whisk attachment) in the freezer for 5 to 10 minutes to chill thoroughly. Once chilled, remove them from the freezer.
- Combine and Whip: In the chilled mixing bowl of a stand mixer fitted with the whisk attachment, or in a large mixing bowl using a handheld mixer, add the cold heavy whipping cream, powdered sugar, sifted cocoa powder, and vanilla extract. Begin mixing on medium-low speed for 30 seconds to 1 minute to prevent splashing and gently combine the ingredients. Once the mixture starts to increase in volume and thicken slightly, increase the speed to medium-high. Continue mixing until firm, stiff peaks form. Be careful not to overmix.
- Serve or Store: Your delicious chocolate whipped cream is ready to be served immediately. It can be piped, spread, or simply dolloped onto your favorite desserts. If not serving immediately, transfer to an airtight container and store in the refrigerator for up to 2 days.
Notes
Cocoa powder: You may use either natural or Dutch process cocoa powder for this recipe. If you’re unsure which one to use, I have a dedicated post that explains the difference between both kinds of cocoa powder, helping you choose based on desired flavor and color.
Storage Instructions: For optimal freshness and texture, whipped cream should be stored in an airtight container in the refrigerator for up to 2 days. A quick whisk by hand may refresh its texture if it settles slightly.
Cuisine: American
Course: Dessert
Author: Danielle Rye
Frequently Asked Questions (FAQs)
Here are some common questions about making homemade chocolate whipped cream:
- Why isn’t my whipped cream thickening? The most common reasons are that your cream isn’t cold enough, your bowl or beaters aren’t chilled, or you’re not using heavy whipping cream (it has a lower fat content). Ensure all elements are very cold and that you’re using heavy cream for best results.
- Can I use granulated sugar instead of powdered sugar? It is generally not recommended. Granulated sugar crystals may not fully dissolve, leading to a grainy texture in your whipped cream. Powdered sugar, with its fine consistency and added cornstarch, ensures a smooth finish and helps stabilize the cream.
- Can I make chocolate whipped cream ahead of time? Yes, you can! This whipped cream holds up well in the refrigerator for 1 to 2 days when stored in an airtight container. For longer storage or for use in professional settings, consider stabilizing it as mentioned in the “Recipe Tips” section.
- What does “stiff peaks” mean? Stiff peaks occur when the whipped cream is firm enough to stand straight up when you lift the beaters or whisk out of the bowl. It should hold its shape without drooping. Be careful not to go beyond this point to avoid over-whipping.
- Can I adjust the chocolate intensity? Absolutely! Feel free to experiment with the amount of cocoa powder. For a milder chocolate flavor, reduce it by ½ tablespoon. For an extra rich and intense flavor, you can increase it by ½ to 1 tablespoon, adjusting sweetness as needed.
Conclusion
Creating your own homemade chocolate whipped cream is a rewarding experience that elevates any dessert to new heights. With just a few simple ingredients and techniques, you can achieve a light, airy, and intensely chocolatey topping that is far superior to anything store-bought. Its versatility makes it the perfect accompaniment for pies, cakes, hot beverages, and fresh fruit. I encourage you to try this recipe and discover the magic of truly decadent, homemade chocolate goodness. Happy baking and topping!