
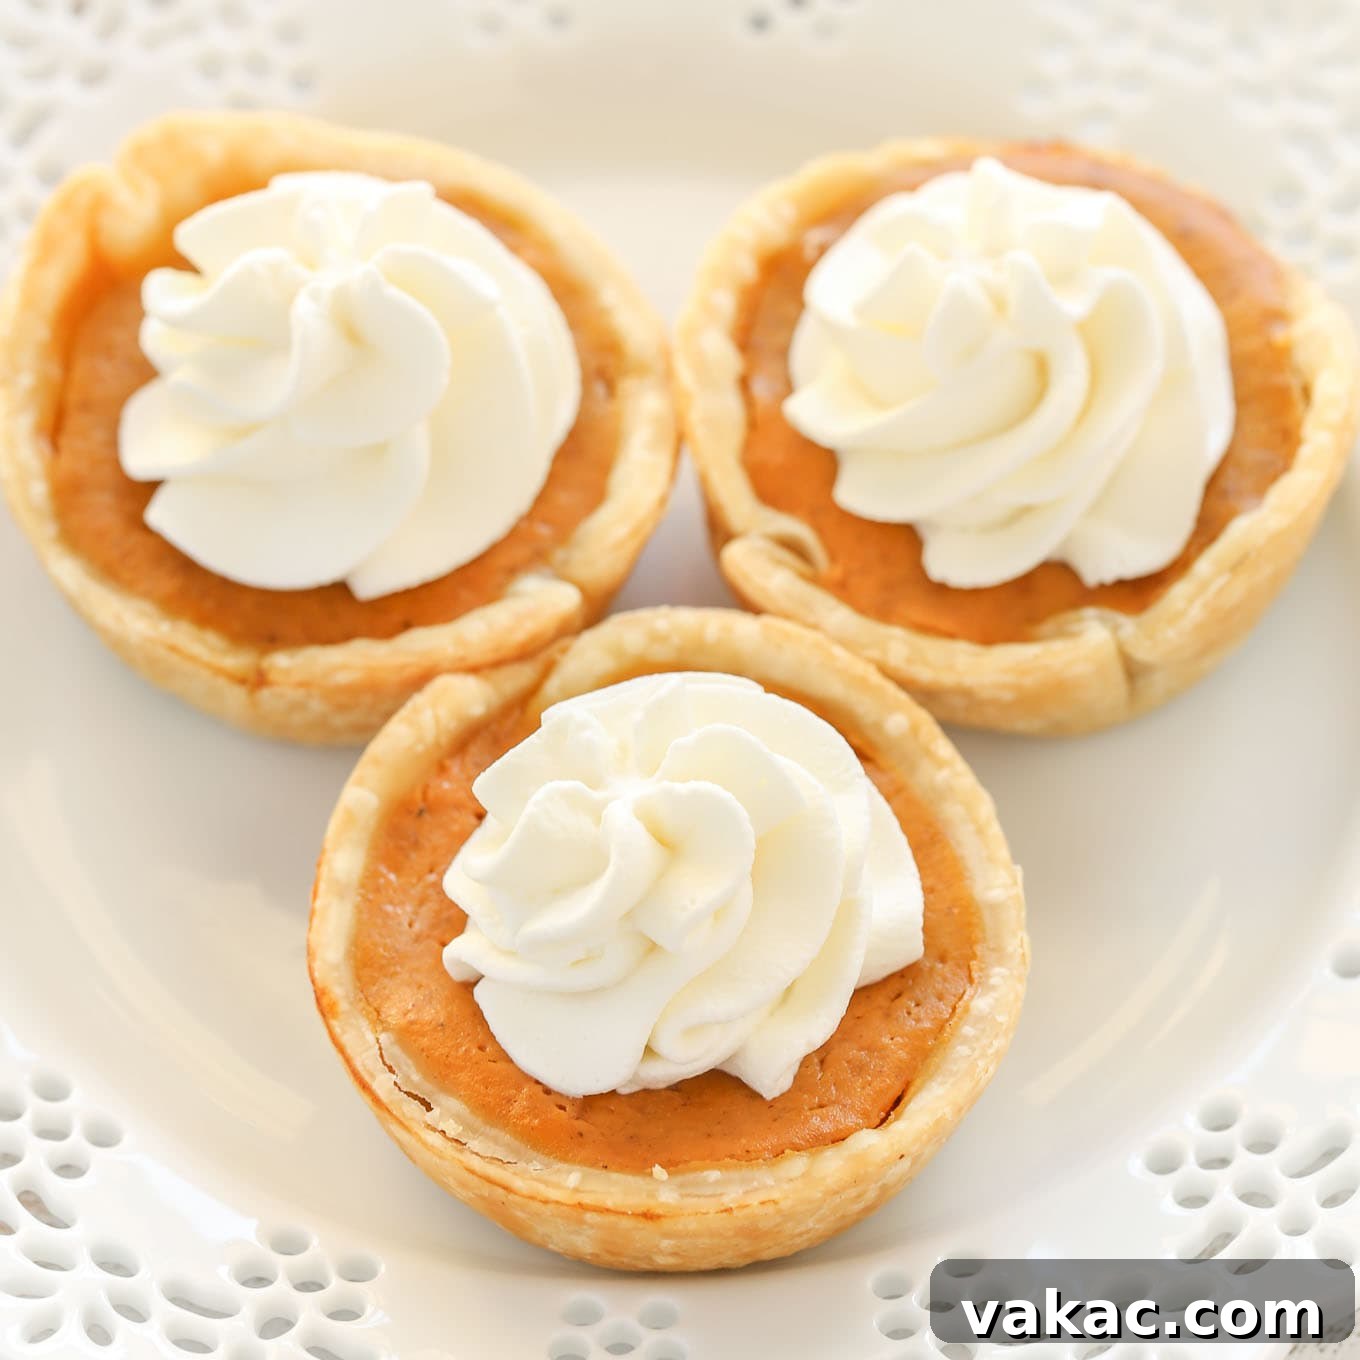
Easy Mini Pumpkin Pies: Your Perfect Muffin Pan Thanksgiving Dessert
An effortless and delightful recipe for mini pumpkin pies, perfectly baked in a muffin pan. This dessert is an absolute must-have for your Thanksgiving celebration or any fall gathering!
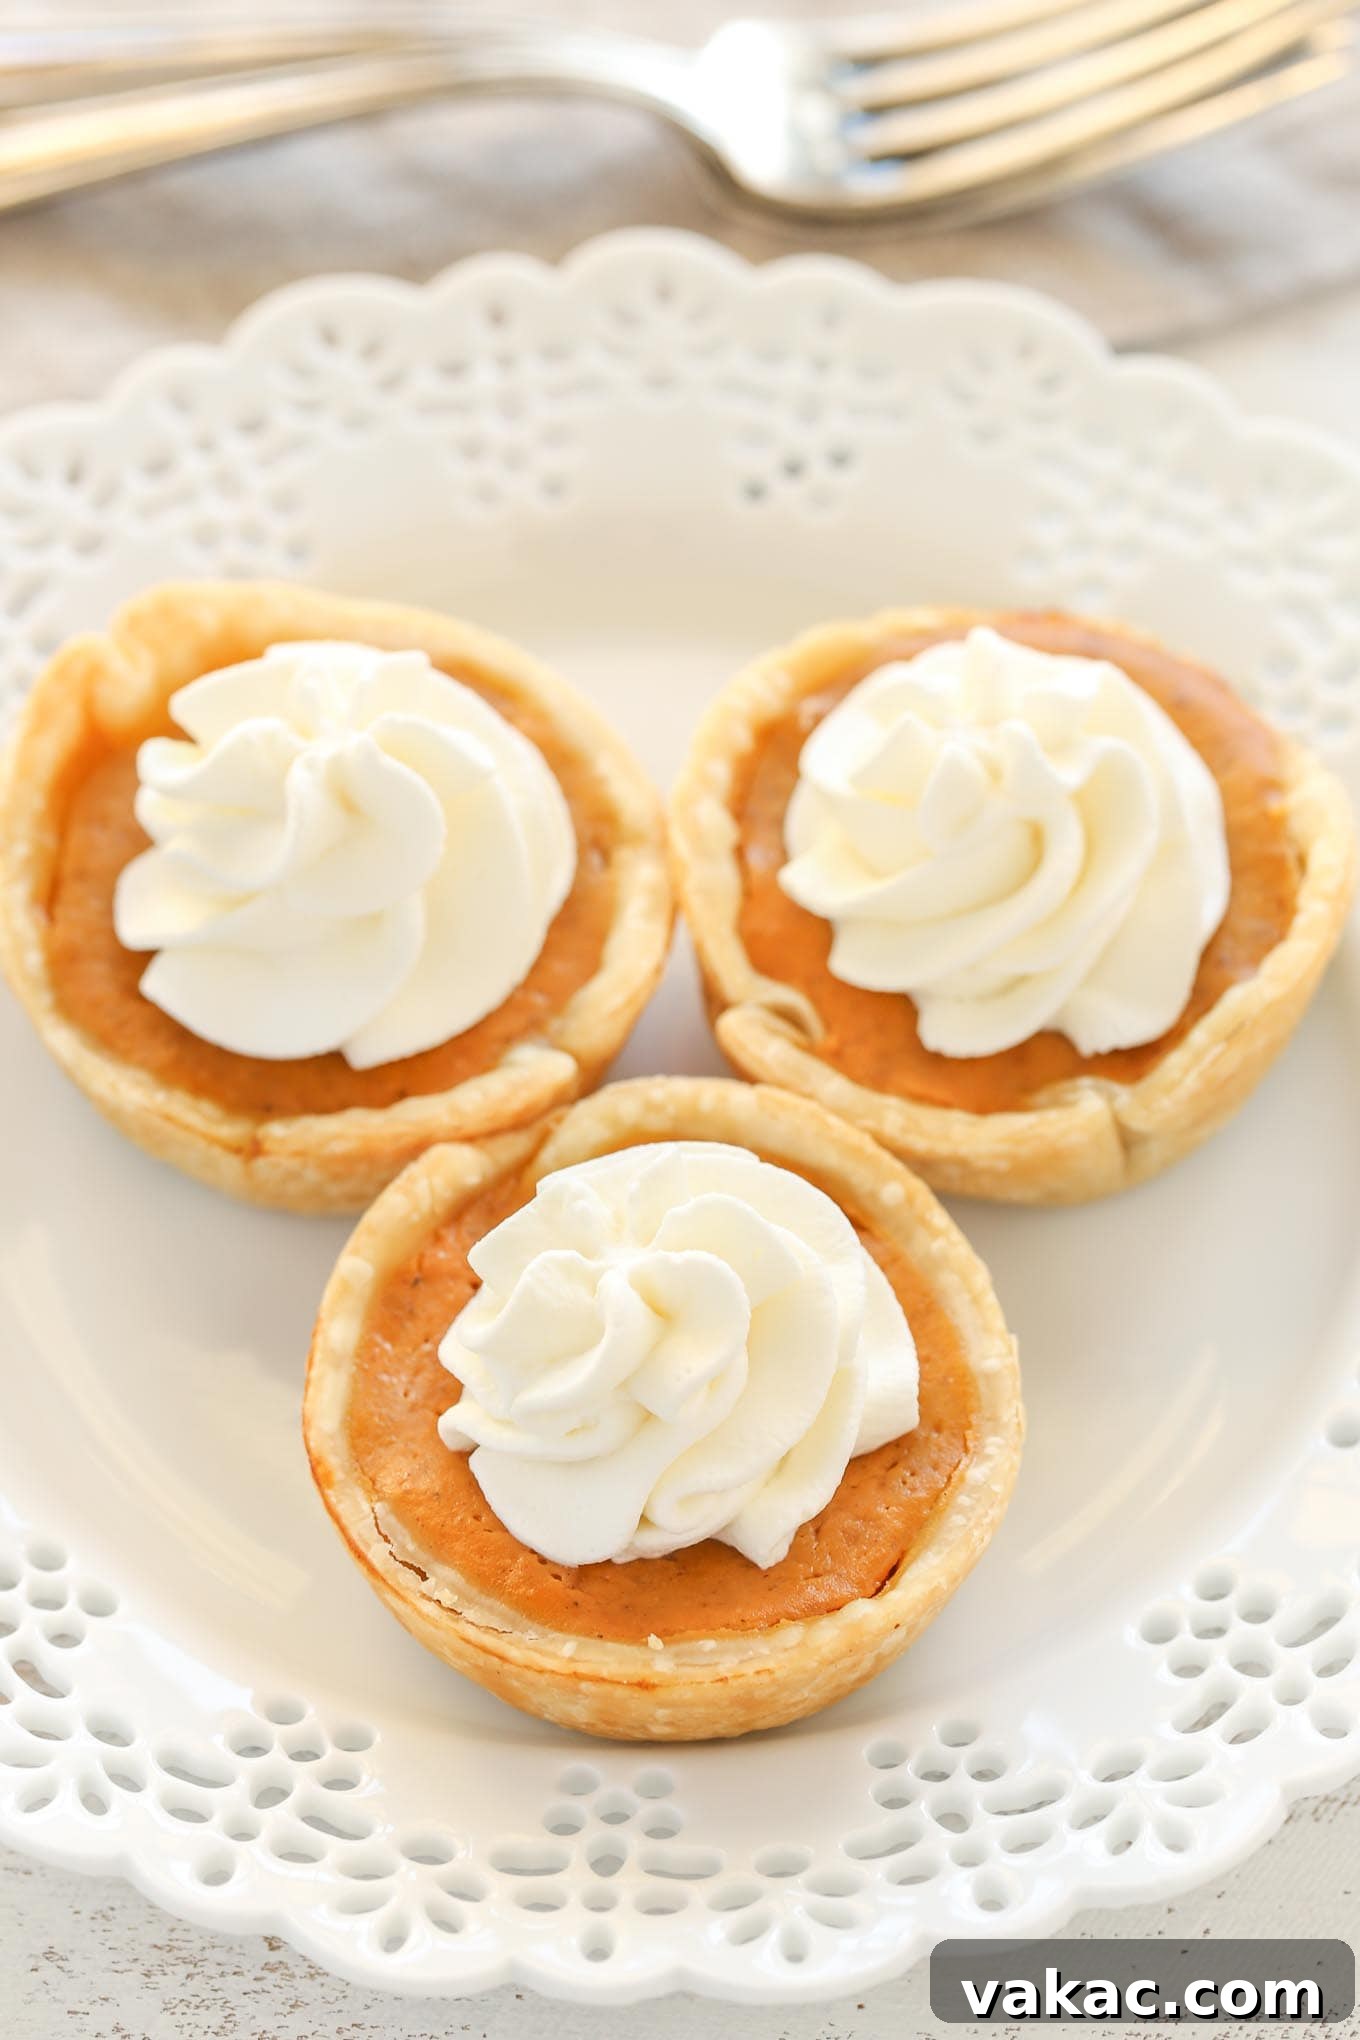
Do you often find yourself feeling intimidated by the idea of baking a homemade pie? The intricate crusts, the fear of a soggy bottom, or the daunting task of decorating edges can make even the most enthusiastic baker hesitate. If this sounds familiar, then these incredibly simple mini pumpkin pies are your perfect gateway into the wonderful world of pie baking!
Crafted in a standard muffin pan, this recipe completely eliminates the fuss of traditional pie decorating. Forget about crimping edges or wrestling with a full-sized pie crust. The luscious pumpkin filling comes together in a mere 5 minutes, requiring nothing more than a quick mix. Once prepared, simply pour it into your pre-cut pie crusts and let your oven do the rest. The result? Adorably portioned, perfectly baked pumpkin pies that are not only easy to make but also an absolutely fantastic and charming addition to your Thanksgiving table this year. They offer all the beloved flavors of a classic pumpkin pie, but in a convenient, individual serving size that’s impossible to resist.
Why Mini Pumpkin Pies Are a Dessert Game-Changer
While a grand, full-sized pumpkin pie certainly has its place, mini pumpkin pies bring a host of advantages that make them a preferred choice for many bakers, especially during busy holiday seasons. Here’s why these individual treats are a true game-changer:
- Effortless Elegance: One of the biggest hurdles for many bakers is achieving a beautifully crimped or decorated pie crust. With mini pies made in a muffin pan, this concern vanishes. The edges naturally form a neat, rustic finish in the pan, saving you time and stress while still looking utterly charming.
- Perfect Portions, Every Time: Say goodbye to uneven slices and awkward serving. Each mini pie is a perfectly portioned individual dessert, making them ideal for gatherings. Guests can easily grab their own, and there’s no need for extra plates or utensils for serving. This also helps with portion control, allowing everyone to enjoy a sweet treat without overindulging.
- Quicker Baking & Cooling: Smaller pies mean shorter baking times. This is a huge plus when your oven is in high demand during the holidays. They also cool down faster, allowing you to enjoy them sooner or get them into the refrigerator for chilling.
- Beginner-Friendly: If you’re new to pie making, this recipe is incredibly forgiving. The smaller scale means less dough to handle and a simpler filling process. It’s a low-stress way to build confidence in your baking skills.
- Versatile Presentation: Mini pies are inherently adorable. You can easily customize each one with a dollop of whipped cream, a sprinkle of cinnamon, or even a tiny crust decoration if you’re feeling ambitious. Their small size also makes them perfect for potlucks or as thoughtful homemade gifts.
- Reduced Waste: Often, large pies can lead to leftovers that might go uneaten. With mini pies, guests are more likely to finish their individual serving, and any extras are easily stored or frozen, minimizing food waste.
Key Ingredients for Flawless Mini Pumpkin Pies
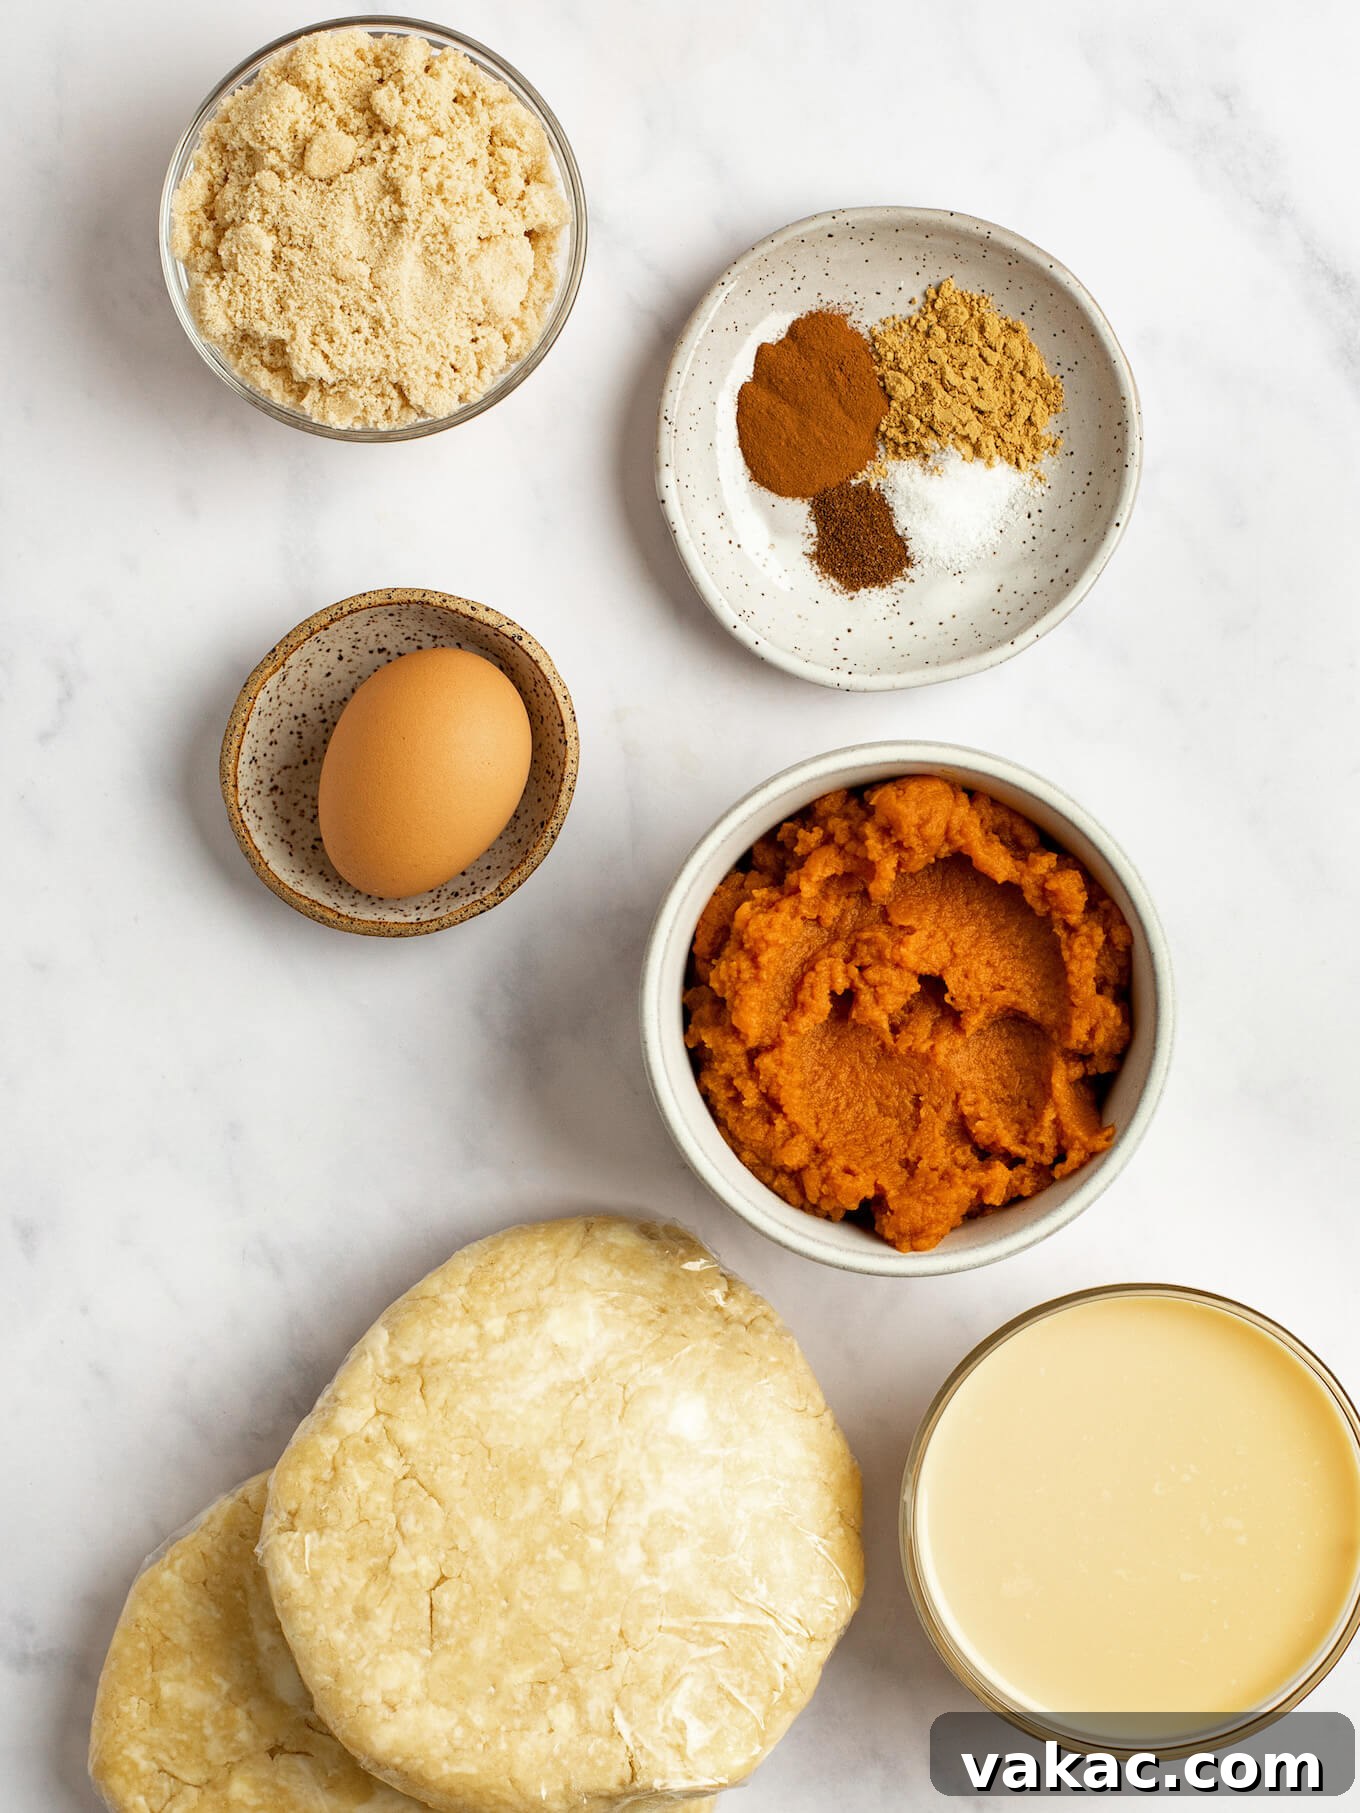
This mini pumpkin pie recipe is a delicious adaptation of my beloved classic pumpkin pie, scaled down to create the perfect amount of filling for these bite-sized wonders. Here’s a detailed look at the essential ingredients you’ll need, along with tips for best results:
- Pie Crusts: You’ll need two standard pie crusts for this recipe. You have the flexibility to use either my trusted homemade pie crust recipe for an extra touch of flavor and texture, or conveniently opt for good quality store-bought pie crusts to save time. If you happen to have any leftover dough scraps, don’t let them go to waste! Get creative and use them to add charming decorative cutouts (like tiny leaves or pumpkins) to the tops of your pies before baking.
- Brown Sugar: I typically reach for light brown sugar because of its delicate molasses flavor that complements the pumpkin beautifully. However, dark brown sugar, with its richer, more intense molasses notes, also works wonderfully and will give your pies a slightly deeper flavor profile. When measuring your brown sugar, always remember to tightly pack it into the measuring cup to ensure you get the correct amount, which is crucial for the filling’s sweetness and consistency.
- Spices: This recipe calls for a warm and inviting blend of ground cinnamon, ginger, nutmeg, and cloves. This combination creates that quintessential pumpkin pie flavor. I find the specified amounts to be perfectly balanced, but feel free to adjust them to your personal preference. For example, if you love a bolder spice kick, you can increase the quantities slightly. For convenience, you can also substitute this blend with an equal amount of pre-mixed pumpkin pie spice.
- Pumpkin Puree: This is, without a doubt, the star ingredient that gives these pies their signature flavor and color. It is absolutely critical to use plain canned pumpkin puree, not pumpkin pie filling, which is pre-sweetened and spiced and will drastically alter the outcome of your recipe. Check the label carefully to ensure you have the right product.
- Evaporated Milk: This ingredient plays a vital role in achieving a rich and creamy filling texture. It’s important not to confuse it with sweetened condensed milk, which is much thicker and significantly sweeter. Evaporated milk is essentially cow’s milk from which about 60% of the water has been removed, resulting in a more concentrated and slightly richer liquid than regular milk. This richness contributes significantly to the pies’ decadent flavor without adding excessive sweetness.
- Egg: A single large egg is essential for binding all the filling ingredients together, ensuring your pies set properly and hold their shape. For the smoothest possible mixture, it’s always best to use a room temperature egg. A cold egg might not incorporate as evenly into the other ingredients. If you’re short on time and need to quickly bring an egg to room temperature, simply place it (still in its shell) in a bowl of warm (not hot) water for 5 to 10 minutes before using.
Step-by-Step Guide: How To Make Mini Pumpkin Pies
Making these mini pumpkin pies is a straightforward process that even novice bakers can master. Follow these steps for perfect results every time:
Prepare The Pie Crust
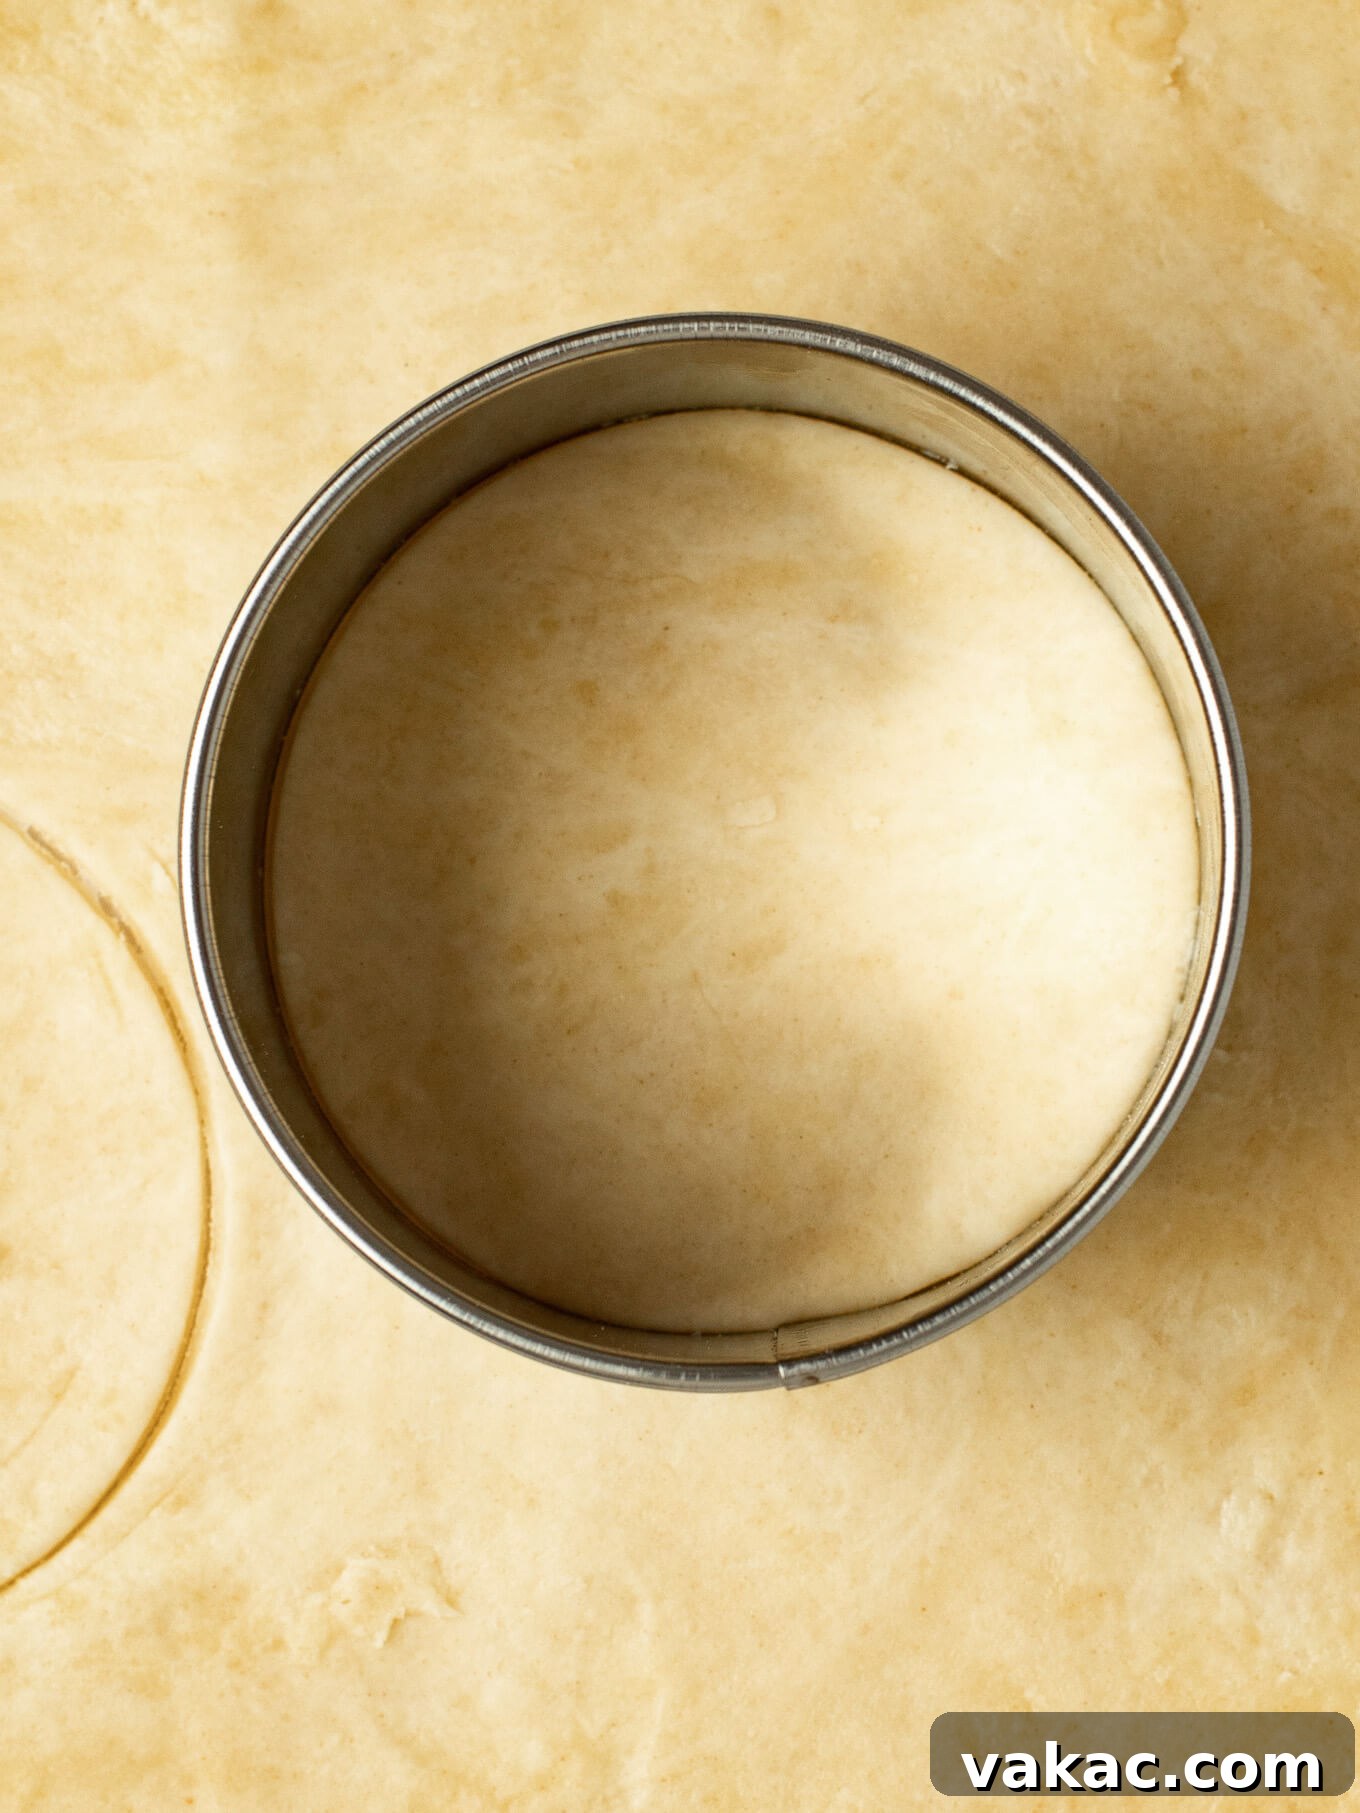
- Cut out the pie crusts: Begin by lightly flouring a clean work surface. Carefully unroll your pie crusts onto this surface. Using a 3.5-inch circular cookie cutter (or a clean, sturdy cup with a similar diameter), cut out 18 perfect circles from your pie dough. As you cut, gather any extra scrap pieces of dough, gently re-roll them, and cut out more circles until you’ve used up as much dough as possible. We don’t want any of that deliciousness to go to waste!
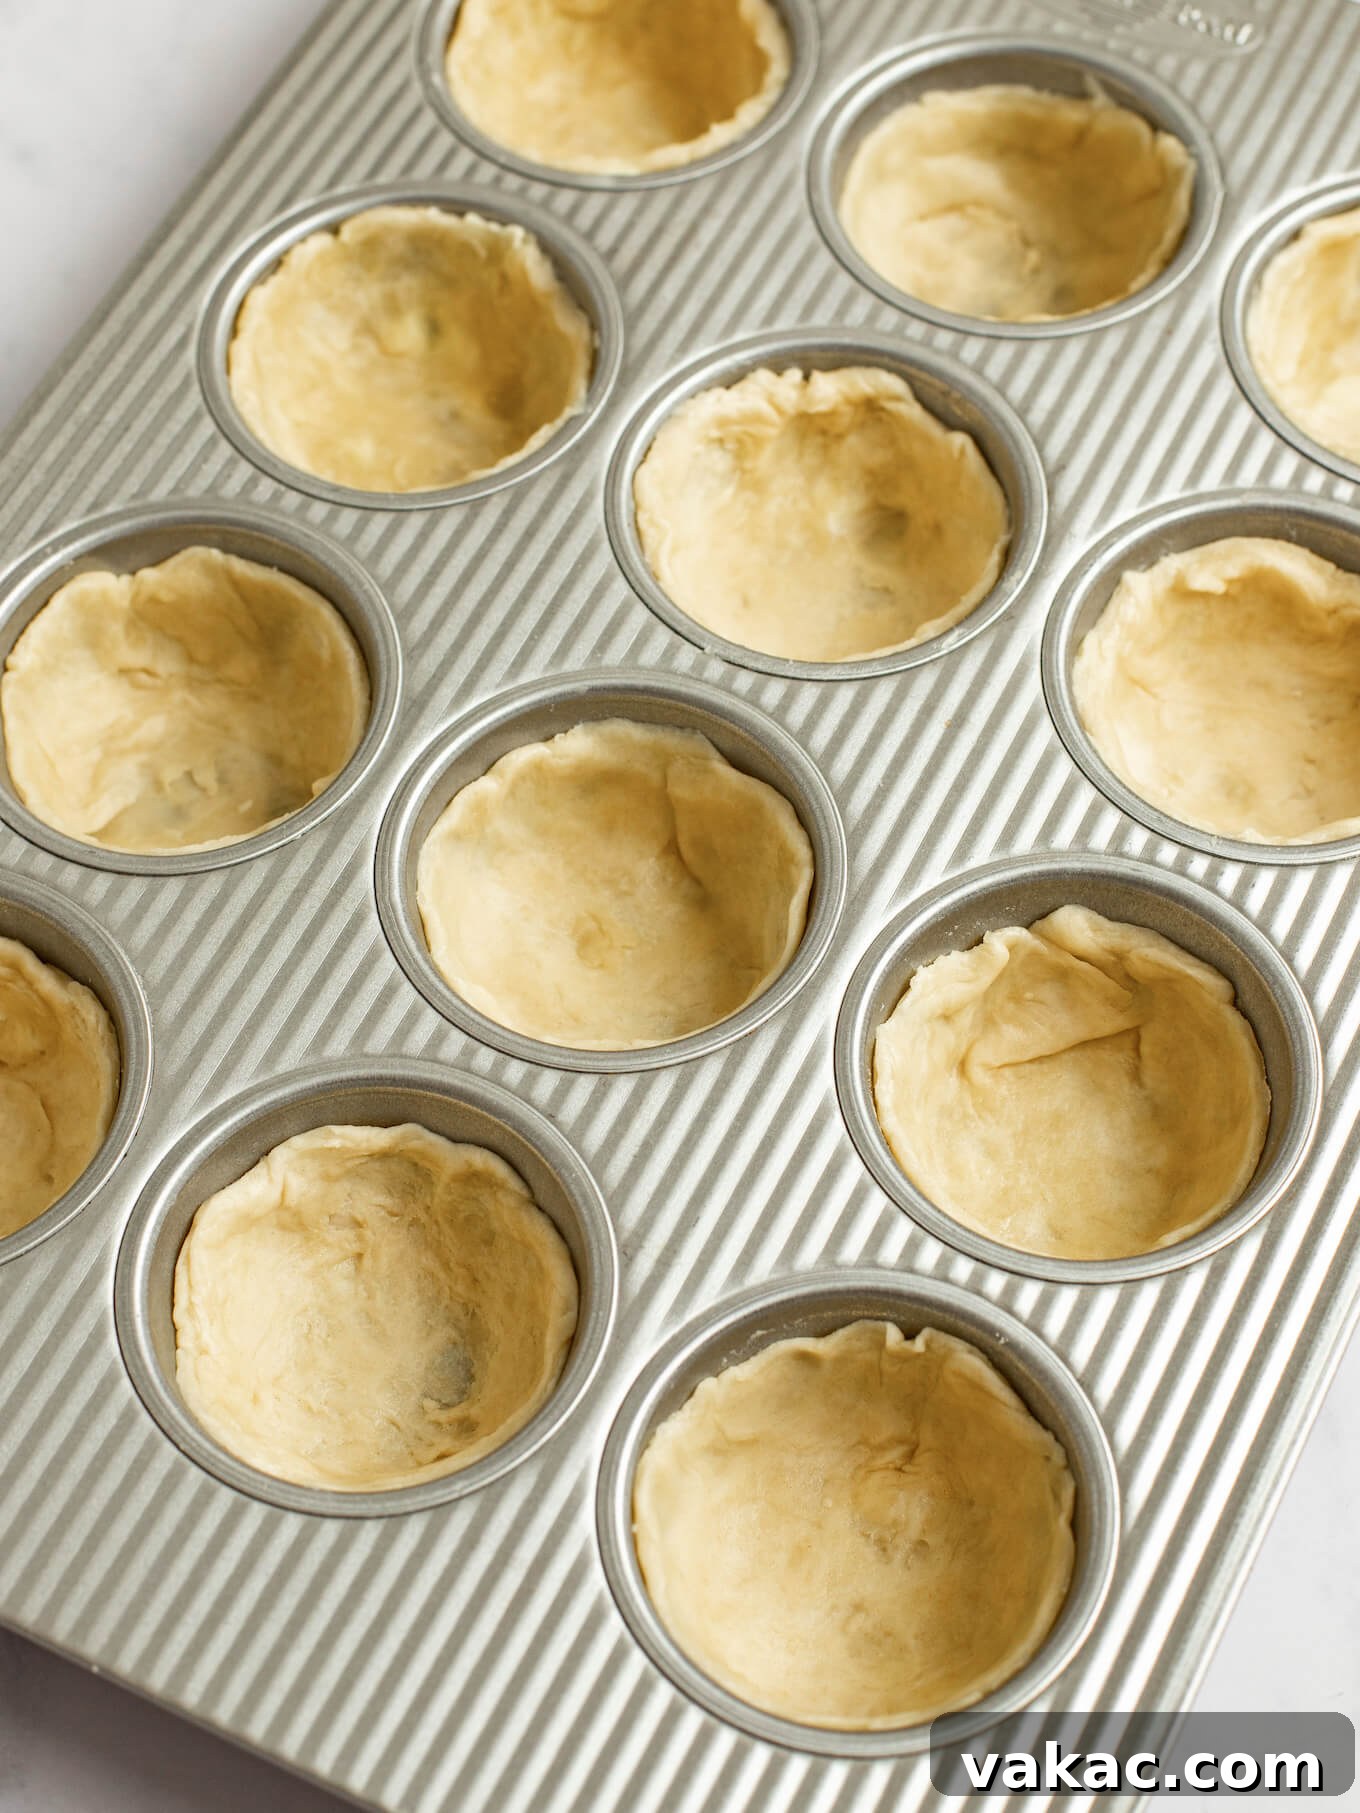
- Press the pie crusts into the pan: Take your standard 12-count muffin pans. Gently press each pie crust circle into the individual cavities. Ensure you press the dough firmly down into the bottom and snugly around the sides of each cavity, creating a neat cup. This helps the crust hold its shape during baking. Once all cavities are filled, place the muffin pans in the refrigerator. Chilling the dough before filling helps prevent shrinking and keeps the crust nice and flaky.
Make The Filling
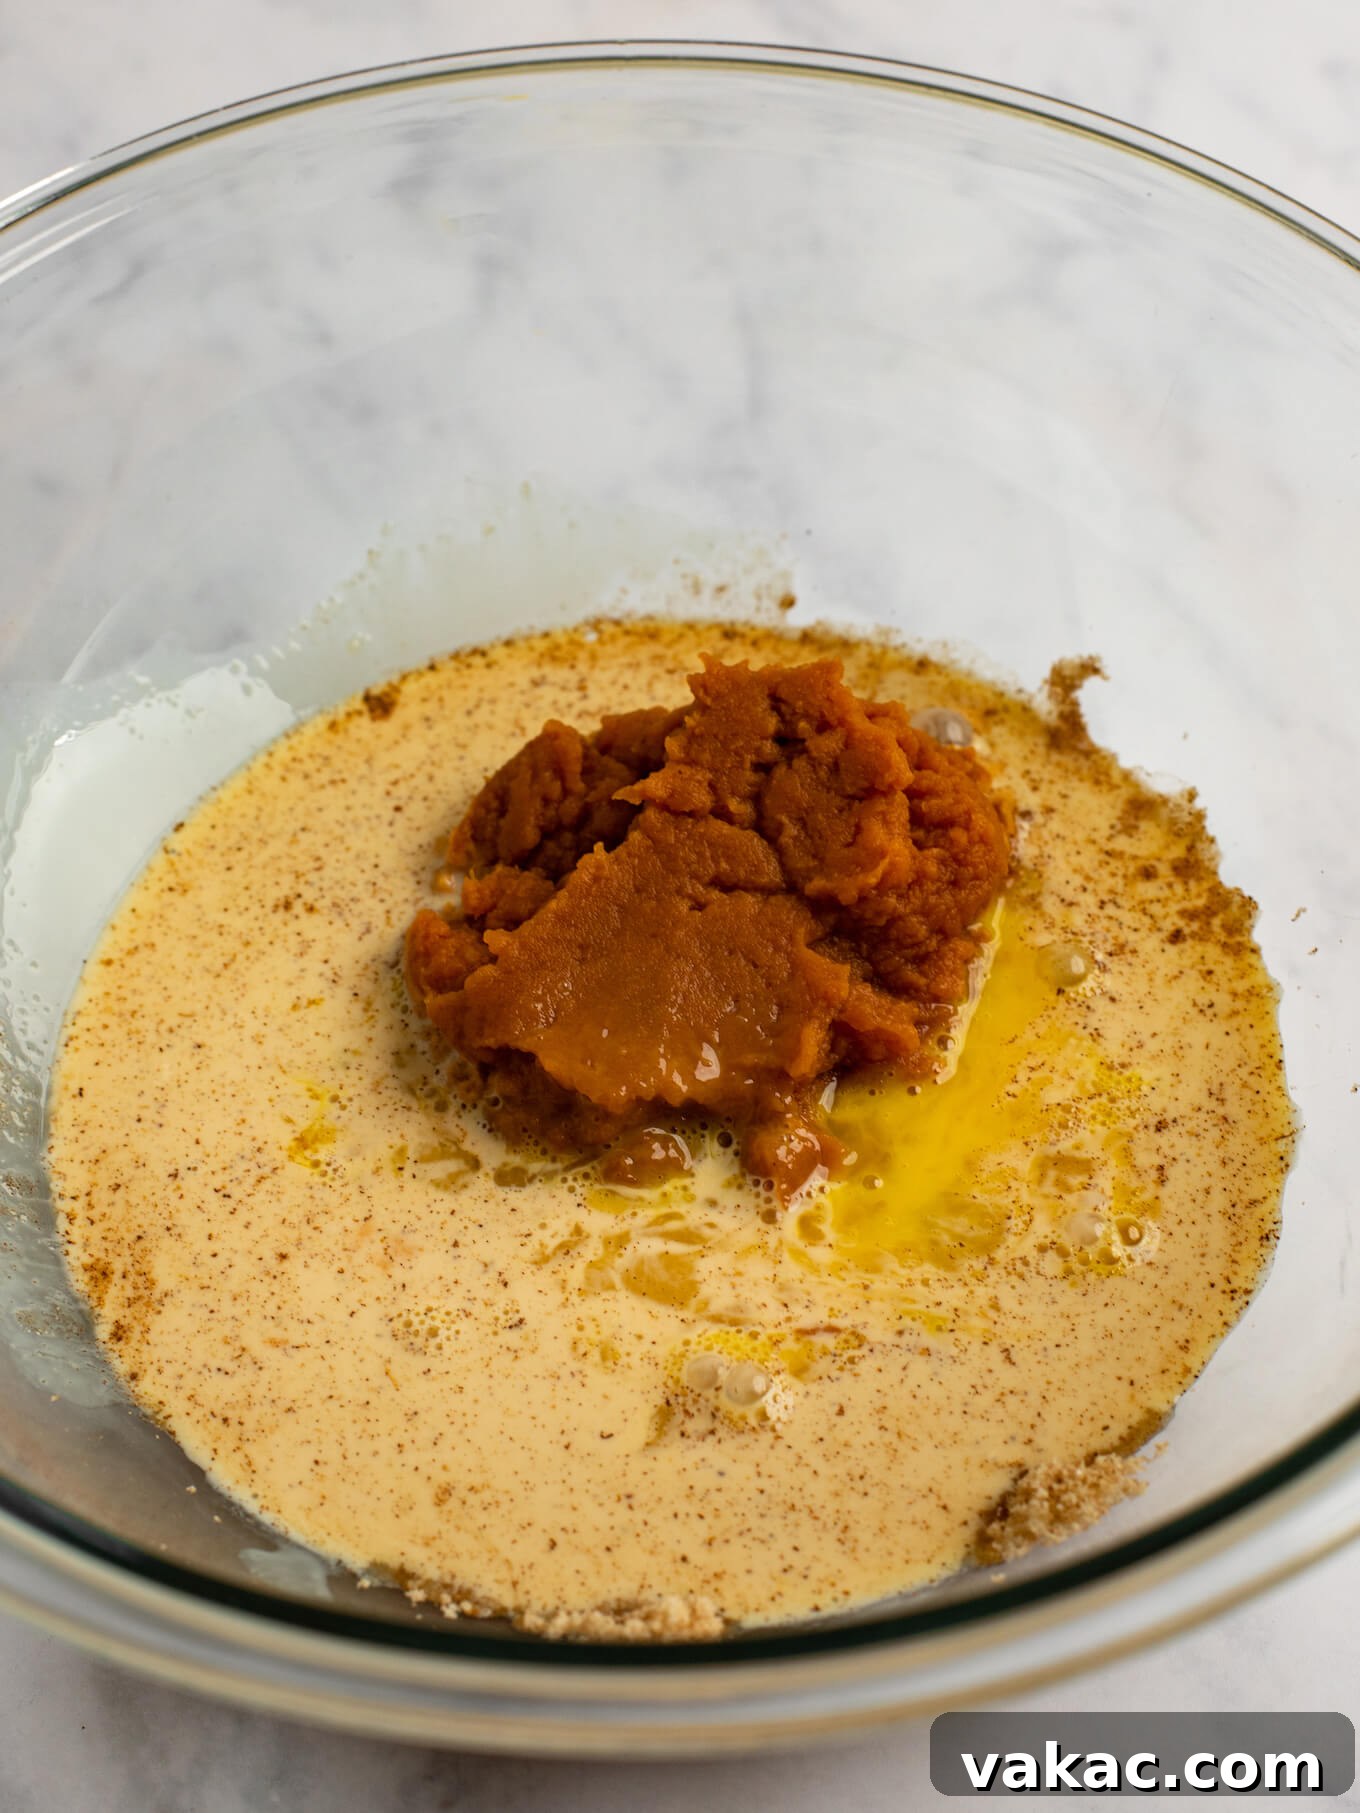
- Mix together the dry ingredients: In a medium-sized mixing bowl, combine the brown sugar, ground cinnamon, ginger, nutmeg, cloves, and salt. Use a whisk to thoroughly combine these dry ingredients until they are evenly distributed. This step ensures that the spices are well integrated throughout the filling for consistent flavor.
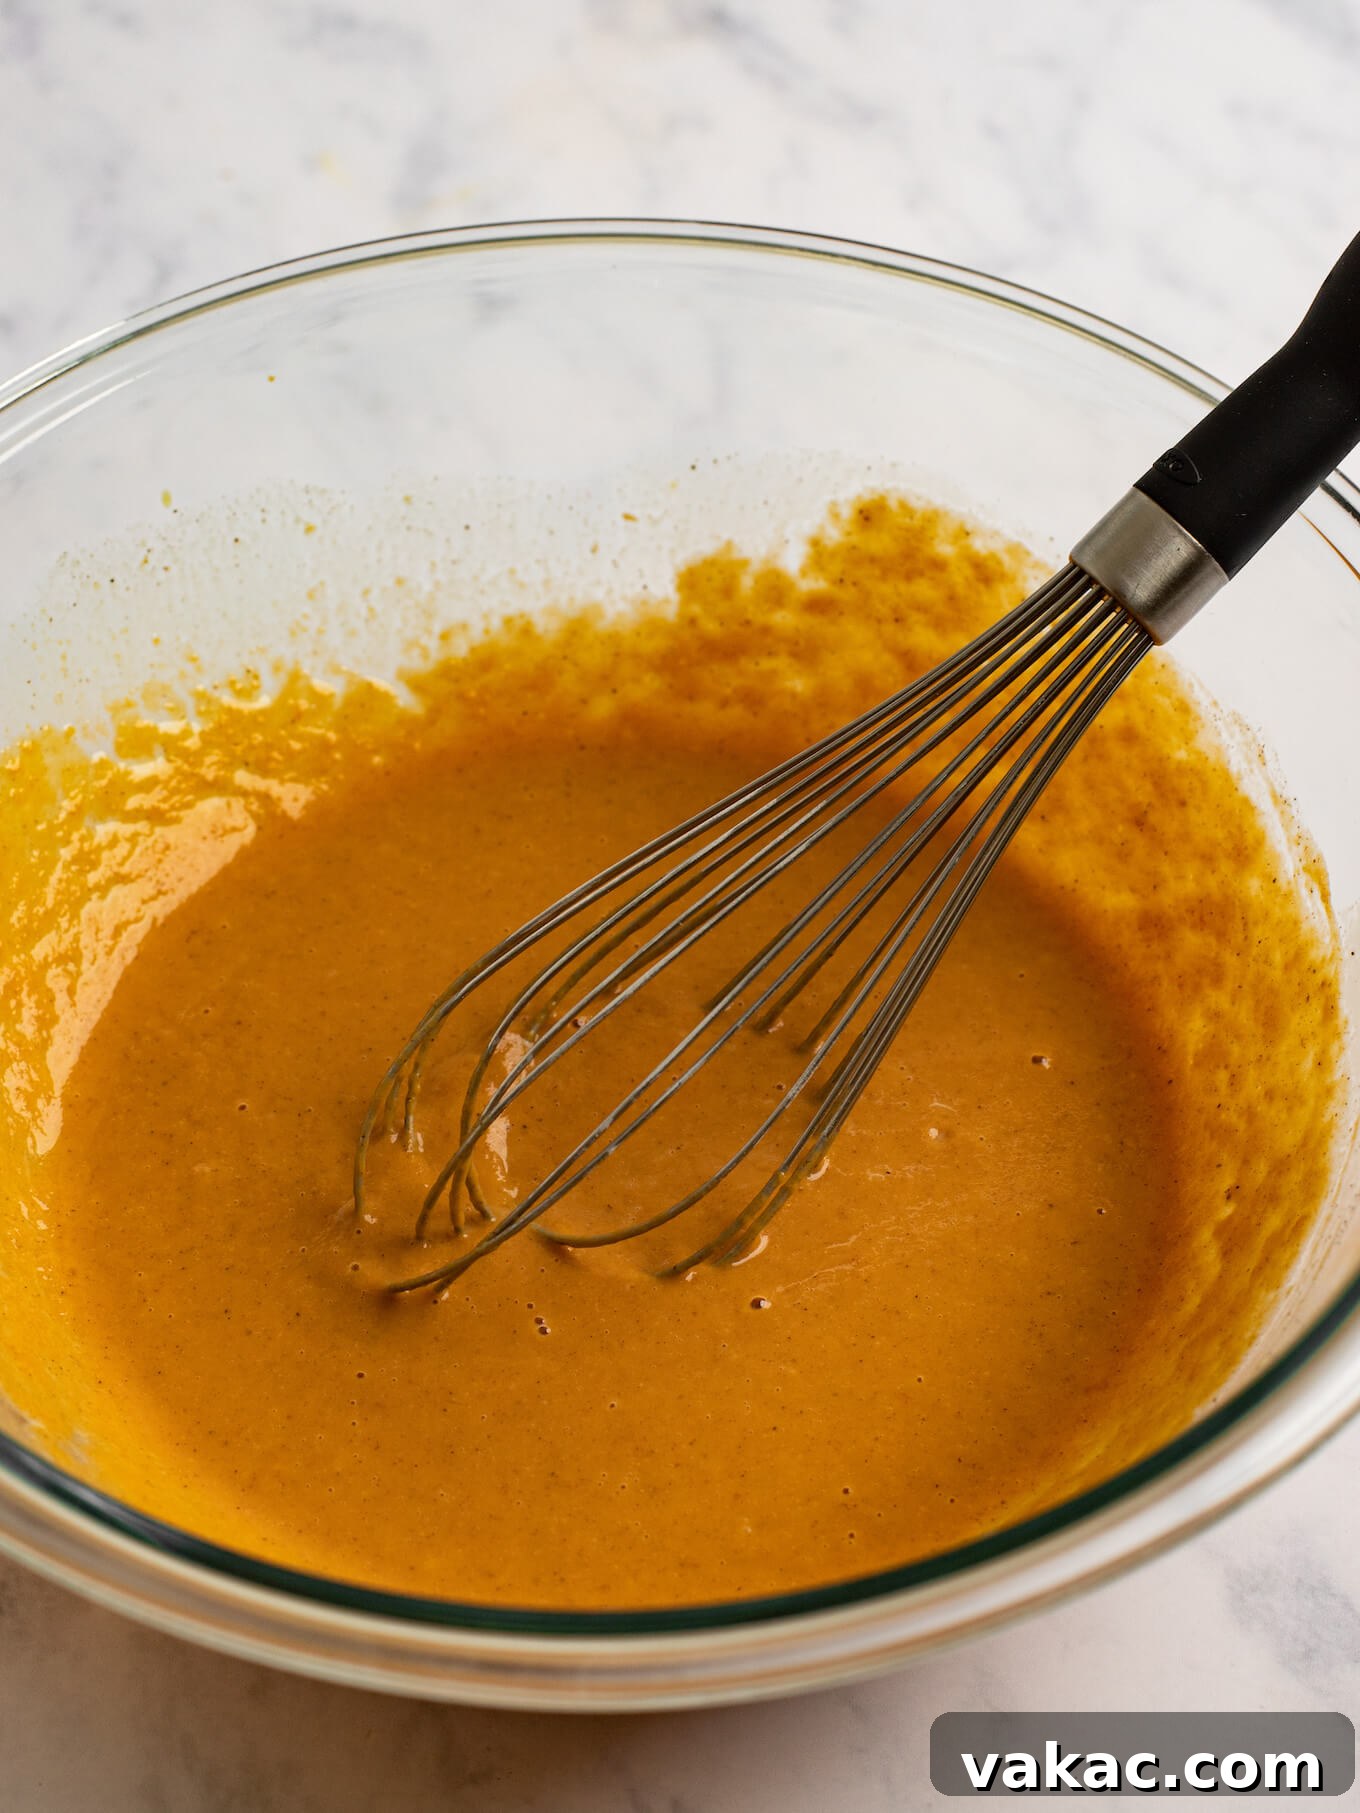
- Add the wet ingredients: To the bowl with your dry ingredients, add the pumpkin puree, evaporated milk, and the lightly beaten, room temperature egg. Using a whisk, gently mix these ingredients together until the mixture is just combined and smooth. Be careful not to over-whisk, as incorporating too much air can cause the pies to crack on top during baking.
Assemble & Bake The Pies
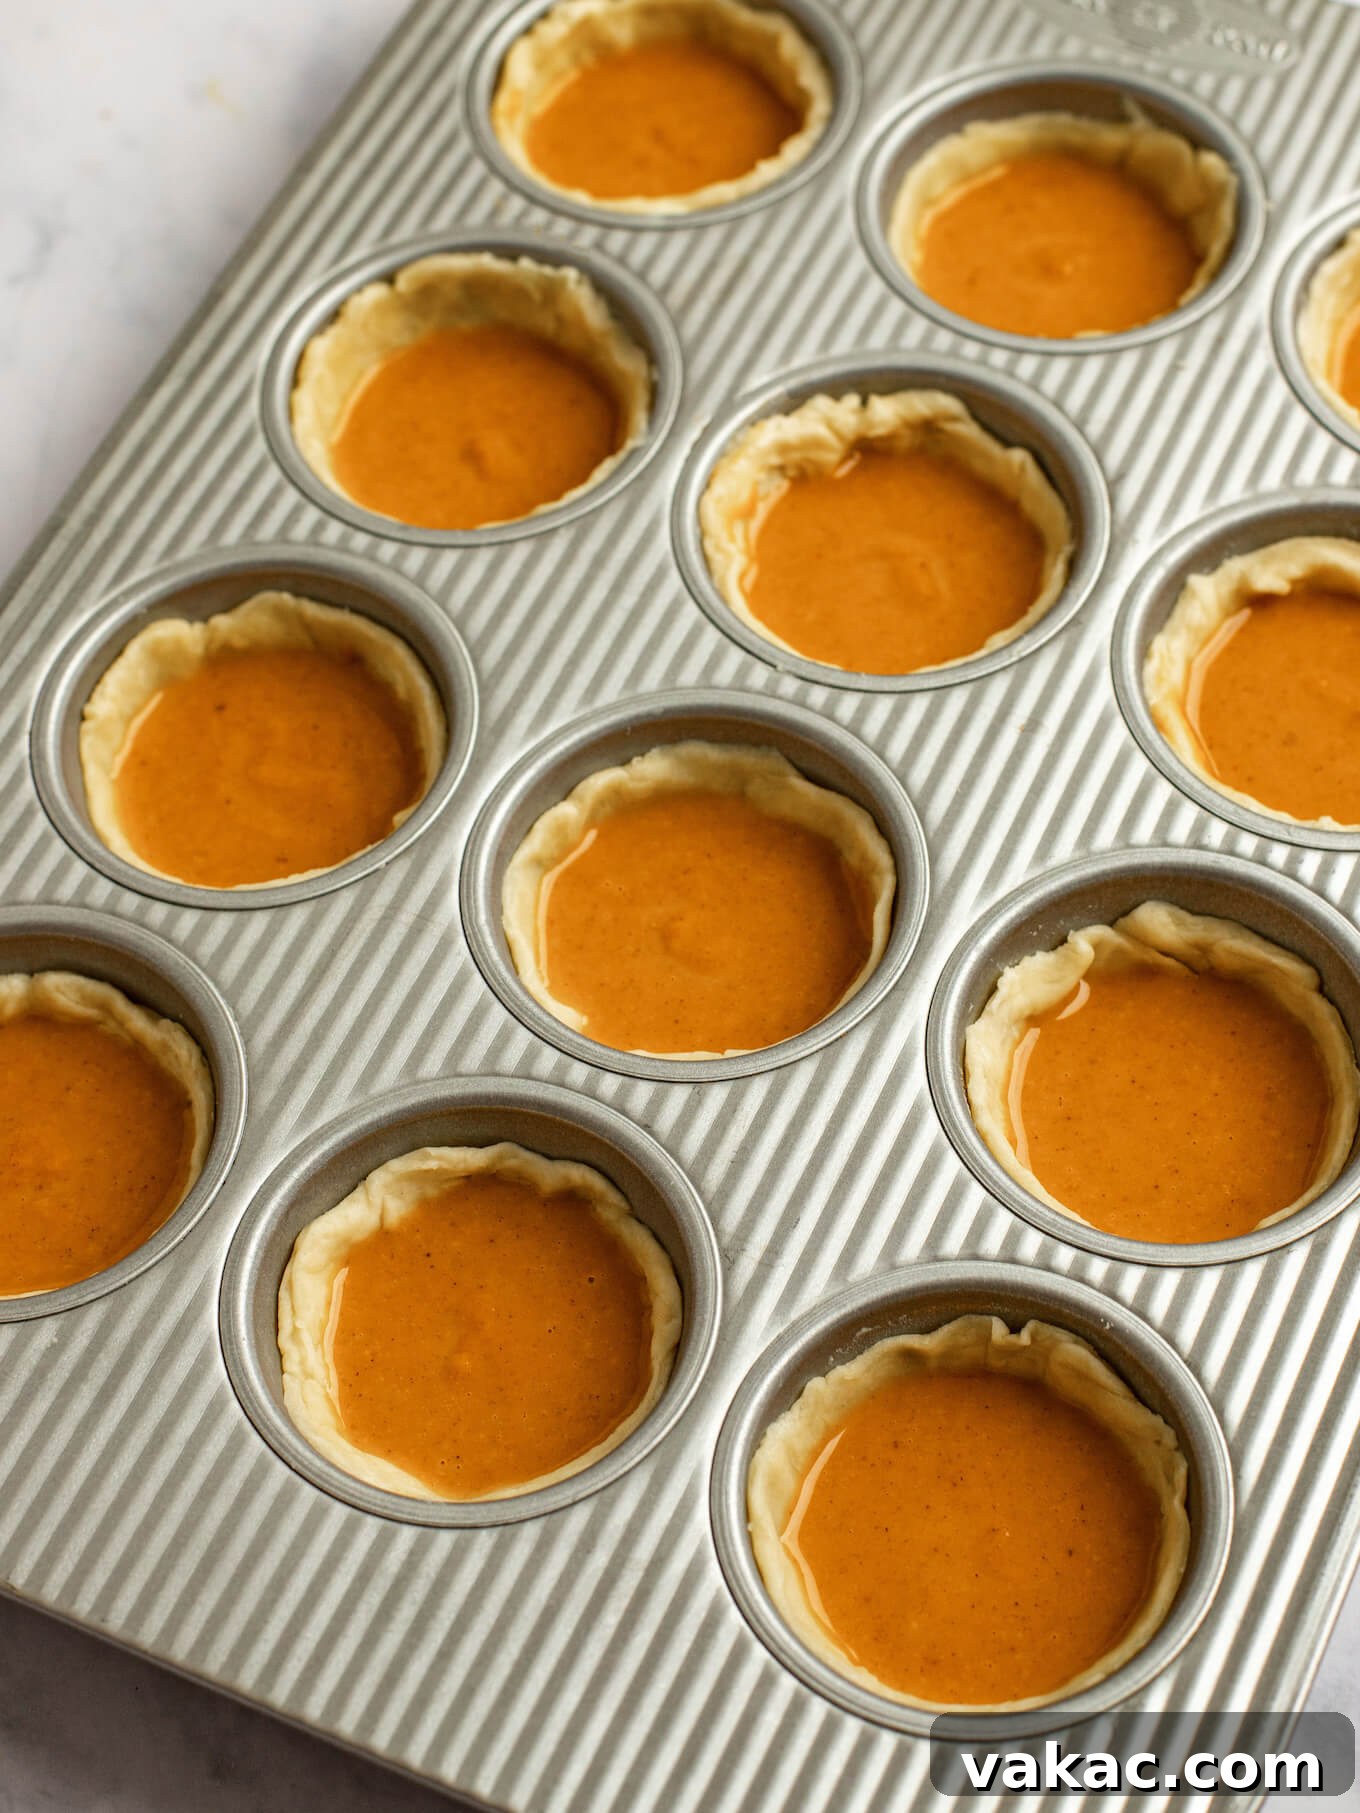
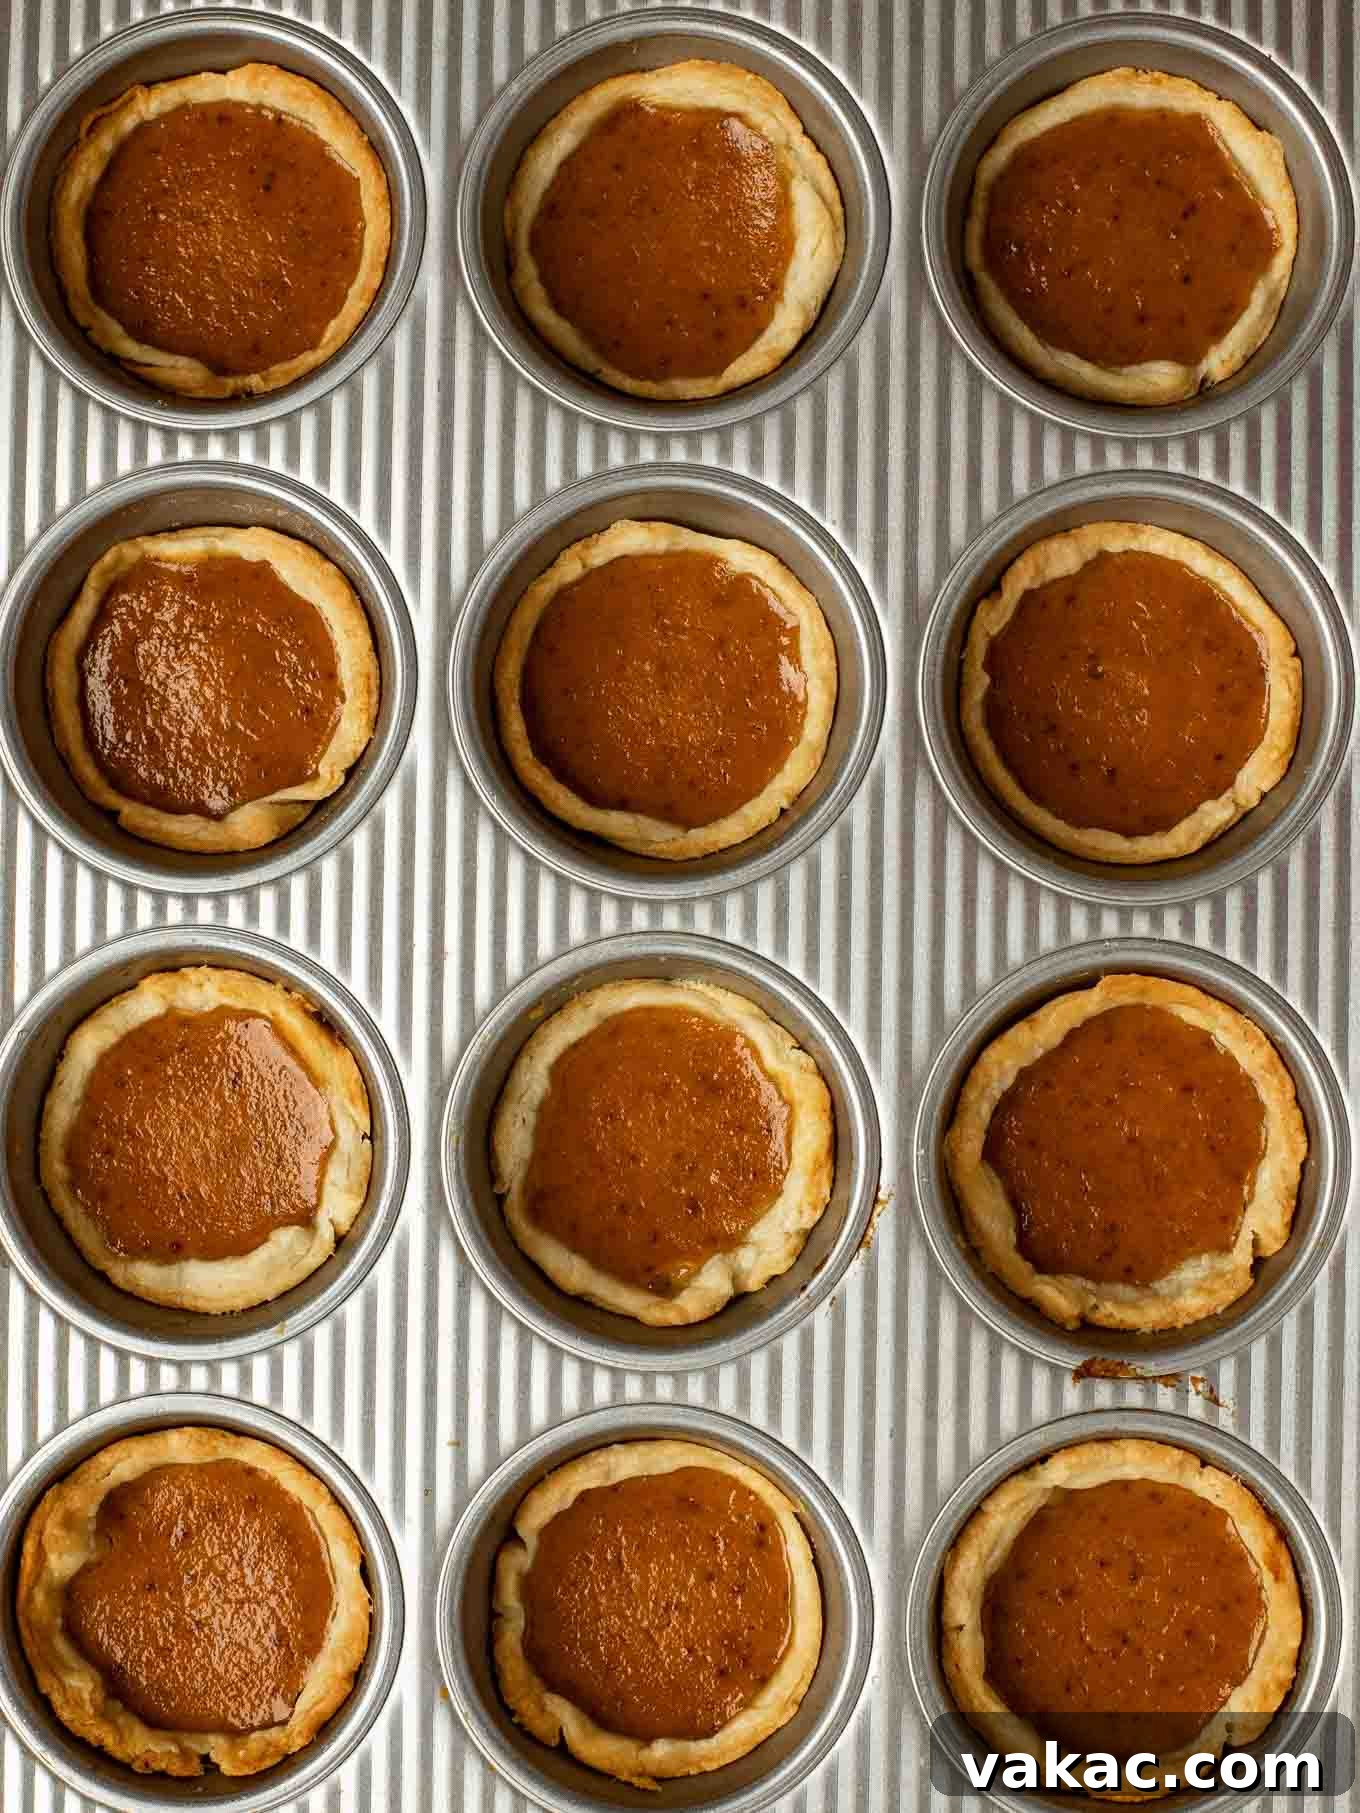
- Add the filling to the pie crusts: Retrieve the muffin pans with the chilled pie crusts from the refrigerator. Using a spoon or a small ladle, carefully spoon approximately two tablespoons of the pumpkin pie filling into each pie crust-lined cavity. Fill them almost to the top, leaving a small margin for expansion during baking.
- Bake: Preheat your oven to 400°F (204°C). Place the muffin pans into the preheated oven. The mini pies will need to bake for roughly 16 to 20 minutes. Keep a close eye on them, as oven temperatures can vary. The pies are done when the tops appear set (no longer liquid or excessively jiggly in the center) and the edges of the pie crusts are a beautiful, light golden brown.
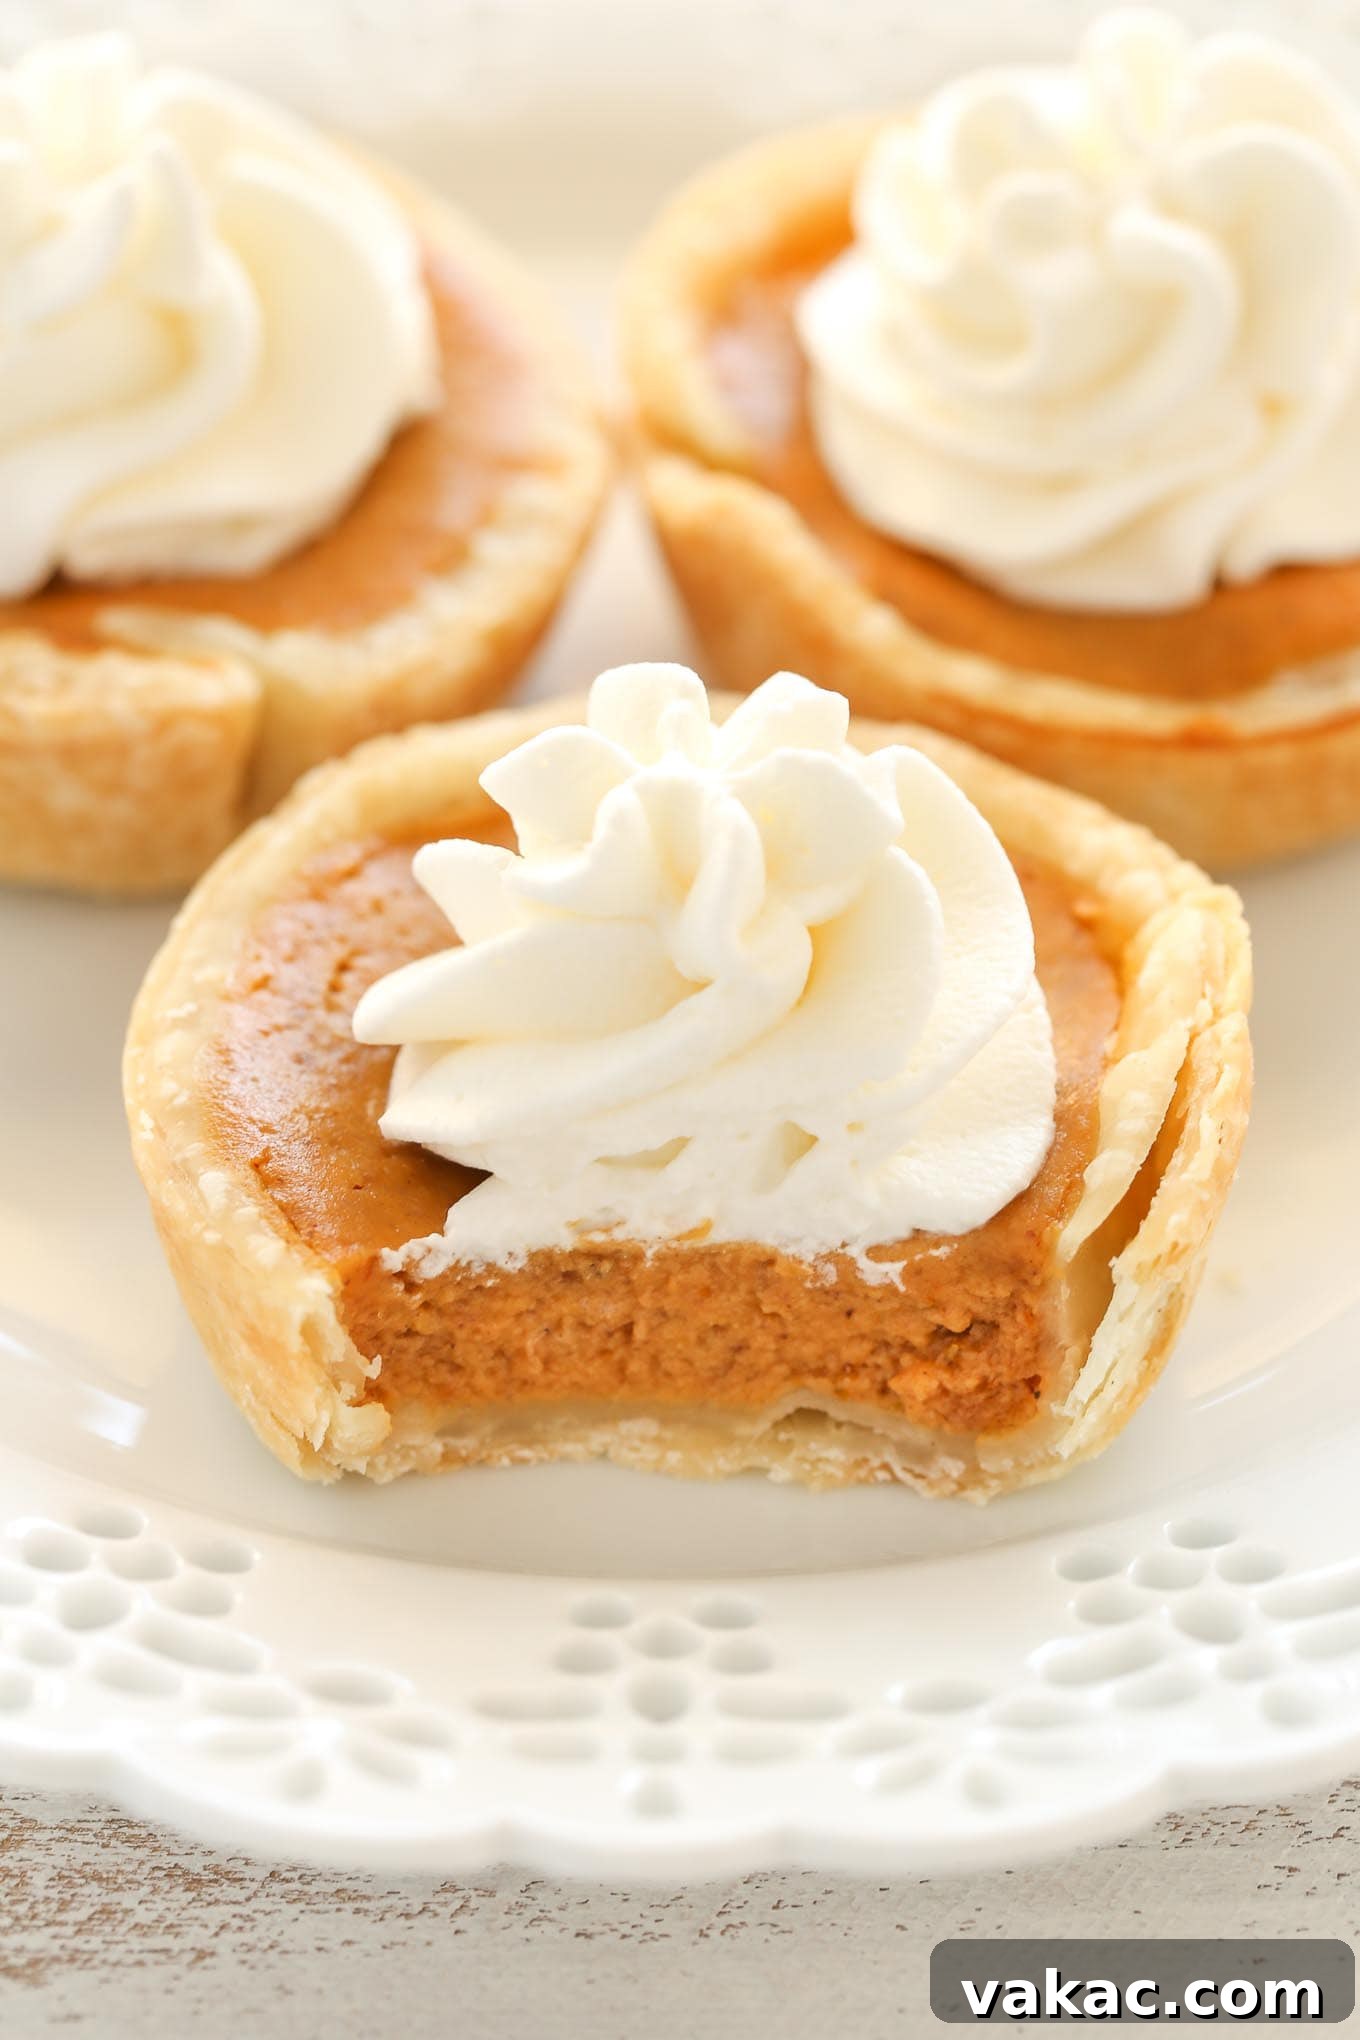
- Cool & Chill: Once baked, carefully remove the muffin pans from the oven. Allow the pies to cool in the pans on a wire rack for about 30 minutes. This initial cooling helps them firm up before handling. After 30 minutes, gently and carefully remove each mini pie from the muffin pan (a small offset spatula can be helpful here) and transfer them back to the wire rack to cool completely to room temperature. This complete cooling is essential. Once cooled, place the mini pies in an airtight container and transfer them to the refrigerator to chill for at least 3 hours. For the best flavor and texture, chilling them overnight is even better, allowing the flavors to meld and the filling to fully set.
Frequently Asked Questions About Mini Pumpkin Pies
Absolutely! Mini pumpkin pies freeze beautifully, making them an excellent make-ahead dessert option. To freeze them properly, allow the pies to cool completely after baking and chilling. Then, arrange them in a single layer on a baking sheet and flash freeze for about 1-2 hours until solid. Once frozen, transfer them to a large freezer bag or an airtight freezer-safe container, placing a piece of parchment paper between layers to prevent sticking. If stored correctly, they will maintain their quality for up to 3 months. To thaw, simply remove them from the freezer and place them in the refrigerator overnight. They’ll be ready to enjoy by the next day!
The baking time for these pies is typically between 16 to 20 minutes, but remember that every oven can be a little different. You’ll know your mini pies are perfectly baked when the tops look set and stable (they shouldn’t appear wet or overly jiggly in the center when gently shaken). The edges of the pie crusts should also have achieved a lovely, lightly golden-brown color. Keep in mind that pumpkin pies continue to firm up and set as they cool on the wire rack and further consolidate their texture while chilling in the fridge. Don’t worry if they seem slightly soft right out of the oven.
Yes, you certainly can! If you only have pumpkin pie spice on hand, it’s a convenient and delicious substitute for the individual spices listed. You can replace the cinnamon, ginger, nutmeg, and cloves with 1 to 1 and 1/2 teaspoons of pumpkin pie spice, depending on how intensely spiced you prefer your pies. Start with 1 teaspoon and add more if you like a stronger flavor.
Absolutely, preparing these mini pumpkin pies in advance is one of their greatest advantages, especially during busy holiday seasons. Once the pies have been fully baked and cooled to room temperature, they will keep beautifully when covered tightly and stored in the refrigerator for 3 to 4 days. I personally find they taste best when made the day before serving, as this allows the flavors to deepen and the filling to achieve its optimal set texture. Just store them in the fridge overnight and they’ll be perfectly ready for your event. You can also prepare components ahead of time: the pie crusts can be cut out and chilled, and the filling mixture can be made a day in advance. Simply cover each component tightly and store them separately in the fridge until you’re ready to assemble and bake the pies.
No, for this recipe, you do not need to blind bake the pie crusts before adding the filling. The baking time for mini pies is relatively short, and the crust will bake through and crisp up nicely alongside the filling in the muffin pan. This saves you an extra step and makes the process even easier!
While you could technically use a mini muffin pan, this recipe is specifically designed for standard 12-count muffin pans, yielding 18 mini pies. Using a mini muffin pan would result in much smaller “two-bite” tarts and would require significantly more pie crust circles and a much shorter baking time (likely 8-12 minutes). The filling quantities would also need to be adjusted, and you would likely yield many more tarts. For best results with this recipe, stick to a regular muffin pan.
Essential Baking Tips for Perfect Mini Pies
- Use the Correct Muffin Pan: It’s crucial to use two regular 12-count muffin pans for this recipe, not mini muffin pans. This ensures the pies are the intended “mini” size and cook evenly.
- Precision with Your Cookie Cutter: For consistent pie crusts, make sure to use a 3.5-inch circular cookie cutter. If you don’t have one, a drinking cup or a glass with a similar diameter will work just as well. Ensure the edges are clean for neat crusts.
- Don’t Overbeat the Filling: Once you’ve added the egg to the filling, whisk just until combined. Overbeating can incorporate too much air, which can cause the pies to puff up excessively in the oven and then crack or sink as they cool. A smooth, gently mixed filling is key.
- Temperature Matters: Ensure your egg is at room temperature. This helps it incorporate smoothly and evenly into the pumpkin mixture, leading to a perfectly consistent filling texture.
- Cooling is Crucial: Allow the pies to cool completely on a wire rack after baking. This step is vital for the filling to fully set and for the crust to maintain its crispness. Rushing this process can result in a softer texture.
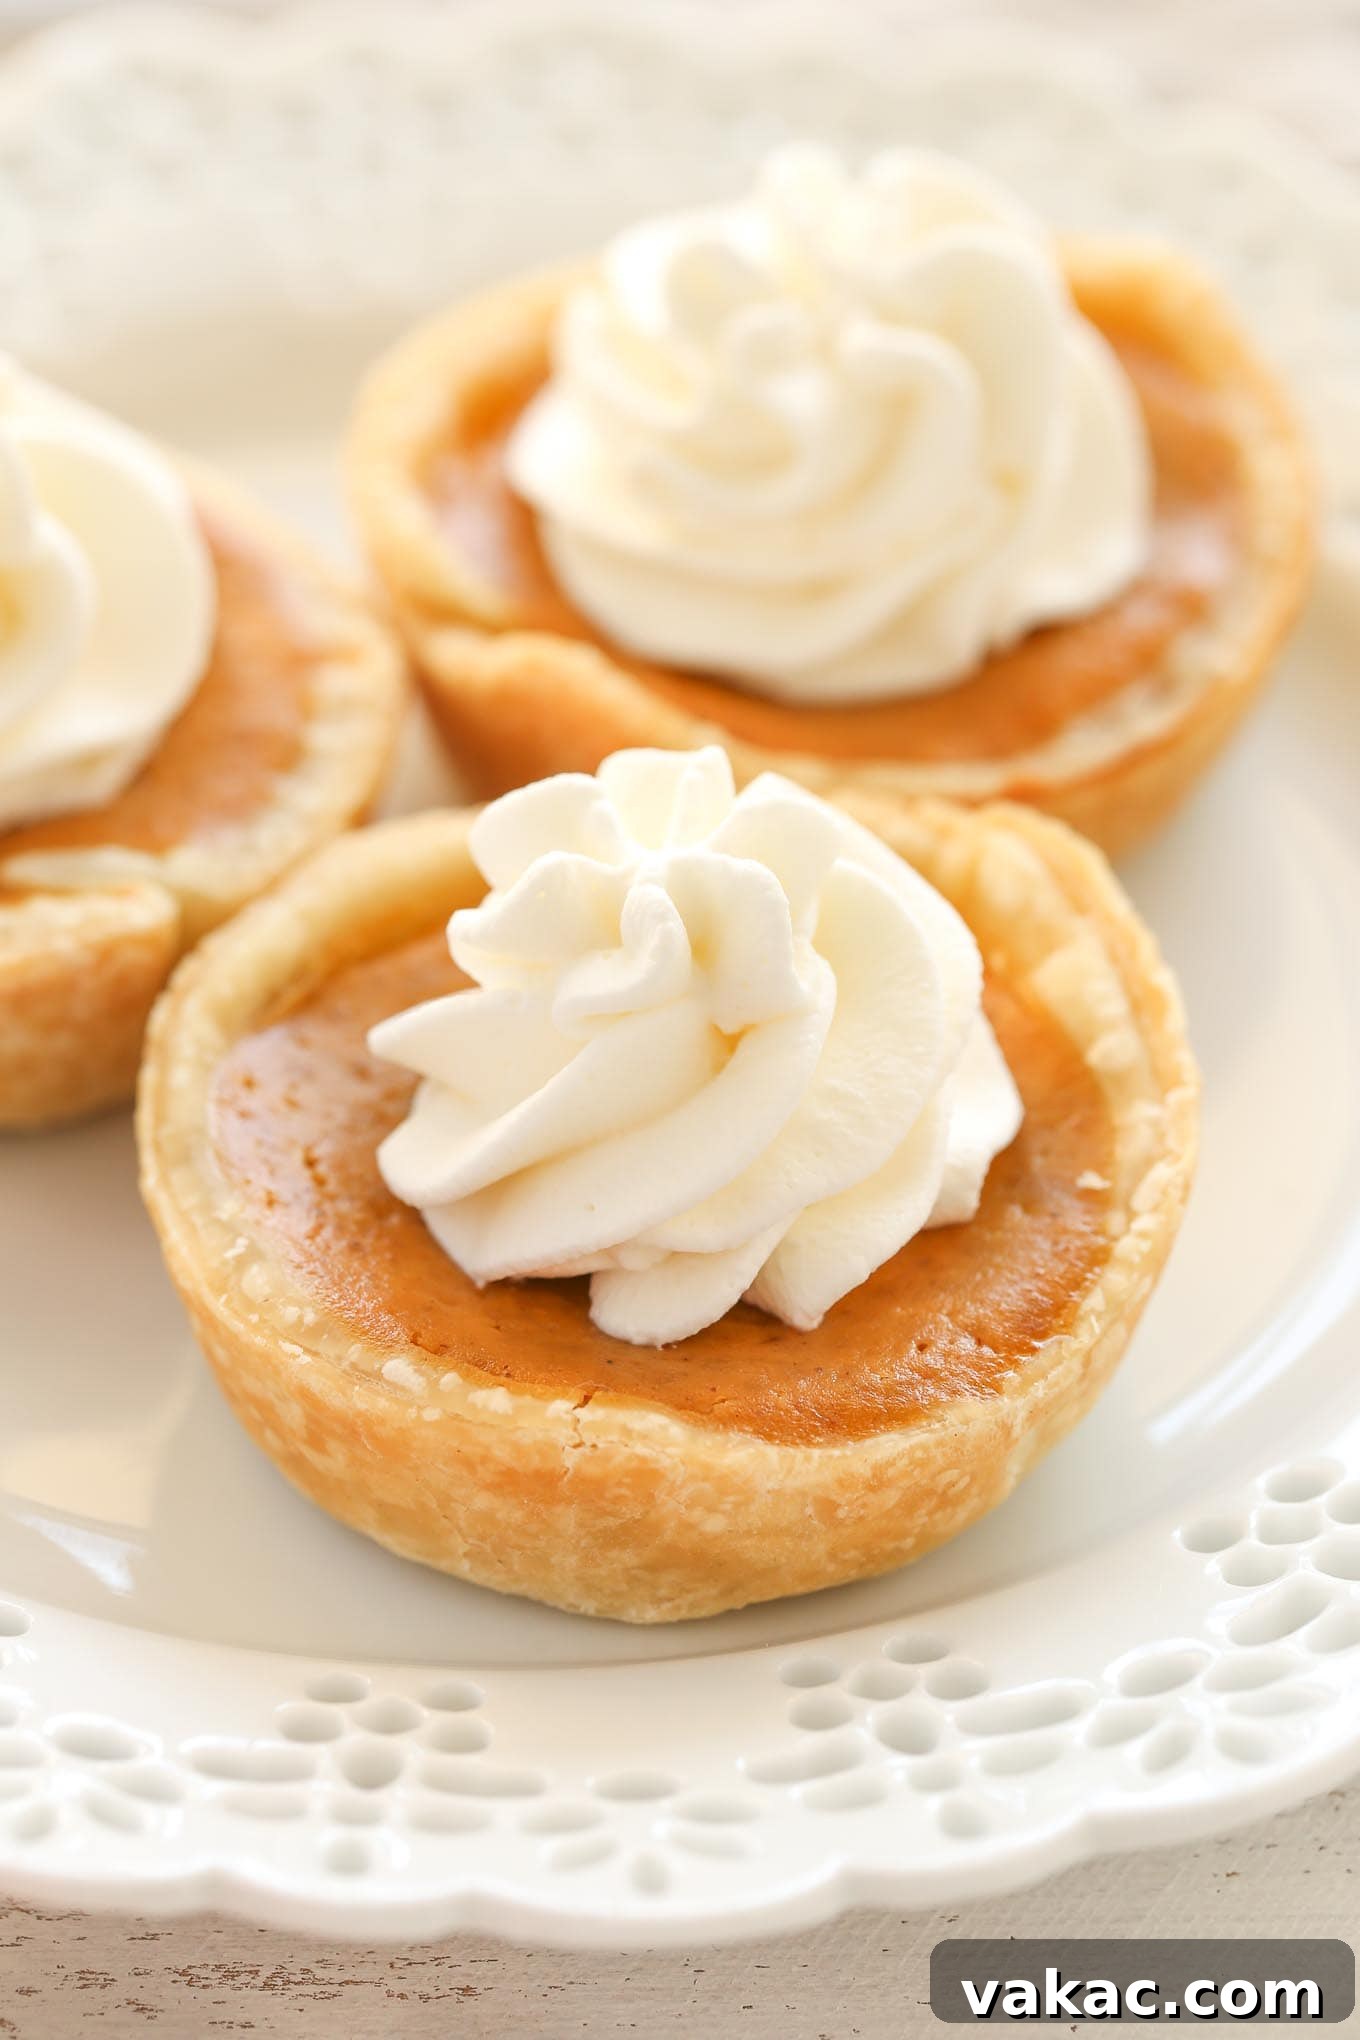
- Topping Perfection: You can certainly leave your mini pumpkin pies plain for a rustic charm. However, for an extra touch of indulgence, consider topping them with a generous dollop of homemade whipped cream or a more stable version like stabilized whipped cream. For an even more decadent treat, a drizzle of homemade salted caramel sauce would be absolutely divine on these as well! Chocolate shavings or a dusting of cinnamon can also elevate their appearance and flavor.
- Preventing Soggy Bottoms: Chilling the pie crusts in the muffin pan before adding the filling helps the butter in the crust firm up, which contributes to a flakier texture and helps prevent a soggy bottom. A hot oven also helps to quickly set the crust.
- Oven Thermometer: Oven temperatures can vary significantly from what the dial indicates. Using an independent oven thermometer can help you ensure your oven is truly preheated to 400°F (204°C), which is essential for proper baking.
More Delicious Pumpkin Recipes To Try!
- Pumpkin Snickerdoodles
- No-Churn Pumpkin Ice Cream
- Pumpkin Butter
- Pumpkin Bars
- Pumpkin Cheesecake Cookies
Recipe Details: Easy Mini Pumpkin Pies
Mini Pumpkin Pies
An easy recipe for mini pumpkin pies made in a muffin pan. The perfect dessert for Thanksgiving!
Ingredients (Yields 18 mini pumpkin pies)
- 2 pie crusts (homemade or store-bought)
- ½ cup packed light or dark brown sugar (100 grams)
- ½ teaspoon ground cinnamon
- ½ teaspoon ground ginger
- ¼ teaspoon ground nutmeg
- ⅛ teaspoon ground cloves
- ¼ teaspoon salt
- 1 cup pumpkin puree (250 grams)
- ¾ cup evaporated milk (180 ml)
- 1 large egg (at room temperature and lightly beaten)
Instructions
- Preheat the oven to 400°F (204°C).
- To prepare the pie crust: On a lightly floured surface, roll the pie crusts out to ⅛” thickness. Using a 3.5-inch cookie cutter (or cup) cut out 18 circles from the pie crusts. Re-roll any scrap pieces of pie dough as needed to cut out the circles.
- Place each circle of pie crust in 18 cavities of two standard 12-count muffin pans. Gently press the dough down and around the sides, making sure the dough fits snugly in each cavity. Transfer the muffin pans to the refrigerator while you make the filling.
- To make the filling: In a medium-sized mixing bowl, whisk together the brown sugar, cinnamon, ginger, nutmeg, cloves, and salt until well combined. Then whisk in the pumpkin puree, evaporated milk, and egg until fully combined.
- Remove the muffin pans with the pie crusts from the refrigerator. Spoon the pumpkin pie filling evenly between all 18 pie crusts in the muffin pans (about 2 tablespoons per pie crust).
- Bake for 16 to 20 minutes or until the tops of the mini pumpkin pies are set and the crust is lightly golden brown. Remove from the oven and allow to cool on a wire rack for 30 minutes, carefully remove from the muffin pan, then place on the wire rack to finish cooling. Once cooled, place in an airtight container and transfer to the refrigerator to chill for at least 3 hours or overnight.
- Once chilled, serve, and enjoy your delicious mini pumpkin pies!
Notes
Storage Instructions: Mini pumpkin pies may be covered tightly and refrigerated for up to 4 days.
Freezing Instructions: Pies will freeze well for up to 3 months. Thaw overnight in the fridge before serving.
Adapted from my classic Pumpkin Pie Recipe.