
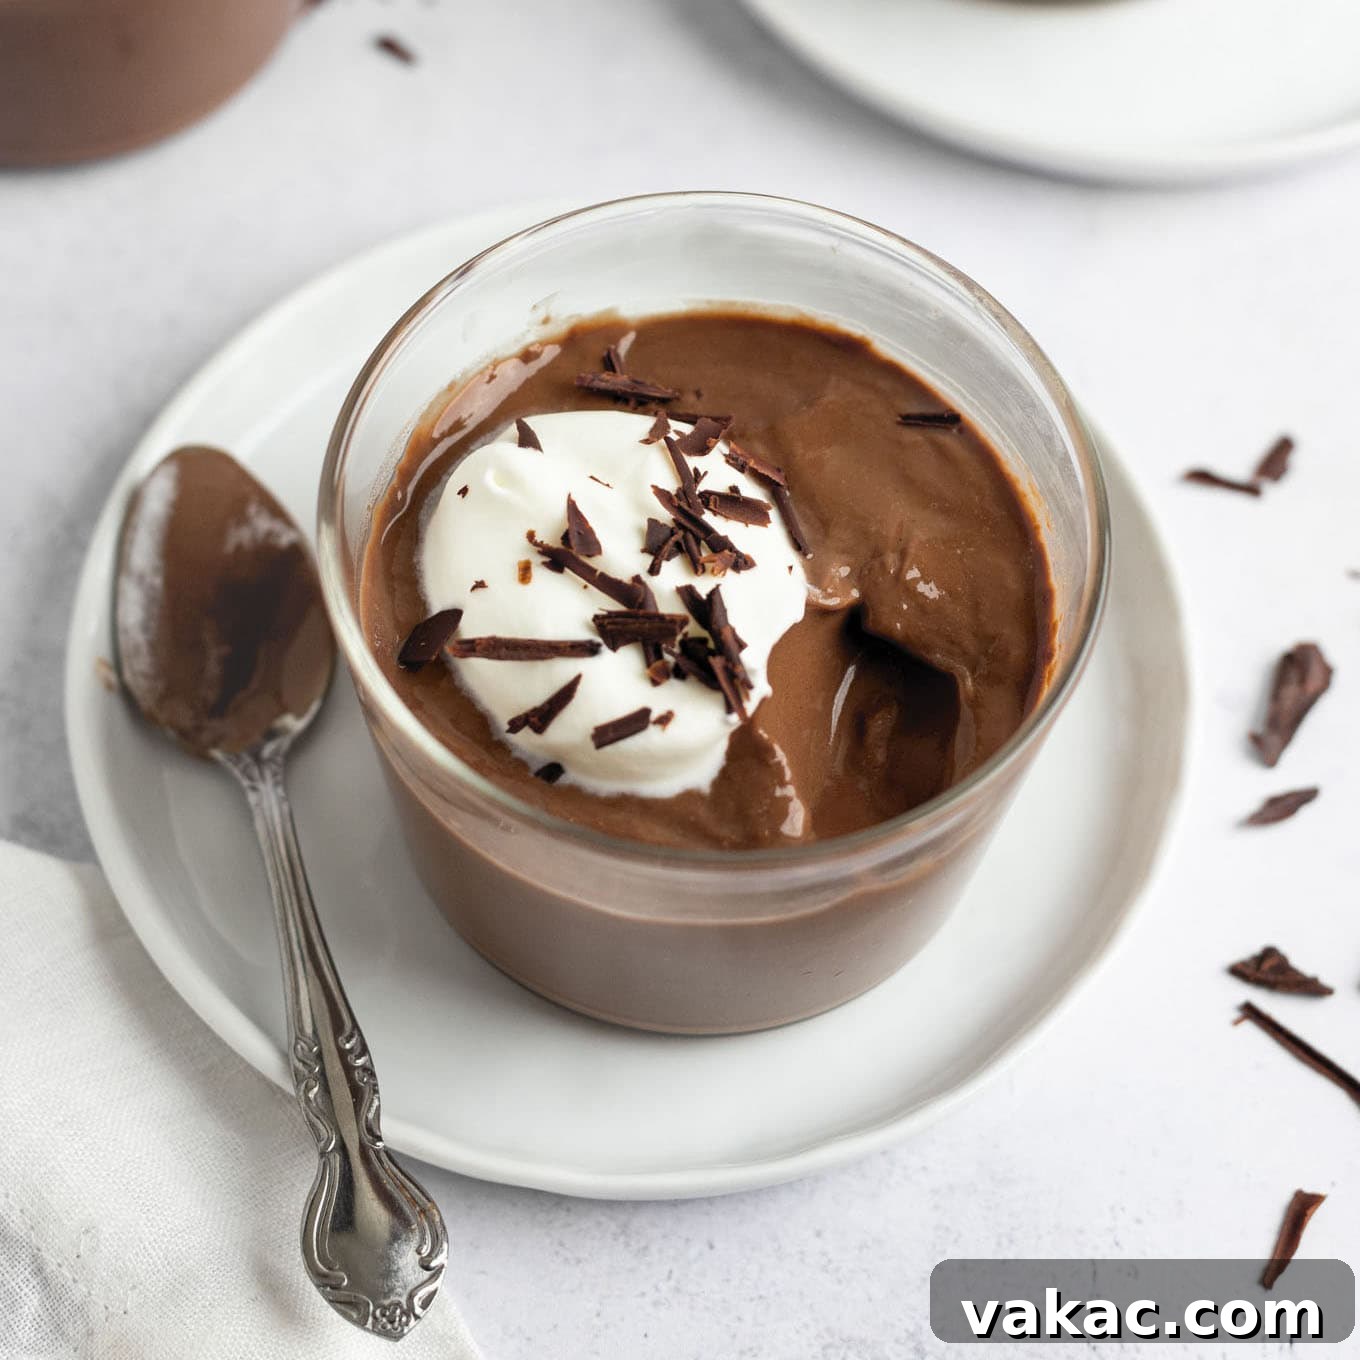
Indulge in the Best Homemade Chocolate Pudding from Scratch
Forget the bland, overly sweet box mixes; it’s time to elevate your dessert game with an incredible homemade chocolate pudding. Crafted from simple, wholesome ingredients, this recipe delivers a pudding that’s exceptionally richer, unbelievably creamier, and bursting with authentic chocolate flavor. Prepare to be amazed by how easily you can create a truly gourmet dessert right in your own kitchen.
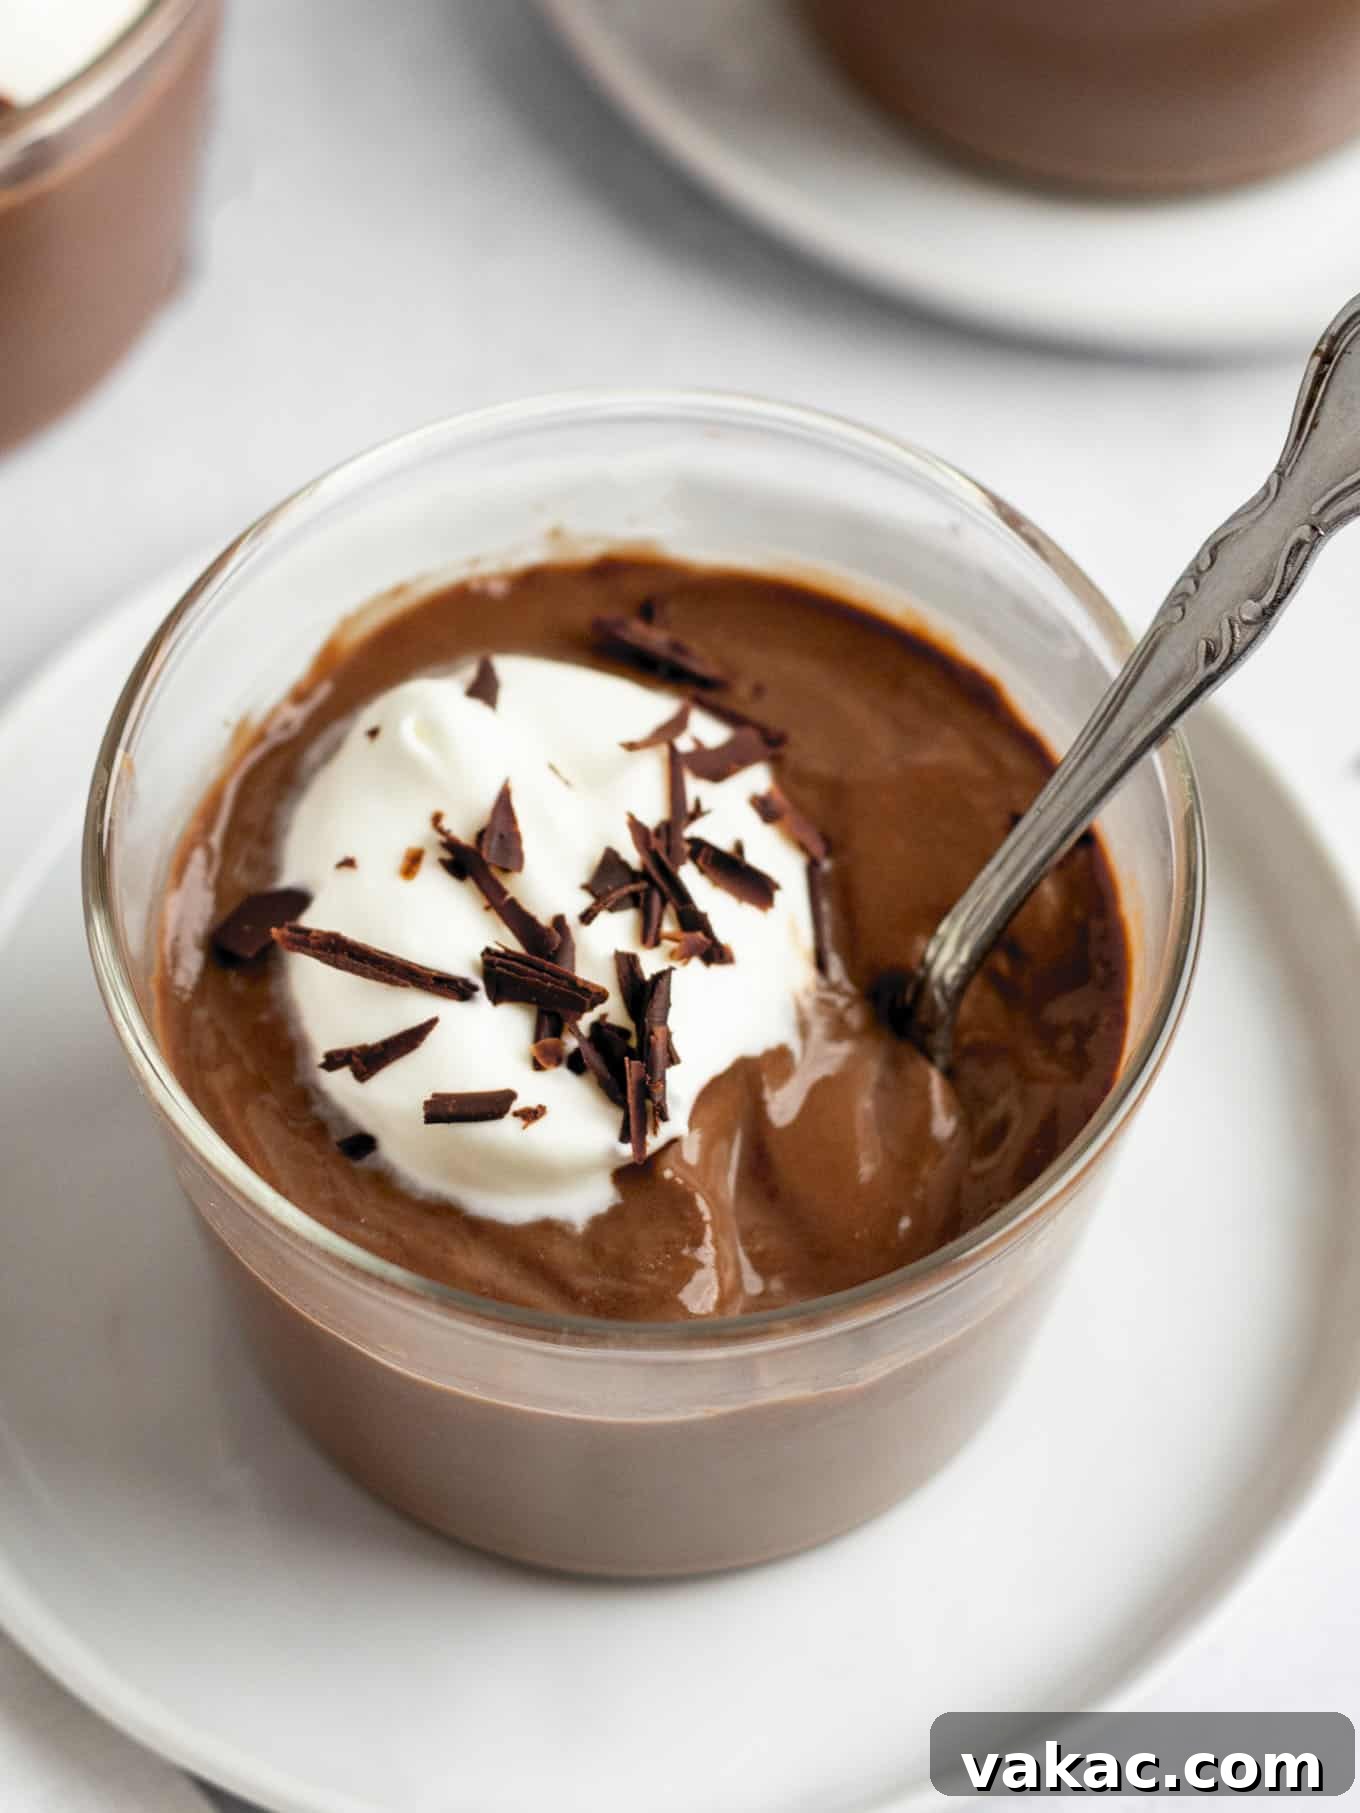
If your experience with chocolate pudding has been limited to instant packets, prepare for a delightful revelation. This homemade rendition is not only remarkably quick and easy to prepare, but its depth of flavor and luscious texture will utterly transform your perception of this classic dessert. Just like its counterpart, our vanilla pudding, this chocolate version requires just a few pantry staples and comes together in under 30 minutes of active cooking time. The result is a pudding that is incredibly decadent and smooth, and unlike many store-bought options, it’s perfectly balanced in sweetness, allowing the pure chocolate essence to shine.
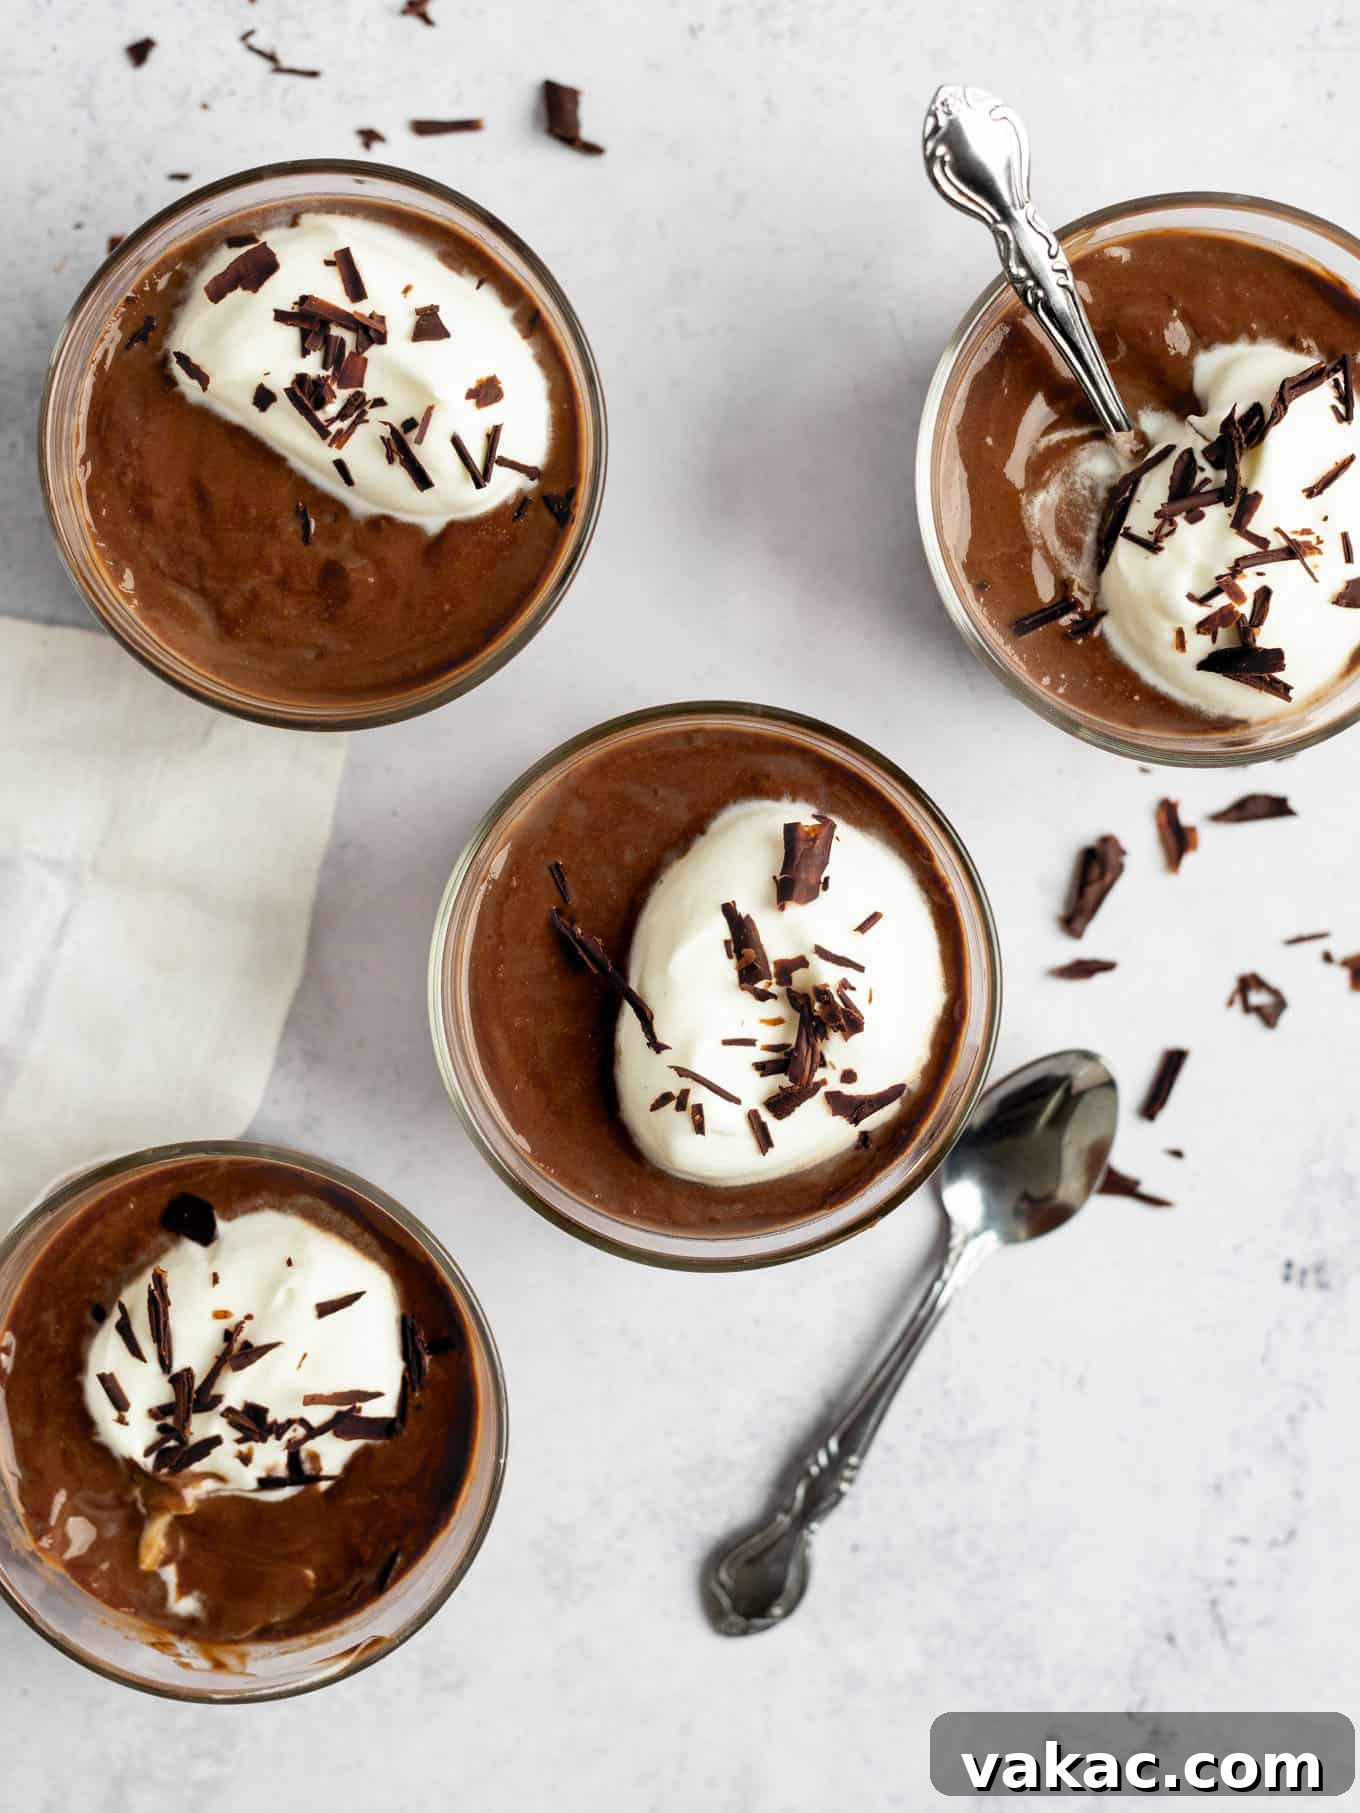
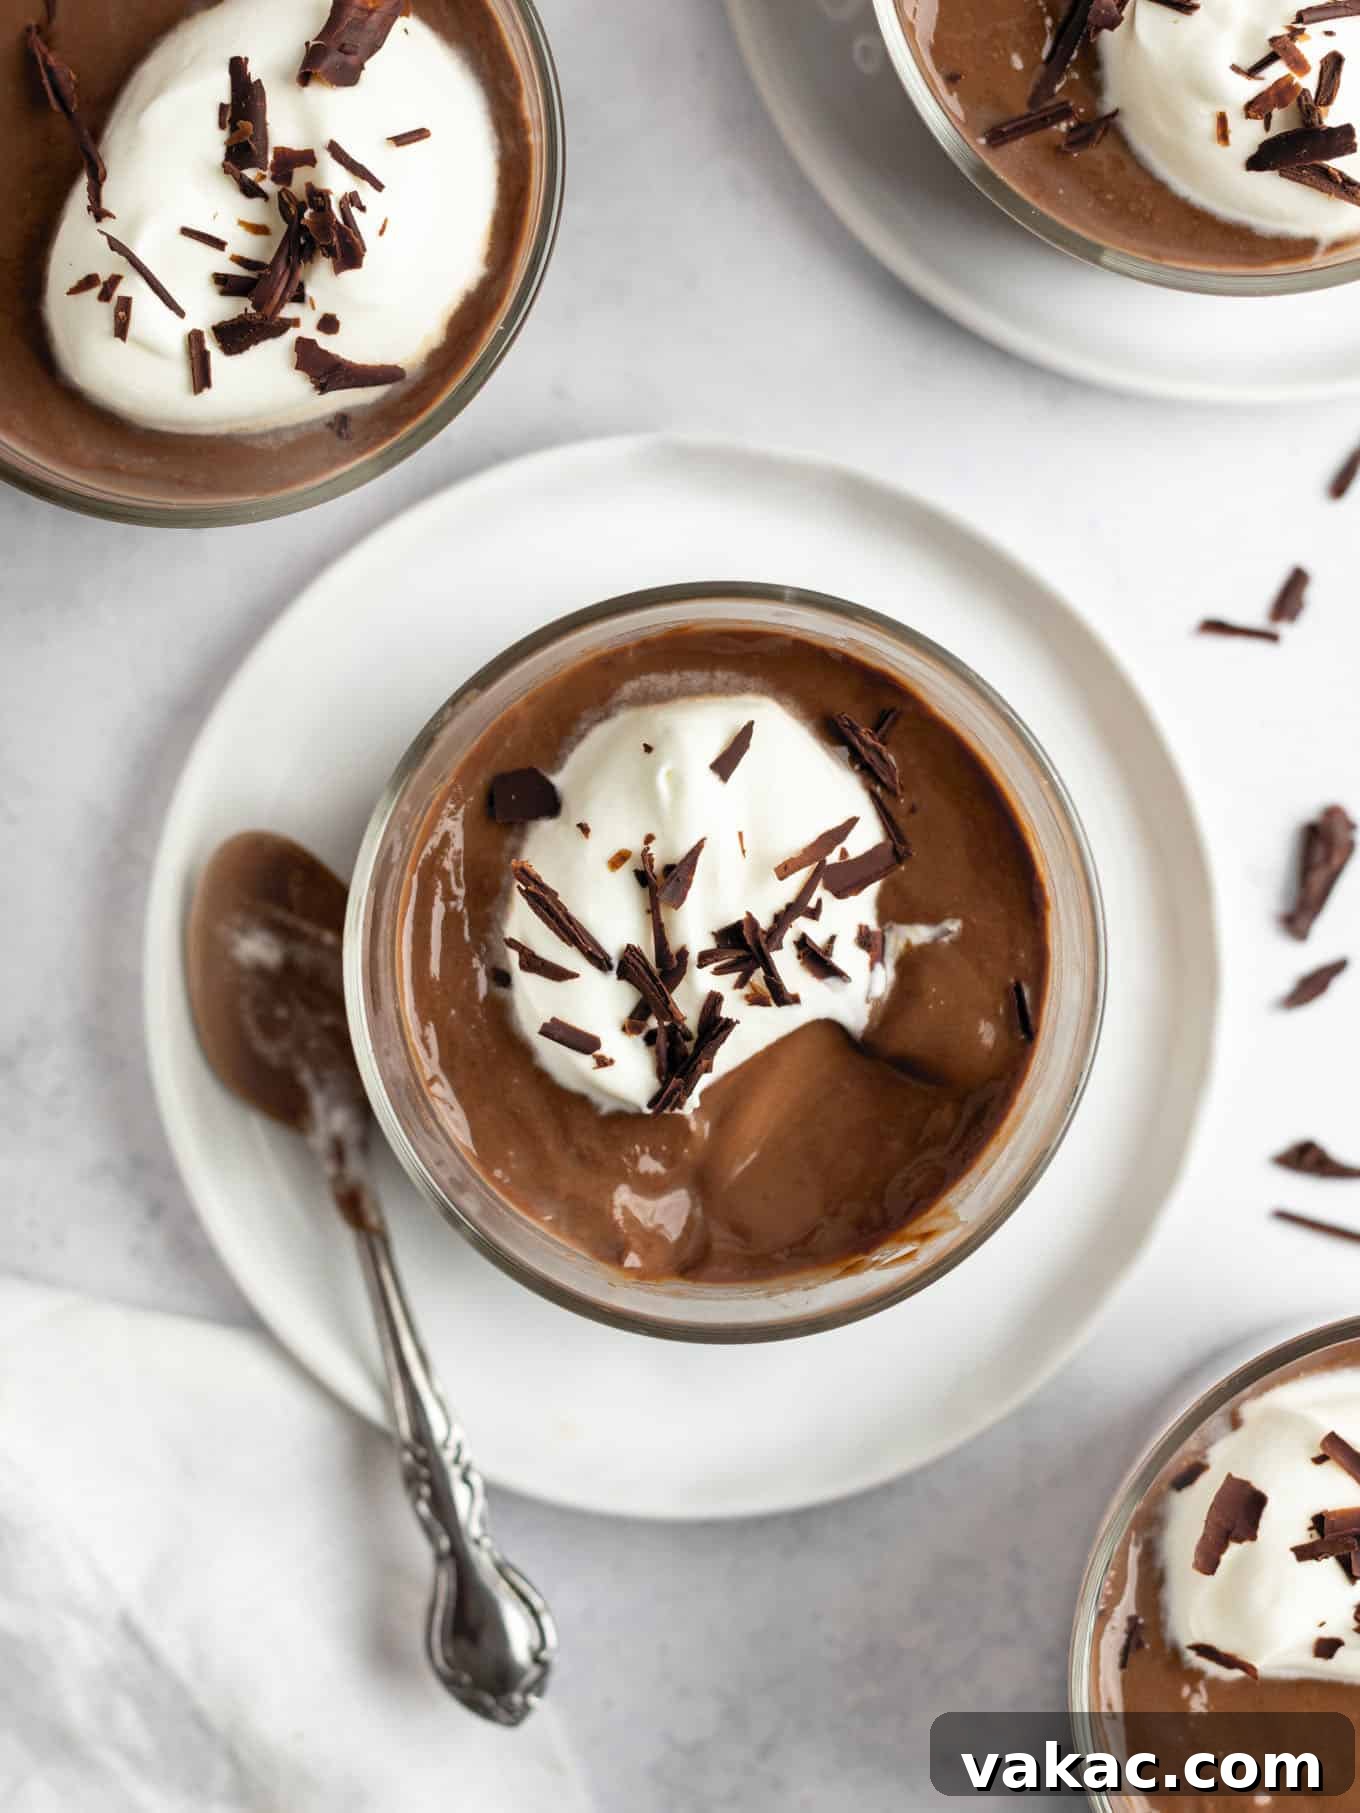
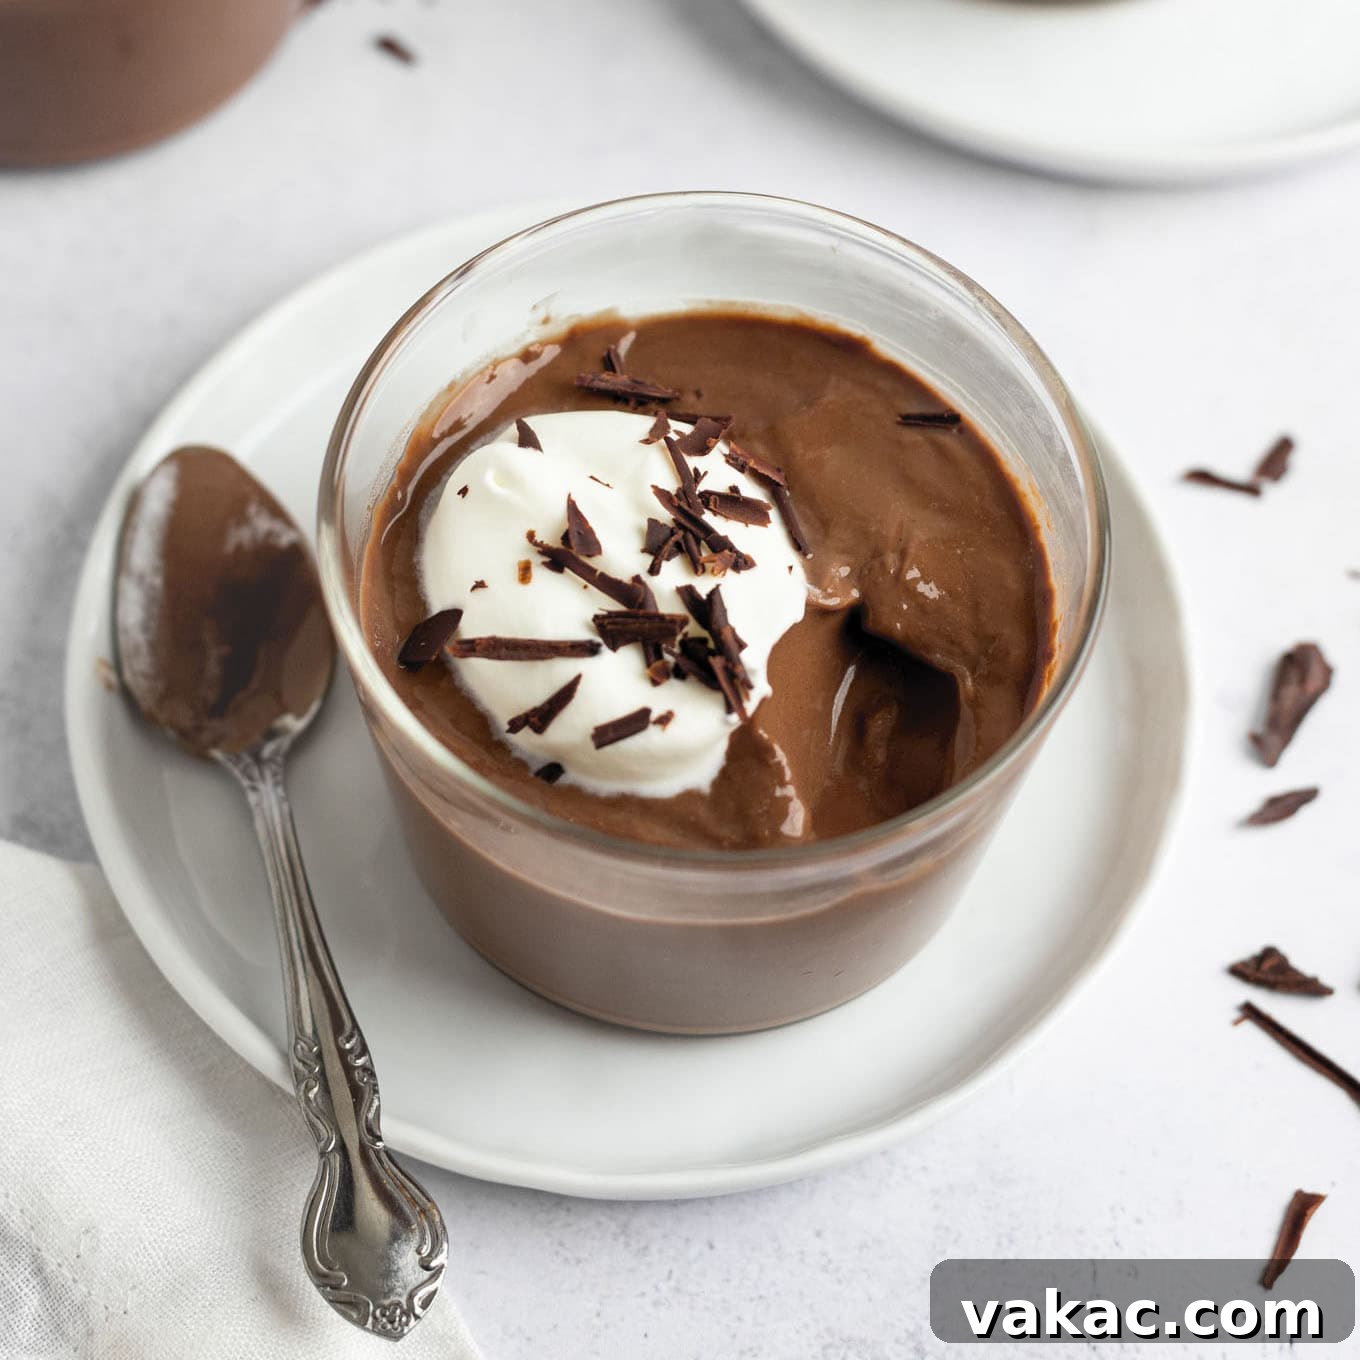
Savor this velvety pudding on its own for a simple yet satisfying treat, or elevate it further with a generous dollop of homemade whipped cream and a sprinkle of chocolate shavings just before serving. Beyond a standalone dessert, this versatile chocolate pudding serves as an excellent base or component for a variety of other confections. Incorporate it into layered trifles, no-bake icebox cakes, playful dirt cups, or even as a decadent pie filling. The possibilities are truly endless!
Why Homemade Chocolate Pudding Reigns Supreme
Opting for homemade pudding over a store-bought mix isn’t just a preference; it’s a commitment to superior taste and quality. When you make chocolate pudding from scratch, you gain complete control over the ingredients, ensuring a fresher, more natural flavor profile without the artificial additives or excessive sugars often found in commercial products. The process itself is wonderfully rewarding, transforming basic ingredients into a silken, deeply flavored dessert that’s both comforting and impressive. Each spoonful offers a velvety texture and an intense chocolate hit that simply can’t be replicated by a packet. Plus, it’s a fantastic way to impress guests or treat your family to a truly special dessert.
What You Need: Simple Ingredients, Incredible Flavor
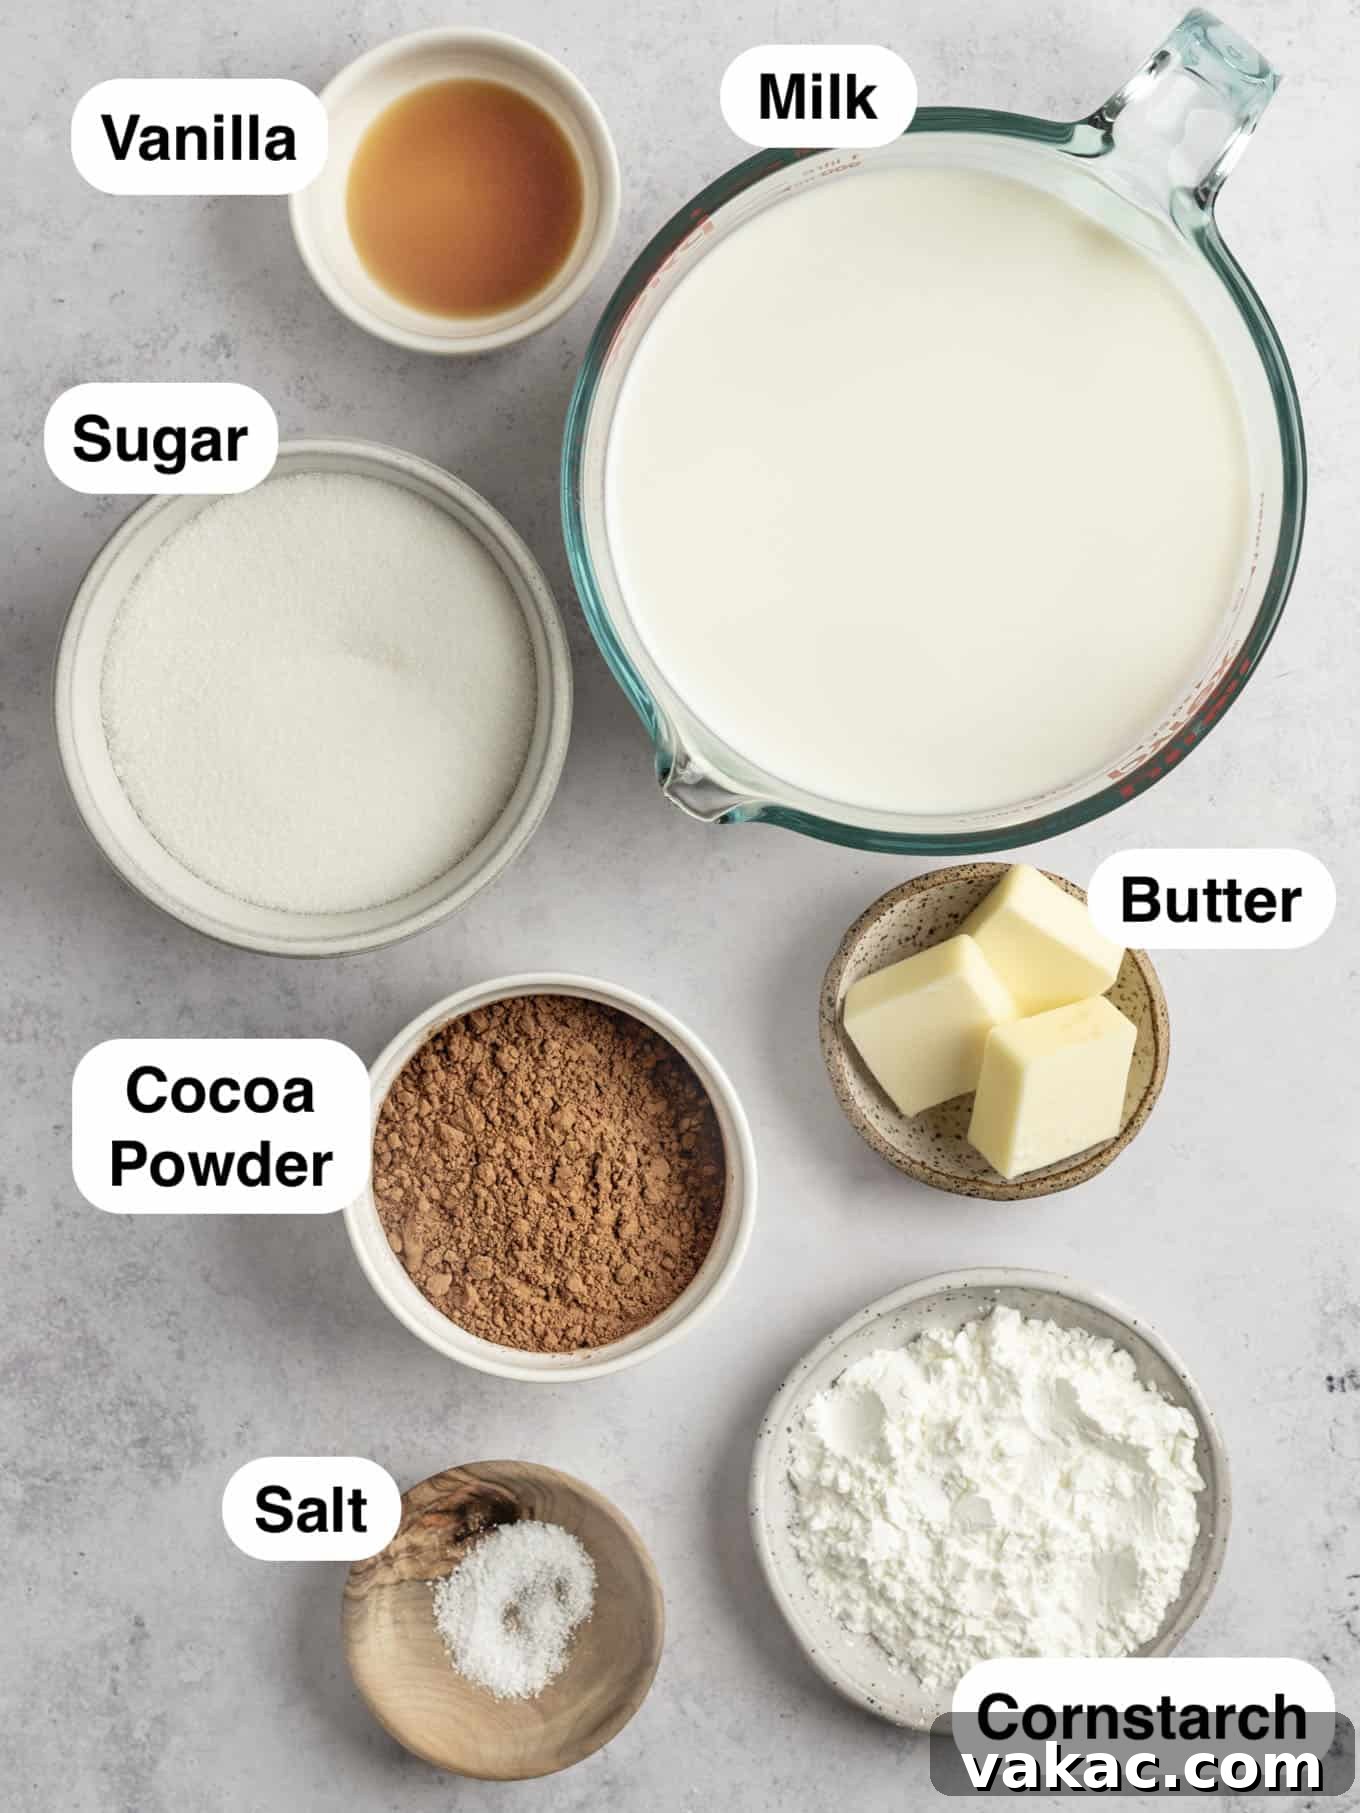
The magic of this creamy chocolate pudding lies in a handful of readily available ingredients. Each plays a crucial role in achieving that perfect rich flavor and smooth texture. Here’s a closer look at what you’ll need:
- Cocoa Powder: This is the heart of your chocolate pudding. You have the flexibility to use either natural unsweetened cocoa powder or Dutch-process cocoa powder. Natural cocoa powder is more acidic, resulting in a slightly sharper, fruitier chocolate flavor, while Dutch-process cocoa, being alkalized, offers a darker color and a mellower, less bitter chocolate taste. If you’re curious about the nuances and want to understand which might be best for your taste, I highly recommend diving into my detailed post on natural vs. Dutch process cocoa powder. Whichever you choose, ensure it’s unsweetened for optimal control over the pudding’s sweetness.
- Milk: For the most decadent and perfectly set pudding, whole milk is your best friend. Its higher fat content contributes significantly to the pudding’s rich flavor and luxurious, creamy consistency. While you can use lower-fat milk options, be aware that your pudding might turn out thinner and not set quite as firmly. For a truly indulgent experience, whole milk is non-negotiable.
- Granulated Sugar: Our recipe calls for one cup of granulated sugar. This amount is carefully balanced to create a sweet, comforting pudding that isn’t cloyingly sugary, allowing the deep chocolate notes to come through beautifully. Adjust slightly to your personal preference, but this measurement ensures a harmonious sweetness.
- Cornstarch: This is our secret weapon for achieving that velvety, smooth texture without any eggy flavors. Cornstarch, sometimes known as cornflour in other regions, acts as a thickening agent, preventing a watery pudding and ensuring a wonderfully silky mouthfeel. It’s essential for the pudding to set correctly.
- Salt: A small but mighty ingredient! A touch of salt is indispensable in chocolate desserts. It doesn’t just add seasoning; it acts as a flavor enhancer, intensifying the chocolate notes and expertly balancing the sweetness of the sugar, preventing the pudding from tasting flat. Don’t skip it!
- Unsalted Butter: Stirred in at the end, unsalted butter is a game-changer for richness and an even creamier texture. It adds a luxurious mouthfeel and a subtle depth of flavor. If all you have on hand is salted butter, simply reduce the amount of added salt in the recipe to ⅛ of a teaspoon to avoid over-salting.
- Vanilla Extract: Pure vanilla extract is crucial for rounding out the chocolate flavor. It doesn’t make the pudding taste like vanilla; instead, it deepens and enhances the complexity of the chocolate, adding a nuanced aroma and taste that truly elevates the overall profile. Opt for good quality pure vanilla for the best results.
How To Make Chocolate Pudding: A Simple Process
While homemade chocolate pudding involves a few more steps than tearing open a box, the process is incredibly straightforward and deeply satisfying. The most critical element to remember is consistent stirring as it cooks. Don’t worry, you won’t be chained to the stove for long!
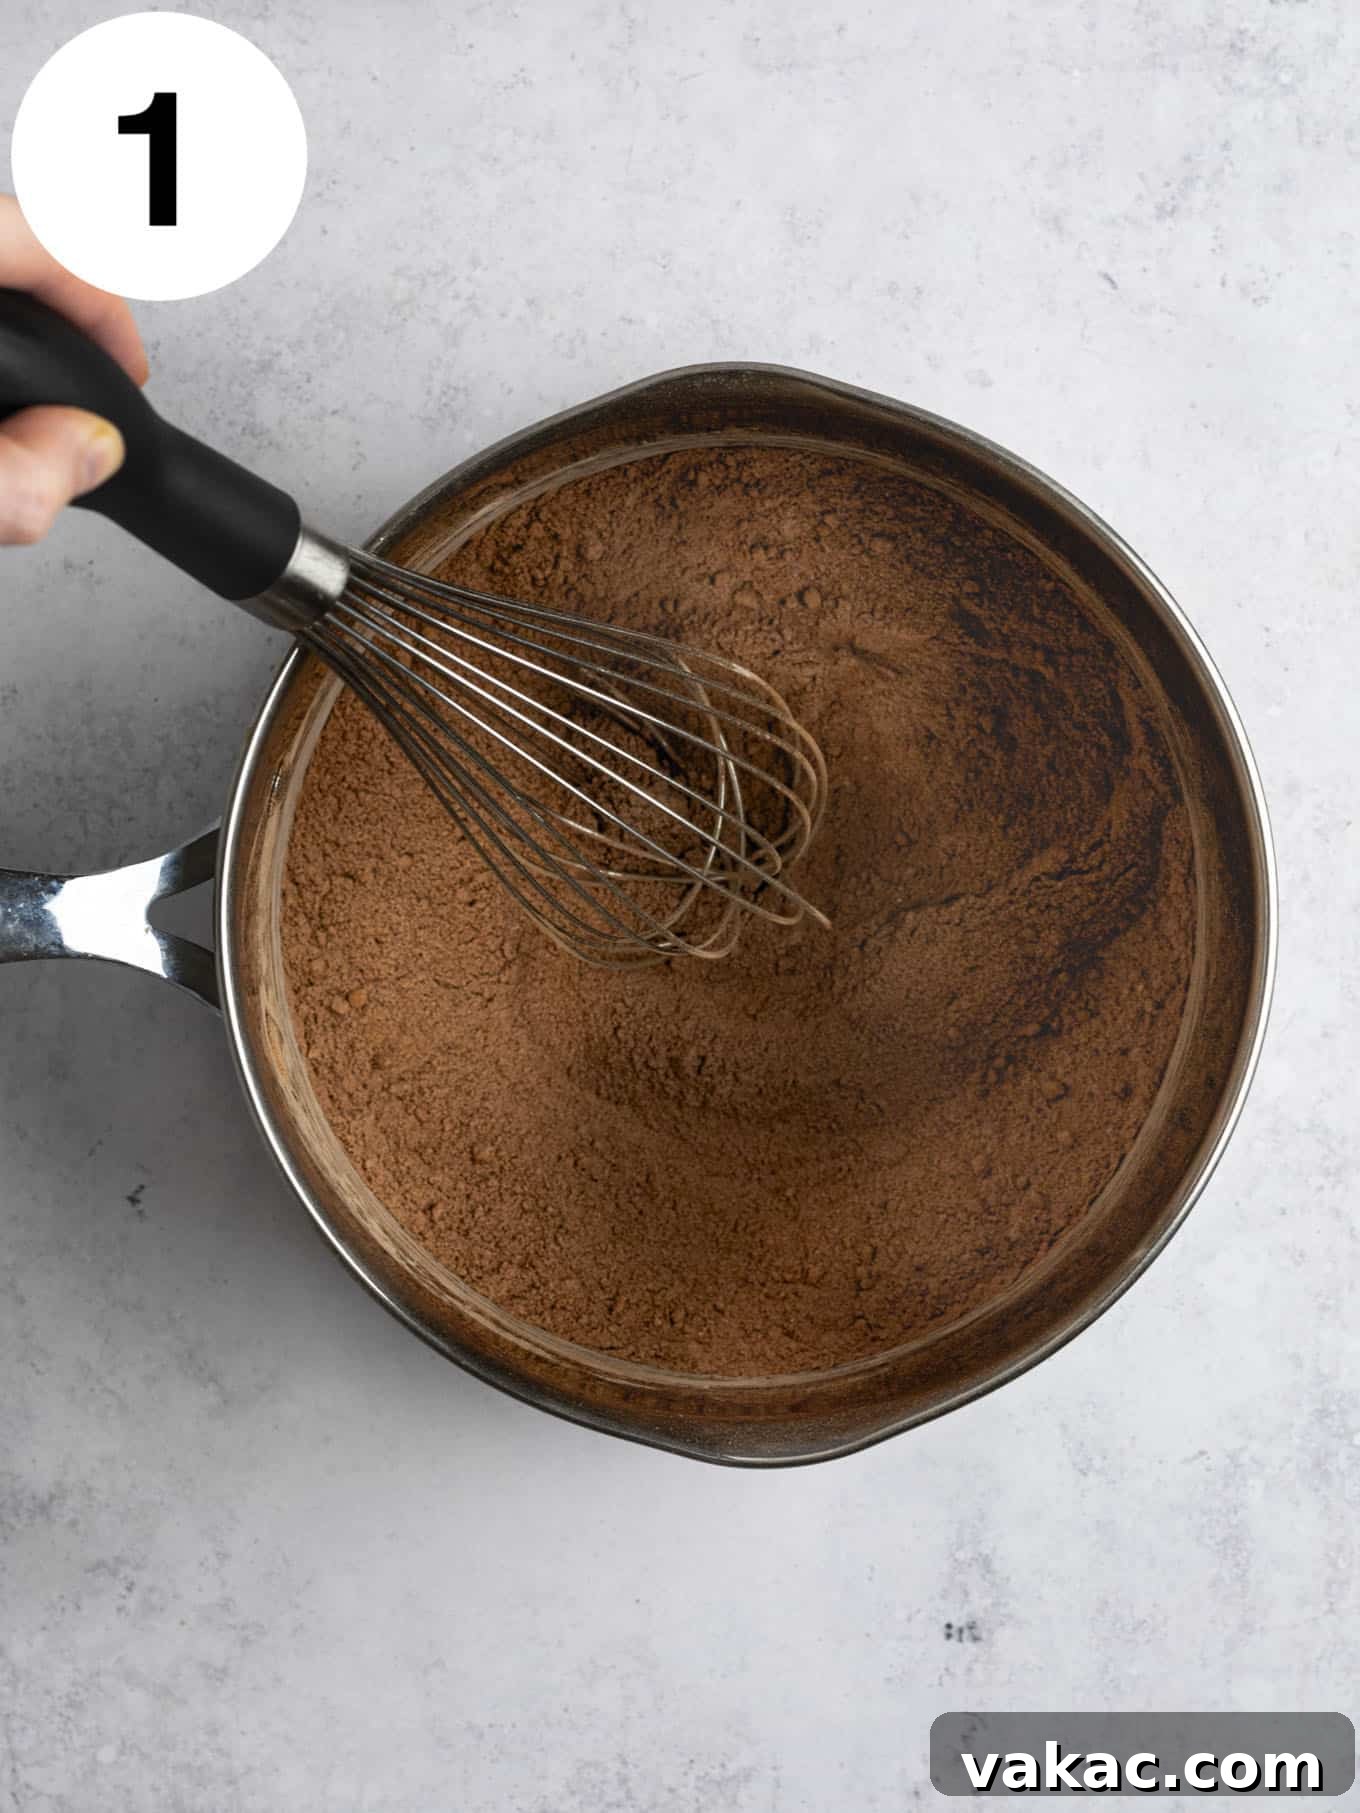
- Combine Dry Ingredients: Begin by adding your cocoa powder, granulated sugar, salt, and cornstarch to a large, heavy-bottomed saucepan. Whisk these dry ingredients together thoroughly. This initial step is crucial for preventing lumps later on, ensuring your chocolate pudding is beautifully smooth.
- Introduce Wet Ingredients: Gradually pour the whole milk into the saucepan with the dry mixture. As you pour, continuously whisk to fully combine the ingredients. It’s important to incorporate the milk slowly and whisk vigorously to create a uniform mixture free of any dry pockets or lumps.
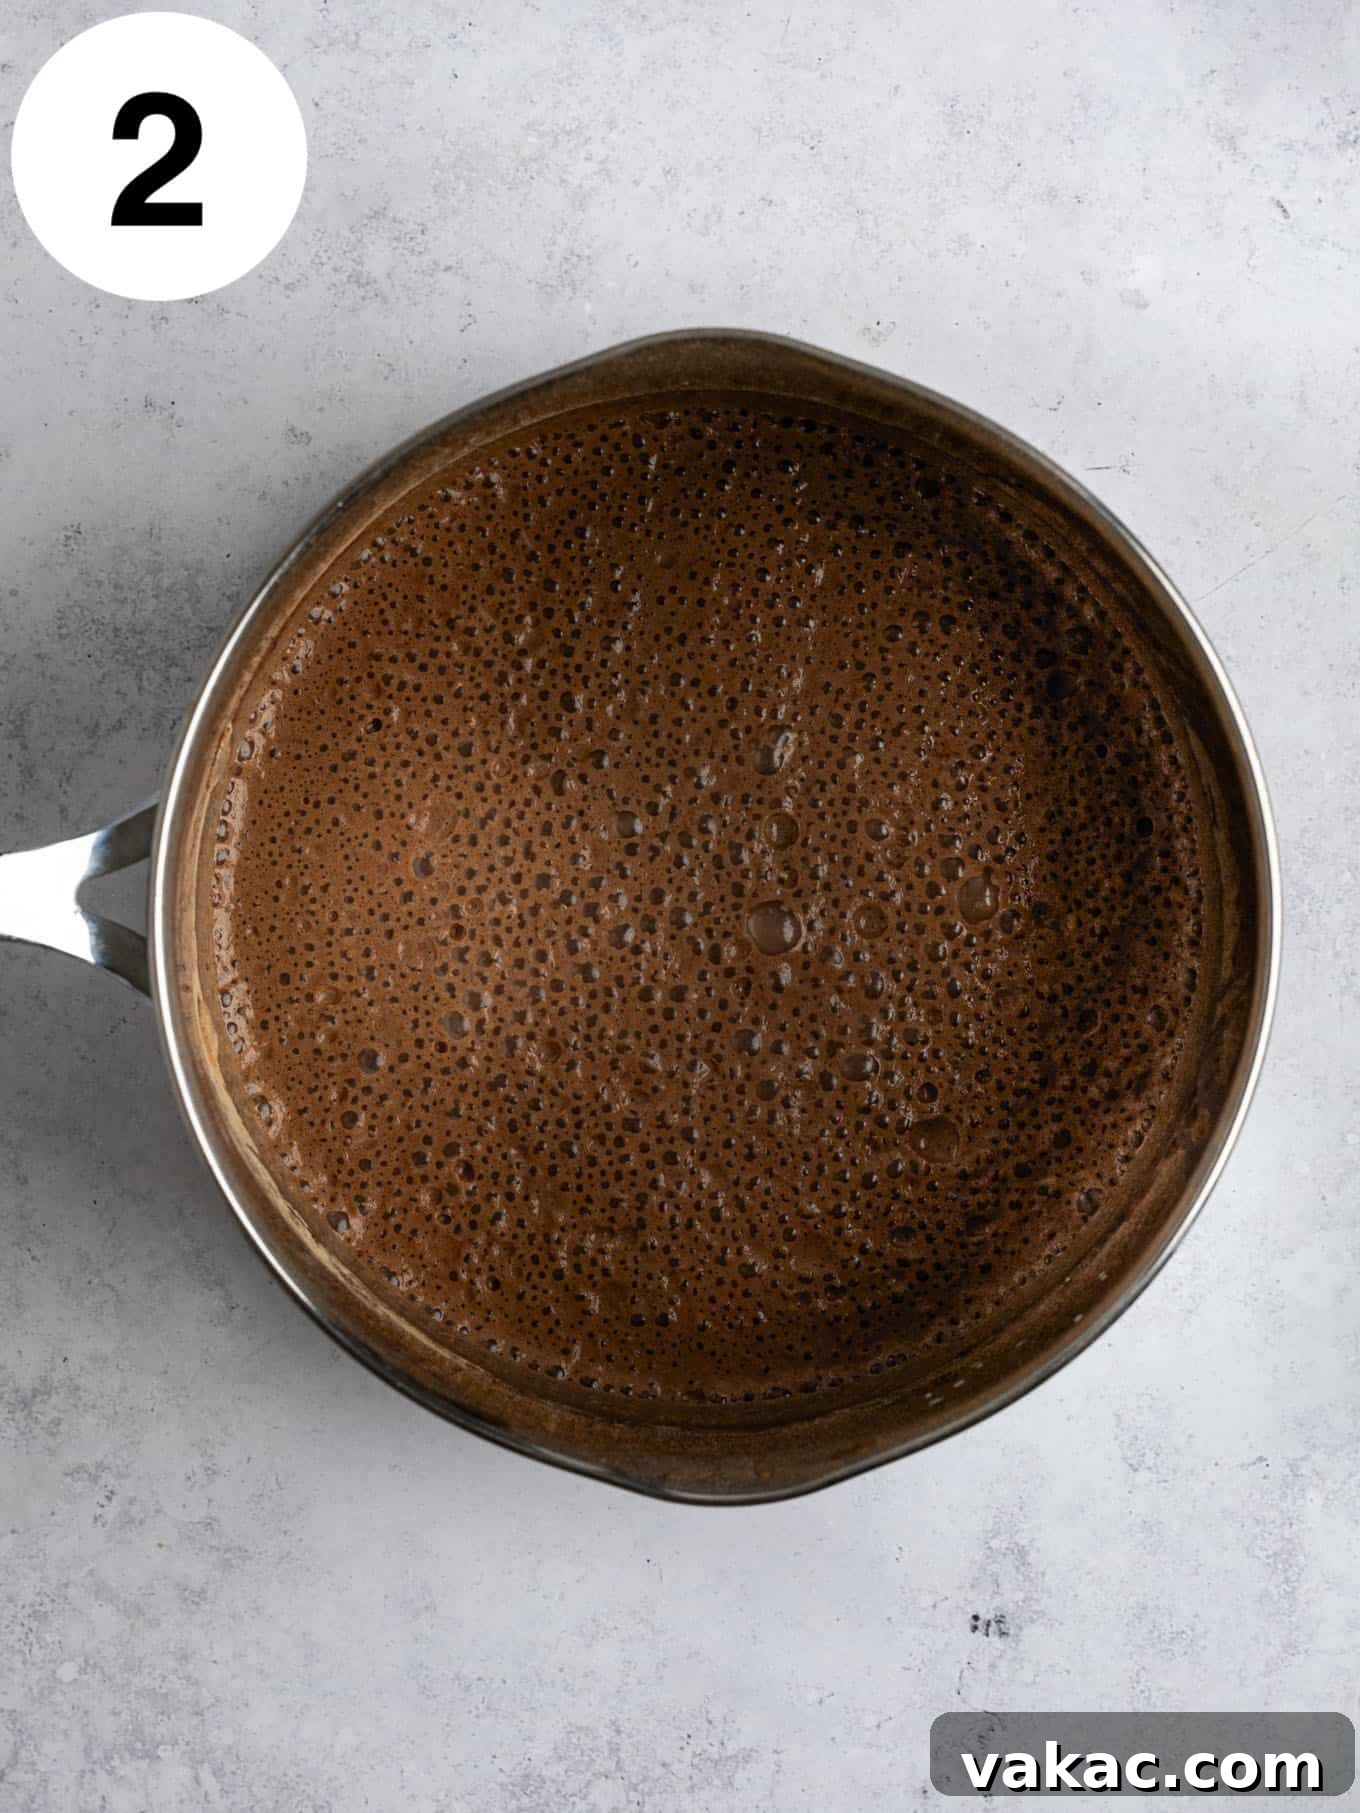
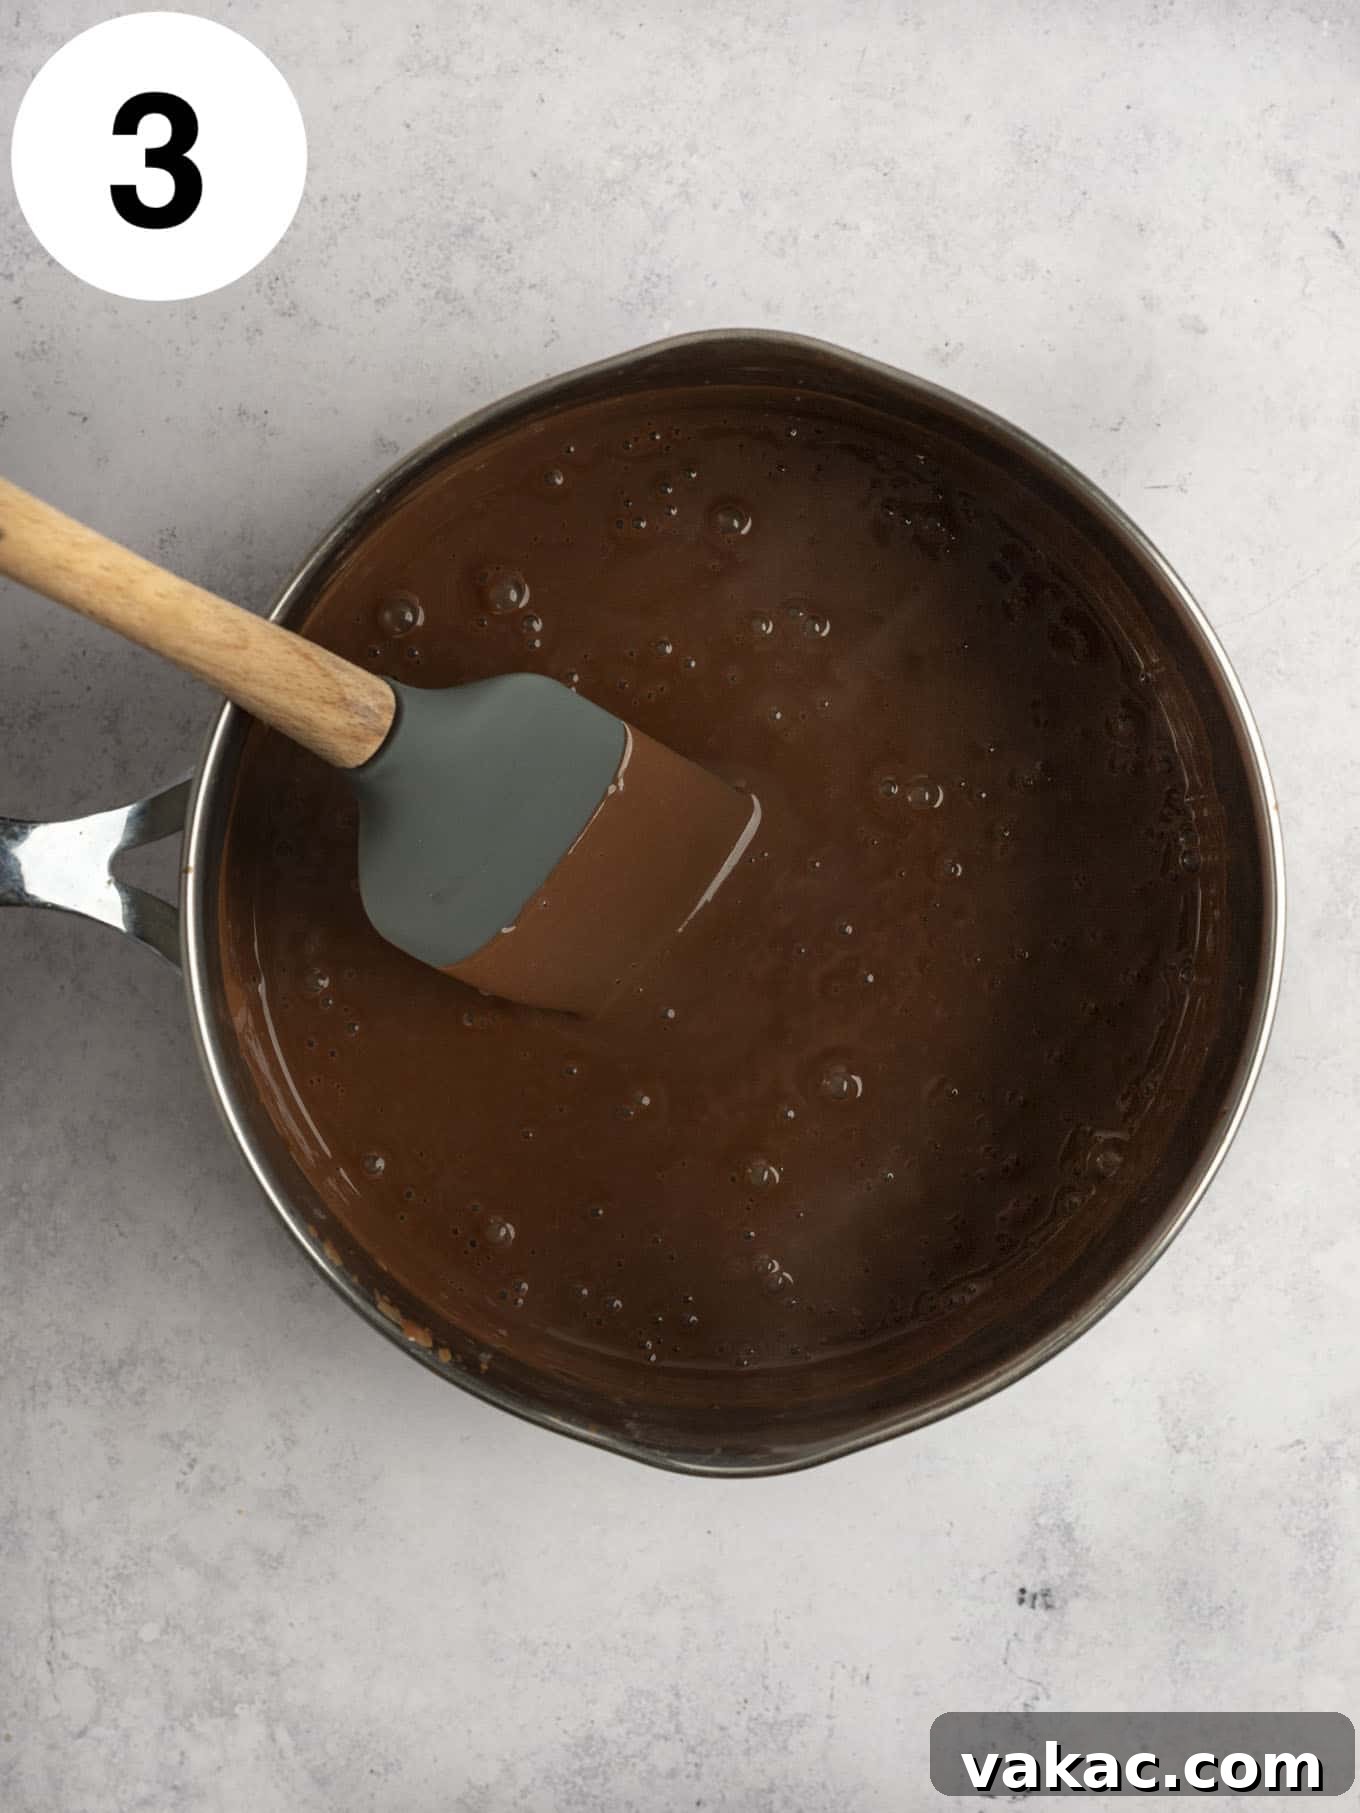
- Cook to Perfection: Place the saucepan over medium heat. Bring the mixture to a gentle boil, ensuring you whisk or stir often throughout this phase. I highly recommend using a rubber spatula to occasionally scrape the bottom and sides of the pan. This prevents sticking and burning, which can ruin the texture and flavor. Once it reaches a boil, continue to cook for exactly one minute. At this point, the pudding should visibly thicken and be able to easily coat the back of a spoon or rubber spatula. This visual cue is how you know it’s ready.
- Enrich with Butter and Vanilla: Promptly remove the saucepan from the heat. Add the unsalted butter, one tablespoon at a time, stirring until each piece is fully melted and incorporated. The butter adds incredible richness and a silky finish. Follow with the pure vanilla extract, stirring until fragrant and mixed through.
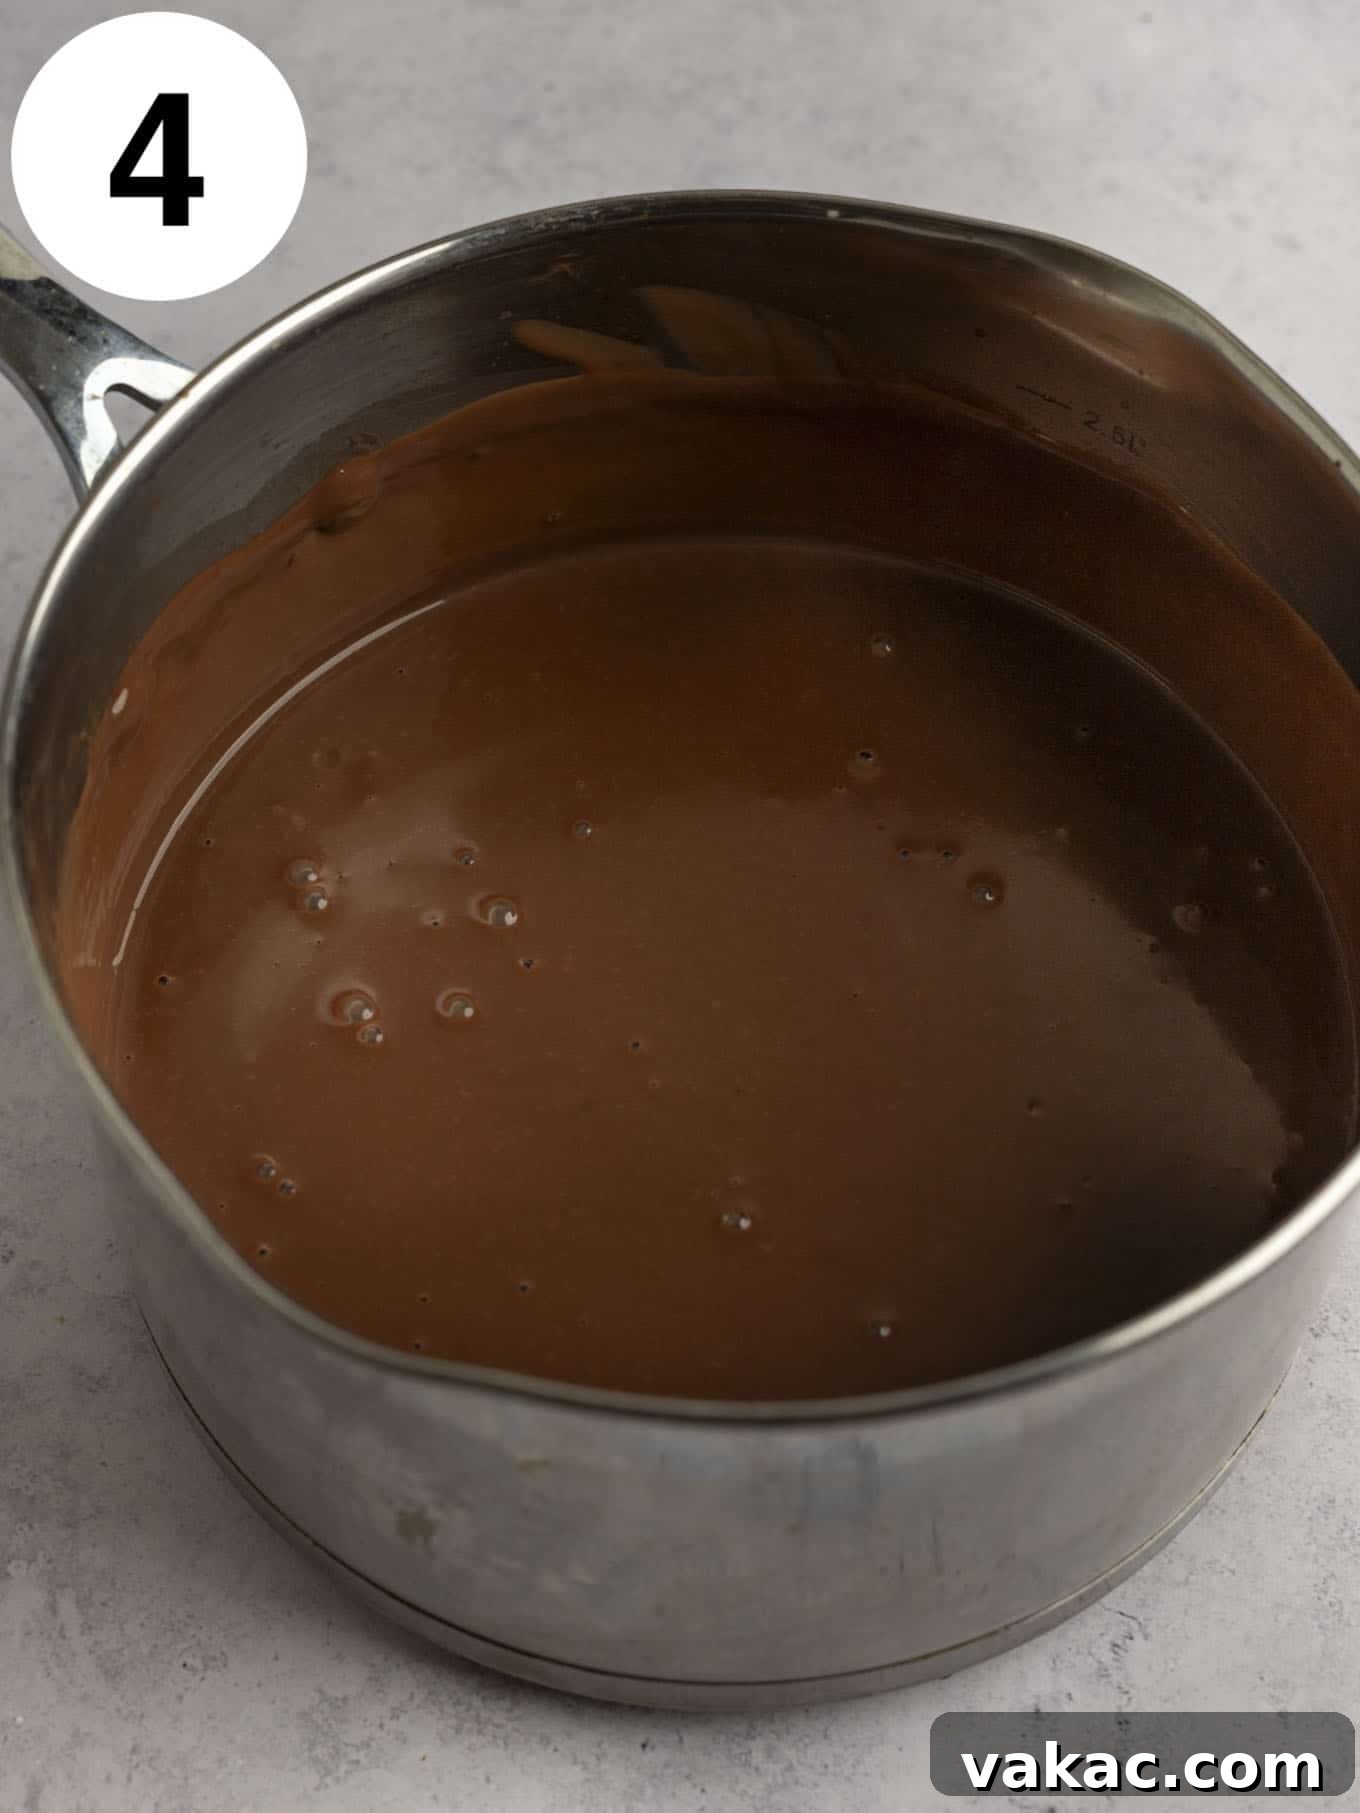
- Strain for Ultimate Smoothness (Optional but Recommended): For the absolute smoothest, most luxurious pudding, strain the mixture through a fine-mesh sieve into a clean, heat-proof bowl. This optional but highly recommended step effectively removes any tiny lumps or cooked bits that may have formed during the cooking process, ensuring an impeccably silky final product.
- Cool and Chill: Immediately after straining (or transferring to a bowl), press a piece of plastic wrap directly onto the surface of the pudding. This crucial step prevents a “skin” from forming on top as it cools. Allow the pudding to cool completely at room temperature for about two hours. After reaching room temperature, transfer it to the refrigerator and chill for an additional two to three hours, or until thoroughly cold and set. This chilling time is essential for the pudding to firm up and for the flavors to fully develop.
- Serve and Enjoy: Once perfectly chilled, your homemade chocolate pudding is ready to be enjoyed! Serve it simply as is, or dress it up with your favorite toppings like whipped cream, chocolate shavings, fresh berries, or a dusting of extra cocoa powder.
Frequently Asked Questions about Homemade Chocolate Pudding
How do you know when pudding is finished cooking?
The pudding mixture needs to boil for exactly one minute after reaching a rolling boil. You’ll know it’s perfectly ready to come off the heat when it has visibly thickened and coats the back of a spoon or rubber spatula, leaving a clear path when you run your finger across it. It should be thick enough but still pourable. Trust your visual cues!
What’s the best way to thicken runny pudding?
If, after boiling for one minute, your pudding still appears too thin and doesn’t coat a spoon effectively, don’t despair! Simply return the saucepan to medium heat and continue cooking, stirring constantly, until it reaches the desired consistency. Remember that the pudding will continue to thicken significantly as it cools and chills in the refrigerator, so avoid overcooking it initially.
What’s the best way to thin pudding that’s too thick?
If your pudding has become too thick after chilling, it likely means it was slightly overcooked on the stove. To remedy this, gently stir the pudding to break up its firm structure. Then, gradually add a tablespoon of cold milk at a time, stirring well after each addition, until the pudding reaches your preferred smooth and creamy consistency. Be patient and add small amounts to avoid making it too thin.
How long does homemade pudding last?
Properly stored in an airtight container in the refrigerator, your delicious homemade chocolate pudding will remain fresh and delightful for up to three days. It’s best enjoyed within this timeframe. Because this recipe relies on cornstarch as its thickener, I do not recommend freezing it. Freezing and thawing cornstarch-thickened puddings can lead to an undesirable separation and a curdled, grainy texture.
Can I make this pudding dairy-free?
Yes, you can! To make this chocolate pudding dairy-free, substitute the whole milk with a full-fat non-dairy milk alternative like full-fat coconut milk (from a can, shaken well) or a rich oat milk. You will also need to replace the unsalted butter with a dairy-free butter alternative or coconut oil. The texture may vary slightly, but it will still yield a delicious dairy-free treat.
Can I reduce the sugar in this recipe?
You can certainly adjust the sugar content to your taste. The recipe uses 1 cup of sugar for a balanced sweetness. If you prefer a less sweet, more intensely dark chocolate flavor, you can start by reducing the sugar to ¾ cup. Taste the mixture before it fully sets and adjust if necessary, keeping in mind that the pudding’s perceived sweetness can change slightly once chilled.
Expert Recipe Tips for Flawless Chocolate Pudding
- Choose Full-Fat Dairy: For the most luxurious, rich, and undeniably creamy pudding, always opt for full-fat dairy products. Whole milk is ideal, as its fat content is key to achieving that signature velvety texture that sets homemade pudding apart.
- Mind the Heat: Patience is a virtue when cooking pudding. It’s crucial not to rush the process by increasing the heat beyond medium. High heat can cause the milk to scorch on the bottom of the pan, leading to a grainy texture and potentially a burnt flavor. Cook steadily over medium heat for best results.
- Whisk Consistently: As the pudding mixture heats and approaches a boil, consistent whisking is your best defense against lumps. Focus on scraping the bottom and sides of the saucepan with your whisk or a rubber spatula. This ensures even cooking, prevents sticking, and helps create a perfectly smooth consistency.
- Don’t Skip the Plastic Wrap: This step is non-negotiable for a perfect pudding top! After transferring the cooked pudding to a bowl, immediately press a piece of plastic wrap directly onto its surface, ensuring it touches every part of the pudding. This barrier prevents a rubbery “skin” from forming as the pudding cools and chills, leaving you with a beautifully smooth top layer.
- Measure Accurately: Especially for cornstarch, precise measurements are key to achieving the correct thickness. Use measuring cups and spoons accurately, or ideally, a kitchen scale for dry ingredients like cocoa and cornstarch to ensure consistency.
- Allow Ample Chilling Time: While it’s tempting to dive in early, the chilling time is essential. It not only allows the pudding to fully set and firm up but also deepens its chocolate flavor. Plan ahead to give your pudding the full 4+ hours of cooling and chilling it needs.
Homemade Chocolate Pudding
Skip the store-bought mix and make chocolate pudding from scratch instead! It’s richer, creamier, and more flavorful. Plus, it only requires a few simple ingredients!
10 mins
15 mins
4 hrs
4 hrs 25 mins
Ingredients
8 servings
- 1 cup granulated sugar (200 grams)
- ½ cup unsweetened cocoa powder (45 grams; natural or Dutch process)
- ¼ cup cornstarch (32 grams)
- ¼ teaspoon salt
- 3 ½ cups whole milk
- 3 tablespoons unsalted butter (45 grams)
- 1 teaspoon pure vanilla extract
Instructions
- In a large saucepan, whisk together the sugar, cocoa powder, cornstarch, and salt until well combined.
- Gradually pour the milk into the saucepan with the dry ingredients, making sure to whisk well until the mixture is fully combined and lump-free.
- Place the saucepan over medium heat and bring to a boil, stirring or whisking the mixture often (use a rubber spatula to scrape around the bottom and sides of the pan occasionally). Allow to boil for one minute; the mixture should be thicker and coat the back of a spoon or rubber spatula at this point.
- Remove from the heat and stir in the butter, one tablespoon at a time, until fully melted and incorporated. Then, stir in the pure vanilla extract.
- (Optional but Recommended) Strain the mixture through a fine-mesh strainer into a heat-proof bowl to ensure an exceptionally smooth pudding.
- Cover with plastic wrap, pressing the plastic wrap directly onto the surface of the pudding to prevent a skin from forming. Allow to cool completely to room temperature, which will take about 2 hours. Then, refrigerate for an additional 2 to 3 hours or until thoroughly chilled and set.
- Serve as is, or top with whipped cream, chocolate shavings, or your favorite toppings!
Notes
Storage Instructions: Pudding may be stored in an airtight container in the fridge for up to 3 days. Freezing is not recommended as it can alter the texture due to the cornstarch.
American
Dessert
Danielle Rye
More Puddings and Custards You’ll Love!