
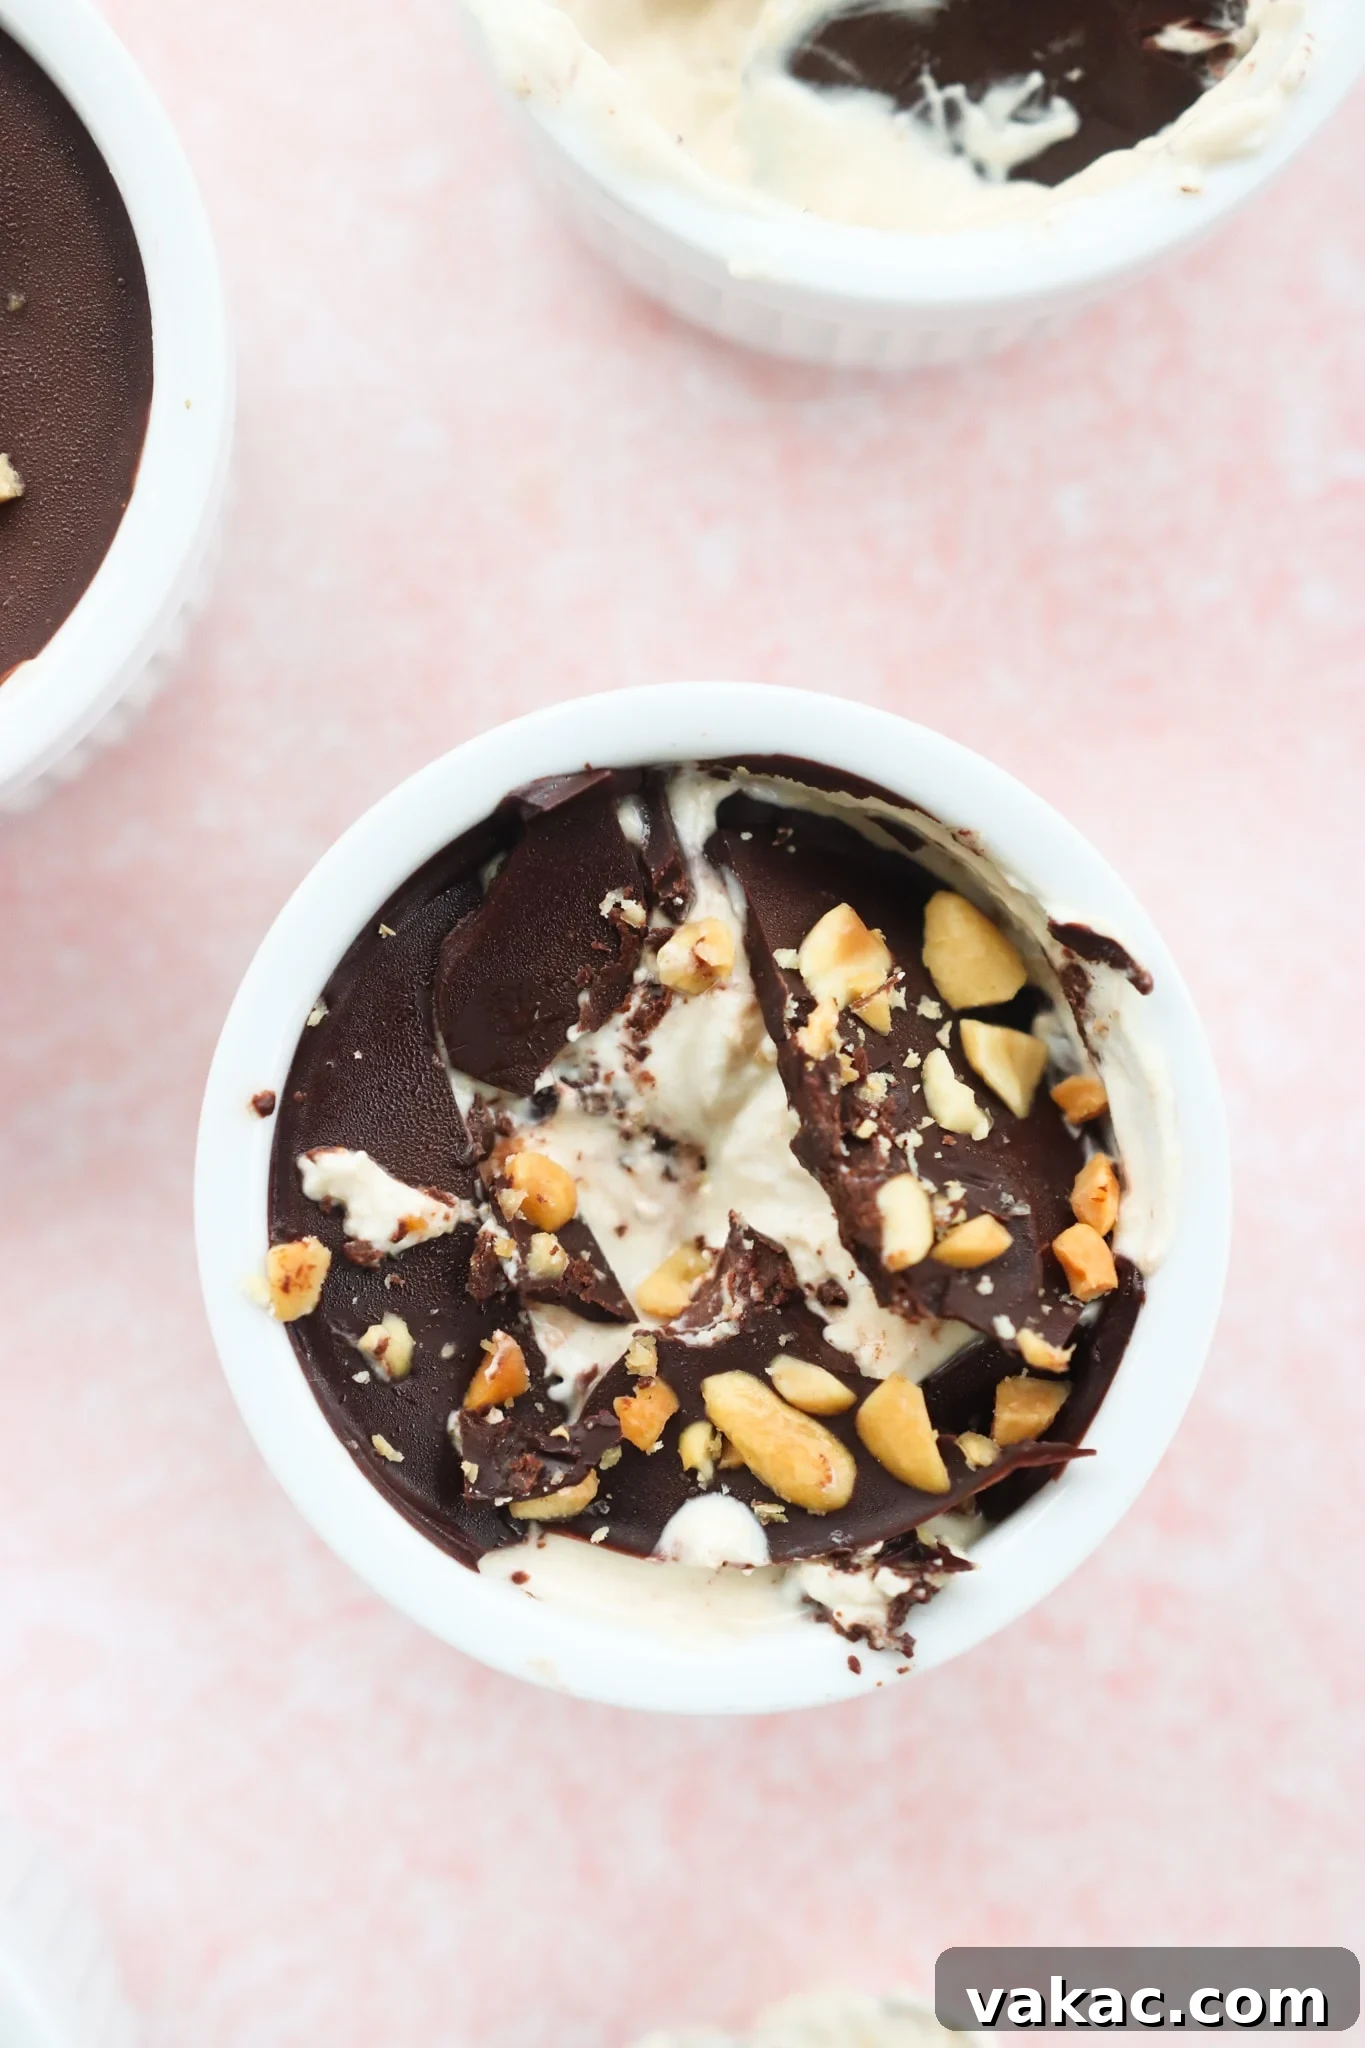
Irresistibly Creamy Greek Yogurt Peanut Butter Cups with Magic Chocolate Shell: Your High-Protein Dream Dessert
These incredibly delicious and creamy Greek yogurt peanut butter cups are not just a treat for your taste buds, but also a powerhouse of nutrition! Boasting an impressive 10g of protein per serving, they make for a super satisfying snack or a guilt-free dessert. Crafted swiftly with just six simple ingredients, including plain Greek yogurt, natural peanut butter, a touch of maple syrup, and an utterly irresistible magic chocolate shell, these cups are designed to delight.
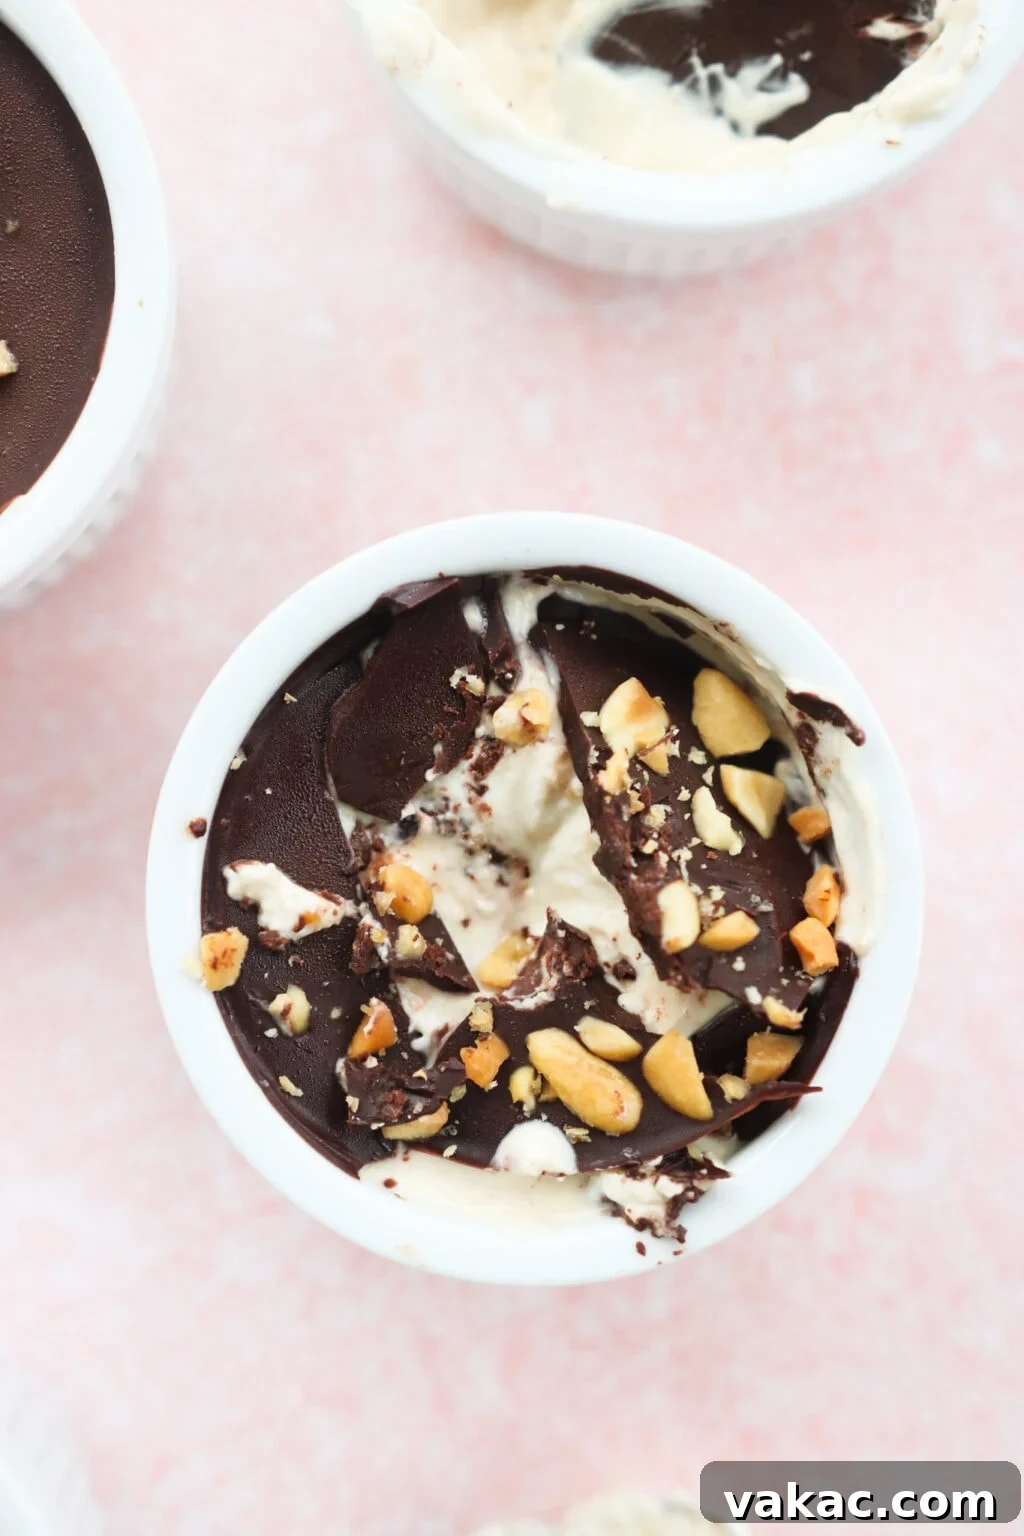
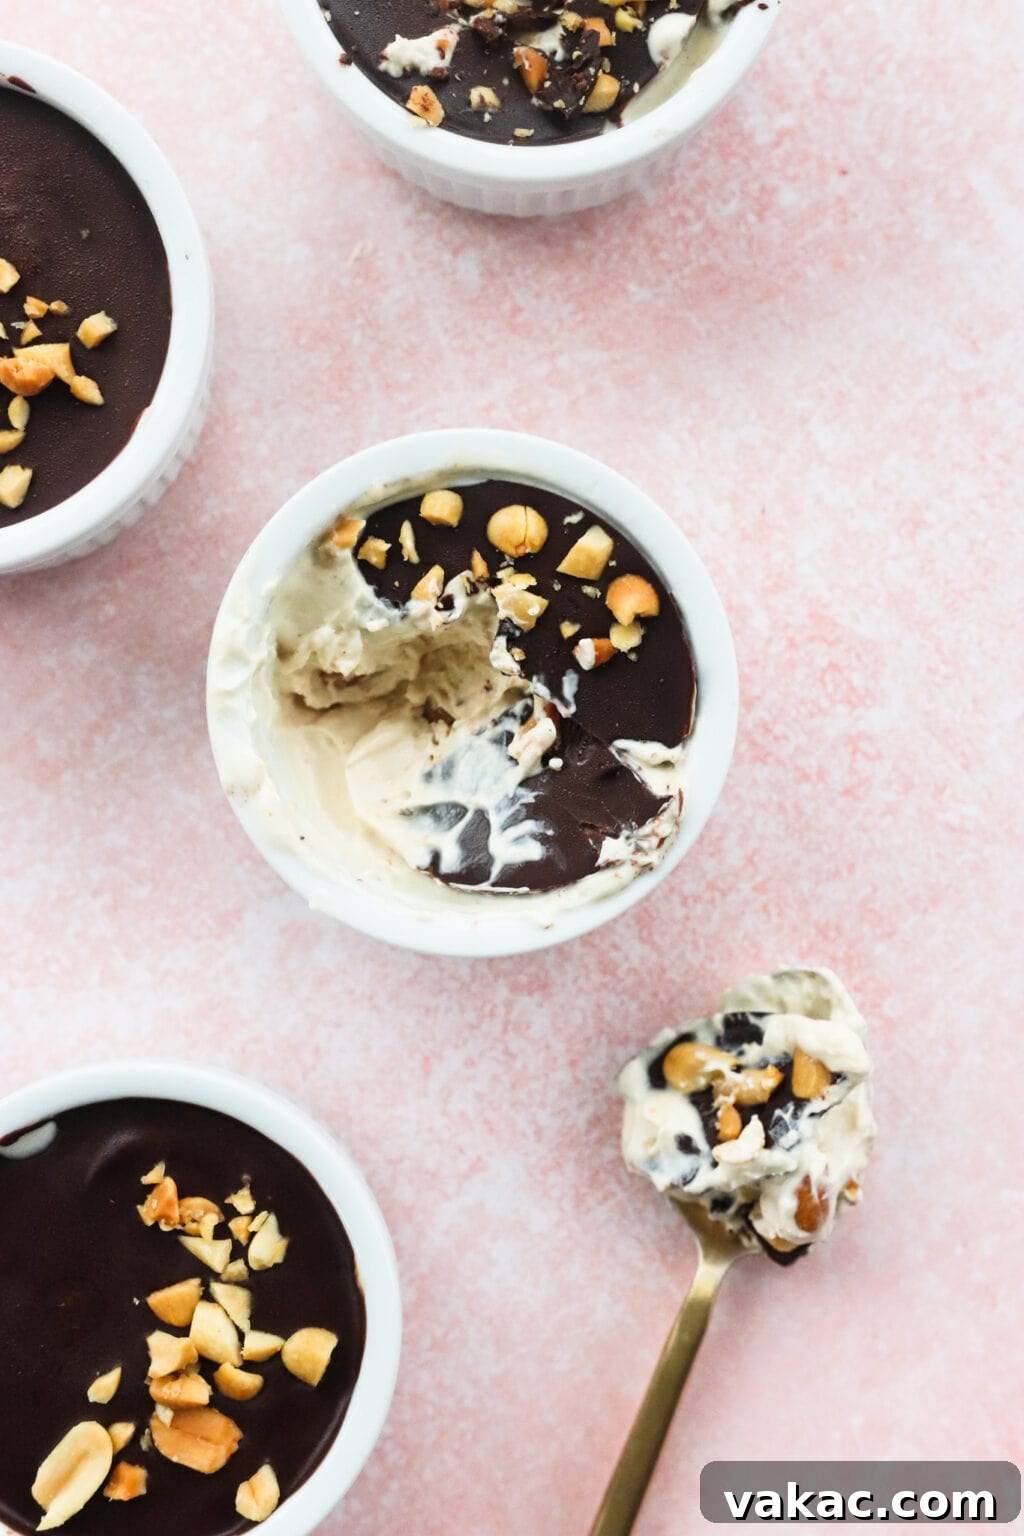
Are you on the hunt for a treat that beautifully marries indulgence with nourishment? Look no further than these sensational Greek yogurt peanut butter cups. Imagine the pure satisfaction of gently cracking through that luscious, crisp “magic” chocolate shell, revealing a cold, creamy filling beneath – a divine texture that’s somewhere between a rich pudding and a delicate mousse. This isn’t just a snack; it’s a moment of pure bliss, meticulously crafted to fulfill your cravings and leave you feeling truly satisfied. It’s the kind of dessert that makes your sweet dreams come true, offering a perfect harmony of flavors and textures.
As a dietitian, my core philosophy is that nutrition should never overshadow taste. When a recipe achieves that rare balance, delivering both incredible flavor and significant health benefits, it’s nothing short of a culinary triumph. These Greek yogurt peanut butter cups are a prime example, joining the ranks of other delicious desserts that are naturally high in protein. They prove that you don’t have to compromise on enjoyment to eat well, making healthy eating an effortless and pleasurable experience.
The Power of Protein: How These Cups Keep You Satisfied
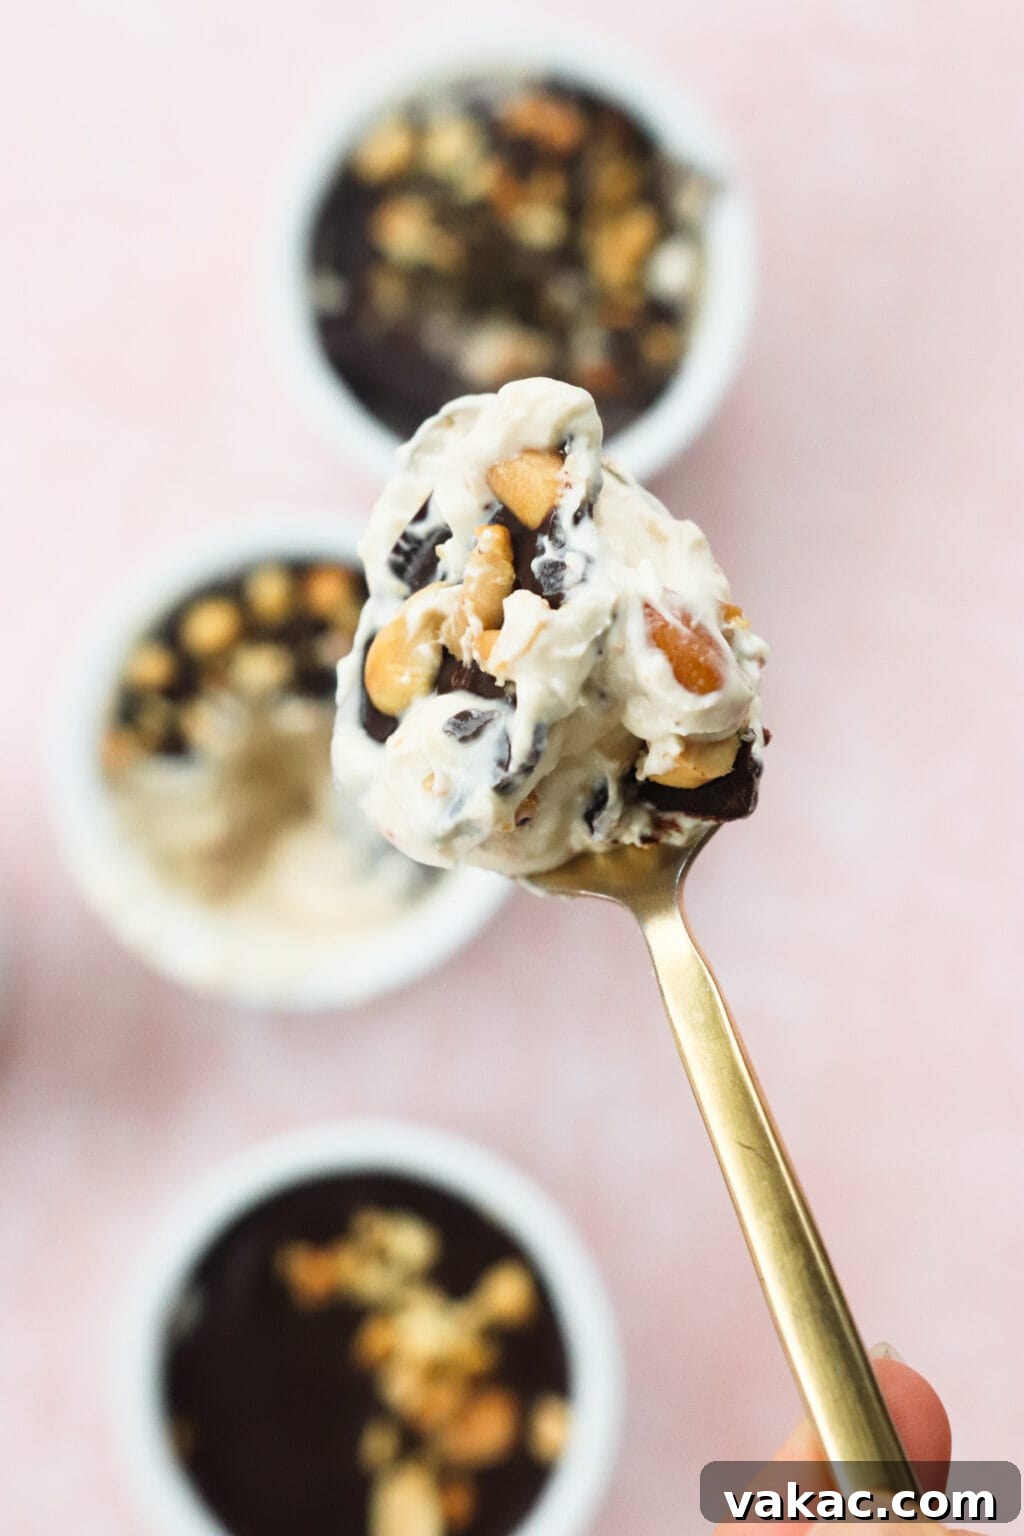
The secret to this recipe’s impressive protein boost lies in its simple yet powerful combination: protein-rich Greek yogurt, wholesome peanut butter, and the delightful crunch of salted peanuts. This trio works together to provide a substantial 10 grams of protein per serving, all without the need for any supplemental protein powder. This makes them an ideal and natural high-protein snack for adults and a fantastic, nourishing treat for kids too! The synergy of these ingredients not only provides essential macronutrients but also contributes to the deeply satisfying texture and flavor that will keep you feeling full and energized longer.
Essential Success Tips for Crafting Perfect Peanut Butter Cups
To ensure your Greek Yogurt Peanut Butter Cups turn out perfectly every time, pay close attention to these key tips. They are small details that make a significant difference in the final taste and texture of your homemade treats.
Don’t use fat-free Greek yogurt: This is a critical tip for achieving the optimal flavor and texture. Trust me, I’ve experimented, and fat-free Greek yogurt yields a result that is noticeably tangier and significantly less creamy. Furthermore, if you plan to enjoy these cups frozen, fat-free yogurt tends to become icy, detracting from the luxurious experience. I’ve tested this recipe extensively with both 2% and 5% Greek yogurt, and both deliver exceptional results. The natural fat content in these yogurts not only contributes to a richer, smoother consistency but also acts as a vital satiety factor, helping to keep you feeling fuller and more satisfied for longer. This is crucial for a snack or dessert that truly curbs cravings and supports balanced eating.
Use drippy (natural) peanut butter: The type of peanut butter you choose plays a big role in the ease of preparation and the final texture of the filling. Opt for a natural, “drippy” style peanut butter. Its smoother consistency allows it to mix much more easily and evenly with the Greek yogurt and maple syrup, creating a uniformly creamy base. Beyond its mixing capabilities, natural peanut butter still provides all the nourishing fats and the impressive 4 grams of protein per serving that contribute to the overall nutritional profile of these cups.
Don’t skip the coconut oil when melting the chocolate: This step is the key to creating that iconic “magic chocolate shell.” The addition of coconut oil makes the melted chocolate significantly more pourable and easier to spread smoothly over the yogurt mixture. More importantly, it ensures the chocolate shell remains slightly softer and effortlessly crackable once set, providing that satisfying snap with every bite. If you find yourself without coconut oil, the recipe will still technically work, but the chocolate shell might be harder and less pleasant to break into. For the best magic shell experience, this ingredient is a must-have.
Let’s Make These Dreamy Cups Together: A Detailed Step-by-Step Guide
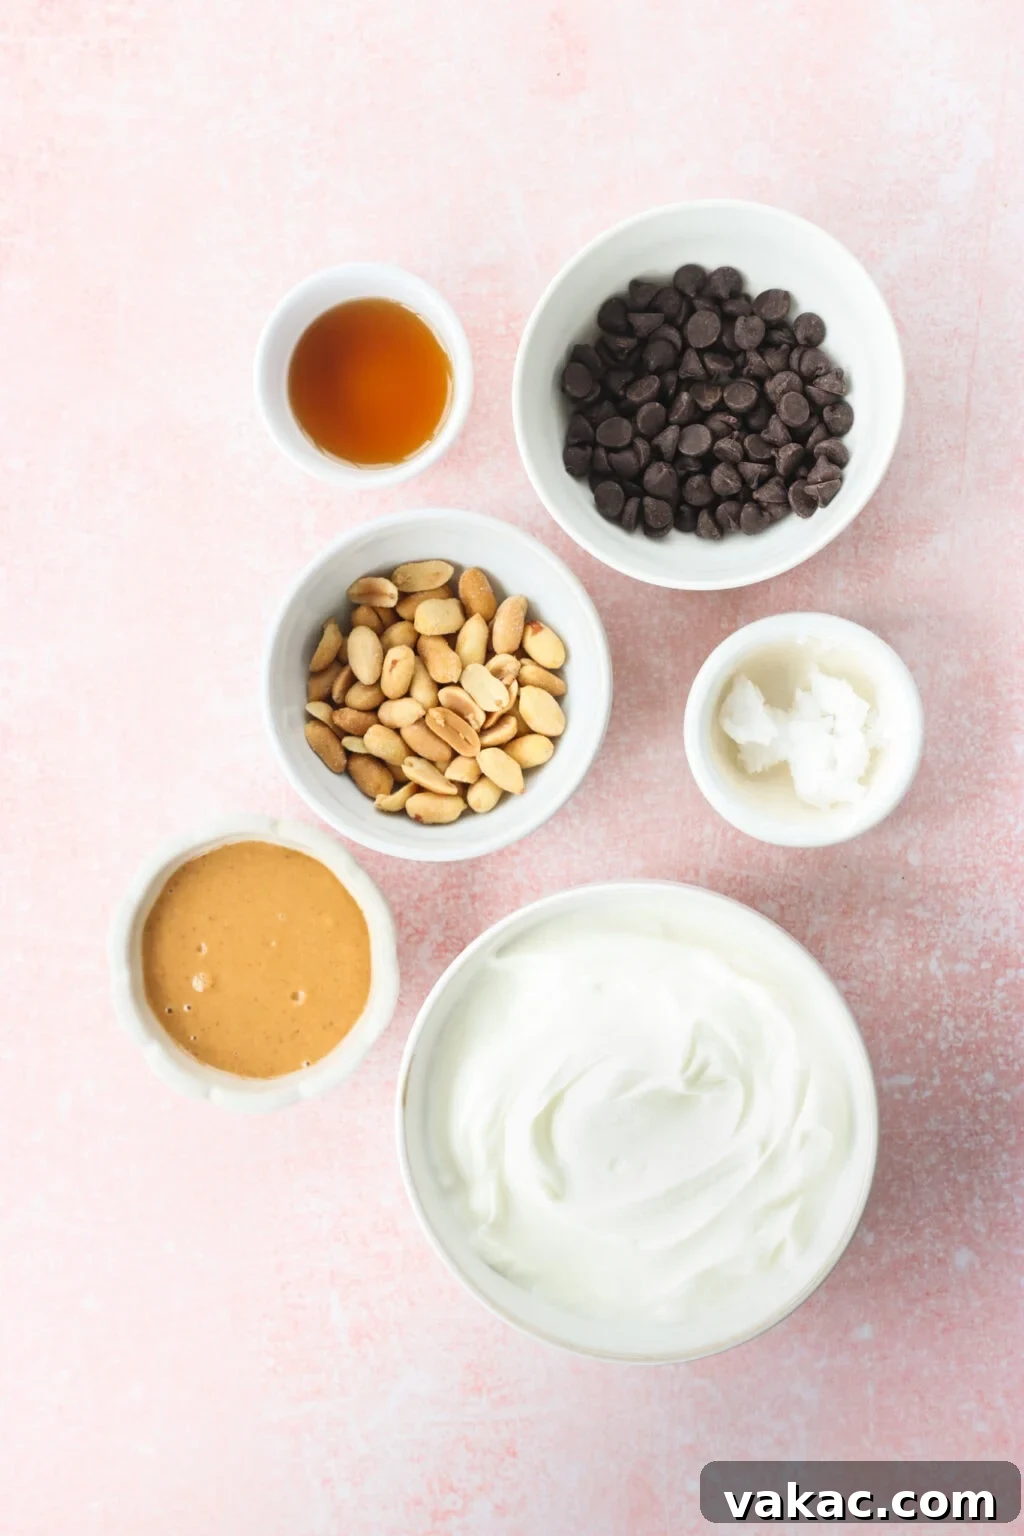
While the complete ingredient list and detailed instructions can be found in the recipe card below, let’s walk through the process visually and highlight some key points to ensure your Greek yogurt peanut butter cups are perfect.
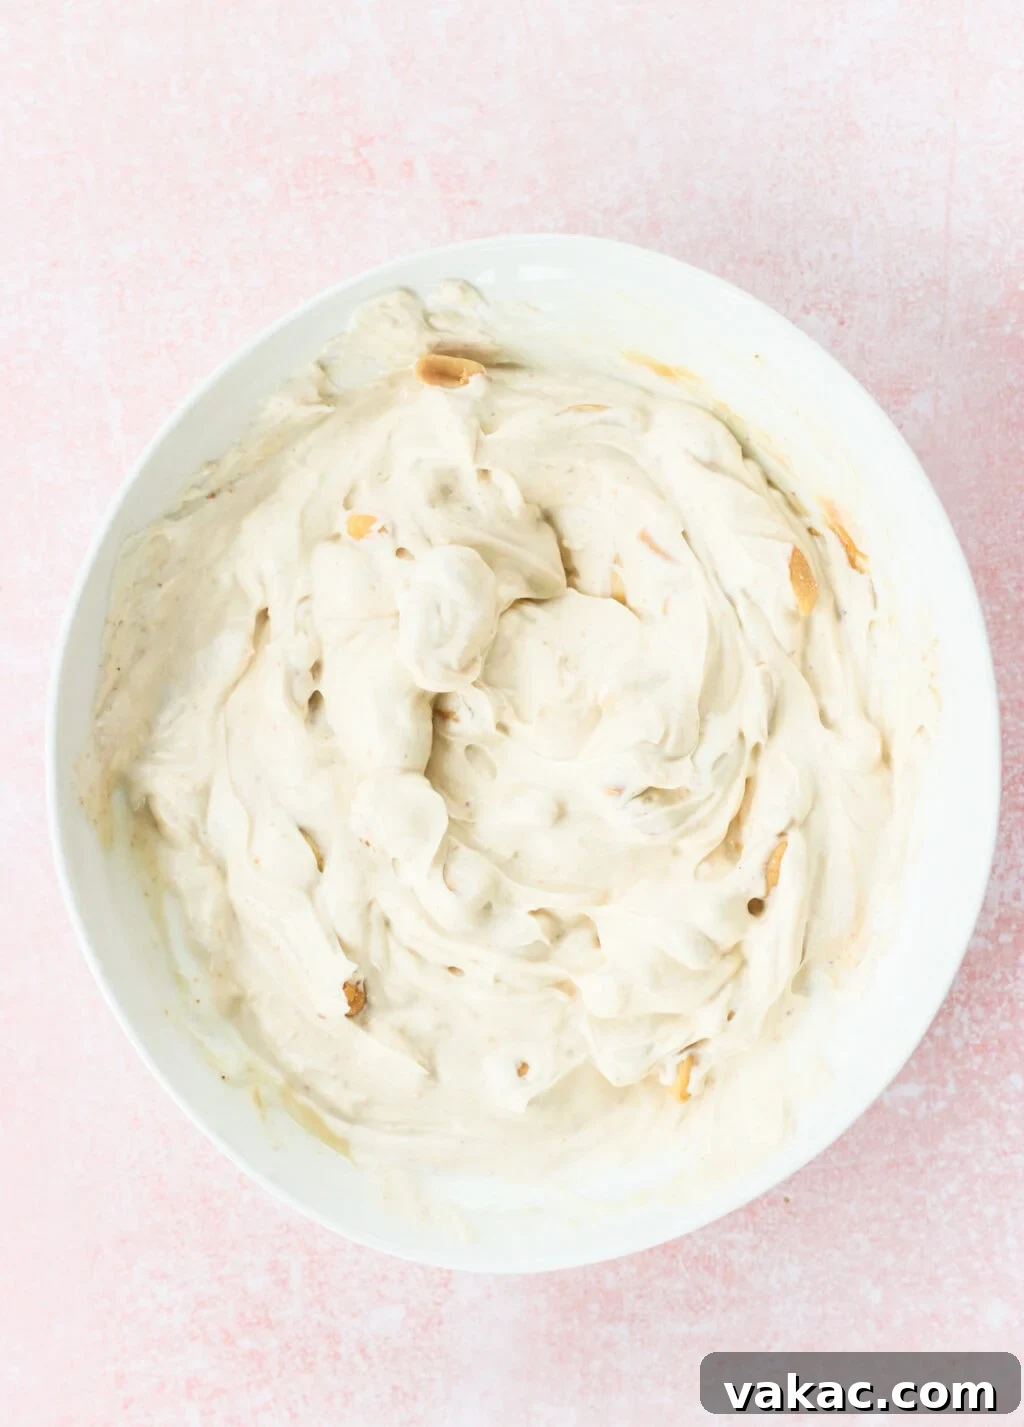
Step 1: Create Your Creamy Yogurt Base
In a medium-sized mixing bowl, combine the Greek yogurt, natural drippy peanut butter, and maple syrup. Using a fork or a small whisk, thoroughly combine these ingredients until the mixture is smooth, homogenous, and beautifully creamy. The goal is to eliminate any lumps of peanut butter for a perfectly consistent base. Once smooth, gently fold in the salted toasted peanuts. These will add a delightful crunch and extra burst of flavor and protein to the filling.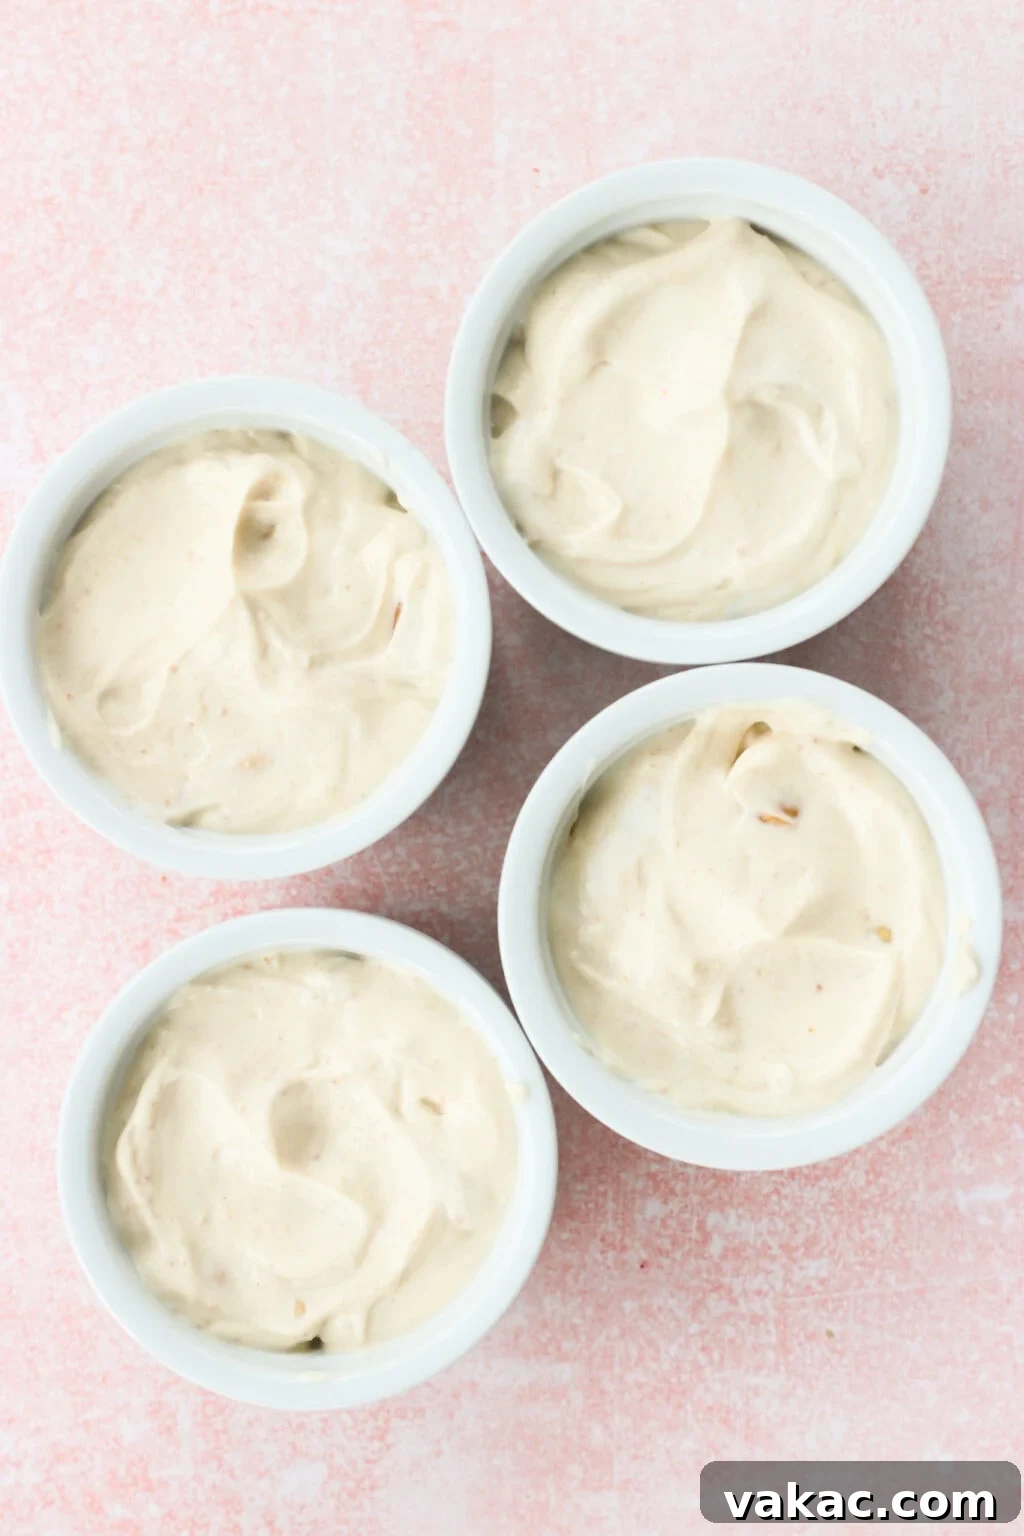
Step 2: Portion the Yogurt Mixture into Containers
Evenly divide the luscious Greek yogurt and peanut butter mixture into four ramekins or small, individual serving containers. These containers will define the shape of your cups. Ensure each container receives an equal portion for consistent serving sizes. You can also use silicone muffin liners placed in a muffin tin for easy removal if you prefer a more traditional “cup” shape.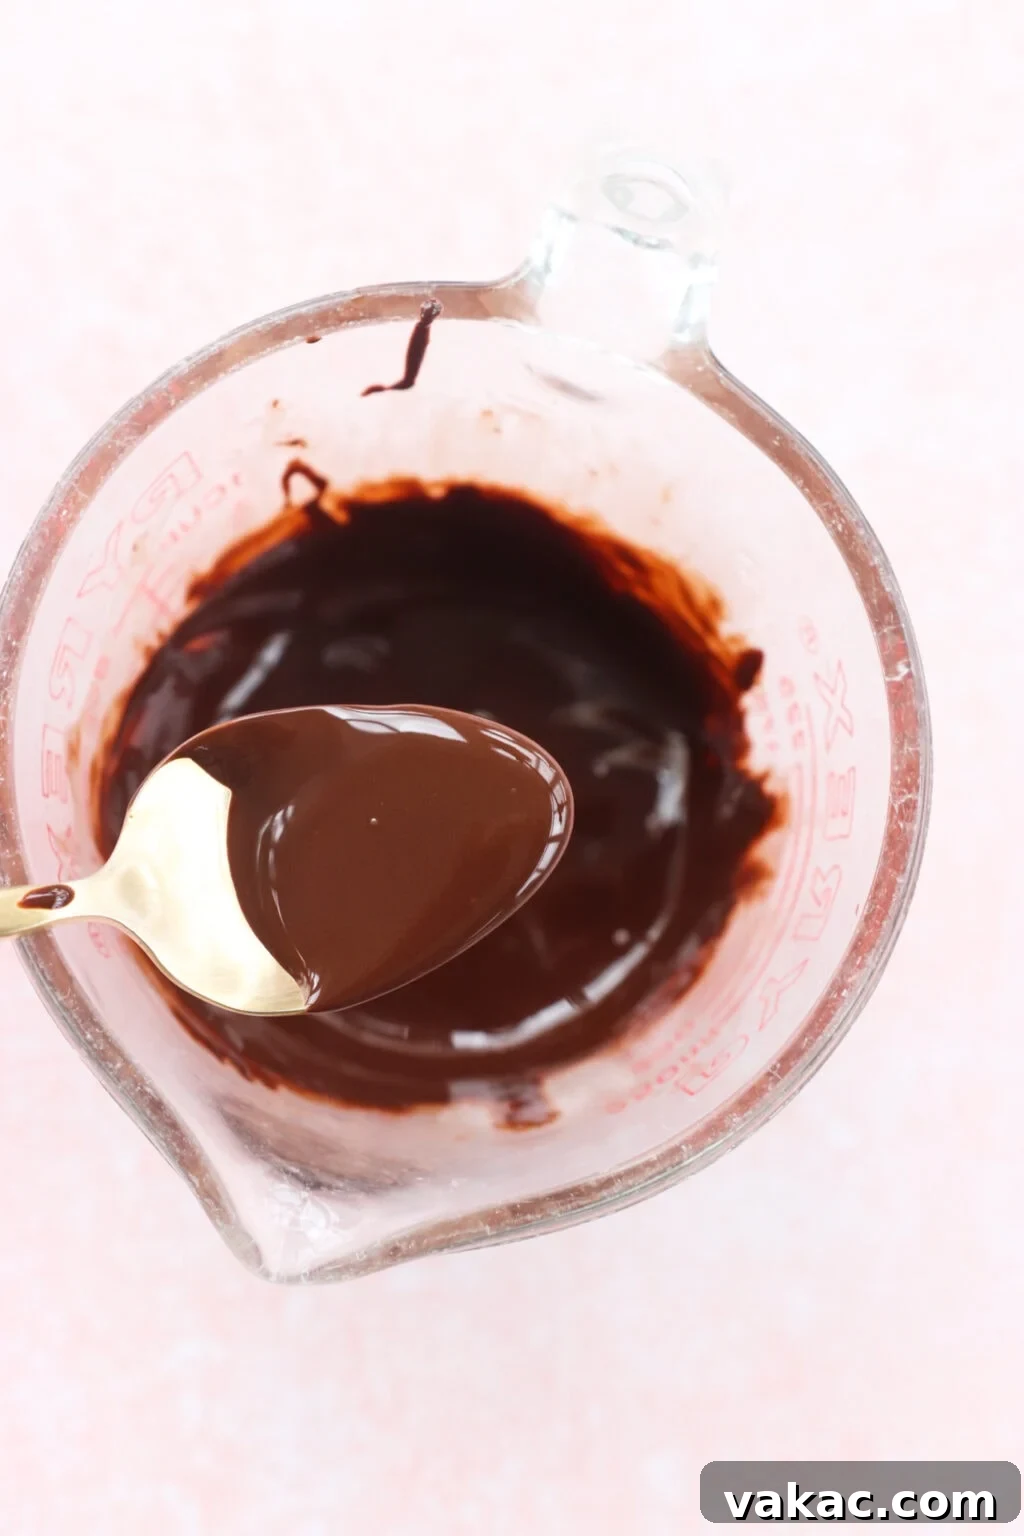
Step 3: Prepare Your Magical Chocolate Layer
In a microwave-safe bowl or a glass measuring cup, combine your chosen chocolate (dark or milk) with the coconut oil. Heat this mixture in 30-second increments in the microwave, stirring thoroughly after each interval. It’s perfectly fine if a few small pieces of chocolate remain unmelted; the residual heat from the melted portion will continue to melt them as you stir. Aim for a smooth, glossy, and pourable chocolate consistency. Alternatively, you can melt the chocolate and coconut oil using a double boiler method over simmering water for a gentler approach.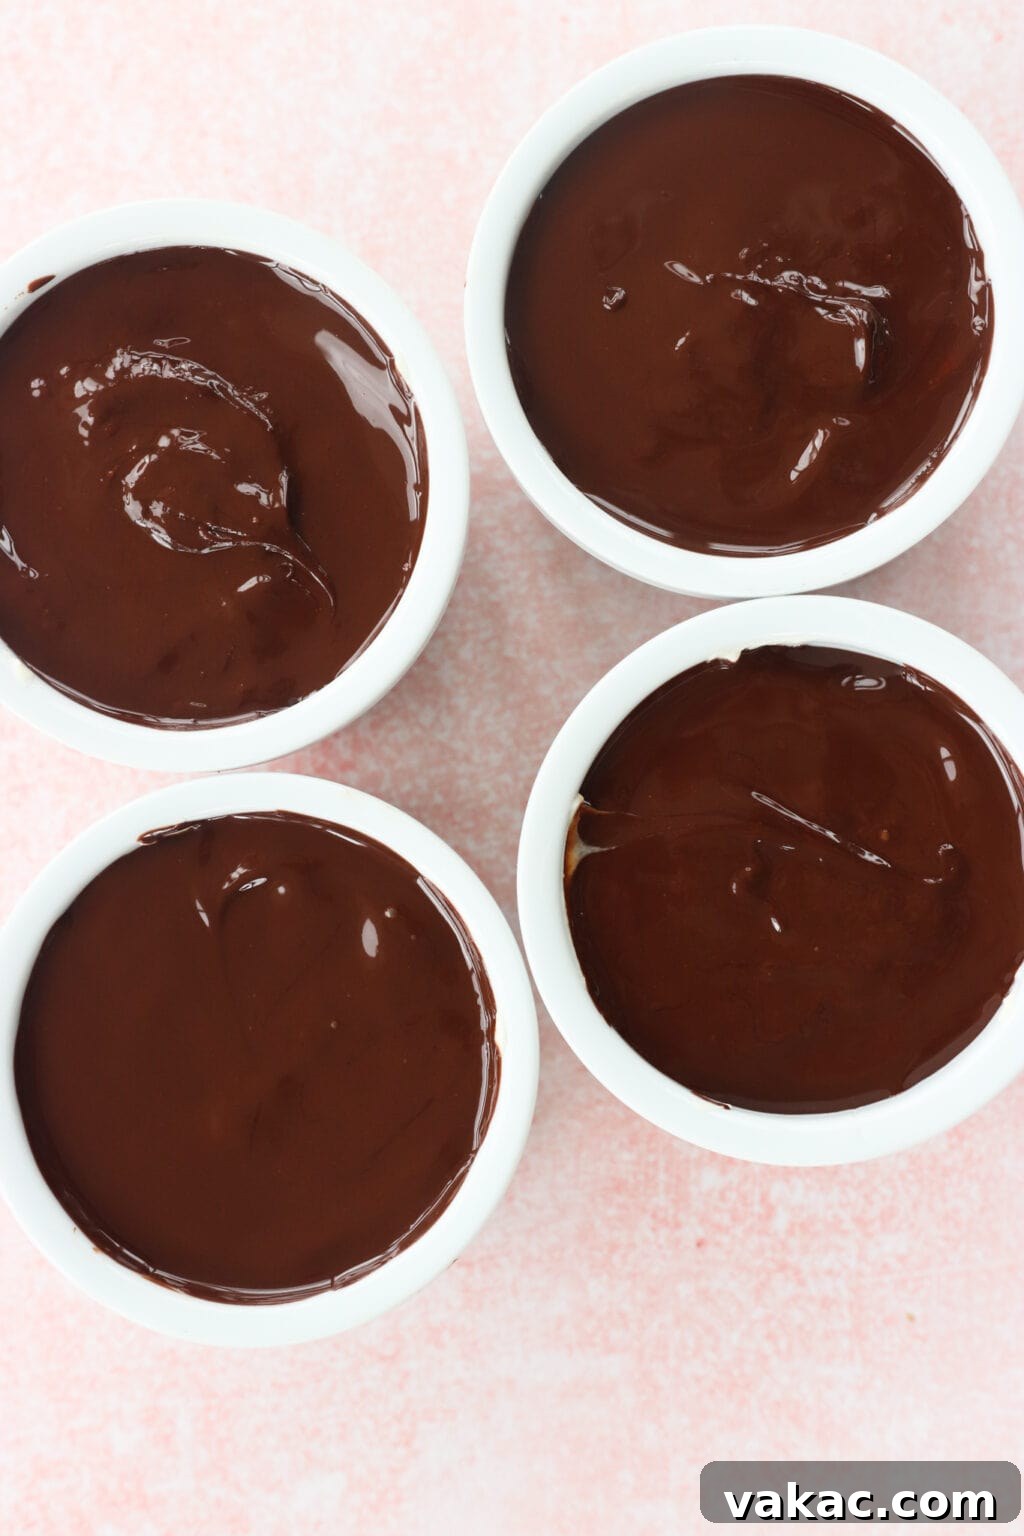
Step 4: Create the Magic Shell and Chill
Carefully pour the melted chocolate mixture over the top of each of the four yogurt-filled containers, ensuring an even coating. If desired, you can sprinkle a few more salted peanuts on top of the still-wet chocolate for extra crunch and visual appeal. Once the chocolate is poured, immediately transfer the containers to the refrigerator. Allow them to chill for 30-60 minutes, or until the chocolate layer has fully set and formed a firm, crackable shell. Once set, they are ready to be enjoyed!I mean, just look at this creamy, crunchy, peanut butter chocolate perfection! It’s a symphony of textures and flavors in every single bite.
Variations and Customizations for Your Perfect Treat
While this recipe is fantastic as is, feel free to get creative and customize it to your taste preferences or dietary needs:
- Nut Butter Swaps: Not a peanut butter fan? Try almond butter, cashew butter, or even sunflower seed butter for a nut-free option. Ensure they are natural and drippy for best results.
- Sweetener Alternatives: While maple syrup provides a lovely flavor, you can also use honey, agave nectar, or a sugar-free liquid sweetener if preferred. Adjust to your desired sweetness level.
- Flavor Boosts: Stir a teaspoon of vanilla extract, a pinch of cinnamon, or a tablespoon of unsweetened cocoa powder into the yogurt base for added complexity.
- Topping Adventures: Beyond extra peanuts, consider flaky sea salt (highly recommended to enhance the chocolate and peanut butter flavors!), chopped granola, shredded coconut, or even a sprinkle of mini chocolate chips on top of the magic shell before it sets.
- Vegan Friendly: To make these entirely plant-based, simply use a high-quality, plain dairy-free Greek yogurt alternative (such as coconut, almond, or soy-based Greek yogurt) and ensure your chocolate is vegan-friendly.
Storing Your Delicious Greek Yogurt Peanut Butter Cups
These delightful cups are best stored in an airtight container in the refrigerator. They will maintain their perfect creamy texture and crisp chocolate shell for up to 3-4 days. If you’d like to extend their shelf life, you can also freeze them for up to 2-3 weeks. When freezing, wrap each cup individually or store them in a freezer-safe container with parchment paper between layers to prevent sticking. Allow them to thaw slightly in the refrigerator for about 15-20 minutes before enjoying, or eat them directly from the freezer for a firmer, ice cream-like treat. Remember, if you use fat-free yogurt, it tends to get icy when frozen, which is another reason to opt for 2% or 5% milkfat yogurt.
Frequently Asked Questions About Greek Yogurt Peanut Butter Cups
- Can I use fat-free Greek yogurt for this recipe?
- While it might seem like a healthier option, I strongly advise against using fat-free Greek yogurt for this recipe. As mentioned in the tips, fat-free yogurt results in a tangier, less creamy filling and can become icy if frozen. For the best taste and texture, stick to 2% or 5% Greek yogurt.
- What if I don’t have coconut oil for the chocolate shell?
- Coconut oil is crucial for creating the “magic shell” effect—a soft, crackable chocolate layer. If you omit it, the chocolate will still harden, but it will be much firmer and harder to break, losing that satisfying snap. If you don’t have coconut oil, a tiny bit of vegetable shortening could work as a substitute, but coconut oil is ideal.
- Can I use chocolate chips instead of a chocolate bar?
- Yes, you can definitely use chocolate chips! Just be aware that some chocolate chips contain stabilizers that can make them slightly harder to melt smoothly. However, with the addition of coconut oil, they should melt perfectly well. Dark or milk chocolate chips will work interchangeably.
- How long do these cups need to chill before eating?
- For the chocolate shell to properly set and become firm, these cups need at least 30-60 minutes in the refrigerator. If you’re in a hurry, you can pop them into the freezer for 15-20 minutes, but keep a close eye on them!
- Are these good for meal prepping?
- Absolutely! These Greek Yogurt Peanut Butter Cups are excellent for meal prepping. Make a batch on the weekend and store them in the fridge for delicious, high-protein snacks or desserts throughout the week. They’re a perfect way to satisfy sweet cravings while keeping your nutrition goals on track.
Watch how to make it here!
If you make this irresistible Peanut Butter & Greek Yogurt Cups with Magic Chocolate Shell, it would truly make my day if you would leave a comment and/or star rating below— I absolutely love hearing your feedback and seeing your culinary creations! And please don’t forget to snap a pic and tag me on Instagram @lindsaypleskot.rd so I can share your delicious versions! It fills me with so much joy to see these recipes come to life in your kitchens! Xo
The Feel-Good Meal Plan My Bestselling Cookbook is Now Available!
A fresh take on meal prep with over 100 nourishing recipes to feed your family with ease.
Peanut Butter & Greek Yogurt Cups with Magic Chocolate Shell
- Author: Lindsay Pleskot, RD
- Prep Time: 20 minutes
- Total Time: 20 minutes
- Yield: 4 1x
- Category: Dessert
- Method: Blending
- Cuisine: American
- Diet: Gluten Free
Description
Your new go-to high-protein freezer treat is here! These peanut butter and Greek yogurt cups are more than just a delicious snack – they’re intentionally built with protein – 10g per serving, nourishing fat, and fiber to help keep you full and satisfied. With just six simple ingredients (most of which you likely already have on hand), they’re the perfect snack if you’re craving something chocolatey, creamy, and oh-so-satisfying.
Ingredients
-
2 cups Greek yogurt ( I like 2-5%)
-
1/4 cup smooth peanut butter
-
1 tbsp maple syrup
-
1/2 cup salted toasted peanuts
-
1/4 cup dark or milk chocolate
-
2 tsp coconut oil
Instructions
-
In a medium bowl, combine yogurt, peanut butter and maple syrup. Whisk with a fork until well combined then fold in the peanuts
-
Divide the yogurt mixture between 4 ramekins or small containers
-
In a microwave safe bowl or glass measuring cup, heat the chocolate and coconut oil in 30 second increments until mostly melted, stirring in between (I did 1 minute total). It’s ok if there is still a bit of unmelted chocolate, the residual heat will finish melting it as you stir.
-
Divide the melted chocolate overtop of the 4 yogurt containers and top with more peanuts if desired.
-
Set in the fridge for 30-60 minutes, then crack in and enjoy!