
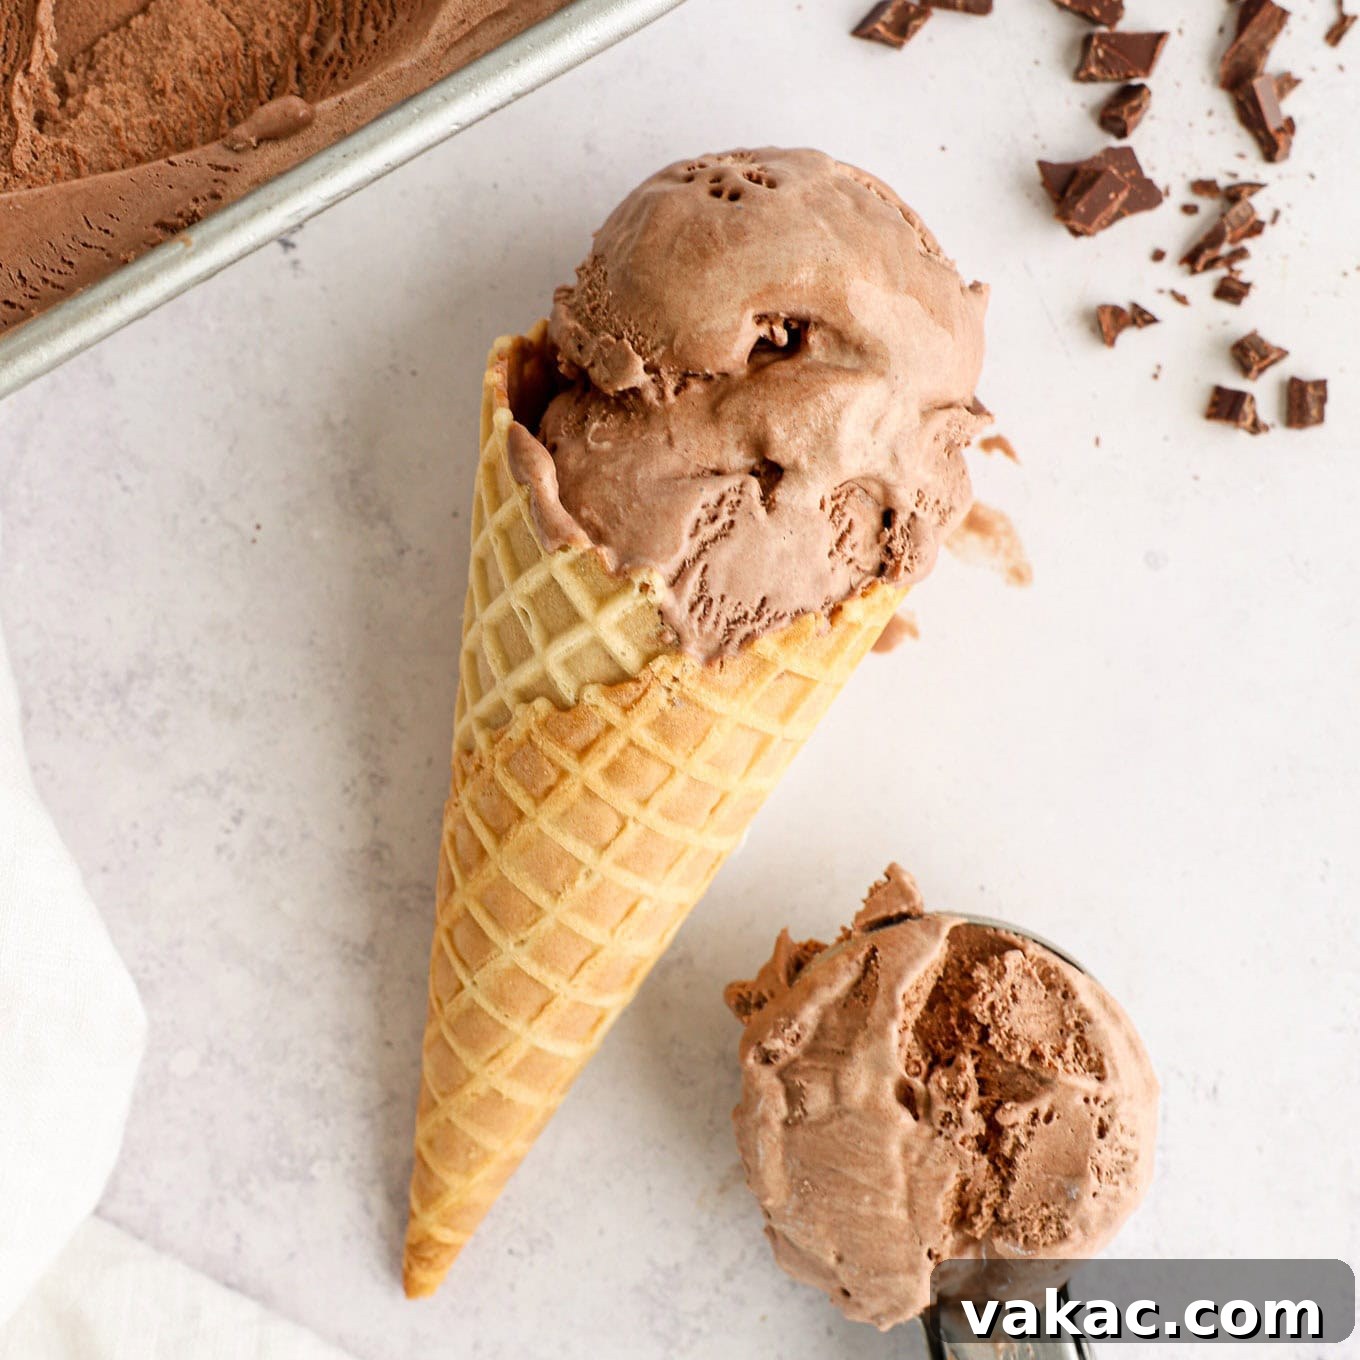
Craving the rich, velvety indulgence of gourmet chocolate ice cream without the fuss of an ice cream maker? You’ve come to the right place! This no-churn recipe delivers unbelievably creamy, intensely chocolatey ice cream that tastes like it was scooped straight from your favorite parlor. Forget complicated techniques and expensive equipment; with just a few staple ingredients and about 20 minutes of active prep, you can create a frozen dessert masterpiece right in your own kitchen.
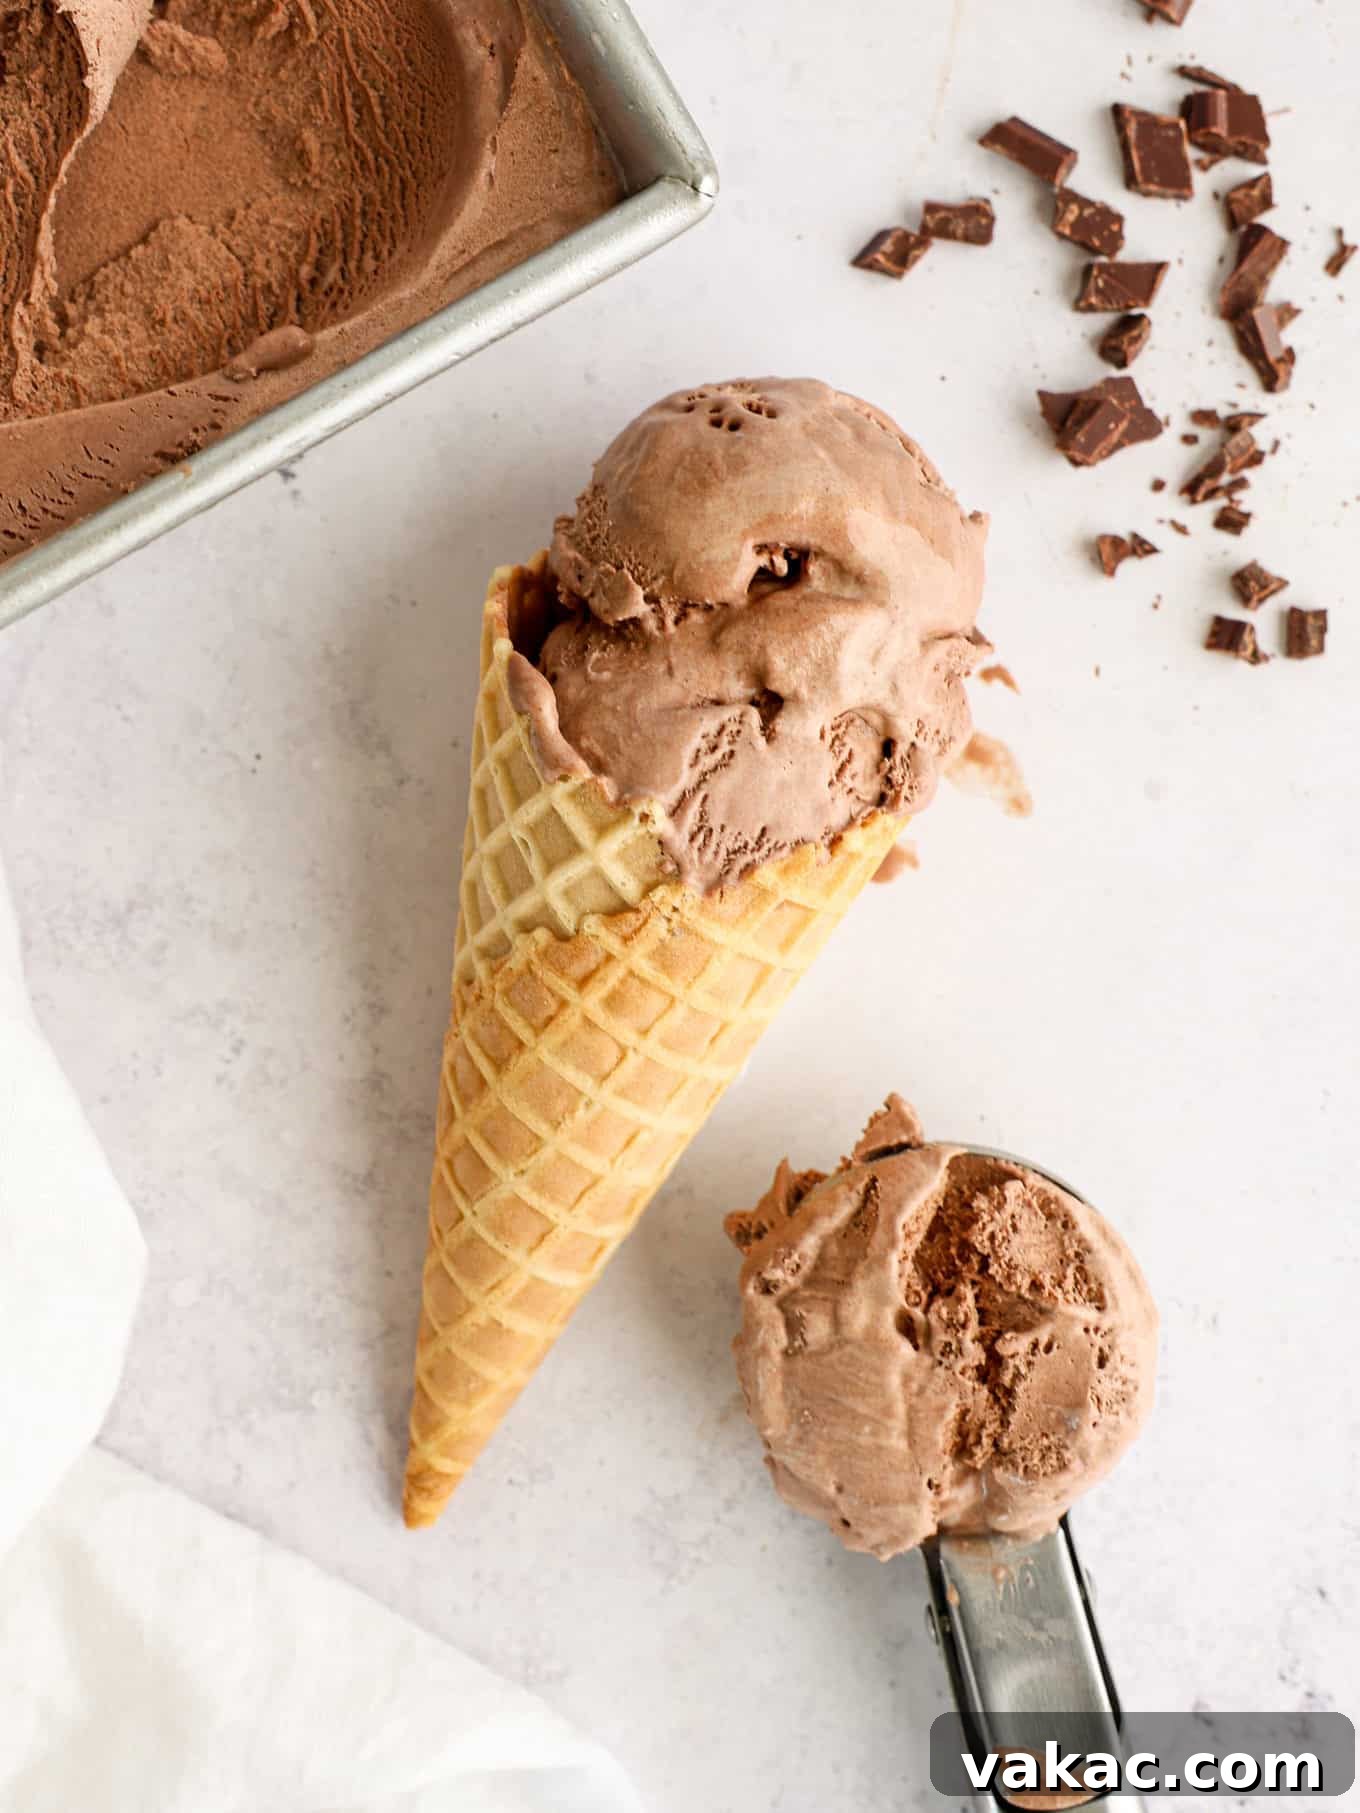
Homemade chocolate ice cream truly doesn’t get any easier or more delicious than this. The beauty of this recipe lies in its simplicity: there are no eggs, which means no standing over the stove, meticulously tempering yolks. Instead, a clever combination of sweetened condensed milk and heavy cream does all the heavy lifting, forming an incredibly smooth and luxurious base. What truly sets this recipe apart is the double dose of chocolate – both rich melted chocolate and premium cocoa powder – ensuring every spoonful is bursting with deep, satisfying flavor.
Ready in under half an hour of hands-on time, this versatile dessert is perfect for any occasion. Serve it up in crisp waffle cones, layer it into decadent sundaes, blend it into thick milkshakes, or simply enjoy it by the spoonful. Get ready to impress your family and friends with an extraordinary homemade treat that’s surprisingly simple to make!
Watch Our Step-by-Step Recipe Video
Follow along with our comprehensive video guide to master every step of this delicious no-churn chocolate ice cream recipe. It’s the perfect visual companion to ensure your ice cream turns out perfectly creamy every time!
(Video content would be displayed here)
Essential Ingredients for Perfect No-Churn Chocolate Ice Cream
Crafting the perfect no-churn ice cream begins with understanding the role each ingredient plays. Here’s a closer look at the key components that give this chocolate ice cream its incredible flavor and luscious texture.
Heavy Cream: The Foundation of Creaminess
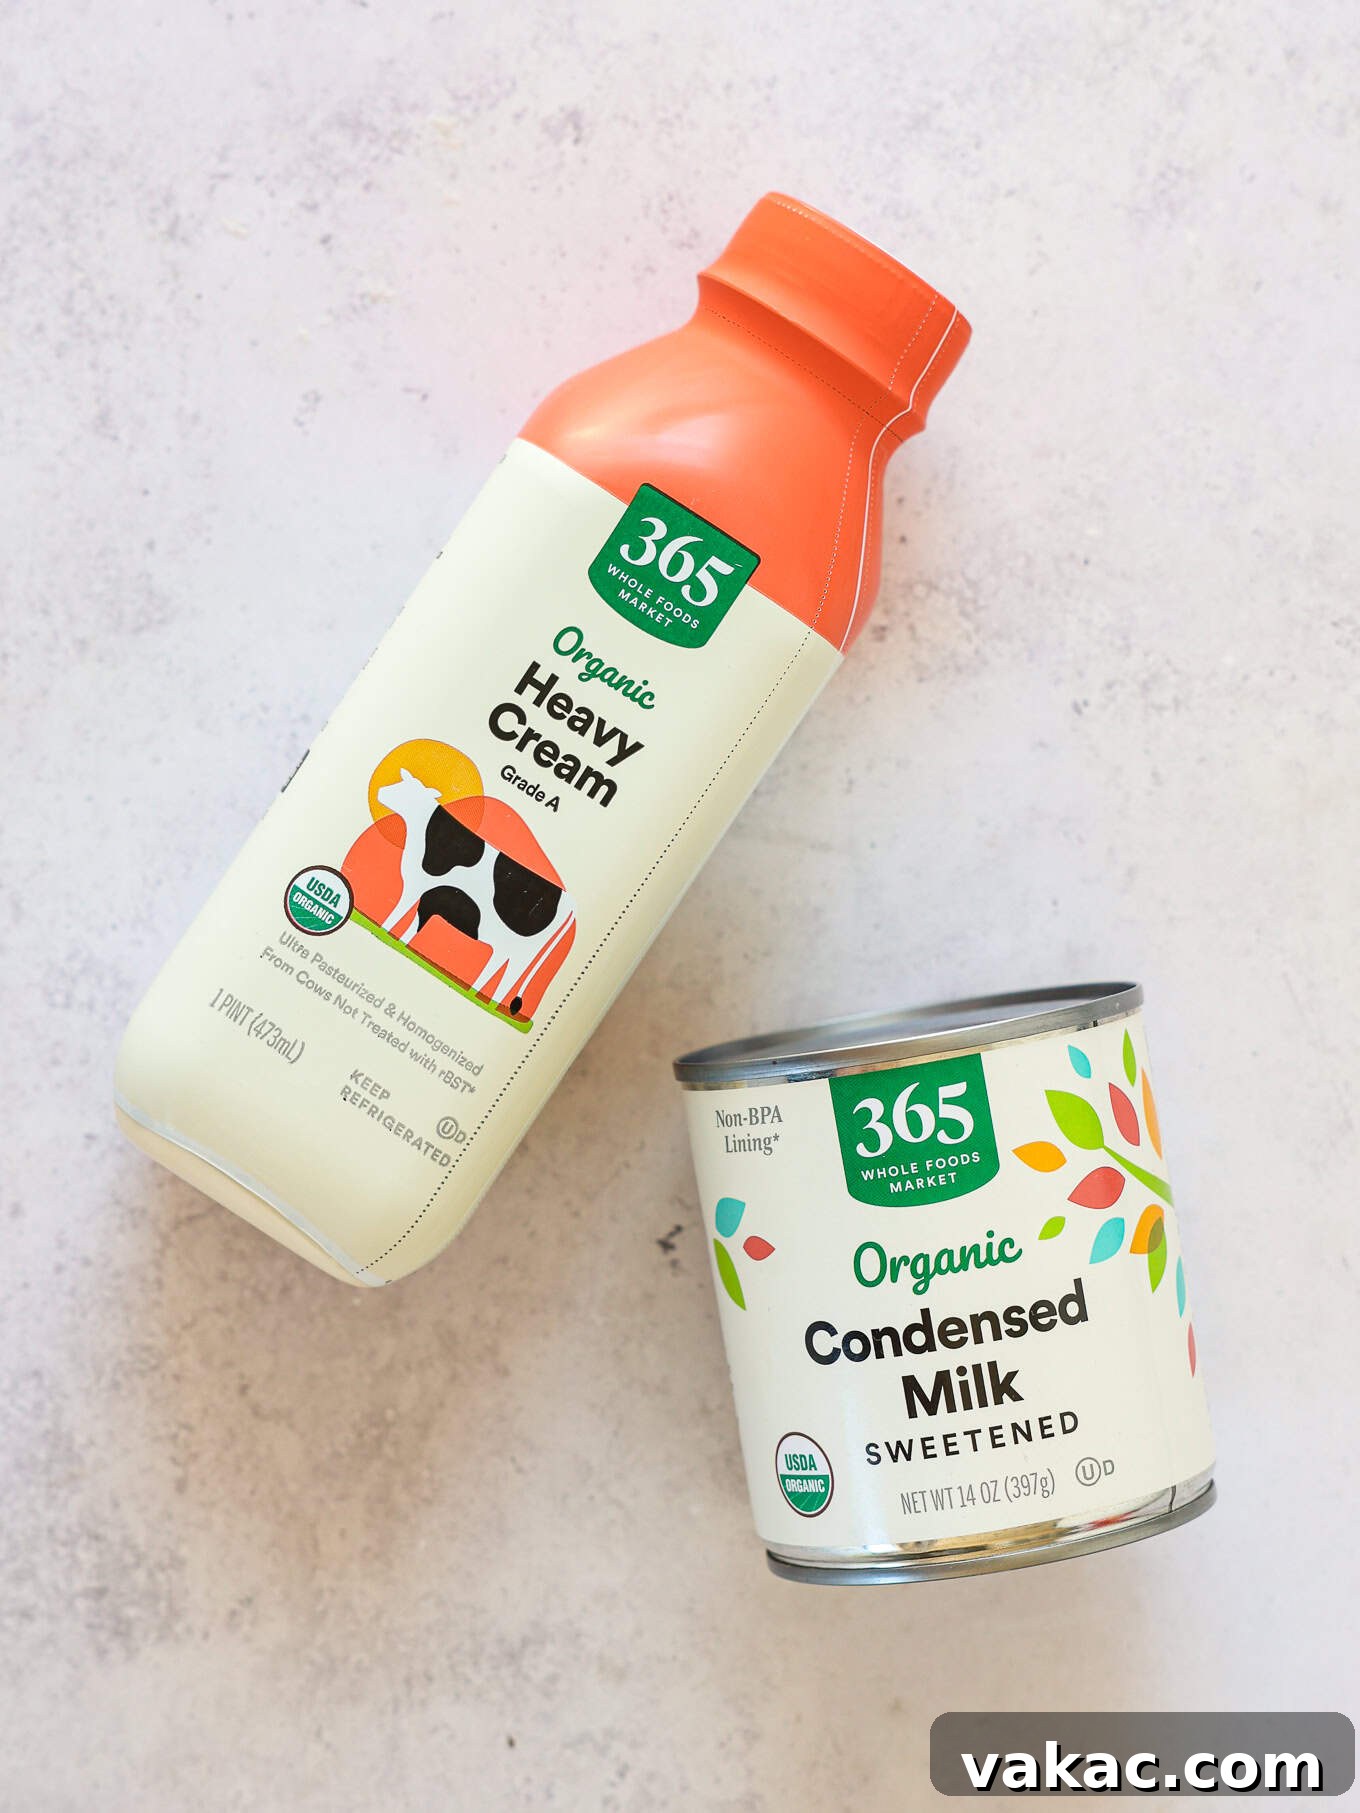
For truly decadent no-churn ice cream, heavy cream is non-negotiable. It’s the magical ingredient that, when whipped, incorporates air and creates the light, fluffy volume necessary for a smooth, scoopable texture. Always opt for heavy cream or heavy whipping cream containing at least 36% fat. This high fat content is crucial for achieving stiff peaks and ensuring your ice cream isn’t icy. Lower fat alternatives like half-and-half or whole milk simply won’t whip properly and will result in a much harder, less desirable consistency.
Sweetened Condensed Milk: The Sweet Stabilizer
Sweetened condensed milk is the unsung hero of no-churn ice cream. This thick, syrupy, pre-sweetened milk product not only adds the perfect amount of sugar but also contributes to the ice cream’s incredibly smooth texture. Its high sugar content acts as an anti-freeze, preventing the formation of large ice crystals that can make homemade ice cream feel gritty. It’s vital not to confuse it with evaporated milk, which is much thinner and unsweetened – using evaporated milk will drastically alter the recipe’s texture and sweetness, leading to an entirely different, and likely disappointing, result.
Chocolate: The Heart of the Flavor
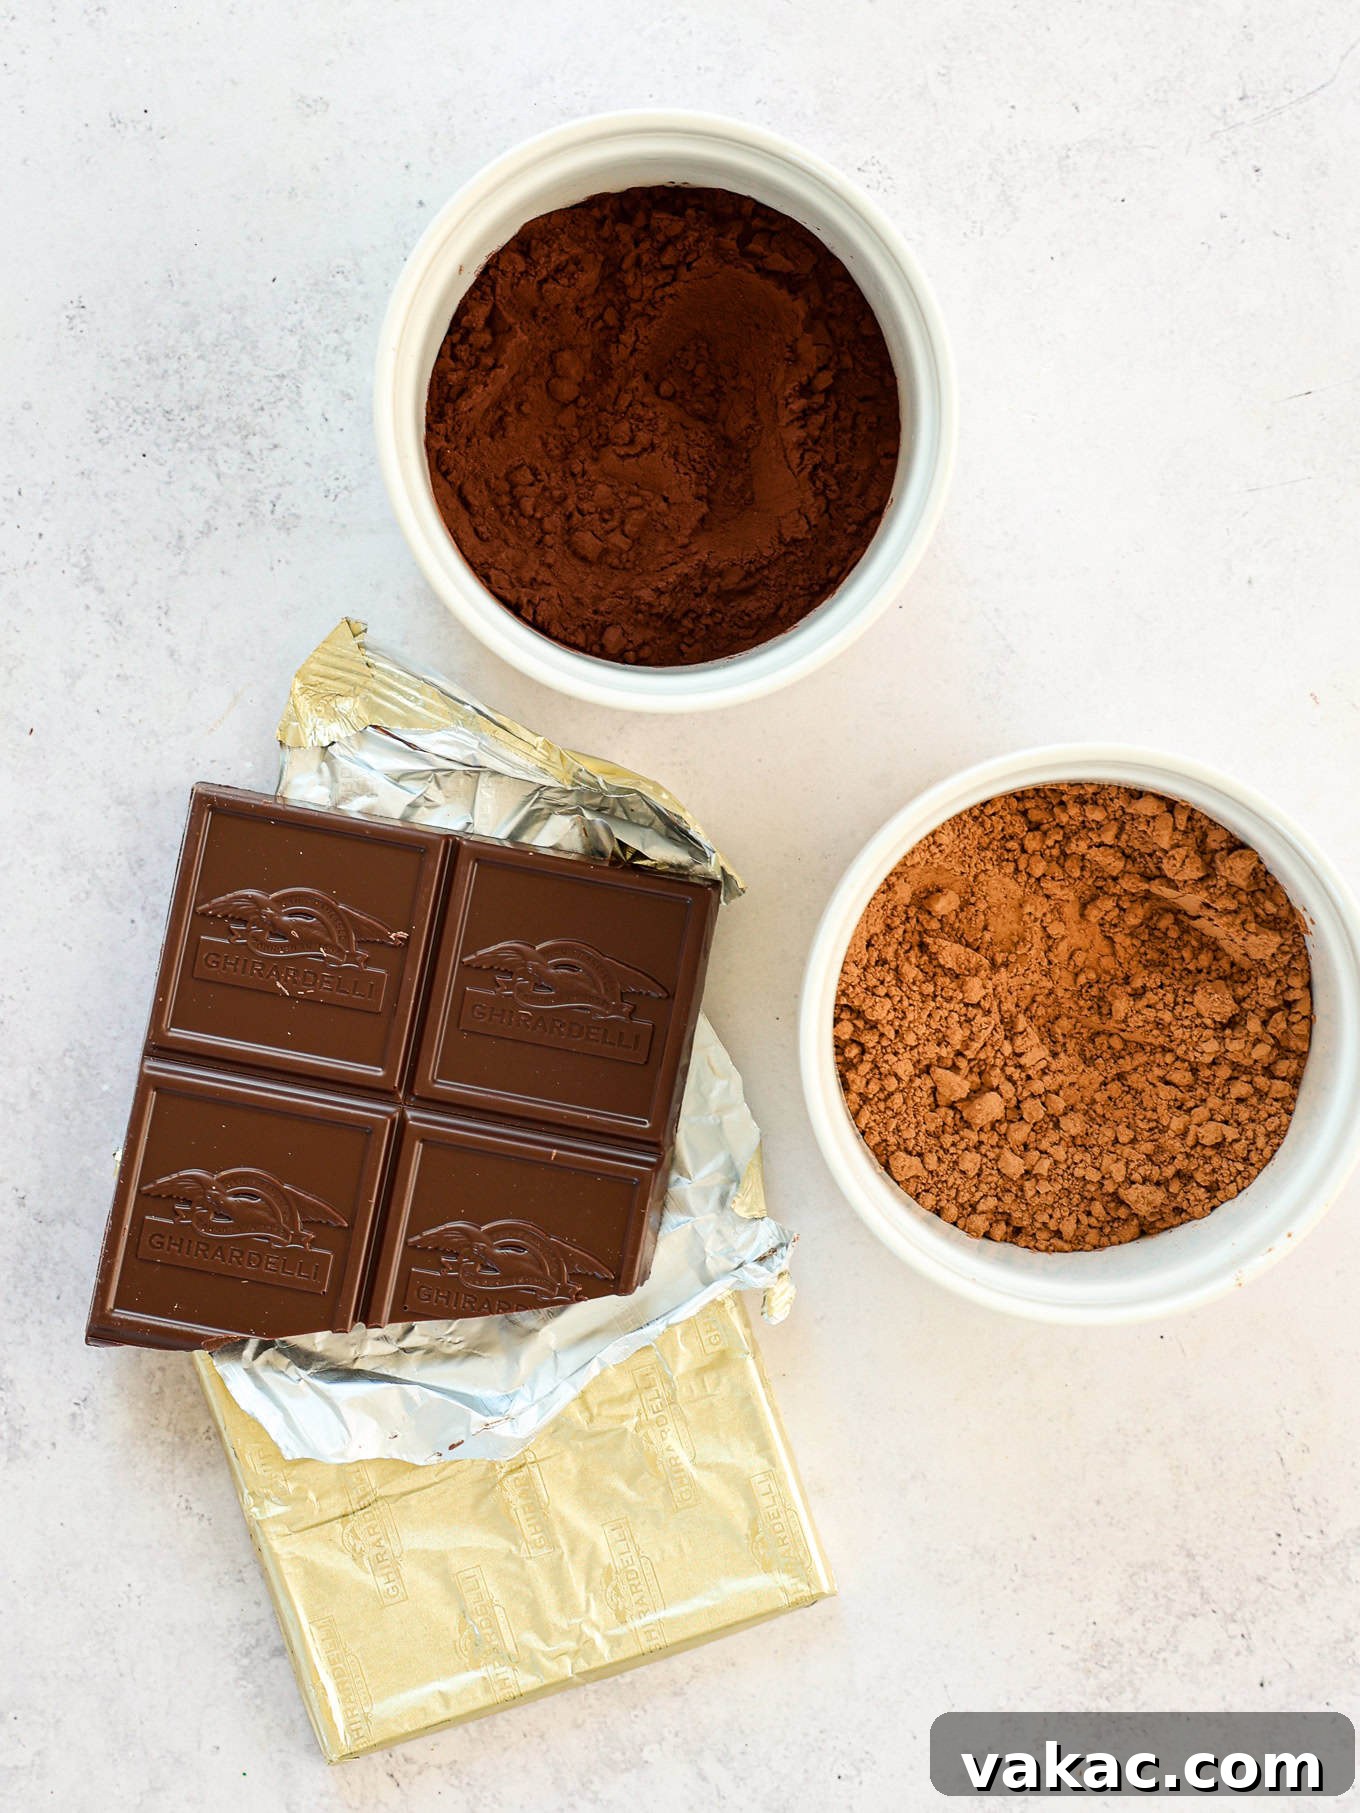
For the deepest, most authentic chocolate flavor, we recommend using a high-quality bar of semi-sweet chocolate, such as brands like Baker’s or Ghirardelli. Bar chocolate melts down beautifully and seamlessly integrates into the base, creating a uniform, rich chocolate taste. Chocolate chips, while convenient, often contain stabilizers that prevent them from melting as smoothly, which can lead to a less refined texture in your finished ice cream. Roughly chopping your chosen chocolate bar will help it melt more evenly and quickly.
Cocoa Powder: Boosting Chocolate Intensity
To amplify the chocolate experience, this recipe incorporates cocoa powder alongside melted chocolate. You have the choice of using either natural unsweetened cocoa powder or Dutch process cocoa powder. While both will yield delicious results, Dutch process cocoa powder is often preferred for its deeper, darker color and milder, less acidic chocolate flavor, which can contribute to a richer, more profound taste in your ice cream. If you’re curious about the nuances between the two and how they impact baked goods, you can learn more about natural vs. Dutch process cocoa powder.
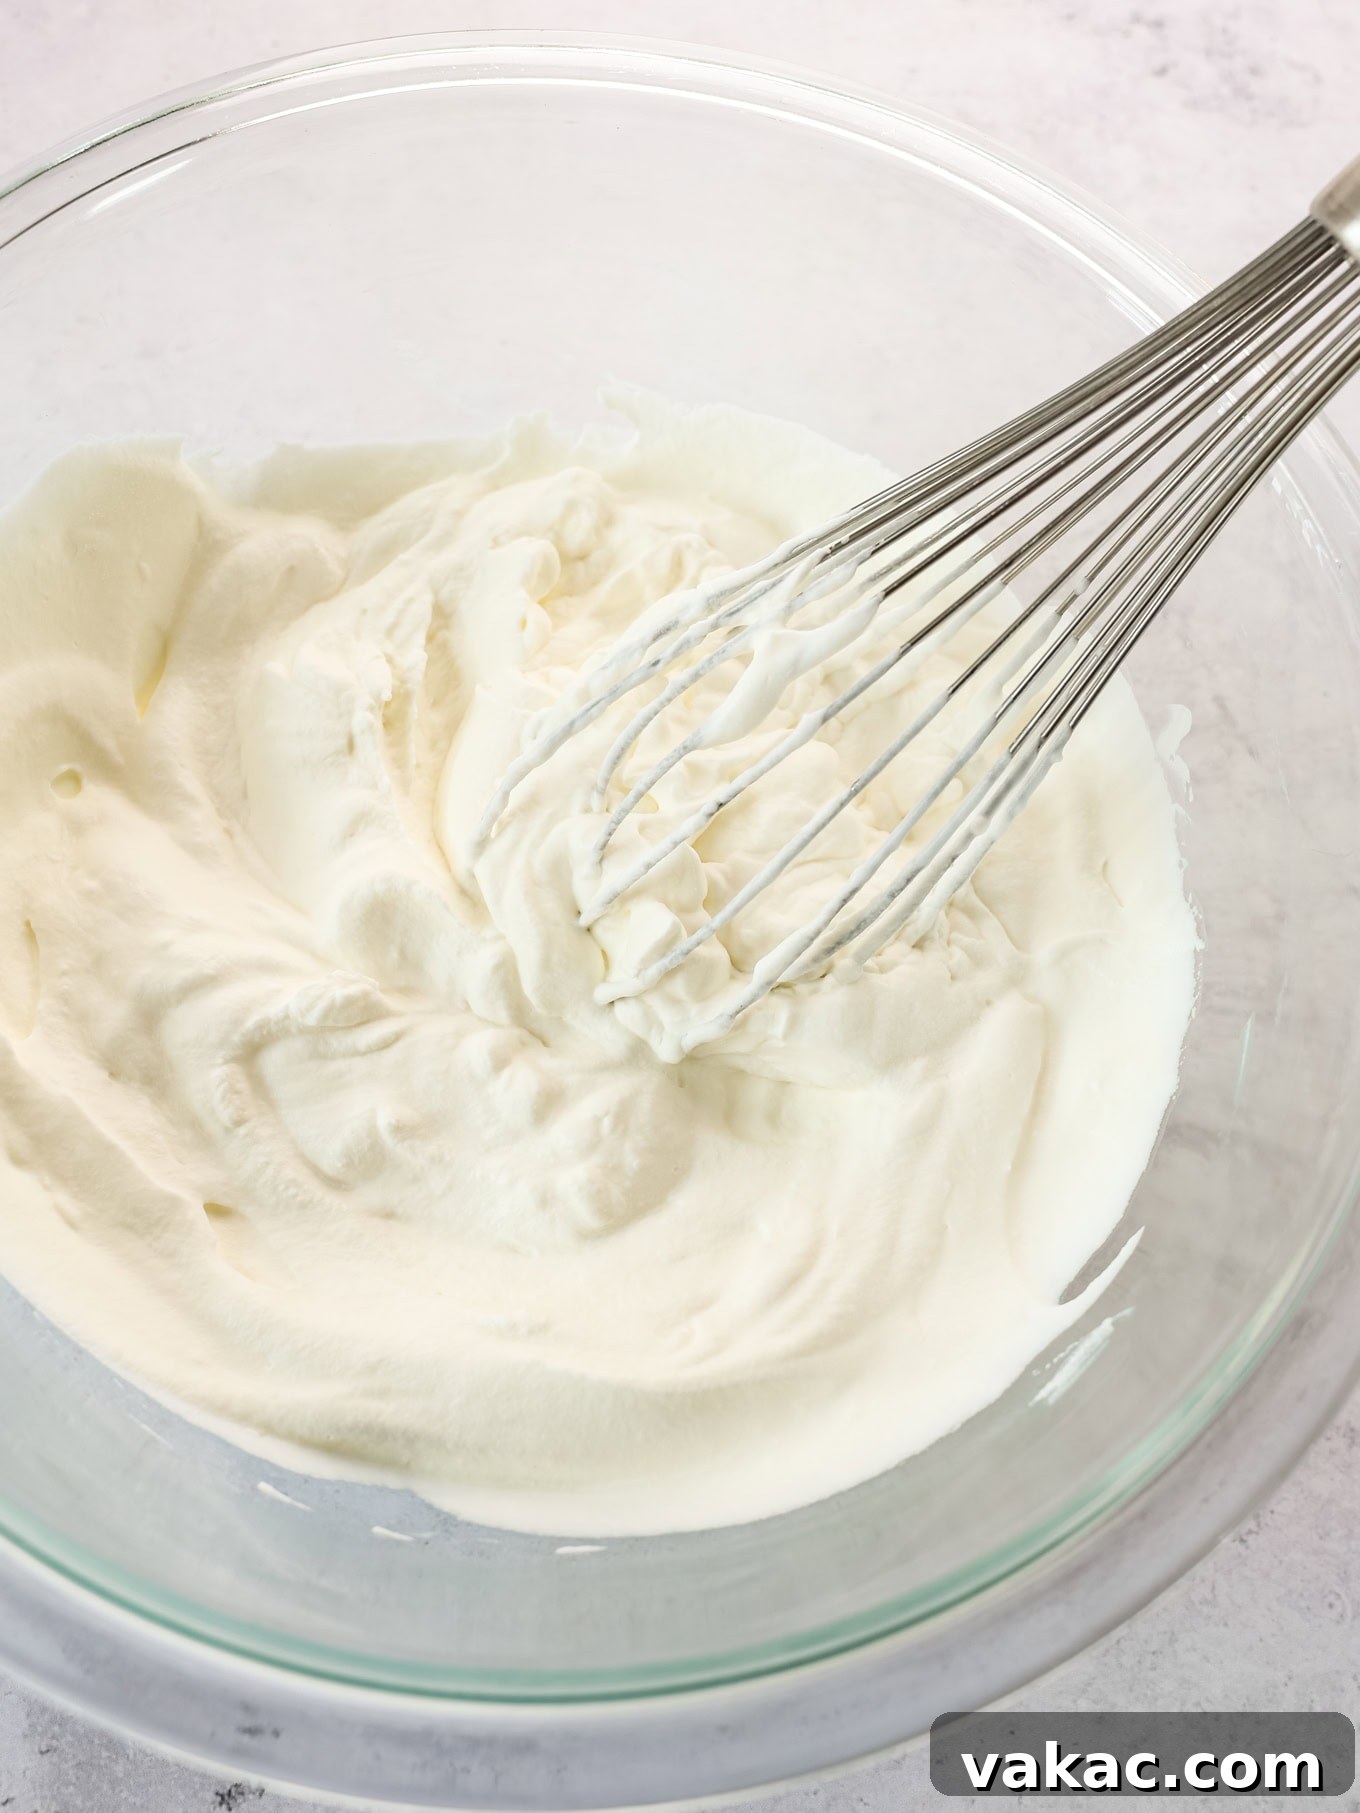
Mastering the Art of Whipping Cream to Stiff Peaks
The secret to light, airy, and creamy no-churn ice cream lies in perfectly whipped heavy cream. This crucial step incorporates air into the mixture, mimicking the churning process of an ice cream machine and preventing your dessert from becoming a solid block of ice. Getting the technique right is simple but requires a few key considerations.
Firstly, temperature is your best friend when whipping cream. Heavy cream whips most effectively when it’s very cold. Keep your carton of heavy cream in the refrigerator until you are absolutely ready to use it. For an extra boost, consider chilling your mixing bowl and the beaters of your electric mixer in the freezer for 10-15 minutes before you begin. This helps the cream thicken faster and achieve maximum volume, resulting in an even lighter and fluffier texture.
When you’re ready to whip, pour the cold heavy cream into your chilled mixing bowl. Begin mixing on a low speed to prevent splashing, especially during the initial stages. As the cream starts to thicken and increase in volume, gradually increase the mixer speed to medium-high. Continue mixing until “stiff peaks” form. You’ll know they’re ready when you lift the beaters from the cream, and the peaks stand tall and hold their shape without flopping over. If the peaks still fold over, continue mixing for a short period. However, be vigilant and avoid overmixing! Over-whipped cream can quickly turn grainy or even begin to curdle, taking on the texture of butter, which is something we definitely want to avoid for our smooth ice cream base.
Expert Tips for the Creamiest No-Churn Chocolate Ice Cream
Achieving that dreamily smooth, incredibly creamy texture in your homemade no-churn chocolate ice cream is all about attention to a few key details. These tips will ensure your efforts result in a truly unforgettable dessert.
- Embrace Full-Fat Heavy Cream: The Secret to Smoothness. This isn’t the time to cut corners on fat content. Full-fat heavy cream (at least 36% fat) is absolutely critical. The fat molecules are what allow the cream to whip up into stiff, stable peaks, trapping air that gives the ice cream its light texture. Furthermore, the fat contributes significantly to the overall mouthfeel, making the ice cream rich, smooth, and utterly luxurious. Substituting with lower-fat alternatives like half-and-half or even whole milk will lead to a watery, icy, and disappointing result because they simply lack the necessary fat structure to create a stable whipped base.
- Timing is Everything: Don’t Let the Chocolate Base Linger. Once you’ve combined the melted chocolate and cocoa powder with the sweetened condensed milk, work quickly. This mixture, particularly the melted chocolate component, can start to thicken and firm up like fudge as it cools. For the best results, you want to fold in the whipped cream while the chocolate base is still fluid and easy to mix. If it does start to seize up, don’t panic! You can gently reheat it in the microwave for a few seconds, stirring until it’s pourable again. Just ensure it’s not warm when you introduce the whipped cream, as warmth can deflate the delicate air bubbles you worked hard to create.
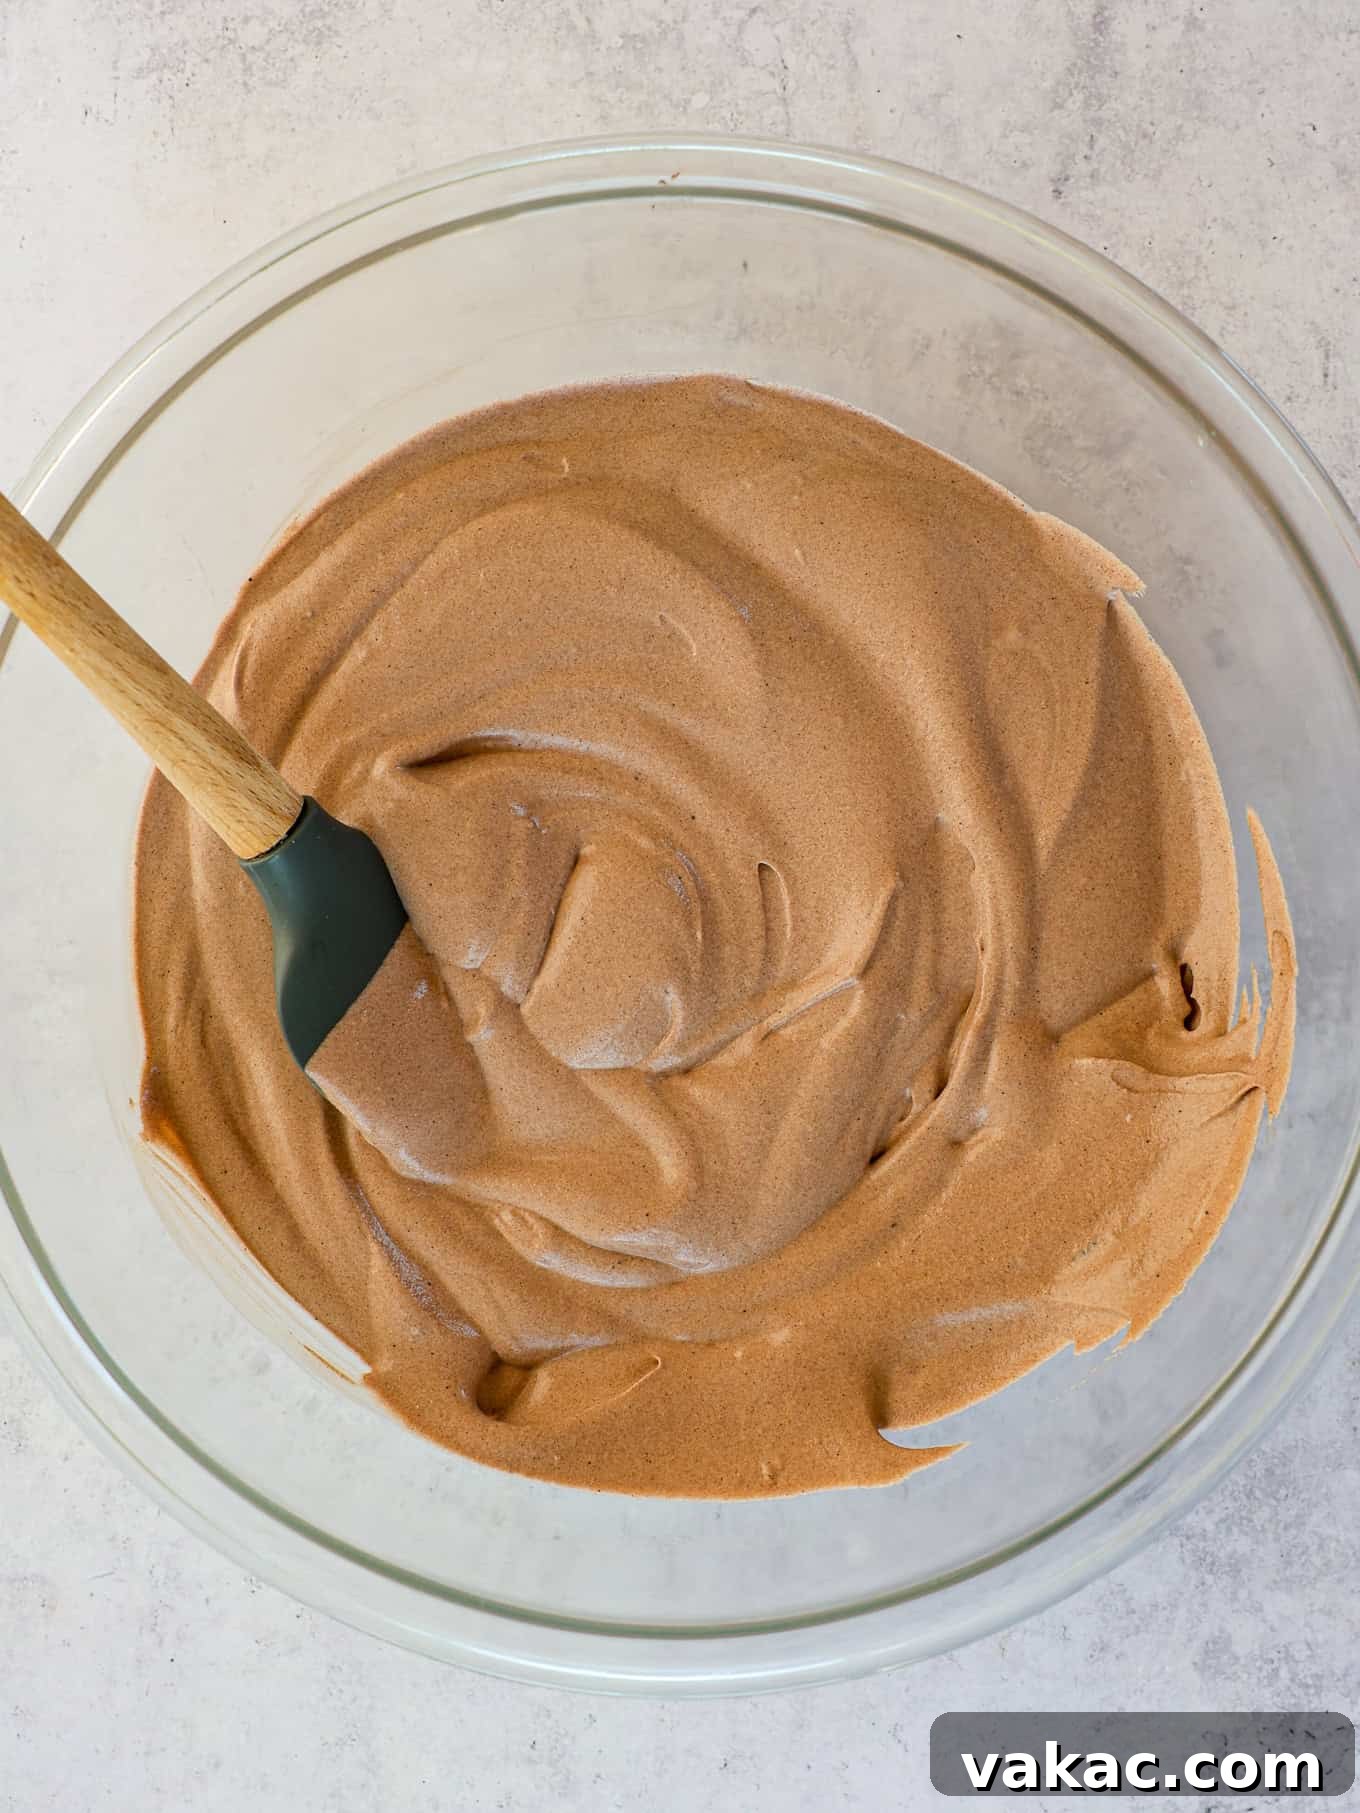
- Gentle Folding for an Airy Texture. The whipped cream is delicate, and its incorporated air is vital for preventing icy crystals and achieving a smooth texture. When folding the whipped cream into the chocolate base, always do so gently. A good technique is to start by folding in about one-third of the whipped cream first. This “lightens” the denser chocolate mixture, making it easier to incorporate the remaining whipped cream without overmixing or deflating it. Use a rubber spatula and a gentle, sweeping motion, turning the bowl as you go, until just combined. Overmixing will cause the air to escape, resulting in a denser, harder ice cream. If you use an electric mixer for this step, ensure it’s set to the lowest speed.
- Seal for Success: Preventing Ice Crystals and Freezer Burn. Ice crystals are the enemy of creamy ice cream. To prevent their formation during the freezing process, it’s essential to cover your ice cream properly. After transferring the mixture to your loaf pan or freezer-safe container, press a piece of plastic wrap directly onto the surface of the ice cream. This creates a barrier that minimizes exposure to air, which is the primary cause of ice crystal development and freezer burn. This method should be used both for the initial freezing period and for any long-term storage, ensuring your ice cream remains perfectly creamy and delicious for weeks.
Elevate Your Experience: Creative Mix-Ins and Topping Options
Consider this luscious chocolate ice cream a blank canvas, eagerly awaiting your creative touch! Its rich, versatile flavor provides the perfect backdrop for an endless array of mix-ins and toppings, allowing you to customize every scoop to your heart’s desire. Here are just a few ideas to get your imagination churning:
Sensational Mix-Ins:
Before freezing, gently fold in your favorite additions to create new textures and flavor dimensions. Imagine:
- Crunchy Delights: Crushed chocolate cookies (like Oreos), crushed graham crackers for a s’mores vibe (especially with mini marshmallows!), or toasted coconut flakes for a tropical twist (learn how to toast coconut perfectly here).
- Nutty Indulgences: Finely chopped pecans, walnuts, almonds, or peanuts for added crunch and earthy flavor.
- Extra Chocolatey Bites: Mini chocolate chips (milk, dark, or white), colorful M&M’s, or even chunks of your favorite chocolate bar.
- Baked Good Bliss: Diced pieces of fudgy brownies (try our homemade brownie recipe!) or delightful chunks of edible cookie dough (safely indulge with our edible cookie dough recipe).
Irresistible Swirls:
For a beautiful marbled effect and an extra layer of flavor, swirl in creamy ingredients just before freezing:
- Nutella: For a hazelnut-chocolate dream.
- Peanut Butter: A classic pairing that never disappoints.
- Salted Caramel Sauce: The perfect balance of sweet and savory (make your own luscious salted caramel sauce).
Decadent Toppings:
Once your ice cream is frozen and ready to serve, the fun truly begins with toppings! Many of the mix-ins and swirls mentioned above can also double as fantastic garnishes. But don’t stop there:
- Fruit Fantasies: A generous spooning of homemade strawberry sauce (our strawberry sauce recipe is a must-try) or fresh berries.
- Chocolate Lover’s Dream: Drizzles of warm hot fudge sauce (recipe for the ultimate hot fudge here) or a simple chocolate syrup.
- Fun & Festive: A sprinkle of colorful jimmies, whipped cream, or a maraschino cherry to complete your sundae creation.
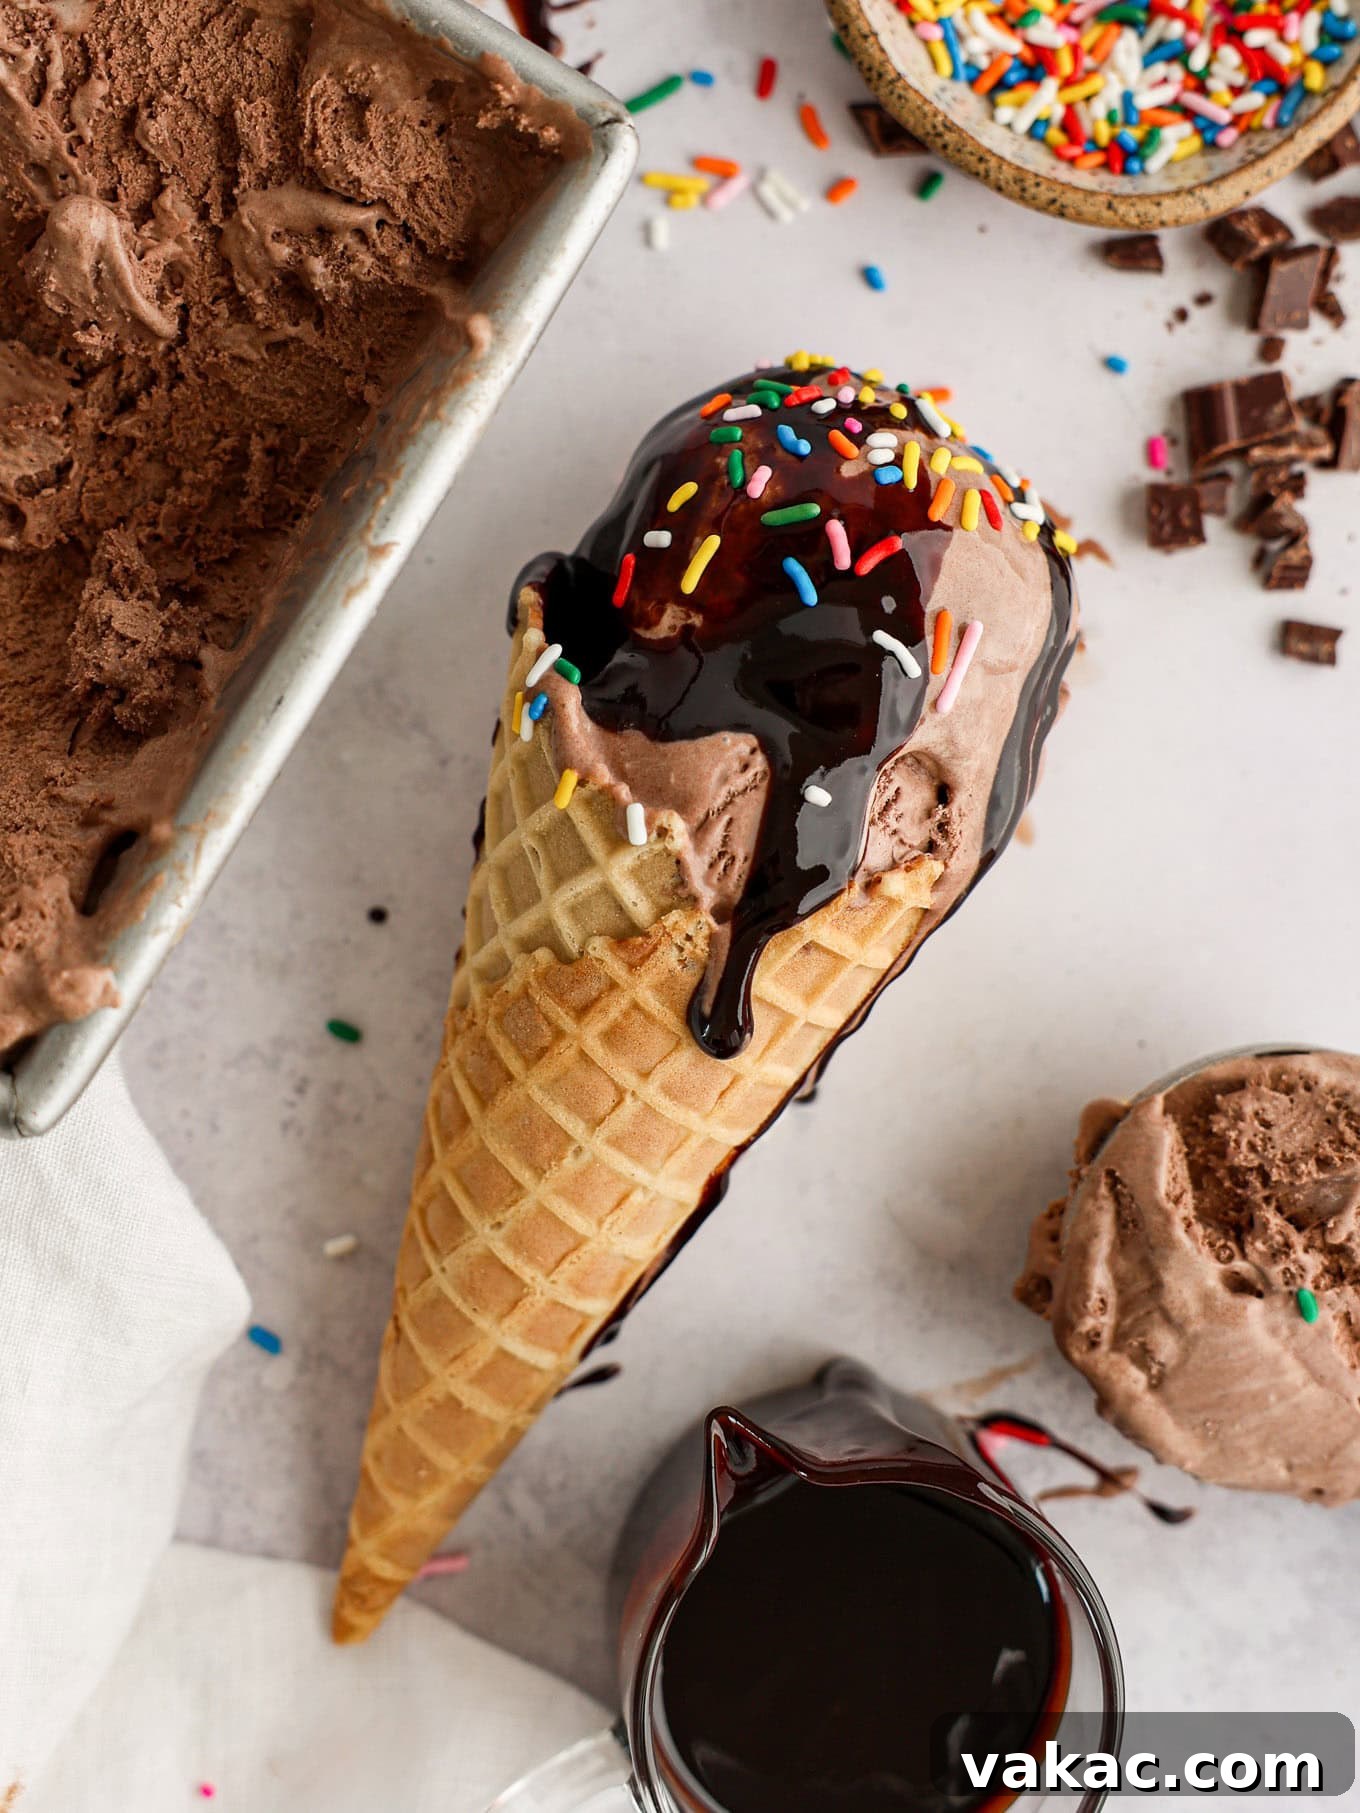
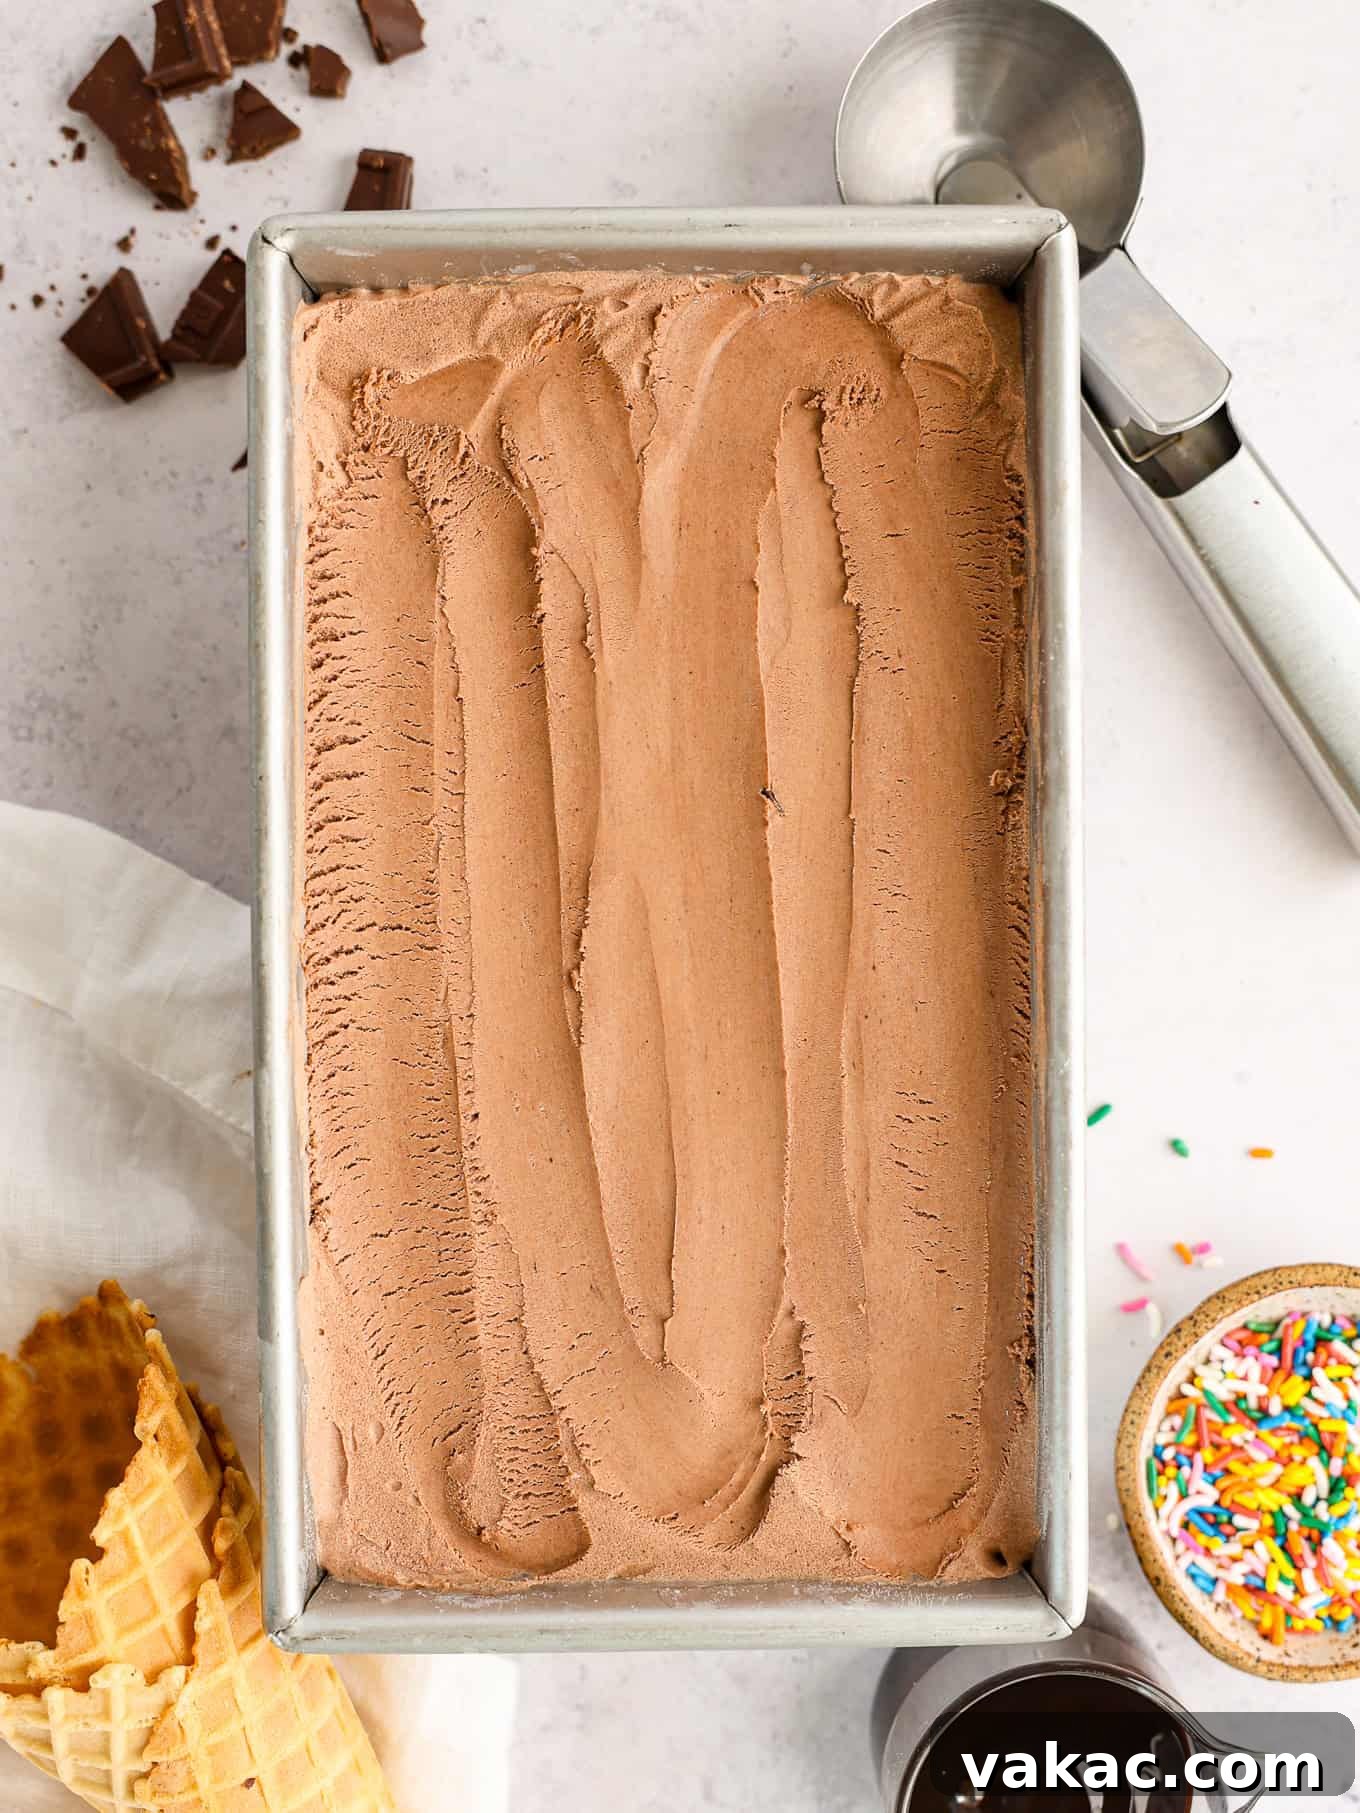
Just look at that ice cream! We truly hope you and your loved ones enjoy this simple yet spectacular chocolate treat as much as we do!
If you try this delightful recipe, don’t forget to share your experience by leaving a comment below. We’d love to hear how it turned out for you. Happy Baking (and Freezing)!
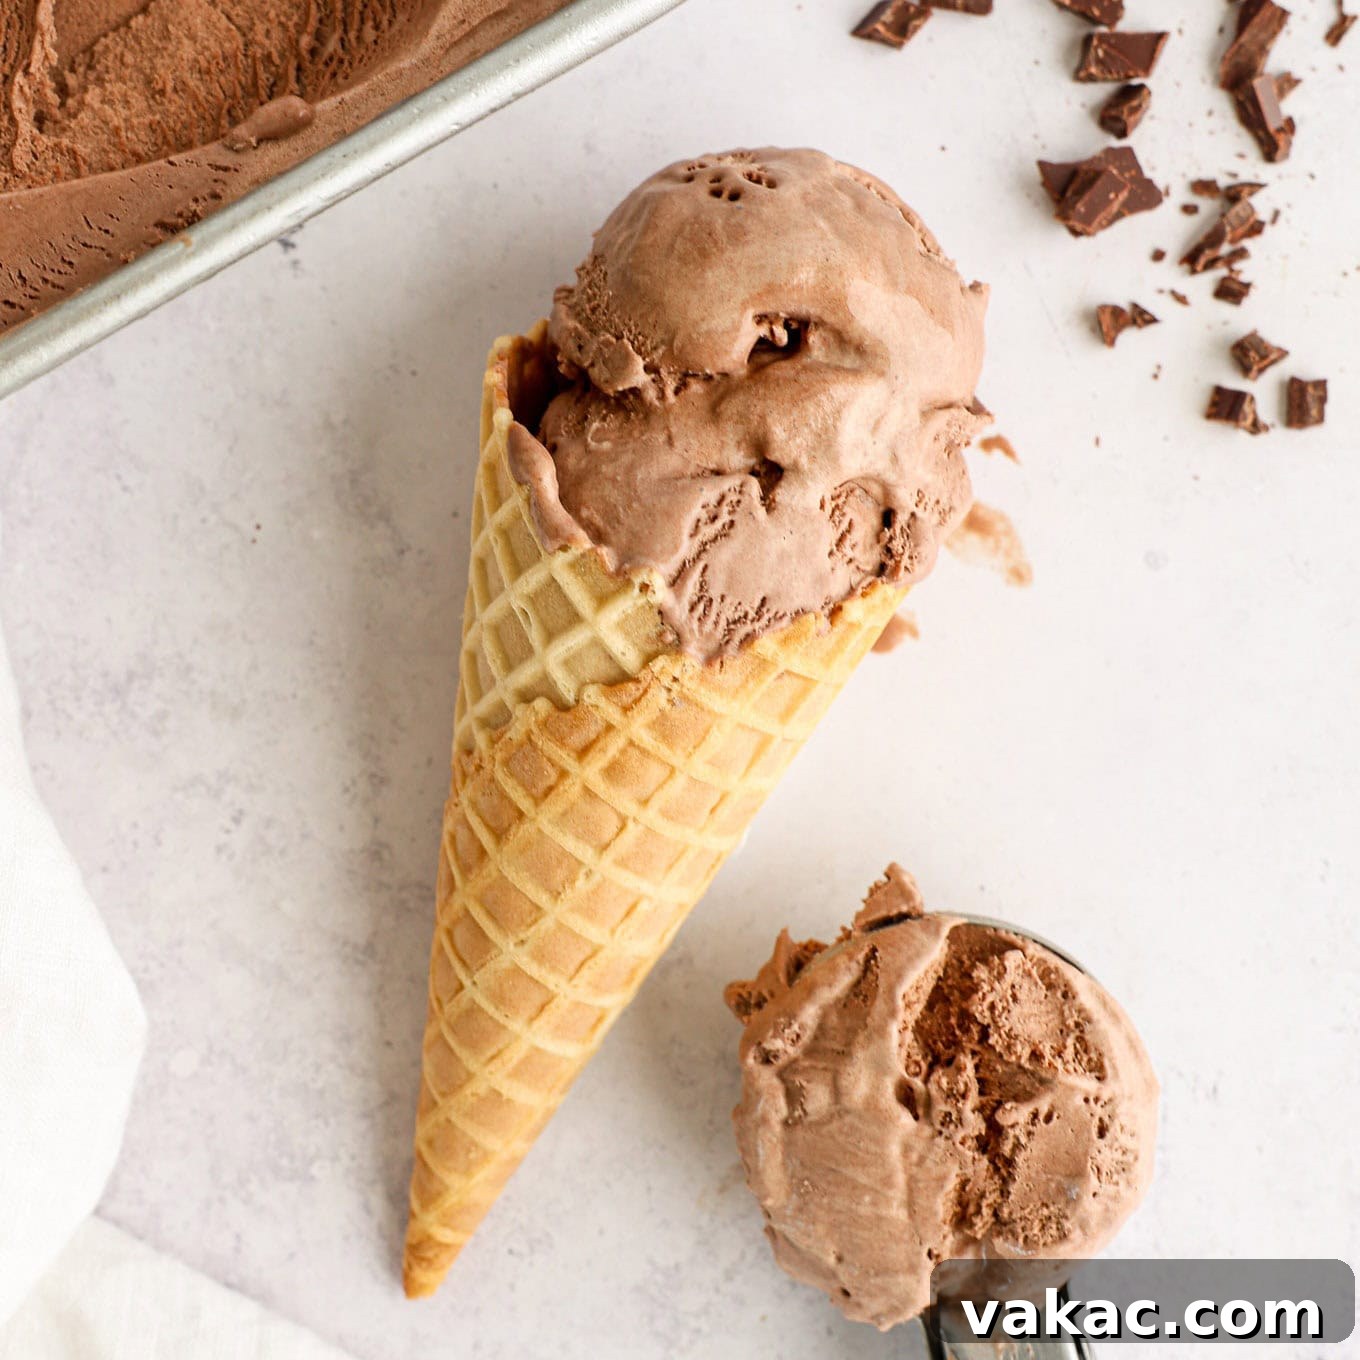
Chocolate Ice Cream Recipe
This smooth and creamy chocolate ice cream is made with a simple no-churn base flavored with both melted chocolate and cocoa powder.
Pin Recipe
Leave a Review
20 mins
8 hrs
8 hrs 20 mins
Ingredients
8 servings
- 2 cups heavy whipping cream (1 pint; 480 ml)
- 1 14-ounce can sweetened condensed milk
- 1 teaspoon pure vanilla extract or vanilla bean paste
- ⅛ teaspoon salt
- 4 ounces semi-sweet chocolate, roughly chopped (113 grams)
- ¼ cup unsweetened natural or Dutch process cocoa powder (22 grams)
Instructions
- In the bowl of a stand mixer fitted with the whisk attachment, or in a large mixing bowl using a handheld mixer, add the heavy whipping cream. Start mixing on low speed. Once the mixture starts to increase in volume, increase the speed to medium-high and continue mixing until stiff peaks form. Transfer to the refrigerator to chill.
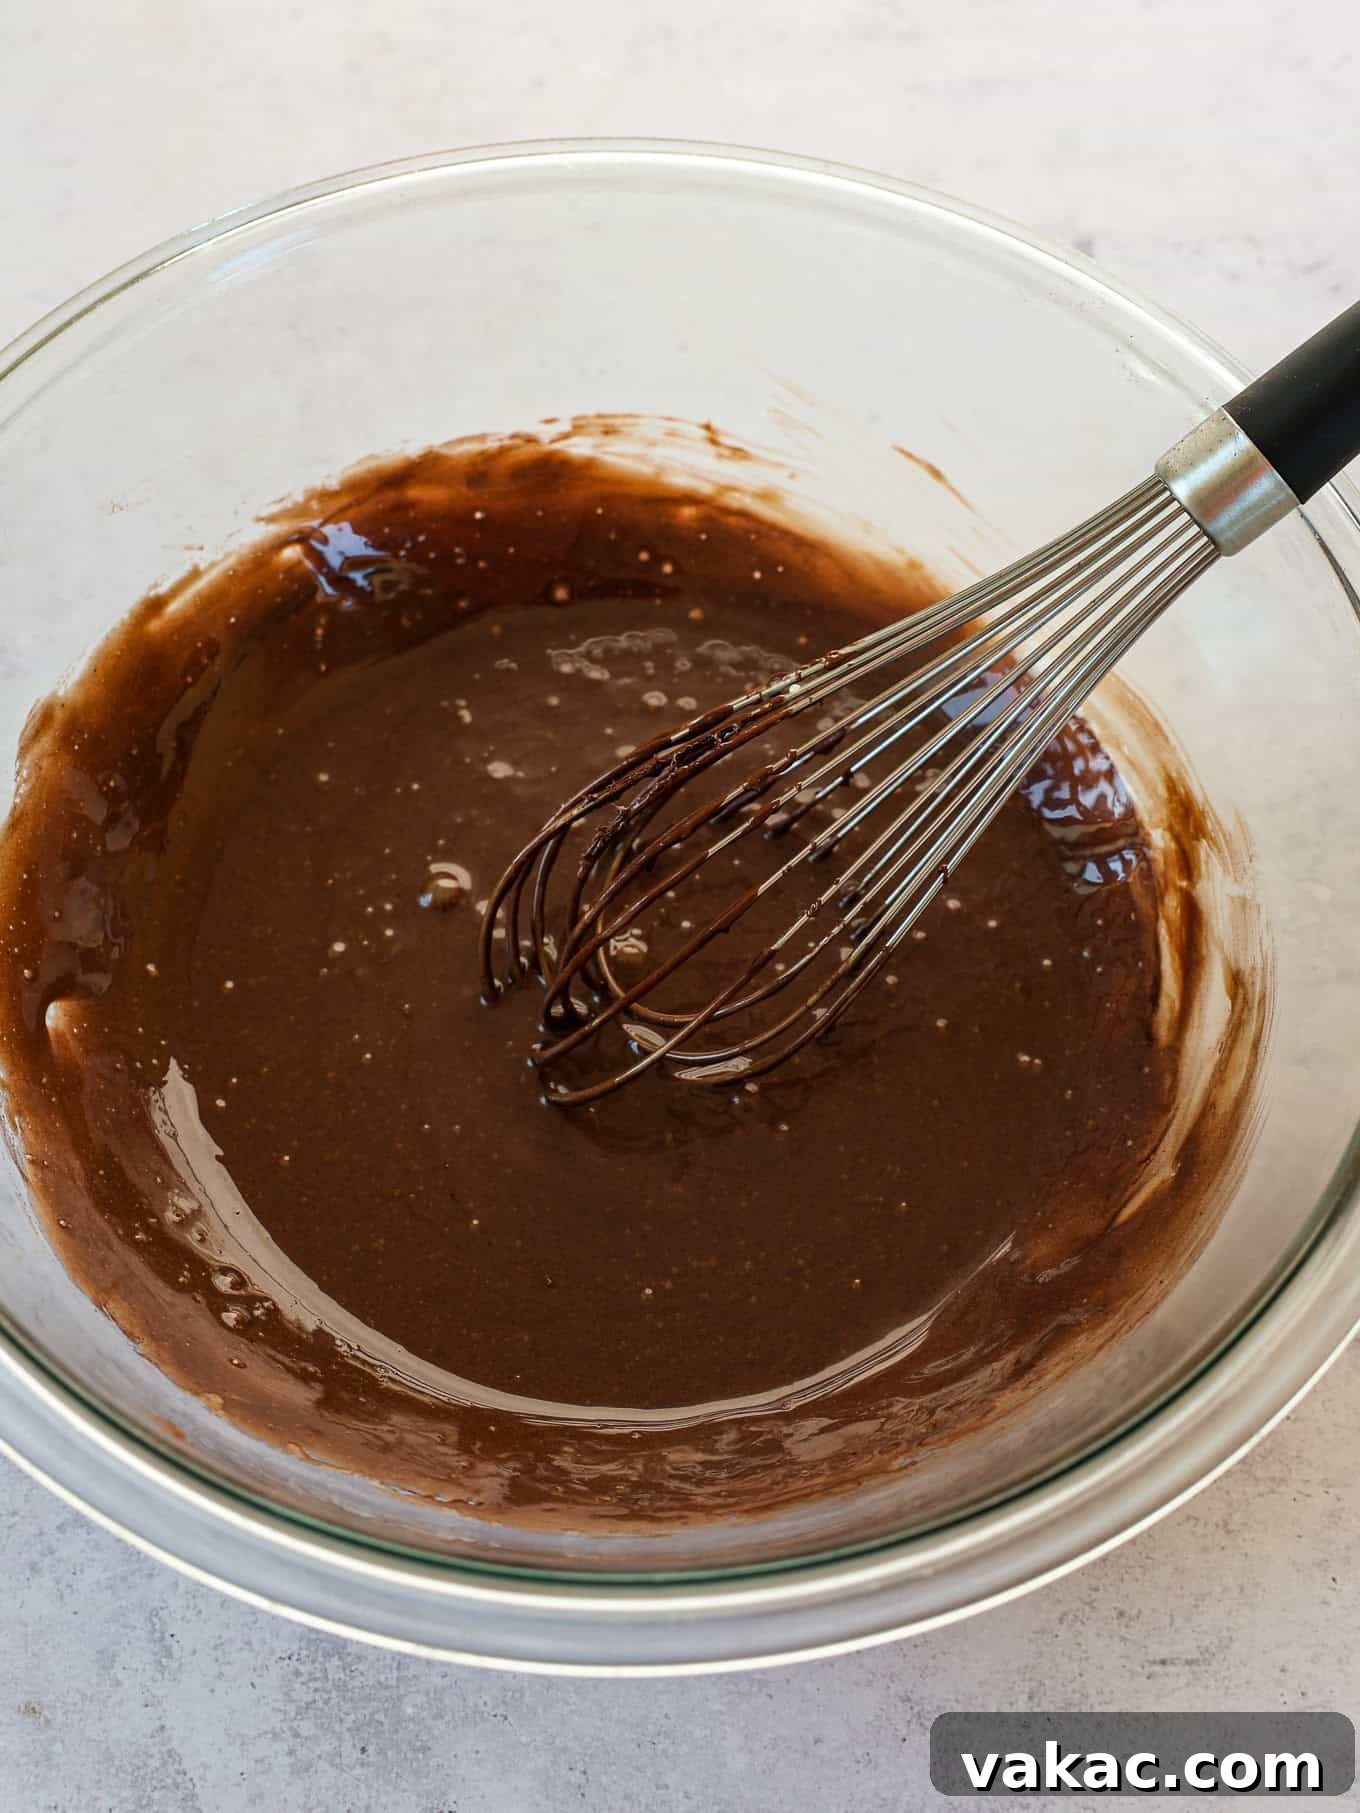
- Add the sweetened condensed milk, vanilla extract, and salt to a large mixing bowl. Whisk until well combined and set aside.
- Place the chopped chocolate in a microwave-safe bowl and microwave in 30-second increments at 50% power, stirring well between each increment, until the chocolate is completely melted and smooth.
- Whisk the melted chocolate into the sweetened condensed milk mixture, then sift in the cocoa powder and whisk until fully combined. Note: Don’t let this mixture sit too long before you fold in the whipped cream because it will start to thicken up. If that happens, gently reheat in the microwave and make sure it’s not too warm before adding the whipped cream.
- Remove the whipped cream from the fridge. Add about ⅓ of the whipped cream into the sweetened condensed milk and mix it in on low speed. Add the rest of the whipped cream and gently fold it in with a rubber spatula until fully combined.
- Scoop the ice cream into a 9×5 loaf pan and smooth it out into one even layer.
- Place a piece of plastic wrap directly on the surface of the ice cream and transfer it to the freezer to freeze overnight (or for at least 8 hours).
Notes
Storage Instructions: Ice cream will freeze well for 2 to 3 months. Make sure to cover it tightly with plastic wrap pressed directly onto the surface to prevent any ice crystals from forming on top of the ice cream.
American
Dessert
Danielle Rye
Did you make this recipe?
Mention @livewellbakeoften on Instagram or tag #livewellbakeoften.