
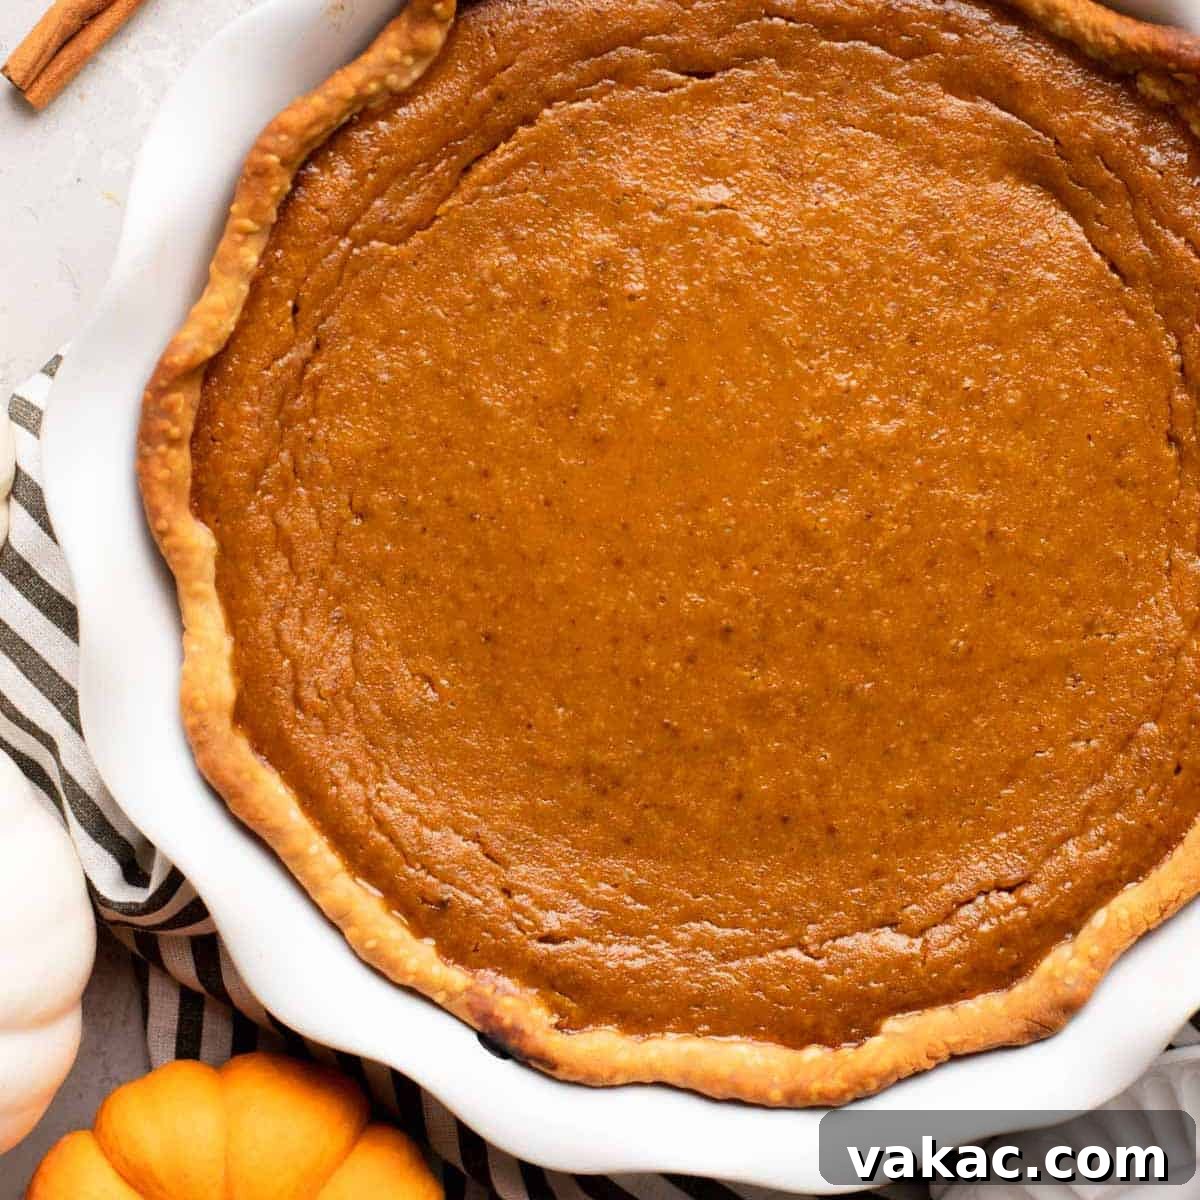
The Ultimate Homemade Pumpkin Pie: A Classic Thanksgiving Dessert
Prepare to bake the most exquisite pumpkin pie from scratch with this easy-to-follow recipe, perfect for any holiday gathering. This make-ahead dessert guarantees a show-stopping finish to your festive feast!
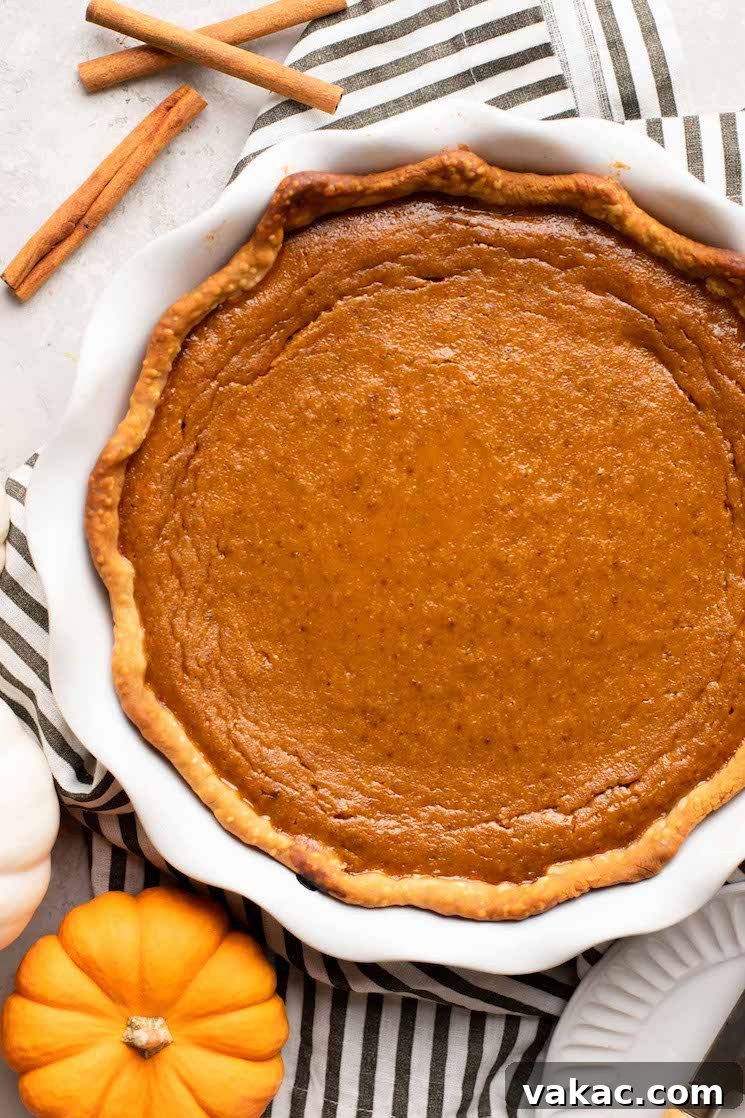
For many, the mere mention of Thanksgiving evokes images of warm, spiced pumpkin pie. It’s not just a dessert; it’s a tradition, a comforting centerpiece that brings smiles to faces. While store-bought options are convenient, nothing quite compares to the rich flavor and satisfying texture of a homemade pumpkin pie. Today, I’m thrilled to share my absolute favorite, traditional pumpkin pie recipe, crafted entirely from scratch to ensure an unforgettable culinary experience.
This recipe is designed to be straightforward, even for those who might not consider themselves expert pie bakers. The velvety pumpkin pie filling comes together effortlessly with a simple whisking of ingredients, poured into a perfectly pre-baked pie shell. The result is a creamy, spiced, and utterly delicious custard pie that embodies the spirit of the holidays.
One of the best aspects of this classic dessert is its make-ahead convenience. Since pumpkin pie requires refrigeration, you can bake it a day or two in advance, freeing up valuable time on the day of your celebration. This makes it an ideal choice for busy holiday hosts looking to impress guests with minimal last-minute stress. Served chilled, perhaps with a generous dollop of homemade whipped cream, it’s a dessert everyone will rave about.
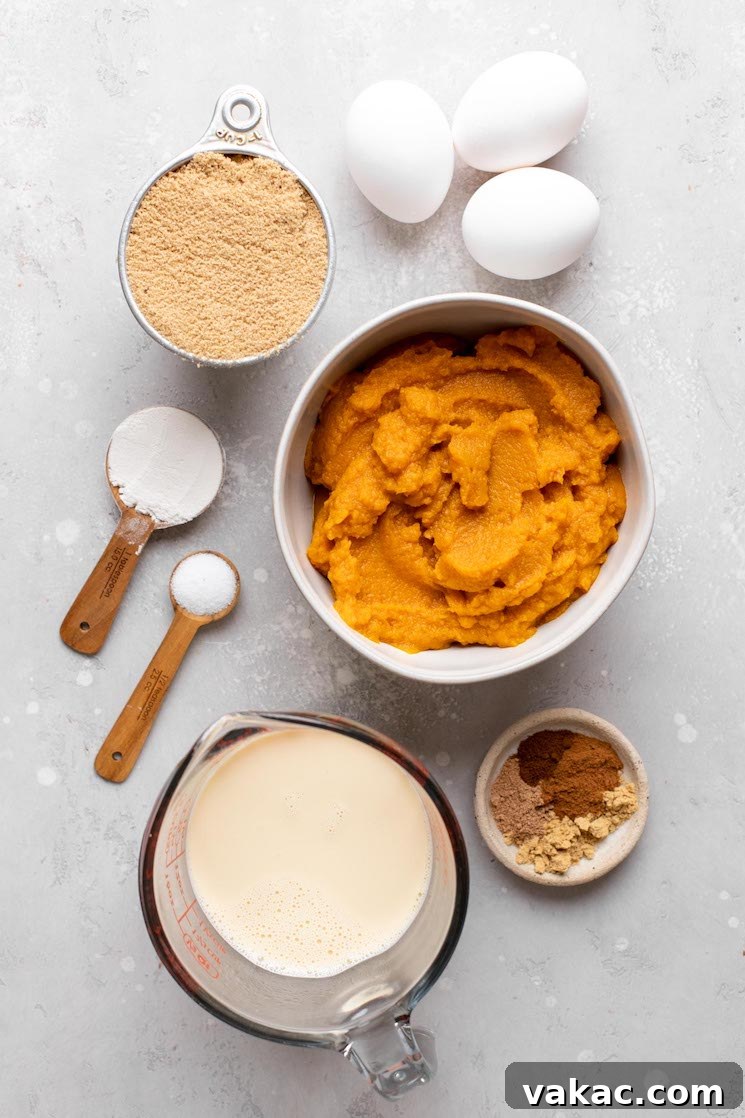
Essential Ingredients for the Perfect Pumpkin Pie
Crafting the perfect pumpkin pie relies on a few key ingredients. While the list is minimal, selecting the right quality components will elevate your pie from good to extraordinary. Here’s a detailed look at what you’ll need to create this holiday masterpiece:
- Pie Crust: The foundation of any great pie! For the flakiest, most delicious crust, I highly recommend using my favorite homemade pie crust recipe. However, a high-quality store-bought crust can also work wonderfully in a pinch, saving you some time without sacrificing too much on taste.
- Brown Sugar: This isn’t just for sweetness; brown sugar lends a deep, caramel-like flavor that complements the pumpkin beautifully. I typically use light brown sugar, which provides a mellow sweetness, but dark brown sugar can also be used for a more robust molasses flavor.
- All-Purpose Flour: Just a small amount of flour (one tablespoon) is added to the filling. Its purpose is crucial: it acts as a gentle thickening agent, helping the custard set properly and preventing a watery pie.
- Aromatic Spices: The soul of pumpkin pie lies in its warming spices. This recipe calls for a classic blend of ground cinnamon, nutmeg, cloves, and ginger. These spices create a harmonious and festive aroma that is instantly recognizable as pumpkin pie. A pinch of salt is also included to balance the sweetness and enhance the natural flavor of the pumpkin. If you prefer, you can substitute this blend with 2 to 2 ½ teaspoons of store-bought or homemade pumpkin pie spice.
- Eggs: Eggs are vital for binding the filling ingredients together and giving the pie its signature smooth, custard-like consistency. For best results, use room temperature eggs. If you forget to set them out, simply place them in a bowl of warm water for 5-10 minutes.
- Pure Pumpkin Puree: This is a critical distinction! Always use pure pumpkin puree, not pumpkin pie filling. Pumpkin pie filling comes pre-sweetened and pre-spiced, which will throw off the flavor balance of this recipe. The only ingredient on the back of your canned pumpkin puree should be “pumpkin.”
- Evaporated Milk: Don’t confuse this with sweetened condensed milk! Evaporated milk is unsweetened and has about 60% of the water removed, making it richer and creamier than regular milk. It contributes significantly to the luxurious, silky texture of the pie filling. If evaporated milk isn’t available, an equal amount of half-and-half can serve as a suitable substitute.
Step-by-Step Guide: Crafting Your Perfect Pumpkin Pie
Creating this delicious pumpkin pie involves two main stages: preparing and partially baking the pie crust, and then mixing and baking the flavorful filling. Following these steps carefully will ensure a flawless, creamy pie every time.
Preparing the Pie Crust (Blind Baking)
Blind baking the pie crust is a crucial step for pumpkin pie. It creates a barrier between the wet filling and the dough, preventing a soggy bottom and ensuring your crust remains wonderfully crisp. While some pies don’t require it, I highly recommend it for this recipe. For a more in-depth guide, you can refer to my dedicated post on how to blind bake a pie crust, but here’s a quick breakdown of the process:
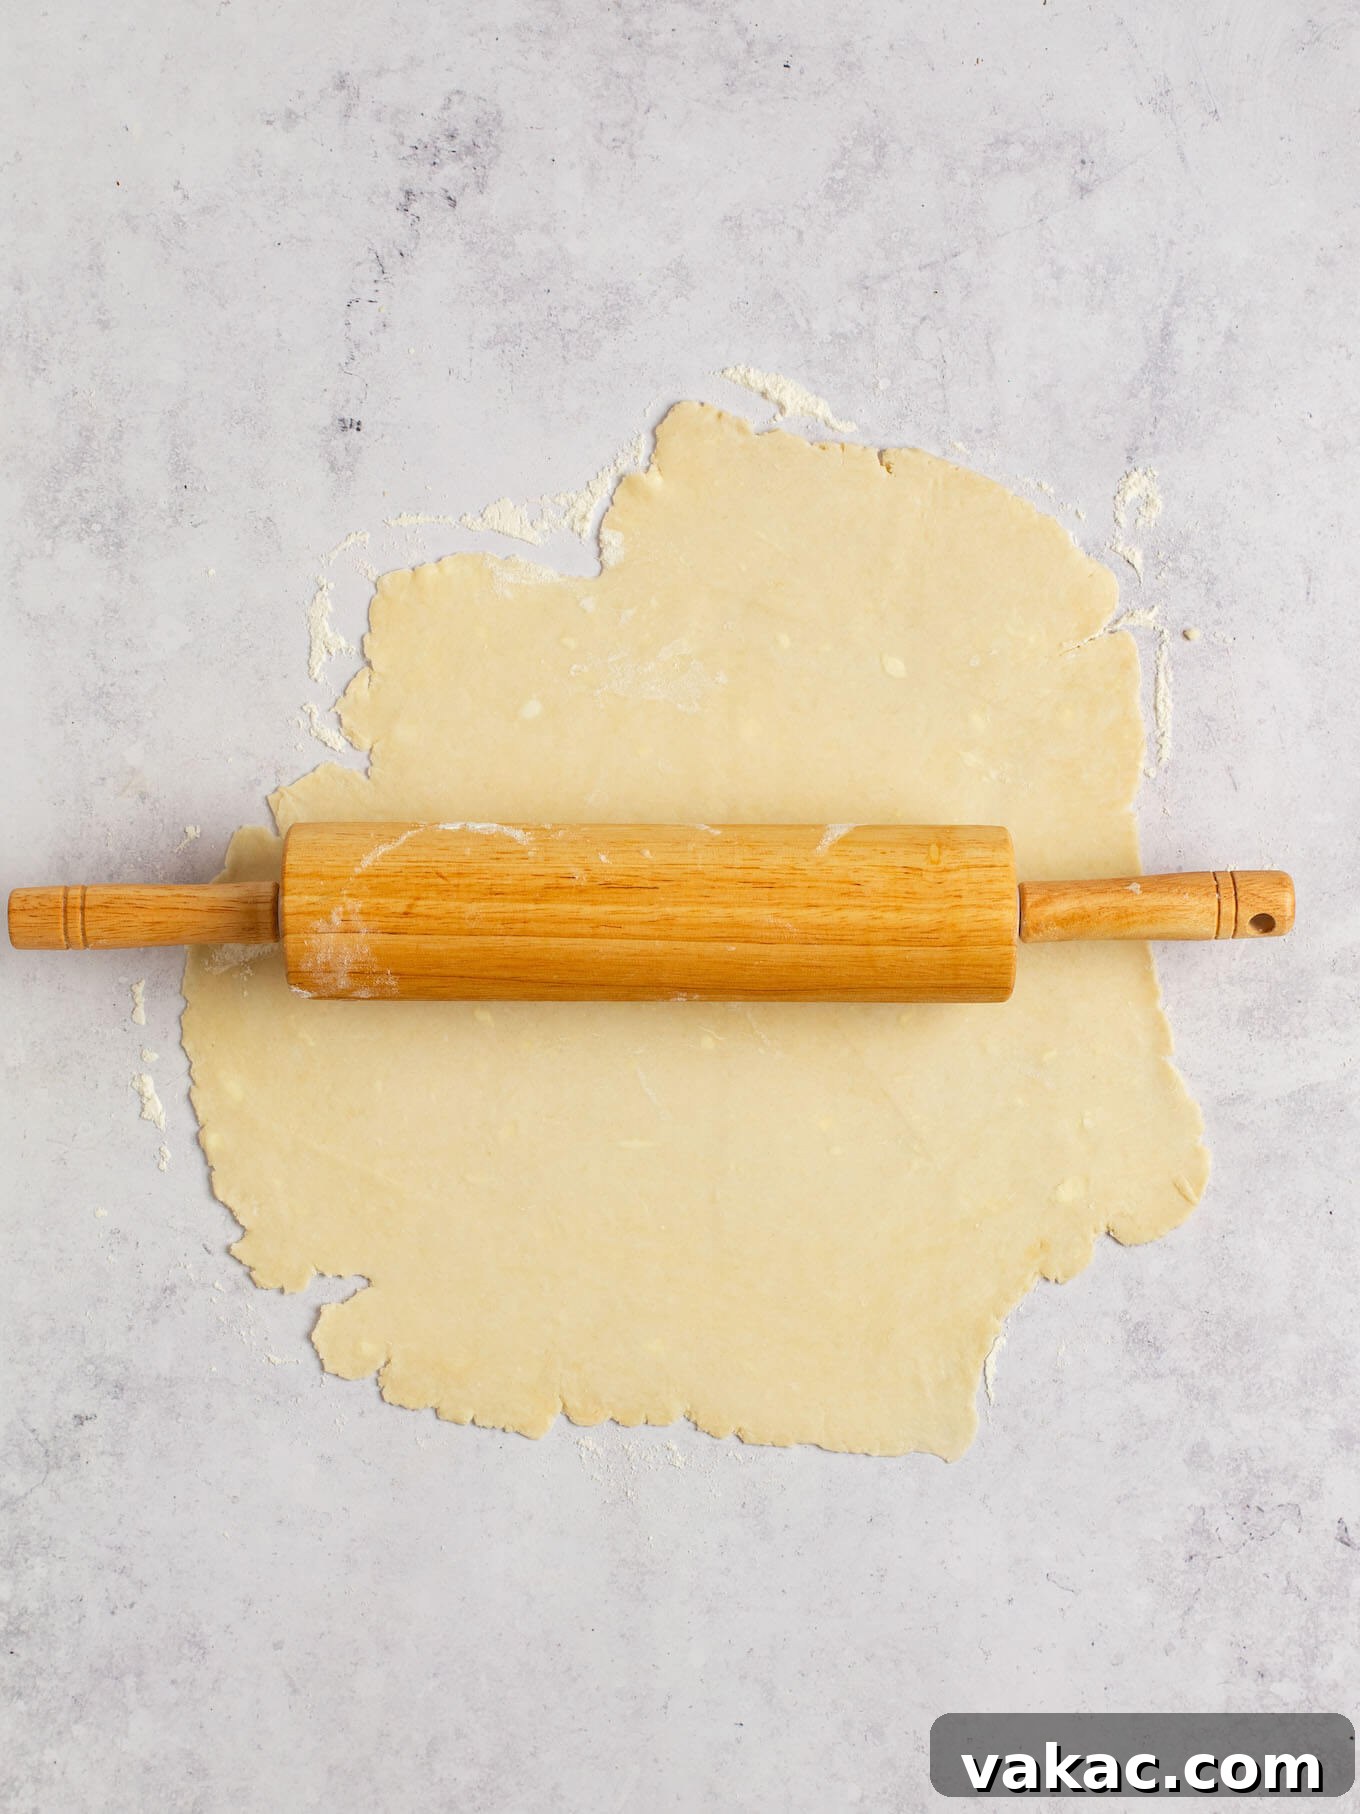
- Roll out the pie crust: Begin by rolling your pie dough out onto a lightly floured surface. Aim for a diameter of about 12 inches. The crust should be slightly larger than your pie dish to allow enough overhang for fitting and decorating the edges.
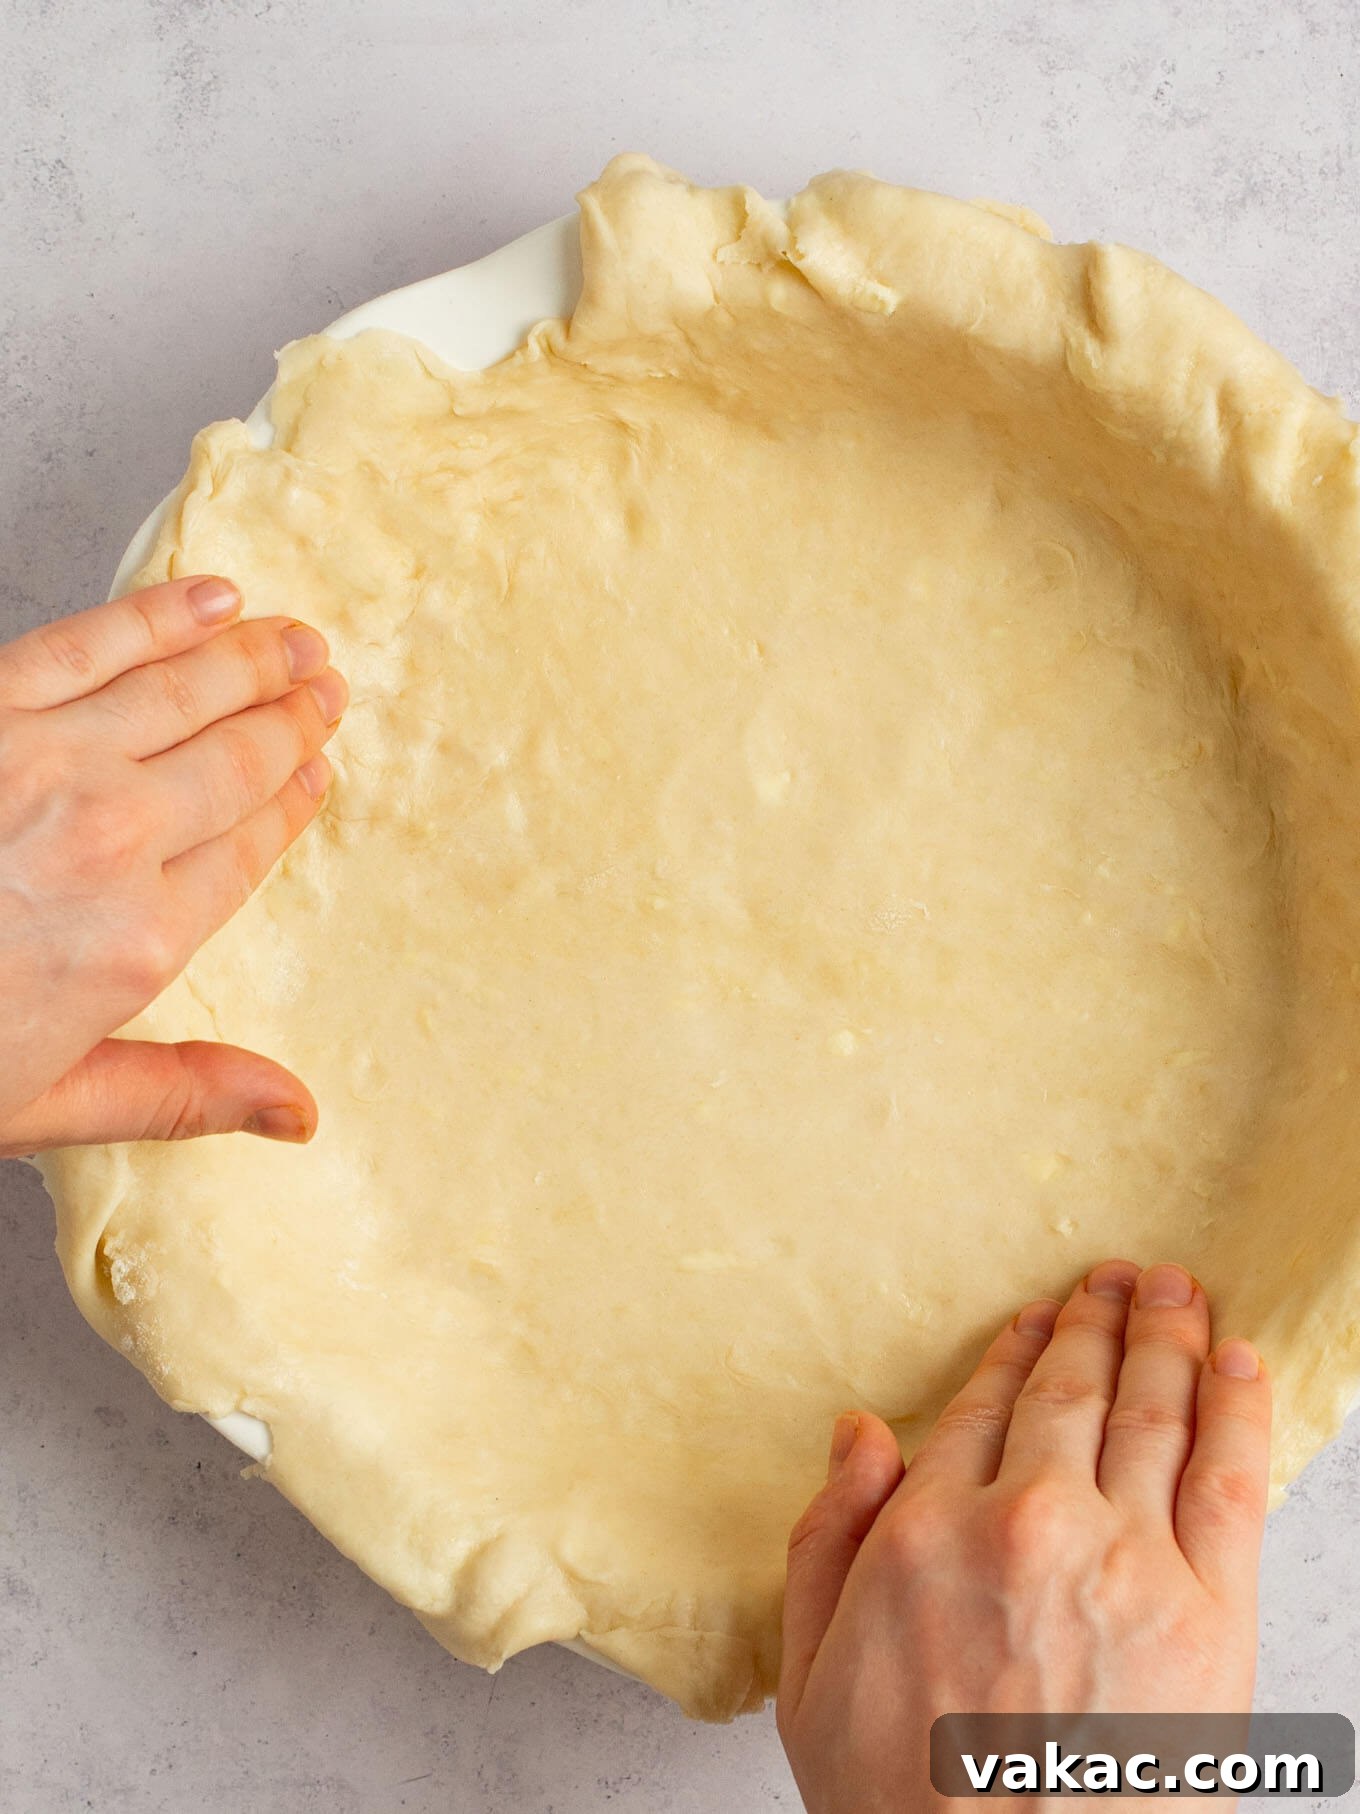
- Transfer the crust to your pie dish: The easiest way to do this is to gently roll the dough around your rolling pin, then unroll it over your pie dish. This recipe makes a generous amount of filling, so ensure you use a pie dish that is at least 1 ½ inches deep to accommodate it.
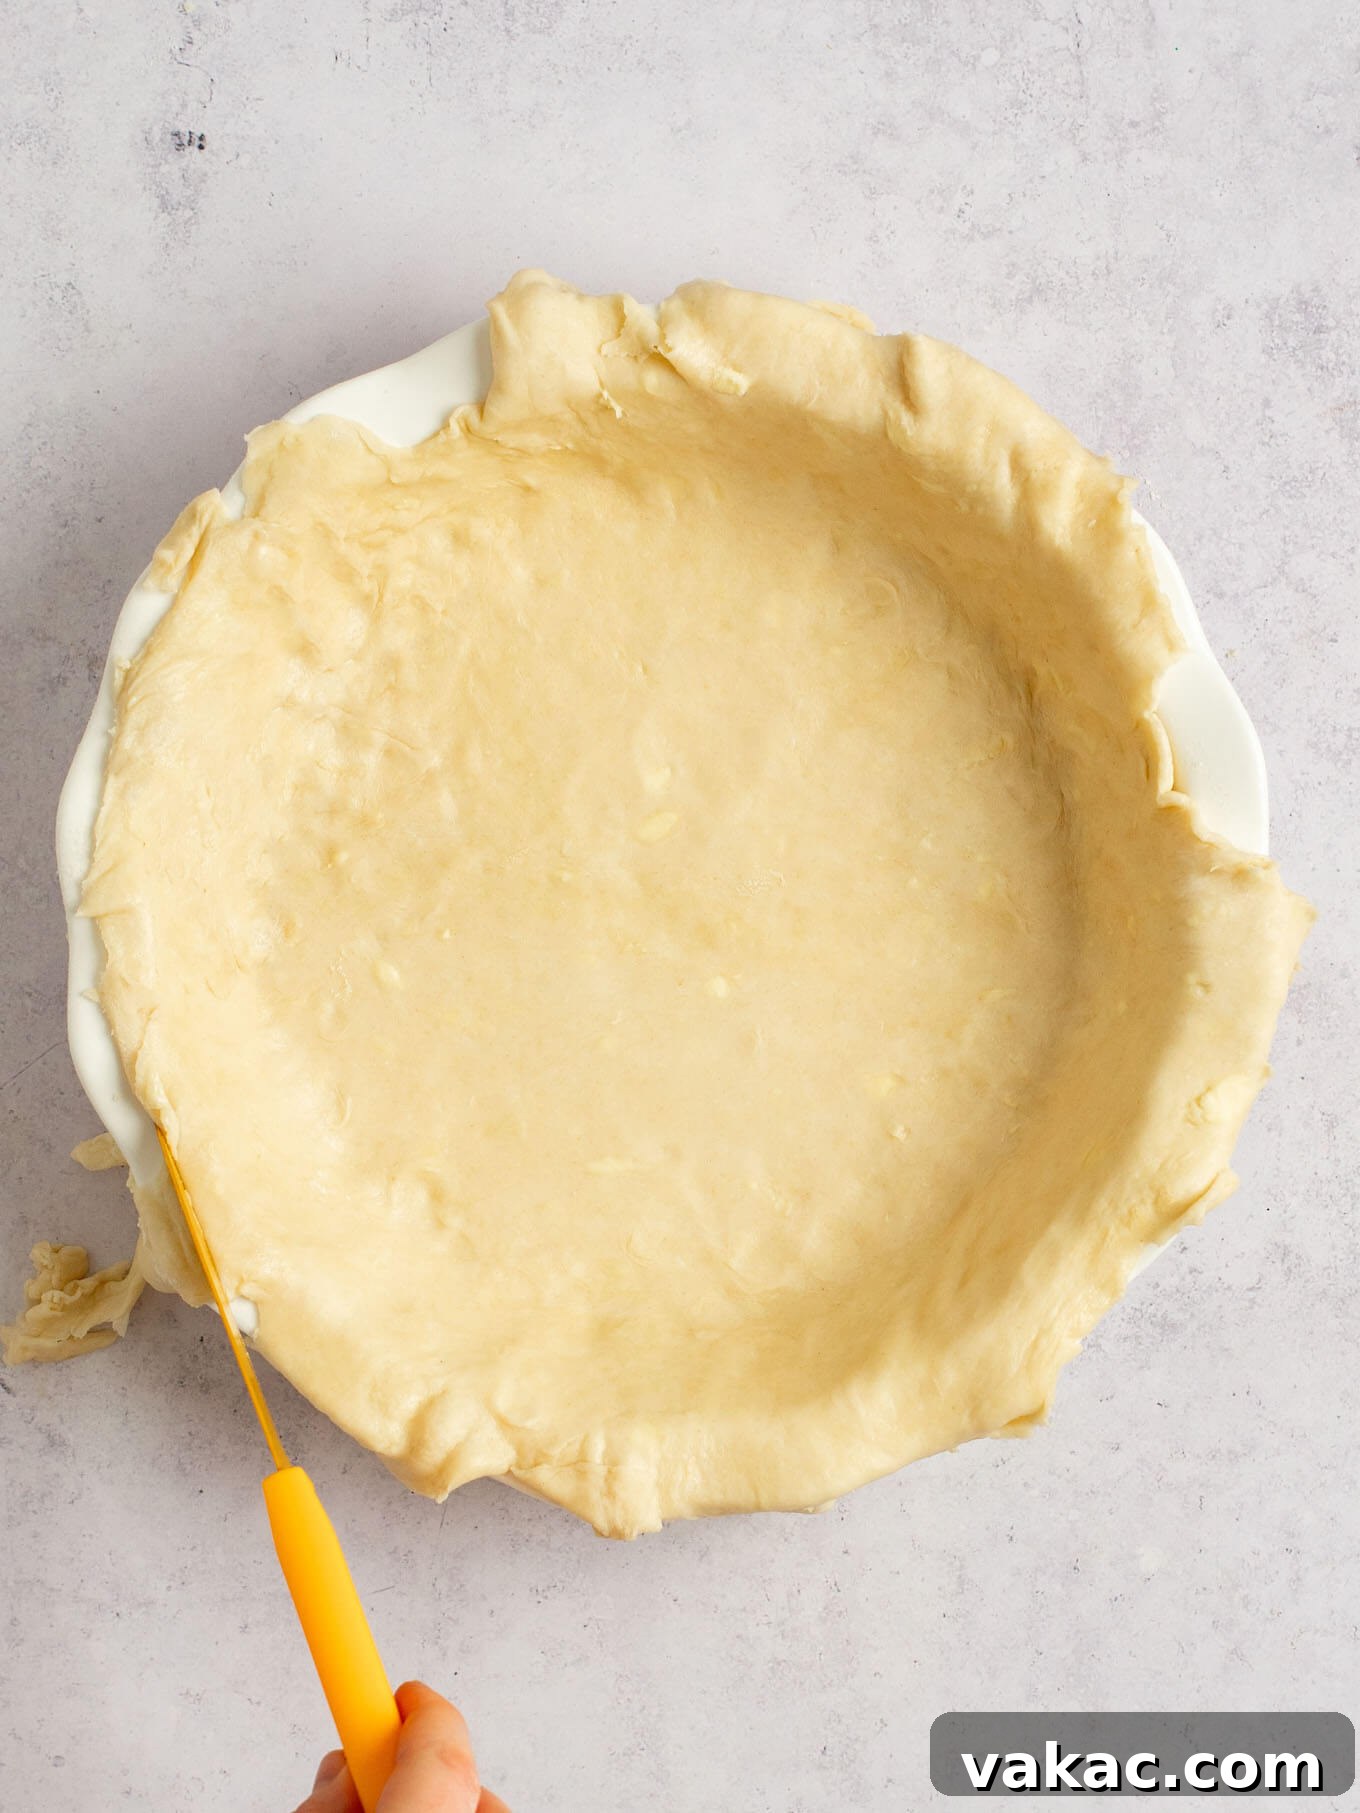
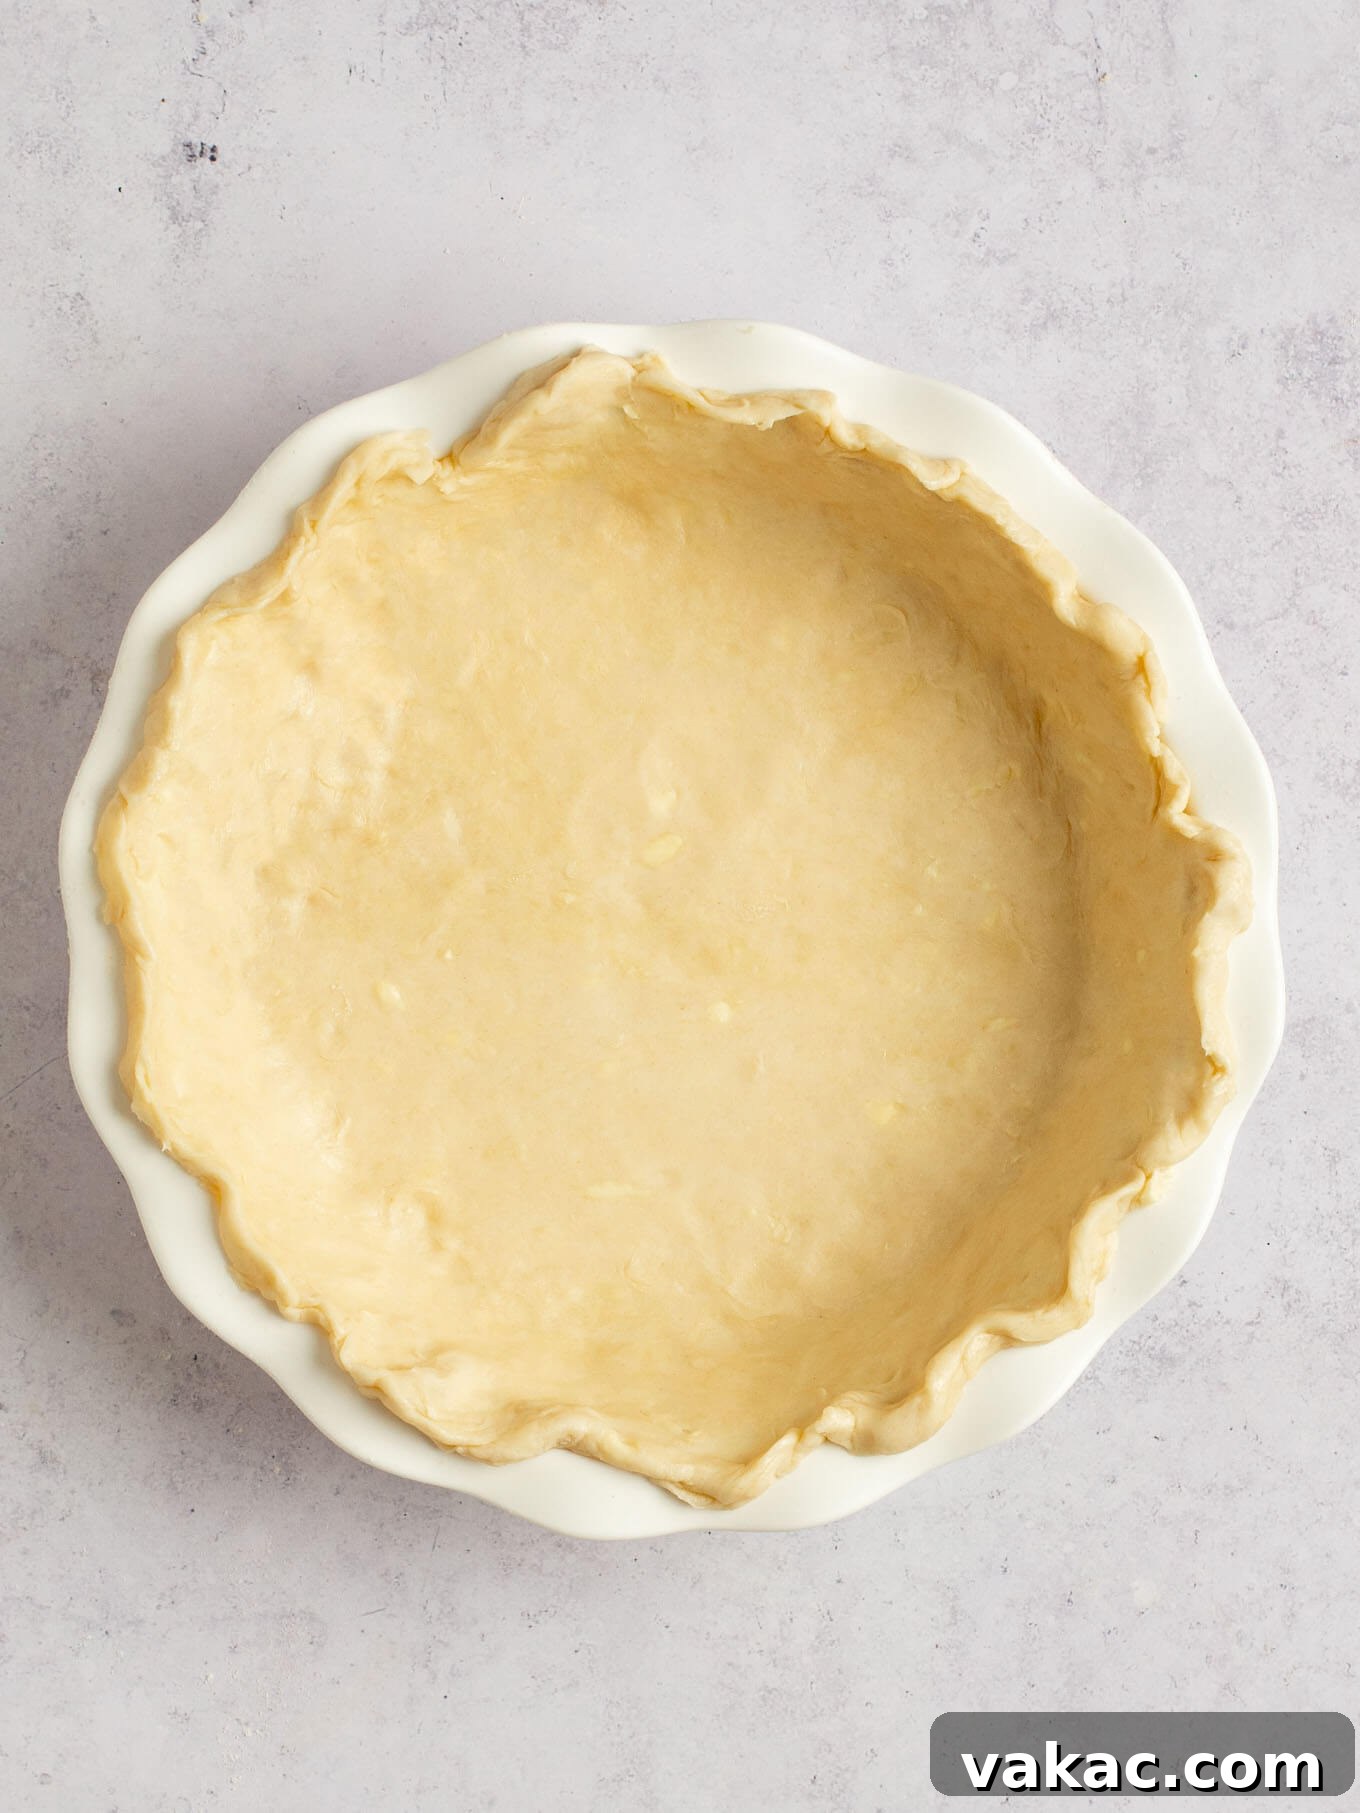
- Fit the crust and decorate the edges: Gently press the dough into the contours of the pie dish. Be careful not to stretch the dough during this process, as stretching can cause it to shrink excessively during baking. Once fitted, trim any excess dough and decorate the edges to your liking (crimping with your fingers or using a fork are common methods).
- Chill the crust in the fridge: Place the prepared pie crust in the refrigerator for at least 15-20 minutes. This chilling period allows the dough to relax, minimizing shrinkage during baking, and ensures the butter or shortening remains cold, which contributes to a delightfully flaky crust.
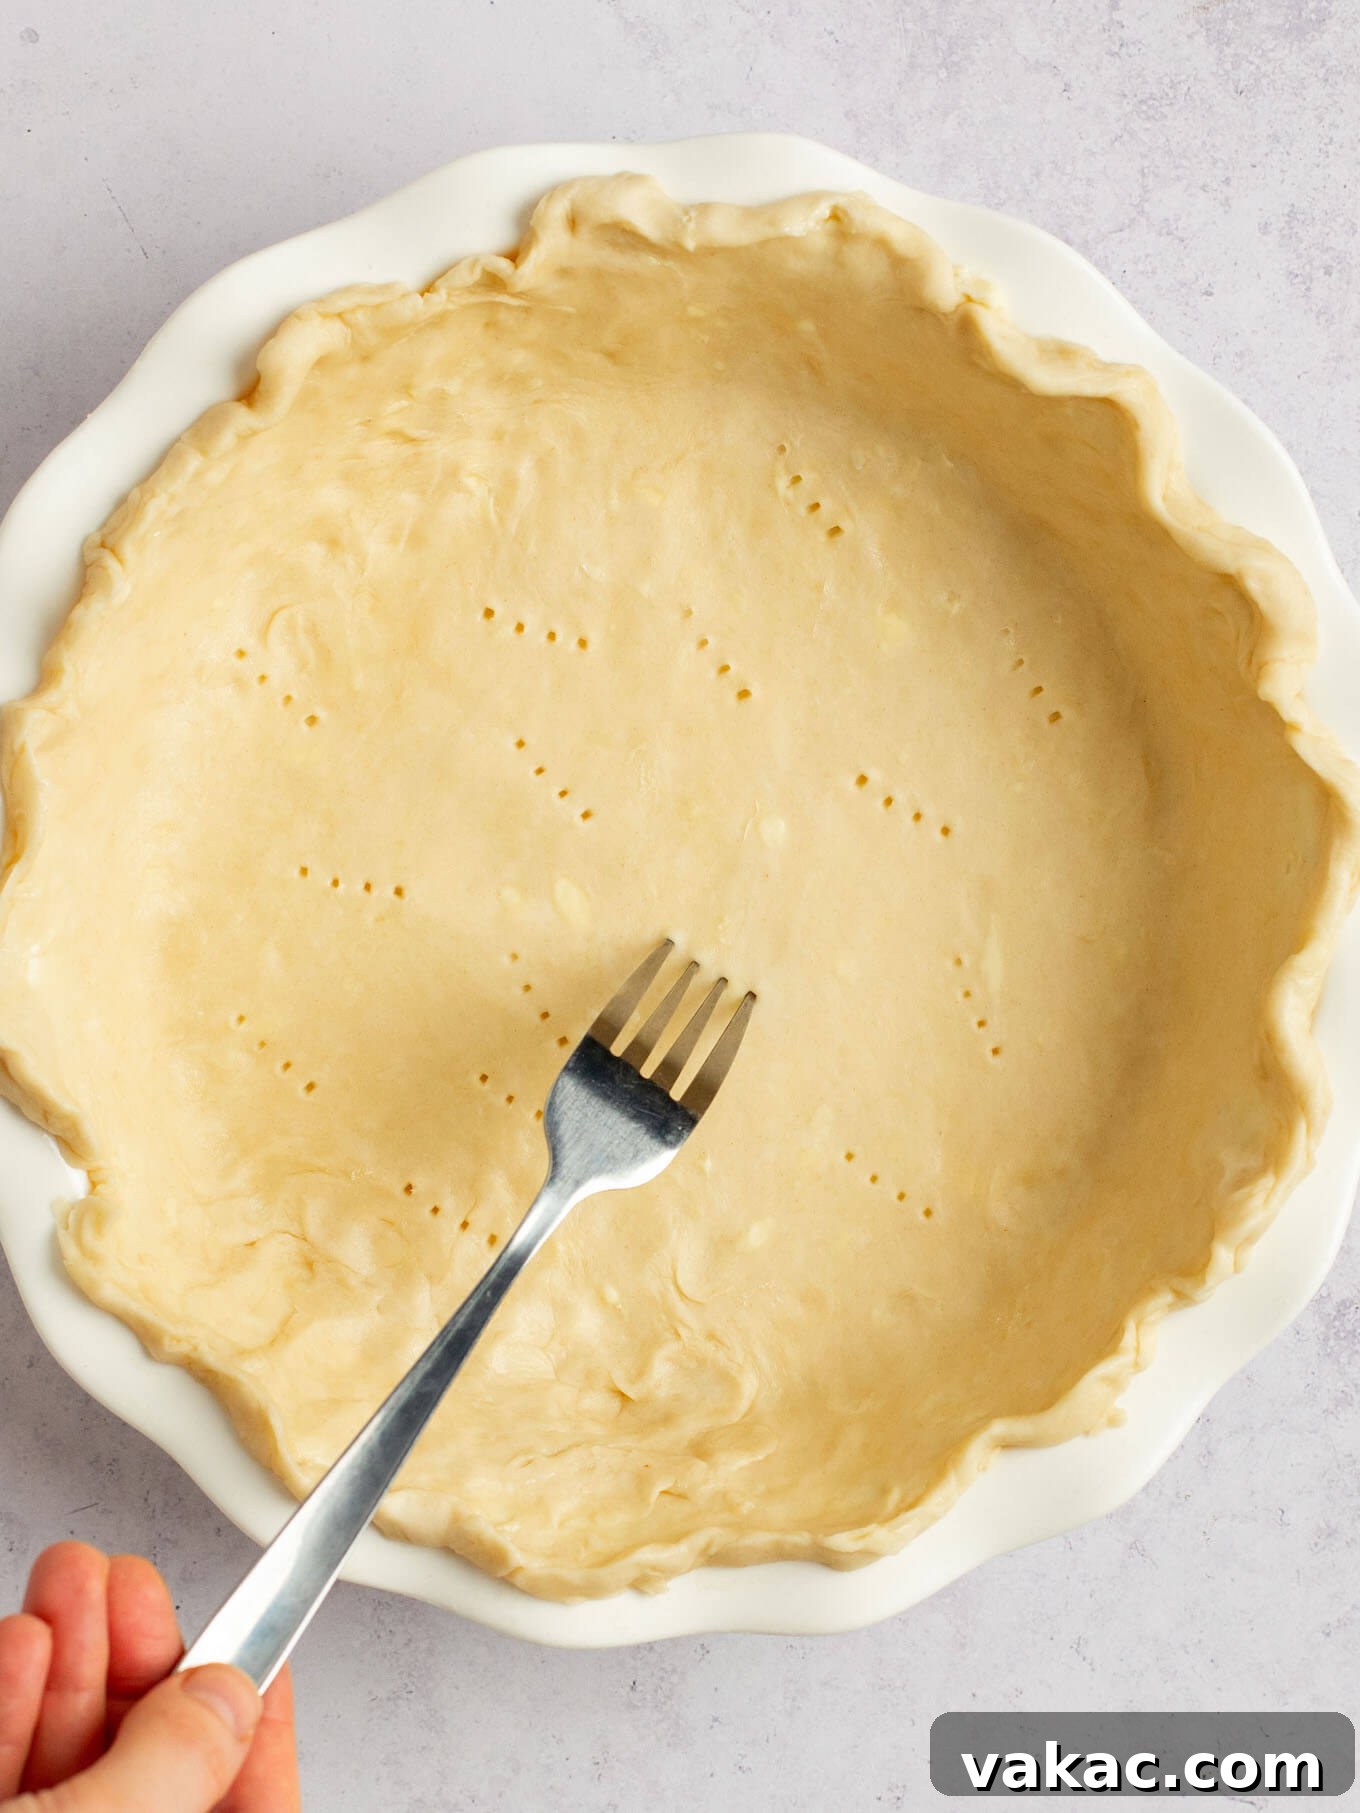
- Prick the bottom of the crust with a fork: This technique, known as “docking,” helps steam escape from beneath the crust, preventing it from puffing up unevenly during baking.
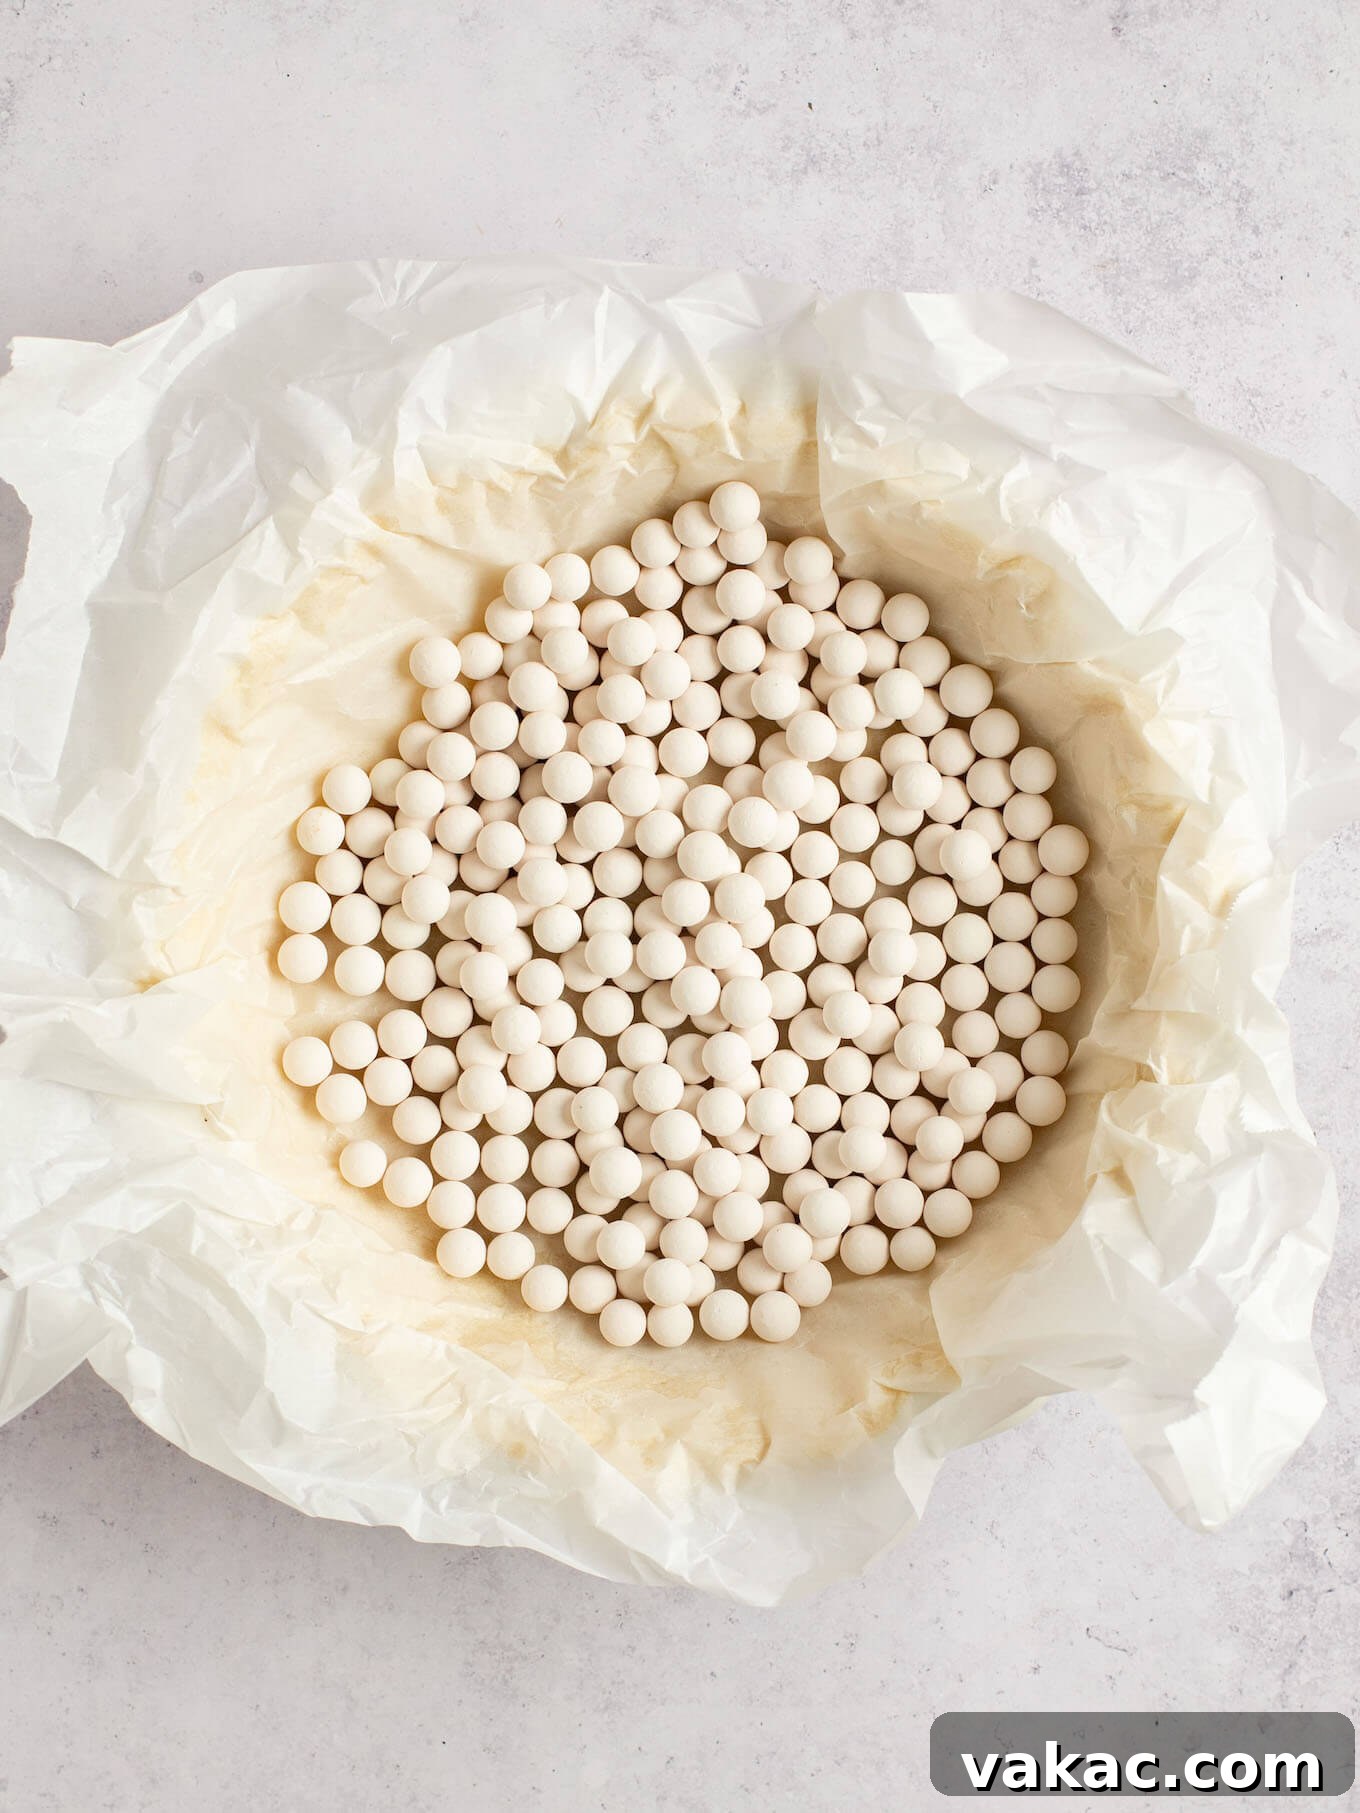
- Line the dough with parchment paper & fill with pie weights: Place a piece of parchment paper or aluminum foil snugly into the chilled pie crust, ensuring it covers the bottom and sides. Then, fill it with pie weights. If you don’t have specialized pie weights, dried beans, uncooked rice, or even some flour can be used as effective substitutes.
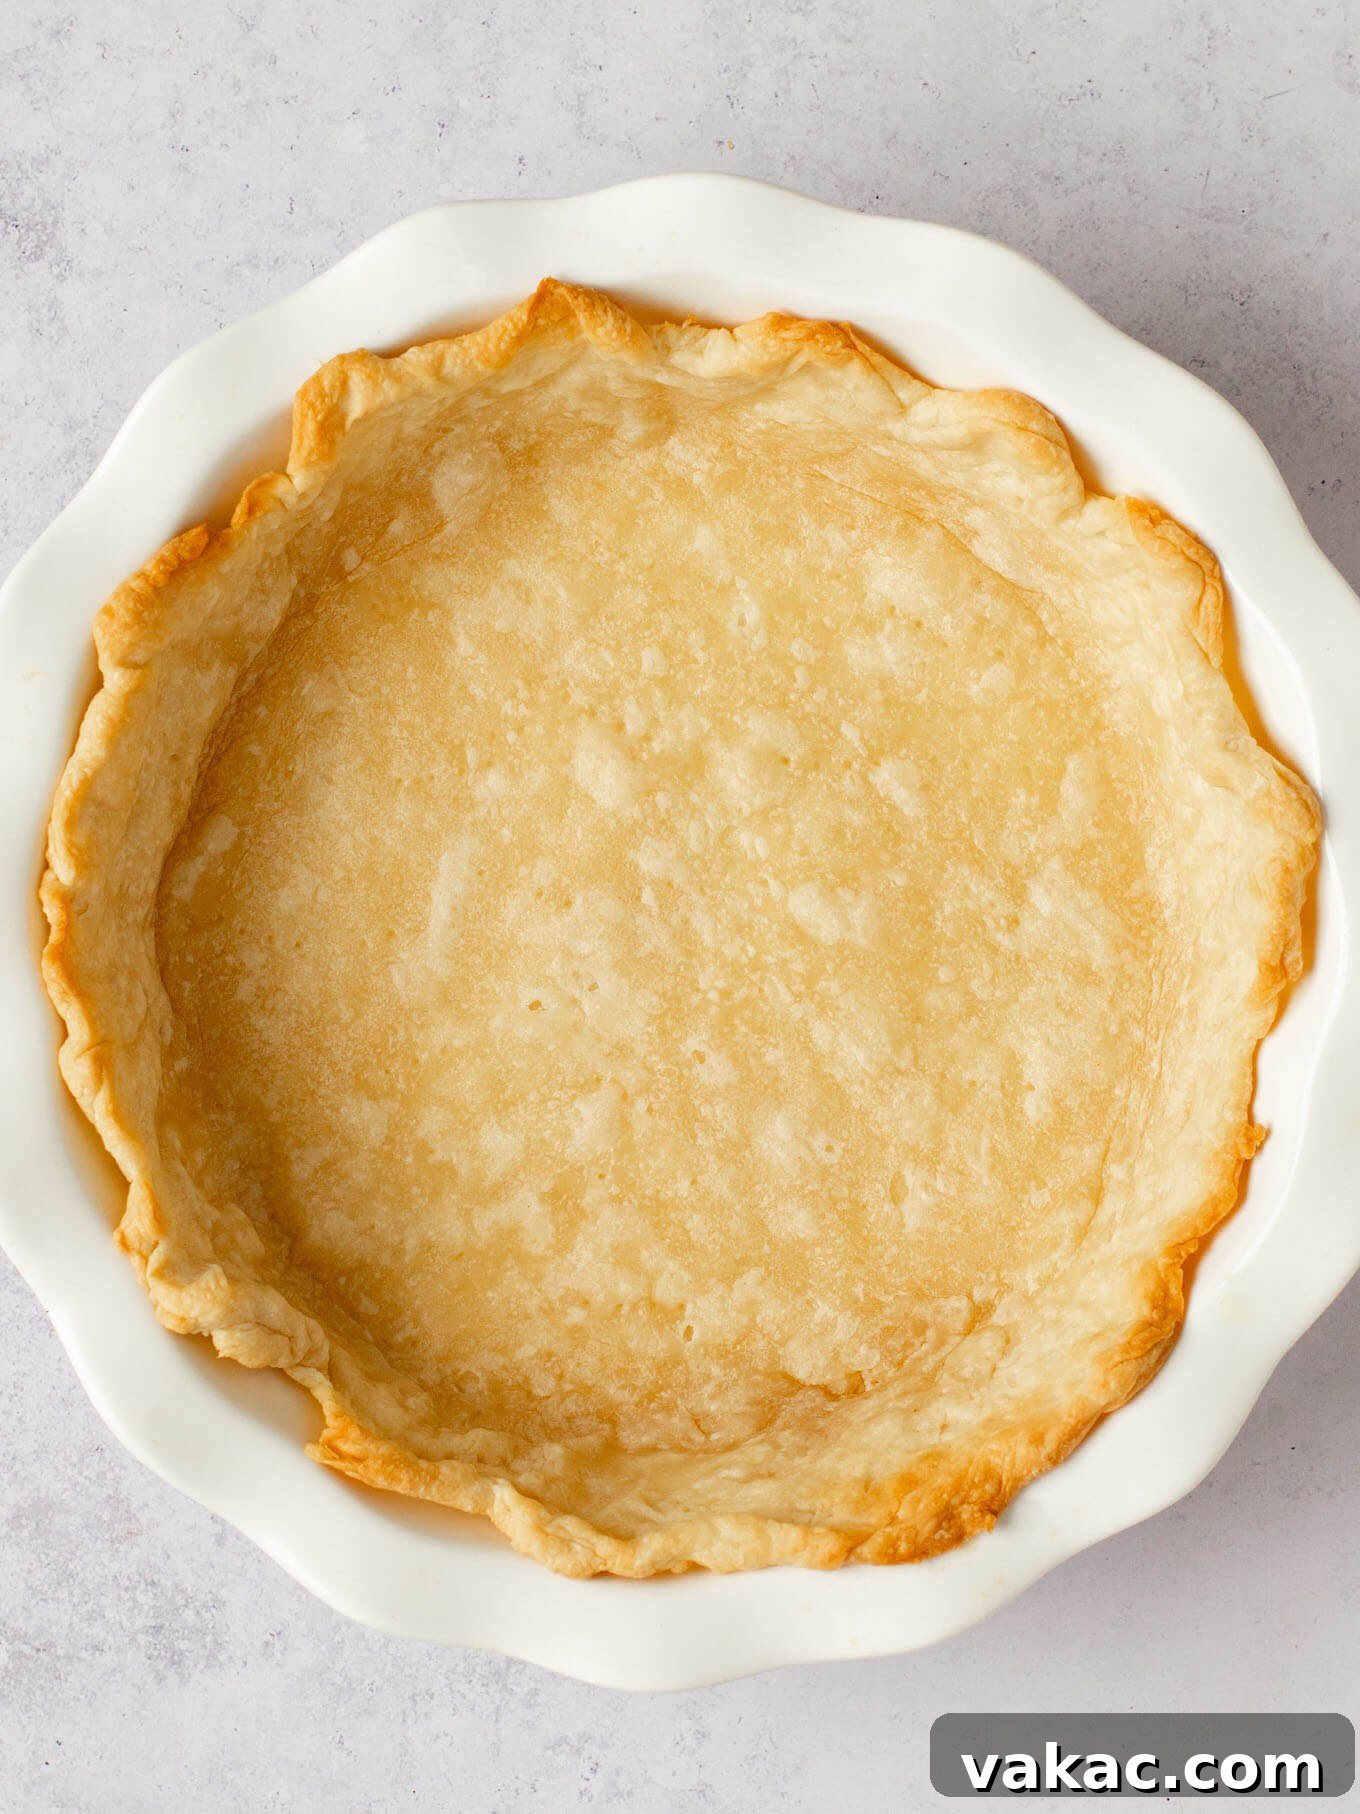
- First bake at 400°F: Preheat your oven to 400°F (204°C). Bake the weighted pie crust for 15 minutes. The edges of the crust should begin to turn a light golden brown.
- Remove pie weights: Carefully remove the pie crust from the oven. Lift the parchment paper (or foil) along with the pie weights and set them aside. Don’t be alarmed if the bottom of the crust still looks a little raw; this is perfectly normal at this stage.
- Second bake at 400°F: Return the unweighted pie crust to the oven and bake for an additional 5 minutes. This step helps the bottom of the crust cook through a bit more.
- Cool slightly: Once baked, remove the crust from the oven and allow it to cool slightly on a wire rack while you prepare the filling.
Crafting the Velvety Pumpkin Pie Filling
Once your pie crust is partially baked and cooling, it’s time to create the luscious pumpkin filling. This part is incredibly simple, requiring just a few minutes of whisking.
- Adjust oven temperature: Reduce your oven temperature to 375°F (190°C). The filling bakes best at a slightly lower temperature to prevent burning or cracking.
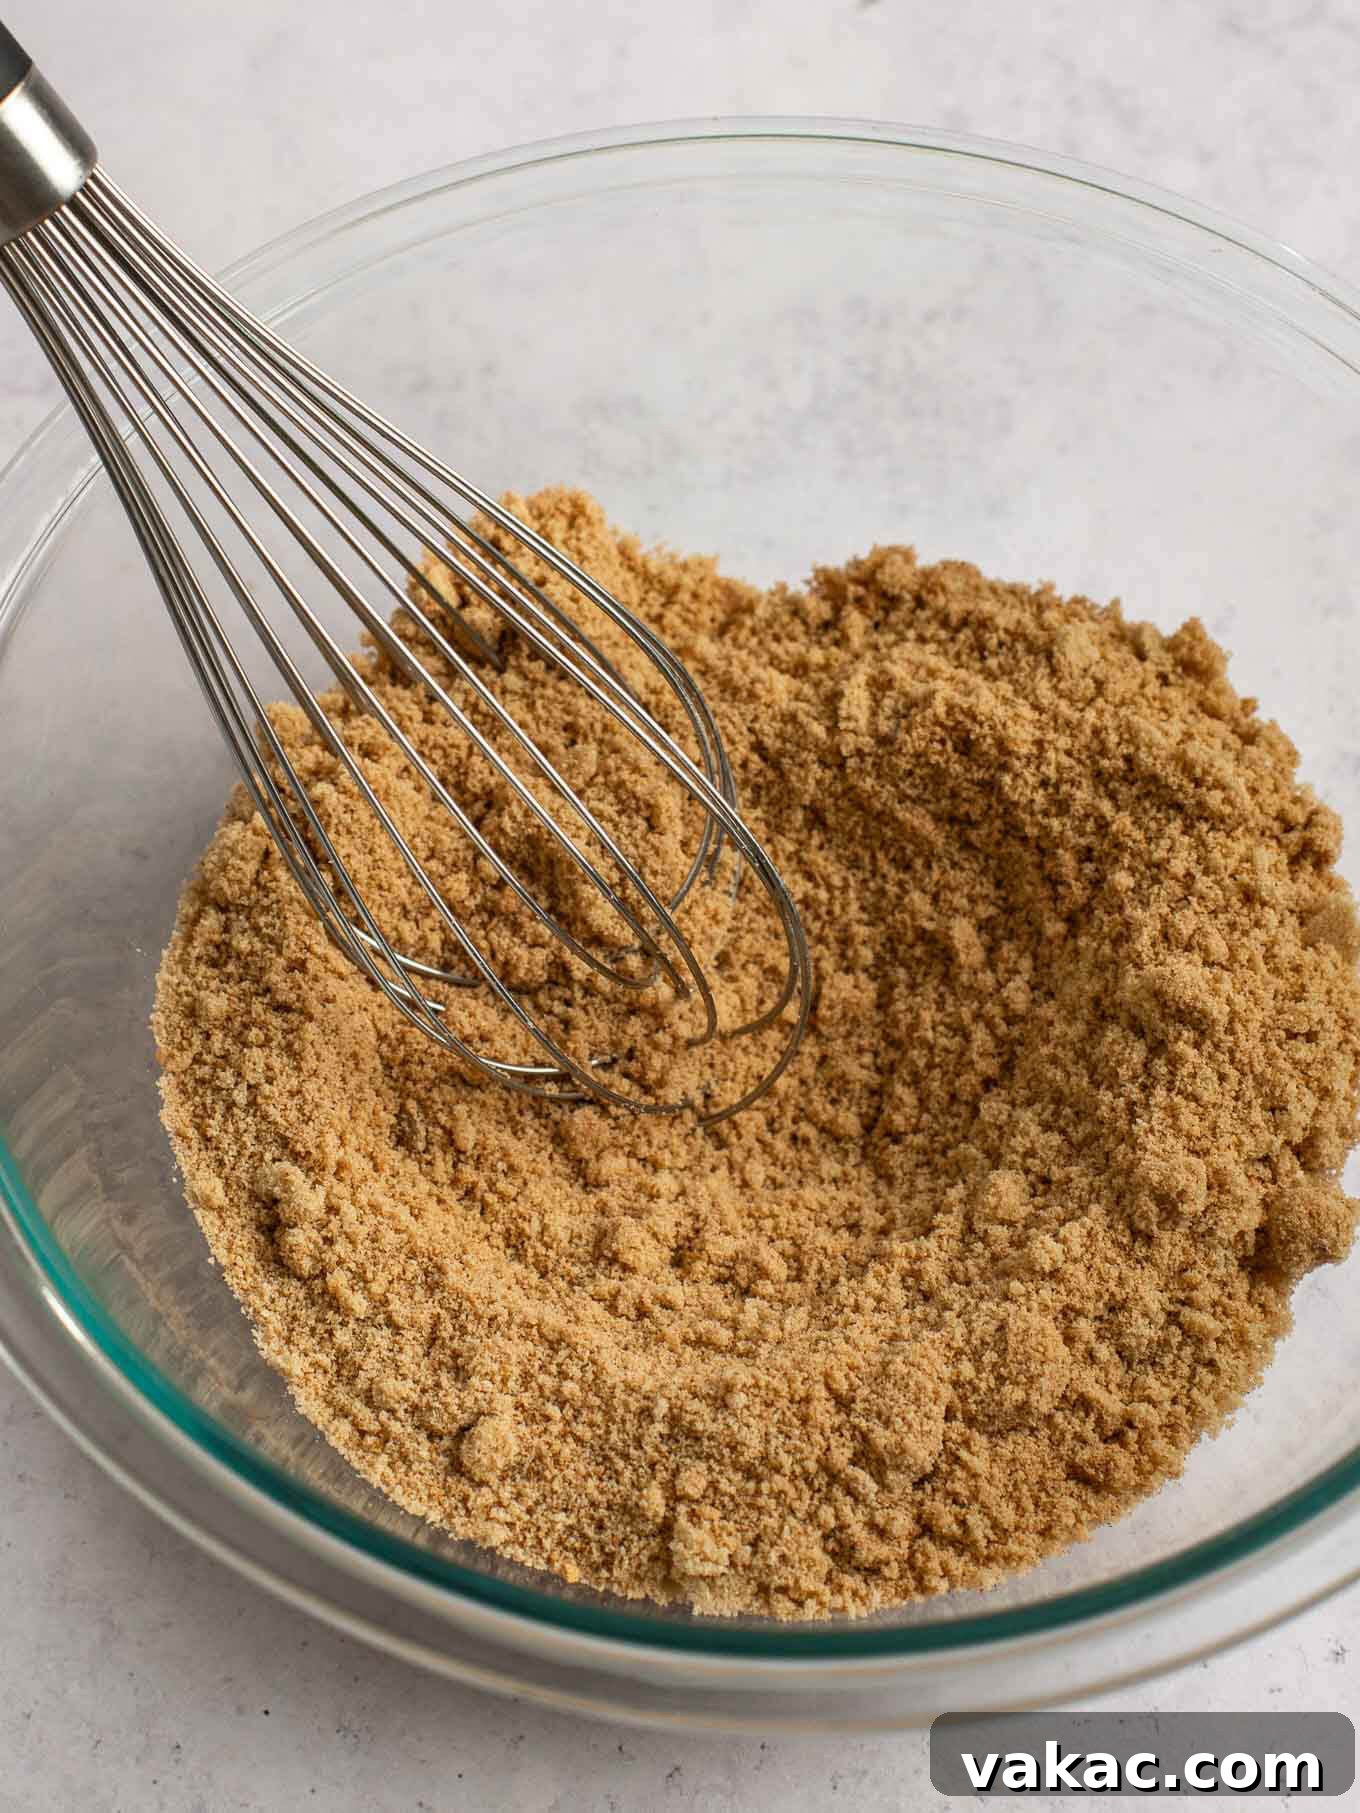
- Whisk dry ingredients: In a medium-sized bowl, combine the brown sugar, flour, salt, cinnamon, ginger, nutmeg, and cloves. Whisk them together until they are thoroughly mixed. Don’t worry if you notice a few small lumps of brown sugar; they will dissolve once combined with the wet ingredients.
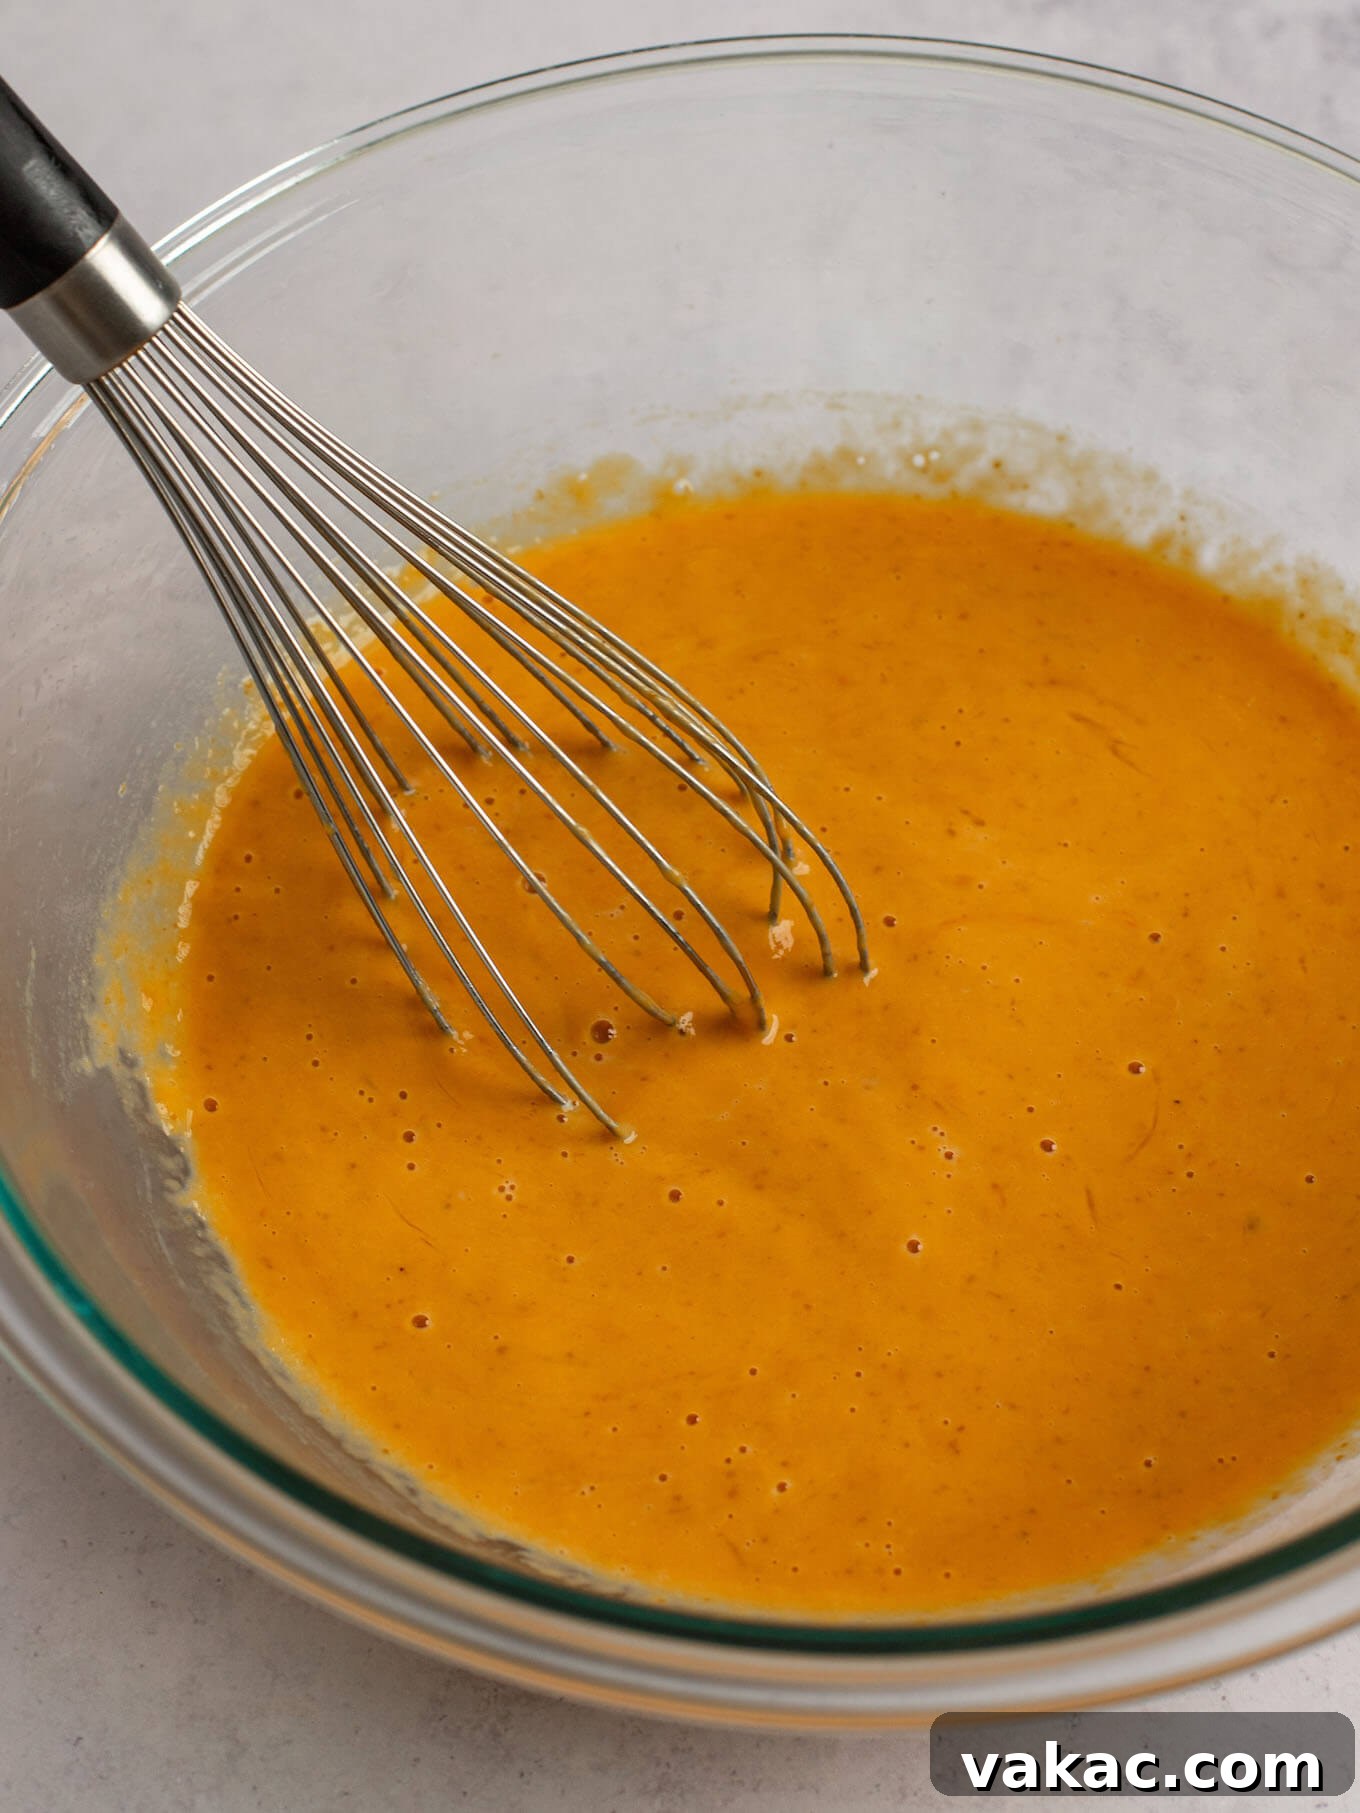
- Whisk wet ingredients: In a separate, larger mixing bowl, lightly beat the eggs. Then, whisk in the pure pumpkin puree and evaporated milk until the mixture is smooth and well combined.
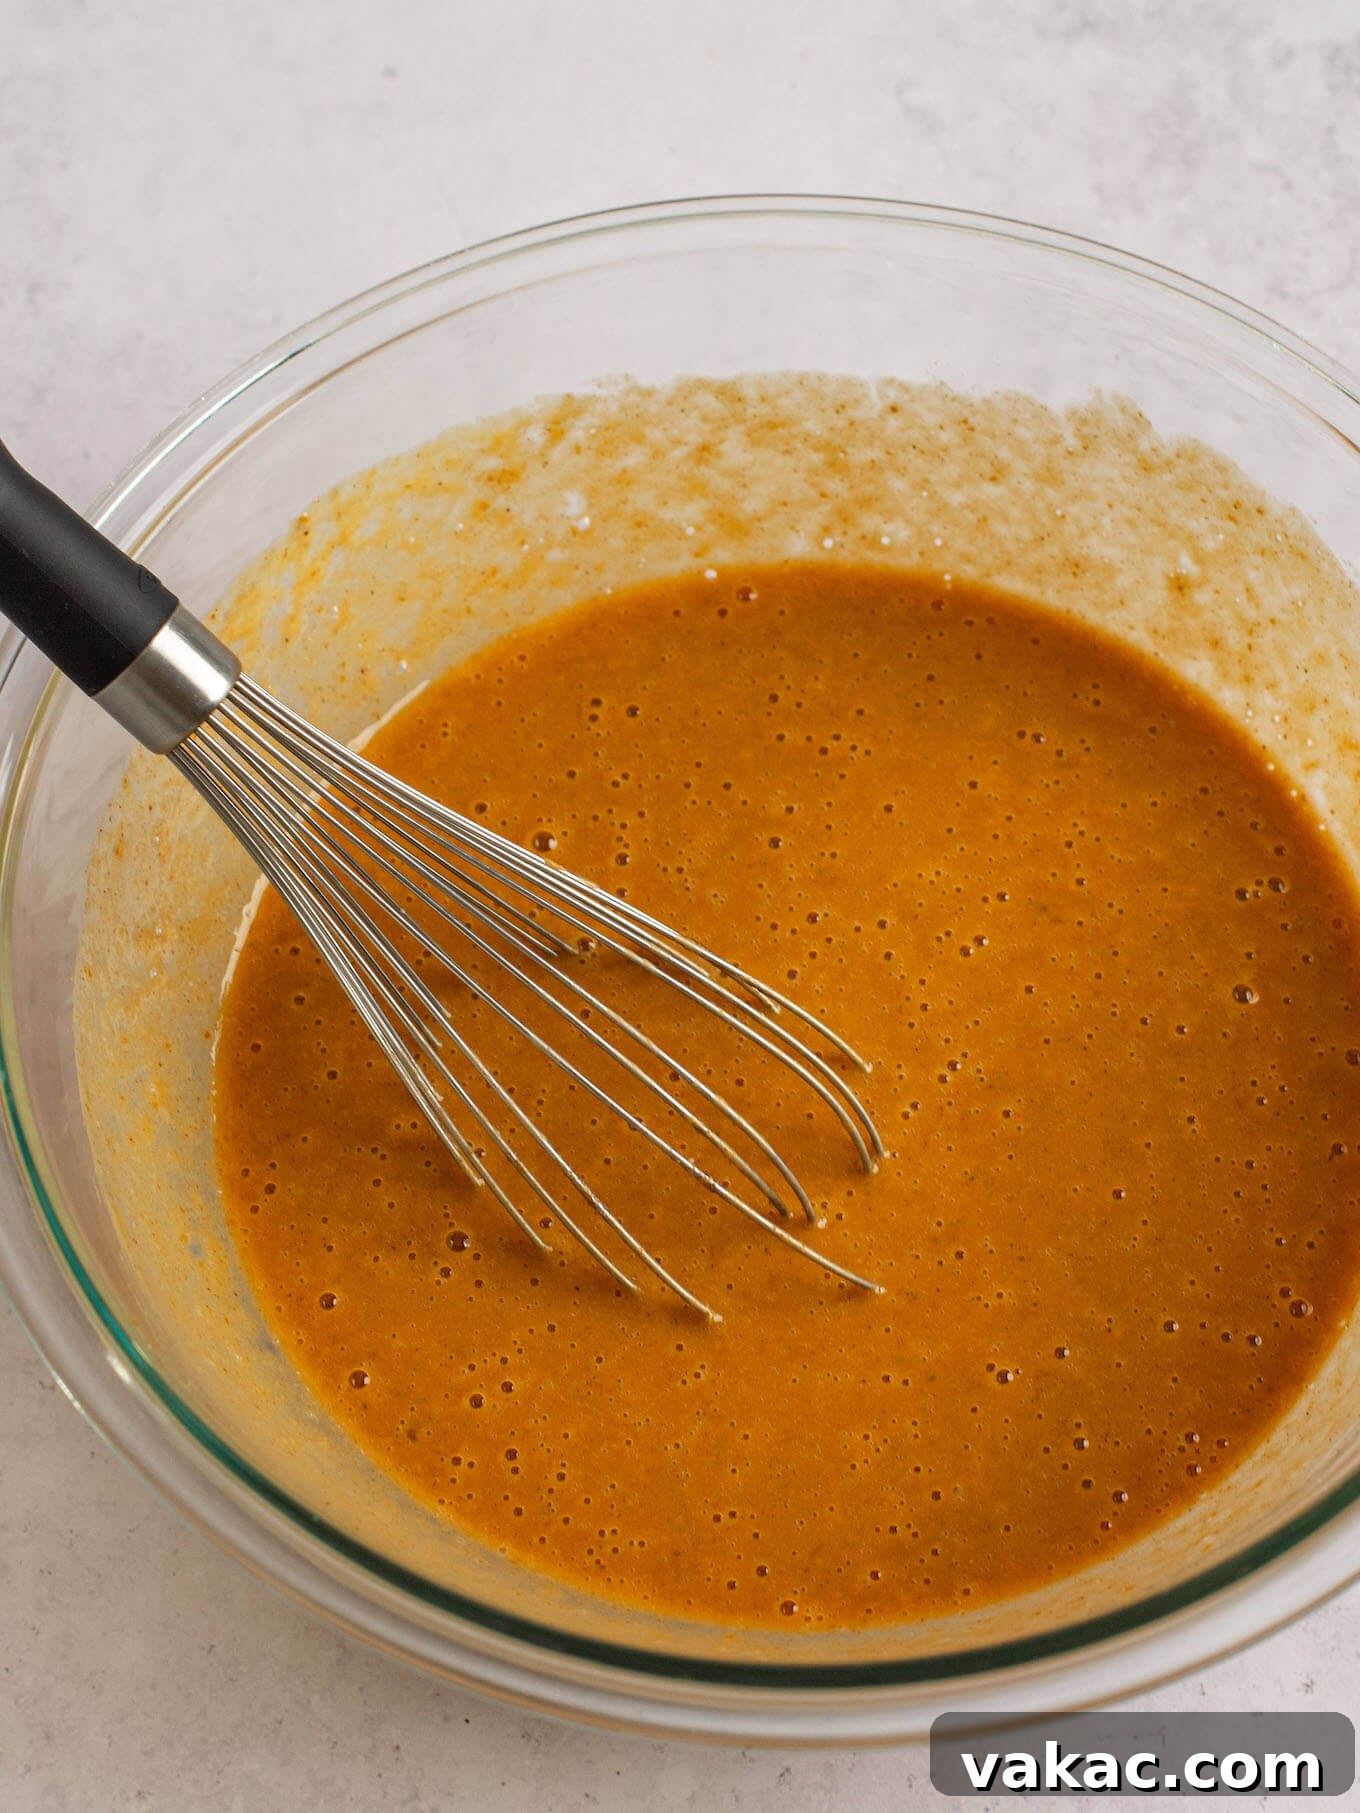
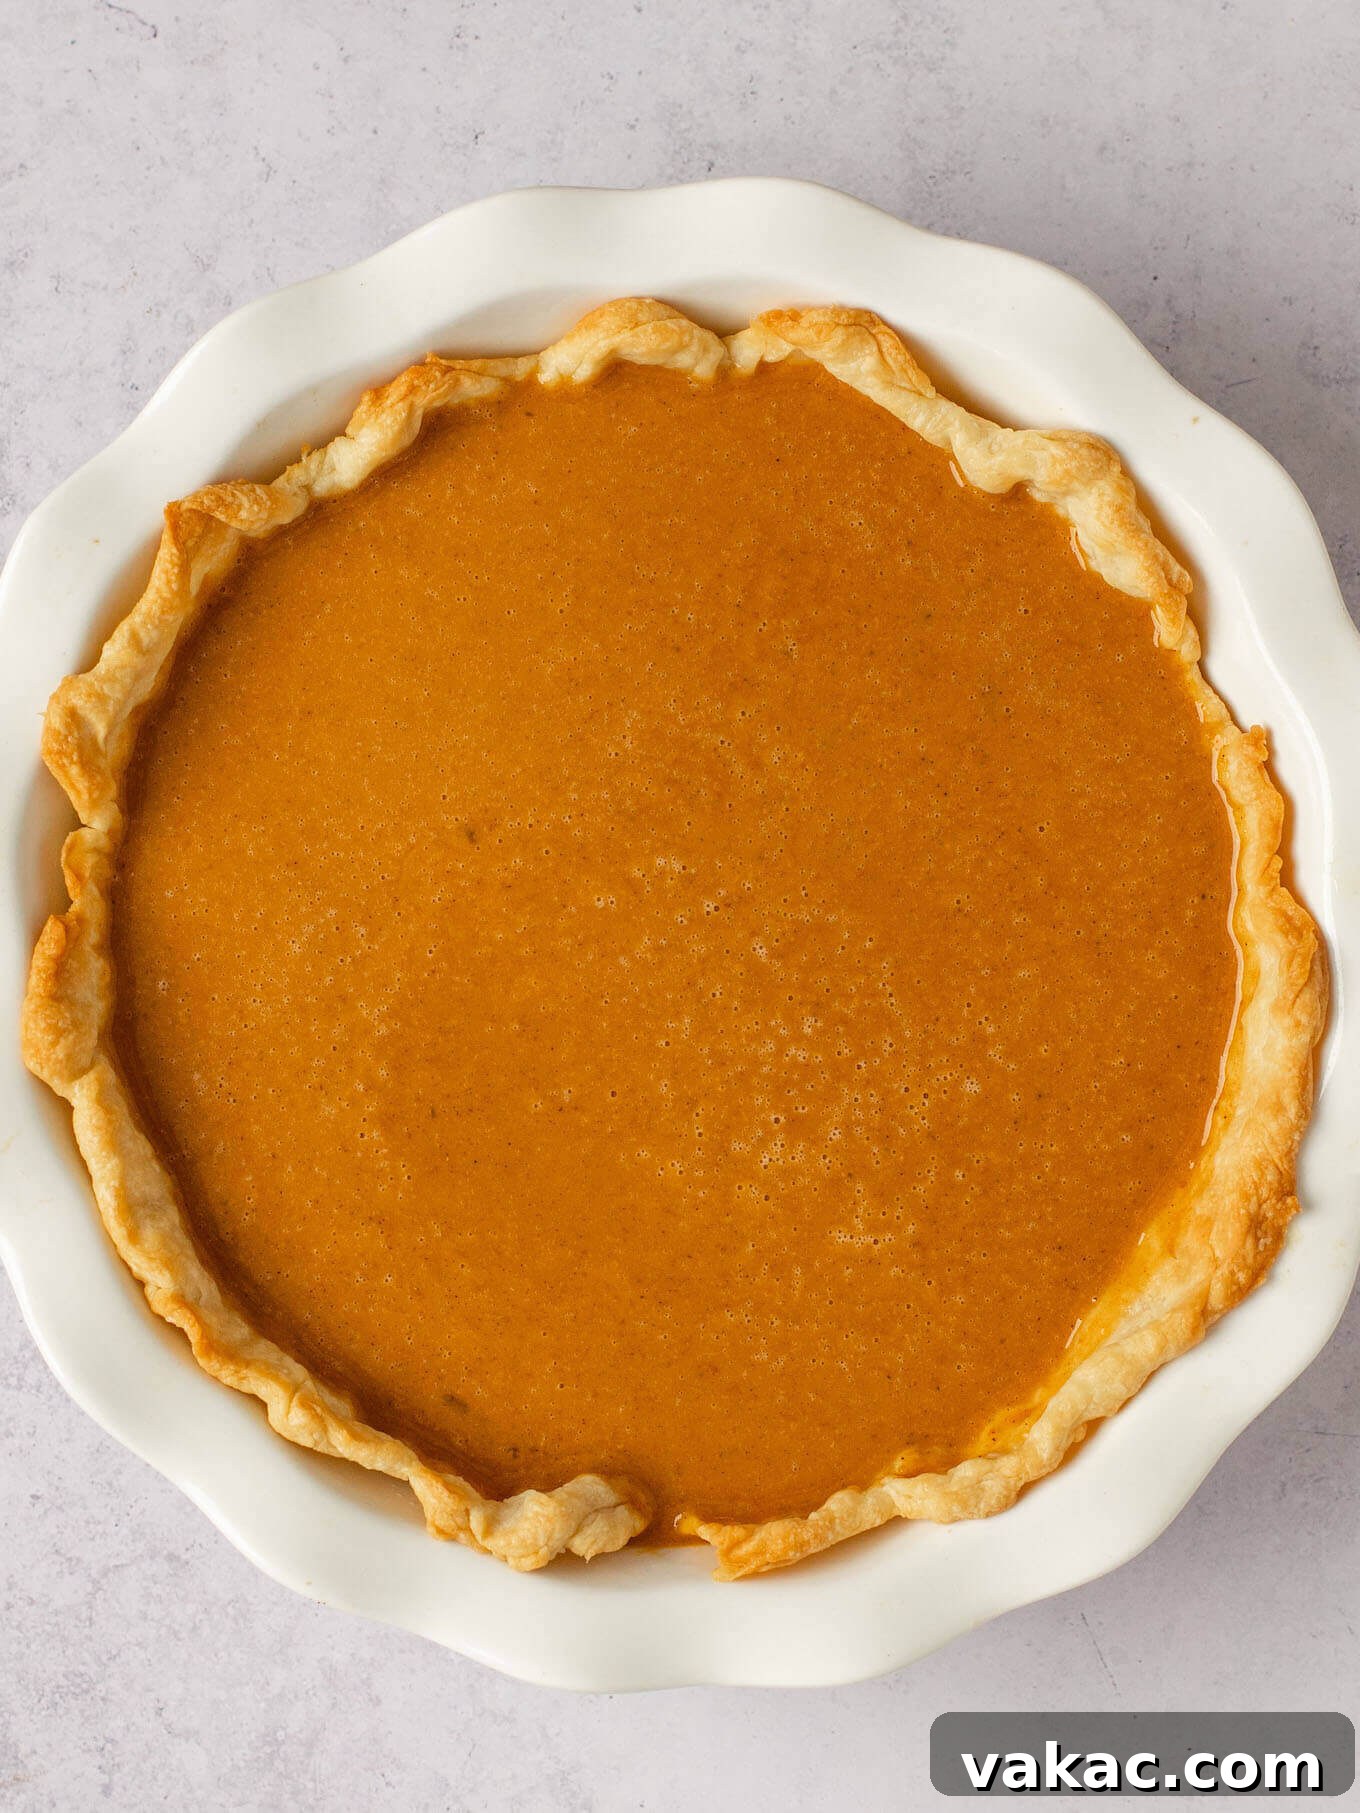
- Combine wet and dry: Pour the dry ingredient mixture into the wet ingredients. Whisk gently until just combined. Be careful not to overmix, as this can incorporate too much air, leading to cracks in your finished pie.
- Pour and bake: Carefully pour the pumpkin pie filling into your partially baked pie crust. To prevent the edges of your crust from burning during the long bake, I highly recommend using a pie crust shield. If you don’t have one, you can fashion a shield from aluminum foil to cover the edges. Bake at 375°F (190°C) for 45 to 50 minutes, or until the center is almost set but still has a slight wobble. The pie will continue to set as it cools.
- Cool and chill: Once the pie is baked, remove it from the oven and let it cool completely on a wire rack for a good two to three hours at room temperature. After it has cooled, cover it tightly with plastic wrap and transfer it to the refrigerator. Chill for several hours, or ideally, overnight, before slicing and serving. This extended chilling time allows the custard to fully set and enhances the flavors.
Frequently Asked Questions About Pumpkin Pie
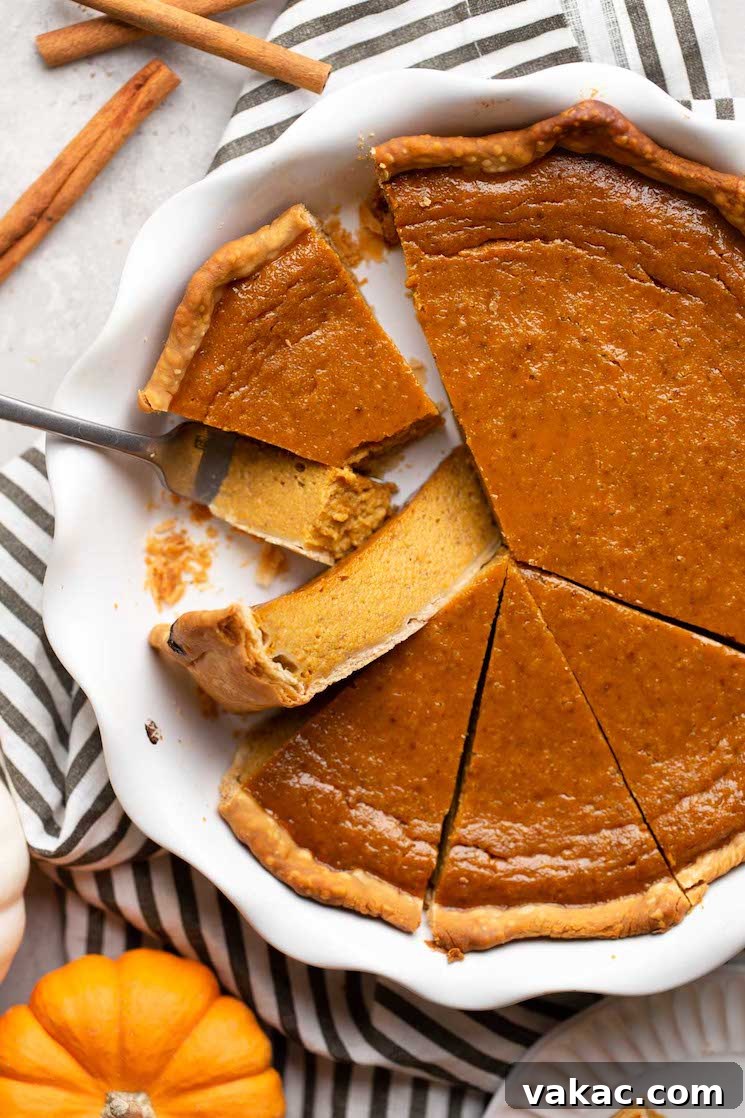
The tell-tale sign that your pumpkin pie is perfectly baked is when the outer edges of the filling appear set, while the very center still has a slight, delicate wobble. As the pie cools on the countertop and then chills in the refrigerator, the center will continue to firm up to the perfect custard consistency. Typically, this takes about 45 to 50 minutes at 375°F (190°C).
Yes, absolutely. Since pumpkin pie is a custard-based dessert containing eggs and milk, it is perishable and requires refrigeration to ensure food safety and maintain its quality. While it can safely sit at room temperature for 1 to 2 hours, it should be covered tightly and transferred to the fridge for longer storage.
When properly covered and stored in the refrigerator, your homemade pumpkin pie will remain fresh and delicious for up to 4 days. After this period, its quality may diminish, and it’s best consumed within the recommended timeframe.
If you find yourself without evaporated milk, don’t fret! You can substitute it with an equal amount of half-and-half. While the texture might be slightly less rich than with evaporated milk, half-and-half will still provide a creamy base for your pie filling.
Yes, you certainly can! If you prefer the convenience of pre-mixed spices, you can replace the individual cinnamon, ginger, nutmeg, and cloves in this recipe with 2 to 2 ½ teaspoons of a good quality pumpkin pie spice blend. Adjust to your taste preferences.
Top Baking Tips for a Flawless Pumpkin Pie
- Crust Choice: This recipe works beautifully with both homemade and store-bought pie crusts. If you opt for my homemade pie crust recipe, it typically yields two crusts. You can easily freeze the second half for future use, or get creative by cutting out decorative leaves or shapes to adorn the top of your pie before baking.
- Preventing Burnt Edges: To protect the delicate edges of your pie crust from over-browning or burning, it’s wise to use a pie crust shield. I recommend placing it on the pie after the initial blind bake and after you’ve poured in the filling, so you don’t need to open the oven door during the main baking process. If you don’t have a shield, aluminum foil crimped around the edges works just as well.
- Gentle Mixing for Filling: Avoid overmixing your pumpkin pie filling. Excessive mixing can incorporate too much air, which may cause the pie to crack on the surface as it bakes and cools. Mix only until the ingredients are just combined and smooth.
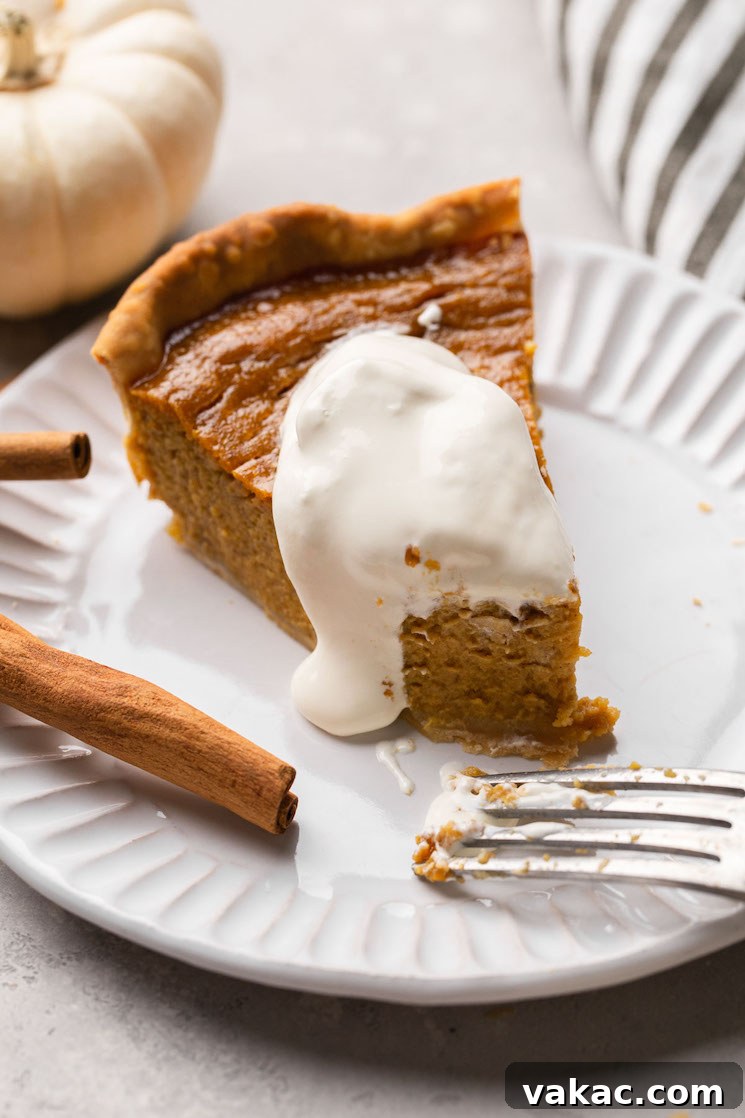
- Don’t Overbake: Overbaking is a common culprit for cracked pumpkin pies. Keep a close eye on your pie as it bakes. It’s better to remove it from the oven when the center still has a slight wobble. The residual heat will continue to cook the custard as it cools, resulting in a perfectly set and smooth pie.
- Freezing for Future Enjoyment: This pumpkin pie freezes exceptionally well for up to 3 months. Once the pie has cooled completely, wrap it tightly with several layers of plastic wrap, then place it in a large freezer bag or wrap it in aluminum foil. To thaw, simply transfer the frozen pie to the refrigerator overnight.
More Delicious Pumpkin Desserts to Explore!
- Pumpkin Cheesecake
- Pumpkin Cake with Cream Cheese Frosting
- Classic Pumpkin Bread
- Pumpkin Cupcakes
- Mini Pumpkin Pies
Watch How It’s Made: Video Tutorial
Pumpkin Pie Recipe Card
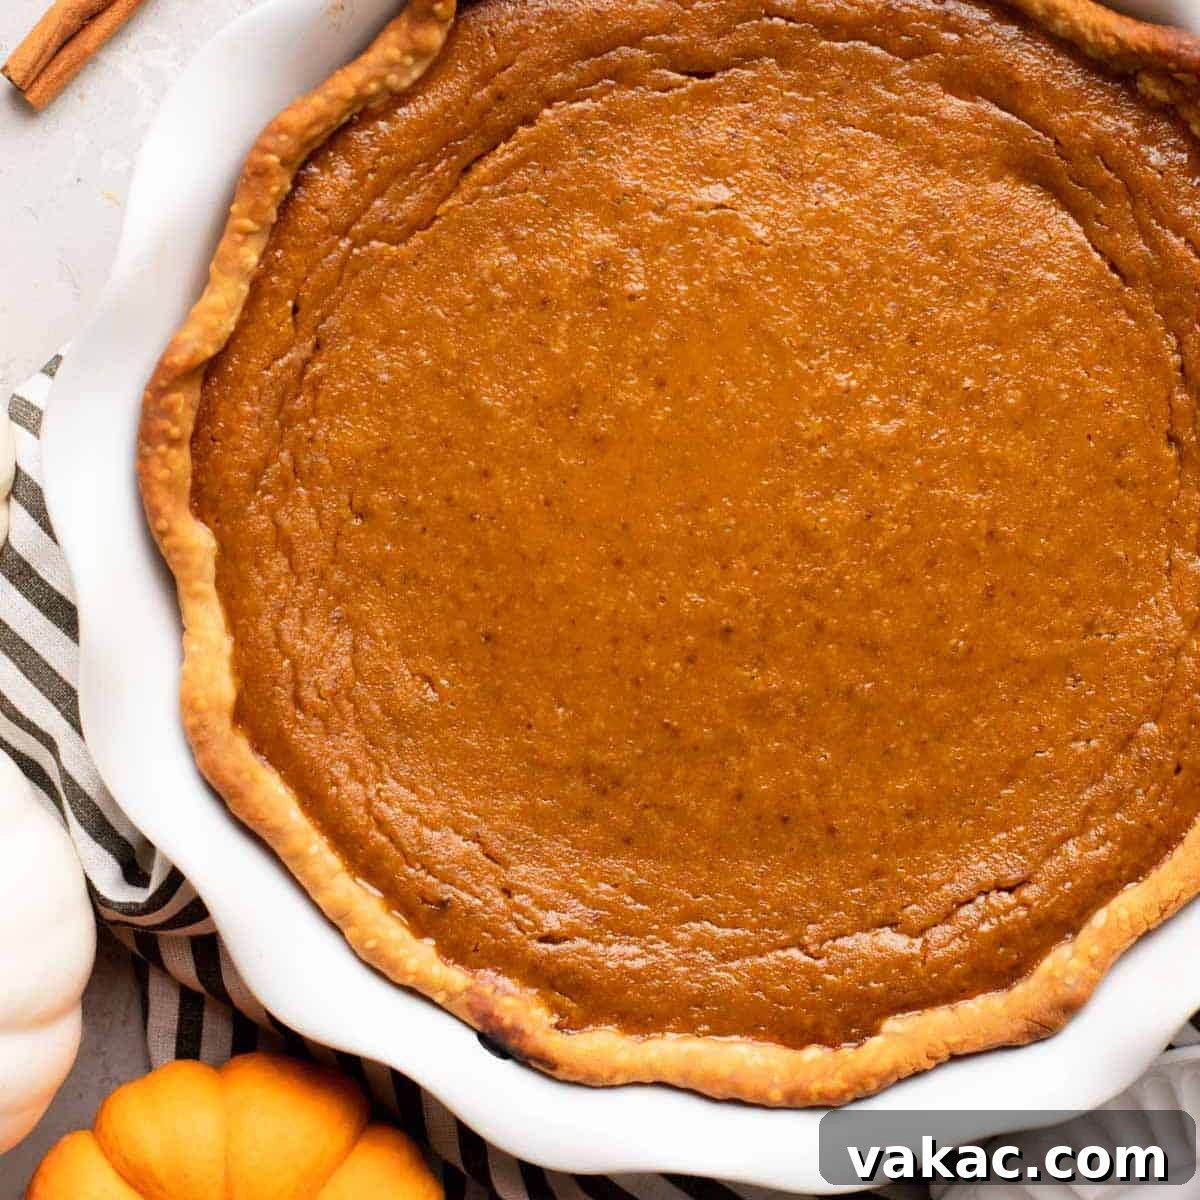
This easy pumpkin pie recipe is made completely from scratch and is a great make-ahead dessert for the holidays!
Rating: 4.93 out of 5 stars (based on 38 ratings)
Prep Time: 30 mins
Cook Time: 1 hr 5 mins
Total Time: 1 hr 35 mins (excluding cooling and chilling)
Servings: 8 slices
Ingredients
Pie Crust:
- 1 store-bought or homemade pie crust
Pumpkin Pie Filling:
- 1 cup light brown sugar (200 grams)
- 1 tablespoon all-purpose flour (8 grams)
- ½ teaspoon salt
- 1 teaspoon ground cinnamon
- 1 teaspoon ground ginger
- ½ teaspoon ground nutmeg
- ⅛ teaspoon ground cloves
- 3 large eggs at room temperature
- 1 (15-ounce can) pumpkin puree (425 grams)
- 1 ¼ cups evaporated milk (300 ml)
Instructions
- To prepare the pie crust: Preheat your oven to 400°F (204°C).
- Roll the dough out to 12-inches in diameter. Carefully transfer the dough to a 9-inch pie plate (ensuring it’s at least 1 ½ inches deep), gently fit it into the plate, trim any excess dough, and decorate the edges as desired. Transfer to the refrigerator to chill for 15 to 20 minutes while the oven preheats.
- Prick the bottom of the chilled pie crust with a fork. Line the pie dough with parchment paper or foil, ensuring it snugly covers the bottom and extends up the sides. Fill with pie weights (dried beans or dry rice also work well).
- Bake the weighted pie crust at 400°F (204°C) for 15 minutes. Remove from the oven and carefully lift out the parchment paper (or foil) and pie weights. Return the pie crust to the oven and bake for an additional 5 minutes. Remove from the oven and set aside to cool slightly.
- To prepare the filling: Reduce the oven temperature to 375°F (190°C). In a large mixing bowl, whisk together the brown sugar, flour, salt, cinnamon, ginger, nutmeg, and cloves until well combined.
- In a separate mixing bowl, lightly beat the eggs. Whisk in the pumpkin puree and evaporated milk until the mixture is smooth and fully combined.
- Pour the dry ingredients into the wet ingredients and mix together gently until just combined. Avoid overmixing.
- Pour the pumpkin pie filling into the partially baked pie crust. Return to the oven and bake at 375°F (190°C) for 45 to 50 minutes, or until the center is almost set and has a slight wobble. Cover the edges of the pie crust with a pie crust shield or foil as needed to prevent them from over-browning.
- Remove from the oven and transfer to a wire rack for 2 to 3 hours to cool completely at room temperature. Once cool, cover tightly and refrigerate for several hours or, ideally, overnight before slicing and serving.
Notes
- Storage Instructions: Once the pie has cooled completely, cover it tightly with plastic wrap and store in the refrigerator for up to 4 days.
- Spice Substitution: If you prefer to use a pre-made blend, you may replace the individual spices in this recipe with 2 to 2 ½ teaspoons of pumpkin pie spice.
- Advance Preparation: The pie crust can be made 2 to 3 days in advance; wrap tightly and refrigerate until ready to use. The pumpkin pie filling may also be prepared up to one day in advance, covered tightly, and refrigerated until you’re ready to pour it into the crust and bake.
Cuisine: American
Course: Dessert
Author: Danielle Rye
We hope you enjoy baking and sharing this delightful homemade pumpkin pie. Don’t forget to mention @livewellbakeoften on Instagram or tag #livewellbakeoften when you make this recipe!
Pumpkin pie filling slightly adapted from King Arthur Flour.