
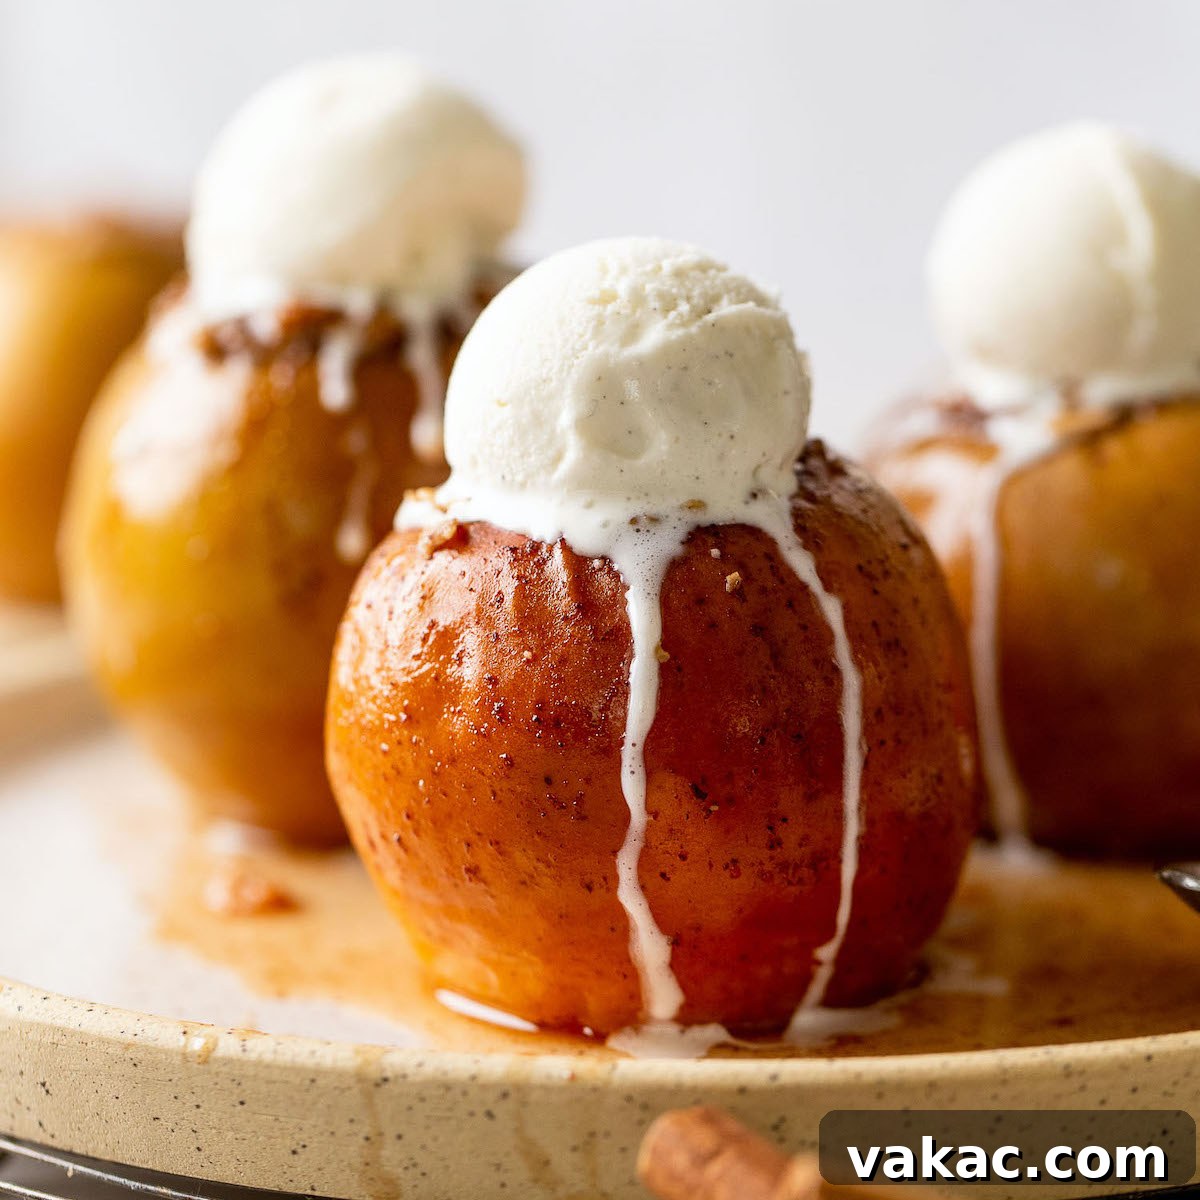
Indulge in Autumn’s Best: Easy Cinnamon-Sugar Stuffed Baked Apples
As the crisp air of autumn arrives and leaves turn golden, there’s a unique call for comforting, heartwarming desserts that celebrate the season’s bounty. While classic apple pies and crumbles hold a special place in our hearts, sometimes the purest flavor of a fresh fall apple deserves to shine without competition. Enter the humble yet utterly impressive stuffed baked apple – a dessert that captures the essence of autumn in every warm, tender bite. Far from complicated, these whole baked apples are generously filled with a delightful cinnamon-sugar oat mixture, transforming simple fruit into an extraordinary treat. Perfect for any occasion, from a cozy family dinner to an elegant gathering, this recipe promises ease, spectacular presentation, and an unforgettable taste experience.
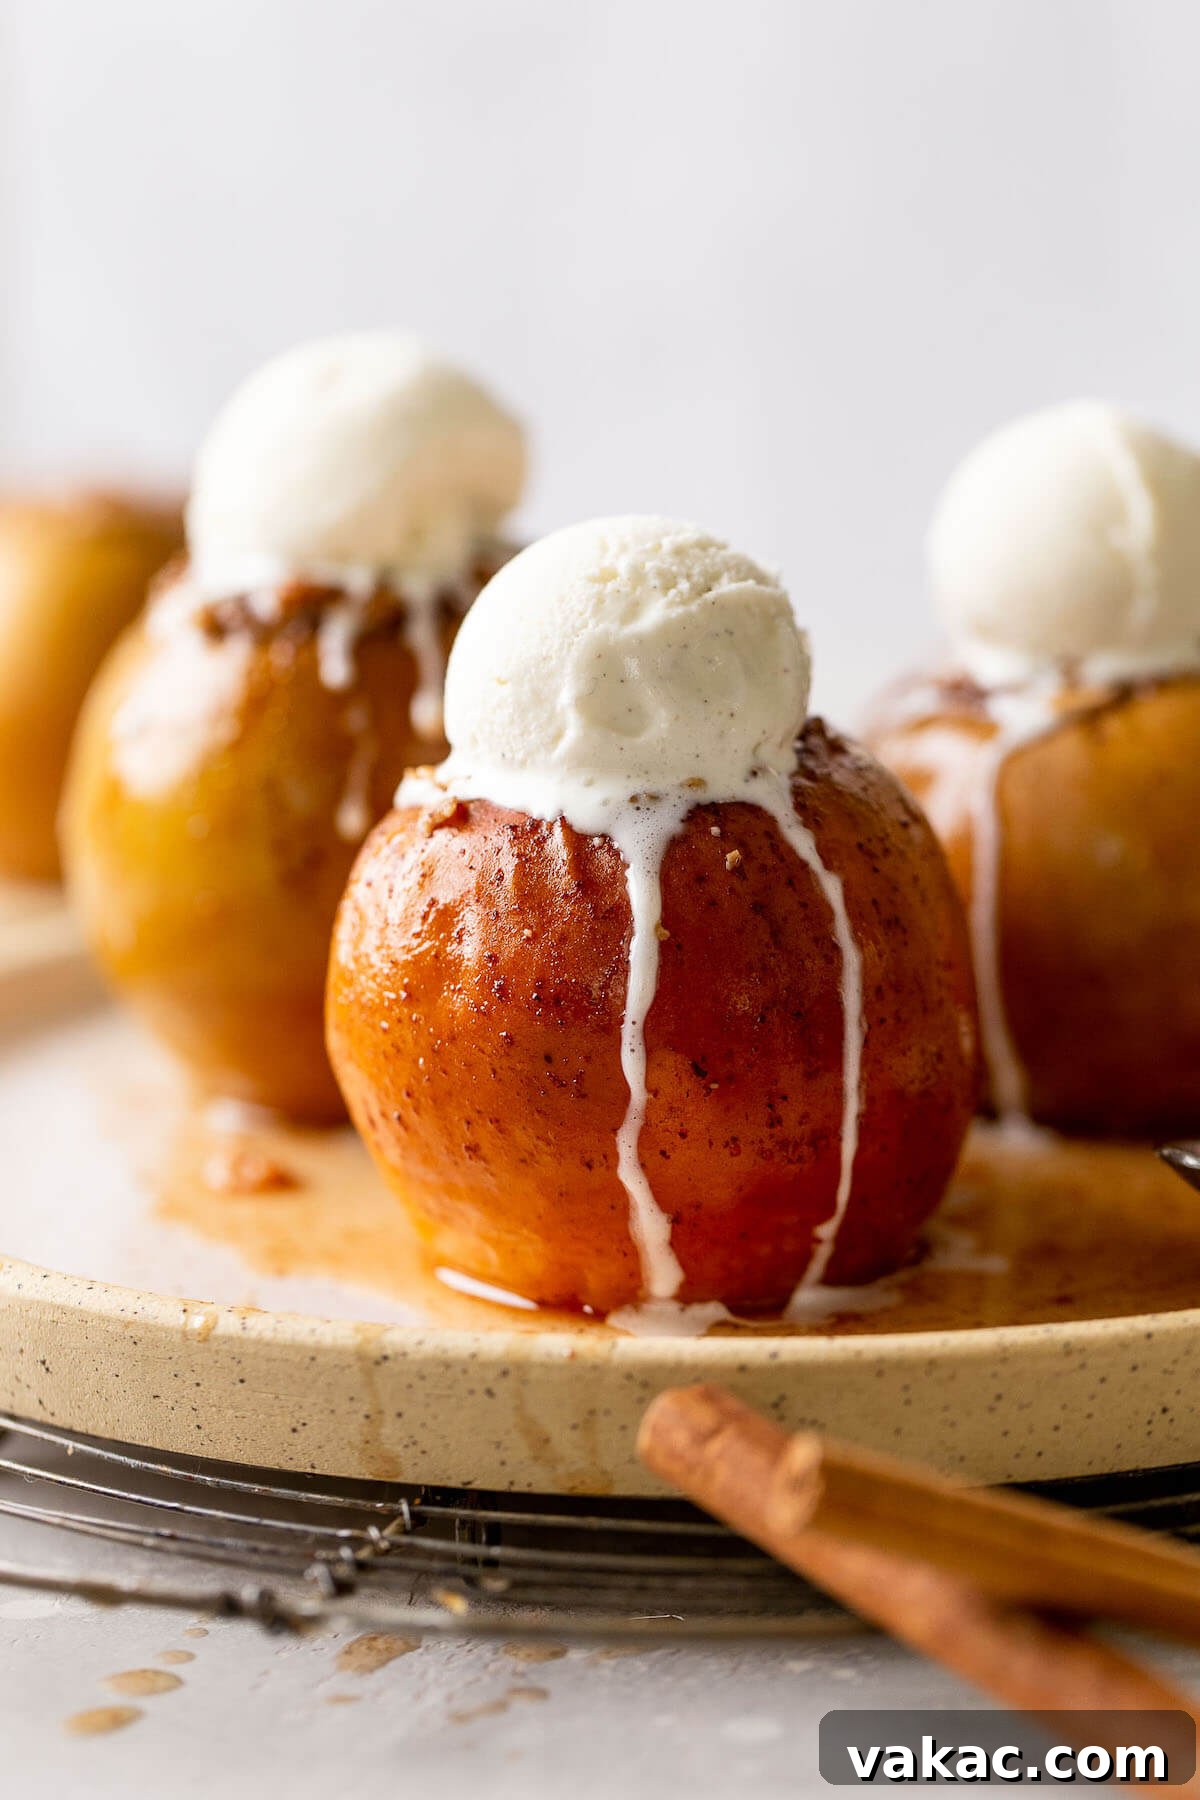
Unlike more elaborate apple desserts, our stuffed baked apples focus on enhancing the natural sweetness and texture of the fruit itself. The gentle baking process softens the apple to perfection, while the spiced oat filling creates a delightful contrast of textures and flavors. It’s a harmonious blend that allows the vibrant taste of fresh apples to remain the star of the show. Whether you’re a seasoned baker or just starting your culinary journey, this recipe for oven-baked apples is designed for simplicity, allowing you to create a show-stopping dessert with minimal fuss. Prepare to delight your senses and impress your guests with this fall favorite, embracing the pure, unadulterated charm of baked apples.
Essential Ingredients for Your Stuffed Baked Apples
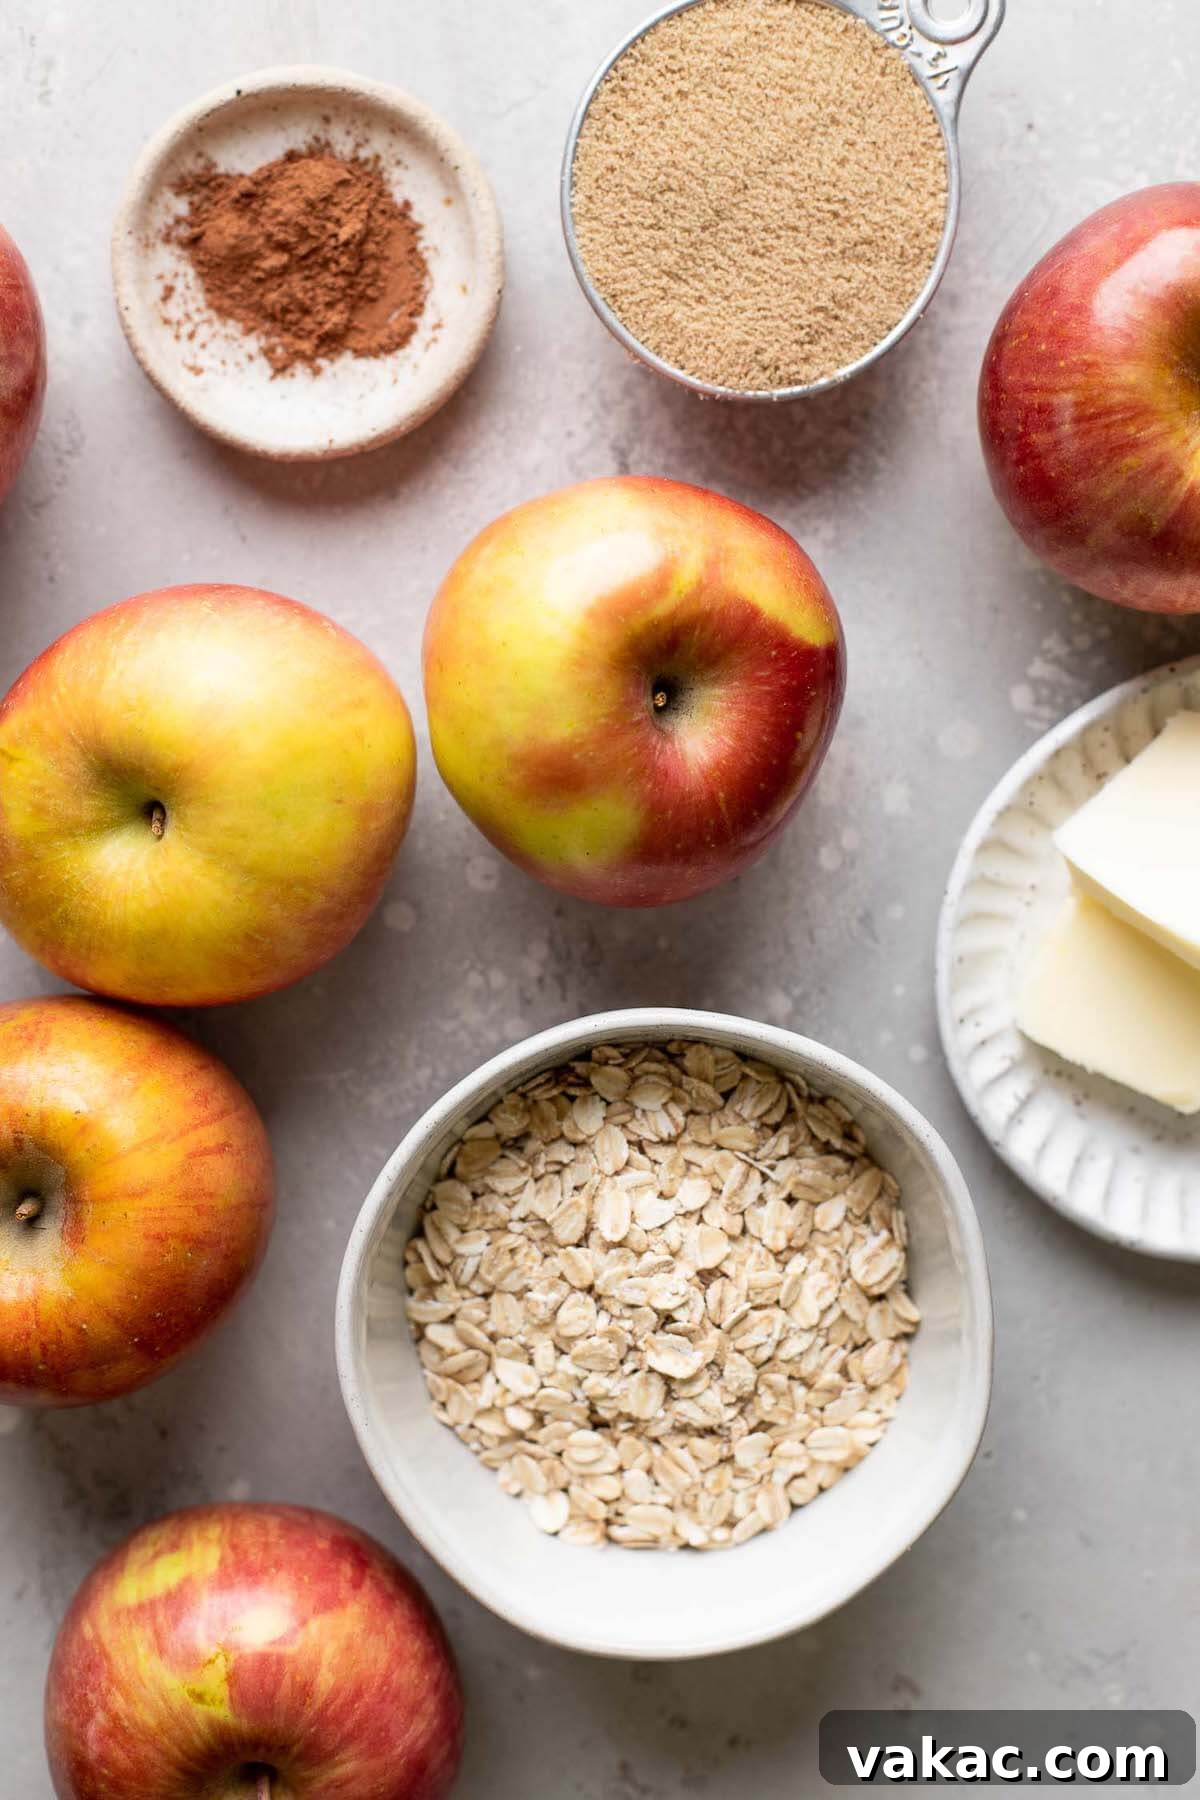
One of the most appealing aspects of this baked apple recipe is its remarkably short and straightforward ingredient list. You likely have many of these staples in your pantry already, making this a convenient choice for a spontaneous dessert craving or last-minute entertaining. Here’s a closer look at what you’ll need to create these delectable stuffed apples, along with some insights into why each ingredient plays a vital role:
- Apples: The Heart of the Dessert
Selecting the right apples is crucial for the perfect baked result. I highly recommend using medium-sized apples, ideally weighing around 5 to 6 ounces each. This ensures a balanced ratio of the luscious oat filling to the tender apple flesh, preventing either from overpowering the other. Apples that hold their shape well during baking and offer a pleasant balance of sweetness and tartness are ideal. If you opt for larger apples, you might need to adjust the amount of filling, potentially making a bit more to adequately stuff fewer apples, perhaps 4 large ones instead of 6 medium. We’ll discuss specific varieties further down. - Unsalted Butter: The Foundation of Flavor
Butter plays a dual role in this recipe: it enriches the oat filling, binding it together and adding a luxurious mouthfeel, and it forms the base of the sweet cooking sauce. I always advocate for unsalted butter in baking. This gives you complete control over the total sodium content of your dish, as the salt levels in various brands of salted butter can differ significantly. Using unsalted butter ensures your baked apples will have perfectly balanced sweetness without an unexpected salty note. - Old-Fashioned Rolled Oats: The Perfect Texture
For the stuffing, old-fashioned rolled oats are my preference. Their robust texture holds up beautifully during baking, contributing a satisfying chewiness to the filling that contrasts wonderfully with the soft apple. The oats also absorb some of the apple’s juices, becoming plump and flavorful. However, if instant oats are what you have on hand, they will work perfectly well too! Just be aware that instant oats might yield a slightly softer, less toothsome filling. - Brown Sugar: Deep Sweetness and Caramel Notes
Both the oat filling and the flavorful cooking sauce benefit from the rich sweetness of brown sugar. Beyond just sweetness, brown sugar introduces wonderful molasses undertones, imparting a subtle caramel-like depth that complements the apples and cinnamon exquisitely. This creates a more complex flavor profile than white sugar alone. No brown sugar? No problem! You can easily whip up your own at home with just two ingredients: granulated sugar and molasses. - Ground Cinnamon: The Signature Spice of Fall
Cinnamon is the quintessential spice for apple desserts, and it takes center stage here. We use it generously – ¾ teaspoon in the oat filling to infuse every bite with warmth, and another full teaspoon in the sauce to create an aromatic, spiced liquid that permeates the apples as they bake. The comforting aroma of cinnamon wafting from your oven is a true sign of autumn. Feel free to adjust the amount of cinnamon to your personal taste; a little more can intensify the fall flavors, while a little less will allow the apple’s natural sweetness to shine through even more.
Effortless Preparation: How to Make Stuffed Baked Apples
One of the true joys of this recipe is how straightforward the preparation is. Forget about tedious peeling; these apples are baked whole, skins and all, which softens beautifully in the oven and adds a rustic charm. The minimal prep work ensures you can bring this impressive dessert to life without spending hours in the kitchen. Here’s a detailed overview of the simple steps involved, designed for ease and delicious results:
- Preheat Your Oven: Begin by preheating your oven to a moderate 350°F (180°C). This ensures your apples start baking immediately at the correct temperature for even cooking, which is crucial for achieving tender results.
- Prepare the Apples: Core with Care
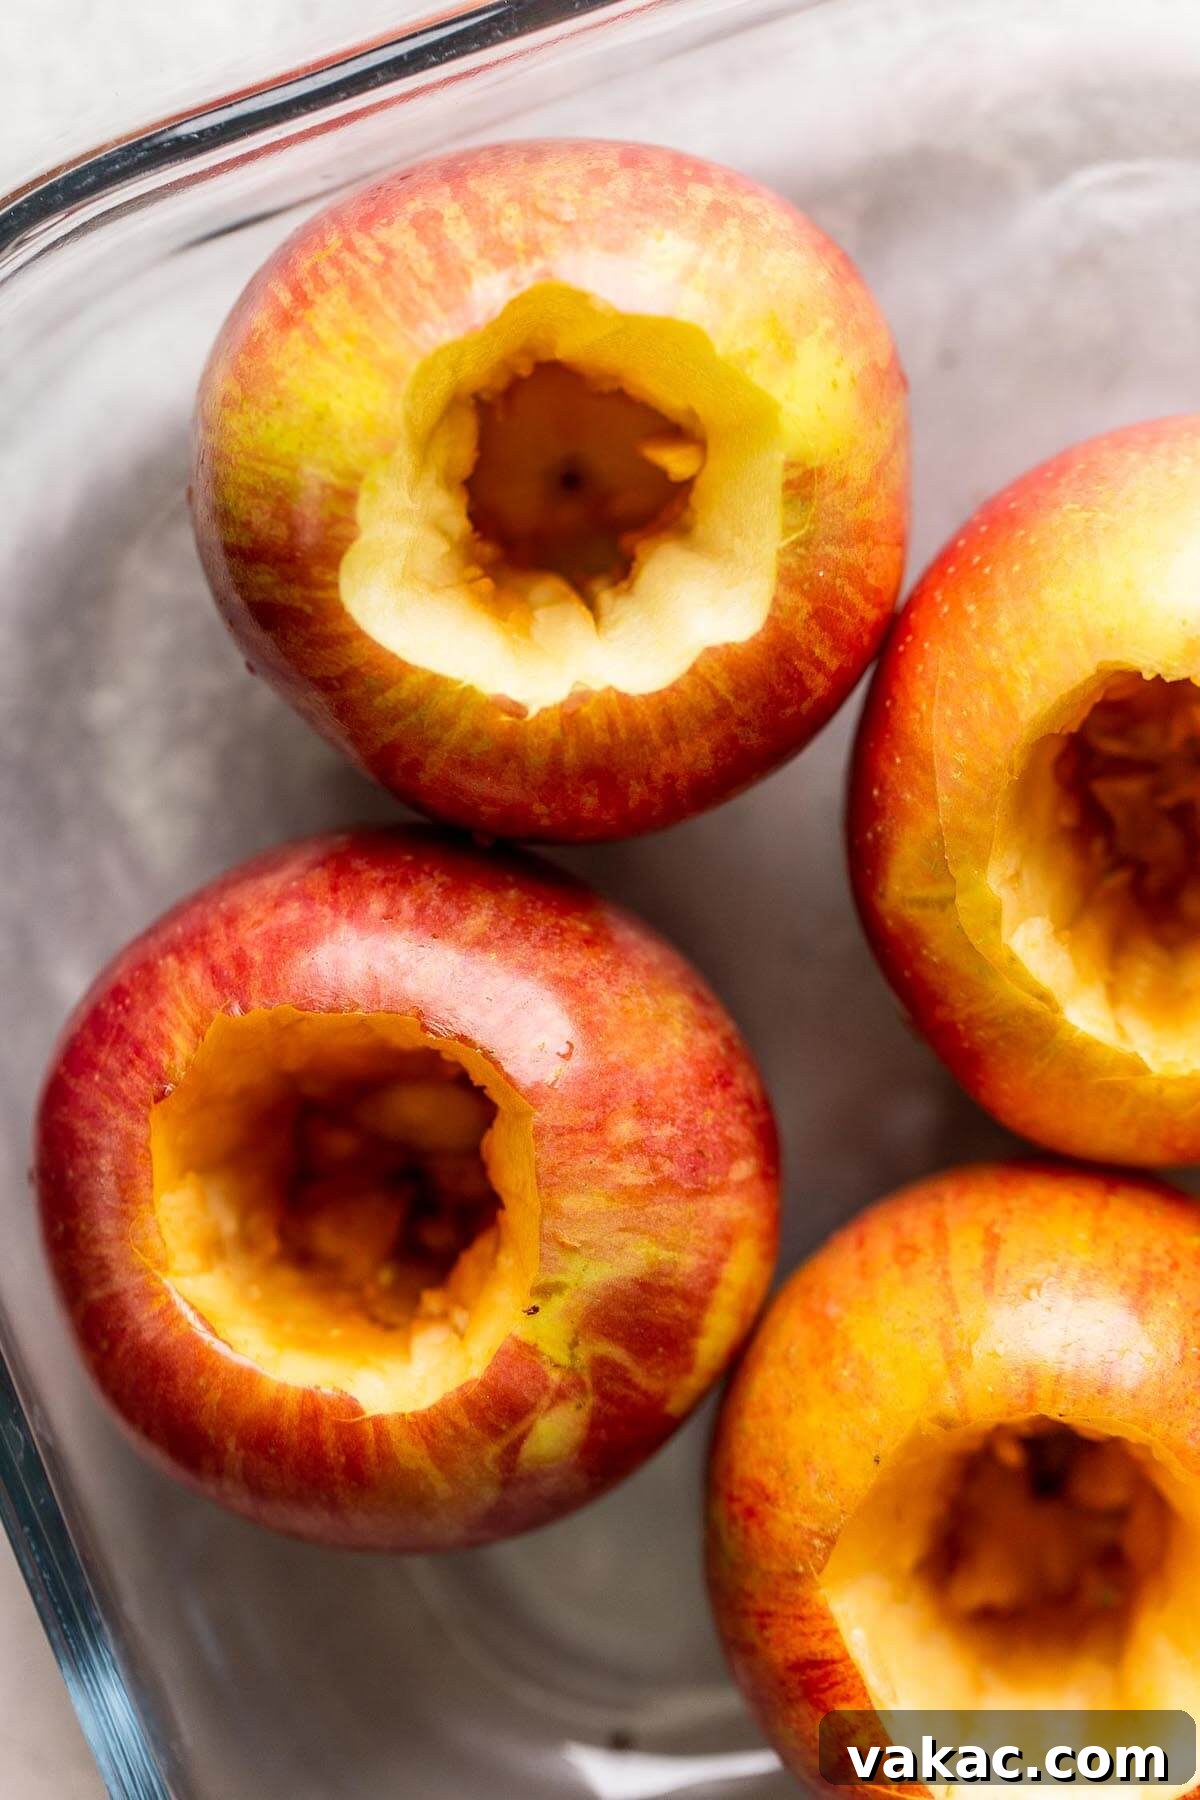
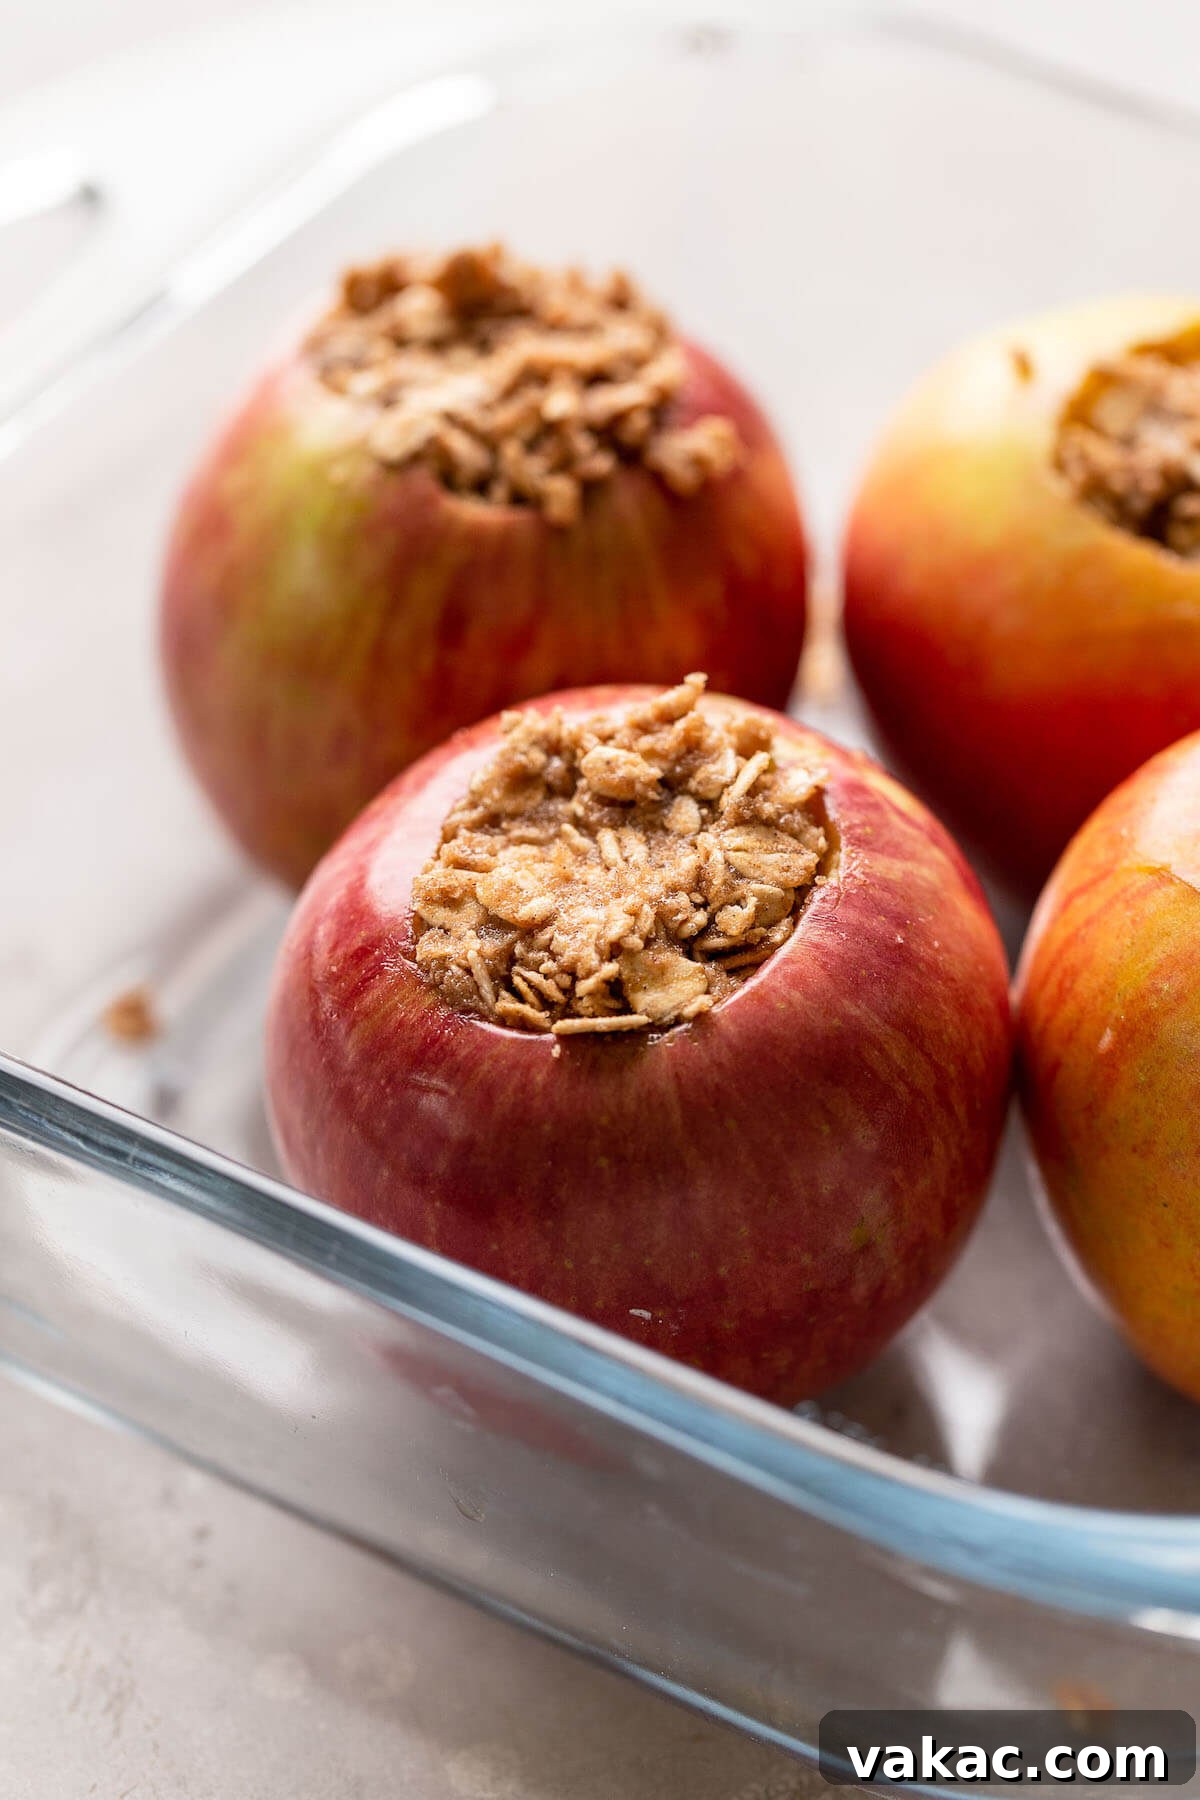
The key to stuffing your apples is creating a cavity for the filling. Using an apple corer makes this step incredibly simple and efficient, creating a neat, uniform hole. If you don’t have an apple corer, you can also carefully use a small paring knife. The goal is to remove the entire core, including all seeds, while leaving the bottom of the apple intact to hold the filling. If you accidentally cut through, a small piece of apple or even a mini marshmallow can plug the hole. Place your cored apples into an 8 or 9-inch square baking dish, ensuring they fit snugly but aren’t overcrowded.
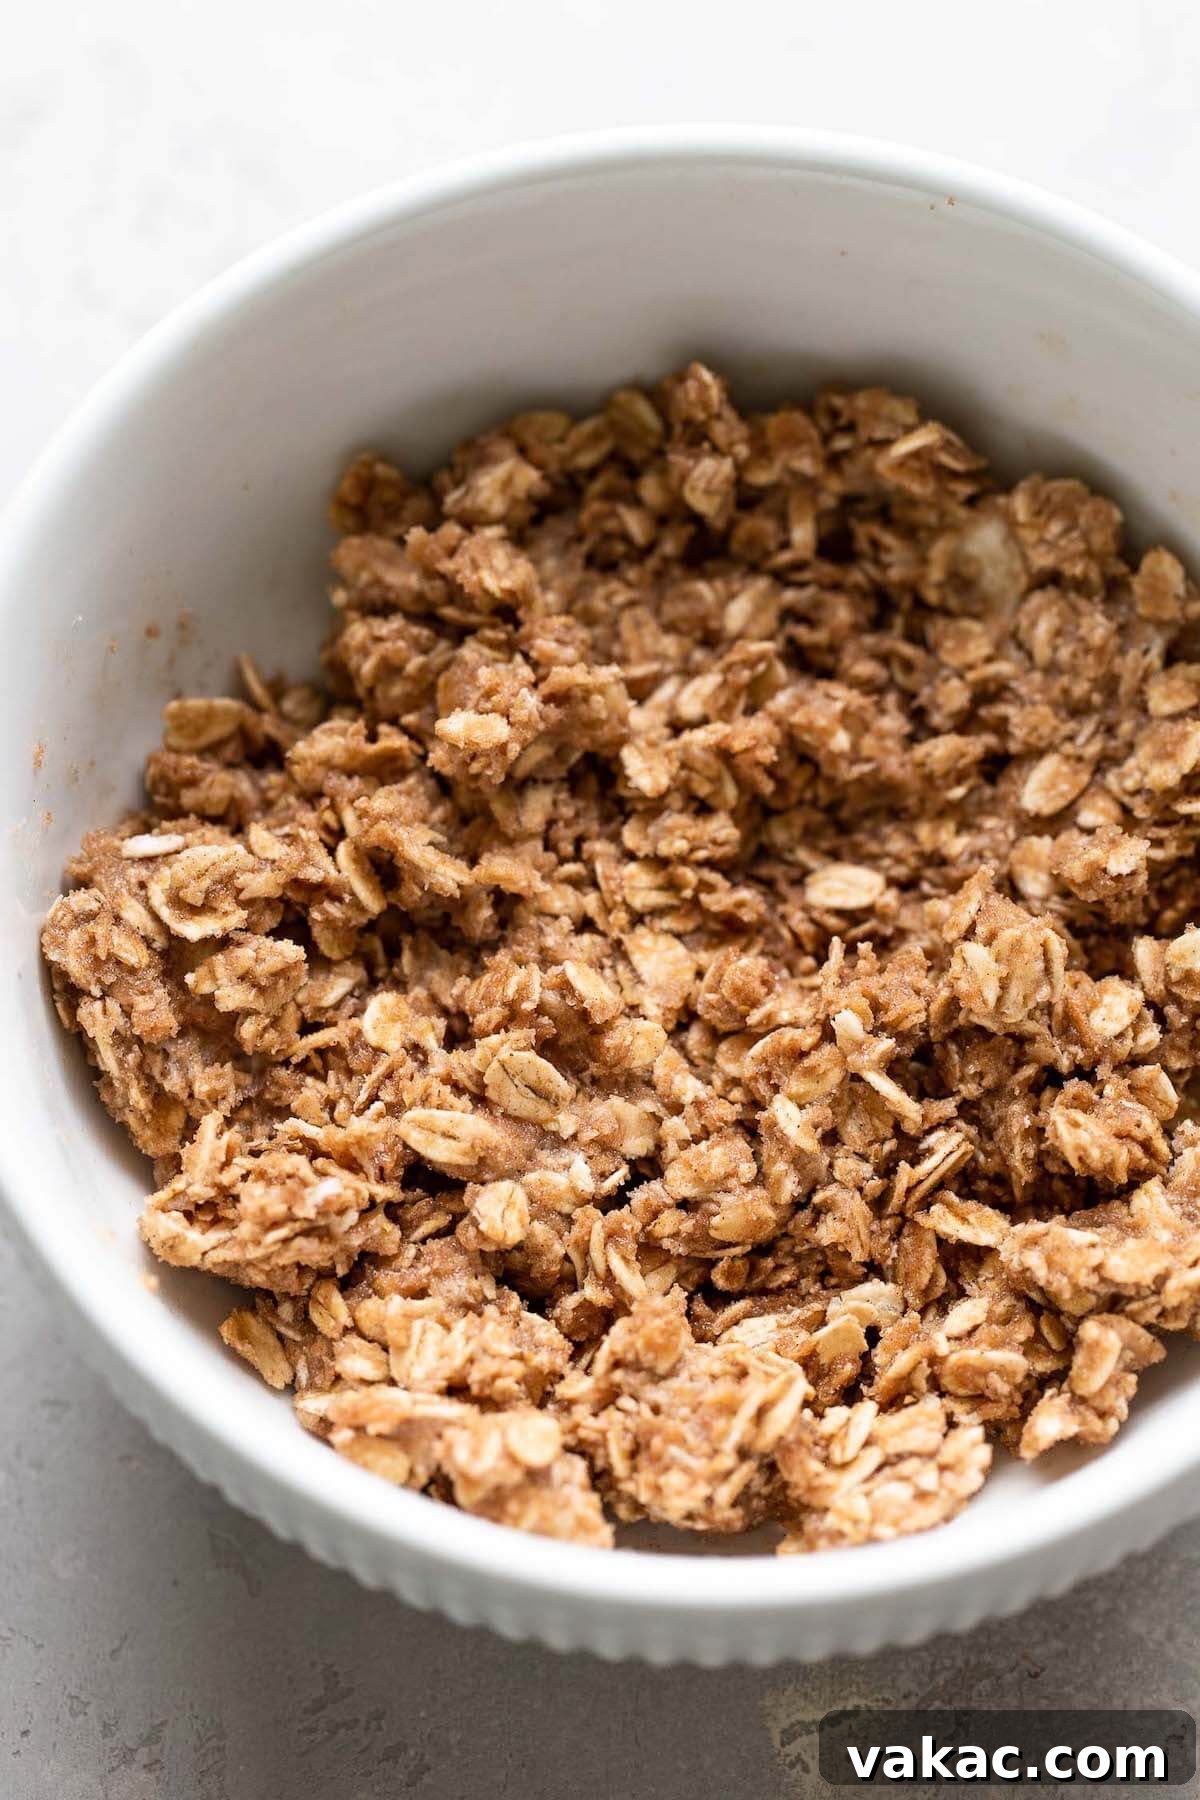
- Craft the Cinnamon-Sugar Oat Filling: In a medium bowl, combine the softened unsalted butter, old-fashioned rolled oats, brown sugar, and ground cinnamon. While an electric mixer can expedite the process, making it light and fluffy, a rubber spatula or even your clean hands will work perfectly to bring the mixture together. Mix until all ingredients are thoroughly combined and the mixture resembles a coarse, crumbly streusel.
- Generously Fill Each Apple: Take your delectable oat mixture and spoon 1 to 1 ½ tablespoons into the center of each cored apple. Press it down gently but firmly until the entire cavity is well-stuffed, forming a lovely dome on top. It’s helpful to do this directly in the baking dish to catch any stray filling and ensure no precious mixture leaks from the bottom of the apples.
- Simmer the Aromatic Sauce: Now, for the irresistible sauce that will bathe your apples as they bake. In a medium saucepan, combine the water, remaining brown sugar, a touch more cinnamon, and two tablespoons of unsalted butter. Bring this mixture to a gentle boil over medium heat, stirring occasionally until the sugar is fully dissolved and the butter is melted. The liquid will transform into a fragrant, syrupy base.
- Bathe the Apples in Sweetness: Once your sauce is boiling, remove it from the heat. Carefully spoon a generous amount of this warm, sugary liquid over the top of each stuffed apple in the baking dish, ensuring the filling and skin are coated. Then, pour the remaining sauce directly into the bottom of the pan around the apples. This liquid will not only tenderize the apples but also create a magnificent caramelized syrup during baking.
- Bake to Perfection: Place the baking dish with your beautifully prepared apples onto the center rack of your preheated oven. Bake for an initial 30 minutes. This first phase allows the apples to begin softening and the flavors to meld, while the filling starts to set.
- Baste for Enhanced Flavor: After the initial 30 minutes, carefully remove the pan from the oven. Using a spoon, baste each apple generously with the hot, sugary liquid that has collected at the bottom of the pan. This step is crucial for even cooking, developing a rich glaze on the apple skins, and ensuring the apples absorb all that wonderful flavor, preventing them from drying out.
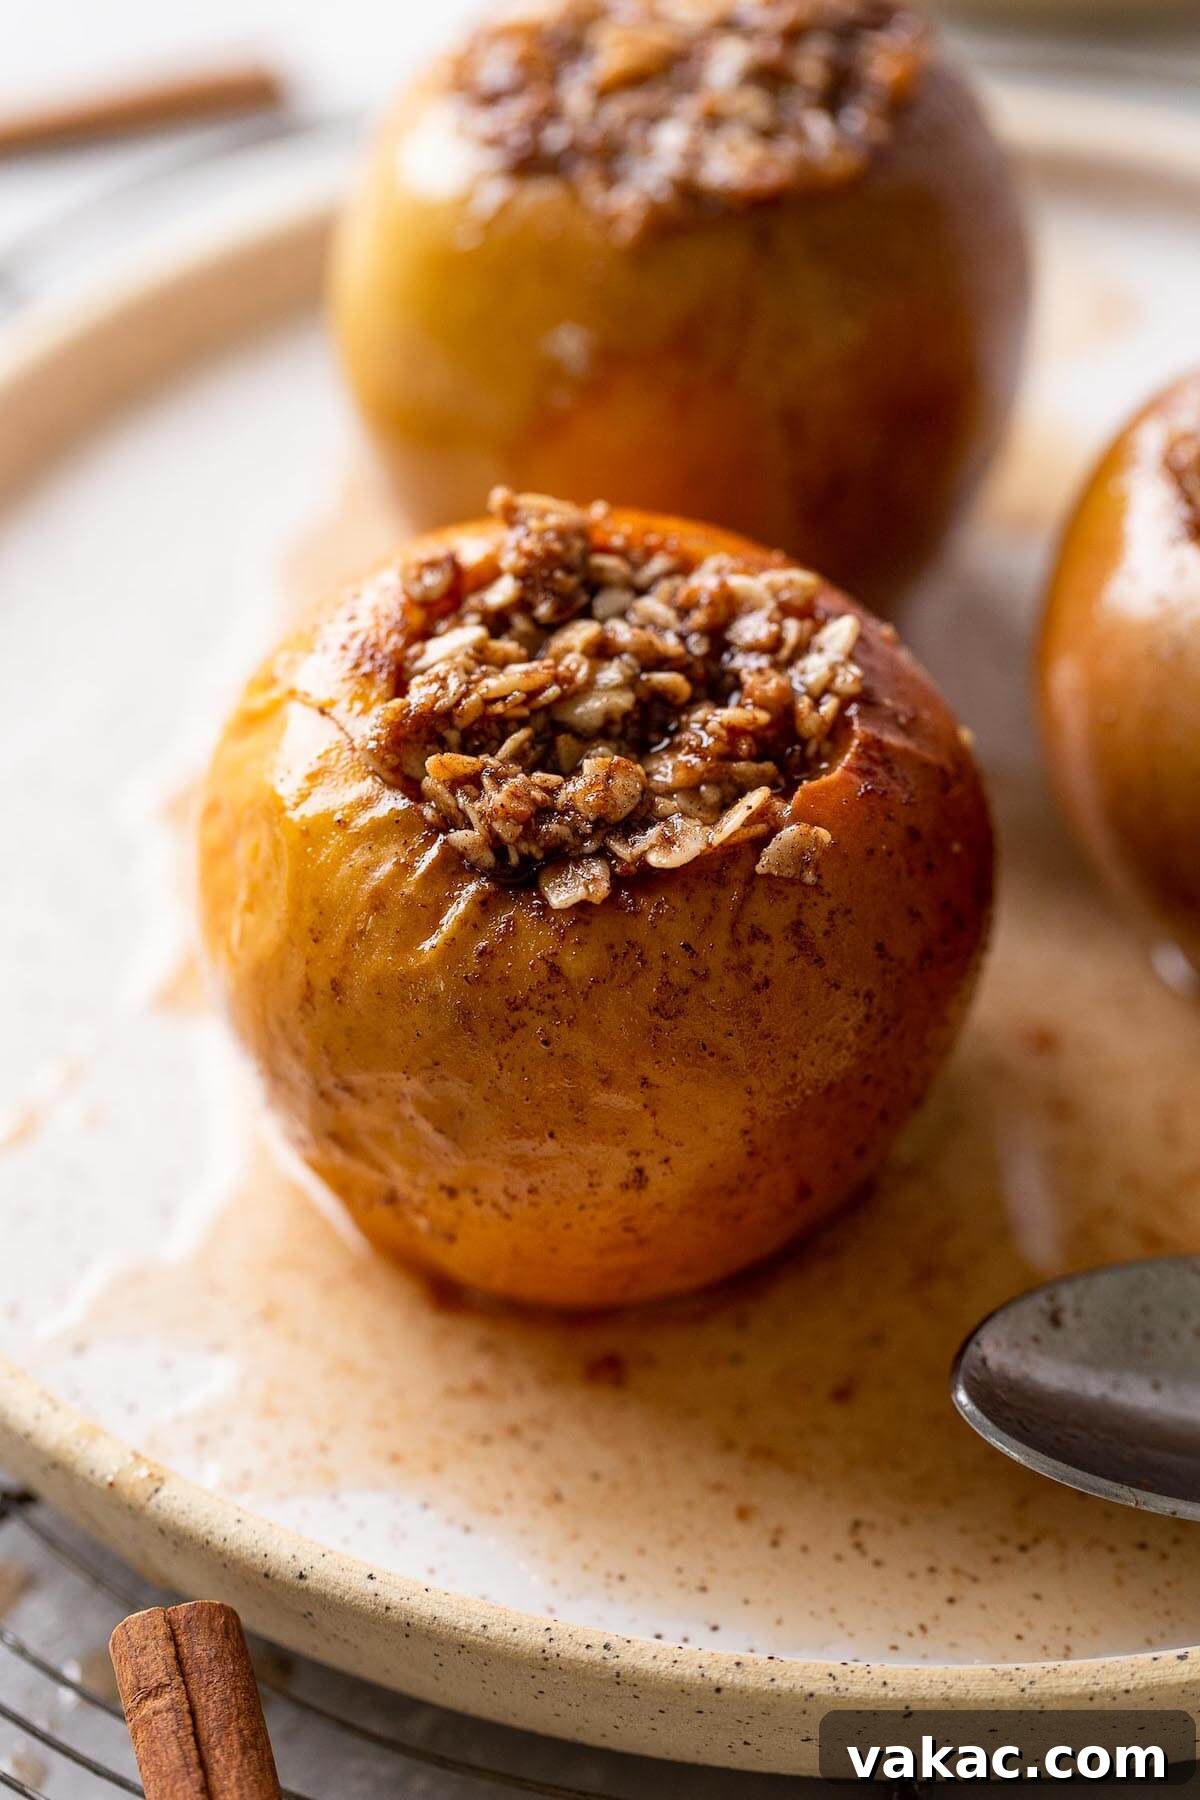
- Final Bake Until Tender: Return the apples to the oven and continue baking for an additional 10 to 25 minutes. The precise timing will depend on the size of your apples and your preferred level of tenderness. You’ll know they’re done when the apples have softened significantly (test with a fork, it should glide in easily) and the skins have slightly burst, indicating they are perfectly cooked through but still hold their shape. For medium-sized apples (around 5.5 ounces each), an extra 10 minutes is usually sufficient. If you have larger apples or prefer them exceptionally soft, almost melting, lean towards the longer end of the baking time, closer to 25 minutes.
Understanding Baking Times for Perfect Tenderness
Achieving the ideal tenderness for your baked apples is key to a truly satisfying dessert experience. The total baking time typically ranges from 40 to 55 minutes, performed in two distinct stages. You’ll first bake the whole apples for 30 minutes. This initial period begins the softening process and allows the flavors of the filling and sauce to start infusing into the apple flesh. After this first bake, it’s important to remove them from the oven to baste them thoroughly with the bubbling, sugary liquid from the bottom of the pan. This step not only prevents the apples from drying out but also ensures they are continuously coated in that delicious caramelized sauce, contributing to a rich, glossy finish.
Following the basting, return the apples to the oven for an additional 10 to 25 minutes. The final duration depends largely on two crucial factors: the size of your apples and your personal preference for their texture. For instance, medium-sized apples (approximately 5.5 ounces each) usually reach their perfect softness within an extra 10 minutes, bringing the total bake time to around 40 minutes. This results in apples that are tender yet still have a slight structural integrity. However, if you’re using larger apples (think Granny Smith or baking-specific varieties) or prefer them to be exceptionally soft, almost melting in your mouth, extending the second baking phase closer to 25 minutes will yield a total bake time of approximately 55 minutes. Always keep an eye on them; they are done when their skins gently burst and the flesh yields easily to a fork, indicating they are cooked through without being overly mushy.
Choosing the Best Apples for Baking
The success of any baked apple dessert hinges significantly on the variety of apple you select. Not all apples are created equal when it comes to standing up to the heat of an oven; some turn to mush too quickly, while others remain too firm. For this particular stuffed baked apple recipe, we want apples that will retain some structure and not disintegrate, while also offering a good balance of sweetness and a hint of tartness that beautifully complements the rich oat filling and cinnamon spice.
My top recommendations for this recipe are Fuji and Honeycrisp apples. Fuji apples offer a wonderful balance of sweetness and tartness, along with a firm, crisp flesh that holds its shape beautifully during baking. They become tender without becoming mealy. Honeycrisp apples are renowned for their exceptionally crisp texture and juicy, sweet flavor, making them another excellent choice that performs well in the oven, maintaining some bite. Other fantastic baking apple varieties that would work splendidly include Pink Lady (known for its bright sweet-tart flavor, firm flesh, and attractive pink blush) and even the more tart Granny Smith apples. If you prefer a more pronounced tartness to balance the sweet filling, Granny Smith is an ideal candidate, as its acidity cuts through the richness beautifully. When choosing, look for firm, unblemished apples without soft spots. Ultimately, selecting an apple that you enjoy eating fresh will ensure its inherent flavor shines through in this simple yet elegant dessert.
Elevate Your Stuffed Baked Apples with These Servings
While these cinnamon-sugar stuffed baked apples are undeniably delicious straight from the oven, serving them with an accompaniment can elevate the experience to pure dessert nirvana. The warm, tender apples and spiced oat filling pair beautifully with a variety of toppings that add extra layers of flavor and luxurious textures. Here are some of our favorite ways to enjoy them, transforming a simple dessert into a memorable culinary delight:
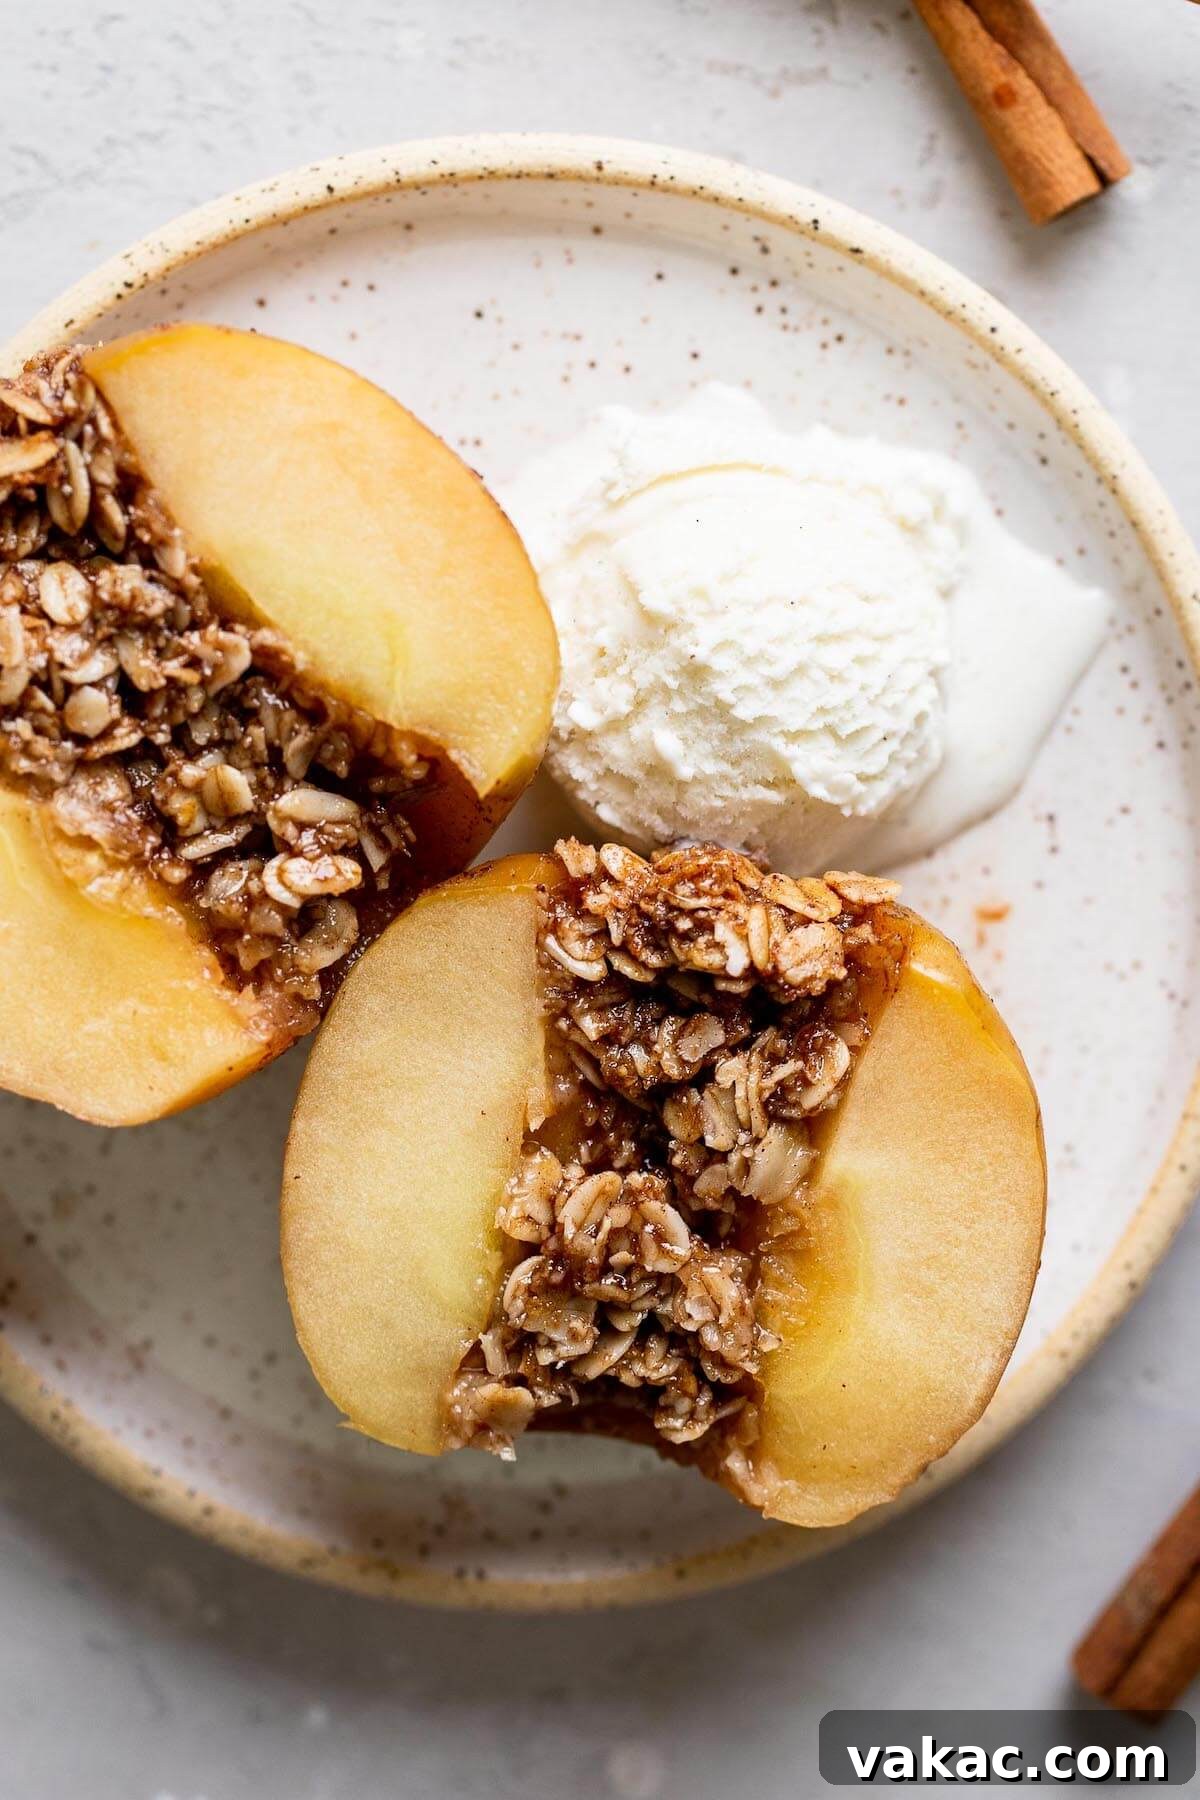
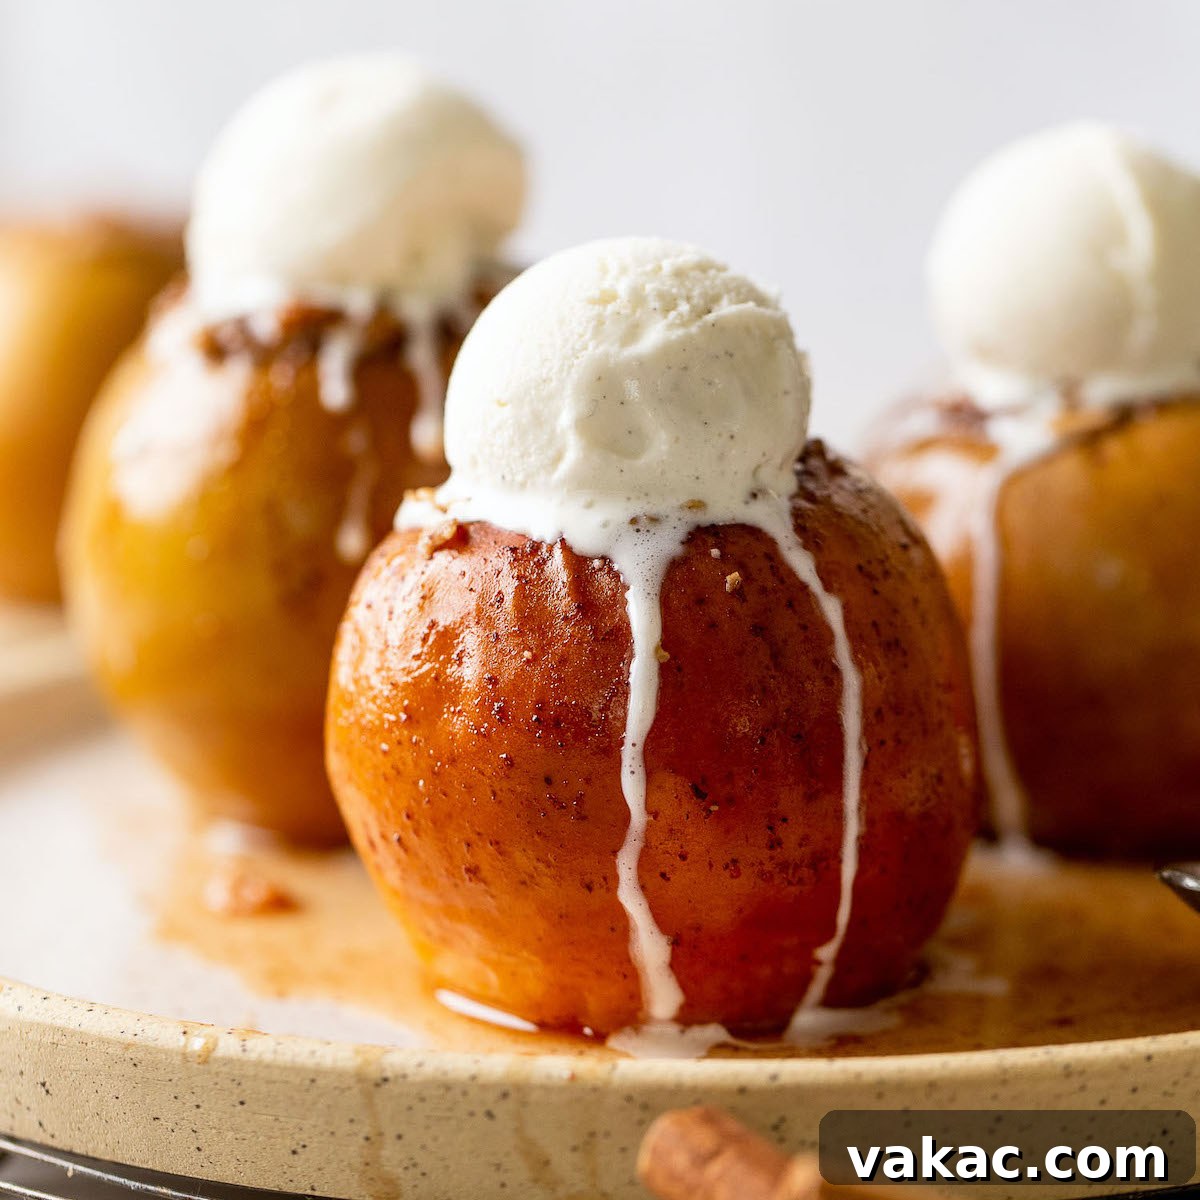
- Vanilla Ice Cream: A timeless and classic pairing! The cool, creamy vanilla ice cream melts ever-so-slightly into the warm apple, creating a delightful hot-and-cold contrast that is simply irresistible. The subtle vanilla notes also harmonize perfectly with the apple and cinnamon.
- Homemade Whipped Cream: For a lighter, airy touch, a generous dollop of freshly made whipped cream adds a cloud-like texture and delicate sweetness. It complements the apples beautifully without being too heavy, offering a fresh counterpoint to the baked fruit.
- Salted Caramel Sauce: Drizzle these baked apples with a luscious homemade salted caramel sauce for an indulgent and sophisticated treat. The complex salty-sweet notes of the caramel perfectly enhance the apple and cinnamon flavors, adding a rich, gooey texture.
- Chopped Candied Pecans: Add a wonderful crunch and nutty depth by sprinkling chopped candied pecans or walnuts over your finished dessert. Their caramelized sweetness and satisfying texture provide a fantastic counterpoint to the soft apples and smooth toppings.
Expert Baking Tips for Stuffed Apples
To ensure your stuffed baked apples turn out perfectly every time, yielding a dessert that is both impressive and delicious, keep these valuable tips in mind:
- Reduce the Cooking Liquid into a Syrup: Don’t let the delicious liquid that collects at the bottom of the pan go to waste! After removing the baked apples from the oven, carefully pour the remaining liquid into a small saucepan. Simmer it over medium heat for about 25-35 minutes, stirring occasionally, until it thickens into a rich, flavorful apple-cinnamon syrup (it should reduce by roughly half). This concentrated syrup is absolutely divine drizzled over the baked apples, especially when served with a scoop of vanilla ice cream. This step is optional but highly recommended for an extra touch of gourmet flair and intensified flavor.
- No Peeling Required: Resist the urge to peel your apples! The skin not only adds beautiful color and rustic appeal to the finished dish, but it also softens considerably during baking, becoming tender and easy to eat. More importantly, the skin provides structural integrity to the apple, helping it hold its shape as it bakes and preventing it from becoming a shapeless mess. It also contributes a subtle textural element that is truly delicious.
- Enjoy Them Fresh: While leftover baked apples are still tasty, they are truly at their best when enjoyed fresh, shortly after baking. The oat filling will retain its pleasant, slightly chewy texture, offering a nice contrast to the soft apple. Over time, the filling will absorb moisture from the apple and soften, altering the texture. If you must store them, see our comprehensive storage and reheating tips in the FAQ section below.
- Preventing Leaks: When coring your apples, it’s crucial not to create a hole all the way through the bottom. If you accidentally do, a small piece of apple skin, a slice of apple, or even a small marshmallow placed at the very bottom of the cavity can help seal it and prevent the filling from escaping into the baking dish during cooking.
- Don’t Overcrowd the Pan: Give your apples a little room to breathe in the baking dish. While they should be relatively snug to stand upright, overcrowding can lead to uneven baking and prevent the sauce from properly circulating and caramelizing around each apple. This ensures every apple gets evenly cooked and glazed.
Frequently Asked Questions About Baked Apples
- Q: Can I prepare stuffed baked apples ahead of time?
- A: You can prepare the apples by coring them and mixing the oat filling a few hours in advance. Keep the cored apples covered with plastic wrap or a damp cloth in the refrigerator to prevent browning. Store the filling separately at room temperature. For the best texture and flavor, assemble and bake just before serving. The baked apples themselves are best eaten fresh, but they can be stored.
- Q: How should I store leftover baked apples?
- A: Once cooled completely, place any leftover baked apples in an airtight container and store them in the refrigerator for up to 4 days. If you’ve reduced the cooking liquid into a syrup, it’s a good idea to store it separately and add it just before serving to maintain the best texture for the oat filling and prevent the apples from becoming too soggy.
- Q: How do I reheat baked apples?
- A: For individual servings, reheat baked apples in the microwave for 20-30 seconds until warmed through. If reheating a larger quantity or if you wish to crisp up the topping slightly, place them in an oven preheated to 350°F (180°C), uncovered, for 10-15 minutes, or until heated through. Keep an eye on them to prevent overcooking.
- Q: Can I make this recipe gluten-free or vegan?
- A: Absolutely! To make this recipe gluten-free, simply ensure you use certified gluten-free oats. Many brands offer this option. For a vegan version, substitute the unsalted butter with a high-quality plant-based butter alternative that is specifically designed for baking. The rest of the ingredients are naturally vegan-friendly.
- Q: What if I don’t have an apple corer?
- A: No problem! You can still easily core an apple without a specialized tool. Carefully use a small paring knife. Cut around the core in a circular motion, being careful not to cut all the way through the bottom of the apple. Then, use a spoon or the knife to gently scoop out the core and seeds. Precision isn’t as important as making sure the bottom is intact.
More Delightful Apple Dessert Recipes!
If you’ve fallen in love with these baked apples and are eager for more ways to celebrate the apple season, explore some of these other fantastic recipes. Each offers a unique and delicious take on this beloved fall fruit:
- Caramel Apple Upside-Down Cake
- Chewy Apple Oatmeal Cookies
- Moist & Flavorful Apple Cake
- Sweet Apple Hand Pies
- Adorable Mini Apple Pies
Watch the Recipe in Action!
Baked Apples
Whole apples are stuffed with a delicious cinnamon-sugar oat mixture before being baked to tender perfection. These stuffed baked apples are an easy yet impressive fall dessert, perfect for any occasion, offering pure apple flavor enhanced by warm spices!
Prep Time: 30 mins
Cook Time: 55 mins
Total Time: 1 hr 25 mins
Servings: 6 apples
Ingredients
For the Apples
- 6 medium apples (approx. 2 to 2.25 pounds total, or 5 to 6 ounces for each apple)
- 5 tablespoons unsalted butter, softened (70 grams)
- ⅔ cup old-fashioned rolled oats (60 grams)
- ⅓ cup packed light or dark brown sugar (65 grams)
- ¾ teaspoon ground cinnamon
For the Sauce/Cooking Liquid
- 1 ½ cups water (360 ml)
- 1 ½ tablespoons light or dark brown sugar (22 grams)
- 1 teaspoon ground cinnamon
- 2 tablespoons unsalted butter (30 grams)
Instructions
- To prepare the apples: Preheat the oven to 350°F (180°C).
- Remove the core of the apples using an apple corer or small knife, ensuring all seeds are removed and the bottom is intact. Place apples into an 8 or 9-inch square pan and set aside.
- In a medium bowl, combine the softened butter, rolled oats, brown sugar, and cinnamon. Mix well using an electric mixer, rubber spatula, or your hands until fully combined and crumbly.
- Fill each cored apple with 1 to 1 ½ tablespoons of the oat mixture until the center is stuffed. Fill the apples directly in the pan to prevent any mixture from leaking out.
- Once all apples are stuffed, set aside while you prepare the sauce.
- To prepare the sauce: In a medium saucepan on the stove, over medium heat, combine the water, brown sugar, cinnamon, and butter. Bring to a boil, stirring occasionally until sugar is dissolved.
- Once boiling, remove from heat. Spoon a large spoonful of the hot liquid over each apple in the pan. Then, pour the remaining liquid mixture into the bottom of the pan around the apples.
- To bake the apples: Place the pan with the apples onto the center rack of the oven and bake for 30 minutes.
- At the thirty-minute mark, remove the pan from the oven and baste the apples again using a tablespoon to scoop the hot sugary liquid from the bottom of the pan back onto each apple.
- Return the pan to the oven and bake for an additional 10 to 25 minutes. Baking time will vary based on apple size and preferred softness. For 5.5-ounce apples, bake for another 10 minutes. For larger or softer apples, bake closer to 25 more minutes. The apples should be tender and slightly burst.
- Allow to cool for 15 minutes before enjoying. Store in an airtight container in the fridge for up to 4 days.
Notes
- Apple Variety: For the best results, I recommend Fuji or Honeycrisp apples. Pink Lady or Granny Smith apples also work wonderfully for baking.
- Storage Instructions: Baked apples are best eaten the day they are made for optimal oat texture. Cooled apples can be stored in a sealed container in the refrigerator for up to 4 days. If you reduce the liquid to a syrup, store it separately.
- Reheating: Reheat individual baked apples in the microwave for 20-30 seconds. To reheat multiple apples or to re-crisp the topping, place them in an oven at 350°F (180°C), uncovered, for 10-15 minutes.
- Turn the apple liquid into a syrup: After the apples finish baking, remove the excess liquid from the pan and place it into a medium pot on the stove. Bring to a simmer and cook for 25 to 35 minutes, stirring occasionally, until it has thickened into a rich syrup and reduced by about half. Serve this delicious syrup over the baked apples with a scoop of ice cream!
Cuisine: American
Course: Dessert
Author: Danielle Rye
Did you make this recipe? Mention @livewellbakeoften on Instagram or tag #livewellbakeoften so we can see your creations!