
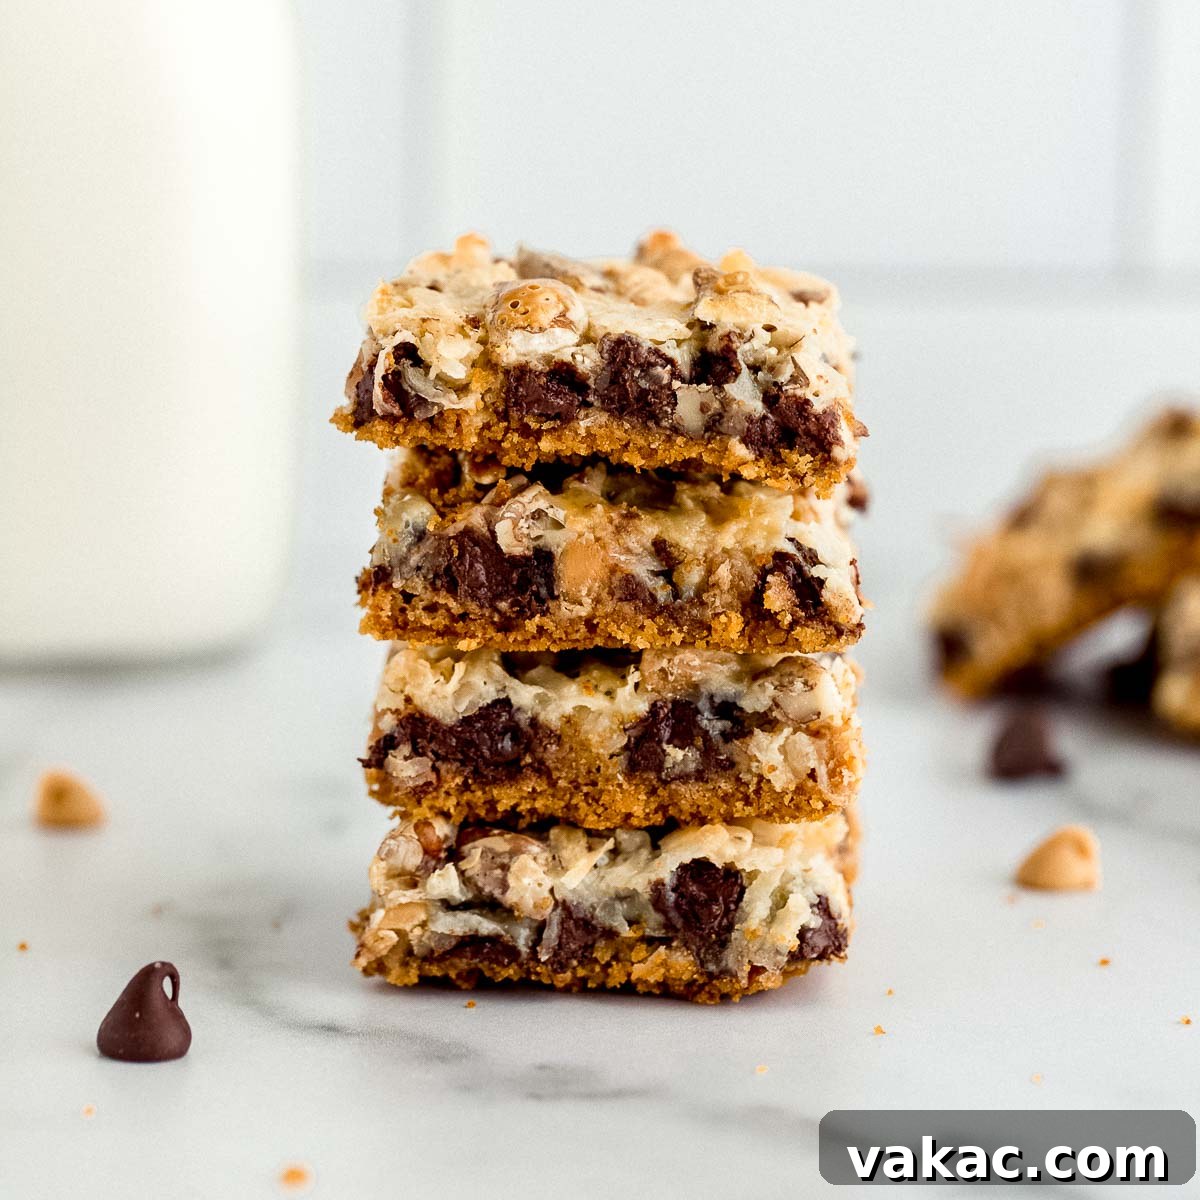
These Magic Cookie Bars are incredibly simple to throw together and made with just seven ingredients. Perfect for an easy dessert when you’re short on time!
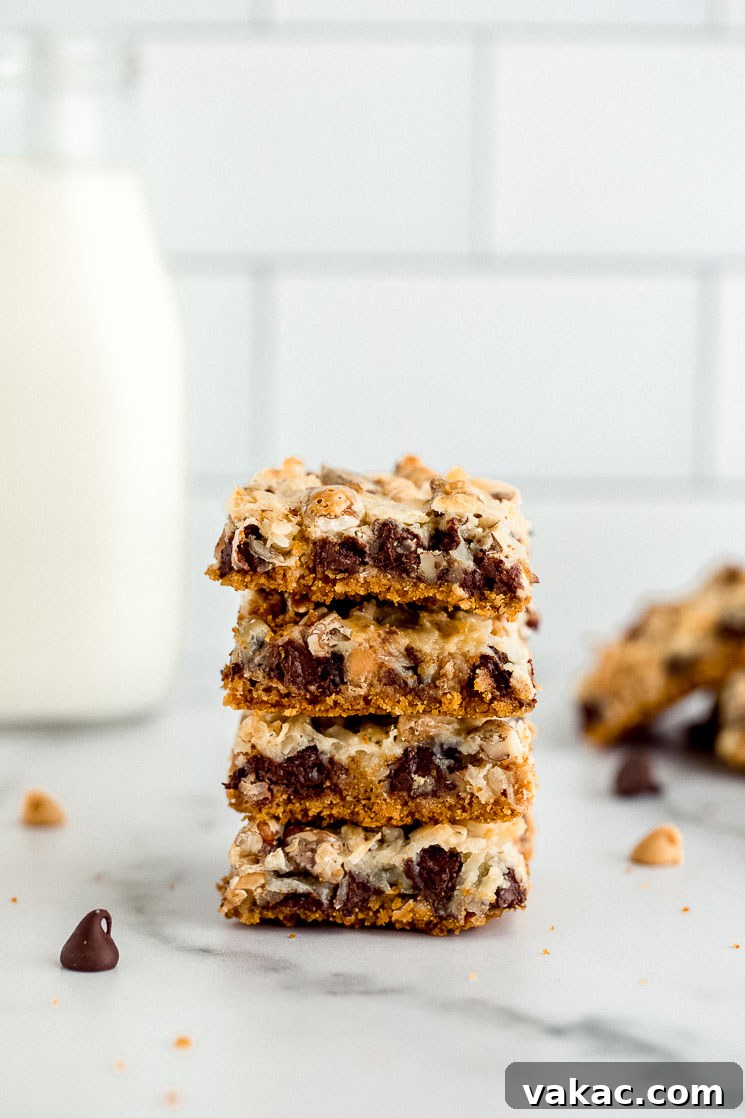
Irresistible Magic Cookie Bars: The Ultimate 7-Layer Dessert Recipe
Have you ever experienced the sheer delight of a Magic Cookie Bar? If not, prepare to be introduced to a dessert that lives up to its name. During my college days, a coworker would often bring these phenomenal treats to potlucks, and without fail, they’d vanish in record time. The universal adoration these bars received spoke volumes about their undeniable charm and deliciousness.
Often referred to as Seven Layer Bars or Hello Dolly Bars, these delightful confections are a testament to culinary simplicity and maximum flavor. They represent a symphony of textures and tastes, artfully layered in a single pan and baked to golden perfection. The result is a delightfully sweet and rich bar that is notoriously difficult to resist after just one bite. Beyond their incredible taste, their minimal ingredient list and straightforward preparation make them an absolute lifesaver when you need a show-stopping dessert but are pressed for time.
What Makes These “Magic” Cookie Bars So Special?
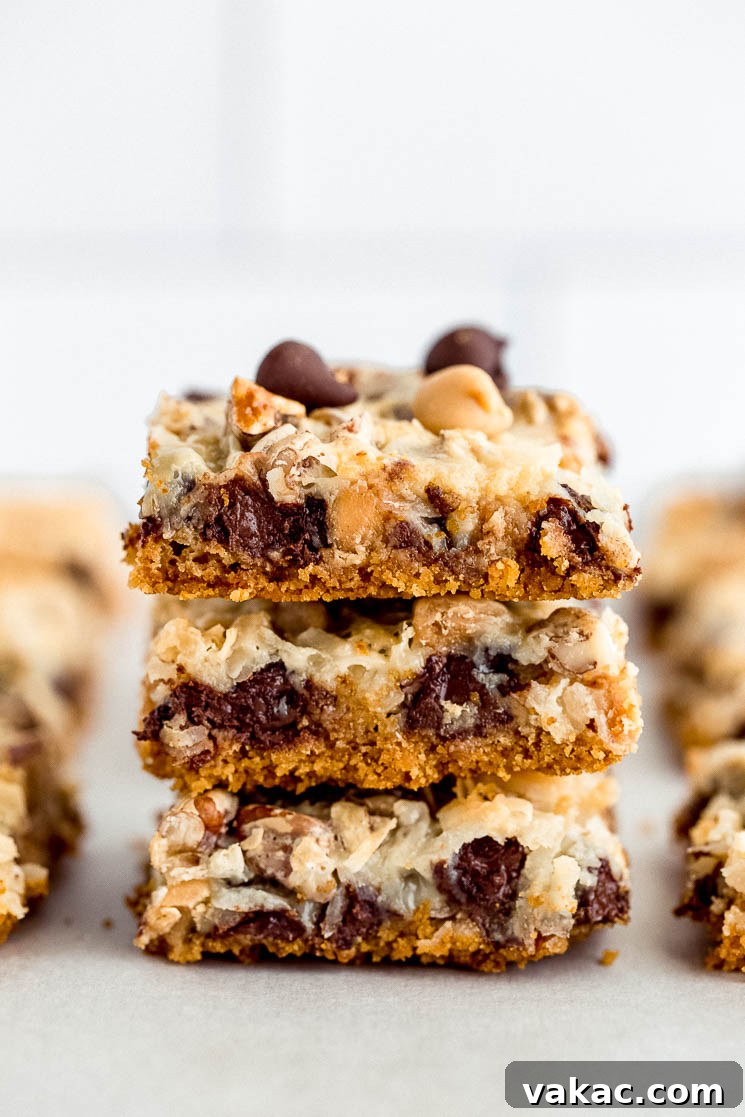
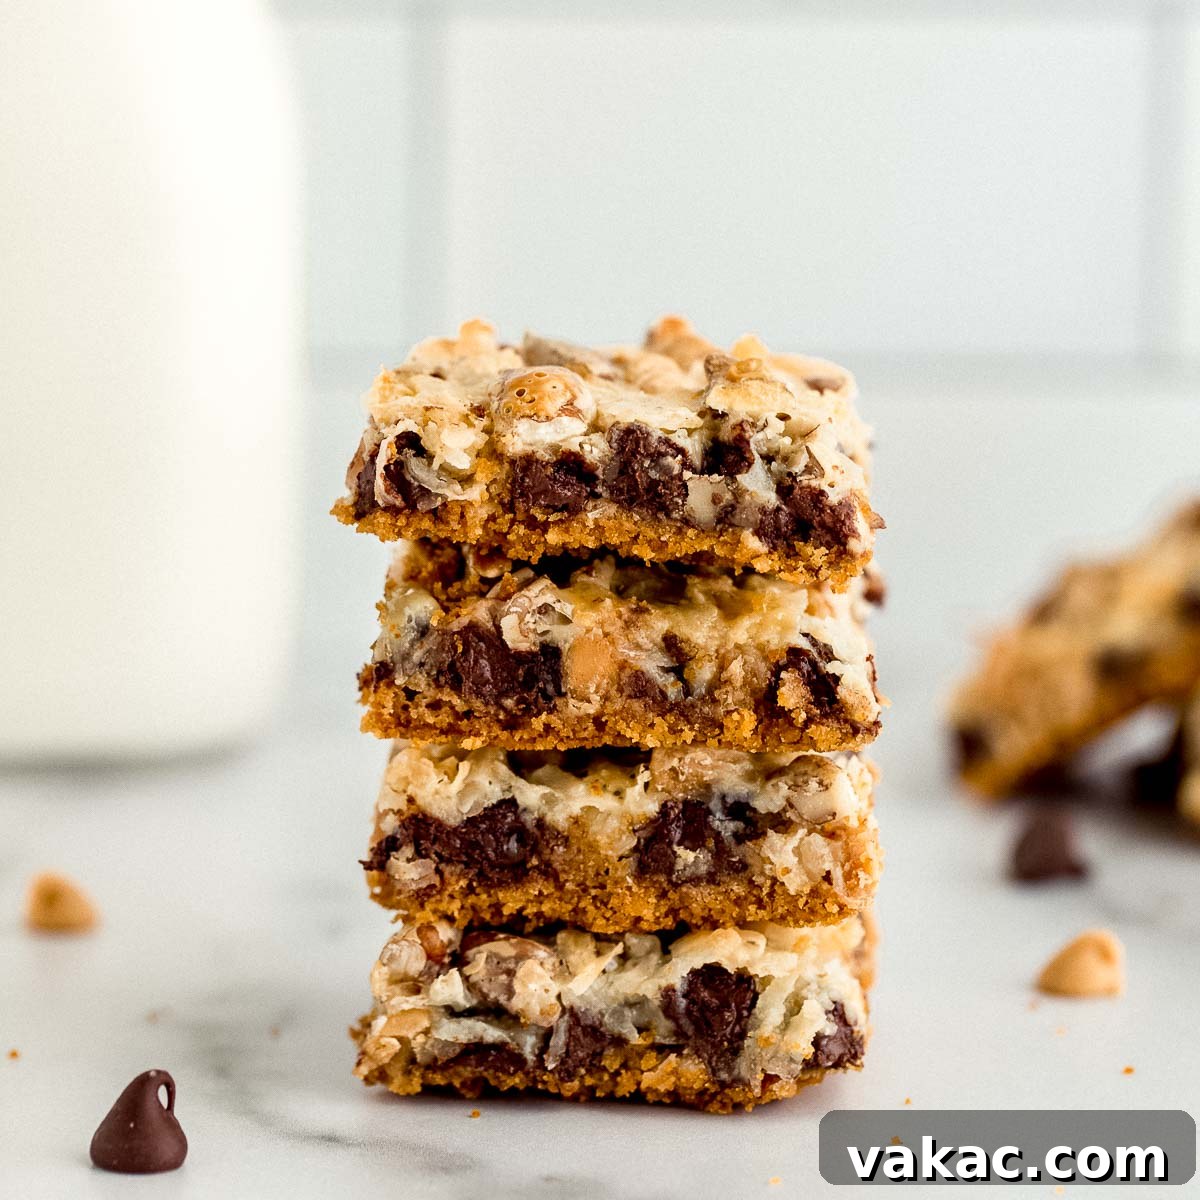
The “magic” in Magic Cookie Bars lies in the effortless combination of common pantry staples that transform into something extraordinary when baked. A sturdy graham cracker crust forms the foundation, providing a delightful crunch. On top of this, a medley of chocolate chips, peanut butter chips (or butterscotch for the traditionalists), shredded coconut, and chopped pecans are scattered. The true enchantment, however, comes from a generous pour of sweetened condensed milk over the entire assembly. As it bakes, this sticky, sweet liquid seeps down through the layers, caramelizing and binding everything together into a cohesive, chewy, and utterly irresistible bar.
Each bite offers a harmonious blend of sweet, salty, crunchy, and chewy. You get the crispness of the crust, the gooeyness of melted chocolate and condensed milk, the chewiness of coconut, and the satisfying crunch of nuts. It’s a texture party that keeps you coming back for more, making these bars a timeless favorite for gatherings, holidays, or simply a sweet indulgence at home.
The Seven Simple Ingredients You’ll Need
One of the most appealing aspects of Magic Cookie Bars is their reliance on just seven accessible ingredients. Each plays a crucial role in creating the distinctive flavor and texture profile that has made these bars a beloved classic for generations. Here’s a closer look at what goes into this delectable recipe:
Graham Cracker Crumbs
The base of our magical creation is a buttery graham cracker crust. For ultimate convenience, store-bought graham cracker crumbs are an excellent choice, saving you time and effort. If you prefer a homemade touch or have whole graham crackers on hand, you’ll need approximately 11 to 12 full sheets to yield the required 1½ cups of fine crumbs. Simply pulse them in a food processor or crush them by hand in a sealed bag until finely ground. This creates a solid, flavorful foundation for all the delicious layers to come.
Unsalted Butter
Butter not only binds the graham cracker crumbs together but also imparts a rich, comforting flavor to the crust. I highly recommend using unsalted butter for this recipe. The amount of salt in salted butters can vary significantly between brands, and using unsalted allows you precise control over the overall sweetness and seasoning of your bars. Ensure it’s melted and slightly cooled before combining with the crumbs for optimal mixing and a perfectly pressed crust.
Semi-Sweet Chocolate Chips
A classic choice, semi-sweet chocolate chips provide a balanced sweetness that complements the other rich ingredients. As they melt, they create pockets of gooey, chocolatey bliss throughout the bars. Don’t hesitate to experiment with other varieties if you prefer! Dark chocolate chips offer a more intense, less sweet flavor, while milk chocolate chips deliver a creamy, sweeter profile. You could even use white chocolate chips for a different aesthetic and taste, or a mix of different types for added complexity.
Peanut Butter Chips (or Butterscotch Chips)
While many traditional Magic Cookie Bar recipes call for butterscotch chips, I have a personal preference for peanut butter chips, which add a delightful nutty, savory-sweet dimension that pairs beautifully with the chocolate and coconut. If you’re a purist and adore the classic version, feel free to stick with butterscotch chips. Both options contribute a unique flavor and gooey texture when baked, making them integral to the bar’s character.
Shredded Coconut
Sweetened shredded coconut is a must for these bars, adding a chewy texture and tropical sweetness. The natural sugars in the coconut caramelize slightly during baking, enhancing its flavor. While sweetened is standard, if you’re keen on reducing overall sweetness, you could try unsweetened coconut, though the texture and moisture content might vary slightly. For an even prettier presentation and deeper flavor, you can sprinkle a little extra shredded coconut on the very top of the bars before baking, allowing it to toast lightly.
Chopped Pecans
Pecans introduce a wonderful crunch and a distinctly buttery, earthy flavor that cuts through the richness of the other ingredients. The chopped pieces distribute evenly, ensuring a pleasant textural contrast in every bite. If pecans aren’t your favorite, feel free to substitute with other chopped nuts like walnuts, almonds, or even cashews. For a nut-free version, simply omit them entirely, or replace them with an equal amount of seeds (like sunflower or pumpkin seeds) for a similar textural element.
Sweetened Condensed Milk
This is truly the “magic” ingredient that transforms a pile of layered ingredients into a cohesive, irresistible bar. A full 14-ounce can of sweetened condensed milk is poured over all the other layers. During baking, it caramelizes and acts as a binder, creating a dense, chewy, and incredibly moist texture. Without it, the bars would simply be loose layers; with it, they become a unified, delectable treat.
Step-by-Step Guide: How to Bake Perfect Magic Cookie Bars
Crafting these seven-layer wonders is an incredibly straightforward process, perfect for novice bakers and seasoned pros alike. Following these detailed steps will ensure your Magic Cookie Bars turn out perfectly golden, gooey, and absolutely delicious every time.
Prepare Your Pan for Easy Removal
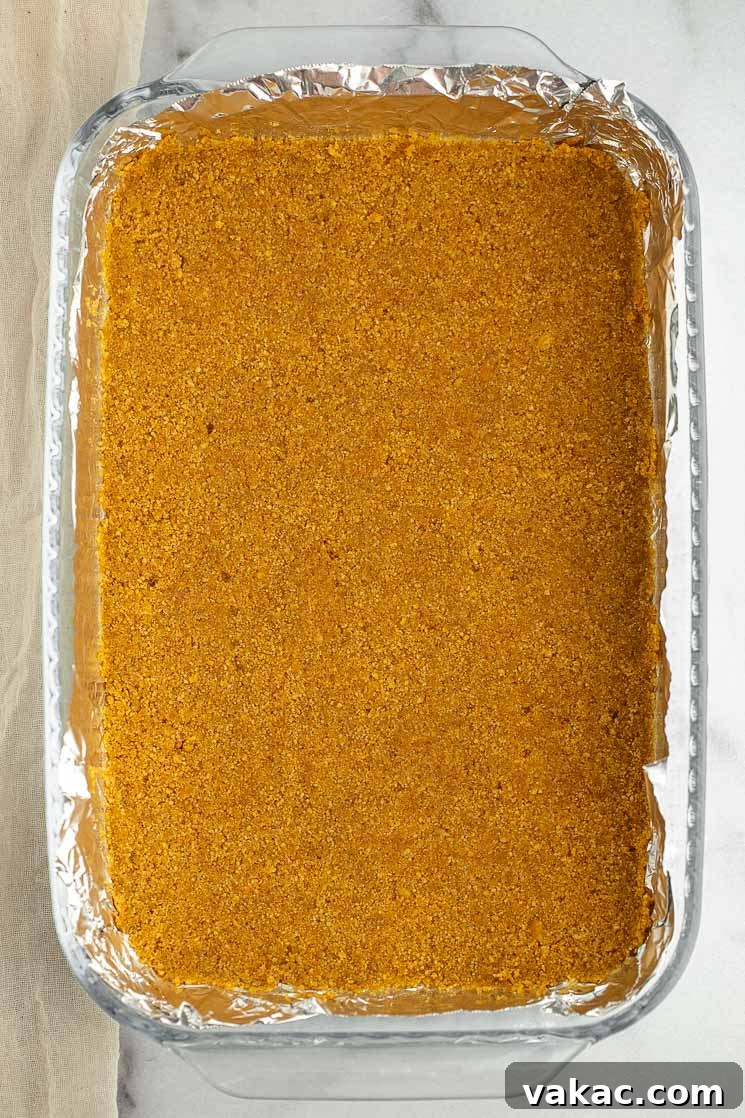
Before you begin assembling, it’s crucial to prepare your baking pan correctly to ensure effortless removal and clean slices later. Start by preheating your oven to 350°F (177°C). Then, line a standard 9×13-inch baking pan with aluminum foil or parchment paper. Make sure to leave a generous overhang on all sides – this will serve as convenient “handles” to lift the entire batch of cooled bars out of the pan. Don’t forget this vital step: lightly spray the bottom and sides of the foil or parchment paper with nonstick cooking spray. This prevents any sticky topping from adhering to the edges, making slicing and serving a breeze.
Craft the Perfect Graham Cracker Crust
The foundation of your Magic Cookie Bars is a rich, buttery graham cracker crust. While some recipes suggest pouring melted butter directly into the pan and then adding the crumbs, I find a different method yields a more consistent and sturdy crust. In a medium mixing bowl, combine your 1½ cups of graham cracker crumbs with ½ cup of melted, slightly cooled butter. Stir thoroughly until all the crumbs are evenly moistened and resemble wet sand. Transfer this mixture into your prepared pan and press it down very firmly and evenly across the bottom. The flat bottom of a measuring cup or a glass works wonderfully for this step, ensuring a compact and solid layer that won’t crumble when sliced.
Layer the Goodness
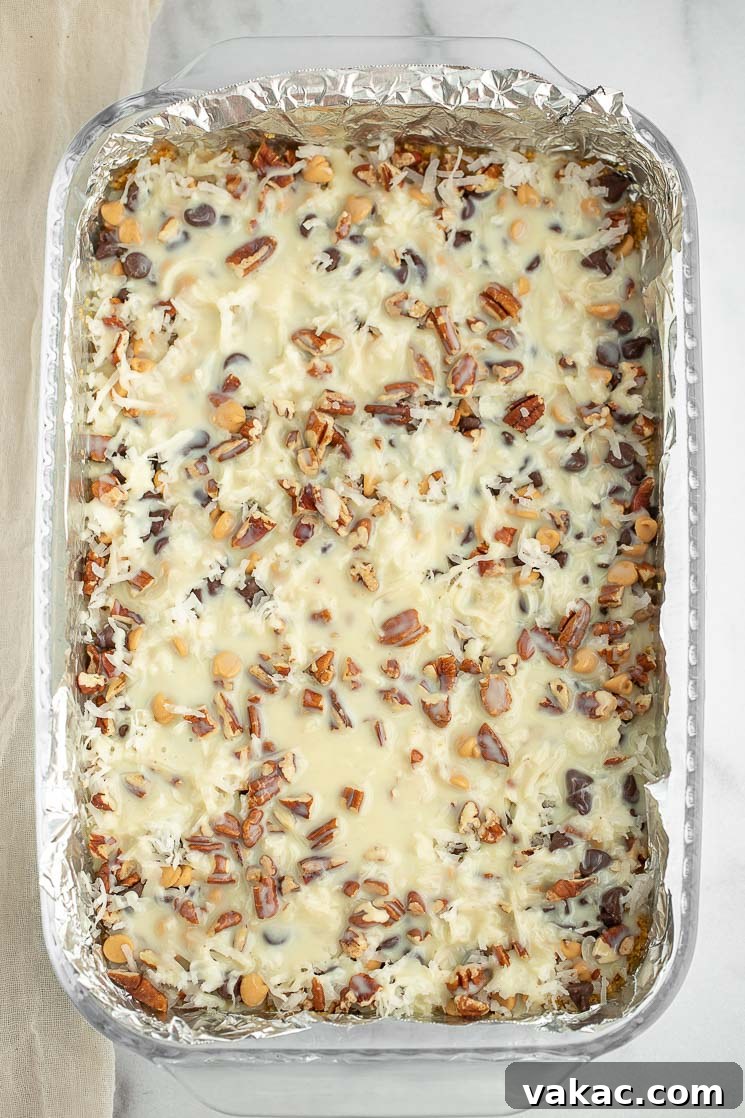
Now comes the fun part – layering! Once your crust is firmly in place, it’s time to add the remaining five ingredients. Evenly sprinkle each ingredient over the graham cracker crust, one by one. Start with the 1 cup of semi-sweet chocolate chips, followed by ¾ cup of peanut butter chips (or butterscotch). Next, distribute the 1 cup of sweetened shredded coconut, ensuring good coverage. Finally, scatter the ½ cup of chopped pecans. After all the dry layers are neatly arranged, pour the entire 14-ounce can of sweetened condensed milk evenly over the top, making sure it covers as much of the surface as possible. This milky drizzle will be absorbed during baking, creating that signature gooey texture.
The Golden Bake
Carefully transfer your layered pan into the preheated oven. Bake for approximately 25-30 minutes, or until the edges of the bars begin to turn a light golden brown, and the top is lightly toasted and bubbly. Keep a close eye on them, especially towards the end, as ovens can vary. The goal is a beautifully golden top and edges, indicating the condensed milk has caramelized and the ingredients are perfectly set. Avoid overbaking, as this can lead to dry bars.
Cool Completely and Slice
Patience is key for this final step! Once baked, remove the pan from the oven and place it on a wire rack to cool completely. This means allowing several hours for them to set up properly – attempting to slice them warm will result in a gooey, crumbly mess. For the best results, you can even prepare these the night before and let them cool overnight. Once fully cooled, use the foil or parchment paper overhang to gently lift the entire slab of bars out of the pan. Place them on a cutting board, use a sharp knife (running it under hot water and wiping clean between cuts can help for extra clean slices), and cut into your desired bar size. Now, they’re ready to enjoy!
Customizing Your Magic Cookie Bars: Variations & Substitutions
While the classic Magic Cookie Bar recipe is undeniably delicious, it also serves as a fantastic canvas for creativity! Don’t be afraid to experiment with different ingredients to tailor these bars to your taste or dietary needs.
Nut-Free Option
Easily make this recipe nut-free by simply omitting the chopped pecans. For the peanut butter chips, substitute them with butterscotch chips, white chocolate chips, or even an equal amount of additional semi-sweet chocolate chips if you prefer a richer chocolate flavor. If you miss the crunch, consider adding pretzels (ensure they are nut-free if cross-contamination is a concern) or more toasted coconut.
Different Chip Combinations
Beyond semi-sweet and peanut butter, the possibilities are endless! Try milk chocolate, dark chocolate, white chocolate, butterscotch, or even mint chocolate chips for a seasonal twist. You could also incorporate chopped candy bars like Snickers, Rolo, or M&M’s for extra indulgence.
Alternative Nuts or Seeds
If pecans aren’t your preference, walnuts, almonds, or even cashews make excellent substitutes, each offering a slightly different flavor and crunch. For a nut-free crunch, roasted sunflower seeds or pumpkin seeds can be a good option.
Adding Dried Fruits or Other Candies
For a fruity twist, sprinkle in some dried cranberries, chopped apricots, or raisins. Mini marshmallows can also be added for extra chewiness and a slightly different texture, especially if added in the last few minutes of baking or just after for a less melted effect.
Gluten-Free Considerations
To make these bars gluten-free, simply ensure you use gluten-free graham cracker crumbs or gluten-free digestive biscuits for the crust. All other ingredients are typically naturally gluten-free, but always check labels to be sure, especially for chips and condensed milk, to avoid any hidden gluten-containing additives.
Essential Tips for Baking Success
Even with a straightforward recipe like Magic Cookie Bars, a few expert tips can elevate your baking experience and ensure perfect results every time. Follow these recommendations for gooey, perfectly set bars:
- Line Your Pan: As emphasized in the instructions, lining your 9×13-inch pan with aluminum foil or parchment paper is non-negotiable. Leave enough overhang to create “handles.” This simple step is a game-changer for easy removal and clean slicing, saving you from a sticky cleanup. Don’t forget to spray the liner with nonstick spray!
- Compact Crust is Key: Ensure your graham cracker crust is pressed very firmly and evenly into the pan. A solid, compact crust prevents the bars from crumbling and provides a stable base for the layers. A measuring cup or the bottom of a glass works perfectly for this task.
- Unsalted Butter is Best: Stick to unsalted butter to control the overall saltiness of your bars. This allows the sweet flavors to shine without being overwhelmed.
- Don’t Rush the Cooling: This is arguably the most important tip. Magic Cookie Bars need to cool completely, ideally for at least 3-4 hours, or even overnight, before slicing. The sweetened condensed milk needs time to set and firm up. Attempting to cut them while warm will result in a messy, gooey pile rather than neat bars.
- Even Layering: Distribute your chocolate chips, peanut butter chips, coconut, and pecans as evenly as possible over the crust. This ensures every bite is a balanced medley of flavors and textures.
- Monitor Baking Closely: Ovens can vary. Bake until the edges are lightly golden brown and the topping is just set and bubbly. Overbaking can lead to dry, hard bars, while underbaking means they might not set properly.
- Clean Slices: Once fully cooled, use a sharp, non-serrated knife to cut the bars. For exceptionally clean cuts, wipe your knife with a damp cloth or run it under hot water and wipe dry between each slice.
Storage and Freezing Instructions
Proper storage ensures your Magic Cookie Bars remain fresh and delicious for as long as possible.
- Room Temperature: Store your magic bars in an airtight container at room temperature for up to 4 days. While they are stable at room temperature, direct sunlight or excessive heat should be avoided to prevent melting and stickiness.
- Refrigerator: For an extended shelf life or if you prefer a firmer texture, store the bars in an airtight container in the refrigerator for up to 1 week. Bring them to room temperature for about 15-20 minutes before serving for the best flavor and texture, as the chill can make them a bit firm.
- Freezing: Magic Cookie Bars freeze exceptionally well, making them perfect for meal prep or enjoying a treat later. Wrap individual bars tightly in plastic wrap, then place them in a freezer-safe airtight container or heavy-duty freezer bag. They will keep well for up to 3 months. Thaw frozen bars overnight in the refrigerator or for a few hours at room temperature before serving.
Frequently Asked Questions (FAQs)
Can I use unsweetened shredded coconut?
Yes, you can use unsweetened shredded coconut, but be aware that the overall sweetness of the bars will be slightly reduced. Sweetened coconut also provides a bit more moisture and caramelizes differently, so the texture might be subtly different.
Why are my Magic Cookie Bars too sticky?
Stickiness is usually a sign that the bars haven’t cooled completely. The sweetened condensed milk needs ample time to set. Ensure they are fully cooled to room temperature, or even chilled in the refrigerator, before attempting to slice and serve. Humidity can also contribute to stickiness, so airtight storage is crucial.
How do I get clean slices?
The key to clean slices is patience and a sharp knife. Allow the bars to cool completely (preferably chilled in the fridge for an hour or two). Use the foil overhang to lift the whole slab out of the pan onto a cutting board. Use a large, sharp knife, pressing straight down rather than sawing. For ultra-clean cuts, wipe the knife clean with a damp cloth between each slice.
Can I make Magic Cookie Bars in advance?
Absolutely! These bars are an excellent make-ahead dessert. You can bake them a day or two in advance and store them as directed. In fact, they often taste even better the next day once the flavors have had a chance to meld and deepen.
More Irresistible Bar Recipes to Explore
- Peach Crumb Bars
- No-Bake Chocolate Peanut Butter Bars
- Classic Lemon Bars
- Homemade Blondies
- Carmelitas
Magic Cookie Bars
Rated 5 out of 5 stars from 3 ratings.
These Magic Cookie Bars are incredibly simple to throw together and made with just seven ingredients. Perfect for an easy dessert when you’re short on time!
Recipe Details
- Prep Time: 15 mins
- Cook Time: 25 mins
- Cooling Time: 3 hrs
- Total Time: 3 hrs 40 mins
- Servings: 24 bars
Ingredients
- 1½ cups (175 grams) graham cracker crumbs
- ½ cup (115 grams) butter, melted and slightly cooled
- 1 cup (175 grams) semi-sweet chocolate chips
- ¾ cup (125 grams) peanut butter chips (or butterscotch chips)
- 1 cup (90 grams) sweetened shredded coconut
- ½ cup (60 grams) chopped pecans
- 1 (14-ounce) can sweetened condensed milk
Instructions
- Preheat oven to 350°F (177°C). Line a 9×13-inch pan with aluminum foil or parchment paper, leaving some overhang for easy removal, and set aside. Ensure to lightly spray the foil or parchment paper with nonstick cooking spray.
- Add the graham cracker crumbs and melted butter to a mixing bowl and stir until all of the crumbs are moistened. Scoop into the prepared pan and firmly press it down into one even layer, using the bottom of a measuring cup or glass for best results.
- Evenly sprinkle the chocolate chips over the crust, followed by the peanut butter chips, then the shredded coconut, and finally the chopped pecans. Pour the entire can of sweetened condensed milk over the top of the layered ingredients, ensuring even coverage.
- Bake at 350°F (177°C) for 25-30 minutes, or until the edges begin to brown and the top is lightly golden and bubbly. Remove from the oven and cool completely on a wire rack.
- Once the bars have cooled completely in the pan (this is crucial for clean slices!), use the overhang from the foil or parchment paper to lift them out. Slice into bars of your desired size, and enjoy this magical treat!
Notes
- Storage Instructions: Store bars in an airtight container at room temperature for up to 4 days. For a firmer texture or longer storage, refrigerate for up to 1 week.
- Freezing Instructions: Bars will freeze well for up to 3 months. Wrap individual bars tightly and thaw overnight in the refrigerator or at room temperature for a few hours.
- Graham Cracker Crumbs: Using store-bought crumbs simplifies the process. If making your own, you’ll need 11-12 full sheets of graham crackers to yield 1½ cups of crumbs.
Recipe Information
- Cuisine: American
- Course: Dessert
- Author: Danielle Rye
We hope you enjoy making and sharing these classic Magic Cookie Bars as much as we do. Their irresistible combination of flavors and textures, coupled with their ease of preparation, makes them a perennial favorite. Happy baking!
Did you make this recipe? We’d love to see your creations! Mention @livewellbakeoften on Instagram or tag #livewellbakeoften. Your delicious photos inspire us!