
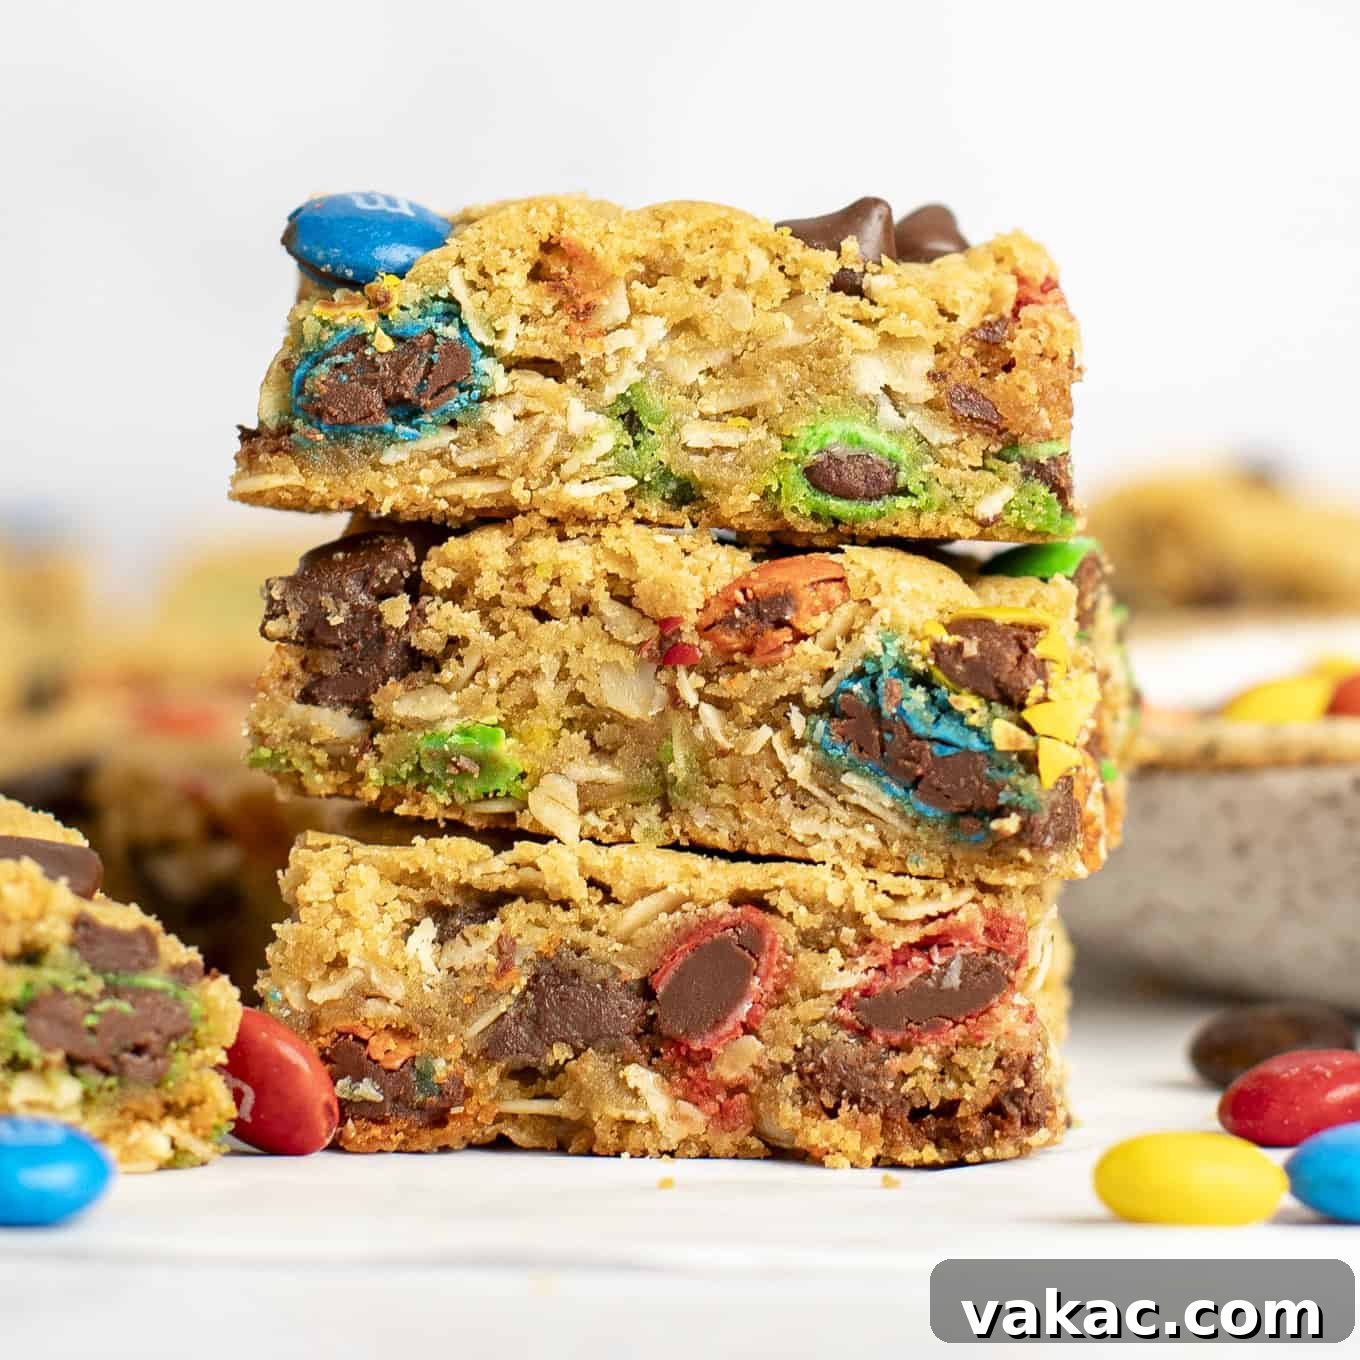
Get ready to whip up a batch of the most irresistibly soft and chewy monster cookie bars you’ve ever tasted! These delightful treats are packed with all the classic “monster” ingredients: creamy peanut butter, hearty oats, rich chocolate chips, and colorful M&M’s. What makes this recipe truly special is its incredible simplicity. Forget about chilling dough or dealing with multiple bowls; this easy, no-chill cookie dough goes straight from your mixing bowl to the oven, delivering a pan of perfection with minimal fuss.
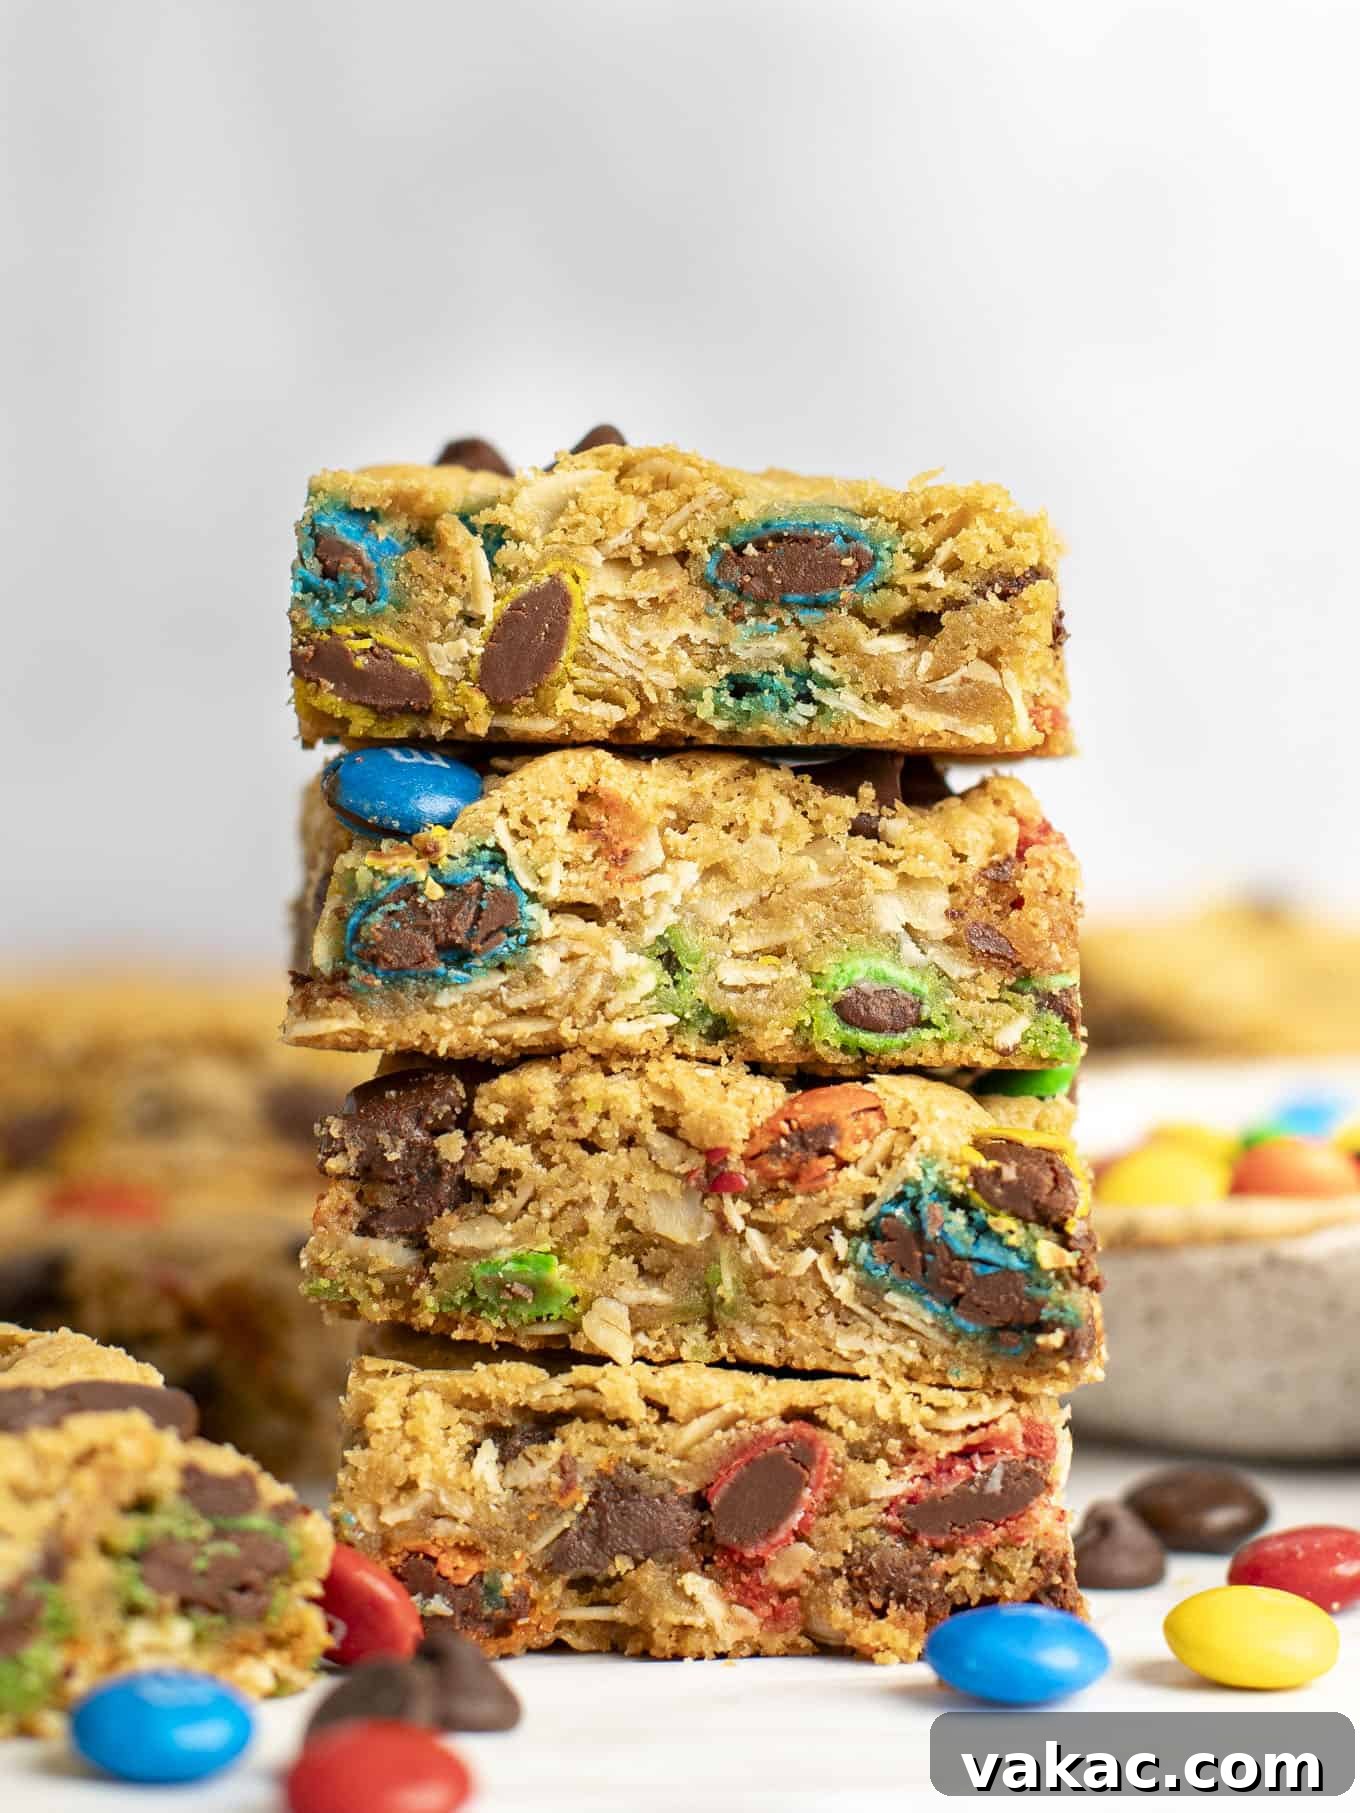
Building on the beloved foundation of classic monster cookies, this recipe ingeniously transforms them into convenient, shareable bars. Each bite offers a harmonious blend of sweet and savory, with the unmistakable flavor of peanut butter complemented by the satisfying chew of oats and the delightful crunch of M&M’s and chocolate chips. Because the dough is simply pressed into a pan, it eliminates the need for any chilling time, making these bars a quick and easy solution when a dessert craving strikes or you need a last-minute treat for a gathering.
Unleash the Flavor: Why You’ll Adore These Monster Cookie Bars
These monster cookie bars aren’t just a dessert; they’re an experience. They capture the nostalgic charm of classic homemade cookies but in a more manageable, less time-consuming bar format. Perfect for busy weeknights, holiday parties, school bake sales, or simply a cozy evening at home, their universal appeal makes them a favorite among all ages. From their inviting aroma as they bake to their satisfying texture and vibrant appearance, these bars are designed to impress.
The Perfect Blend of Sweet and Chewy Perfection
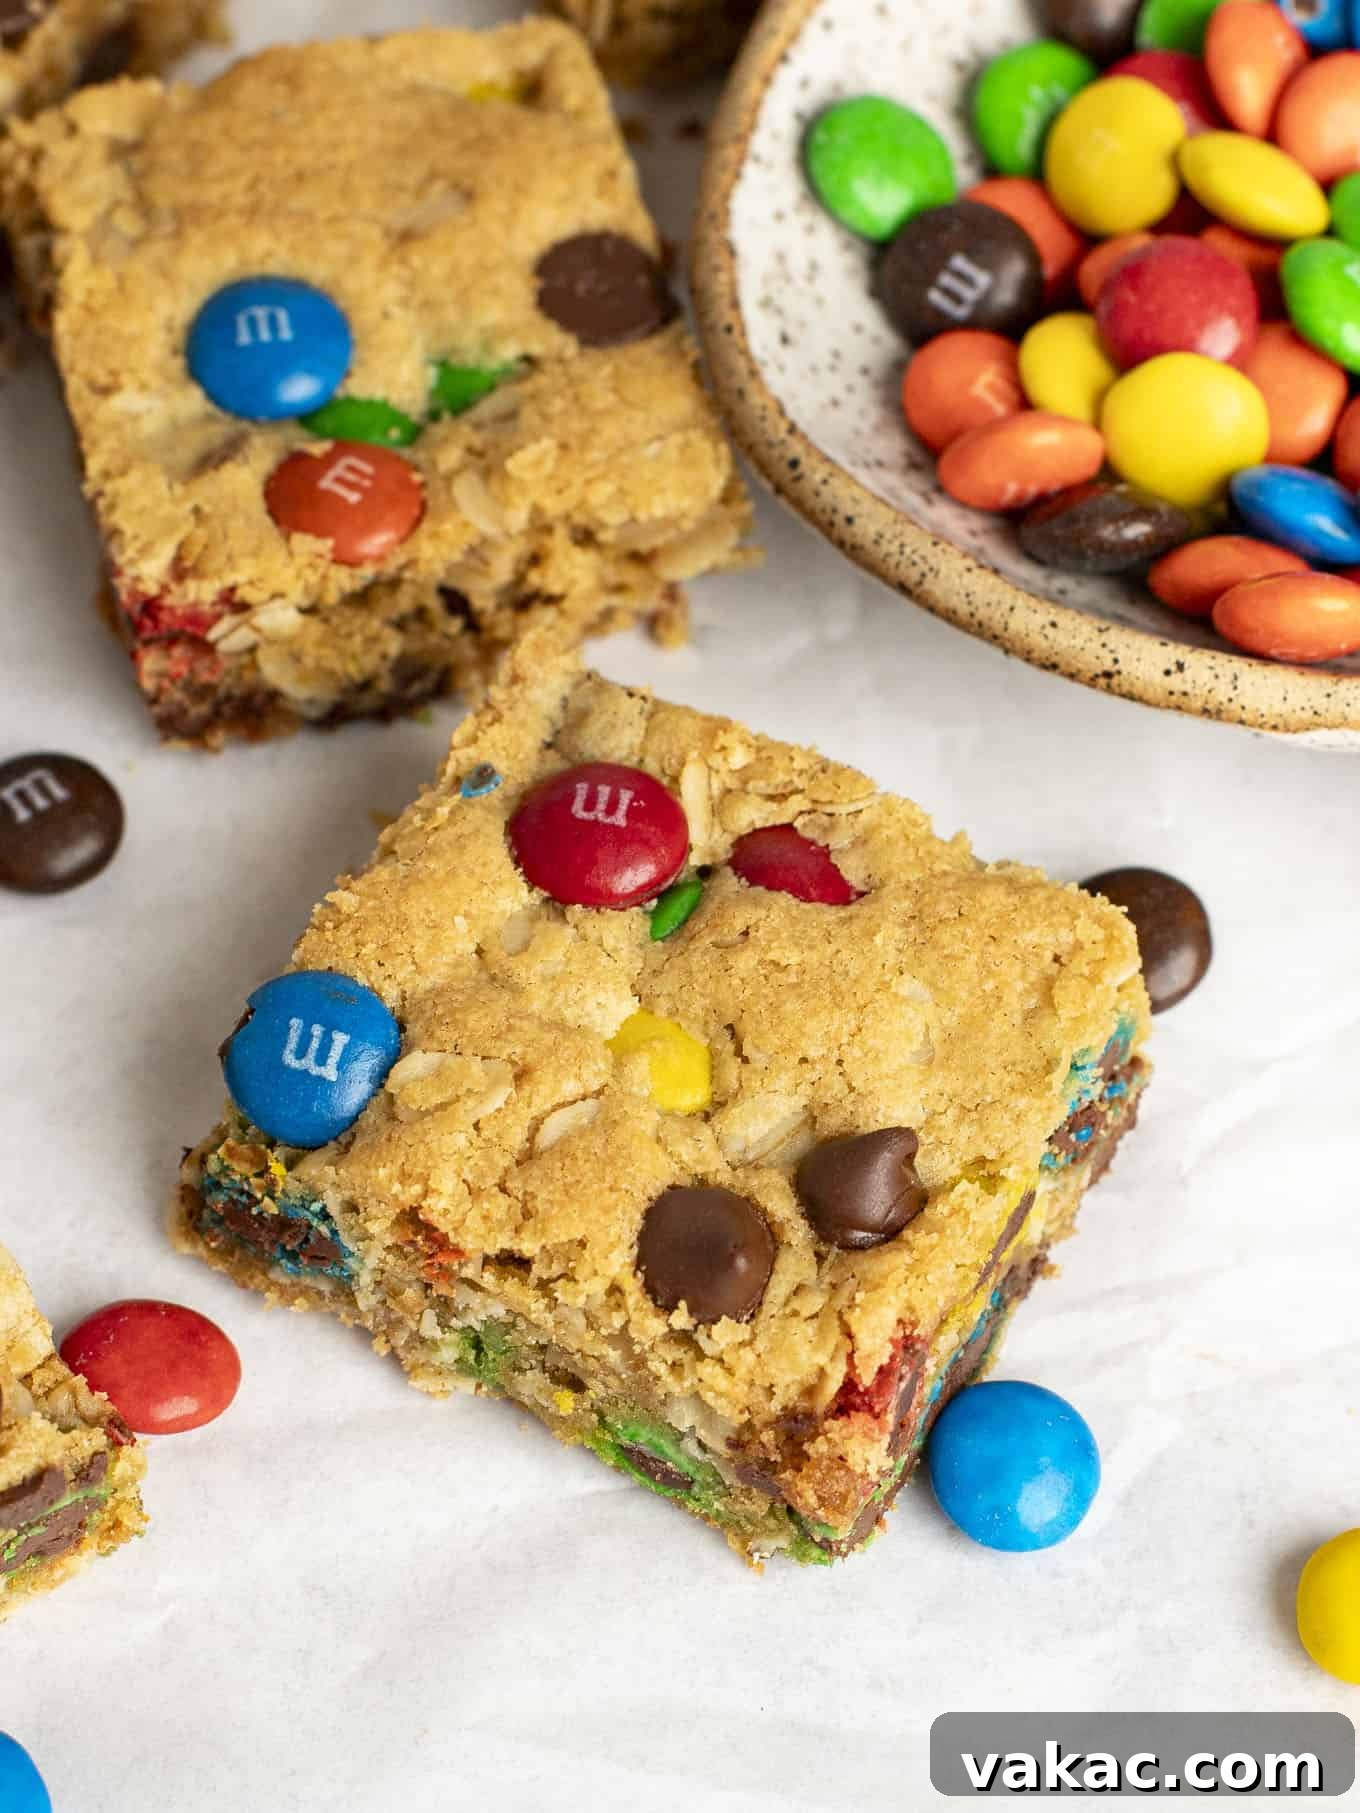
What truly sets these monster cookie bars apart is their incredible texture. They boast a perfectly soft interior with slightly crisp edges, thanks to the harmonious blend of melted butter and brown sugar. The inclusion of oats provides a wonderful chewiness that contrasts beautifully with the smooth peanut butter base. Then, there’s the delightful surprise in every bite from the varied textures of melting chocolate chips and crunchy M&M’s. It’s a symphony of flavors and textures that will have everyone reaching for a second (or third!) bar.
Effortless Baking for Any Occasion
One of the greatest advantages of this recipe is its straightforward approach. Utilizing just one mixing bowl means less cleanup and more time to enjoy your creation. The “no-chill” dough is a game-changer, allowing you to go from craving to confection in under an hour. This makes them an ideal choice for impromptu gatherings, a fun baking project with kids, or whenever you need a delicious dessert without the hassle. Plus, with the simple swap of seasonal M&M’s, these bars can be customized to suit any holiday or special event, adding a festive touch to your celebrations.
Mastering Your Monster Cookie Bars: Essential Ingredient Notes
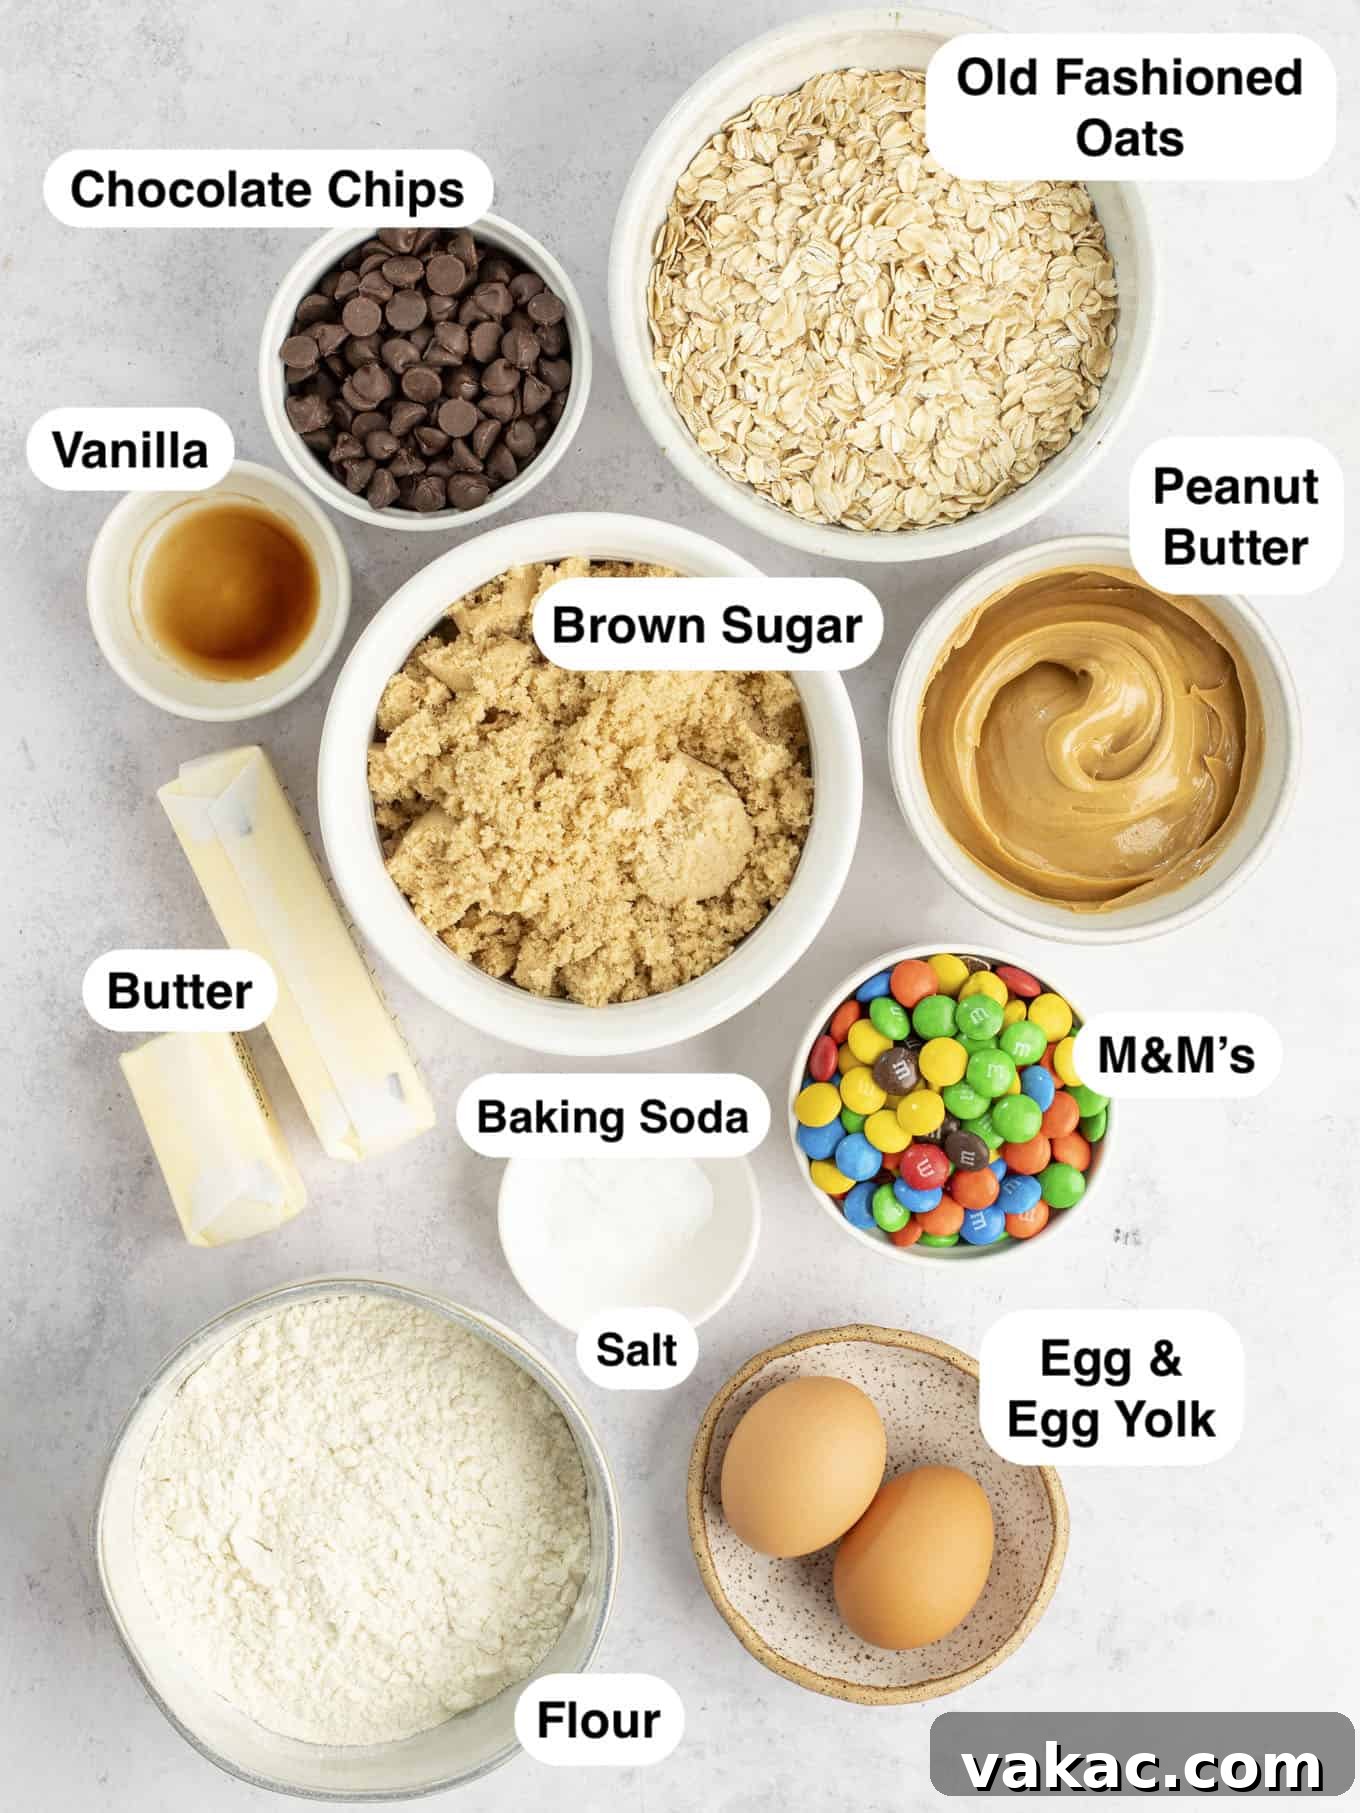
The success of any great recipe lies in understanding its ingredients. Here’s a detailed look at the key components for your monster cookie bars, ensuring you achieve the best possible results:
- Peanut Butter: For these bars, a creamy, no-stir peanut butter is your best friend. Brands like Jif or Skippy work perfectly, offering the right consistency and flavor balance. Avoid natural peanut butter that separates, as its oil content can make your bars greasy and affect their texture. The smooth texture of traditional peanut butter helps create a uniform and rich dough.
- Oats: This recipe has been successfully tested with both old-fashioned rolled oats and quick oats. While both will yield delicious results, I personally recommend using old-fashioned rolled oats. They contribute a more substantial and satisfying chewiness to the bars, enhancing the overall texture. Quick oats will still work but might result in a slightly softer bar.
- Light Brown Sugar: This isn’t just for sweetness; light brown sugar is crucial for keeping your bars incredibly moist and wonderfully chewy. Its molasses content also adds a depth of flavor that granulated sugar alone cannot provide. If you find yourself without brown sugar, you can easily make your own by combining granulated sugar with a touch of molasses. Ensure it’s firmly packed into your measuring cup for accurate results.
- Eggs: The recipe calls for one whole large egg plus an additional large egg yolk. This combination is a secret weapon in many cookie recipes! The extra egg yolk adds richness, enhances flavor, and contributes to a softer, more tender crumb. Don’t discard the extra egg white! It can be used in a variety of other recipes, such as candied almonds, candied pecans, or a protein-packed morning egg scramble.
- M&M’s: Regular M&M’s are a classic choice, providing vibrant color and a burst of chocolatey sweetness. However, feel free to get creative! You can use any color M&M’s you prefer to match a theme, or even explore different M&M varieties like peanut butter M&M’s for an extra flavor kick.
- Chocolate Chips: Semi-sweet chocolate chips are recommended in this recipe to perfectly balance the sweetness from the M&M’s and brown sugar, preventing the bars from becoming overly sweet. They melt beautifully, creating pockets of gooey chocolate throughout.
- All-Purpose Flour: The foundation of our bar, ensure you measure it correctly by spooning it into your measuring cup and then leveling it off with a straight edge. This prevents over-measuring, which can lead to dense, dry bars.
- Baking Soda: This leavening agent reacts with the brown sugar and other ingredients to give the bars their soft, slightly risen texture.
- Salt: A small amount of salt is essential to balance the sweetness and enhance all the other flavors in the bars. Don’t skip it!
Step-by-Step Guide: Crafting Your Ultimate Monster Cookie Bars
Follow these easy steps to create your perfect batch of monster cookie bars. Precision in preparation and attention to detail will ensure amazing results every time.
- Prepare Your Oven and Baking Pan: Begin by preheating your oven to 350°F (177°C). Next, line a 9×13-inch baking dish with parchment paper or aluminum foil. Leave a generous overhang on the longer sides; this “sling” will serve as handles, making it incredibly easy to lift the cooled bars out of the pan later. Lightly spray the lined pan with non-stick cooking spray, even over the parchment paper, to prevent any sticking. Set this prepared pan aside.
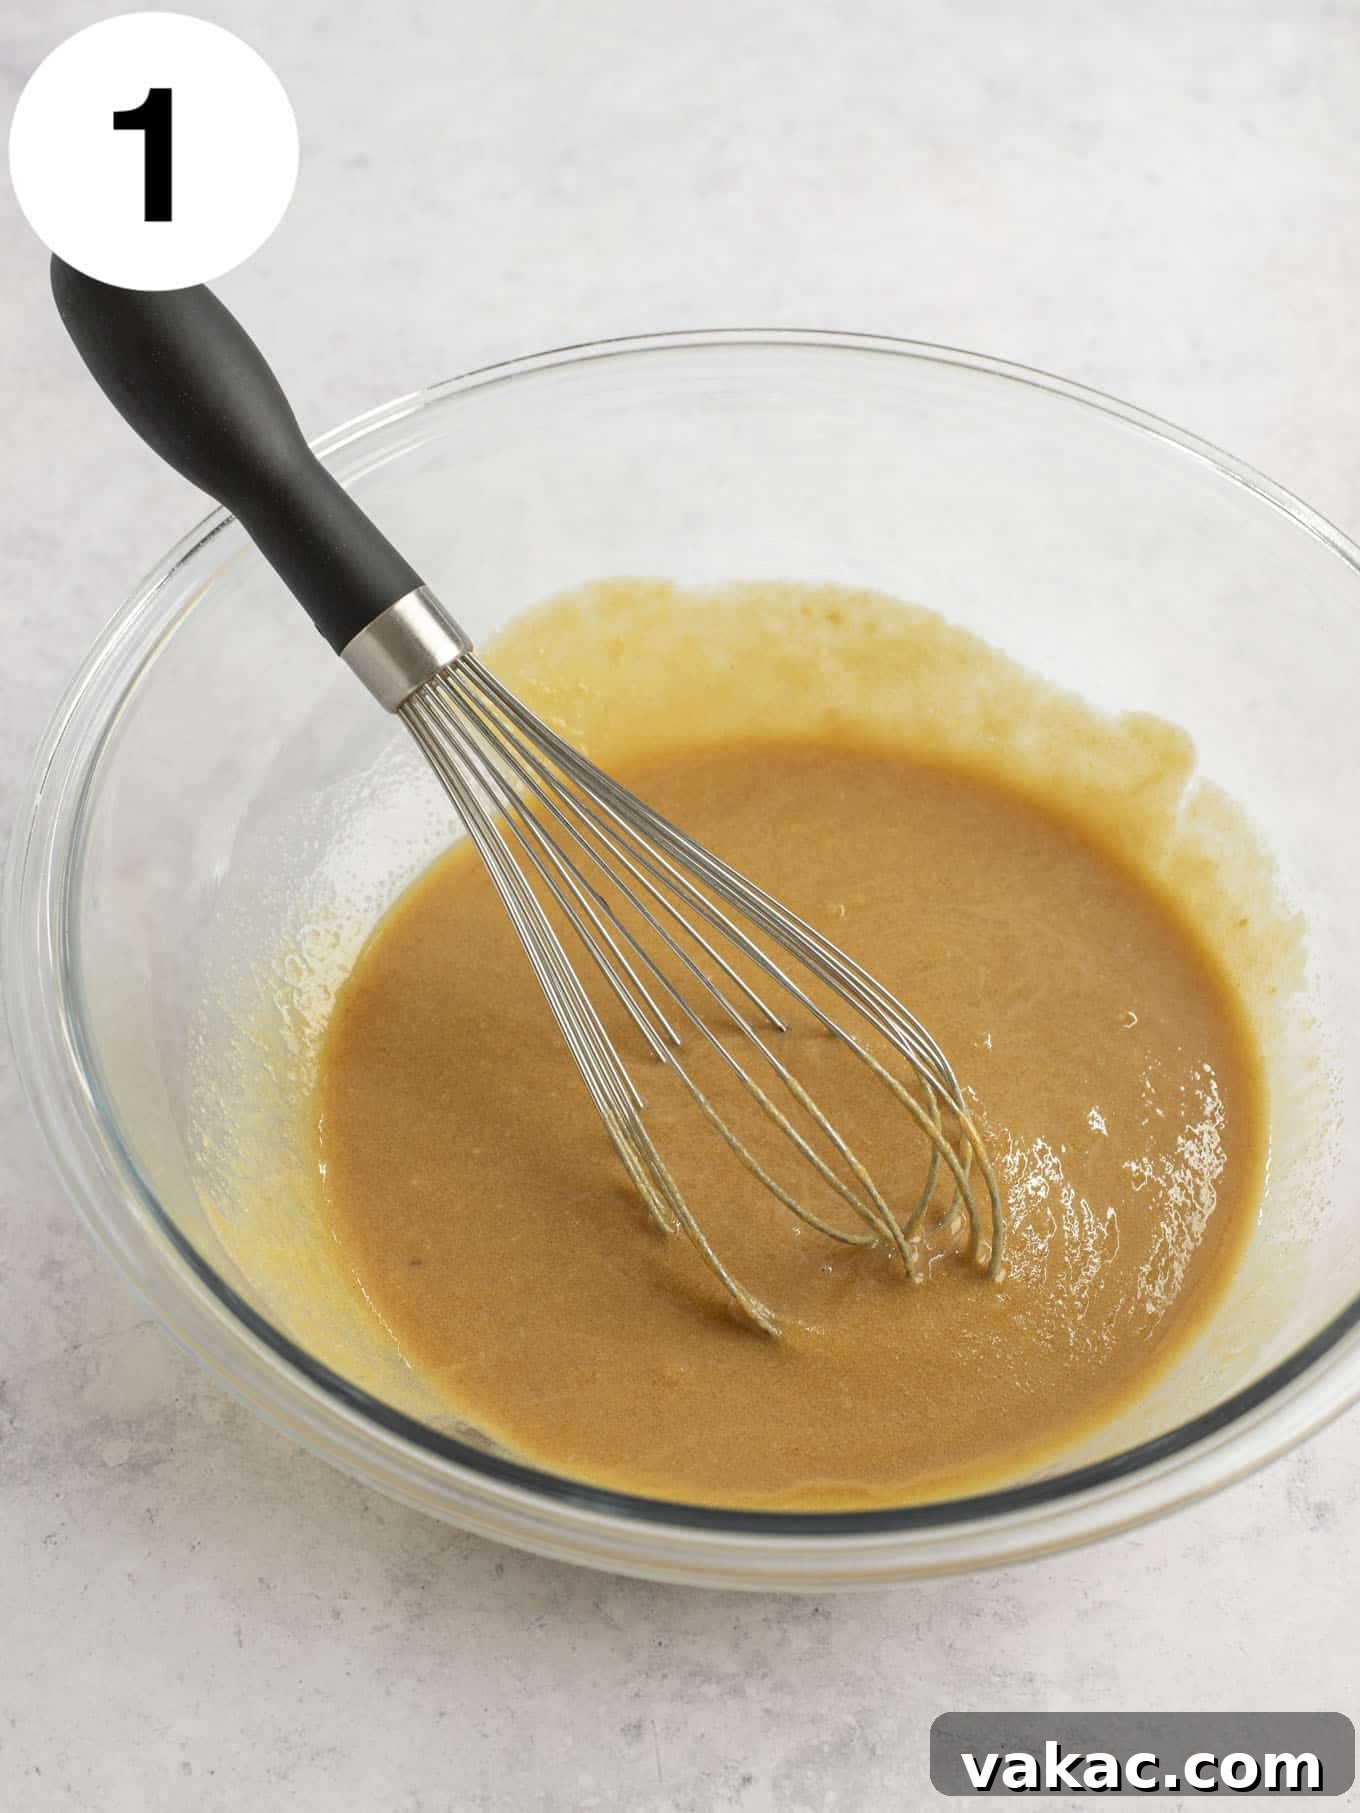
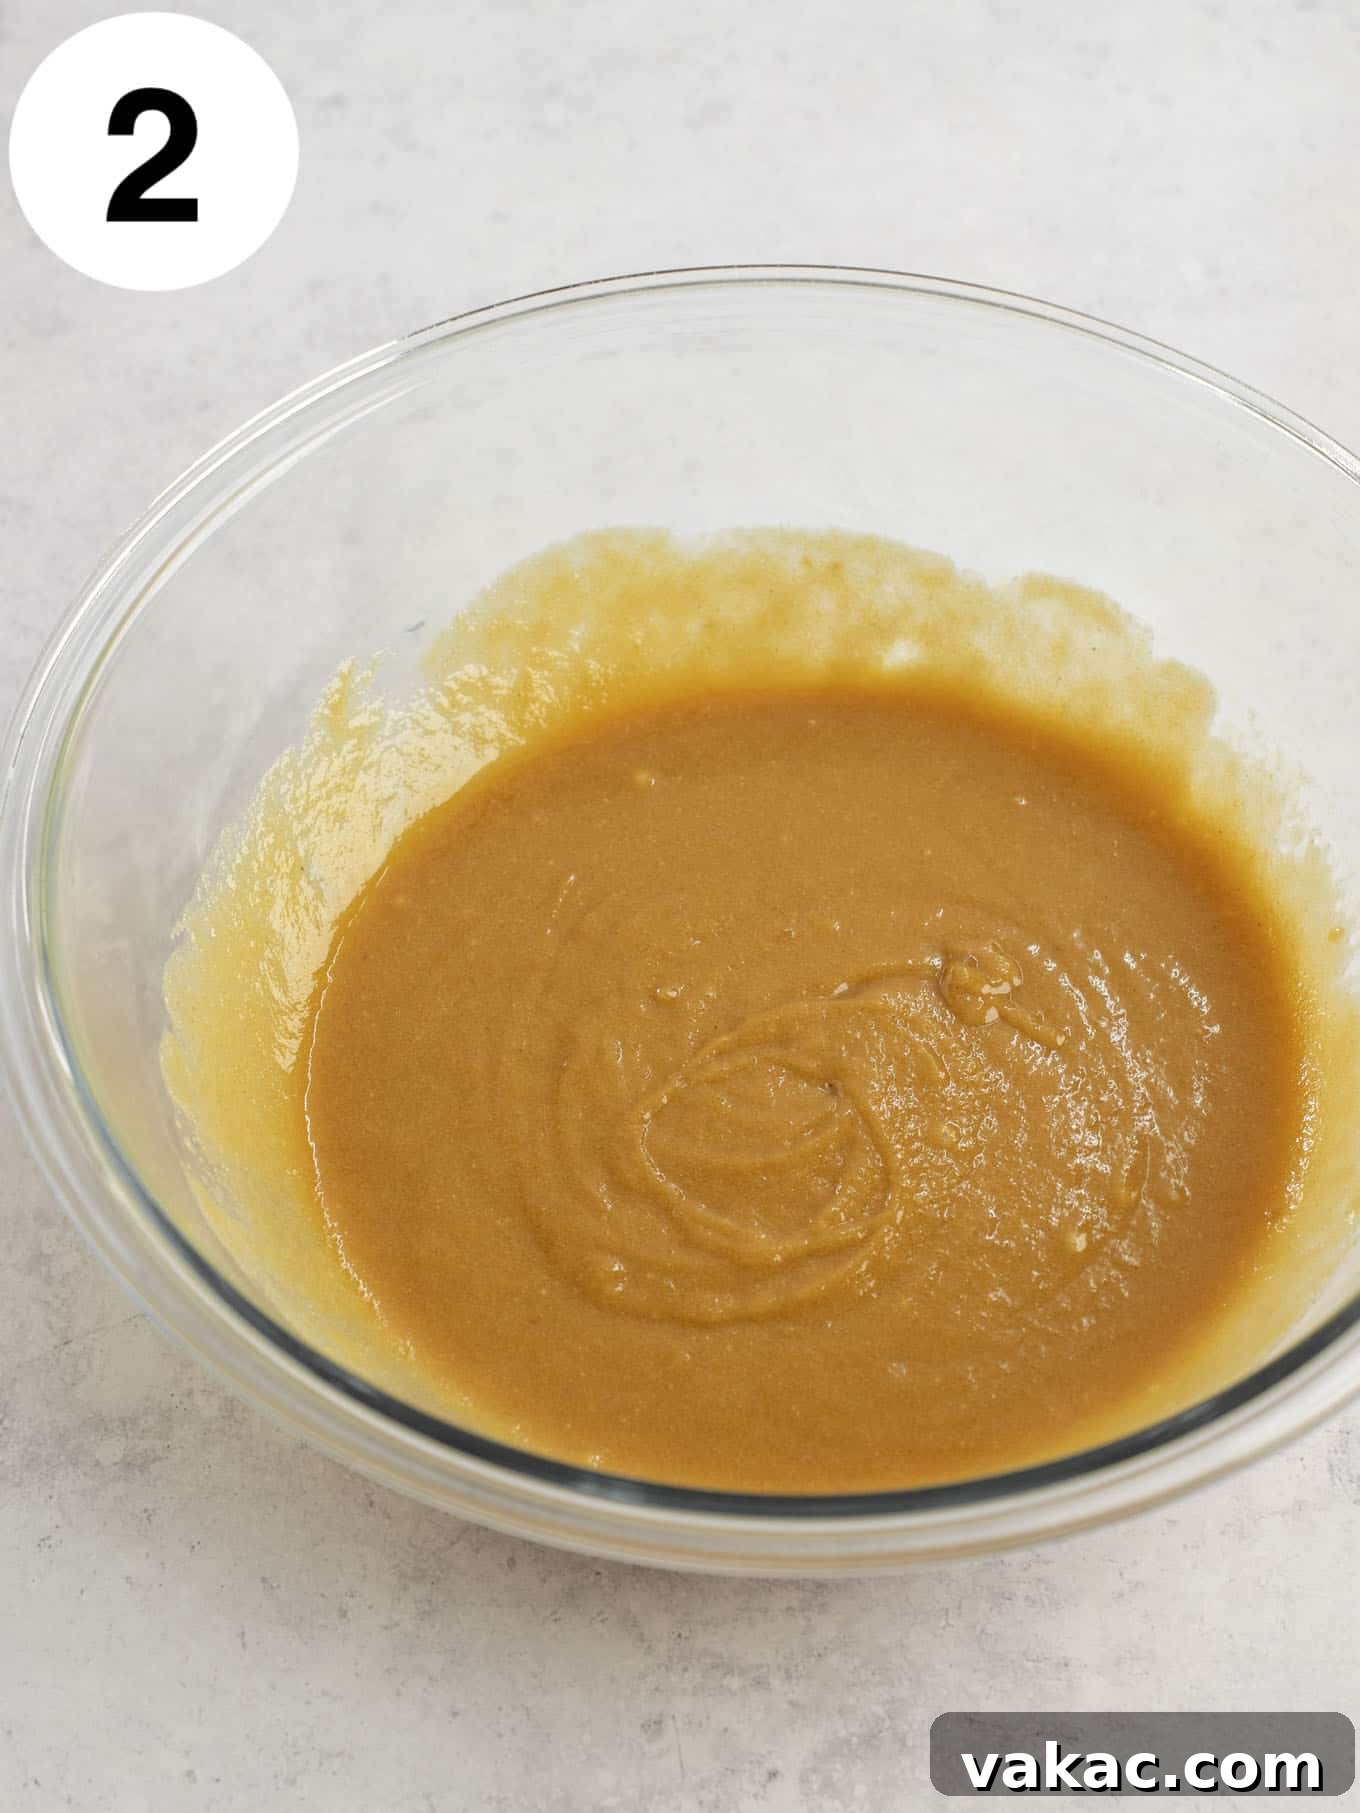
- Combine the Wet Ingredients (Butter, Peanut Butter, Brown Sugar): In a large mixing bowl – remember, this is a one-bowl wonder! – combine the melted (and slightly cooled) unsalted butter with the creamy peanut butter. Whisk these two ingredients together until they are thoroughly blended and smooth. Then, add the packed light brown sugar to the mixture. Continue whisking until the sugar is fully incorporated, and the mixture appears creamy and uniform.
- Incorporate Egg, Egg Yolk, and Vanilla: To the peanut butter and brown sugar mixture, add the large egg, the extra large egg yolk, and the pure vanilla extract. Whisk gently until these ingredients are just combined. Be careful not to overmix at this stage; simply combine until no streaks of egg or vanilla are visible. The egg and yolk contribute to the bars’ rich flavor and tender texture, while vanilla extract enhances all the sweet notes.
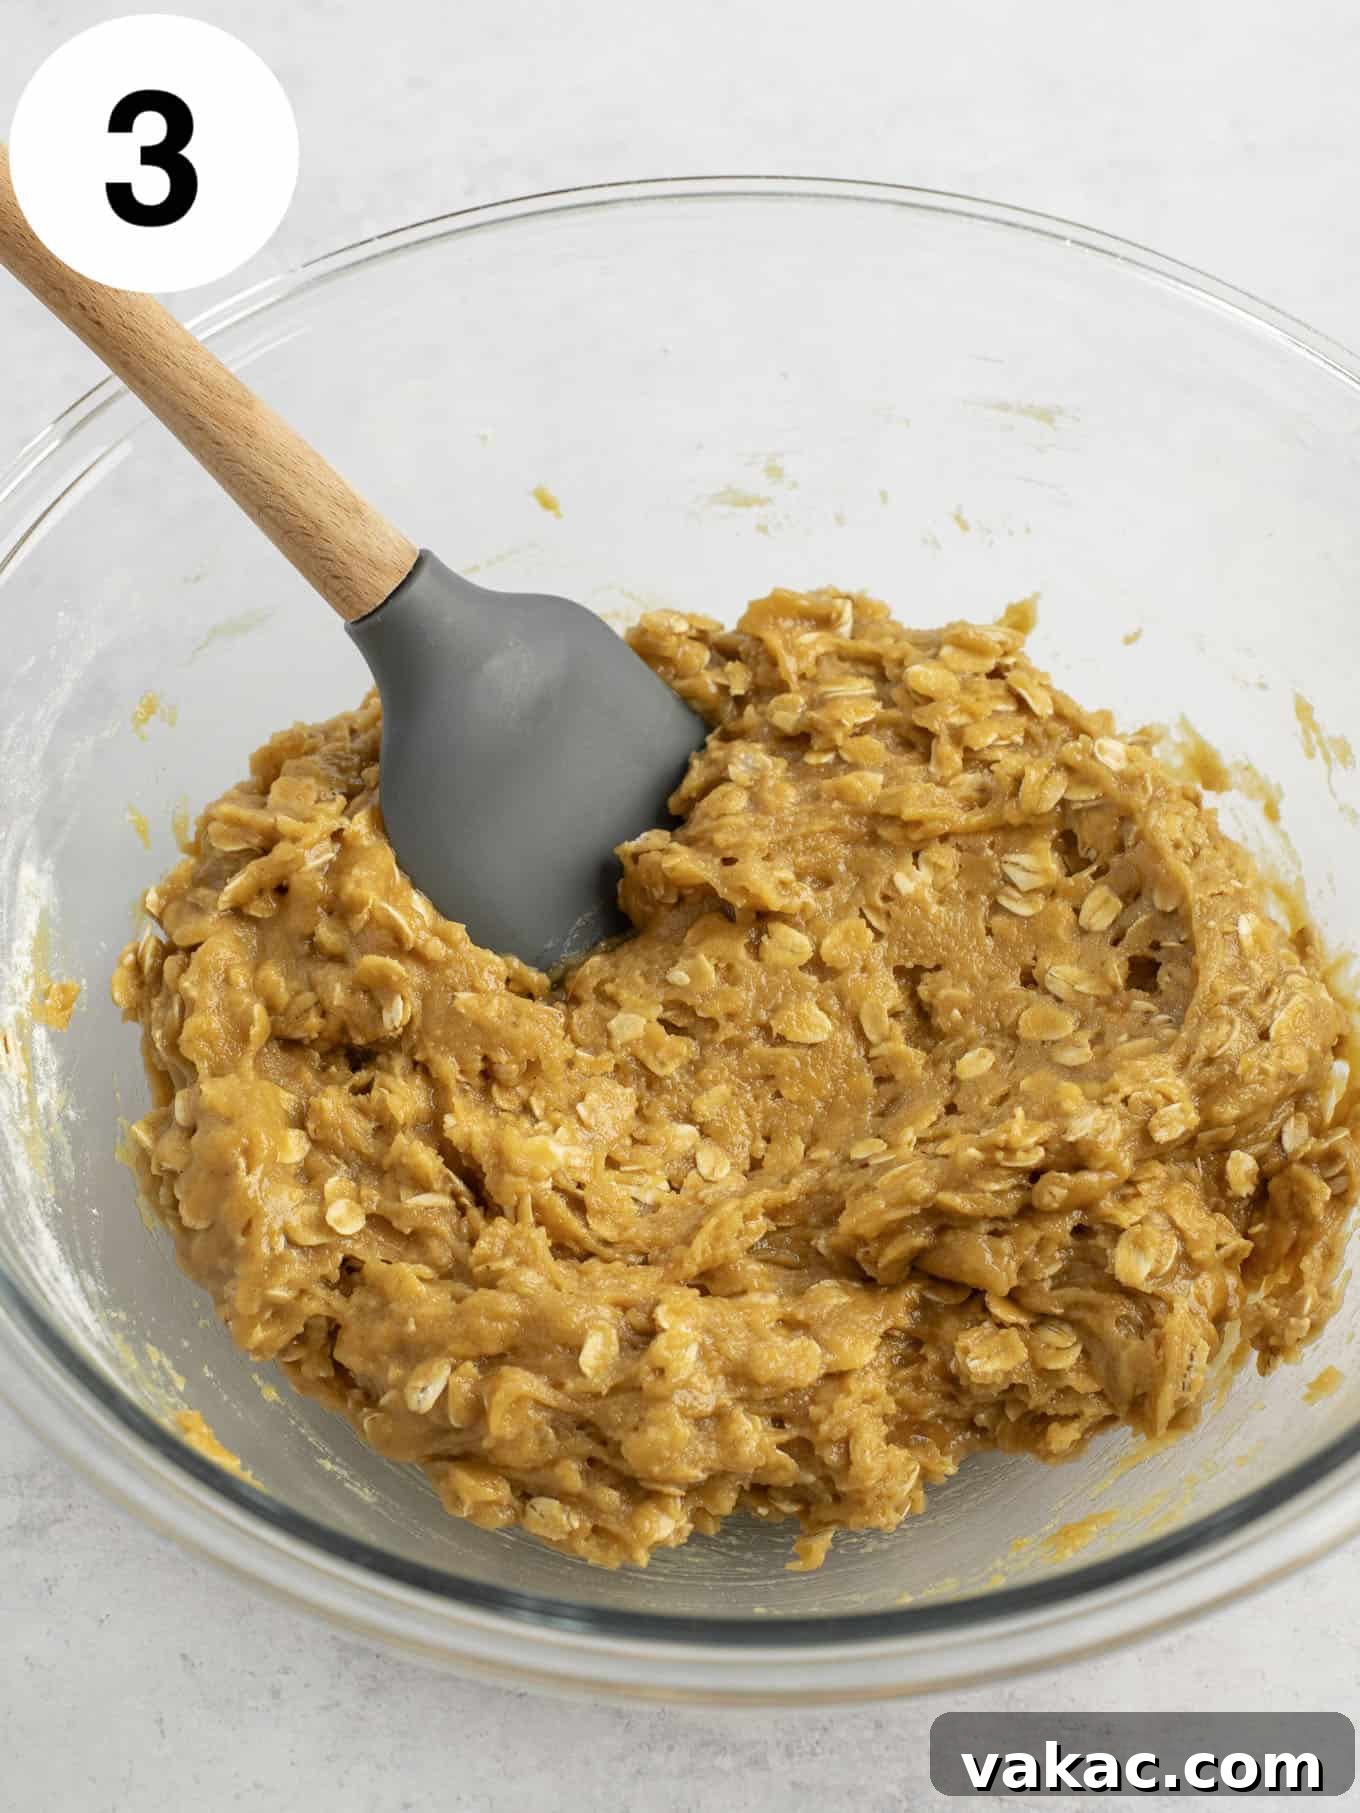
- Add the Dry Ingredients: Now, it’s time to incorporate the remaining dry ingredients. Add the all-purpose flour (remember to spoon and level!), old-fashioned rolled oats, baking soda, and salt to the same mixing bowl. Using a sturdy rubber spatula or a wooden spoon, stir the dry ingredients into the wet mixture. Mix only until they are just combined and no pockets of dry flour remain. Overmixing the flour can develop the gluten too much, resulting in tougher, less tender bars, so mix gently and stop as soon as it comes together.
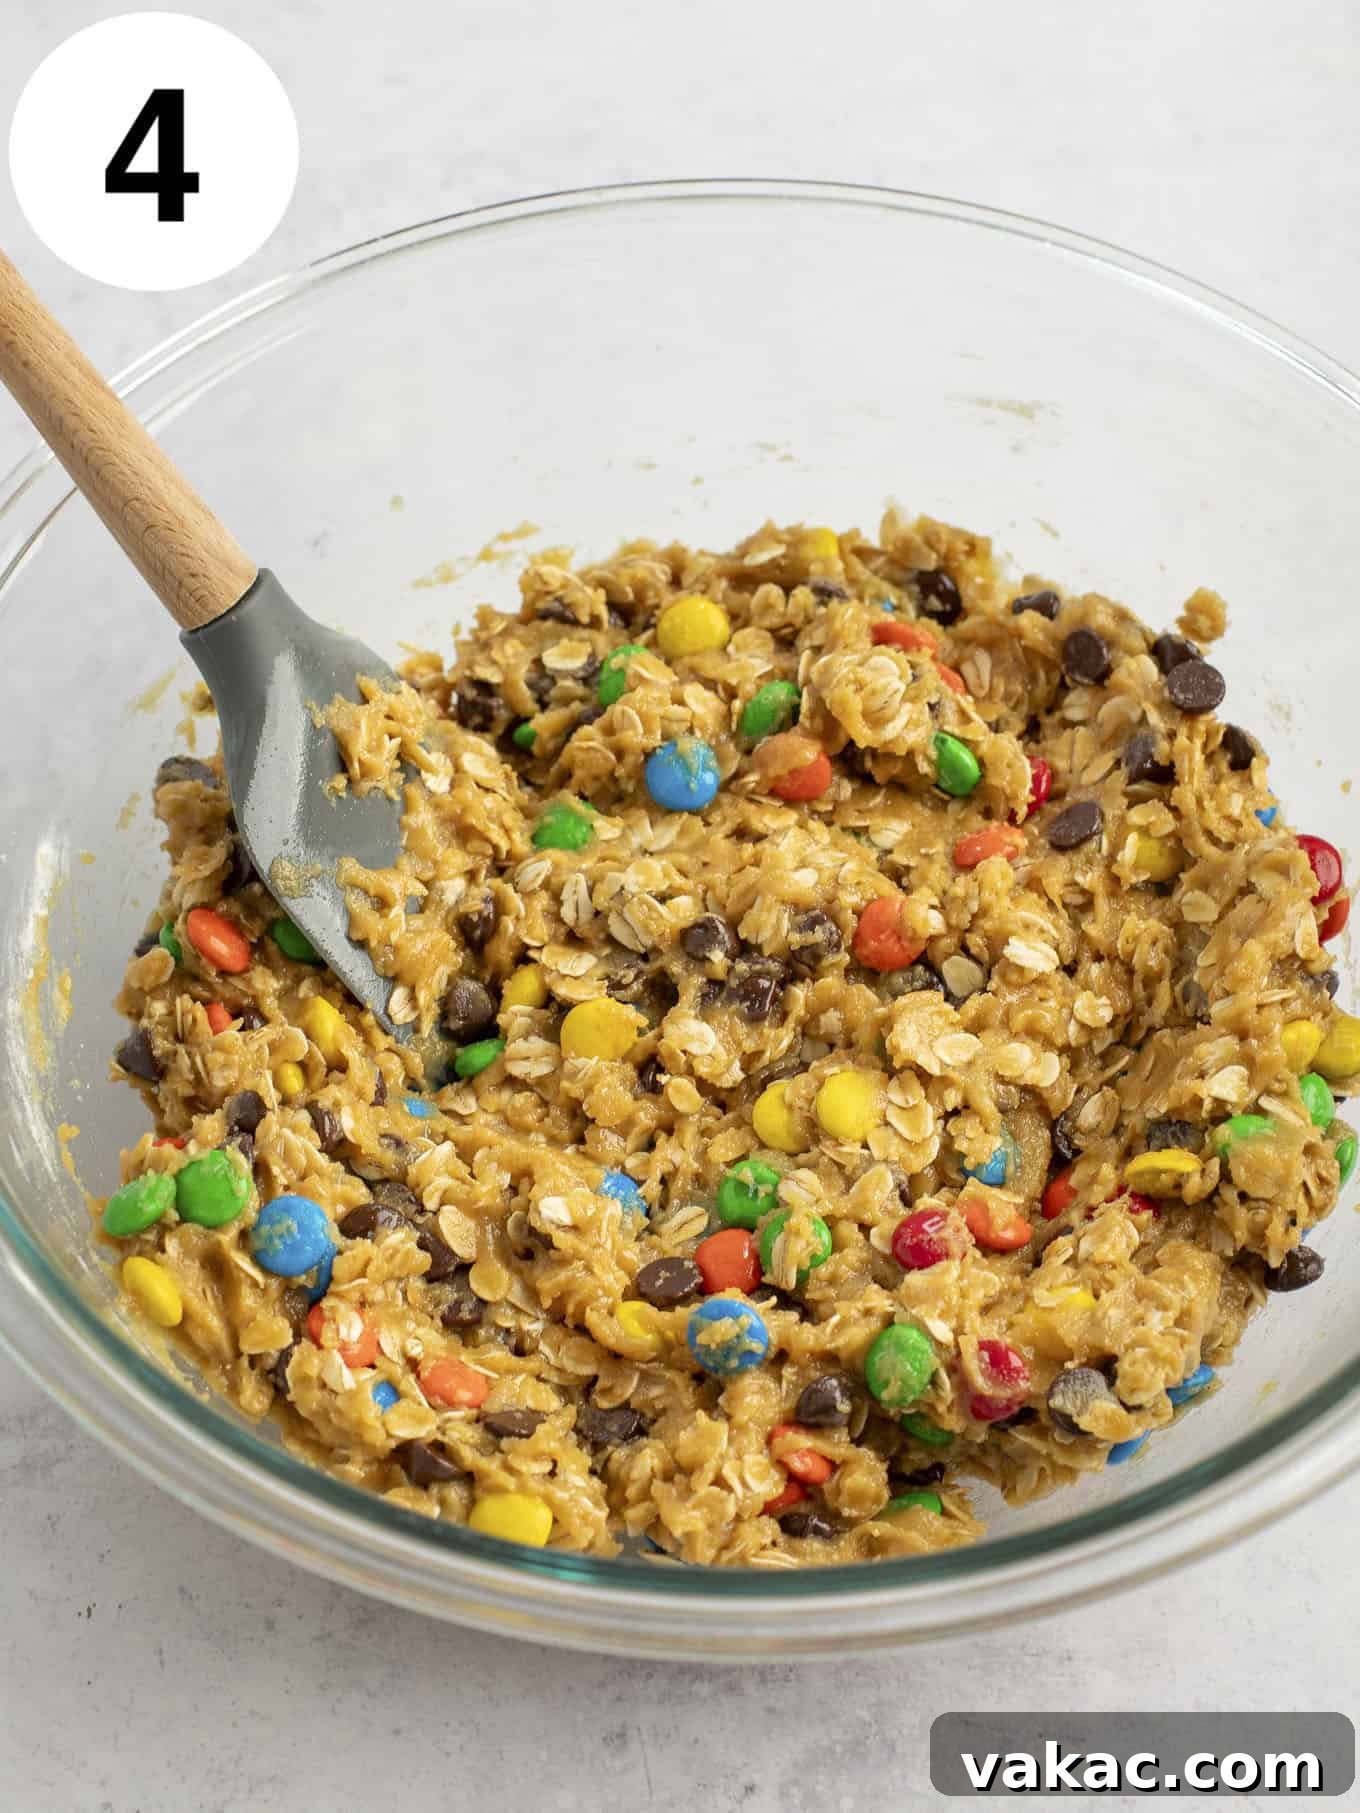
- Fold in the Mix-ins: The final step for the dough! Gently fold in the M&M’s and semi-sweet chocolate chips using your rubber spatula. Distribute them evenly throughout the dough to ensure every bite of your monster cookie bar is loaded with deliciousness.
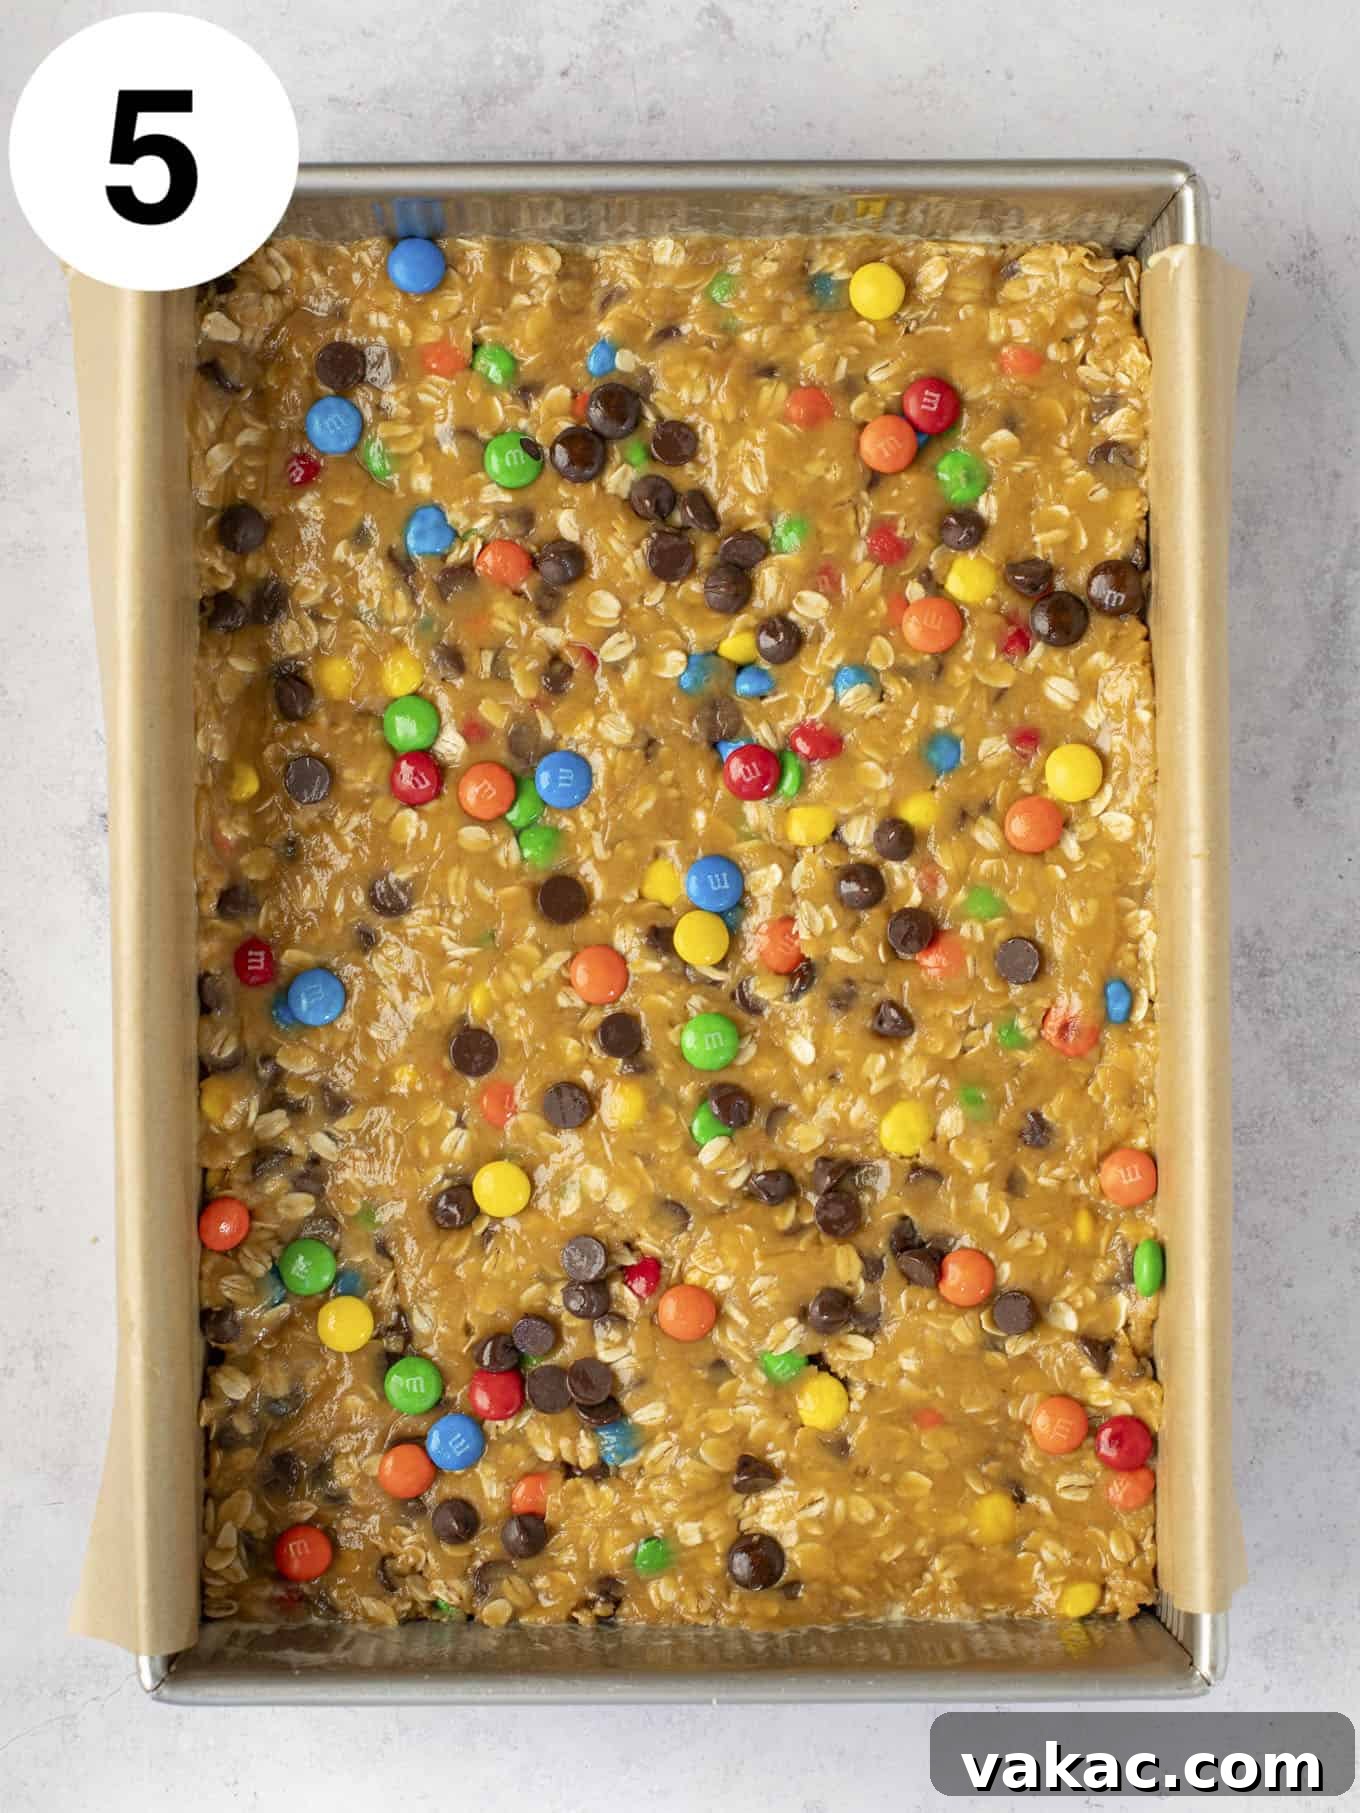
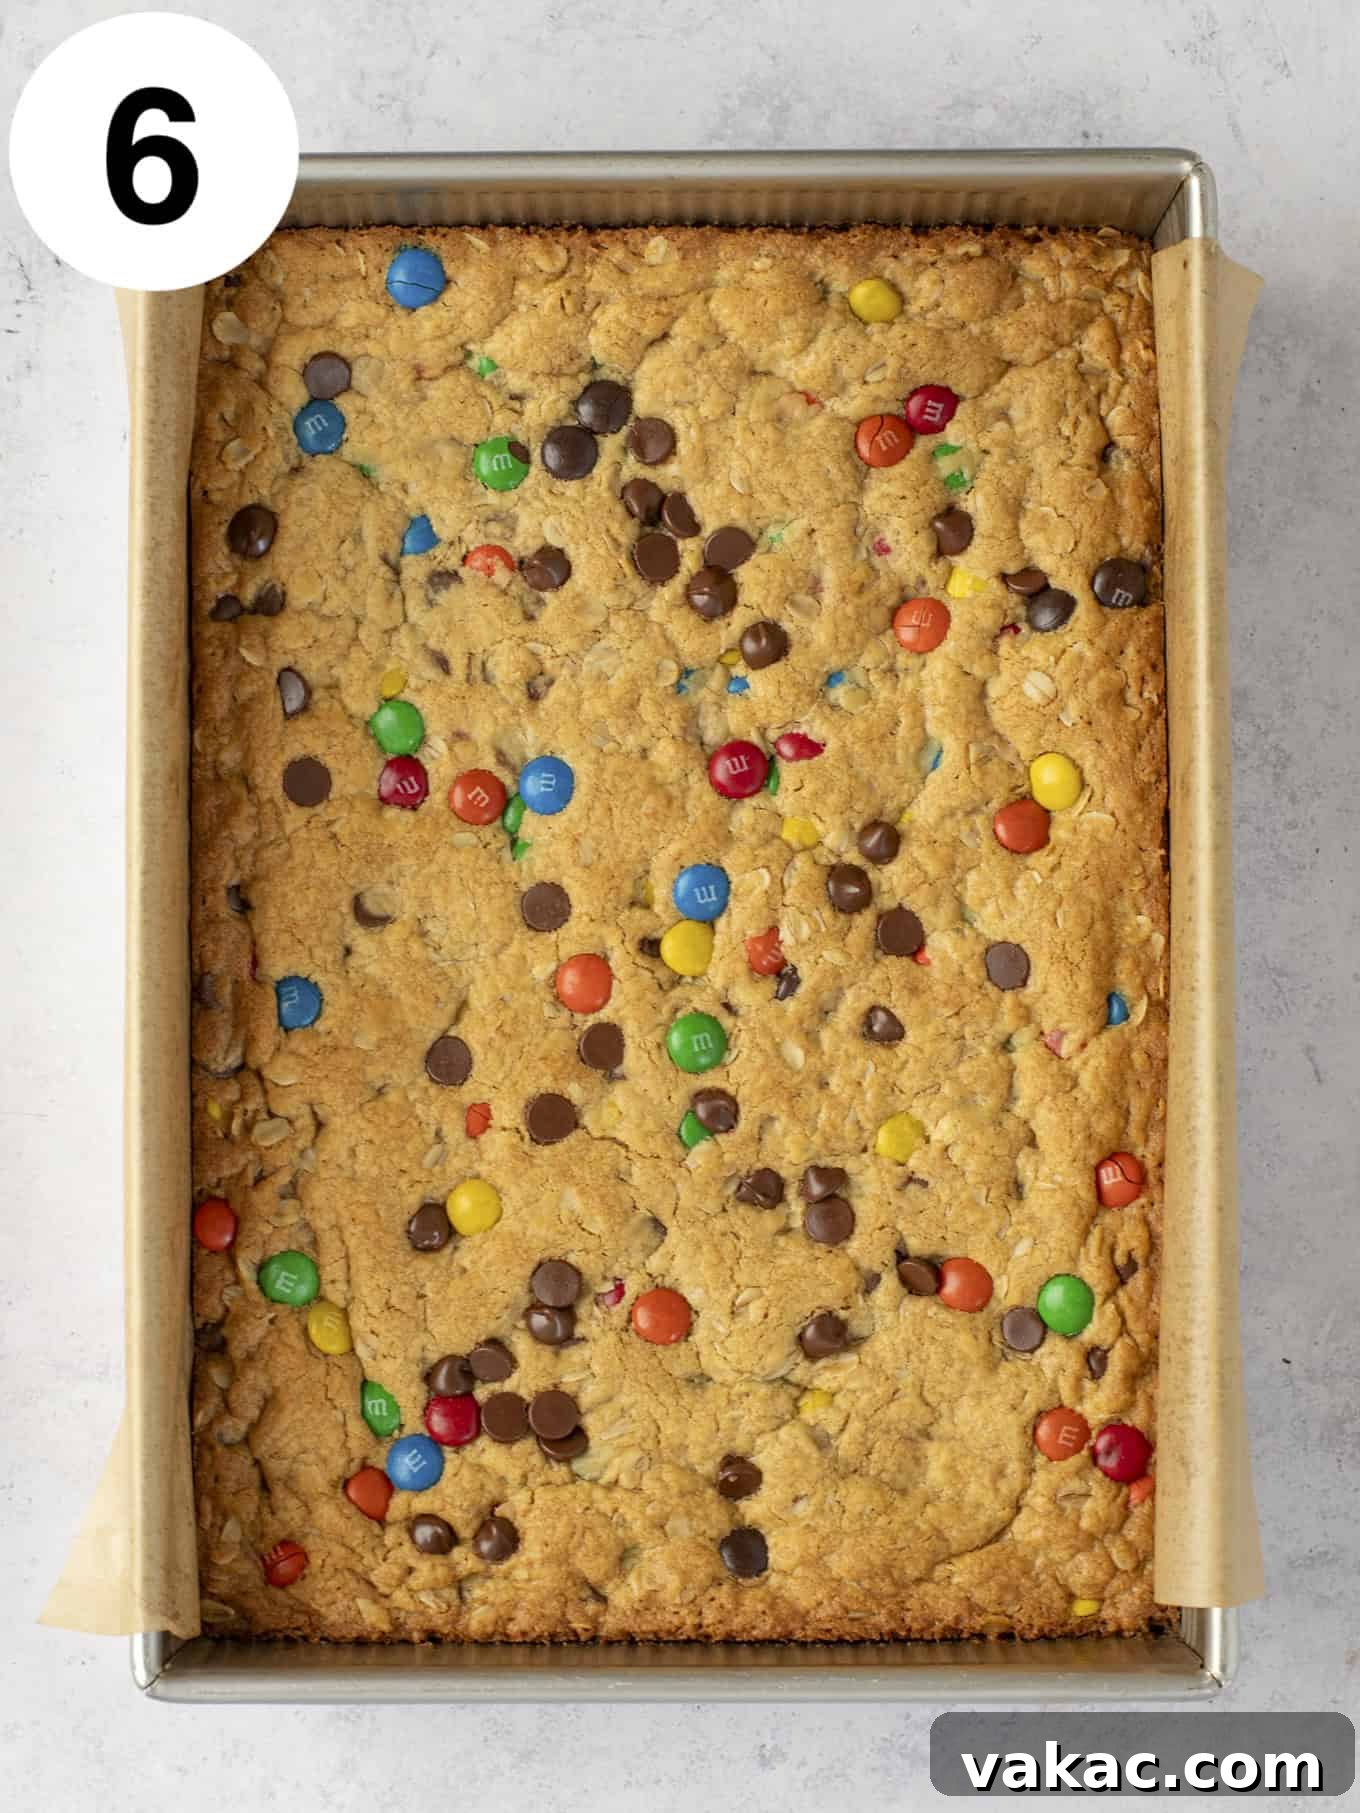
- Transfer Dough to Baking Dish: Scoop the prepared cookie dough into your lined 9×13-inch baking dish. Using the back of your spatula, a spoon, or even lightly greased hands, press the cookie dough down firmly and evenly into a single, smooth layer across the entire bottom of the pan. This ensures uniform baking. For an extra pop of color and texture, you can sprinkle a few more M&M’s and chocolate chips on top of the pressed dough before baking.
- Bake to Perfection: Place the baking dish in your preheated oven and bake for approximately 23 to 28 minutes. You’ll know the bars are done when the top looks set, no longer wet or gooey, and appears lightly browned around the edges and across the surface. A toothpick inserted into the center should come out mostly clean, with perhaps a few moist crumbs attached, but no wet batter. The bars will be quite soft when they first come out of the oven, which is normal.
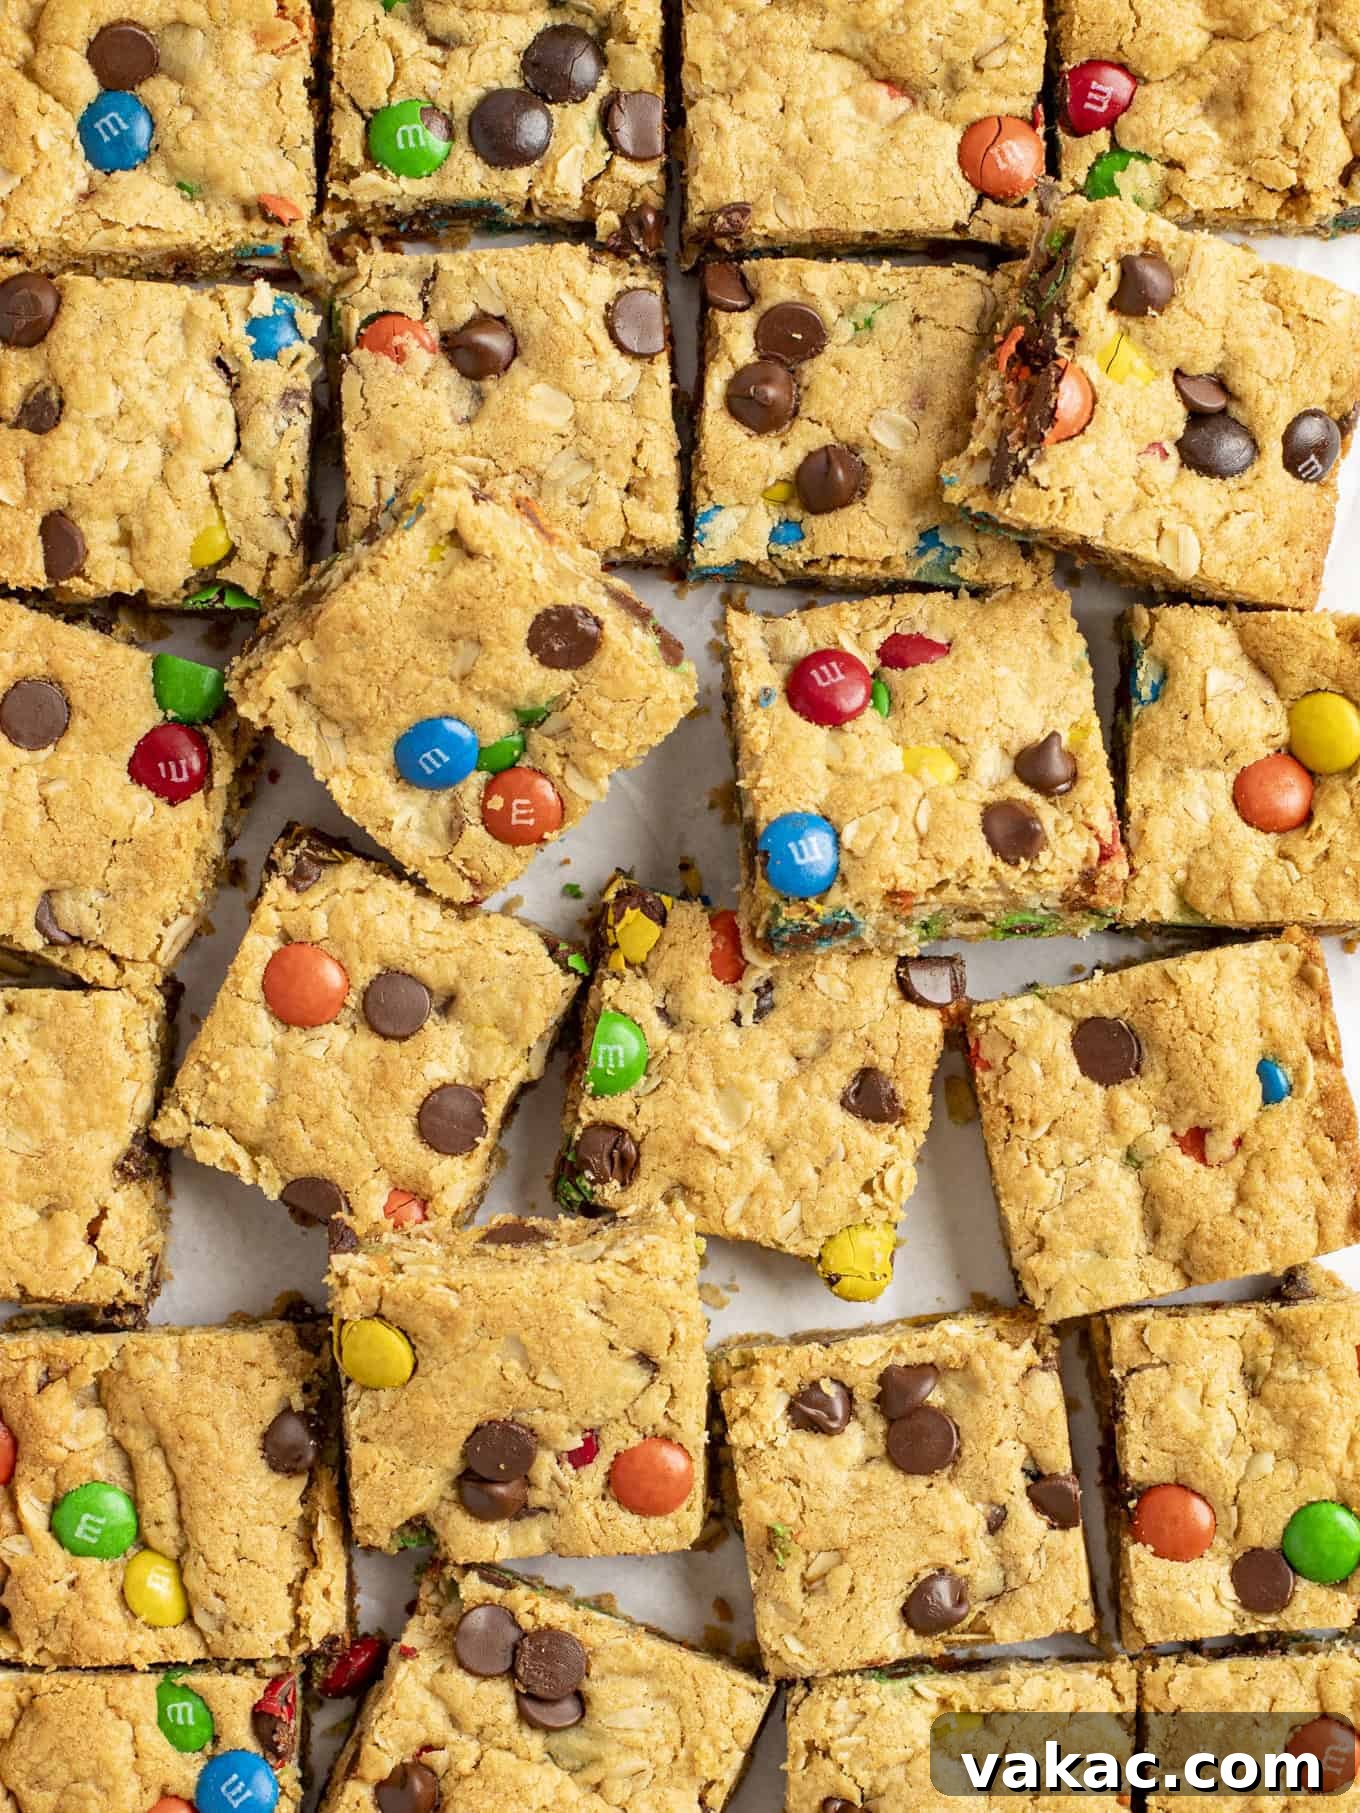
- Cool Completely & Slice: This step is crucial for perfect bars! Once baked, remove the pan from the oven and transfer it to a wire rack to cool completely in the pan. Resist the urge to cut into them while warm; they need time to set up and firm as they cool. Once fully cooled (this may take a couple of hours), use the parchment paper overhang to gently lift the entire slab of cookie bars out of the pan. Place them on a cutting board and slice them into 24 even bars. Now they’re ready to enjoy!
Creative Twists: Easy Recipe Variations for Your Monster Cookie Bars
While these monster cookie bars are fantastic in their classic form, don’t hesitate to personalize them with your favorite flavors and ingredients. Here are some exciting ideas to make them uniquely yours:
- Peanut Butter Alternatives: If you or your guests have a peanut allergy, or you simply want to experiment, feel free to replace the peanut butter with another creamy, no-stir nut or seed butter. Almond butter, cashew butter, or sunflower seed butter (like SunButter) can all work well. Just ensure they are the “no-stir” varieties to maintain the correct dough consistency.
- M&M’s & Seasonal Candies: The beauty of M&M’s is their versatility! Use seasonal M&M’s to tailor these bars to any holiday:
- Red and green for Christmas
- Pastel colors for Easter
- Red, white, and blue for 4th of July or patriotic events
- Orange and black for Halloween
- Pink and red for Valentine’s Day
Beyond M&M’s, consider replacing them with other small candies like chopped mini peanut butter cups for an extra peanut butter punch, chopped caramel candies, or even small gummy candies (though these might melt a bit during baking).
- Chocolate Chips & Mix-ins Galore: The original recipe uses semi-sweet chocolate chips for balance, but feel free to swap them out or add more varieties:
- Milk Chocolate Chips: For a sweeter, creamier chocolate experience.
- Dark Chocolate Chips: For a more intense, less sweet chocolate flavor.
- White Chocolate Chips: Adds a different dimension of sweetness and color.
- Peanut Butter Chips: If you’re a true peanut butter fanatic, these are a must-try!
- Butterscotch Chips: For a delightful, caramel-like note.
Expand your mix-in repertoire further with additions like chopped nuts (peanuts, walnuts, pecans), shredded coconut, pretzel bits for a salty crunch, or even sprinkles for extra festivity. Just be mindful not to add too many extra mix-ins, as it can affect the dough’s structure.
Pro Baker Tips for Flawless Monster Cookie Bars
Achieving bakery-quality monster cookie bars is easier than you think with these expert tips:
- Always Line Your Baking Dish: Don’t skip the parchment paper, and always leave an overhang! This simple trick is a game-changer for effortless removal. Once cooled, you can simply lift the entire slab of bars out of the pan, making slicing much cleaner and easier without damaging your pan.
- Choose the Right Peanut Butter: As mentioned, a creamy, “traditional” no-stir peanut butter (like Jif or Skippy) is essential. Natural peanut butter, which tends to separate into oil and solids, will alter the dough’s fat content and can result in greasy, crumbly, or otherwise inconsistent bars. Stick to the classic for best results.
- Do Not Overbake: This is perhaps the most crucial tip for soft and chewy cookie bars. The tops should look set and only very lightly browned. Remember that the bars will continue to cook slightly from residual heat after being removed from the oven, and they will firm up considerably as they cool. An overbaked bar will be dry and hard, losing its signature chewiness. When in doubt, err on the side of underbaking slightly.
- Patience is a Virtue: Cool Completely: It’s tempting to dig into warm cookie bars, but for the best texture and to prevent them from falling apart, allow them to cool completely in the pan on a wire rack. This allows the internal structure of the bars to set and firm up, ensuring clean slices and a perfect chew.
- Room Temperature Eggs: While not strictly mandatory, using room temperature eggs helps them incorporate more smoothly and evenly into the butter and sugar mixture, creating a more uniform dough and better texture in your finished bars. If you forget, you can quickly warm cold eggs by placing them in a bowl of warm (not hot) water for 5-10 minutes.
- Accurate Flour Measurement: Always spoon your flour into the measuring cup and level it off with the back of a knife. Scooping flour directly from the bag can pack it down, leading to too much flour and dry, dense bars.
Monster Cookie Bars Recipe Card
Below is a simplified recipe card for quick reference, making it easy to print or save. We’ve removed plugin-specific elements to give you a clean, functional recipe.
Monster Cookie Bars
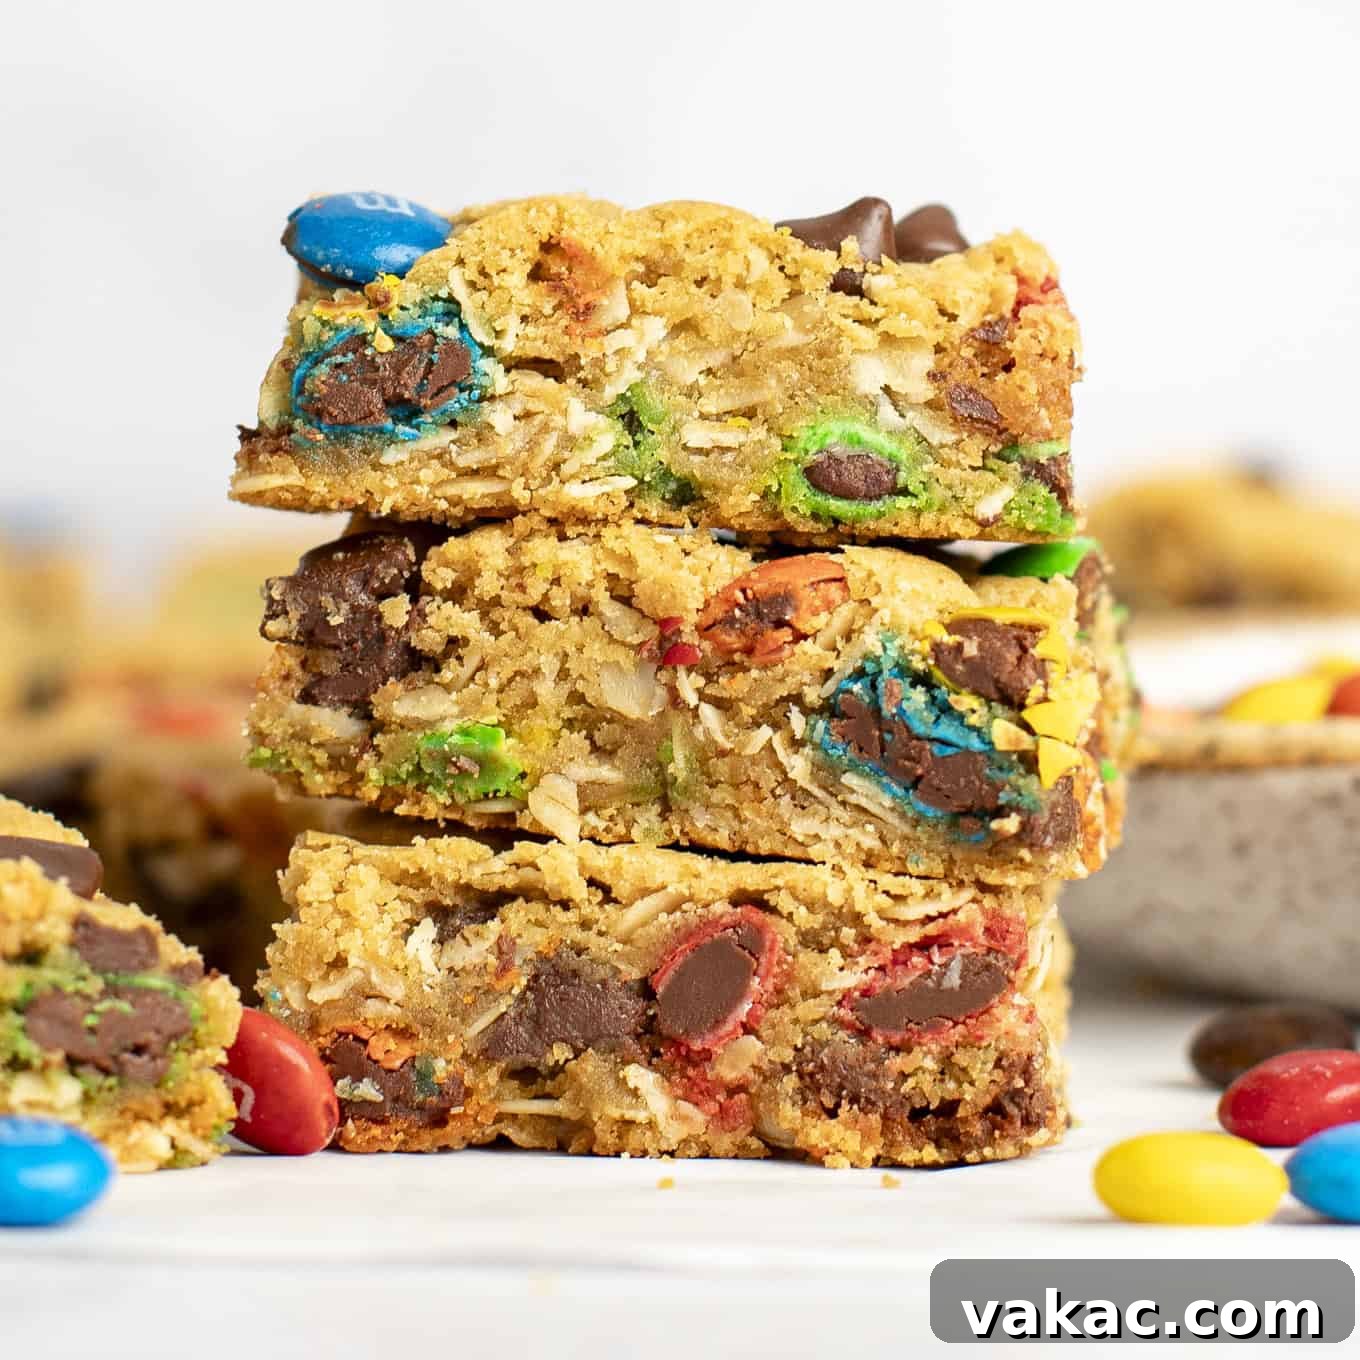
These soft and chewy Monster Cookie Bars are bursting with creamy peanut butter, wholesome oats, rich chocolate chips, and colorful M&M’s. This incredibly easy, no-chill recipe lets you bake up a batch of deliciousness straight from the mixing bowl!
Prep Time: 20 mins
Cook Time: 25 mins
Total Time: 45 mins
Yields: 24 bars
Pin Recipe
Ingredients
- ¾ cup unsalted butter, melted and cooled for 10 minutes (170 grams; 1.5 sticks)
- ¾ cup creamy peanut butter (190 grams; avoid natural peanut butter)
- 1 ½ cups packed light brown sugar (300 grams)
- 1 large egg, at room temperature
- 1 large egg yolk, at room temperature
- 1 teaspoon pure vanilla extract
- 1 ½ cups all-purpose flour, spooned & leveled (190 grams)
- 1 ½ cups old-fashioned rolled oats (150 grams)
- ½ teaspoon baking soda
- ¼ teaspoon salt
- 1 cup M&M’s (215 grams)
- ¾ cup semi-sweet chocolate chips (135 grams)
Instructions
- Preheat the oven to 350°F (177°C).
- Line a 9×13-inch pan with parchment paper or foil, leaving some overhang for easy removal. Spray with nonstick cooking spray and set aside.
- In a large mixing bowl, whisk together the melted butter and peanut butter until well combined, then whisk in the packed light brown sugar until creamy.
- Mix in the egg, egg yolk, and vanilla extract until just combined.
- Add the flour, oats, baking soda, and salt. Stir until just combined, being careful not to overmix.
- Gently fold in the M&M’s and chocolate chips using a rubber spatula until evenly distributed.
- Scoop the cookie dough into the prepared pan and press it down into one even layer. Optionally, top with a few extra M&M’s and chocolate chips.
- Bake for 23 to 28 minutes, or until the tops of the bars are set and very lightly browned. A toothpick inserted into the center should come out mostly clean with just a few moist crumbs.
- Remove from the oven and transfer to a wire rack to cool completely in the pan.
- Once the bars have completely cooled, lift them out of the pan using the parchment paper overhang. Slice into bars and enjoy!
Notes
Storage Instructions: Store these delicious bars in an airtight container at room temperature for up to one week. They will retain their wonderful soft and chewy texture.
Freezing Instructions: Monster Cookie Bars are excellent for freezing! For optimal freshness, wrap individual bars tightly in plastic wrap, then place them in a freezer-safe bag or container. They can be stored in the freezer for 2 to 3 months. When ready to enjoy, simply thaw them to room temperature before serving.
Cuisine: American
Course: Dessert
Author: Danielle Rye
Common Questions About Monster Cookie Bars (FAQs)
Here are answers to some frequently asked questions to help you bake with confidence:
- What makes them “monster” cookies? The name “monster” refers to the generous combination of various classic cookie add-ins like peanut butter, oats, chocolate chips, and M&M’s, creating a truly monstrously delicious (and often large) treat.
- Can I use natural peanut butter? It is highly recommended to use a creamy, no-stir peanut butter (like Jif or Skippy) for this recipe. Natural peanut butter, with its tendency to separate oils, can lead to a greasier dough and a less consistent texture in the final bars.
- What kind of oats should I use? Old-fashioned rolled oats are preferred for their hearty texture, which contributes to a chewier bar. Quick oats can be used as a substitute, but the bars may be slightly softer.
- How do I know when the bars are done baking? Look for a set top that is lightly golden brown. A toothpick inserted into the center should come out mostly clean, with only a few moist crumbs attached. Avoid overbaking, as they will continue to set as they cool.
- Can I add other mix-ins? Absolutely! Feel free to experiment with chopped nuts (peanuts, walnuts, pecans), shredded coconut, pretzel pieces for a salty crunch, or different types of chocolate chips (milk, dark, white, or butterscotch). Just don’t overload the dough.
- How should I store and freeze the bars? Store cooled bars in an airtight container at room temperature for up to a week. For longer storage, wrap individual bars tightly and freeze them in a freezer-safe bag for 2 to 3 months. Thaw at room temperature before serving.
Did you make this recipe?
We’d love to see your creations! Mention @livewellbakeoften on Instagram or tag #livewellbakeoften.
More Delicious Cookie Bar Recipes to Explore!
Whether you’re a seasoned baker or just starting out, these Monster Cookie Bars are a guaranteed crowd-pleaser that deliver on flavor, texture, and ease. With their vibrant colors, rich taste, and chewy consistency, they’re the perfect treat to brighten any day or celebration. So gather your ingredients, follow our simple guide, and get ready to enjoy a pan of pure cookie bar bliss!