
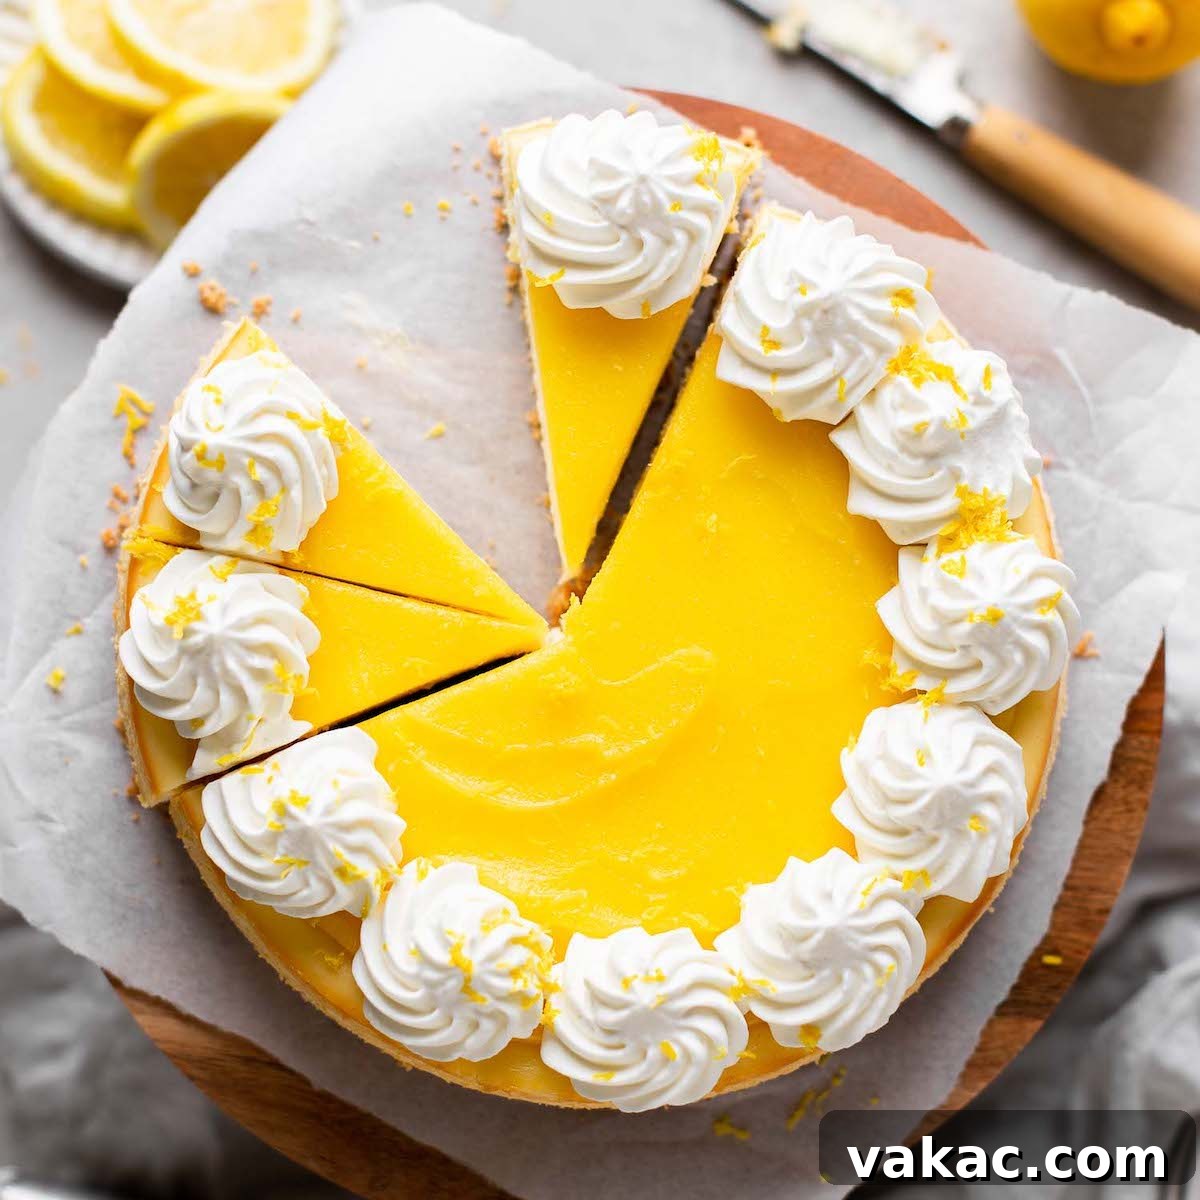
The Ultimate Homemade Lemon Cheesecake: Bright, Creamy & Irresistible
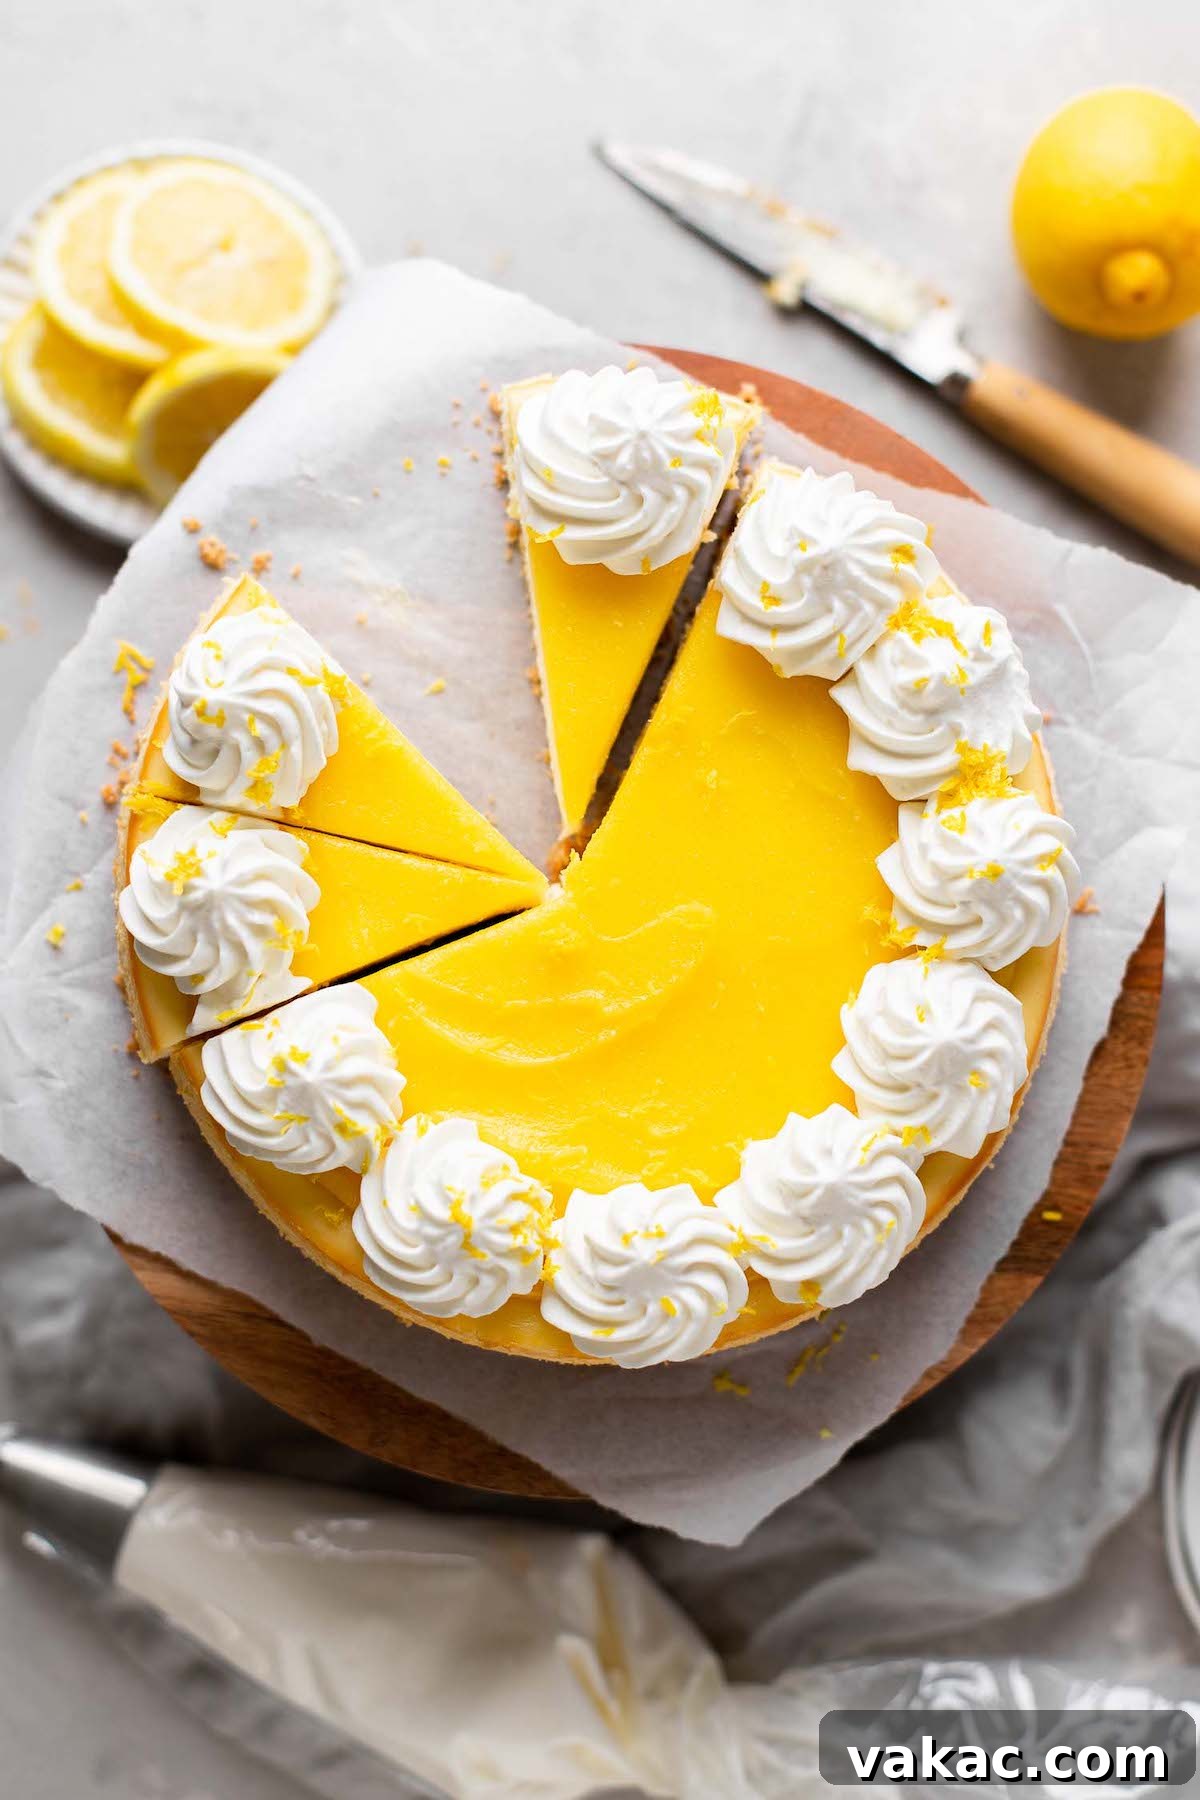
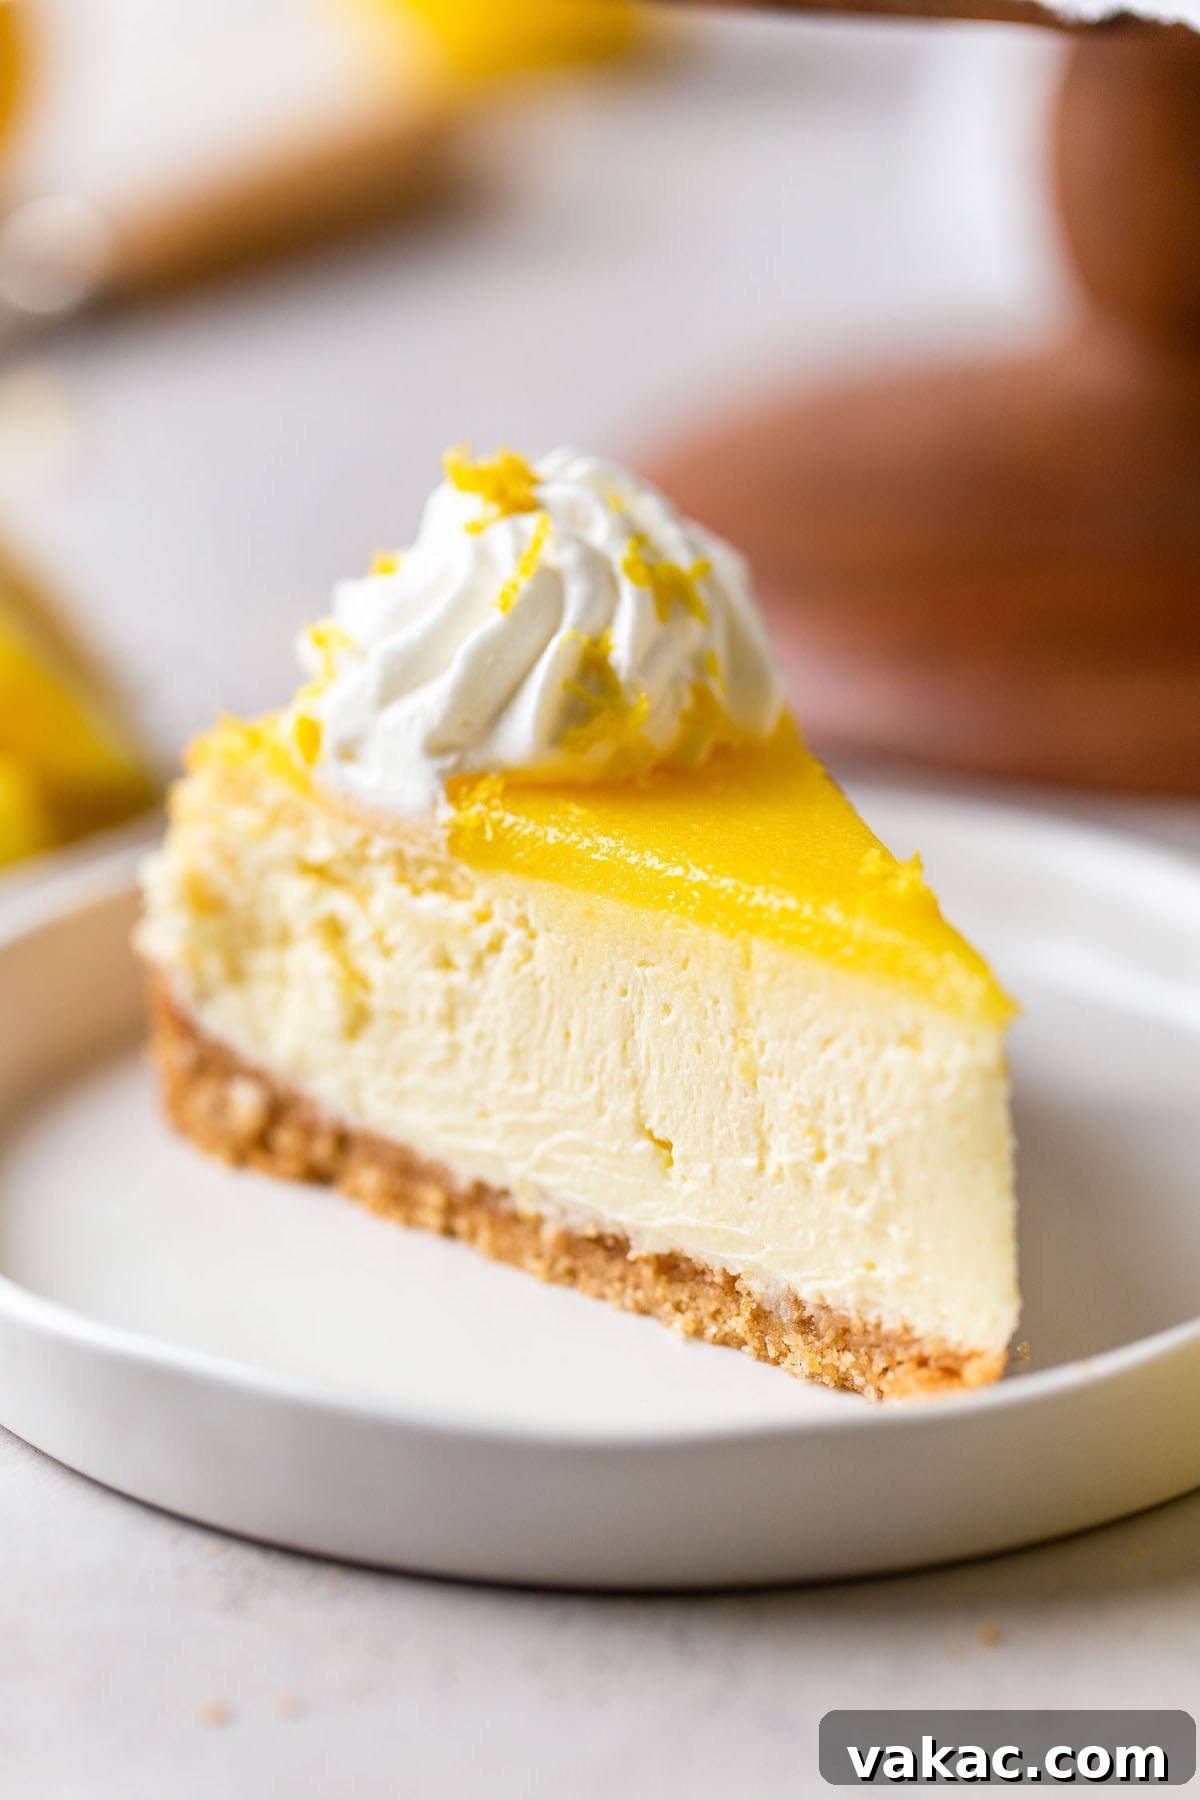
Imagine a dessert that captures the essence of sunshine in every bite – that’s precisely what this homemade lemon cheesecake offers. Featuring a perfectly golden graham cracker crust, a lusciously creamy, sweet-tart lemon filling, and crowned with a vibrant layer of lemon curd and delicate swirls of whipped cream, this recipe is a celebration of fresh, citrusy flavors. It’s an impeccable choice for brightening up any spring or summer gathering, promising a refreshing finish that’s simply impossible to resist.
Many home bakers mistakenly believe that creating a cheesecake from scratch is a daunting task, reserved only for seasoned professionals. However, this perception couldn’t be further from the truth! While cheesecakes have a reputation for being temperamental, the assembly process for this lemon masterpiece is surprisingly straightforward and requires minimal active effort. The real secret to achieving that signature smooth, crack-free surface and meltingly soft texture lies in one crucial baking technique: the water bath.
Yes, this recipe does call for baking the cheesecake in a water bath, but please don’t let that detail intimidate you. I’ve broken down the entire process into easy-to-follow, step-by-step instructions within the comprehensive recipe card below. My goal is to equip you with all the confidence you need to tackle this method like a pro, ensuring your first homemade lemon cheesecake turns out flawlessly. Trust me, from your very first decadent bite, you’ll wholeheartedly agree that those few extra steps for the water bath are absolutely worth the exceptional results!
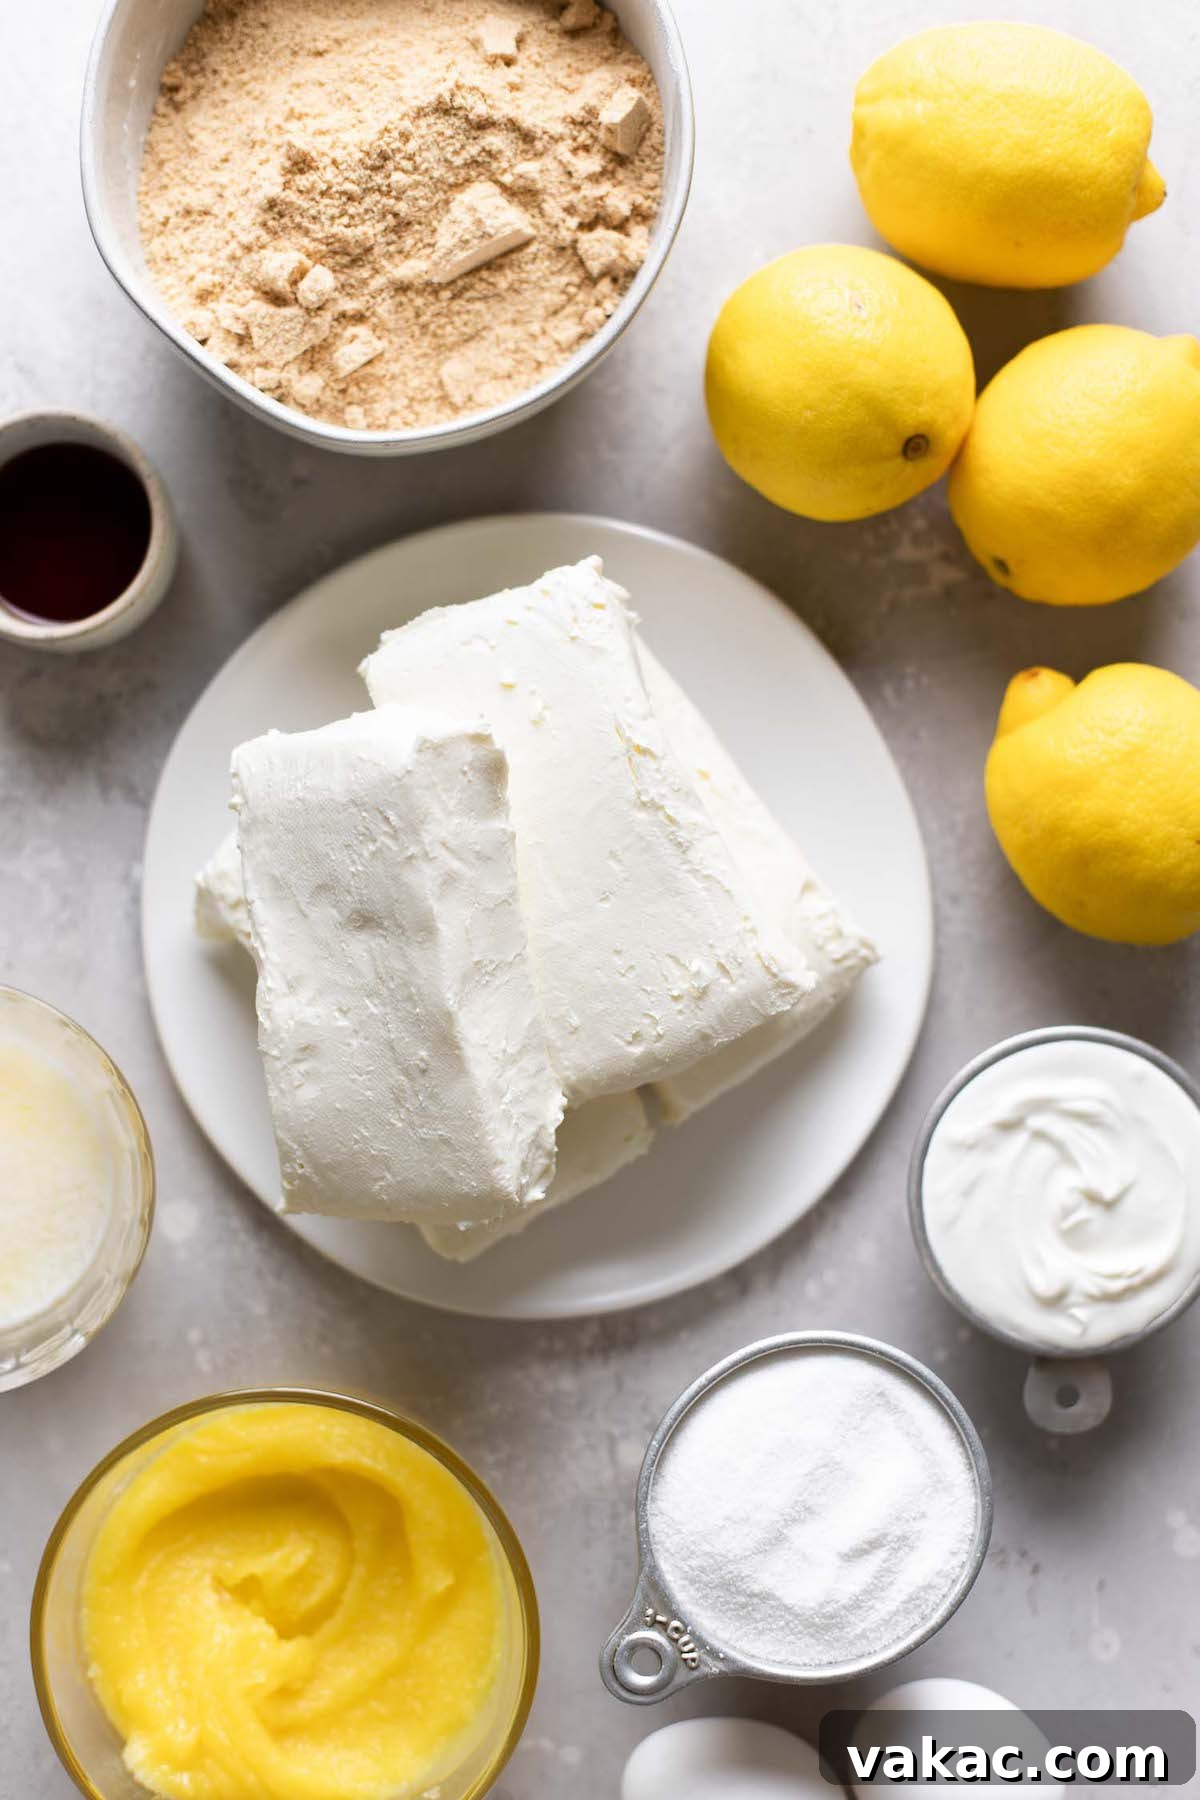
Unlocking the Flavors: Essential Ingredients for Your Lemon Cheesecake
The foundation of an extraordinary cheesecake begins with its ingredients. Just like any successful baked cheesecake, it’s paramount that all dairy and egg components are brought to room temperature before you begin mixing. This seemingly small detail plays a significant role in preventing a lumpy batter and ensuring your cheesecake bakes evenly, resulting in that coveted perfectly creamy and smooth texture. Neglecting this step can lead to a less uniform consistency and potential cracking during baking.
Now, let’s delve into the specific ingredients you’ll need to create this bright and zesty lemon curd cheesecake:
- Graham Cracker Crumbs: These form the classic, buttery base of our cheesecake. You have the convenience of purchasing pre-crushed graham cracker crumbs, or for a fresher touch, you can easily pulse whole graham cracker sheets in a food processor until they achieve a fine, sandy consistency. This ensures a uniform crust.
- Granulated Sugar: Sugar isn’t just for sweetness here; it’s a vital balancing act. We incorporate it into both the graham cracker crust and, more significantly, the cheesecake filling. Its role is to perfectly offset the delightful tartness of the fresh lemon juice, creating a harmonious sweet-tart profile that defines this dessert.
- Unsalted Butter: I exclusively use unsalted butter in my baking recipes. This allows for precise control over the overall salt content of the dish, as the sodium levels in salted butter can vary considerably between different brands, potentially altering the intended flavor profile. Melted butter is essential for binding the crust.
- Cream Cheese: The heart and soul of any cheesecake! For the absolute best results and a firm, rich texture, always opt for brick-style full-fat cream cheese. Steer clear of the softer, whipped cream cheese spreads that come in tubs, as their higher water content and stabilizers can compromise the cheesecake’s structure and consistency.
- Sour Cream: This ingredient is a game-changer for cheesecake. Using full-fat sour cream adds an incredible depth of tanginess, moisture, and an extra layer of velvety smoothness to the filling. It also contributes to the cheesecake’s overall richness and helps prevent it from drying out during baking.
- Lemons: Freshness is key when it comes to citrus. You’ll need approximately three medium-sized lemons to yield enough fresh lemon juice and zest. The zest, containing concentrated lemon oils, provides an intense aromatic brightness that the juice alone cannot replicate. Always zest your lemons before juicing them!
- Pure Vanilla Extract: A touch of high-quality pure vanilla extract complements the lemon beautifully, adding a subtle warmth and complexity that elevates the overall flavor profile without overpowering the star citrus notes. Its presence rounds out the bright lemon.
- Large Eggs: Eggs serve as the primary binding agent in cheesecake, providing structure, richness, and contributing to the creamy custard-like texture. If you happen to forget to bring your eggs to room temperature, a quick trick is to place them in a bowl of warm (not hot!) water for about 10 minutes before you proceed with the recipe.
- Lemon Curd: This vibrant, silky, and intensely lemony condiment acts as the luxurious crowning glory for our cheesecake. You can choose the convenience of a good quality store-bought lemon curd, or for an even more personal touch, consider making your own homemade lemon curd. It adds a beautiful sheen and an extra burst of lemon flavor that truly elevates this dessert from great to unforgettable.
Step-by-Step Guide to Baking Your Dream Lemon Cheesecake
Creating this stunning lemon cheesecake is an enjoyable journey, especially when you understand each stage. Follow these detailed steps for a truly exceptional result.
Crafting the Perfect Graham Cracker Crust
Our journey begins with the foundation: the graham cracker crust. First, preheat your oven to 325ºF (163°C) to get it ready. In a medium mixing bowl, combine the finely crushed graham cracker crumbs with the granulated sugar. Stir them together thoroughly to ensure the sugar is evenly distributed. Next, pour in the melted unsalted butter and mix until all the crumbs are consistently moistened and resemble wet sand. This even coating of butter is crucial for a cohesive crust.
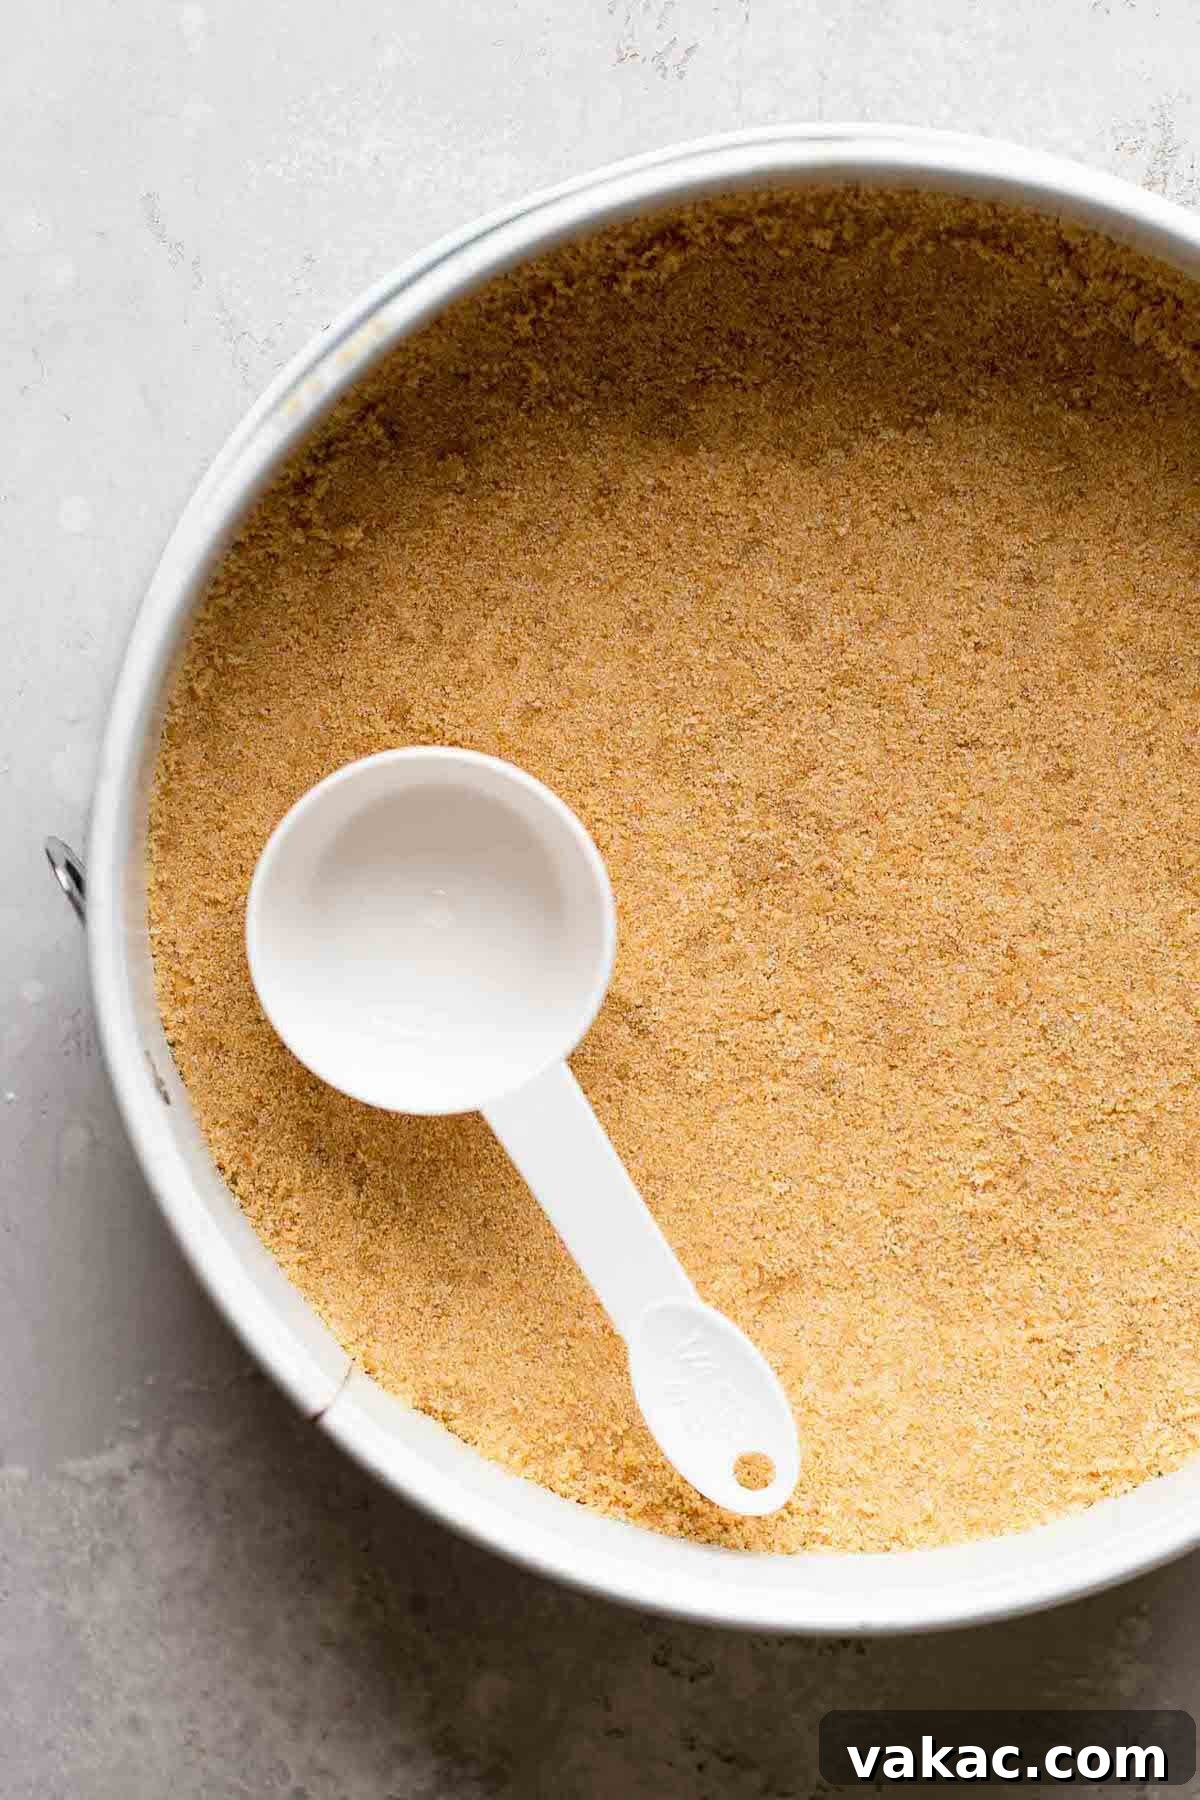
Transfer this mixture into a 9-inch springform pan. Now, press the mixture firmly and evenly into the bottom of the pan. The goal is a compact, uniform layer that will hold together beautifully. While your hands can certainly do the job, I find that using the flat bottom of a measuring cup or a glass helps achieve a perfectly smooth and dense crust. Bake this crust in the preheated oven for approximately 10 minutes. This pre-baking step helps to set the crust, preventing it from becoming soggy once the filling is added. Once baked, remove the pan from the oven and set it aside to cool slightly while you prepare the creamy cheesecake filling.
Preparing the Silky Smooth Lemon Filling
Before you dive into mixing the filling, remember the critical role of the water bath. Start by placing a large pot of water on your stove to come to a rolling boil. This boiling water will be essential for creating the ideal baking environment for your cheesecake later.
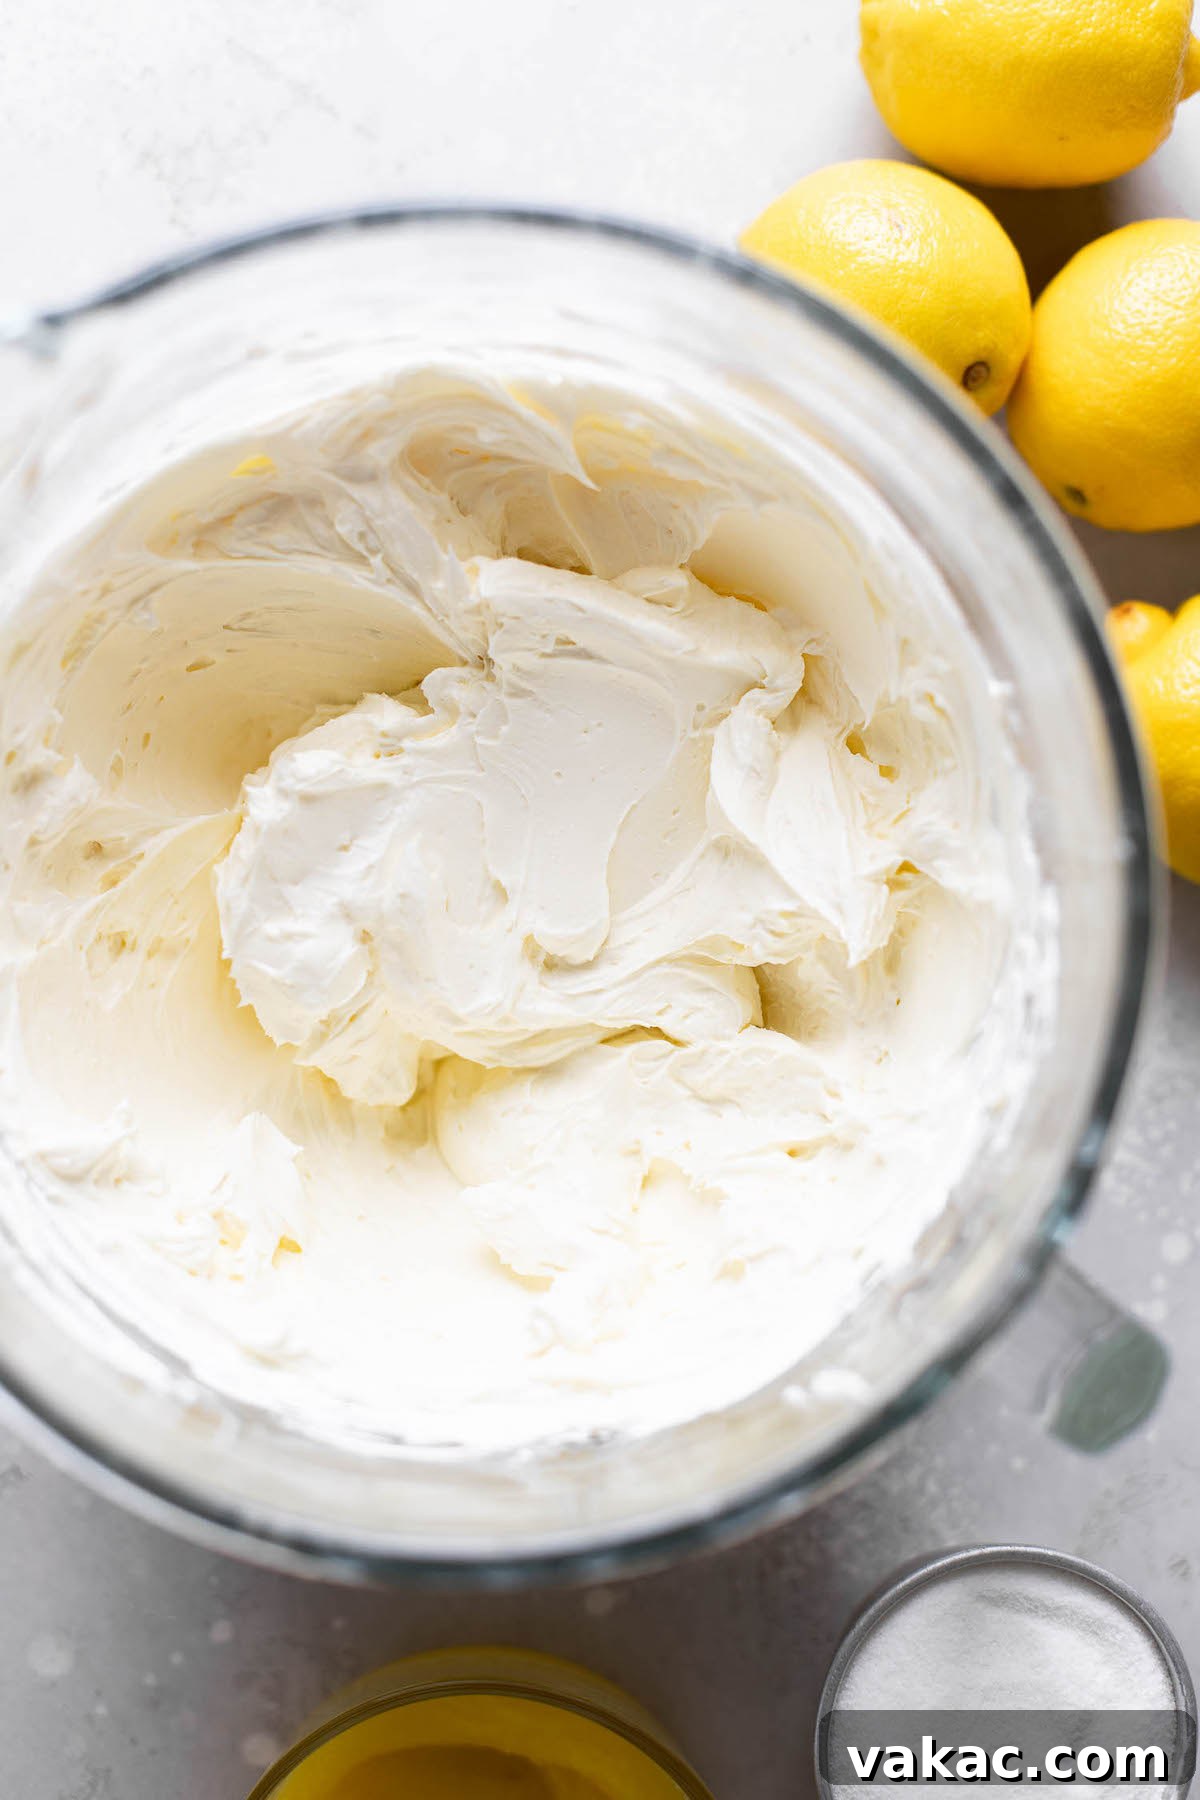
For the filling itself, begin by beating the softened brick-style cream cheese in a large mixing bowl (or the bowl of a stand mixer fitted with the paddle attachment) until it is completely smooth and free of any lumps. This ensures a silky texture for your cheesecake. Next, incorporate the full-fat sour cream and continue mixing until it’s fully combined with the cream cheese, stopping periodically to scrape down the sides of the bowl to ensure everything is incorporated. Then, gradually add the granulated sugar, fresh lemon juice, aromatic lemon zest, and pure vanilla extract. Beat until all these ingredients are just combined, again scraping the sides as needed. Avoid overmixing at this stage to prevent incorporating too much air.
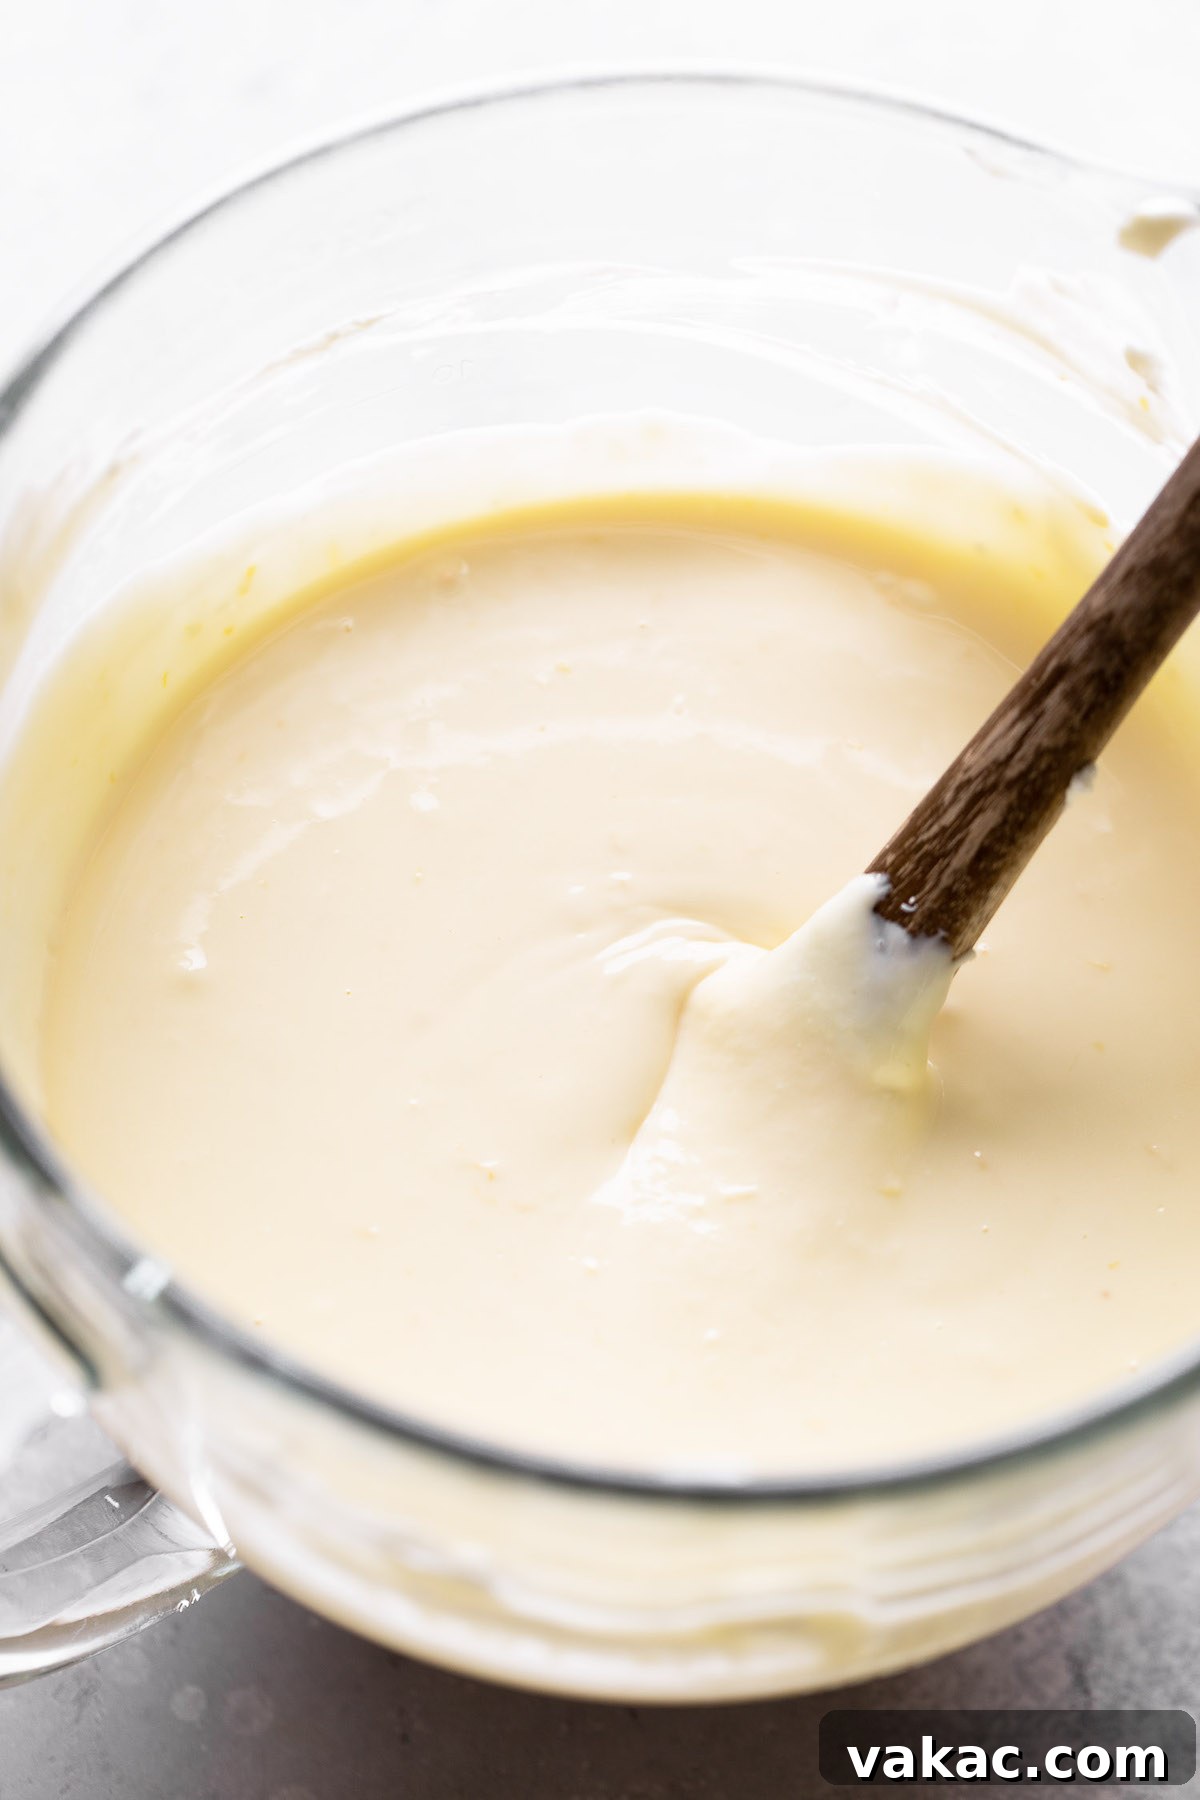
In a separate, smaller bowl, lightly whisk the large eggs. Gently pour the beaten eggs into the cream cheese mixture and mix on the lowest speed only until they are just combined. Overmixing the eggs is a common pitfall that can lead to a cracked cheesecake, so be mindful to stop as soon as they are incorporated. A quick fold with a rubber spatula can help ensure everything is uniformly mixed without overworking the batter.
Mastering the Water Bath Baking Technique
Now, it’s time to prepare your cheesecake for its gentle bath. Wrap the bottom and sides of your springform pan (containing the pre-baked crust) securely with several layers of heavy-duty aluminum foil. This is your first line of defense against water seeping in. For added protection and peace of mind, place the foil-wrapped springform pan into a large oven bag and fold the excess bag material down around the sides of the pan. This double-layer method is crucial to prevent any water from reaching your crust and filling.
Carefully pour the prepared lemon cheesecake filling into the springform pan, smoothing the top with an offset spatula. Gently tap the pan on the counter a few times; this action helps to release any trapped air bubbles within the filling, which can otherwise cause unsightly holes in your baked cheesecake. If you spot any large air bubbles, gently pop them with a toothpick.
Retrieve the pot of boiling water you started earlier. Carefully pour this boiling water into a larger roasting pan until it’s approximately 1 inch deep. Then, with extreme caution, place your prepared springform pan (still wrapped in foil and the oven bag) into the center of the roasting pan. The roasting pan with the water and cheesecake now constitutes your water bath. This creates a moist, consistent heat environment, preventing rapid temperature changes that can cause cracking and ensuring a custardy, tender cheesecake.
Cooling and Chilling for Flawless Results
Carefully transfer the roasting pan with the cheesecake to the oven. Bake at 325ºF (163°C) for approximately 60 to 70 minutes. The cheesecake is done when the edges appear set and firm, but the very center still has a slight jiggle when gently nudged. This slight jiggle is normal and indicates it’s cooked just enough.
Once baked, do not remove the cheesecake immediately. Instead, turn off the oven, crack the oven door slightly (you can prop it open with a wooden spoon), and allow the cheesecake to cool slowly in the warm oven for 1 hour. This gradual cooling process is absolutely critical in preventing those dreaded cracks on the surface of your cheesecake, as it allows the internal temperature to equalize slowly.
After 1 hour in the oven, carefully remove the cheesecake from the roasting pan and place it on a wire rack to cool completely to room temperature on your counter. Once it has reached room temperature, cover the cheesecake tightly with plastic wrap and transfer it to the refrigerator. This chilling period is non-negotiable and requires a minimum of 5-6 hours, or preferably overnight. Chilling allows the cheesecake to fully set, firm up, and develop its full flavor and luxurious texture. Resist the temptation to cut into it early!
The Grand Finale: Topping Your Cheesecake
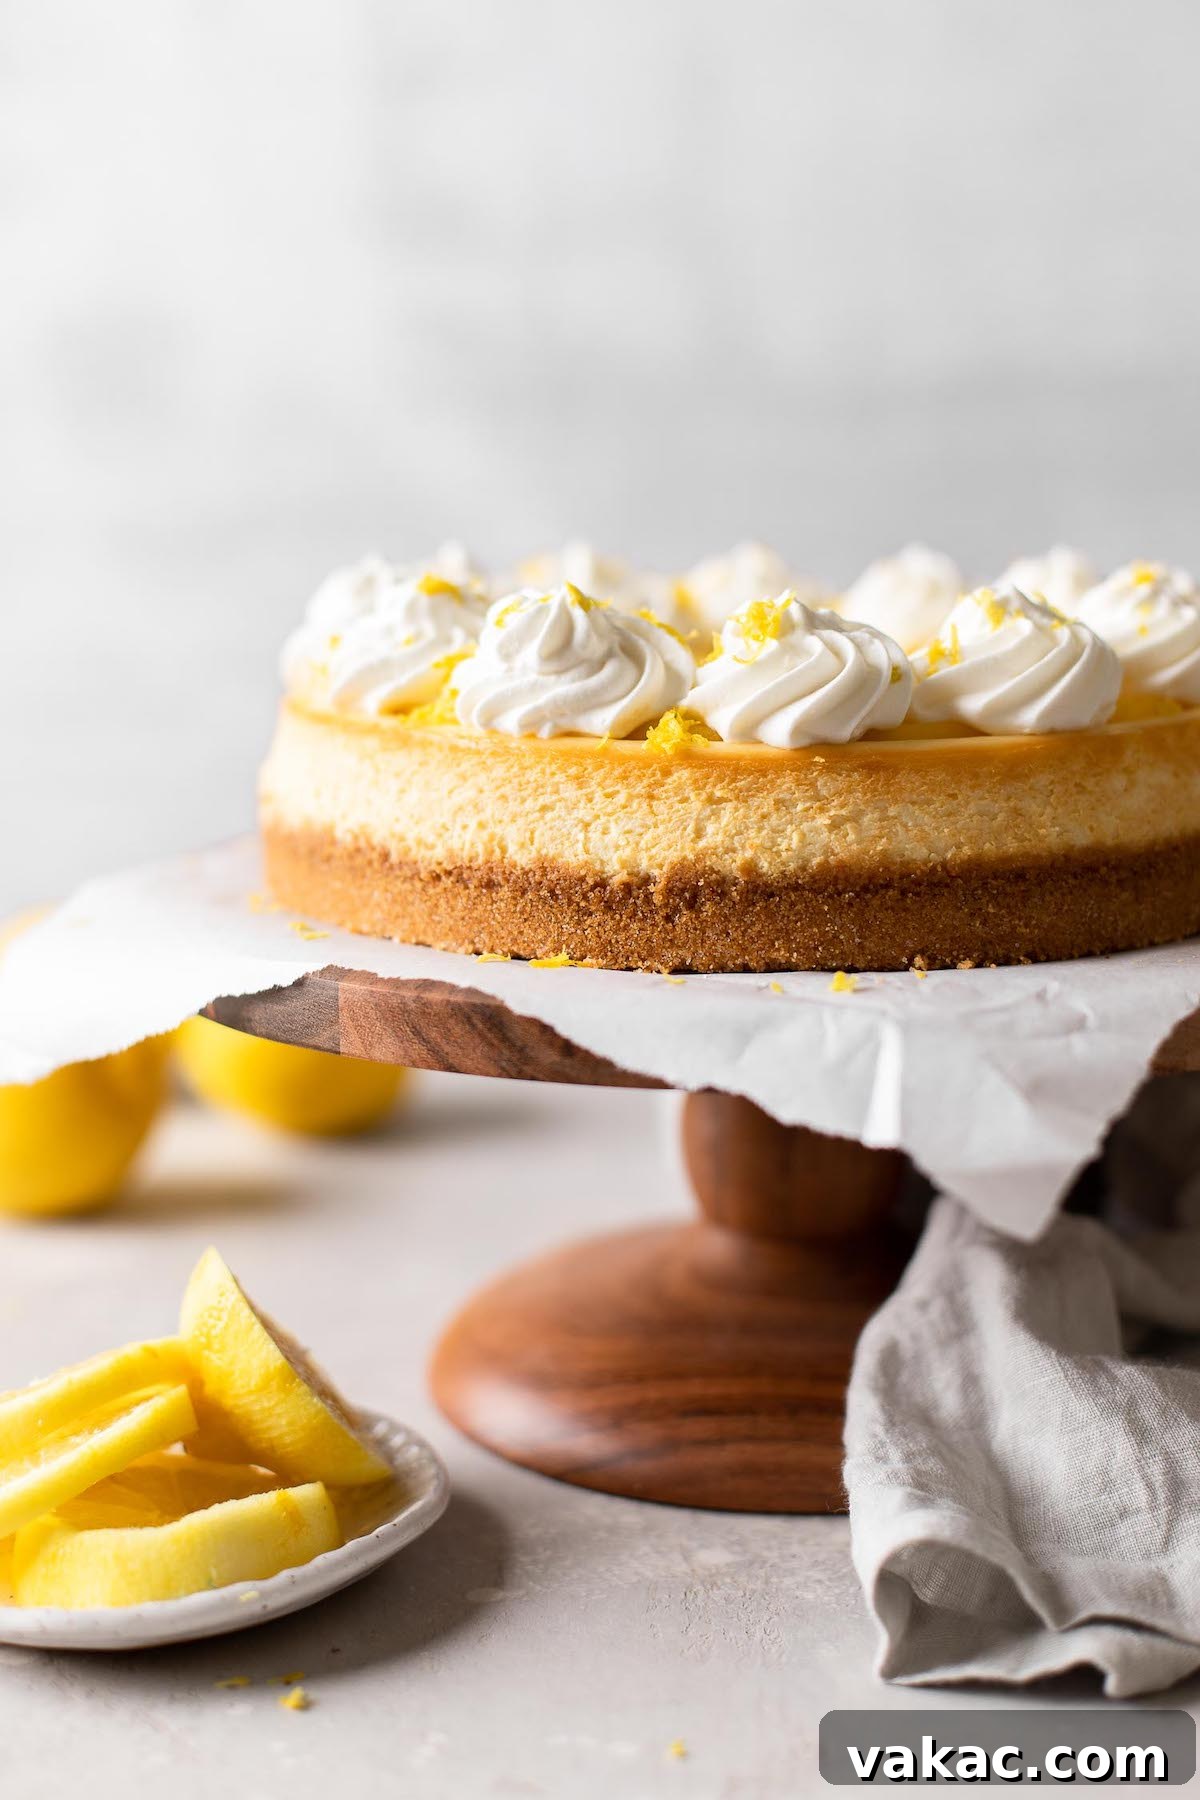
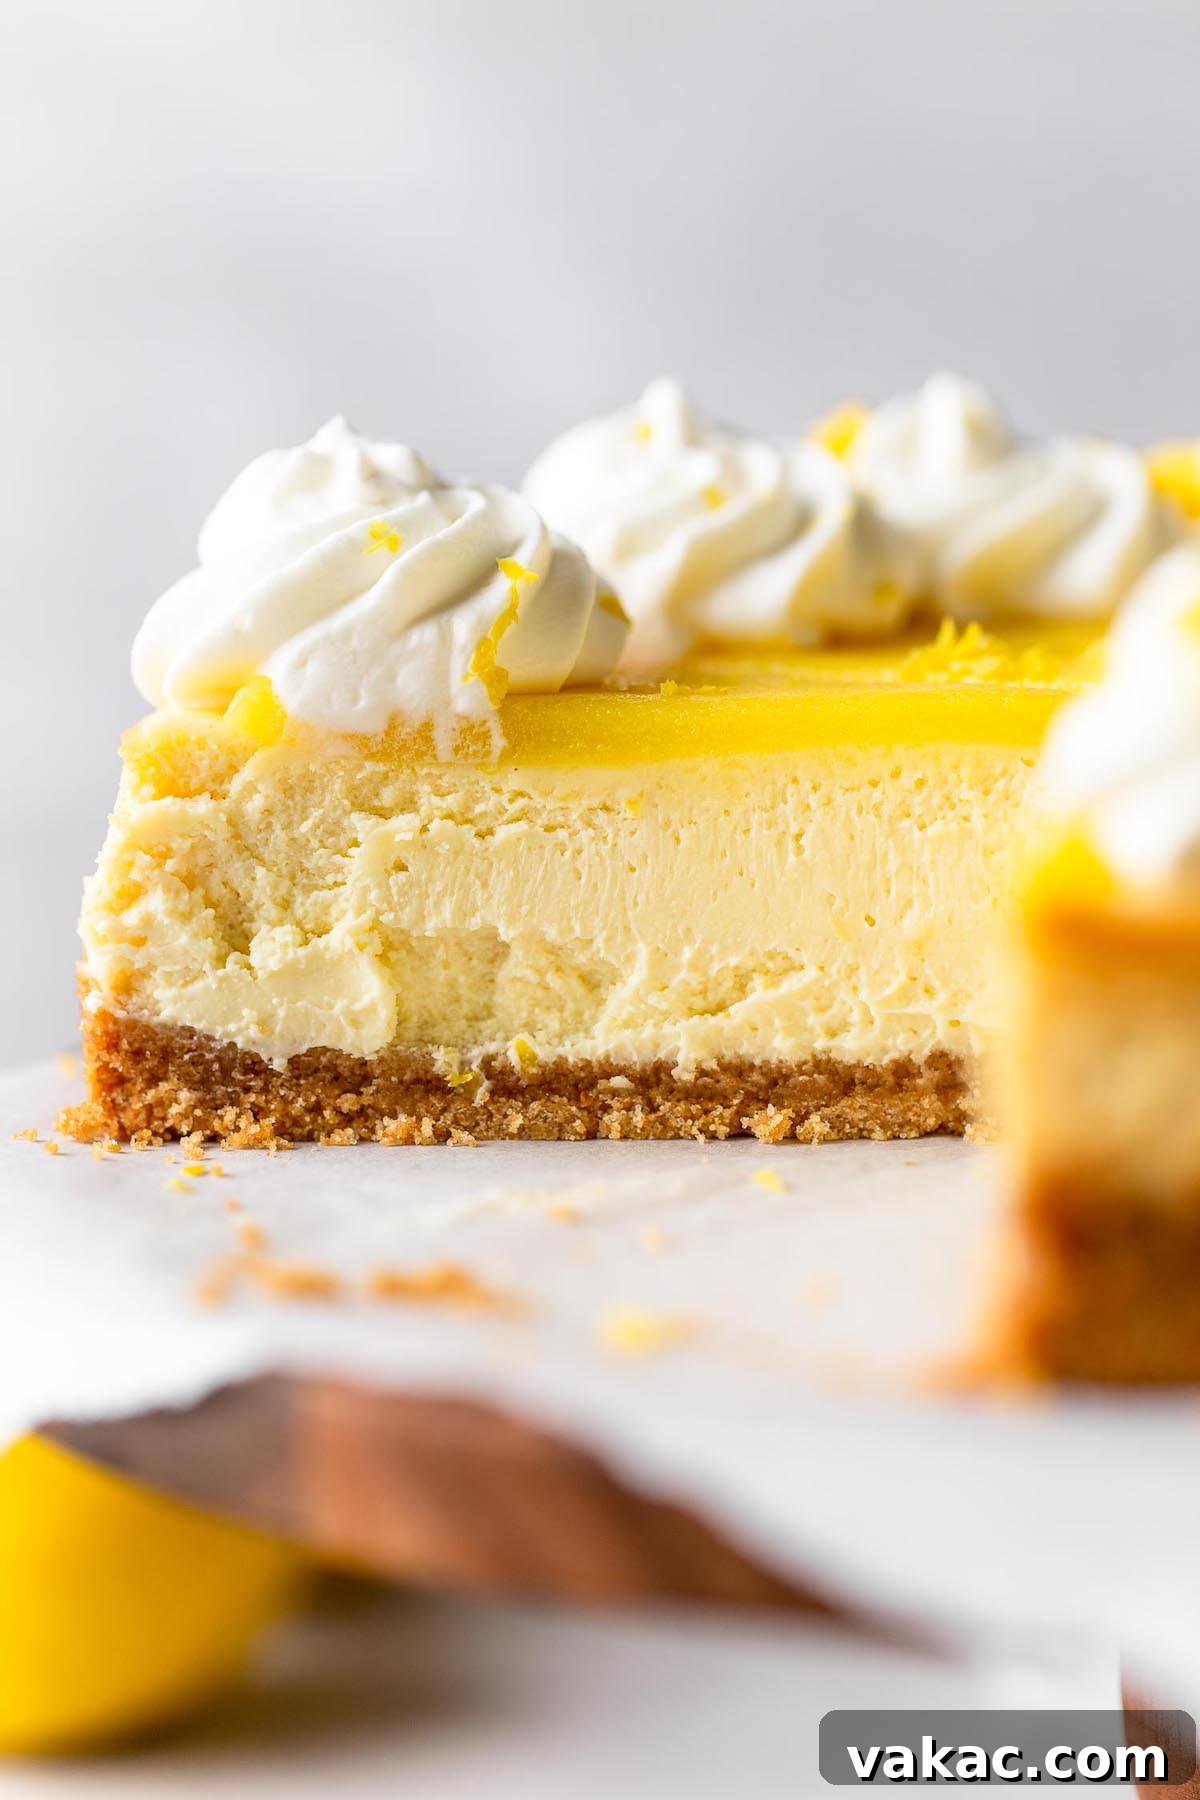
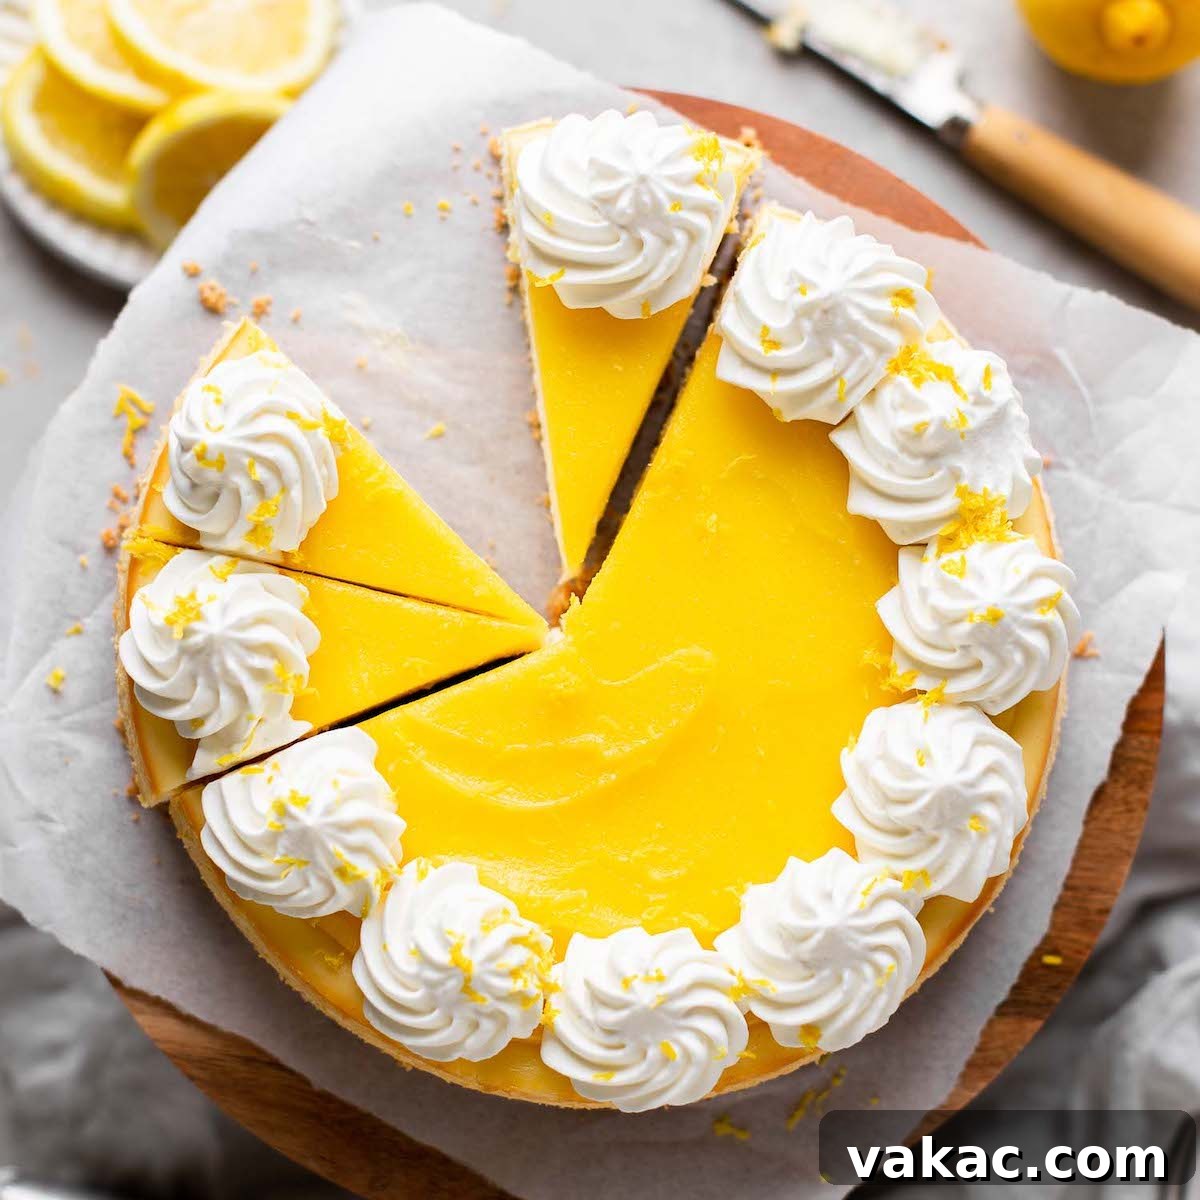
Once your lemon cheesecake is perfectly chilled and set, it’s time for the final touches. Run a thin, sharp knife around the inner edge of the springform pan to gently loosen the cheesecake from the sides. Carefully release the springform pan. Spread a generous layer of vibrant lemon curd evenly over the top of the cheesecake. If desired, pipe swirls of freshly made or store-bought whipped cream around the edges or over the entire surface for an extra touch of elegance and creaminess. Garnish with a sprinkle of fresh lemon zest or a few thin lemon slices for a visually stunning presentation. Now, slice into beautiful portions, serve, and prepare to enjoy the bright, refreshing taste of your perfectly homemade lemon cheesecake!
Frequently Asked Questions About Lemon Cheesecake
Here are some common questions about making and enjoying this delightful lemon cheesecake:
Can This Recipe Be Used to Make Mini Cheesecakes?
While you might be able to adapt this recipe, I highly recommend following my dedicated Mini Lemon Cheesecakes recipe instead. That recipe is specifically formulated for smaller portions, ensuring perfect baking times and textures for individual treats.
How Do I Freeze Lemon Cheesecake?
Yes, this lemon curd cheesecake freezes beautifully for up to three months. To freeze, ensure the cheesecake is completely chilled and *without* the lemon curd topping or whipped cream. Wrap the cheesecake tightly first with several layers of plastic wrap, then an outer layer of aluminum foil. Place it in a large freezer-friendly bag or an airtight freezer container. When you’re ready to enjoy, thaw the cheesecake overnight in the refrigerator. Once thawed, then add your lemon curd topping and whipped cream.
Why Do Cheesecakes Crack and How to Prevent It?
Cracks can be frustrating, but don’t panic if your cheesecake develops one – the lemon curd topping will beautifully hide any imperfections! Cheesecakes typically crack for a few key reasons:
- Skipping the Water Bath: This is the most common culprit. A dry, hot oven causes the edges to set too quickly while the center is still cooking and expanding.
- Overmixing the Eggs: Beating the eggs too vigorously incorporates too much air, which expands during baking and then collapses, leading to cracks.
- Sudden Temperature Fluctuations: Drastic changes in temperature (like removing the cheesecake from the oven too quickly) cause the cheesecake to cool unevenly and contract rapidly, leading to fissures.
For more in-depth explanations and prevention tips, refer to my Classic Cheesecake recipe post, where I delve into the science behind cheesecake cracking.
How Long Does Lemon Cheesecake Last?
Once assembled and topped, this lemon cheesecake should be stored in an airtight container in the refrigerator. It will remain fresh and delicious for up to 4 days. Beyond that, the quality may start to diminish, especially the texture of the whipped cream.
Expert Baking Tips for a Flawless Lemon Cheesecake
- Embrace Full-Fat Ingredients: For the ultimate creamy, rich, and dense cheesecake filling, always use full-fat cream cheese and sour cream. Low-fat versions tend to have higher water content and additional stabilizers that can alter the texture and flavor of your finished dessert.
- Room Temperature is Non-Negotiable: This is perhaps the most crucial tip. Ensure all cold ingredients—cream cheese, sour cream, and eggs—are at proper room temperature. This ensures they blend smoothly and evenly, creating a uniform batter free of lumps and preventing cracks during baking.
- Whipped Cream Perfection: The swirls of whipped cream on top are technically optional, but they add a delightful lightness and visual appeal that perfectly balances the rich cheesecake. You can choose to make your own homemade whipped cream or even a more stable version like stabilized whipped cream for longer-lasting peaks. Store-bought whipped topping is also a convenient alternative.
- Don’t Rush the Cooling: Patience is key in cheesecake baking. The extended cooling process, both in the oven and then on the counter, followed by thorough chilling in the refrigerator, is vital for the cheesecake to set properly, achieve its dense, creamy texture, and prevent cracking.
- Fresh Lemon for Best Flavor: Always use freshly squeezed lemon juice and freshly grated lemon zest. Bottled lemon juice simply doesn’t compare in terms of vibrant flavor, and the zest contains essential oils that provide a powerful aromatic punch.
More Zesty Lemon Dessert Recipes to Explore!
If you love the bright, refreshing flavor of lemon, you’ll want to try these other fantastic recipes:
- Lemon Cake
- Lemon Pie
- Lemon Cheesecake Bars
- Lemon Bars
- Lemon Cookies
- Mini Lemon Blueberry Cheesecake Bites
Lemon Cheesecake Recipe
Lemon Cheesecake
Pin Recipe
SaveSaved!
Leave a Review
Ingredients
For the graham cracker crust:
- 1 ½ cups (180 grams) graham cracker crumbs
- ⅓ cup (65 grams) granulated sugar
- 5 tablespoons (70 grams) unsalted butter (melted)
For the lemon cheesecake filling:
- 32 ounces (907 grams) brick-style cream cheese (softened)
- ½ cup (120 grams) full-fat sour cream (room temperature)
- 1 cup plus 2 tablespoons (225 grams) granulated sugar
- ⅓ cup (80 ml) fresh lemon juice
- Zest of 2 medium lemons
- 1 teaspoon pure vanilla extract
- 4 large eggs (room temperature)
- ½ cup lemon curd
- Optional: Whipped cream
Instructions
-
To make the graham cracker crust: Preheat the oven to 325°F (163°C). Add the crushed graham cracker crumbs and granulated sugar to a medium-sized mixing bowl and stir until well combined. Add the melted butter and mix until all of the crumbs are moistened.
-
Scoop the mixture into a 9-inch springform pan and firmly press it down into one even layer (I like to use the bottom of a measuring cup for this step). Bake for 10 minutes, then remove from the oven and set aside to cool slightly while you make the filling.
-
To make the lemon cheesecake filling: Set a large pot of water on the stove to boil for the water bath before getting started with the filling.
-
In the bowl of a stand mixer fitted with the paddle attachment, or in a large mixing bowl using a handheld mixer, beat the cream cheese on medium speed until smooth. Add the sour cream and mix until fully combined, stopping to scrape down the sides of the bowl as needed. Then mix in the granulated sugar, lemon juice, lemon zest, and pure vanilla extract until fully combined.
-
In a separate mixing bowl, lightly beat the eggs. Add the beaten eggs to the mixing bowl with the cheesecake filling and mix on low speed until just combined. Use a rubber spatula to turn the filling a few times to make sure everything is fully mixed together.
-
Wrap the springform pan with the pre-baked graham cracker crust in aluminum foil, then place it into a large oven bag. Fold the oven bag down the sides of the springform pan.
-
Pour the cheesecake filling into the springform pan and smooth it out into one even layer. Tap the pan on the counter a couple of times to bring any air bubbles to the top, then use a toothpick to remove any large air bubbles.
-
Add the boiling water you started before the filling to a large roasting pan until it is about 1-inch deep. Carefully place the wrapped springform pan into the roasting pan.
-
Transfer the roasting pan with the cheesecake to the oven and bake at 325°F (163°C) for 60 to 70 minutes or until the edges of the cheesecake are set and the center is still slightly jiggly. Turn the oven off, crack the oven door slightly, and allow the cheesecake to cool in the warm oven for 1 hour.
-
After the cheesecake has cooled for 1 hour in the oven, remove it from the oven and transfer to a wire rack to cool to room temperature. Once cooled, cover tightly and transfer to the refrigerator to chill for at least 5 to 6 hours or overnight.
-
Run a thin knife around the outside of the cheesecake to loosen it from the pan, carefully release the springform pan. Add the lemon curd to the top of the cheesecake and spread it around into one even layer.
-
Pipe the whipped cream around the edges of the cheesecake, then slice into pieces, serve, and enjoy!
Notes
Freezing Instructions: Wrap the cheesecake tightly with plastic wrap and freeze in a large freezer bag/freezer friendly storage container for up to 3 months. Thaw overnight in the refrigerator, then add the lemon curd and whipped cream.
Cream Cheese: Make sure to use brick-style cream cheese and avoid using cream cheese spread in a tub.
Lemon Curd: You may use either homemade lemon curd or store-bought for this recipe.