
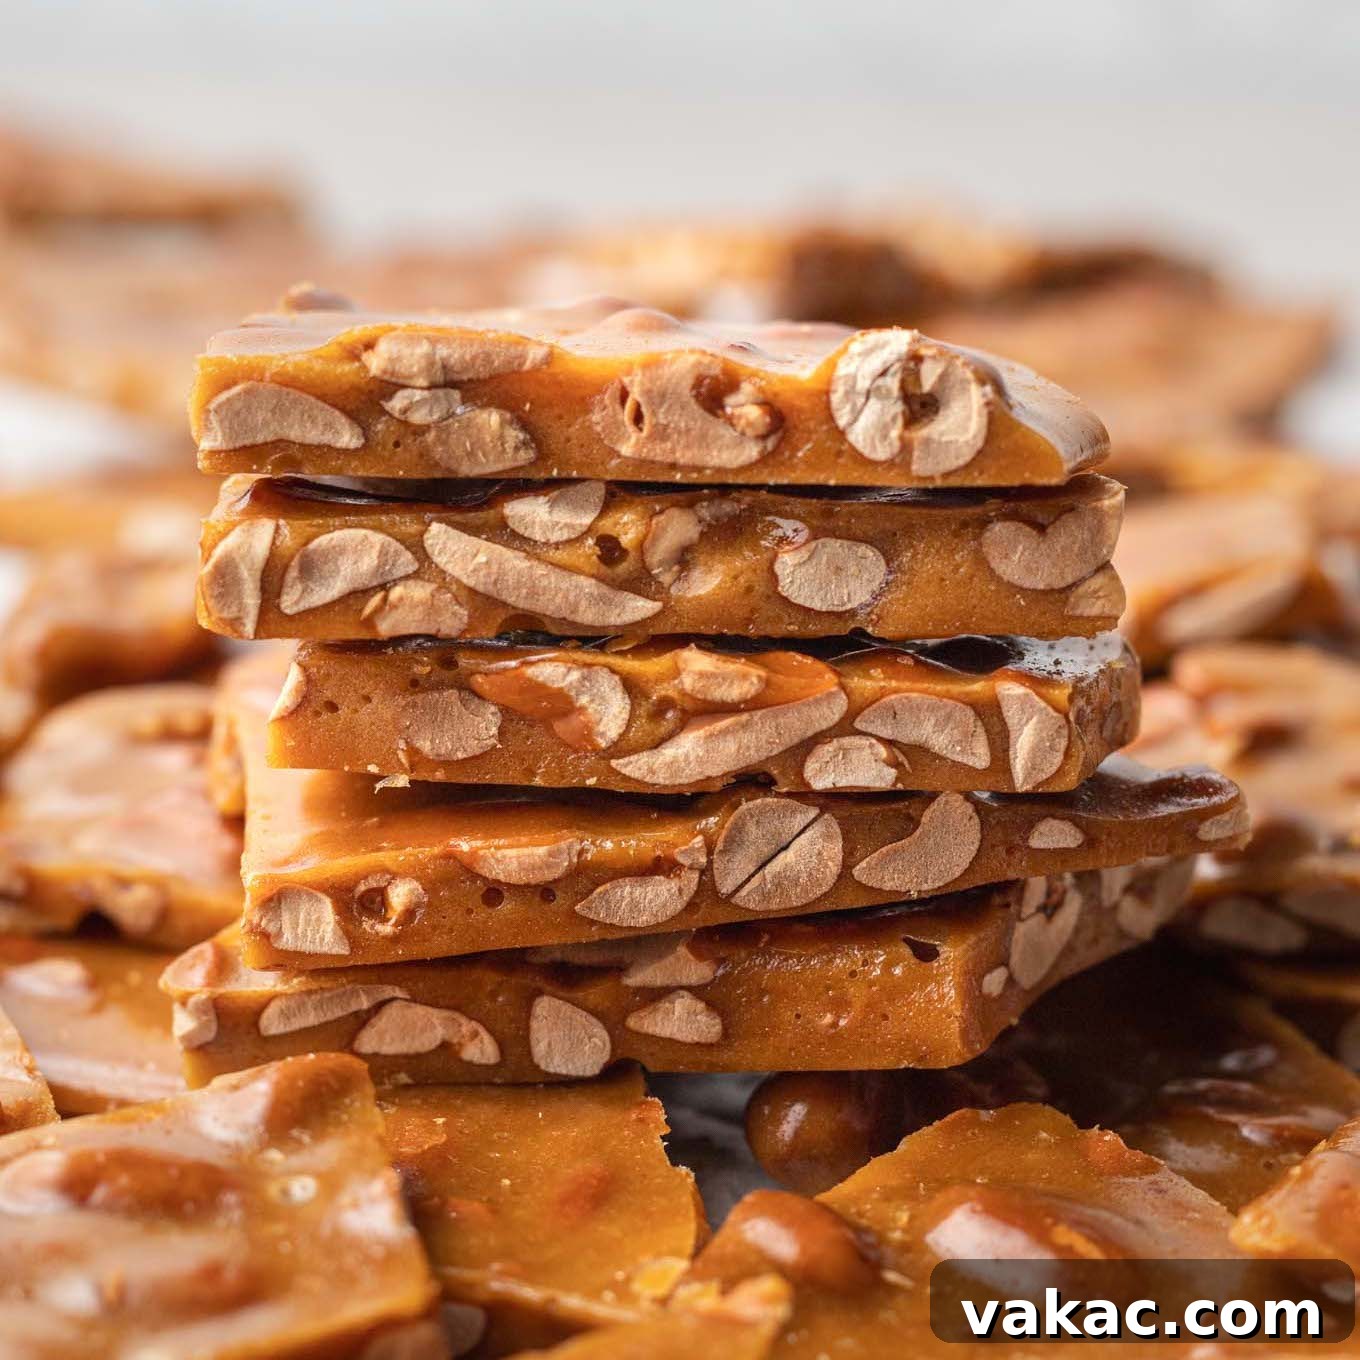
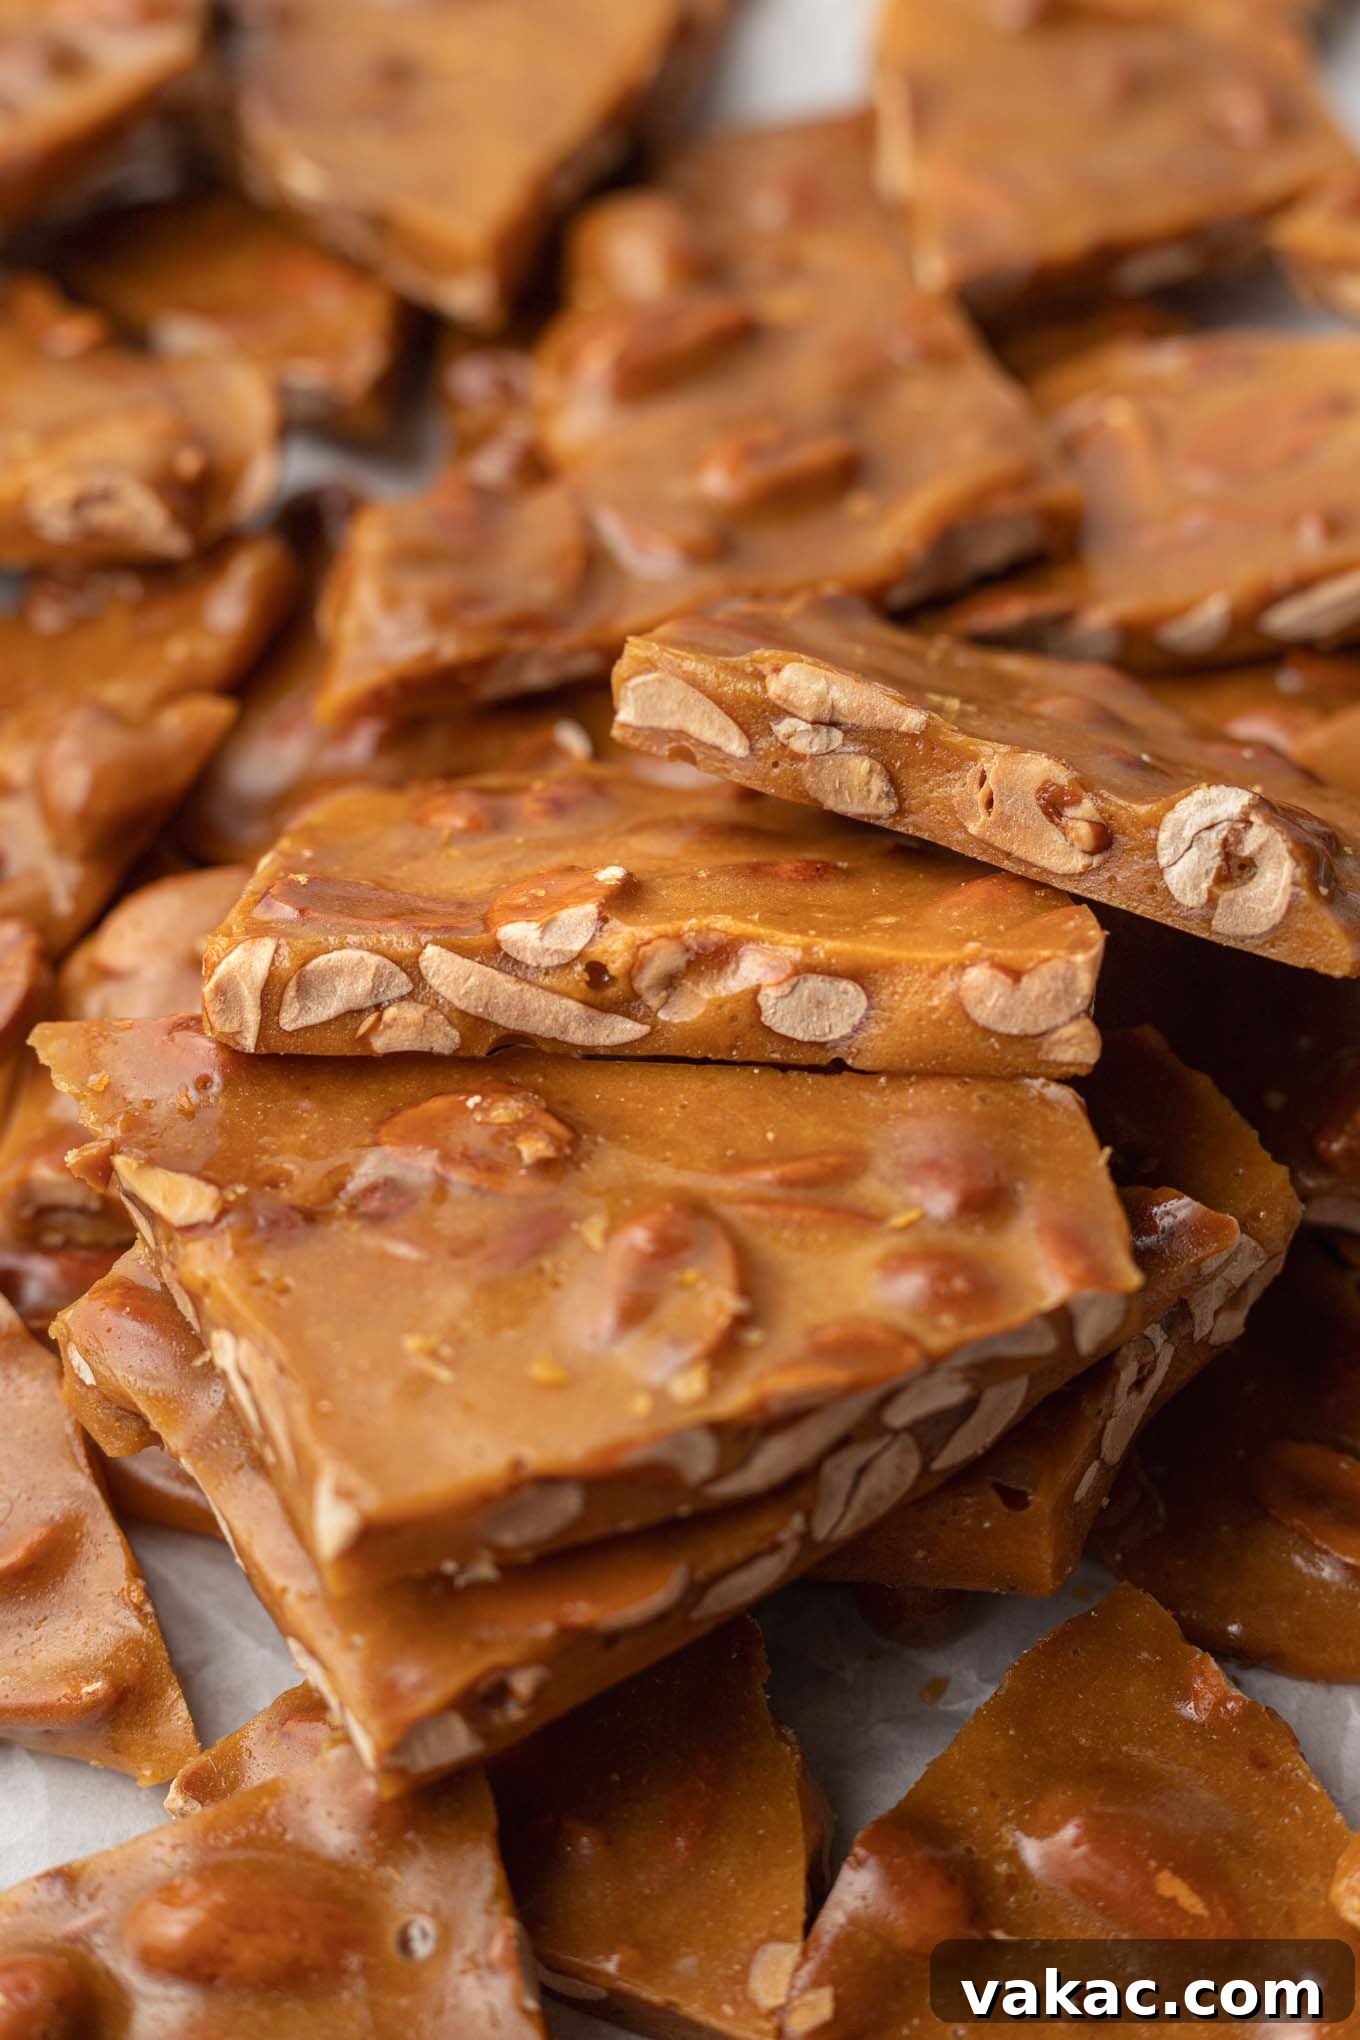
Step into the nostalgic world of classic candy making with this incredibly easy and utterly delicious old-fashioned peanut brittle recipe. Crafted right on your stovetop with just a handful of everyday ingredients, this hard candy is a celebration of rich, buttery flavor generously studded with crunchy peanuts. It’s a timeless treat that promises a delightful crack and melt-in-your-mouth experience, perfect for gifting or simply indulging yourself.
Unveiling the Charm of Classic Peanut Brittle
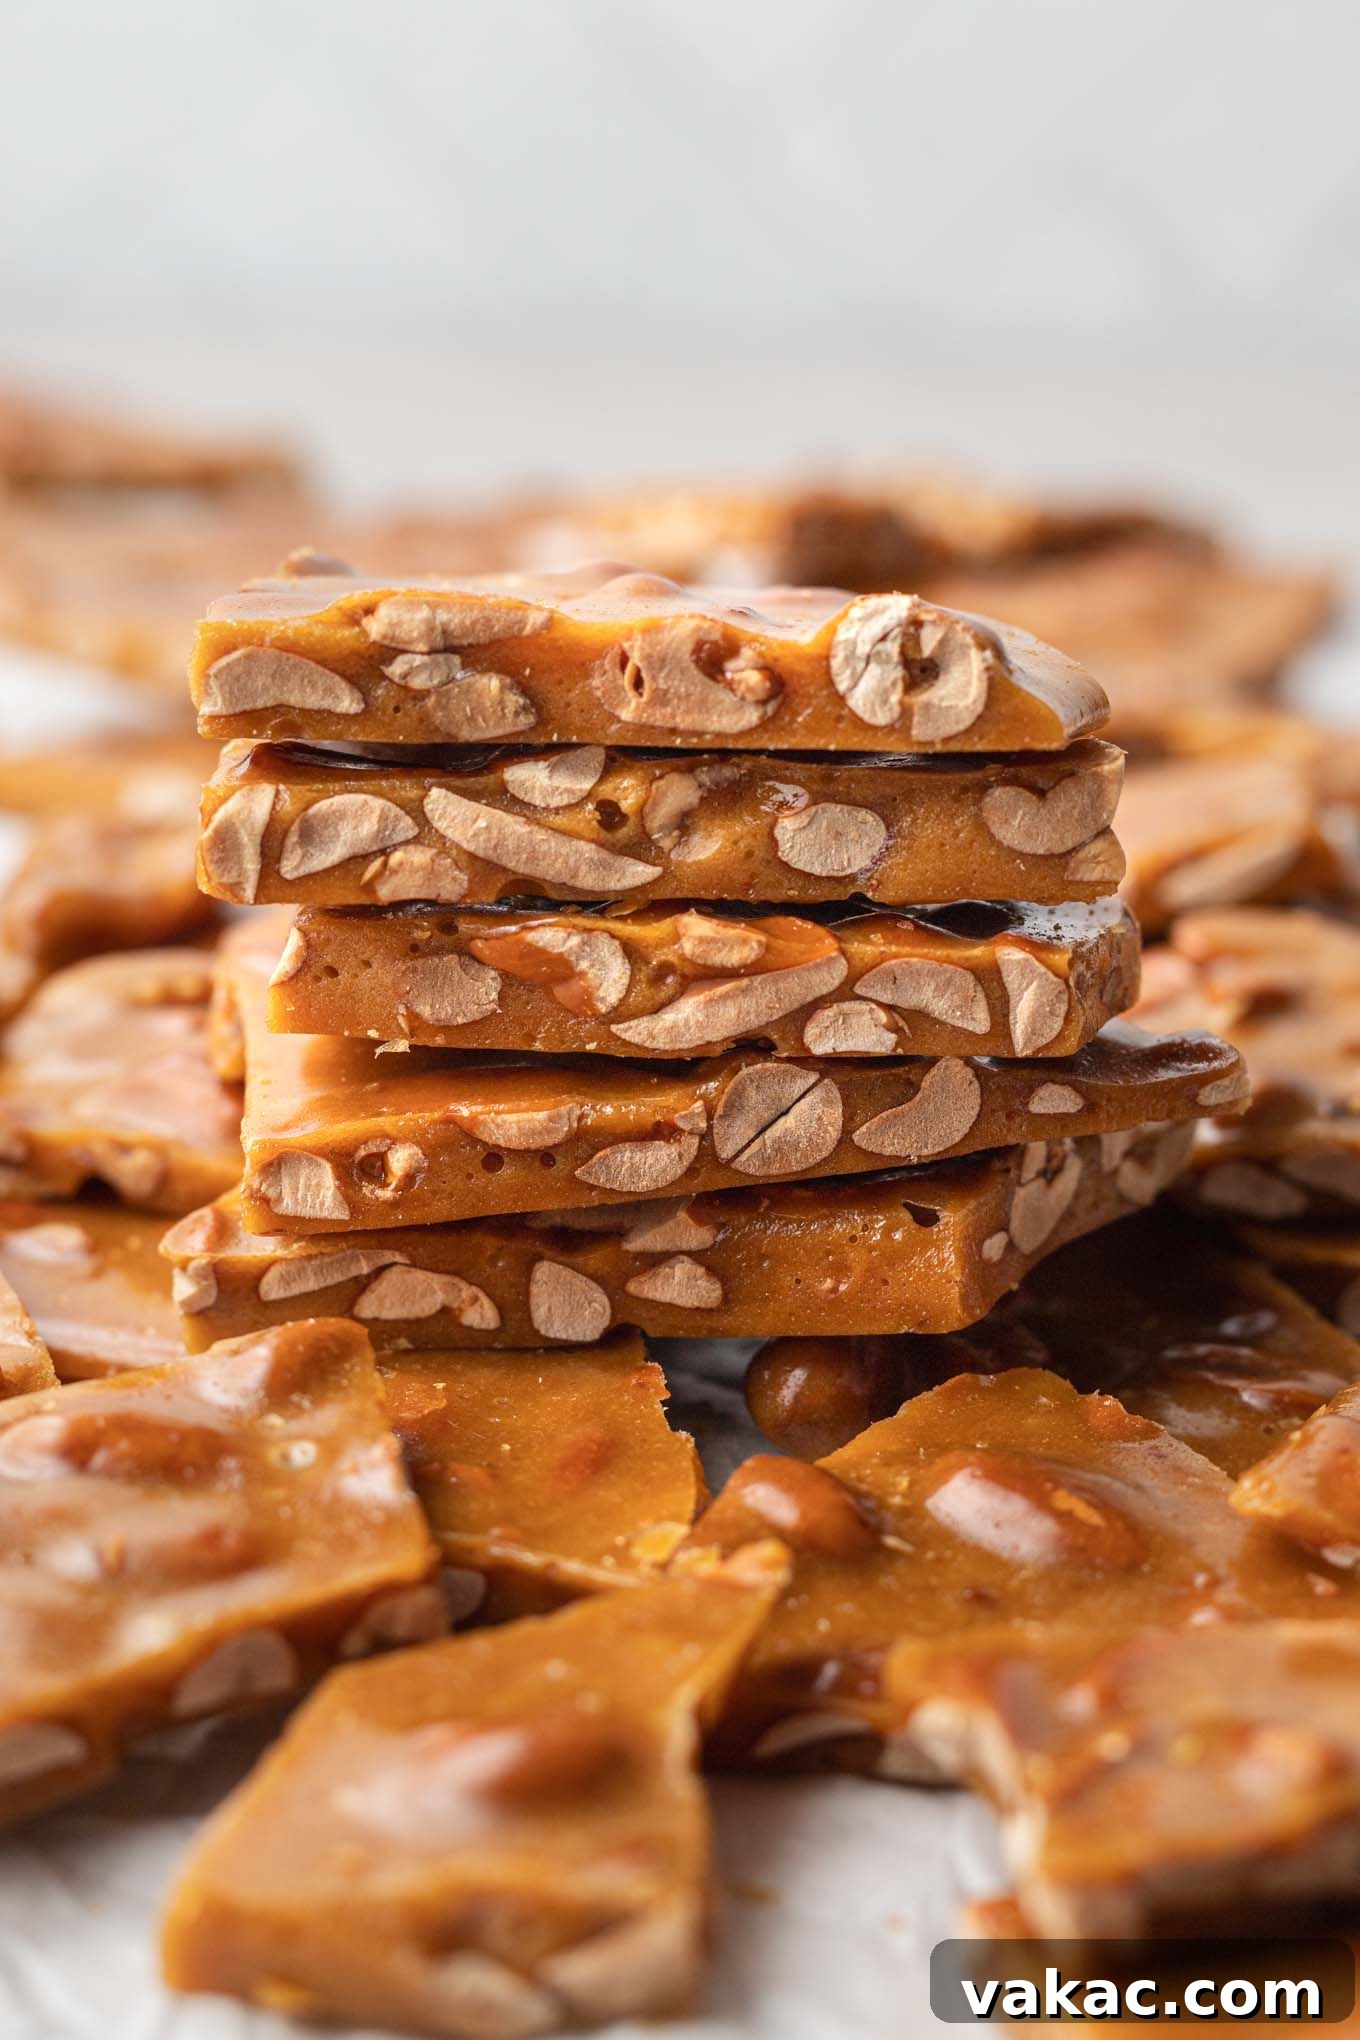
Peanut brittle is a beloved confection, cherished for its distinctive crunch and irresistible sweet-and-salty profile. At its heart, it’s a hard candy masterfully created from a blend of sugar, roasted peanuts, butter, and vanilla extract. The magic truly happens on the stovetop, where these simple components transform into a dazzling, golden sheet of nutty goodness. To ensure that perfect brittle texture – firm enough to snap but tender enough not to challenge your teeth – a touch of corn syrup is added to prevent sugar crystallization, and baking soda works wonders by introducing tiny air bubbles, resulting in a softer, more delicate crunch.
If you’re a fan of rich, buttery treats like homemade toffee or decadent caramel candies, prepare to fall head over heels for this old-fashioned peanut brittle recipe. Every bite delivers a symphony of sweet, salty, and ultra-buttery notes, perfectly complemented by the savory crunch of roasted peanuts.
Beyond its delightful taste, peanut brittle is also remarkably convenient. It stores beautifully at room temperature for up to two weeks when kept in an airtight container. This makes it an ideal candidate for homemade holiday gifts, a charming addition to any festive dessert spread, or simply a delightful snack to have on hand for when a craving strikes. Its impressive shelf life and universal appeal ensure it’s a treat everyone will adore.
Essential Ingredients for Perfect Peanut Brittle
Crafting exceptional homemade candy, especially something as precise as peanut brittle, hinges on careful measurement and the right ingredients. While the process is straightforward, paying close attention to these components will guarantee a successful and delicious batch every time. Let’s delve into the key players in this sweet symphony:
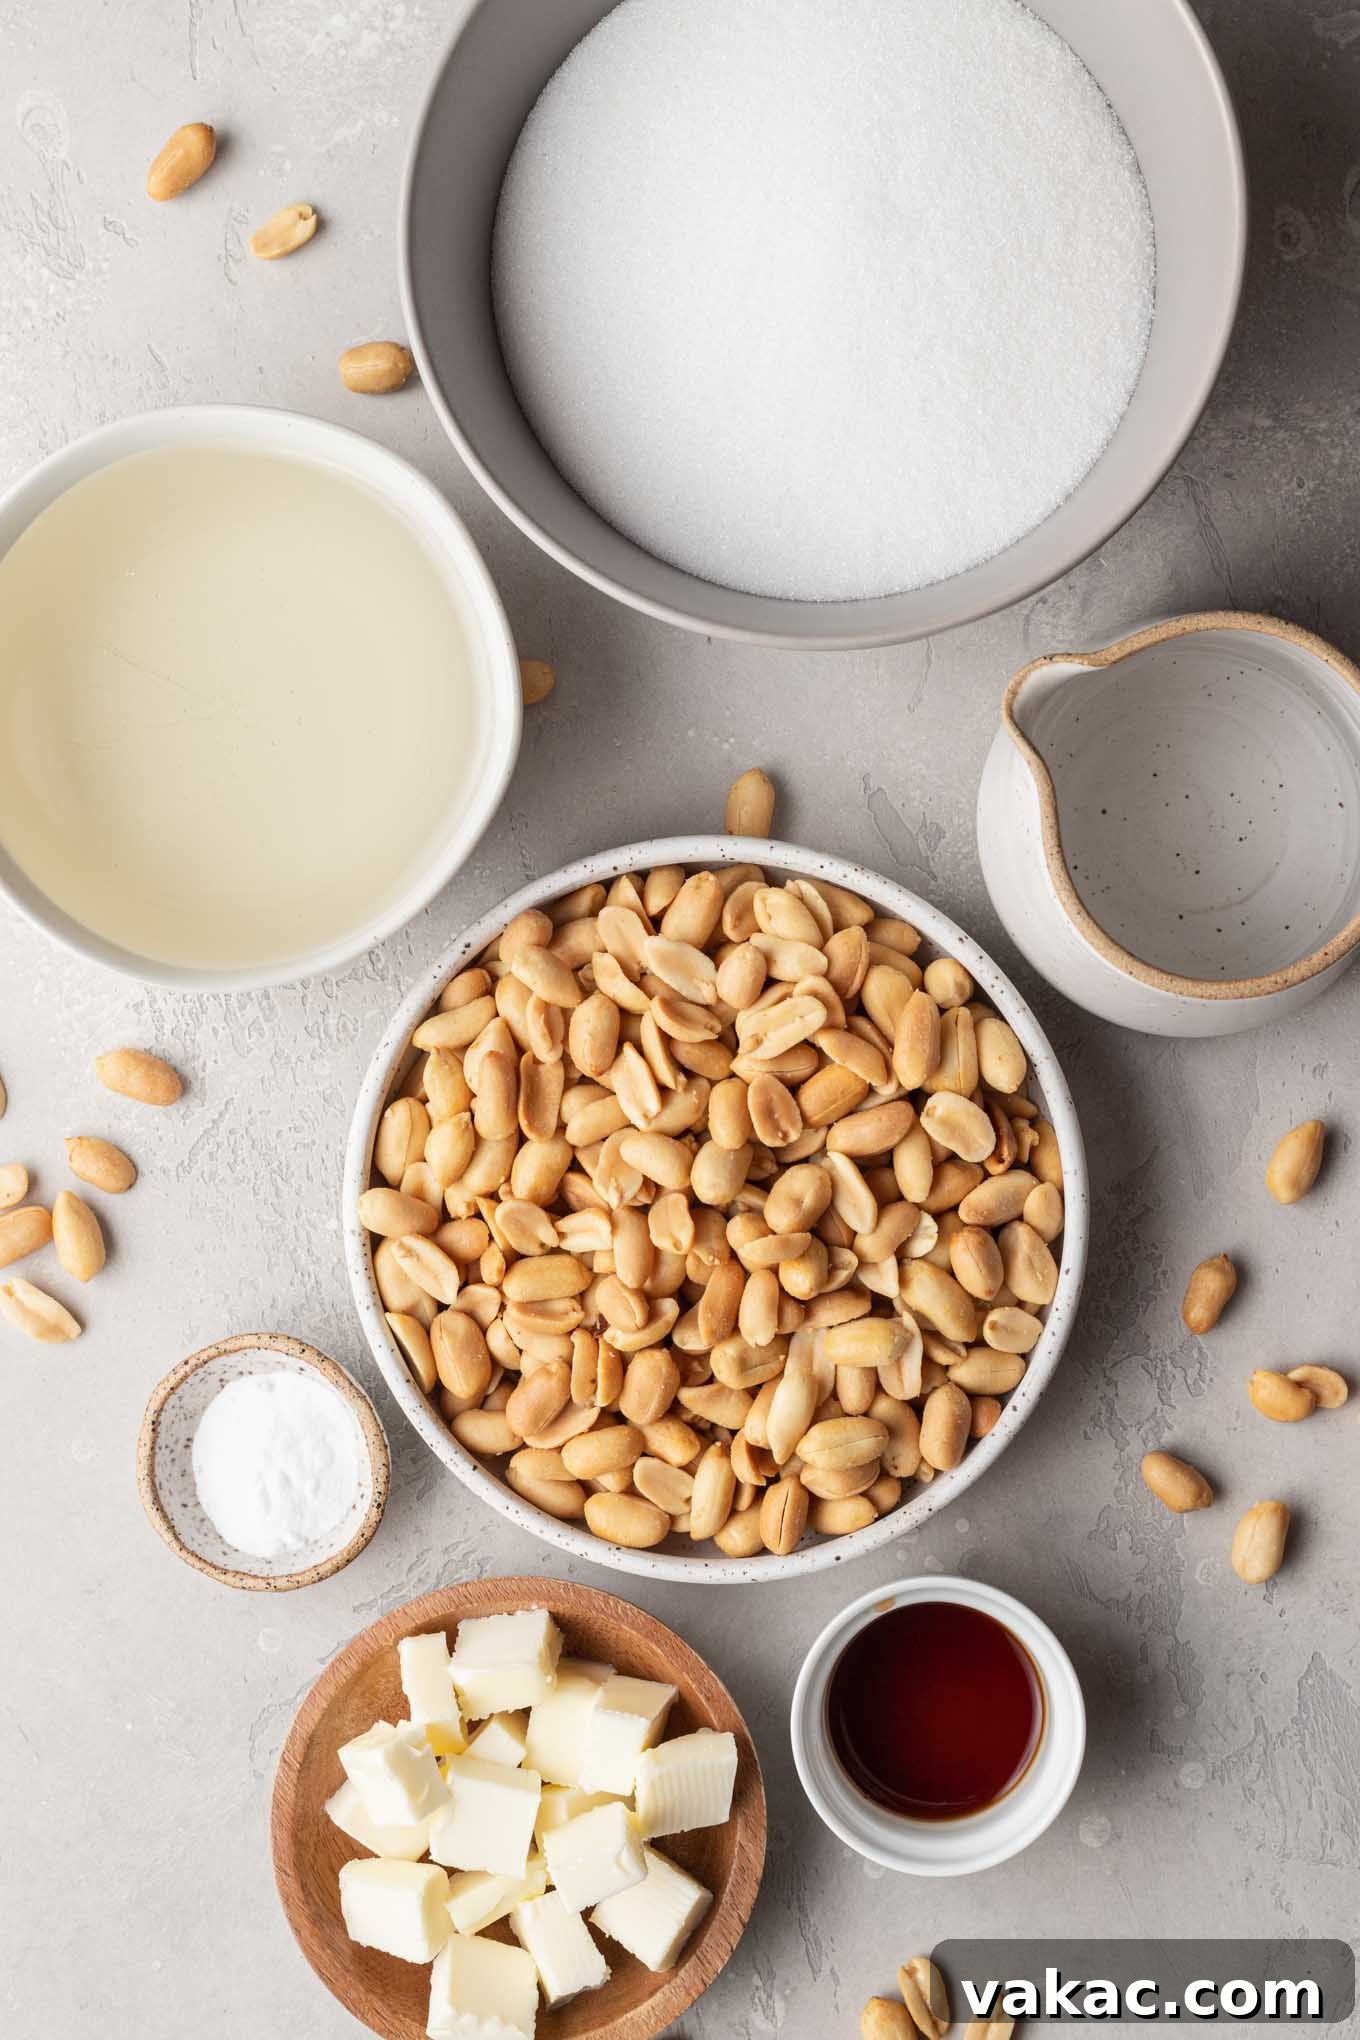
- Peanuts: For an authentic flavor, lightly roasted and salted peanuts are typically the preferred choice. The roasting process deepens their nutty taste, while the light saltiness perfectly balances the sweetness of the candy. If you only have unsalted peanuts available, don’t worry! Simply incorporate an additional 1/4 teaspoon of fine sea salt into your recipe mixture to achieve that crucial sweet and savory harmony.
- Baking Soda: This unassuming ingredient is the secret to brittle’s signature texture. When introduced to the hot sugar mixture, baking soda reacts, creating tiny carbon dioxide bubbles that foam up the candy. These air pockets prevent the brittle from becoming excessively hard, giving it that delightful, melt-in-your-mouth crispness that won’t chip a tooth. It’s what transforms a solid sugar mass into a delicate, airy confection.
- Granulated Sugar and Light Corn Syrup: The foundation of our brittle is a dynamic duo of granulated sugar and light corn syrup. Granulated sugar provides the bulk of the sweetness and forms the brittle’s structure. Light corn syrup plays a critical role as an “invert sugar,” preventing the granulated sugar from crystallizing too quickly and seizing up in the saucepan. This ensures a smooth, glassy texture for your brittle and prevents it from becoming grainy. Without corn syrup, achieving that clear, hard-crack stage would be significantly more challenging.
- Unsalted Butter: Good quality unsalted butter adds an incomparable richness and buttery flavor to the brittle. It also contributes to the candy’s delightful texture. It’s crucial that the butter is softened to room temperature and cut into small pieces, allowing it to melt evenly and quickly into the hot sugar mixture without lowering the temperature too drastically.
- Pure Vanilla Extract: A generous two teaspoons of pure vanilla extract are added at the end of the cooking process. This infuses the hard candy with a warm, aromatic depth that beautifully complements the roasted peanuts and buttery notes, elevating the overall flavor profile. Always use pure vanilla for the best results, as artificial extracts can sometimes impart a less desirable taste.
- Water: While often overlooked, water serves as a vital solvent in the initial stages, dissolving the sugar and corn syrup to create a uniform base for the candy. It evaporates as the mixture cooks, leaving behind the concentrated sugar solution that will become your brittle.
Mastering the Art of Homemade Peanut Brittle
Creating exquisite peanut brittle candy on your stovetop is a rewarding and surprisingly simple endeavor, provided you follow a few critical steps. The single most important tool for success in this recipe is a reliable candy thermometer. Without it, accurately determining when the sugar mixture reaches the precise “hard-crack stage” is incredibly difficult. Undercooking the brittle by even a few degrees will result in a soft, sticky mess that won’t set, while overcooking can lead to a burnt, bitter flavor. Don’t fret, though; I’ll guide you through each step to ensure your homemade peanut brittle turns out perfectly every time.
- Prepare Your Workspace and Ingredients: Before you even turn on the heat, ensure all your ingredients are measured out and readily accessible. Candy making moves quickly, and you won’t have time to search for items once the cooking begins. This preparation, known as “mise en place,” is crucial. Simultaneously, line a large cookie sheet with parchment paper or a silicone baking mat. This will prevent sticking and make for easy removal and cleanup. Have your candy thermometer clean and ready to clip onto your saucepan.
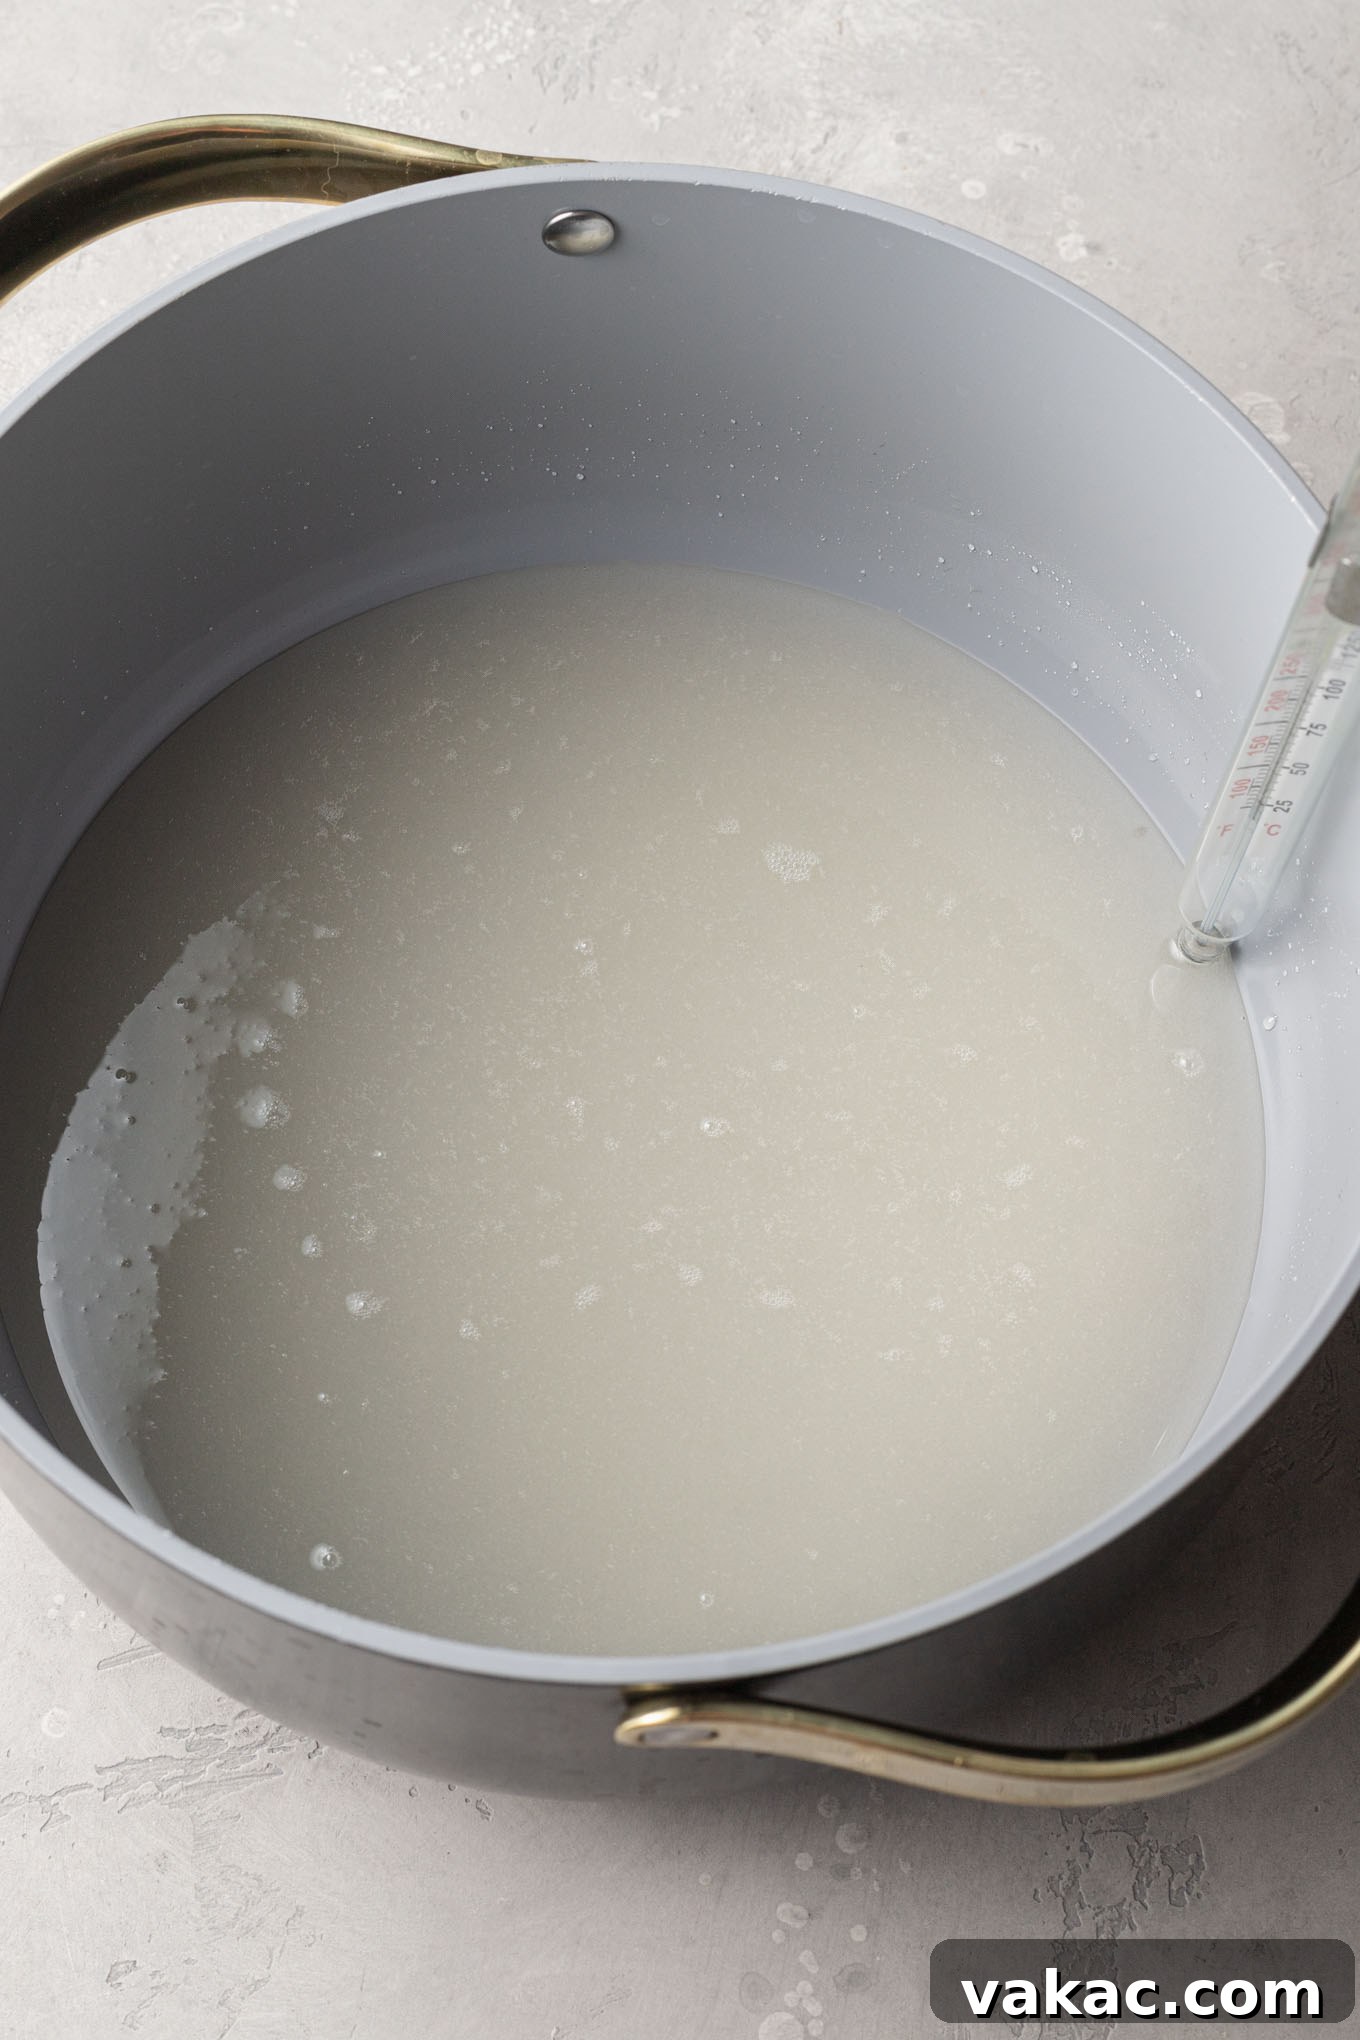
- Initiate the Sugar Syrup: In a large, heavy-bottomed saucepan (choose one larger than you think you’ll need, as the mixture will foam up), combine the granulated sugar, light corn syrup, and water. Stir gently until the sugar is dissolved. Place the saucepan over medium-low heat. Attach your candy thermometer to the side of the pan, ensuring the bulb is submerged in the sugar mixture but not touching the bottom. Continue heating, stirring occasionally, until the mixture reaches precisely 250°F (121°C). This stage is critical for the initial syrup formation.
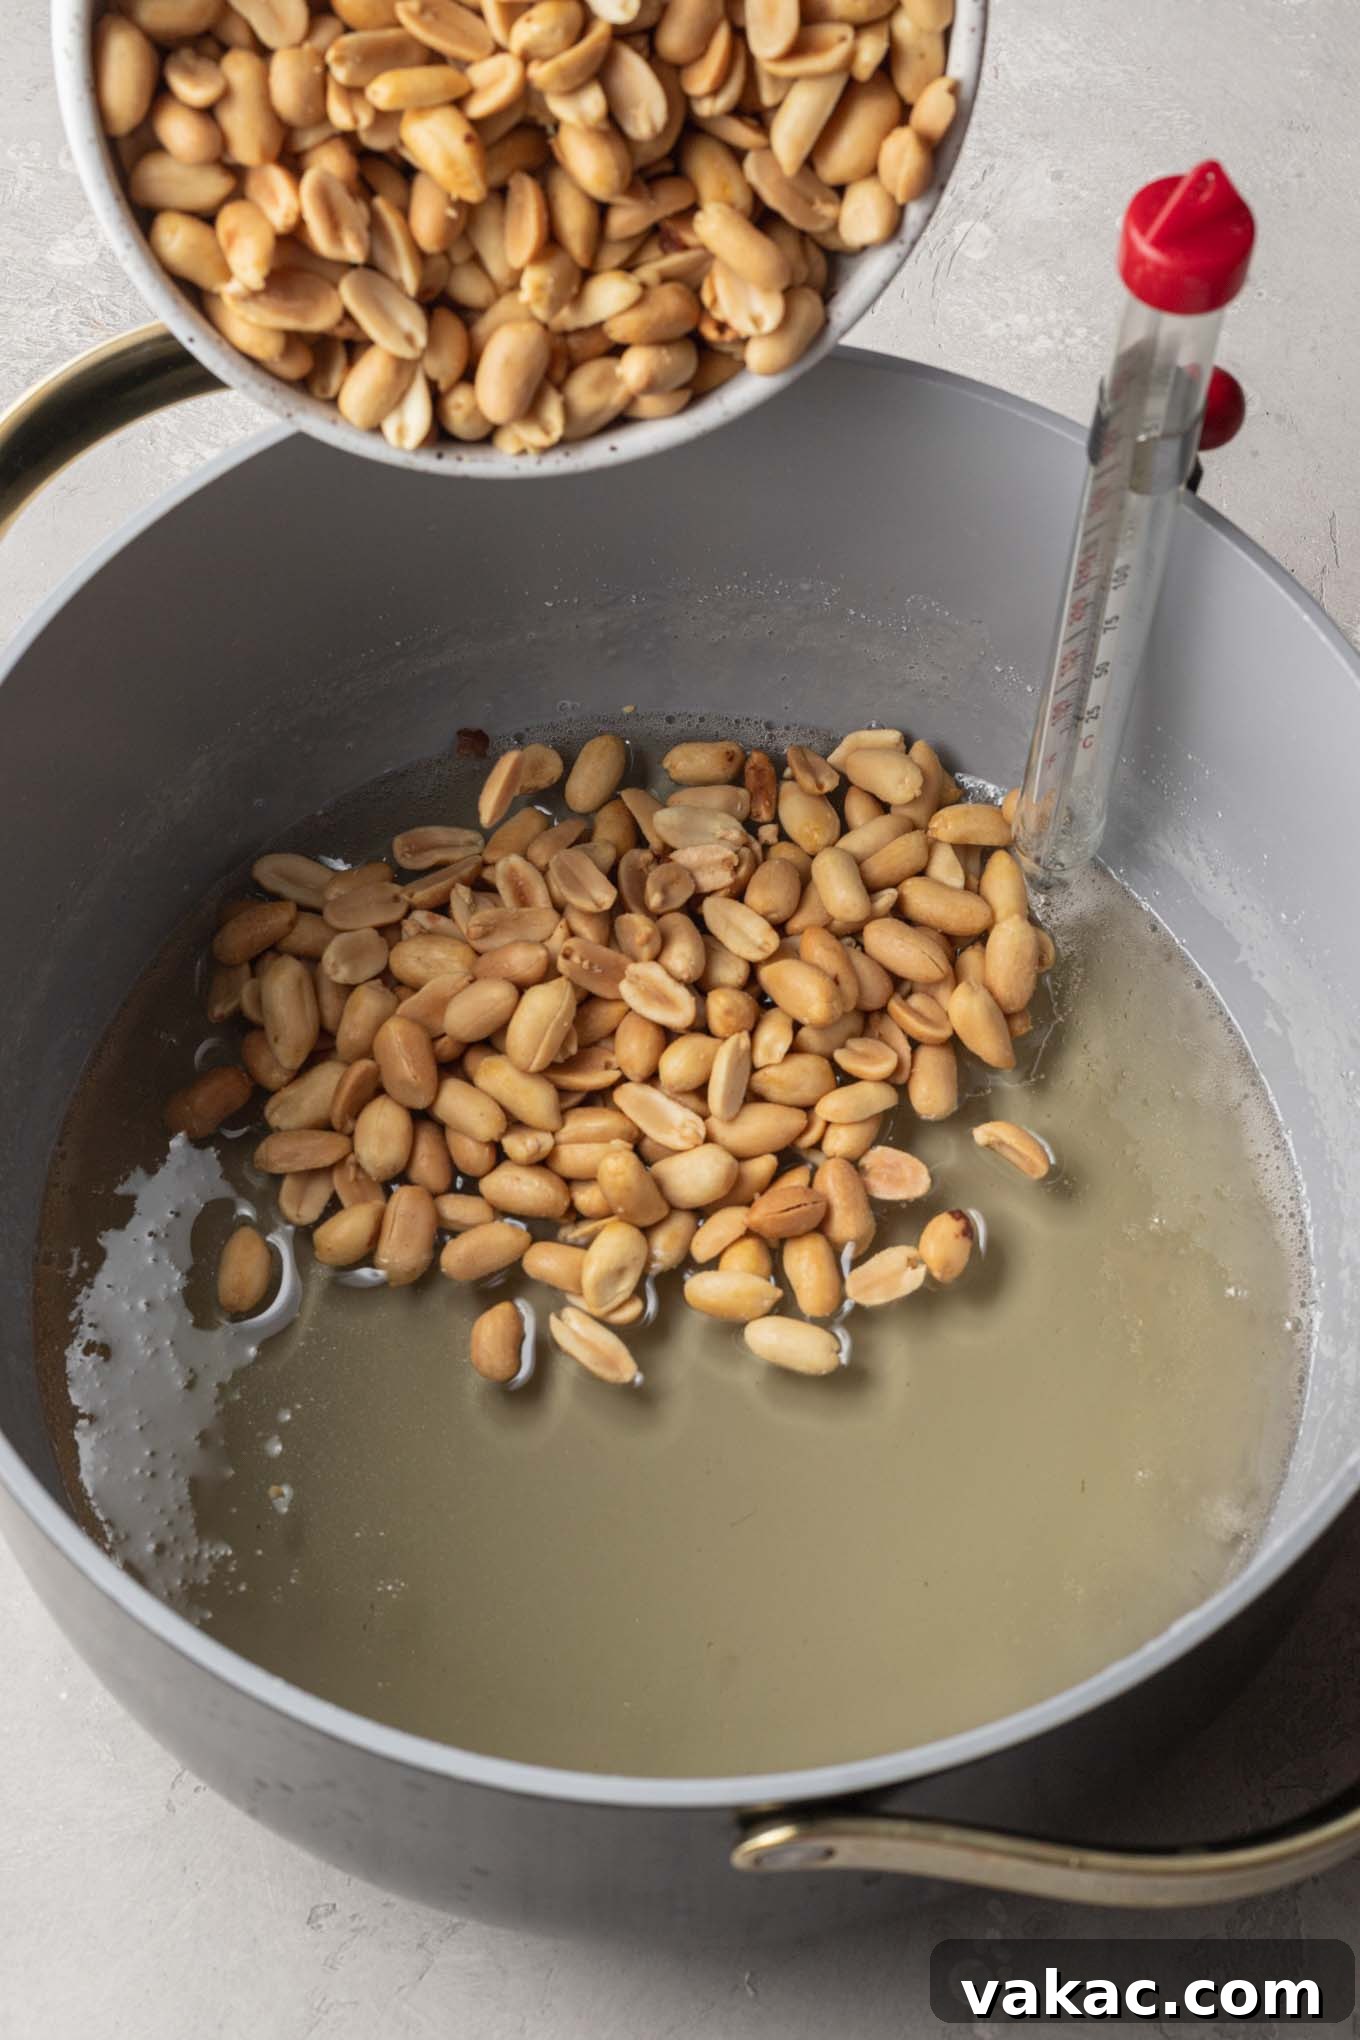
- Introduce the Peanuts and Reach Hard-Crack Stage: Once the sugar mixture hits 250°F, carefully add the roasted peanuts to the saucepan and stir to combine them evenly. Continue cooking the mixture, stirring continuously to prevent scorching, until your candy thermometer reads a perfect 300°F (150°C). This is the “hard-crack stage,” where the sugar has lost almost all its moisture and will become brittle upon cooling. This temperature is non-negotiable for achieving that classic snappy texture.
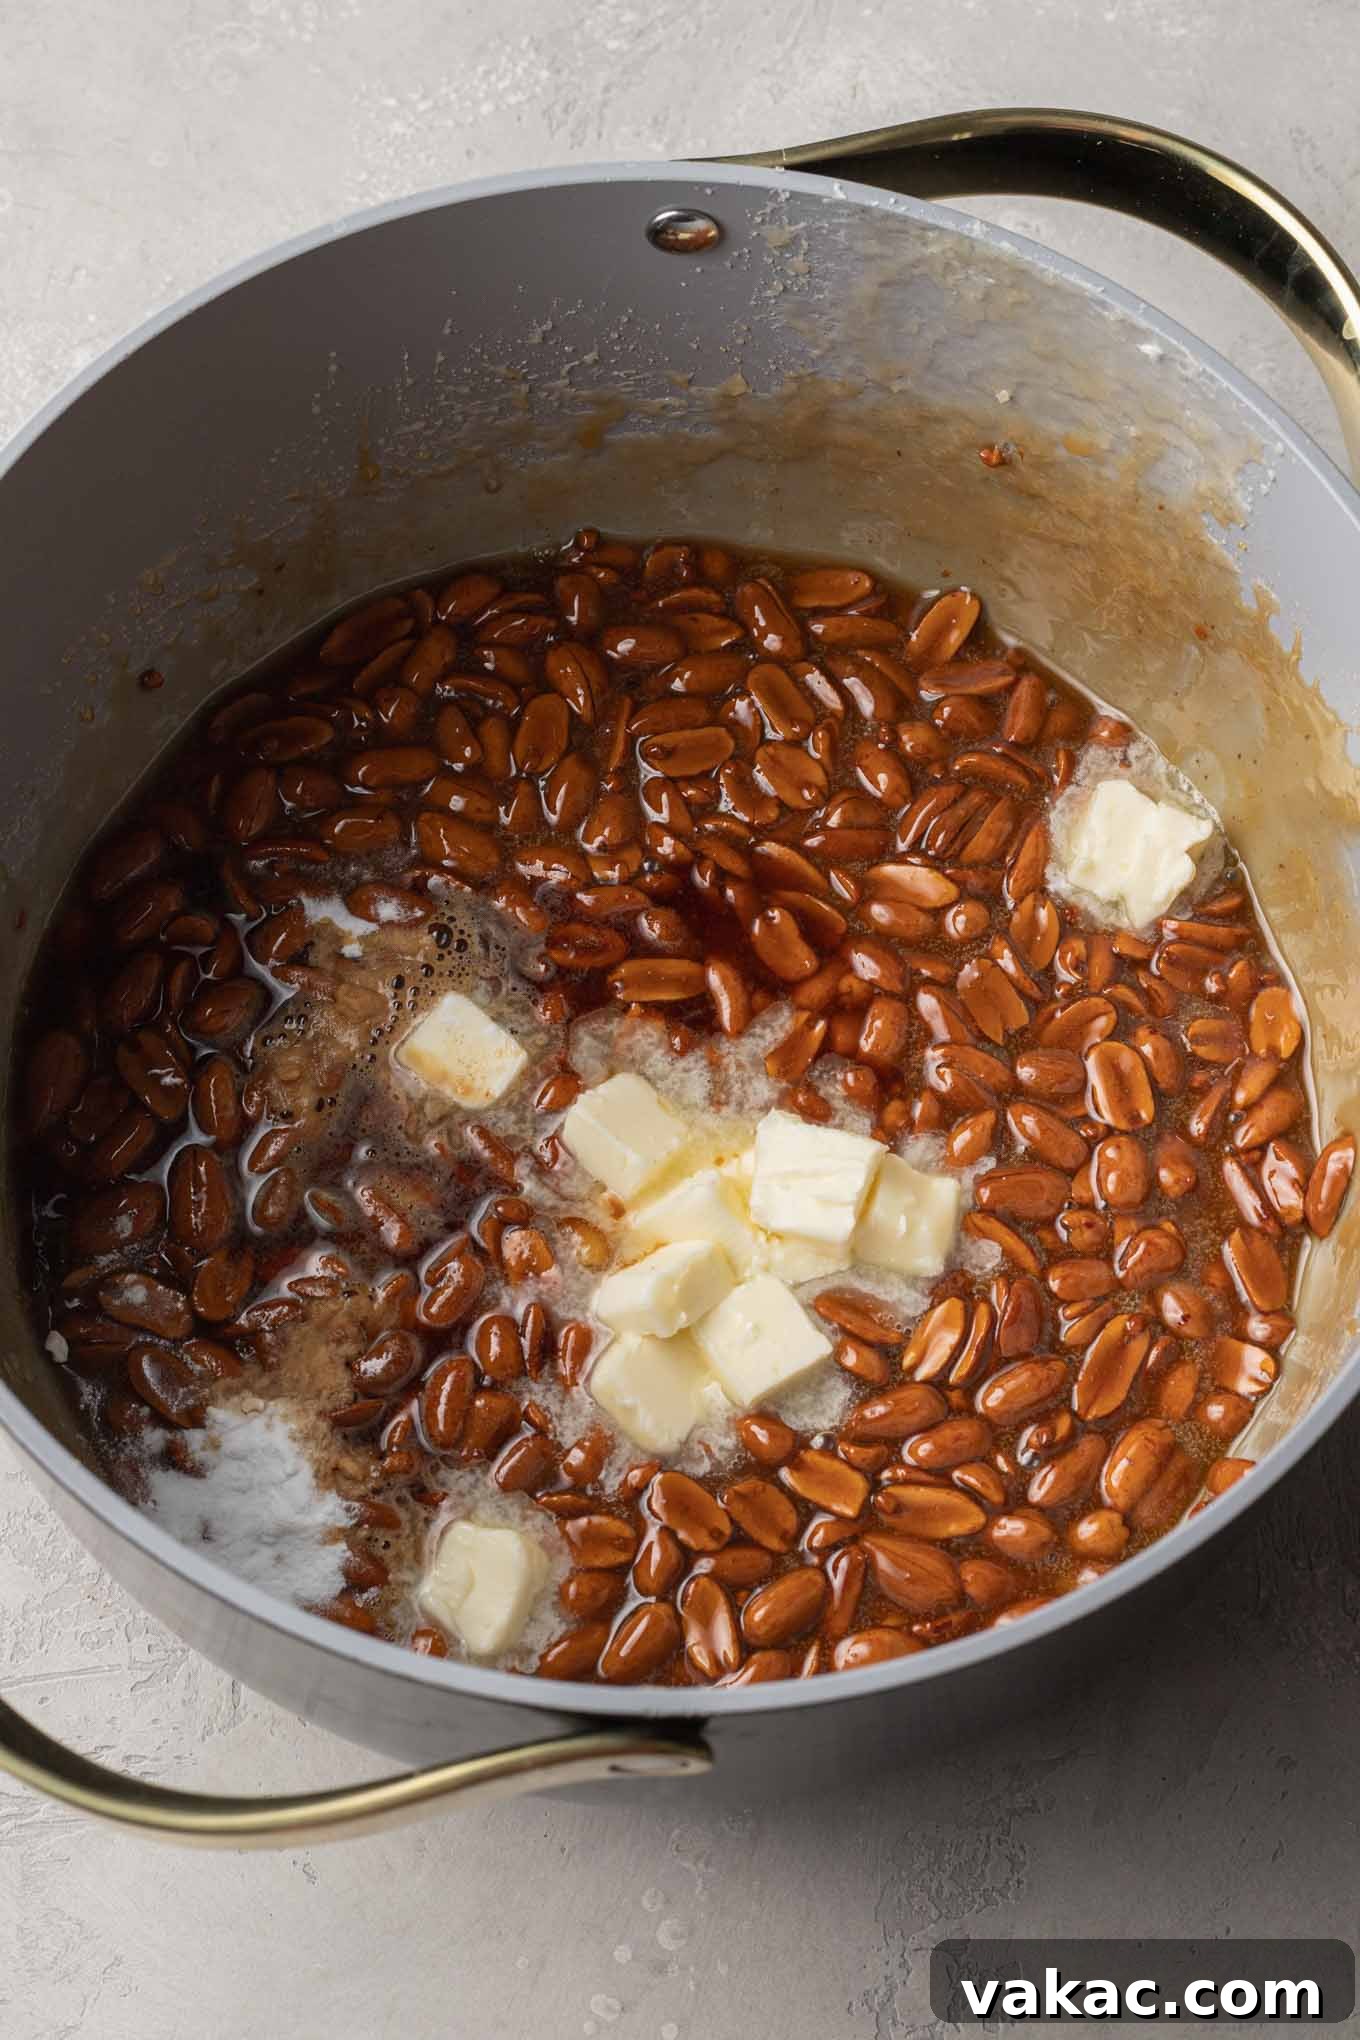
- Rapid Final Additions: Immediately remove the saucepan from the heat once it reaches 300°F. Swiftly stir in the softened butter, baking soda, and vanilla extract. This step requires speed and caution, as the mixture will bubble up vigorously and release a considerable amount of steam due to the baking soda reaction. Stir continuously until the butter is fully incorporated and the mixture has transformed into a light, airy, and frothy consistency.
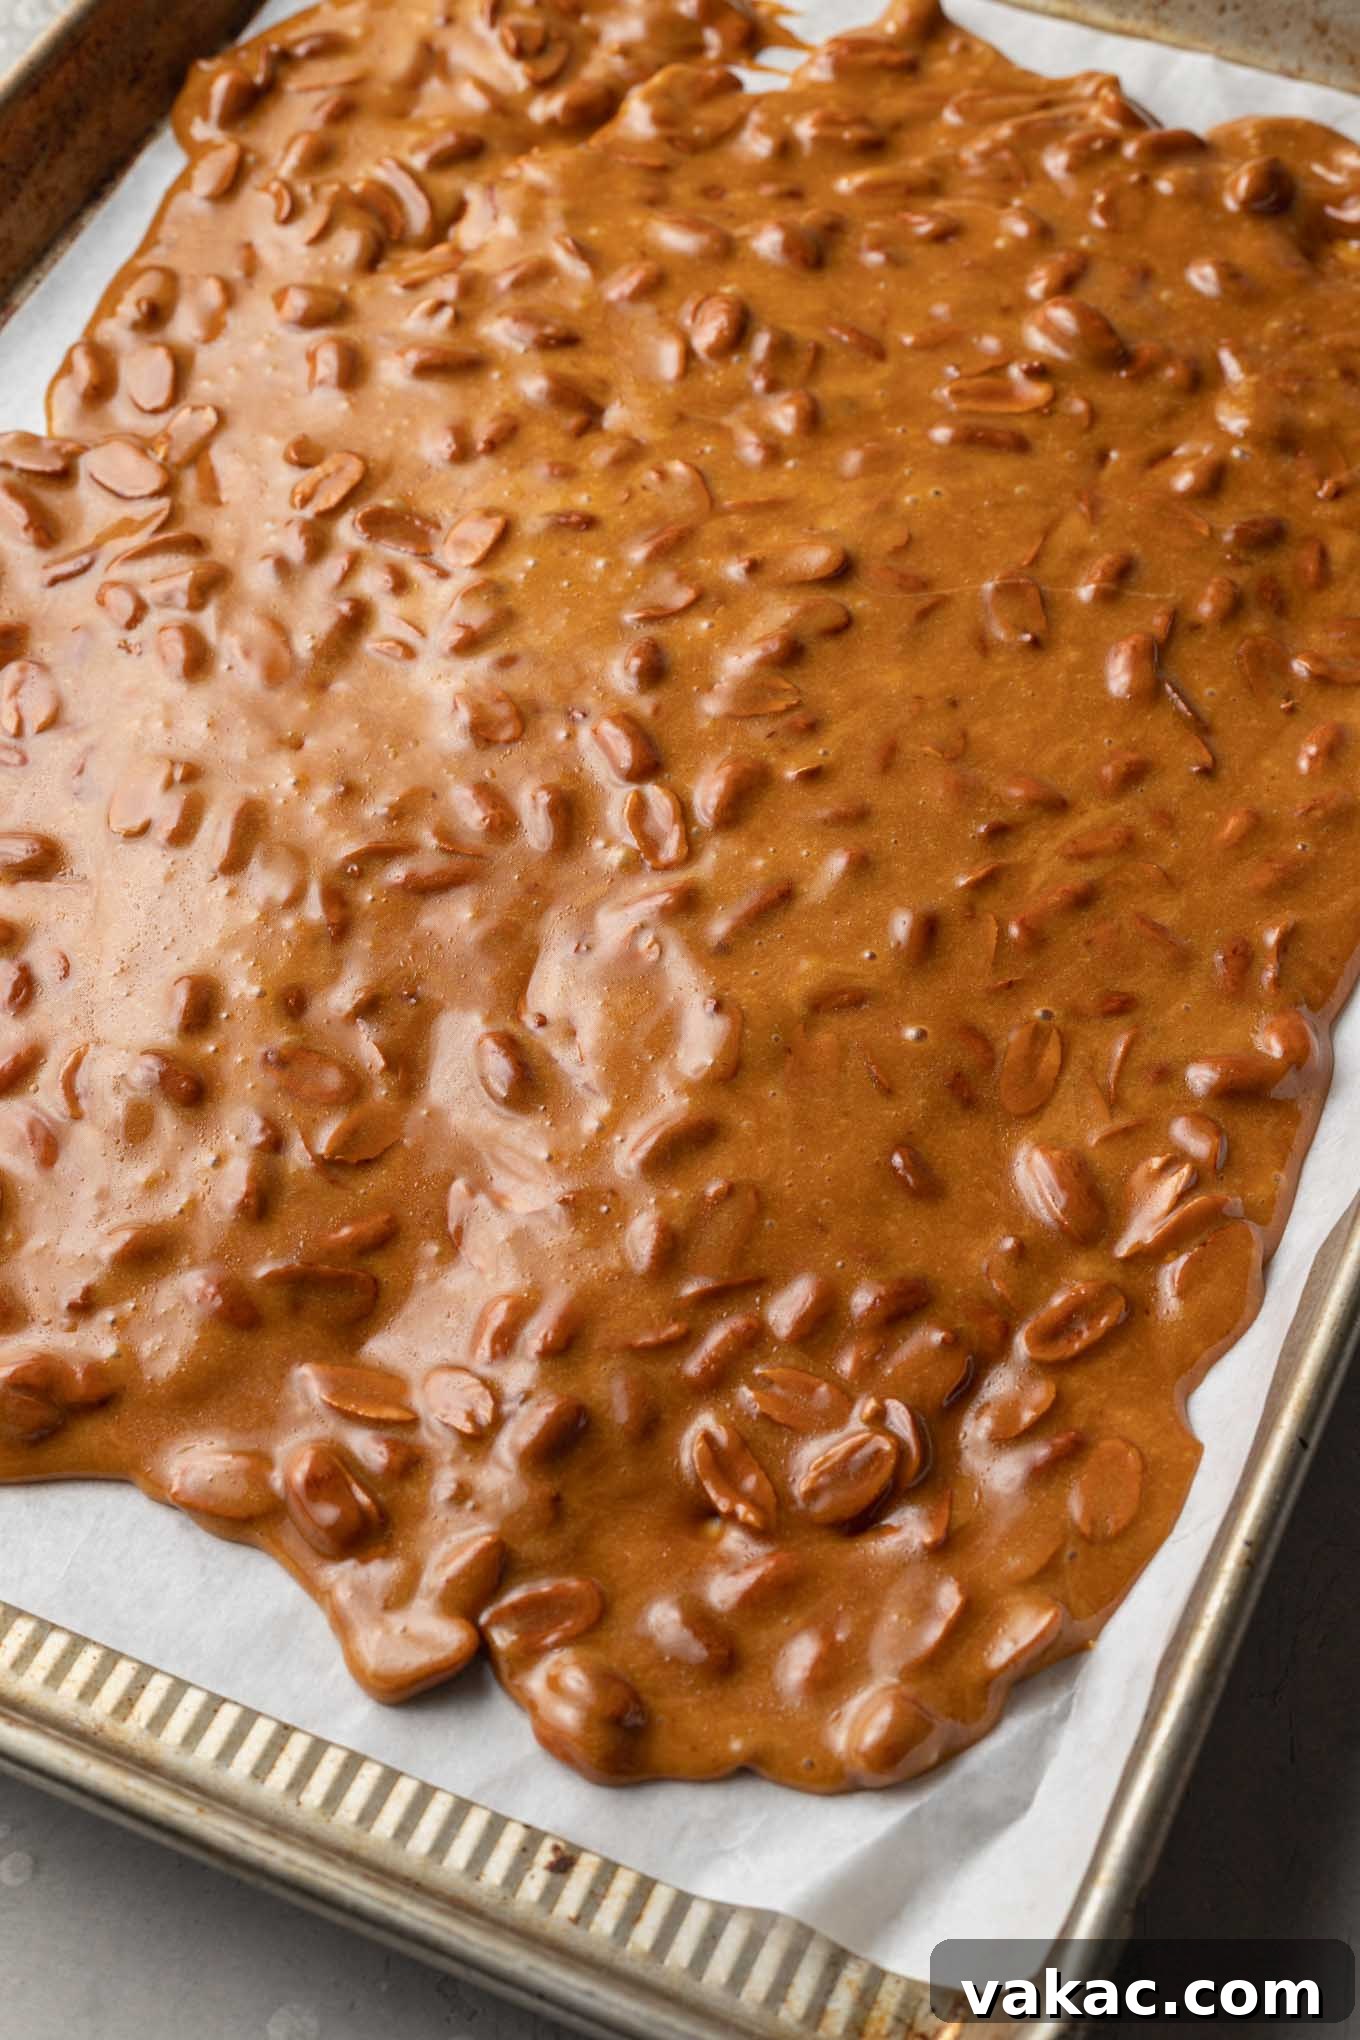
- Pour and Spread with Precision: Without delay, carefully pour the piping hot, molten candy mixture onto your prepared parchment-lined cookie sheet. Use a heat-resistant rubber spatula or the back of a spoon to quickly spread the brittle into an even, thin layer across the sheet. The thinner you can spread it, the easier it will be to break into perfect pieces later. If the mixture starts to set too quickly, two forks can also be used to pull and spread it into a thinner, more uniform sheet. Work efficiently, as the brittle will begin to harden almost immediately.
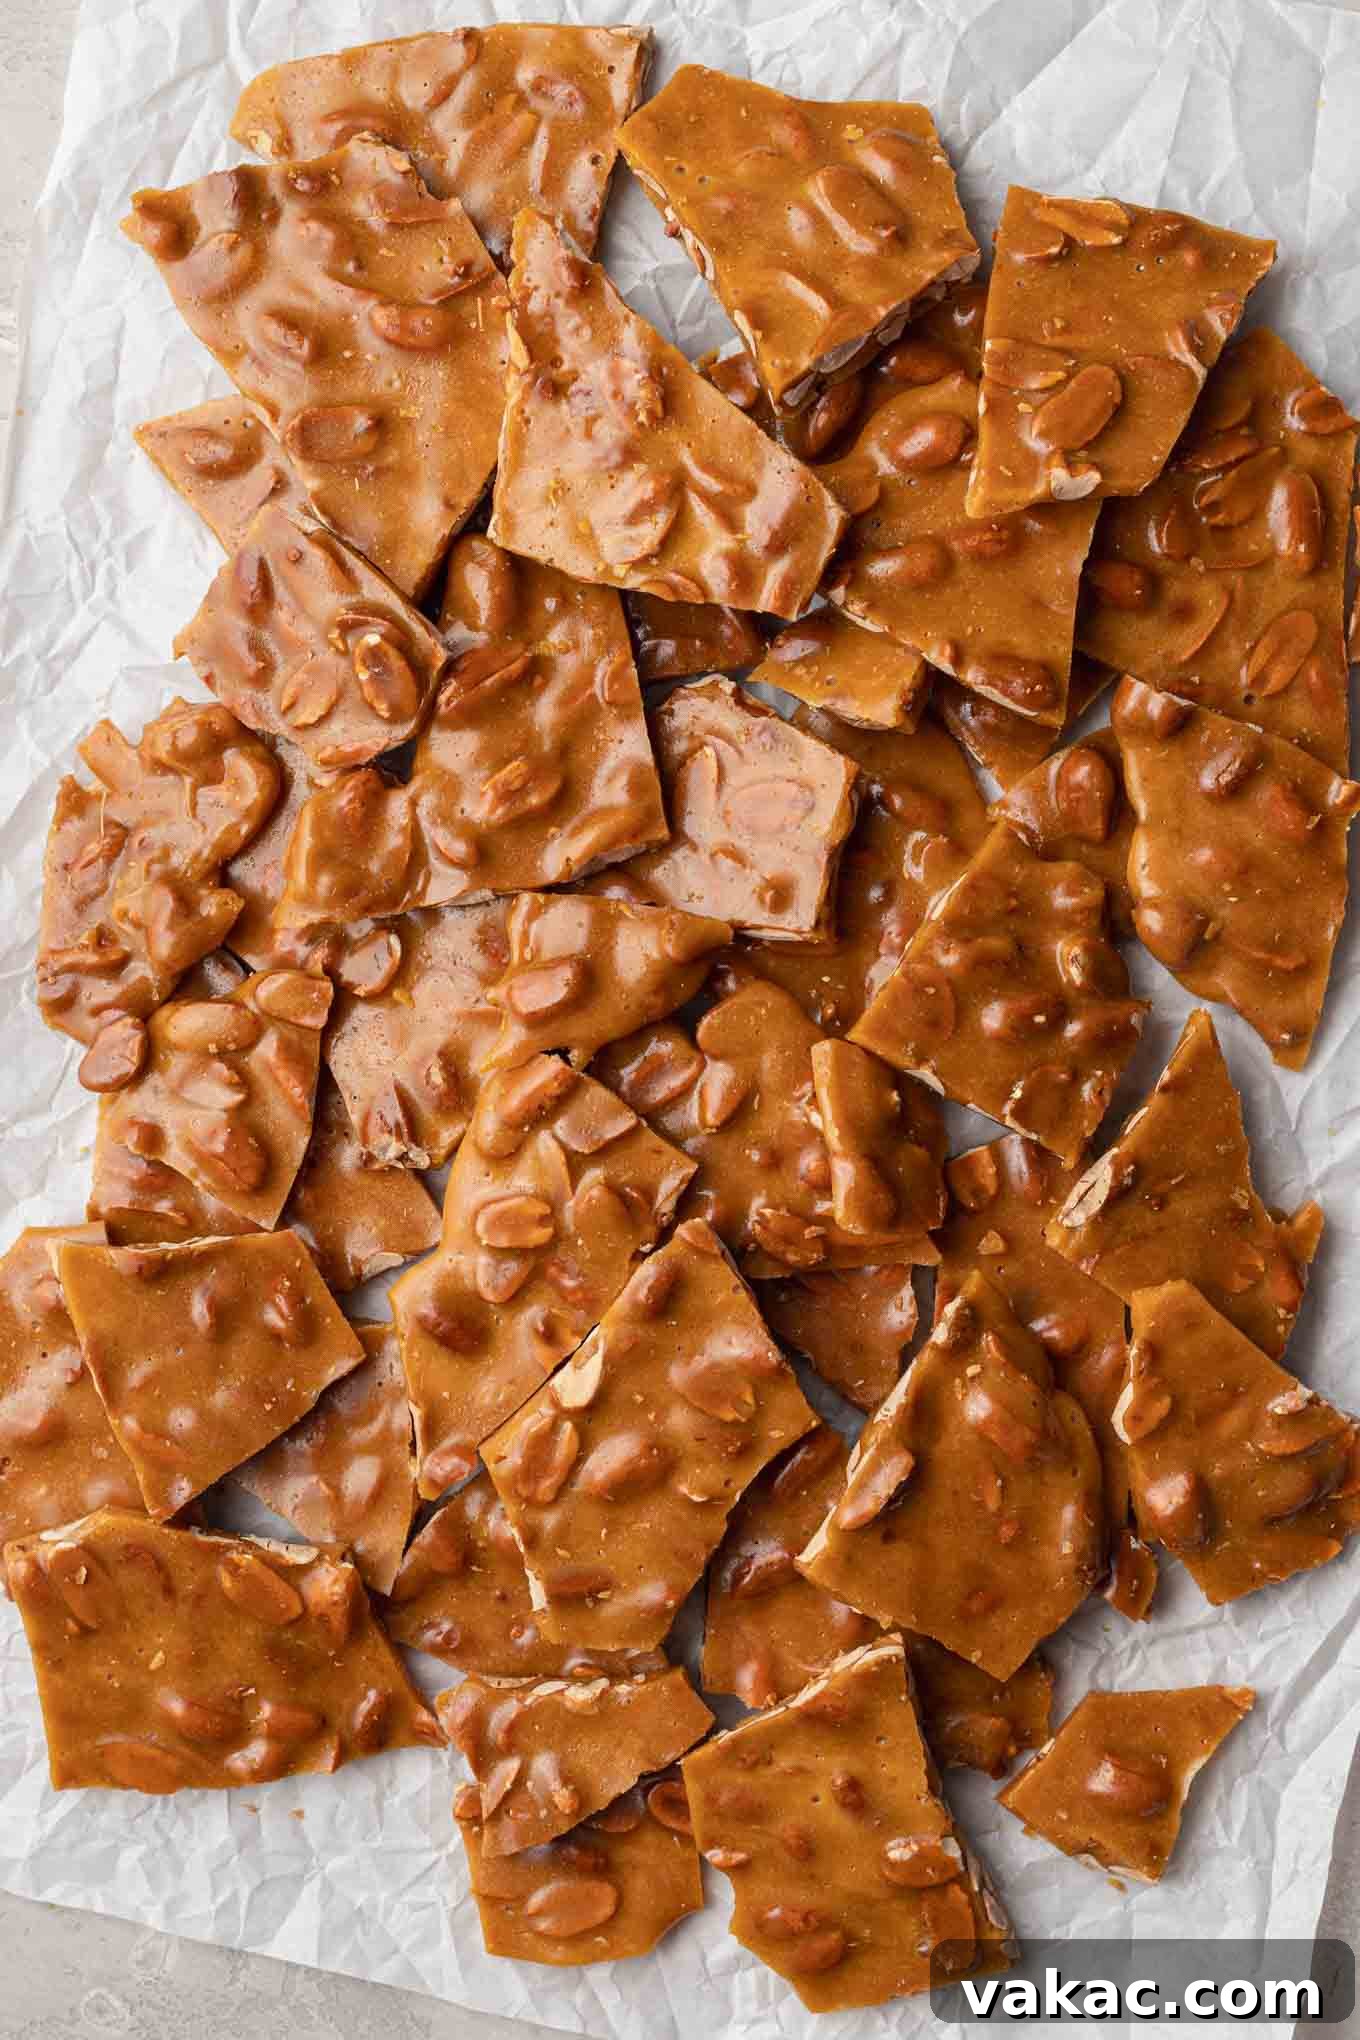
- Patient Cooling and Enjoyment: Allow the peanut brittle to cool completely and harden at room temperature. This process typically takes at least 45 minutes to 1 hour, possibly longer in humid conditions. Resist the urge to touch or move it before it’s fully set. Once thoroughly cooled and firm, gently lift the parchment paper and brittle from the cookie sheet. Break the brittle into irregular, bite-sized pieces using your hands. Now, your homemade peanut brittle is ready to be savored!
Frequently Asked Questions About Peanut Brittle
Why is baking soda added to peanut brittle?
Baking soda is a crucial ingredient in peanut brittle because it reacts with the hot sugar mixture to produce carbon dioxide gas. This creates countless tiny air bubbles throughout the candy, giving the finished brittle a lighter, more delicate, and less dense texture. While still hard and satisfyingly crunchy, these air pockets prevent it from becoming overly hard, making it easier and more pleasant to bite into without fear of breaking a tooth.
What type of peanuts are best for brittle?
For the most flavorful and balanced peanut brittle, we highly recommend using dry roasted and lightly salted peanuts. The roasting process enhances the nut’s inherent flavor, bringing out a deeper, more complex taste. The light salting beautifully contrasts the sweetness of the sugar, creating that irresistible sweet and salty combination that brittle is famous for. If you only have raw peanuts, you can lightly roast them yourself in the oven before starting the recipe.
Why didn’t my peanut brittle harden?
If your peanut brittle remains soft, sticky, or chewy and fails to harden properly, the most common reason is that it wasn’t cooked to the correct temperature. Candy making is a science, and sugar stages are very precise. You must use a reliable candy thermometer or an instant-read thermometer to ensure the mixture reaches the “hard-crack stage” of 300°F (150°C). Any temperature below this will result in a softer candy that won’t set. Reaching this exact temperature allows sufficient moisture to evaporate, enabling the sugar to crystallize into a firm, crisp structure upon cooling.
Is it possible to overcook brittle?
Yes, it is absolutely possible to overcook peanut brittle. While reaching 300°F is essential for hardening, exceeding this temperature can quickly lead to undesirable results. If the candy mixture cooks past 300°F, the sugar begins to caramelize too intensely, leading to a bitter, burnt, or overly dark taste. The key is to be vigilant with your thermometer and remove the saucepan from the heat immediately once the 300°F mark is reached.
Expert Tips for Brittle-Making Success
Creating perfect peanut brittle is a delightful culinary adventure, and with these expert tips, you’ll achieve fantastic results every time:
- Safety First: When working with hot sugar, extreme caution is paramount. The molten sugar mixture can reach very high temperatures, so avoid direct contact with your skin. Keep children and pets away from the cooking area. When adding the butter, vanilla, and baking soda, be prepared for a vigorous bubbling and a significant release of steam. Stir quickly but carefully, keeping your face and hands at a safe distance.
- Work Swiftly: Once the hot brittle mixture is removed from the heat and the final ingredients are added, it will begin to set up very quickly. You must work with speed and efficiency when pouring and spreading it onto your prepared pan. Have your spatula or forks ready to spread the molten candy into as thin and even a layer as possible. The faster you spread it, the more delicate and manageable your brittle pieces will be.
- The Indispensable Candy Thermometer: We cannot stress this enough: a candy thermometer or a reliable instant-read thermometer is absolutely essential for this recipe. Eyeballing the sugar stages simply won’t cut it for brittle. It is the only way to accurately know when your sugar mixture has reached the crucial hard-crack stage of 300°F (150°C), which dictates the final texture of your candy. Investing in a good quality thermometer will guarantee consistent, perfect brittle every time.
- Use a Heavy-Bottomed Pan: A heavy-bottomed saucepan distributes heat more evenly, preventing hot spots that can scorch the sugar. This reduces the risk of burning and ensures a consistent cook for your brittle.
- Humidity Matters: High humidity can affect how quickly candy sets and how well it stores. On very humid days, your brittle might take longer to harden or could become slightly sticky over time. Consider making brittle on drier days if possible.
- Clean Edges: During cooking, sugar crystals can sometimes form on the sides of the pan. These crystals can cause the entire batch to crystallize and become grainy. To prevent this, occasionally wipe down the sides of the saucepan with a wet pastry brush while the sugar is cooking.
Exploring Delicious Brittle Variations and Serving Ideas
While classic peanut brittle is undeniably delicious, there’s a world of variations to explore once you’ve mastered the basic recipe. Don’t hesitate to get creative and customize this delightful confection to suit your taste:
- Nutty Alternatives: Experiment with different types of nuts! Pecan brittle, almond brittle, or even cashew brittle are equally delightful and offer unique flavor profiles. You can also combine different nuts for a mixed-nut brittle.
- Spice It Up: A pinch of cinnamon, nutmeg, or even a touch of cayenne pepper can add an exciting warmth or subtle kick to your brittle. Add these spices along with the butter and vanilla for best incorporation.
- Seed Brittle: For a twist, try a seed brittle using pumpkin seeds, sunflower seeds, or sesame seeds. These offer a different texture and earthy flavor.
- Chocolate Drizzle: Once your brittle has cooled and hardened, melt some chocolate (dark, milk, or white) and drizzle it over the broken pieces. Allow the chocolate to set, and you’ll have an even more decadent treat.
- Sea Salt Finish: For an extra gourmet touch, sprinkle a tiny bit of flaky sea salt over the molten brittle just after pouring it onto the parchment paper. This enhances the sweet-and-salty dynamic.
Beyond simply eating it by the piece, homemade peanut brittle makes a wonderful addition to other desserts:
- Ice Cream Topping: Crush some brittle and sprinkle it over your favorite ice cream for an instant upgrade in flavor and crunch.
- Cake or Cupcake Garnish: Use small shards of brittle to decorate cakes, cupcakes, or even pies.
- Gift Giving: Package your homemade brittle in attractive tins or cellophane bags tied with a ribbon. It makes a thoughtful and impressive edible gift for holidays, birthdays, or as a host/hostess present.
More Irresistible Homemade Candy Recipes!
If you’ve enjoyed the process of making peanut brittle, you’ll love exploring other homemade candy creations. Here are some more delightful recipes to add to your repertoire:
- Pecan Pralines
- Peanut Butter Balls
- Caramel Candies
- Cream Cheese Mints
- Homemade Peanut Butter Eggs
Recipe Video
Watch this space for an upcoming video tutorial demonstrating how to make perfect peanut brittle!
Peanut Brittle Recipe
25 mins
30 mins
45 mins
1 hr 40 mins
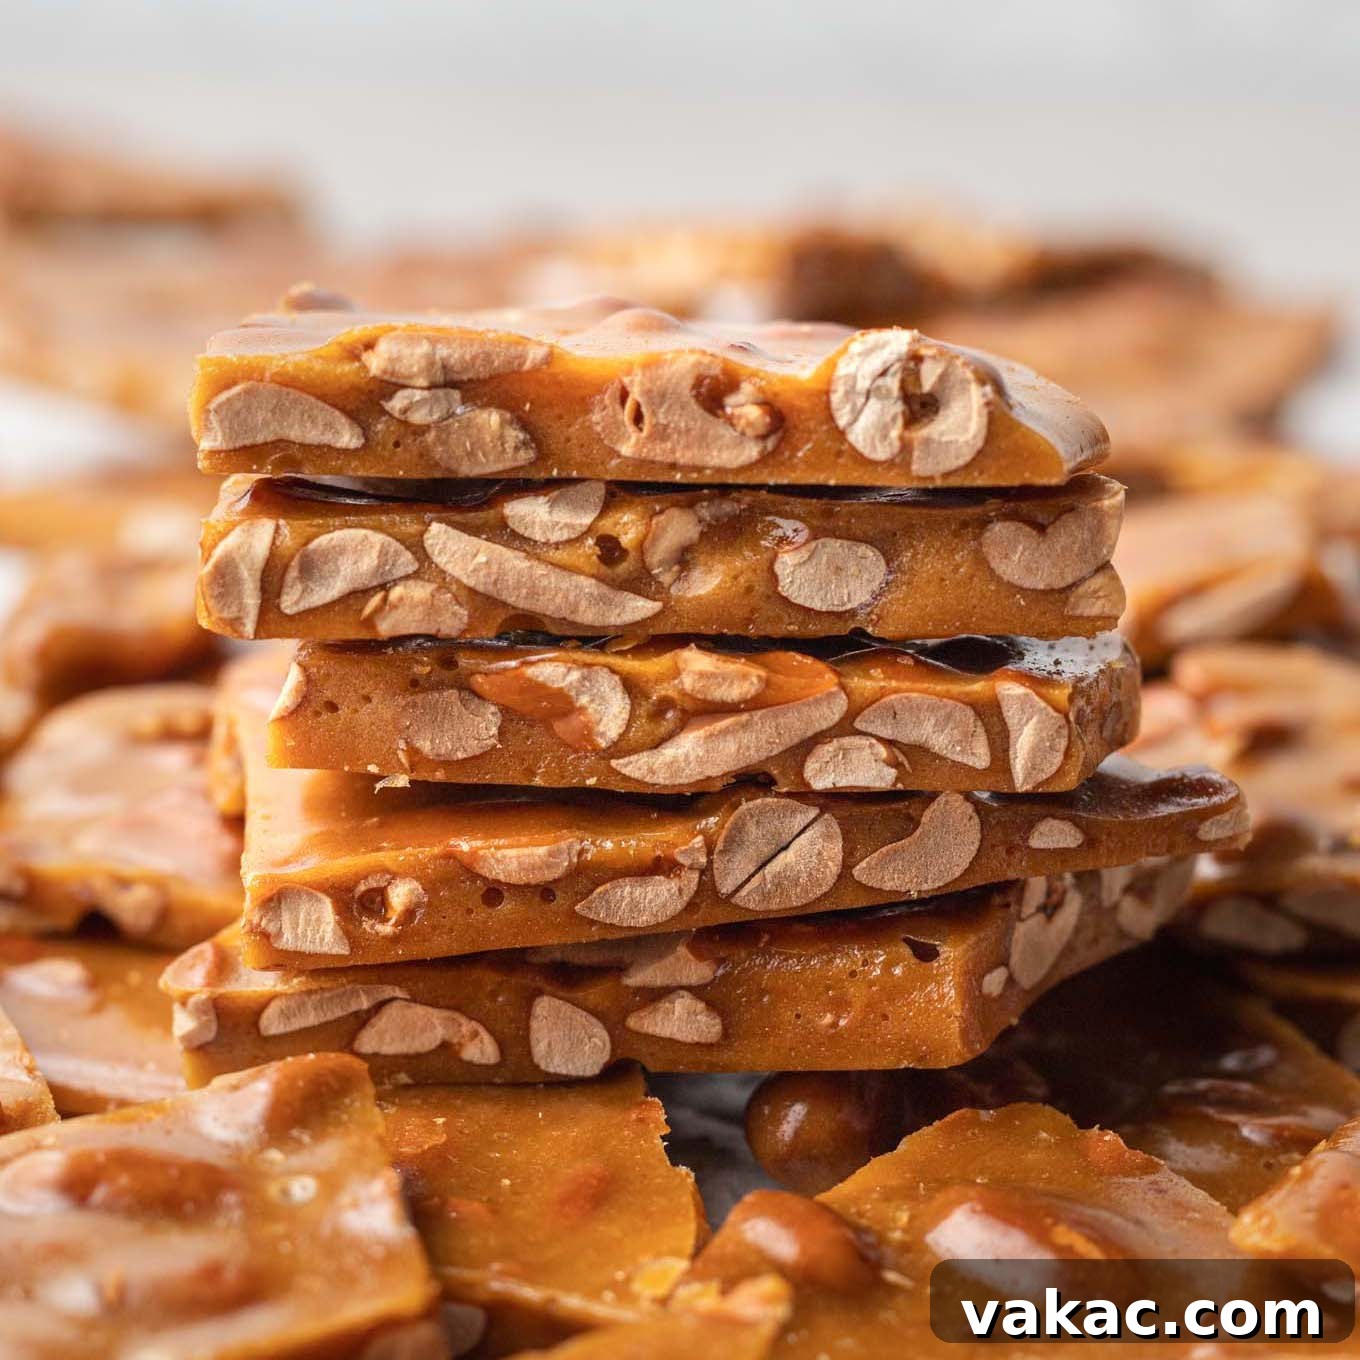
Old-fashioned peanut brittle is easy to make on the stove using just a few basic ingredients. It’s a classic hard candy that’s loaded with peanuts and is ultra buttery in flavor!
Pin Recipe
Leave a Review
Ingredients
Yields: 50 pieces
- 2 cups granulated sugar (400 grams)
- 1 cup light corn syrup (320 grams)
- ½ cup water (120 ml)
- 2 cups dry roasted and lightly salted peanuts (280 grams)
- ¼ cup unsalted butter, softened and cubed into small pieces (60 grams)
- 1 teaspoon baking soda
- 2 teaspoons pure vanilla extract
Instructions
- Line a cookie sheet with parchment paper and set aside.
- Mix the granulated sugar, corn syrup, and water together in a large, heavy-bottomed saucepan (ensure it’s larger than you anticipate needing to accommodate foaming). Cook over medium-low heat, stirring occasionally, until the sugar mixture reaches 250°F (121°C) on a candy thermometer.
- With the heat still on, add the peanuts and stir until evenly distributed. Continue cooking, stirring continuously to prevent scorching, until the mixture reaches precisely 300°F (150°C) – the hard-crack stage. Use an instant-read thermometer or a candy thermometer for accuracy.
- Turn off the heat and immediately remove the saucepan from the stove. Quickly add the softened butter, baking soda, and pure vanilla extract. Stir rapidly but carefully, as the mixture will bubble vigorously and release significant steam. Continue stirring until the butter is fully melted and incorporated, and the mixture appears light and frothy.
- Carefully pour the hot candy mixture over the prepared parchment-lined cookie sheet. Use the back of a spoon or a heat-resistant rubber spatula to quickly spread it into an even, thin layer. If the mixture starts to firm up too quickly, you can use two forks to help pull and spread the peanut brittle into a thinner sheet.
- Allow the peanut brittle to cool completely and harden at room temperature, which typically takes about 45 minutes to 1 hour. Once fully set, break it into pieces and enjoy.
Notes
Storage Instructions: Store the cooled peanut brittle in an airtight container on the counter for up to 2 weeks for optimal freshness and crunch.
American
Dessert
Danielle Rye
Did you make this recipe?
Mention @livewellbakeoften on Instagram or tag #livewellbakeoften.
Conclusion: Embrace the Sweet Tradition
Crafting old-fashioned peanut brittle is more than just making a candy; it’s an experience that connects you to a timeless tradition. The process, while requiring a keen eye on temperature, is incredibly rewarding, culminating in a crunchy, buttery, and deeply satisfying treat. From the warm aroma that fills your kitchen to the satisfying snap of each piece, homemade peanut brittle offers a unique sensory delight that store-bought versions simply can’t match. Whether you’re making it to share with loved ones during the holidays, as a thoughtful homemade gift, or simply to enjoy a moment of sweet indulgence, this recipe ensures a perfect batch every time. So grab your candy thermometer, embrace the process, and get ready to enjoy the unparalleled taste of truly classic peanut brittle. Happy candy making!