
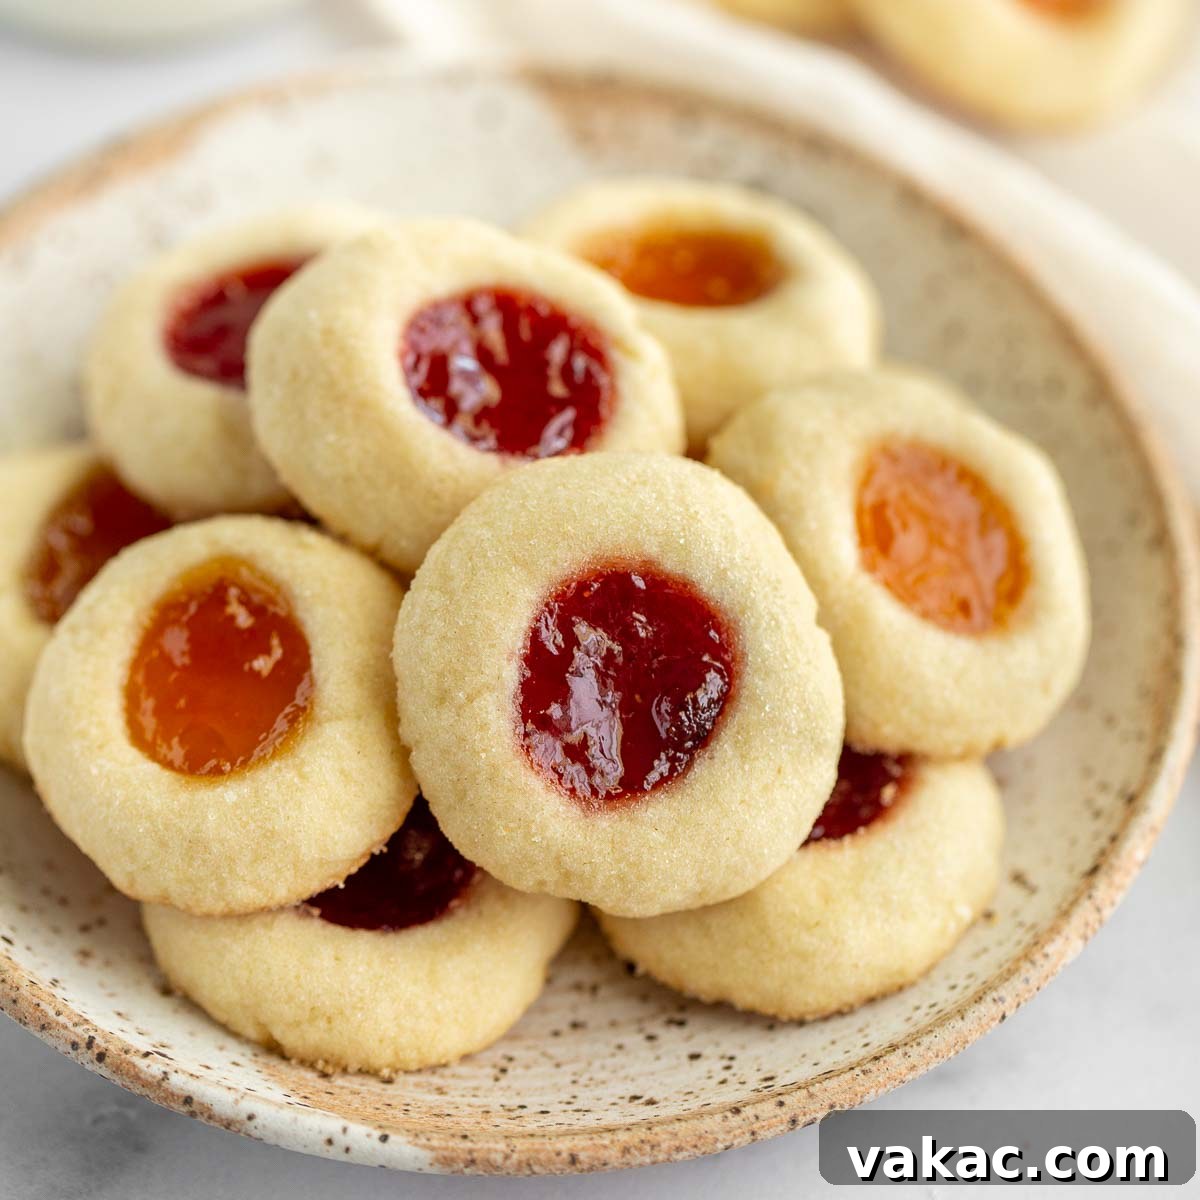
Classic Jam Thumbprint Cookies: A Timeless Treat for Every Occasion
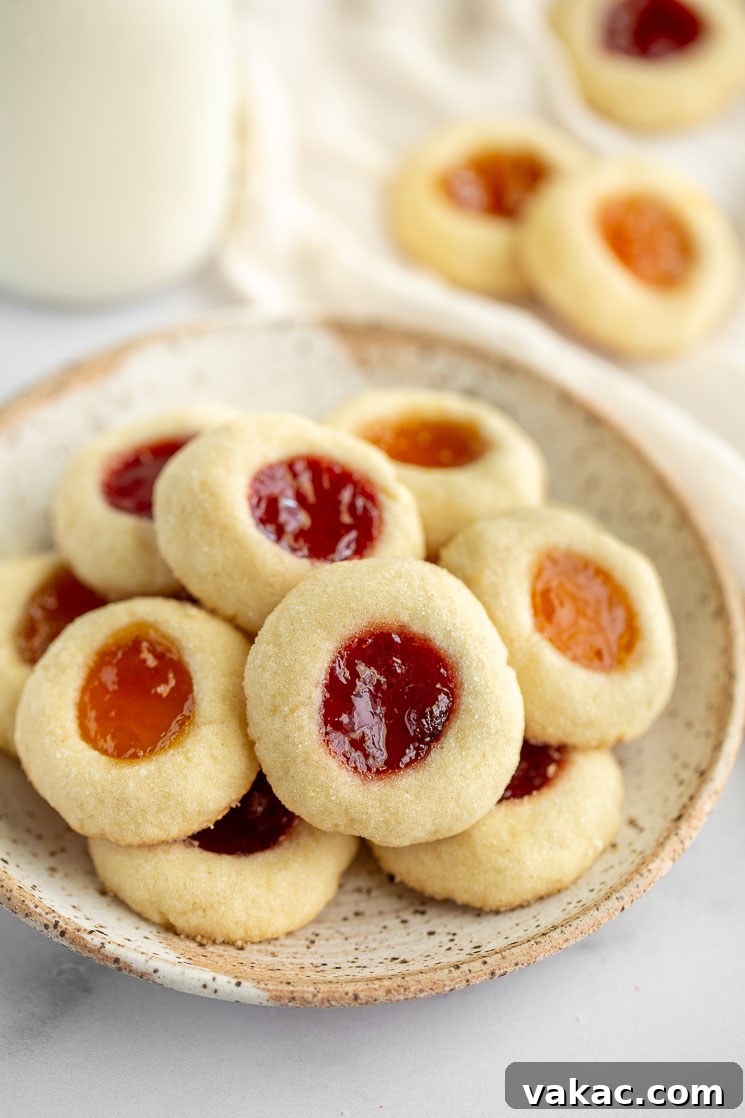
Indulge in the simple pleasure of these delicious, buttery shortbread cookies, perfectly cradling sweet strawberry and apricot jam. These Classic Thumbprint Cookies are more than just a recipe; they’re a delightful tradition, ideal for holiday gatherings, special occasions, or simply a comforting treat any day of the week.
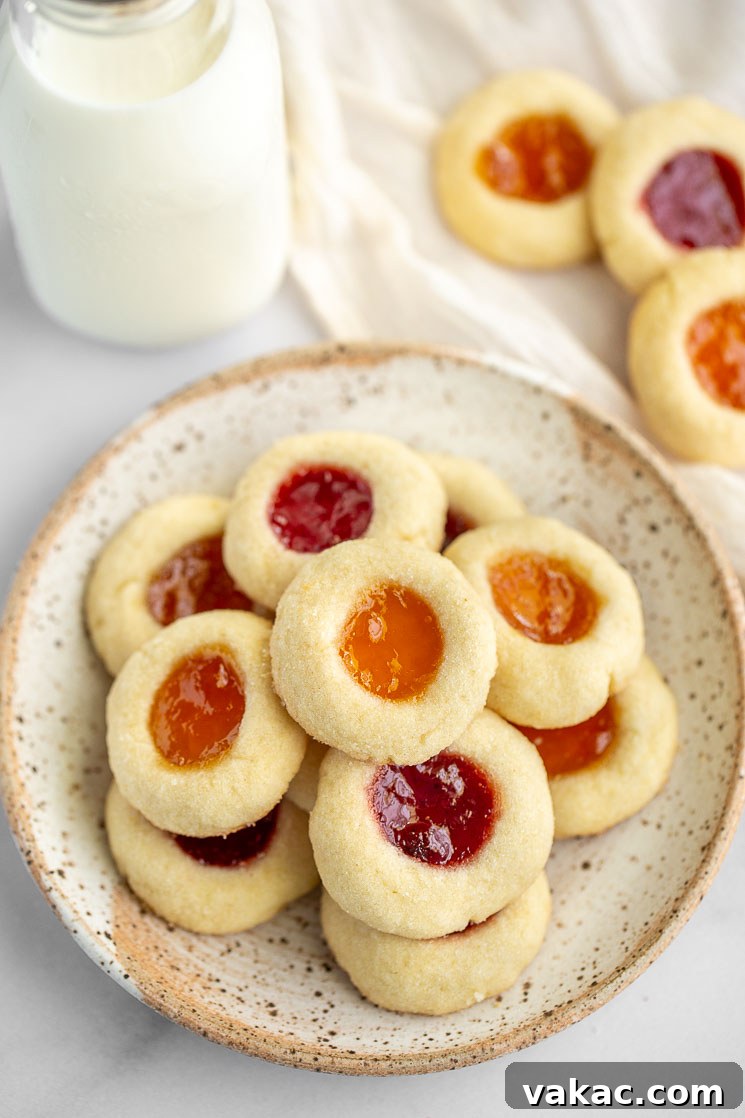
There’s something truly special about classic cookie recipes. They evoke warmth, nostalgia, and the simple joy of home baking. From chewy peanut butter cookies to soft snickerdoodles, these timeless treats hold a cherished place in our hearts and kitchens. Today, we’re adding another beloved classic to your repertoire: easy jam thumbprint cookies. This recipe is a testament to how effortlessly delicious baking can be, requiring just a handful of common ingredients and coming together without the need for dough chilling. Imagine whipping up a batch of these delightful cookies in minutes, ready to impress family and friends or simply satisfy your sweet tooth.
My own experience with these cookies is filled with happy memories. Just a few weeks ago, my niece and nephew visited, and these thumbprint cookies were an absolute hit. Watching their faces light up with each bite, especially with the vibrant strawberry and apricot jams, reminded me why these simple cookies are so universally loved. Their tender, buttery shortbread base combined with the burst of fruity flavor is truly irresistible. I guarantee that once you try this recipe, it will become a go-to favorite in your kitchen too.
What makes these jam thumbprint cookies truly stand out is their simplicity and versatility. The dough uses only six core ingredients – butter, sugar, egg yolks, vanilla extract, salt, and flour – a testament to the fact that extraordinary flavor often comes from the most basic components. There’s no complex equipment or advanced techniques required, making this recipe perfect for bakers of all skill levels. Plus, the absence of a chilling period means you can go from craving to enjoying these delectable cookies in record time. It’s the perfect solution for last-minute treats or when you just can’t wait to sink your teeth into something homemade and delicious.
Crafting the Perfect Thumbprint Cookie: A Step-by-Step Guide
Embarking on your thumbprint cookie journey begins with assembling the dough, a straightforward blend of essential baking ingredients that come together to form a rich, tender base. Let’s delve into each component and understand its unique role in creating these exquisite treats.
- Butter: The foundation of these shortbread-style cookies, butter is crucial for their characteristic rich, melt-in-your-mouth texture. We use two sticks of unsalted butter, ensuring that you have complete control over the salt content. Using unsalted butter allows you to add precisely the right amount of salt without worrying about variations between different butter brands. Make sure your butter is softened to room temperature, which is key for creaming it properly with sugar, leading to a smooth, uniform dough.
- Granulated Sugar: Beyond just sweetness, granulated sugar plays a vital role in the texture of these cookies. It helps them spread just slightly while baking, contributing to that delicate crispness around the edges and a tender center. An optional, but highly recommended, step is to roll the cookie dough balls in extra granulated sugar before baking. This adds a beautiful sparkle, an extra layer of sweetness, and a delightful subtle crunch that elevates the entire experience.
- Egg Yolks: To achieve that wonderfully soft and tender crumb, we incorporate two large egg yolks into the dough. Egg yolks are rich in fat and emulsifiers, which help keep the cookies from becoming too dry or crunchy. They contribute to a more cake-like texture, adding moisture and richness without introducing too much liquid, which can make cookies tough. Ensure your egg yolks are at room temperature for seamless incorporation into the creamed butter and sugar mixture.
- Vanilla Extract & Salt: These two ingredients are flavor powerhouses. Pure vanilla extract infuses the cookies with a warm, aromatic essence that complements the butter and jam beautifully. A touch of salt, though small, is incredibly important. It balances the sweetness, enhances all the other flavors, and prevents the cookies from tasting flat. Add them along with the egg yolks for even distribution.
- All-Purpose Flour: The structural backbone of our cookies. Proper measurement of flour is critical here. Always spoon your flour into the measuring cup and level it off with the back of a knife. Scooping directly from the bag can compact the flour, leading to too much being used, which results in a dry, crumbly dough and potentially tough cookies. When you first mix the flour into the wet ingredients, the dough might appear a little crumbly. Don’t worry, this is completely normal! Continue mixing, and it will gradually come together into a cohesive dough.
Assembling Your Thumbprint Masterpieces
Once your dough is perfectly mixed, the fun of shaping and filling begins. Precision in this step ensures beautiful, uniform cookies every time.
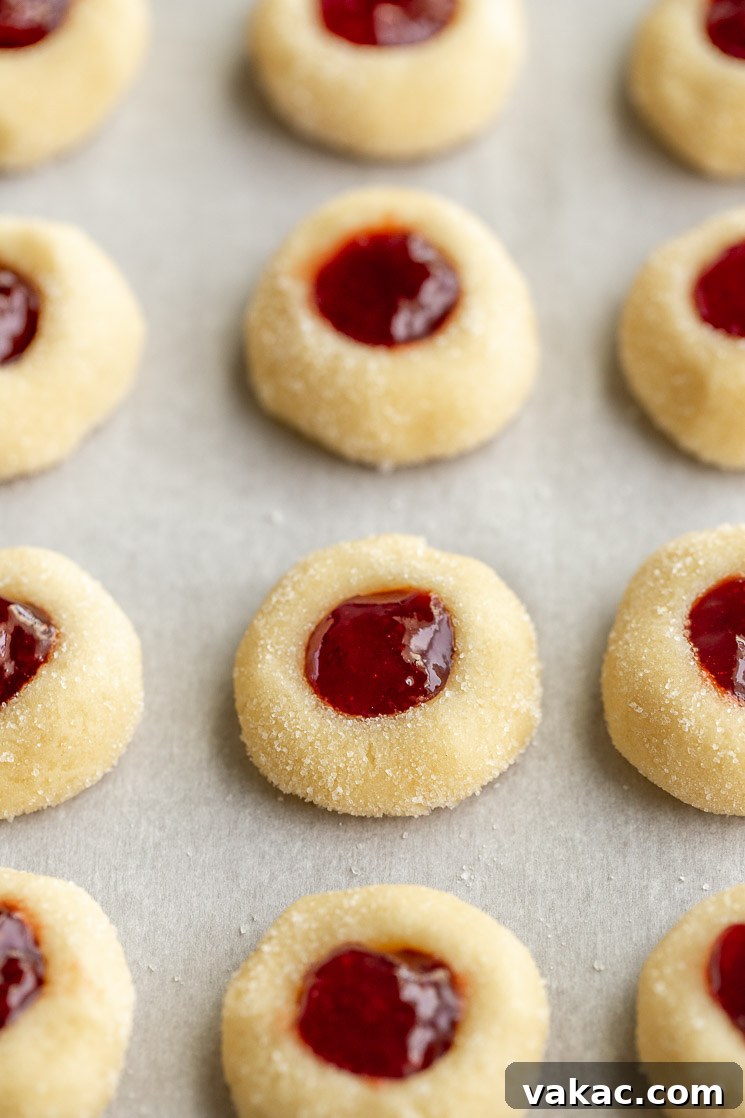
Start by using a one-tablespoon cookie scoop or a standard measuring spoon to portion out the cookie dough. This size is ideal for thumbprint cookies, as anything larger can make them too cumbersome to handle and bake evenly. Each portion should be rolled into a smooth ball. For an extra touch of sweetness and texture, gently roll each dough ball in granulated sugar. This optional step adds a lovely shimmer and a satisfying, subtle crunch that beautifully contrasts with the soft cookie and fruity jam.
Next, create the signature “thumbprint” indentation. While your thumb works perfectly well, I often find using the handle of a large wooden spoon or even the back of a small measuring spoon provides a more consistent and deeper well, reducing the chance of the jam spilling over during baking. Gently press into the center of each ball, making sure not to go all the way through to the baking sheet.
Now comes the delicious filling! Spoon about ½ teaspoon of your favorite jam into each indentation. I personally adore Bonne Maman jams for their rich fruit flavor and perfect consistency, using their strawberry and apricot varieties for a classic combination. However, feel free to get creative with your jam choices.
Baking to Golden Perfection
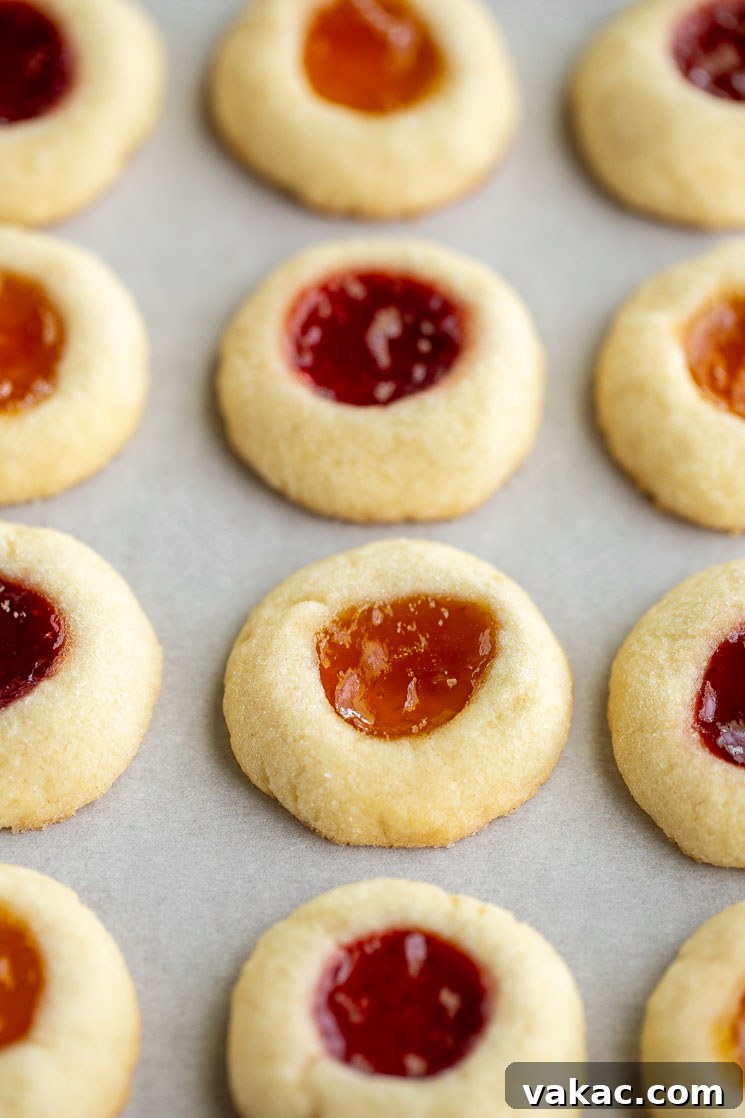
The final crucial step in creating these delightful thumbprint cookies is the baking process. When working with shortbread-style cookies, the goal is to achieve a tender, slightly crumbly texture, and overbaking can quickly lead to dry, hard cookies. For these thumbprint delights, a baking time of approximately 12-14 minutes at 350°F (177°C) is typically perfect. You’ll know they are done when the tops appear set and the edges or bottoms are very lightly golden brown. They shouldn’t be deeply colored. Allowing them to cool slightly on the baking sheet before transferring to a wire rack helps them firm up and prevents breakage.
Pro Tips for Flawless Thumbprint Cookies
To ensure your thumbprint cookies turn out absolutely perfect every time, keep these expert tips in mind:
- Accurate Flour Measurement is Key: Always spoon your all-purpose flour into the measuring cup and level it off with the flat side of a knife. Never scoop directly from the bag, as this compacts the flour, leading to excess flour and a dry, crumbly dough that can result in tough cookies.
- Embrace the Crumbly Dough: After adding the flour, the cookie dough will initially look and feel a bit crumbly. This is completely normal! Resist the urge to add more liquid. As you continue mixing, the butter will fully incorporate the flour, and the dough will come together into a cohesive ball.
- Experiment with Jam Flavors: While strawberry and apricot are classic, the beauty of thumbprint cookies lies in their versatility. Don’t hesitate to use your favorite jam or preserve! Raspberry, blueberry, cherry, or even a citrusy homemade lemon curd would be absolutely delicious fillings. Ensure your jam isn’t too runny, as this can make it seep out during baking.
- Avoid Overbaking: This is crucial for shortbread. Bake the cookies for precisely 12-14 minutes at 350°F (177°C). They should be set and very lightly browned on the bottom, but the tops should remain pale. Overbaking will result in a dry, crunchy cookie rather than the desired soft, buttery texture. Keep a close eye on them, especially during the last few minutes.
- Room Temperature Ingredients: For the best results, ensure your butter and egg yolks are at room temperature. This allows them to cream together properly, creating an emulsified, smooth dough that bakes evenly. If you forget to take your eggs out, place them in a bowl of warm (not hot) water for 5-10 minutes.
- Uniform Cookie Size: Using a cookie scoop helps create uniformly sized cookies, which ensures they bake evenly. This also makes them look more professional and appealing.
- Indentation Technique: If your cookies crack when you make the thumbprint, it might mean your dough is a little too cold or needs a tiny bit more mixing to come together. You can also gently roll the dough ball between your palms to warm it slightly before indenting.
Frequently Asked Questions About Thumbprint Cookies
Here are answers to some common questions you might have while baking these delightful cookies:
- Can I use whole eggs instead of just egg yolks? No, it’s best to stick to egg yolks for this recipe. The yolks add richness and tenderness without extra liquid, which can alter the texture and make the cookies less “shortbread-like.” The whites would add too much moisture and protein, potentially making the cookies tougher.
- What if my dough is too sticky or too dry? If your dough is too sticky after mixing, you might have added too little flour or your butter was too soft. You can try adding a tablespoon or two more flour, being careful not to overmix. If it’s too dry and crumbly, you likely added too much flour. Ensure you’re spooning and leveling your flour. If it’s only slightly dry, a bit more mixing will often bring it together.
- How can I prevent the jam from bubbling over? Using the correct amount of jam (1/2 teaspoon per cookie) is important. Also, make sure your indentation is deep enough to hold the jam. If your jam is particularly runny, you might try a slightly thicker preserve or even cook it down a little on the stovetop before using.
- How do I store thumbprint cookies? Store baked thumbprint cookies in an airtight container at room temperature for up to 4 days, or in the refrigerator for up to a week. The jam will keep them moist, but they are best enjoyed fresh.
- Can I make these cookies ahead of time? Absolutely! The cookie dough can be prepared and refrigerated for up to 3 days, or frozen for up to 3 months. If freezing, thaw overnight in the refrigerator before rolling, indenting, and filling. Baked cookies also freeze beautifully for up to 3 months; just thaw them to room temperature before serving.
- Can I use other fillings besides jam? Yes! While jam is traditional, feel free to get creative. Try lemon curd, softened cream cheese mixed with a little sugar, chocolate ganache, or even a pecan pie filling for a seasonal twist.
Recipe: Thumbprint Cookies
These classic shortbread cookies, filled with your favorite jam, are an easy and delicious treat perfect for any occasion.
Yields: 42 cookies
Prep Time: 30 minutes
Cook Time: 14 minutes
Ingredients
- 1 cup (230 grams) unsalted butter, softened
- 2/3 cup (135 grams) granulated sugar, plus 3 tablespoons (40 grams) for rolling the cookies (optional)
- 2 large egg yolks, room temperature
- 1 teaspoon pure vanilla extract
- 1/4 teaspoon salt
- 2 and 1/3 cups (290 grams) all-purpose flour, spooned & leveled
- 1/2 cup strawberry or apricot jam (or your favorite flavor)
Instructions
- Preheat oven to 350°F (177°C). Line two large baking sheets with parchment paper or silicone baking mats and set aside.
- In the bowl of a stand mixer fitted with the paddle attachment, or in a large mixing bowl using a handheld mixer, cream together the softened butter and 2/3 cup granulated sugar for 1-2 minutes or until light and fluffy.
- Mix in the room temperature egg yolks, vanilla extract, and salt until just combined.
- Gradually mix in the all-purpose flour until just combined. The mixture will appear a little crumbly at first, but it will come together into a cohesive dough as you continue mixing. Be careful not to overmix once the flour is added.
- Using a one-tablespoon cookie scoop or measuring tablespoon, measure out portions of cookie dough. Roll each portion into a smooth ball. If desired, roll each ball in the extra 3 tablespoons of granulated sugar for added crunch and sparkle.
- Place the prepared cookie dough balls on the lined baking sheets, leaving about 2 inches between each.
- Use your thumb (or the handle of a large wooden spoon, or a small measuring spoon) to press an indentation into the center of each cookie dough ball.
- Spoon approximately 1/2 teaspoon of your chosen jam into the indentation of each cookie.
- Bake for 12-14 minutes, or until the cookies are set and the bottoms are very lightly browned. Avoid overbaking to maintain their soft, tender texture.
- Remove the baking sheets from the oven and let the cookies cool on the baking sheet for 10 minutes to firm up.
- Carefully transfer the cooled cookies to a wire rack to cool completely before serving or storing.
Notes
- Storage: Baked cookies can be stored in an airtight container at room temperature for up to 4 days, or in the refrigerator for up to 7 days.
- Freezing Instructions: Baked thumbprint cookies freeze exceptionally well for up to 3 months. Allow them to thaw to room temperature before serving. Unbaked cookie dough balls can also be frozen for up to 3 months. Thaw them overnight in the refrigerator, then roll in sugar, indent, fill with jam, and bake as directed.
- Room Temperature Egg Yolks: For optimal results, ensure your egg yolks are at room temperature. If you forget to take them out ahead of time, simply place the eggs (in their shells) in a bowl of warm water for 5-10 minutes before separating the yolks.
- Jam Selection: We love using Bonne Maman Strawberry and Apricot jams for their quality and flavor. However, feel free to explore any brand and flavor of jam, jelly, or preserve that you prefer!
Cuisine: American
Course: Dessert
Author: Danielle Rye
We hope you enjoy baking and sharing these delightful Classic Jam Thumbprint Cookies. They are truly a treat that brings smiles and creates lasting memories!