
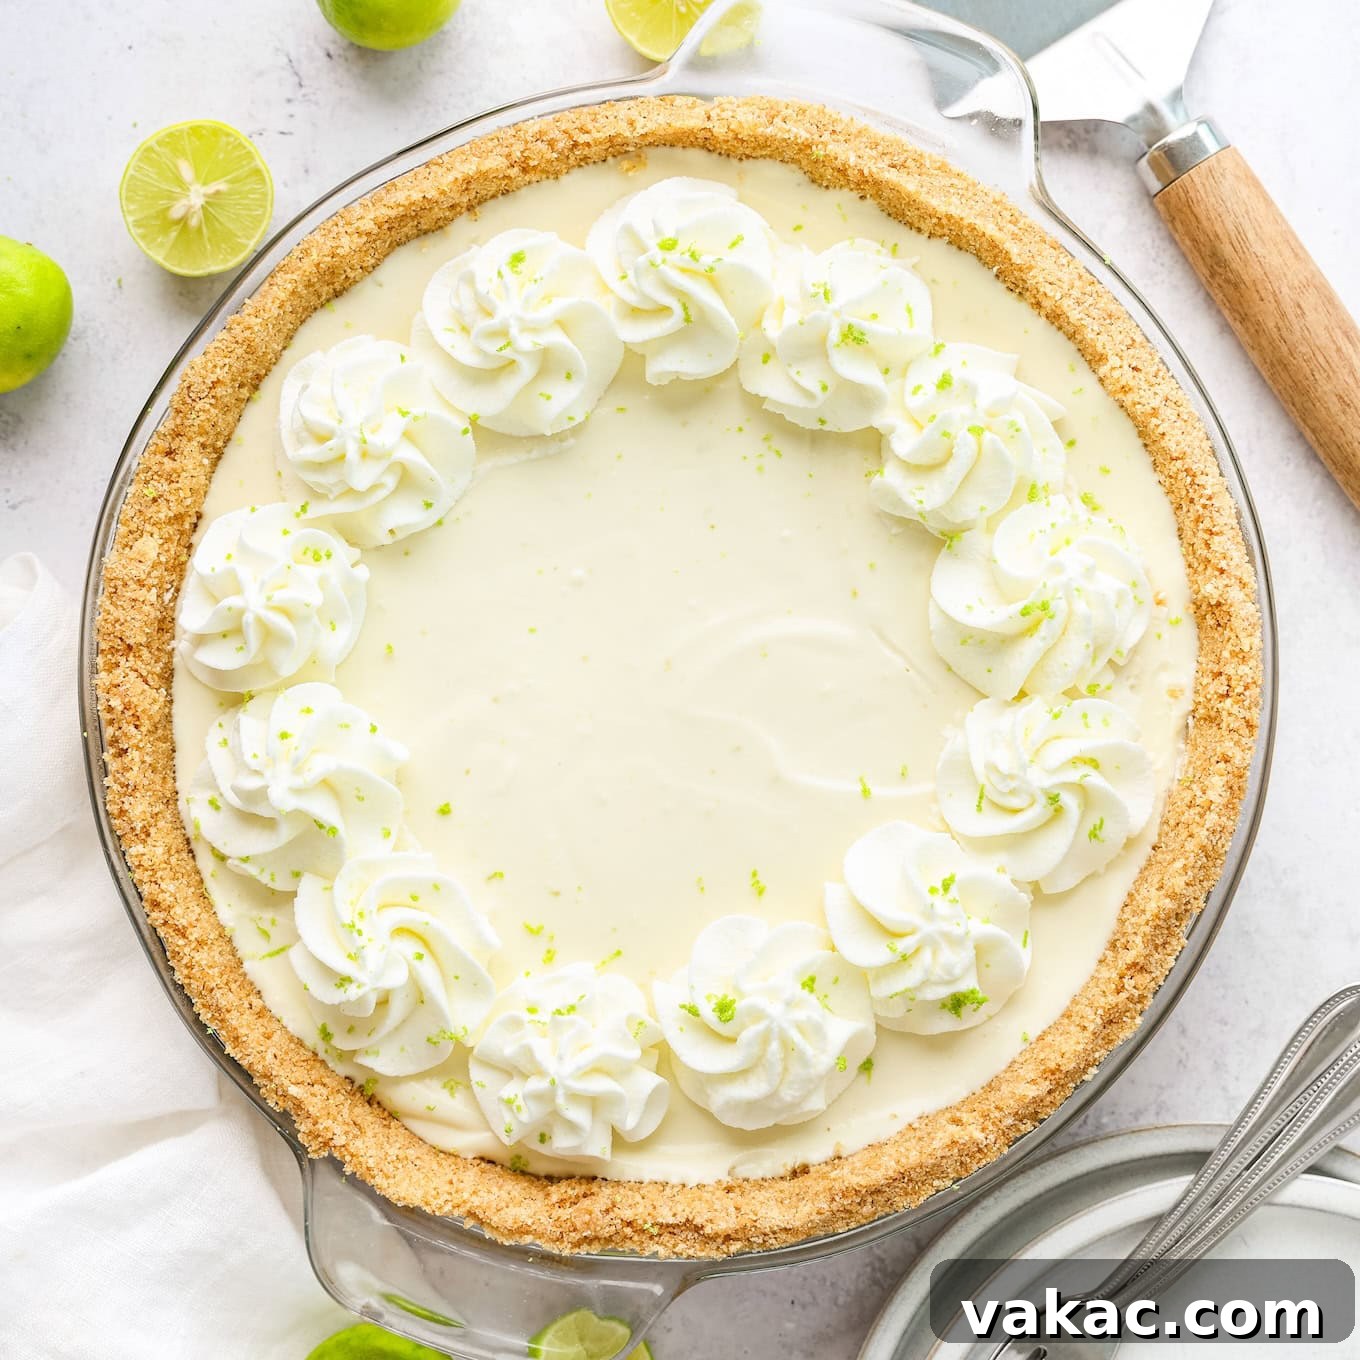
Welcome to the ultimate guide for creating the most luscious, tangy, and irresistibly creamy No-Bake Key Lime Pie! This delightful dessert is a true masterpiece of simplicity, offering all the vibrant flavor of a classic Key lime pie without ever needing to turn on your oven. Perfect for sweltering summer days, holiday gatherings, or simply when you crave a refreshing treat, this recipe promises a fuss-free experience and a show-stopping result that will impress everyone.
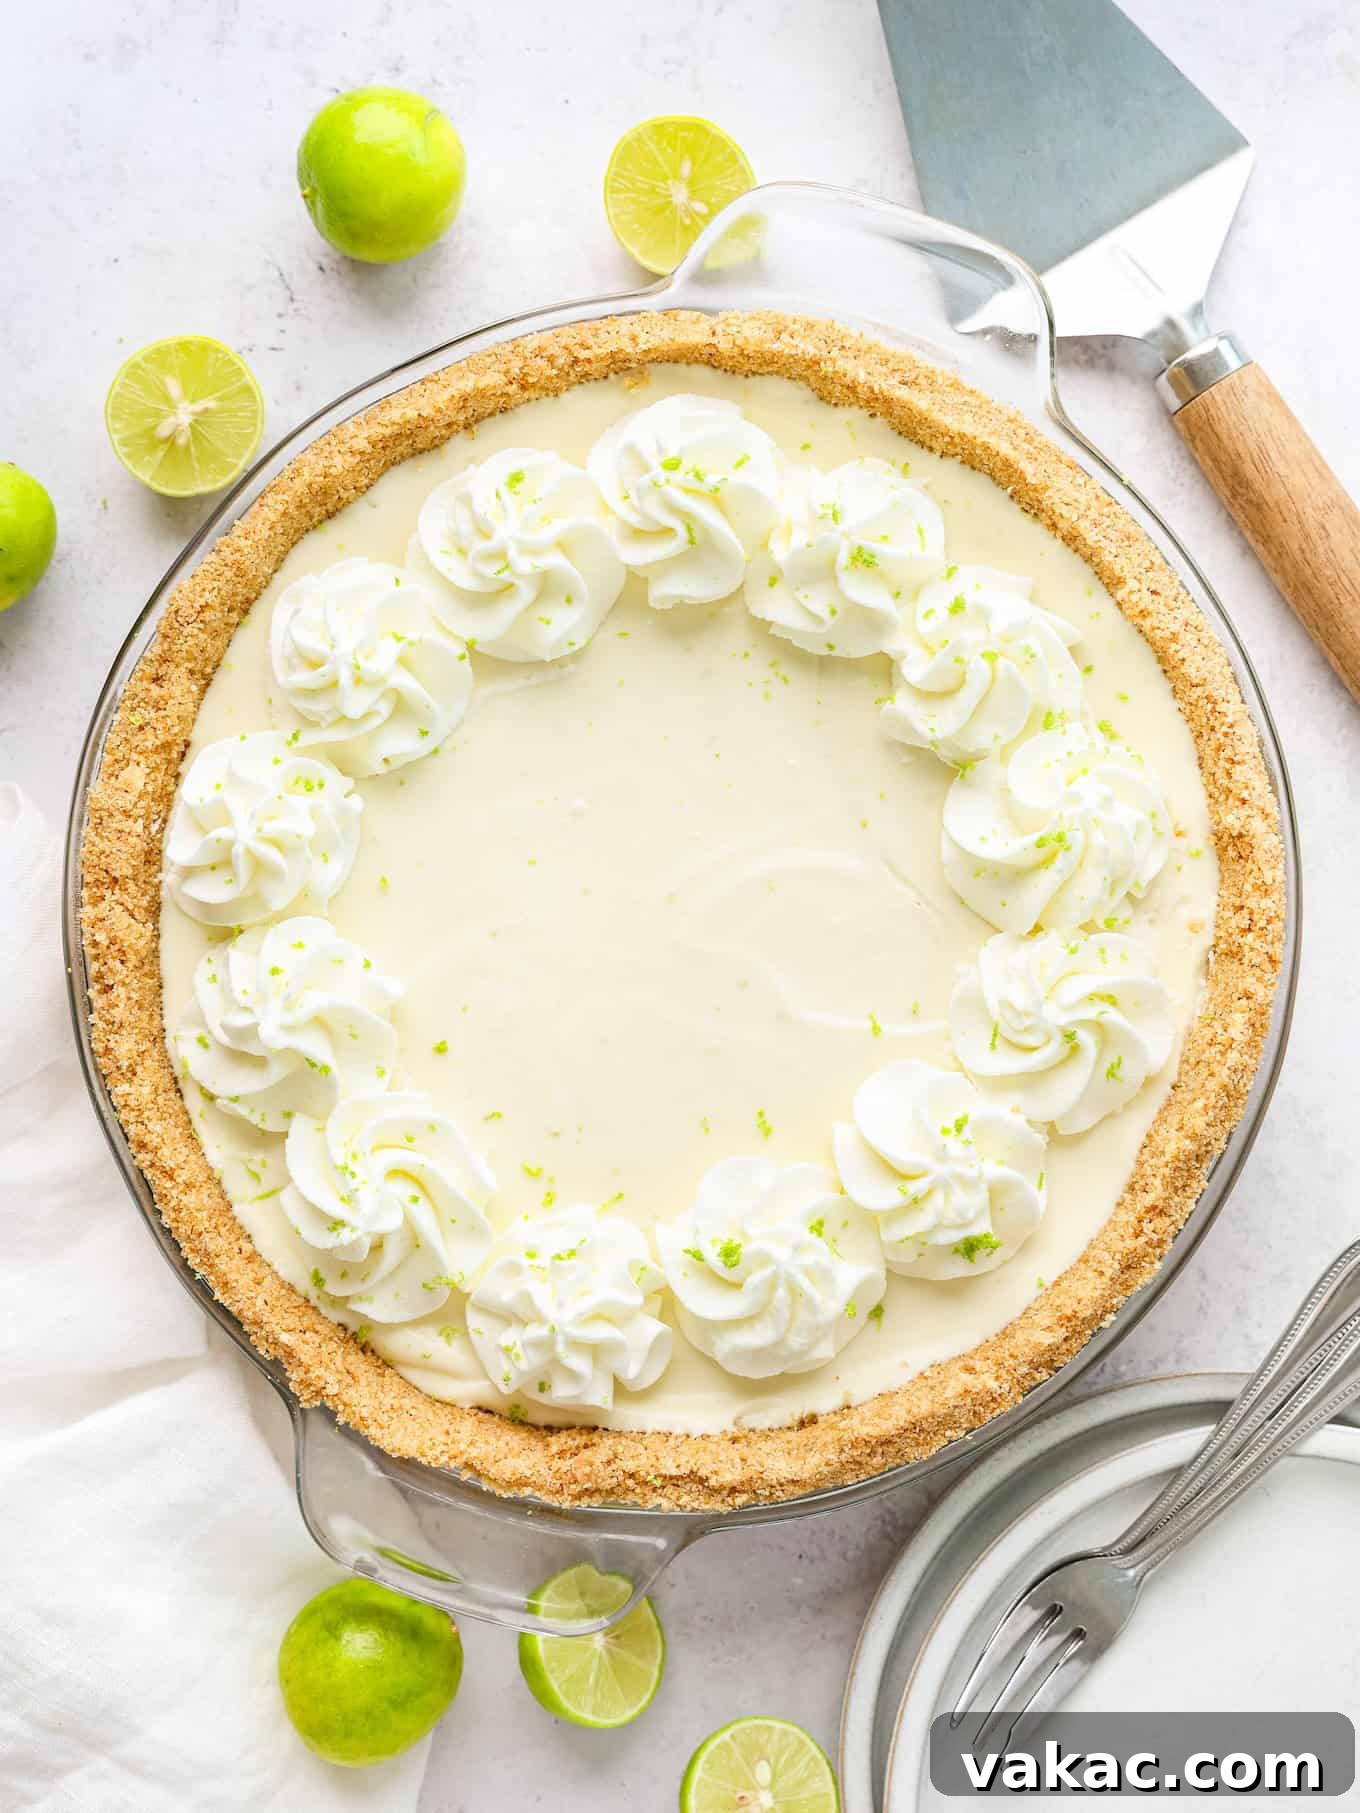
Forget the complexities of traditional Key lime pies with their egg yolk fillings and baked crusts. Our no-bake version streamlines the process, utilizing a buttery graham cracker crust and a rich, velvety cream cheese base that sets up beautifully in your refrigerator. This innovative approach means less time in the kitchen and more time enjoying the sunshine, making it an ideal candidate for your next BBQ, potluck, or Fourth of July celebration. With just a few staple ingredients, you’re on your way to creating a dessert that perfectly balances sweet and tart, leaving a refreshing taste that lingers delightfully.
Why You’ll Adore This No-Bake Key Lime Pie
There are countless reasons to fall in love with this no-bake Key lime pie, establishing it as a go-to recipe in your dessert repertoire:
- Effortlessly Delicious: The “no-bake” aspect makes this pie incredibly easy to prepare, saving you time and energy, especially during warmer months.
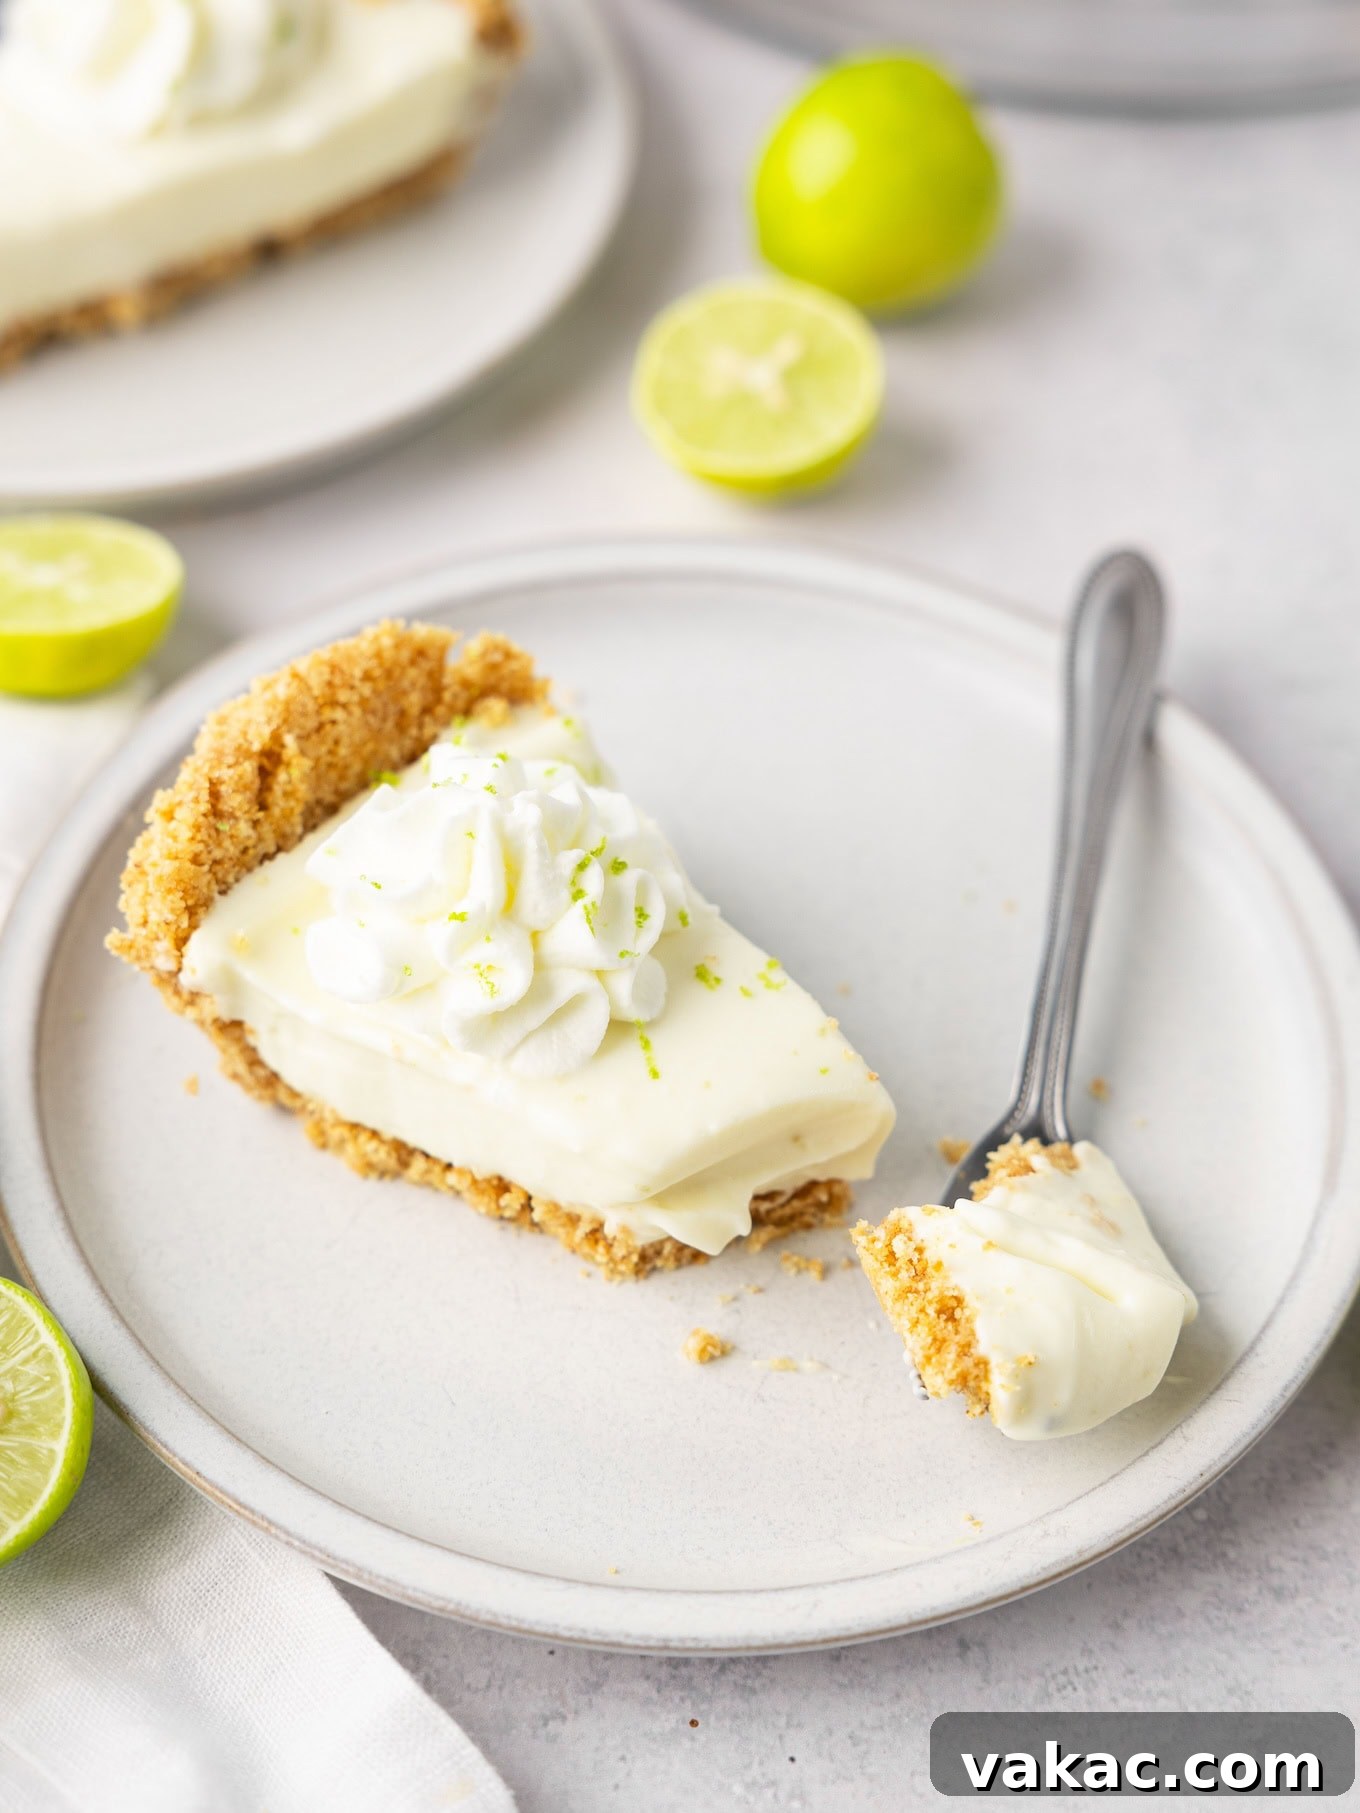
- Super Creamy Texture: Thanks to the combination of full-fat cream cheese and sweetened condensed milk, the filling boasts an unbelievably smooth, rich, and melt-in-your-mouth consistency that perfectly complements the crunchy crust.
- Vibrant Sweet-Tart Flavor: The authentic taste of Key lime juice is brightened with a hint of zest, creating that iconic sweet and tangy balance that Key lime pie lovers crave.
- Perfect for Any Occasion: Whether it’s a casual weeknight treat, a sophisticated dinner party finale, or a festive holiday dessert, this pie always fits the bill. It’s a crowd-pleaser that appeals to all palates.
- Make-Ahead Magic: Requiring several hours of chilling, this pie is an excellent make-ahead option. Prepare it the day before, and simply pull it out of the fridge when it’s time to serve, stress-free!
- No Oven Required: Keep your kitchen cool! This is the ultimate summer dessert, as no baking means no heating up your home.
- Simple, Accessible Ingredients: You won’t need any exotic items for this recipe. Most ingredients are likely already in your pantry or easily found at any grocery store.
A Closer Look at Key Ingredients
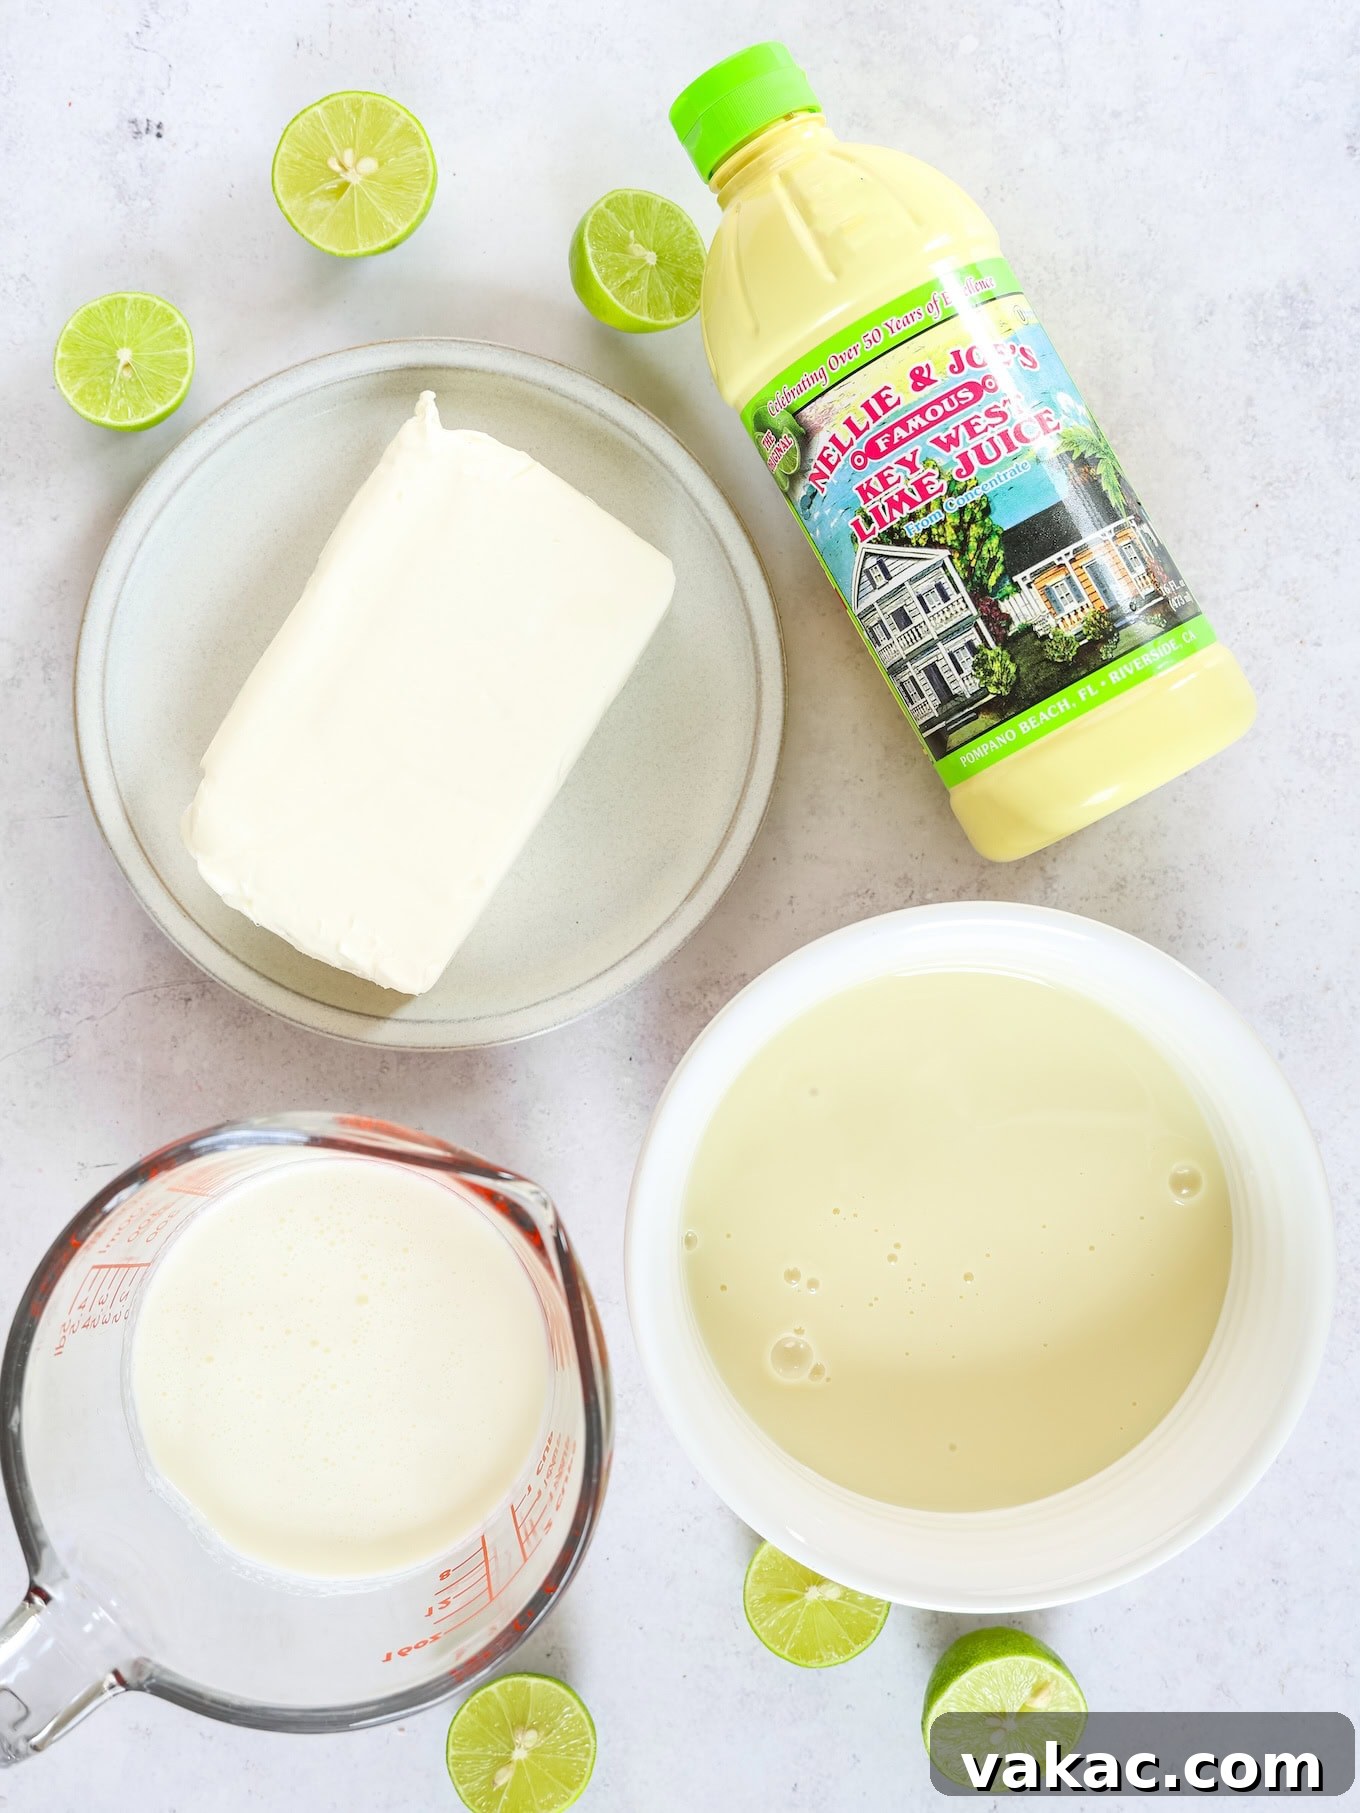
Understanding the role of each ingredient is essential for achieving the best possible no-bake Key lime pie. Here’s a detailed breakdown:
Key Lime Juice
The star of the show! Key lime juice delivers that distinctively tart, aromatic flavor that defines this pie. You have options here: freshly squeezed Key lime juice offers the most authentic and vibrant flavor, though Key limes can sometimes be harder to find and more laborious to juice. If fresh Key limes aren’t available or you’re short on time, a high-quality bottled Key lime juice, such as Nellie & Joe’s, is an excellent substitute. While regular lime juice will work in a pinch, be aware that its flavor profile is slightly less intense and aromatic than true Key limes. If using regular limes, be sure to add some fresh zest to enhance the limey notes.
Cream Cheese
This is the secret to our pie’s incredible creaminess and stability without baking. To ensure your pie sets up perfectly firm yet smooth, it is crucial to use **full-fat, brick-style cream cheese**. Avoid anything labeled “light,” “reduced-fat,” or cream cheese sold in a tub as a spread. These varieties have a higher water content and different stabilizers that will prevent your pie from setting correctly, resulting in a runny filling. Always allow your cream cheese to soften to room temperature before mixing; this ensures a lump-free, silky smooth filling.
Graham Crackers
The foundation of our no-bake masterpiece is a simple, buttery graham cracker crust. You’ll need about 1 ½ cups of graham cracker crumbs. You can either purchase pre-crushed crumbs for convenience or easily make your own by crushing 11 to 12 full graham cracker sheets. A food processor makes quick work of this, but you can also place them in a zip-top bag and crush them with a rolling pin. If you’re looking for a gluten-free option, simply use gluten-free graham crackers; the process remains the same. Other cookie crumbs like vanilla wafers or digestive biscuits can also be used for a slight variation in flavor.
Sweetened Condensed Milk
This ingredient is a true workhorse in no-bake desserts. Sweetened condensed milk is thick, sweet, and syrupy, contributing significantly to the filling’s richness, sweetness, and ability to set. It’s a common point of confusion, but **do not mistake it for evaporated milk!** Evaporated milk is unsweetened and much thinner, resembling regular milk, and will lead to a completely runny and unpalatable pie filling. Always double-check your can to ensure you have the correct “sweetened condensed” variety.
Heavy Whipping Cream
Whipped heavy cream is folded into the Key lime mixture to create a light, airy, and incredibly voluminous filling. It adds a luxurious texture and helps to balance the density of the cream cheese and condensed milk. Ensure your heavy whipping cream is well-chilled before whipping to achieve stiff peaks, which are essential for a stable and fluffy pie filling.
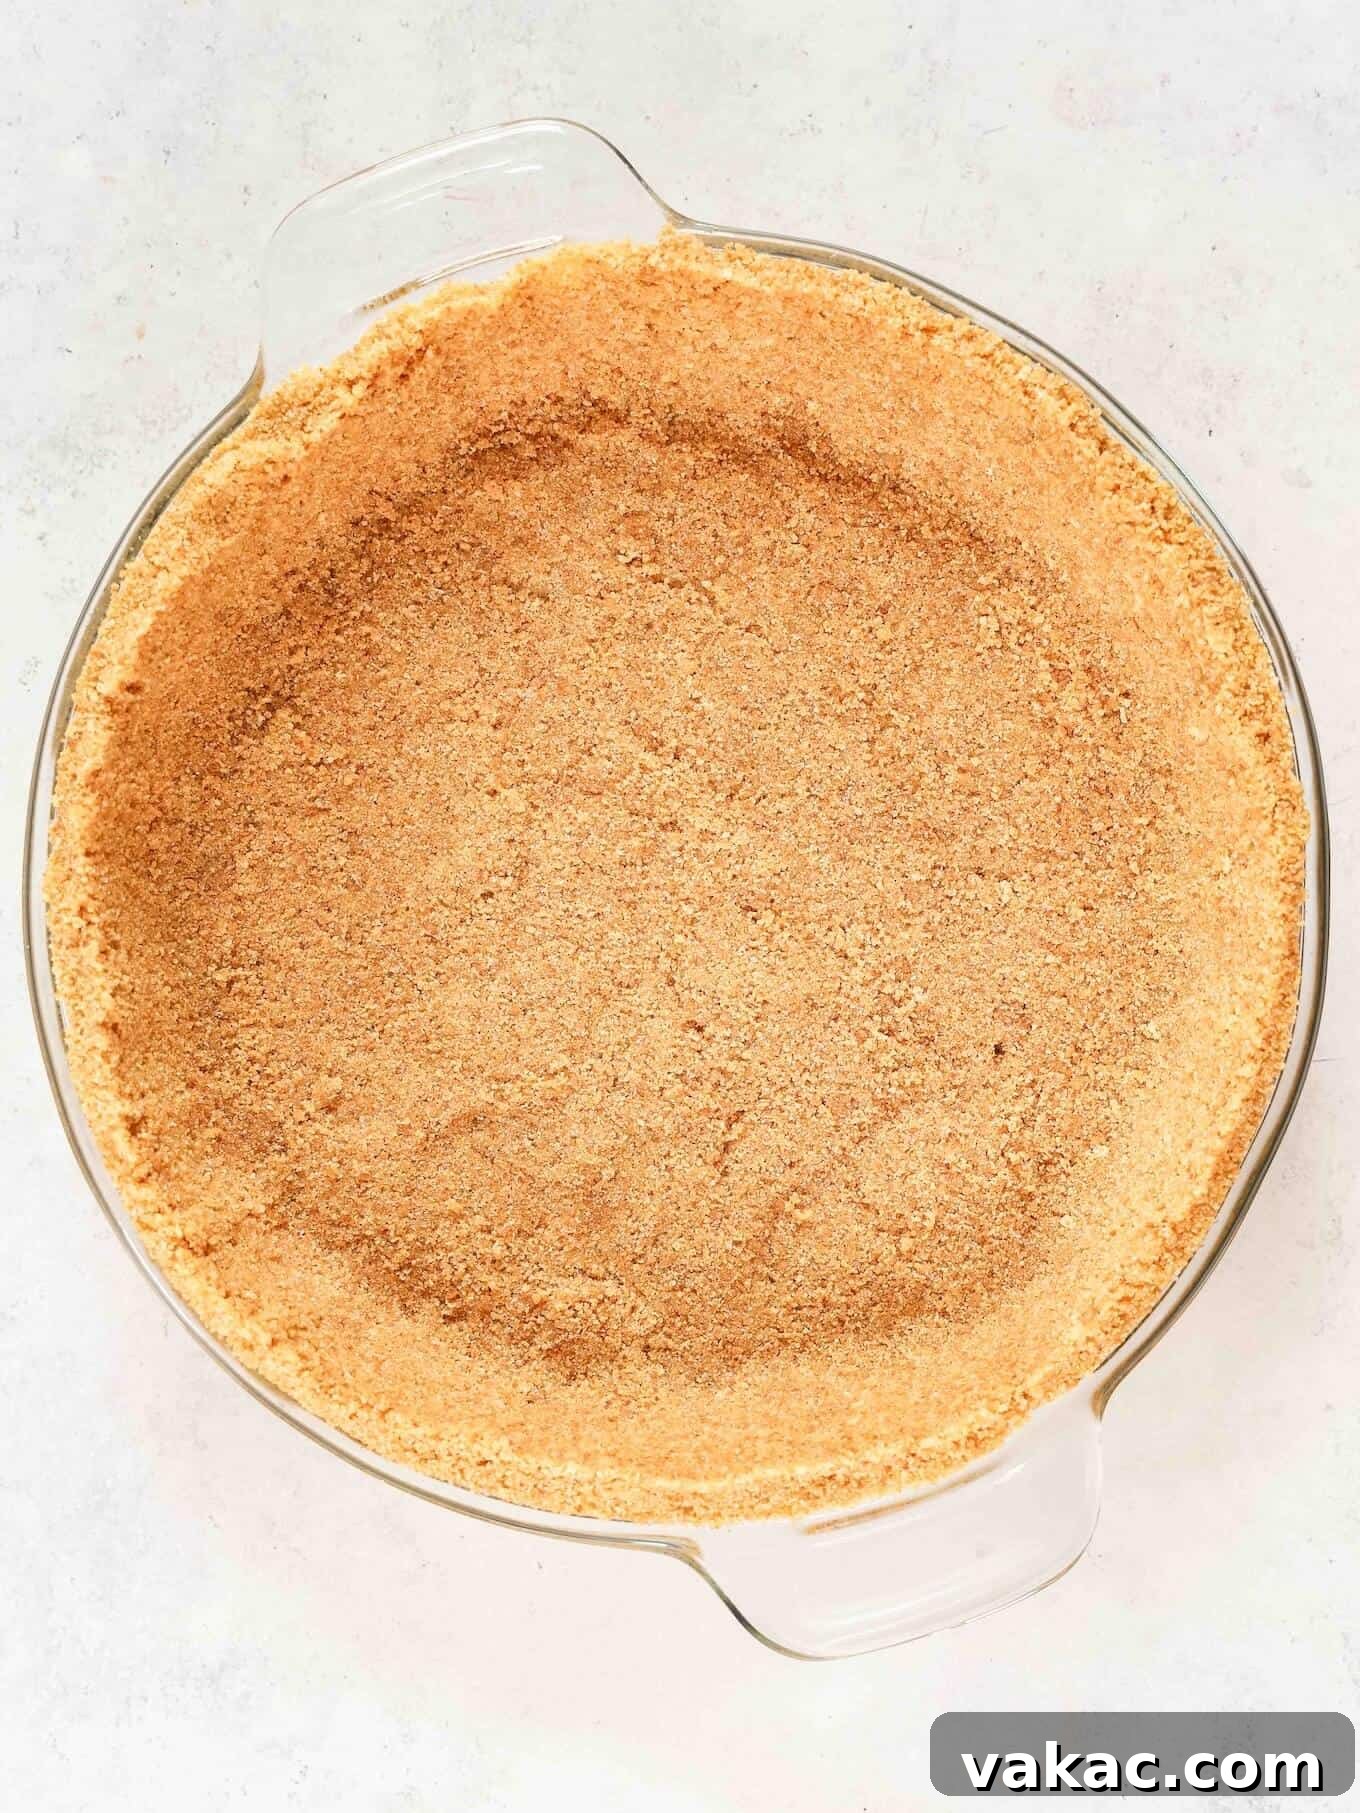
Crafting the Perfect Graham Cracker Crust
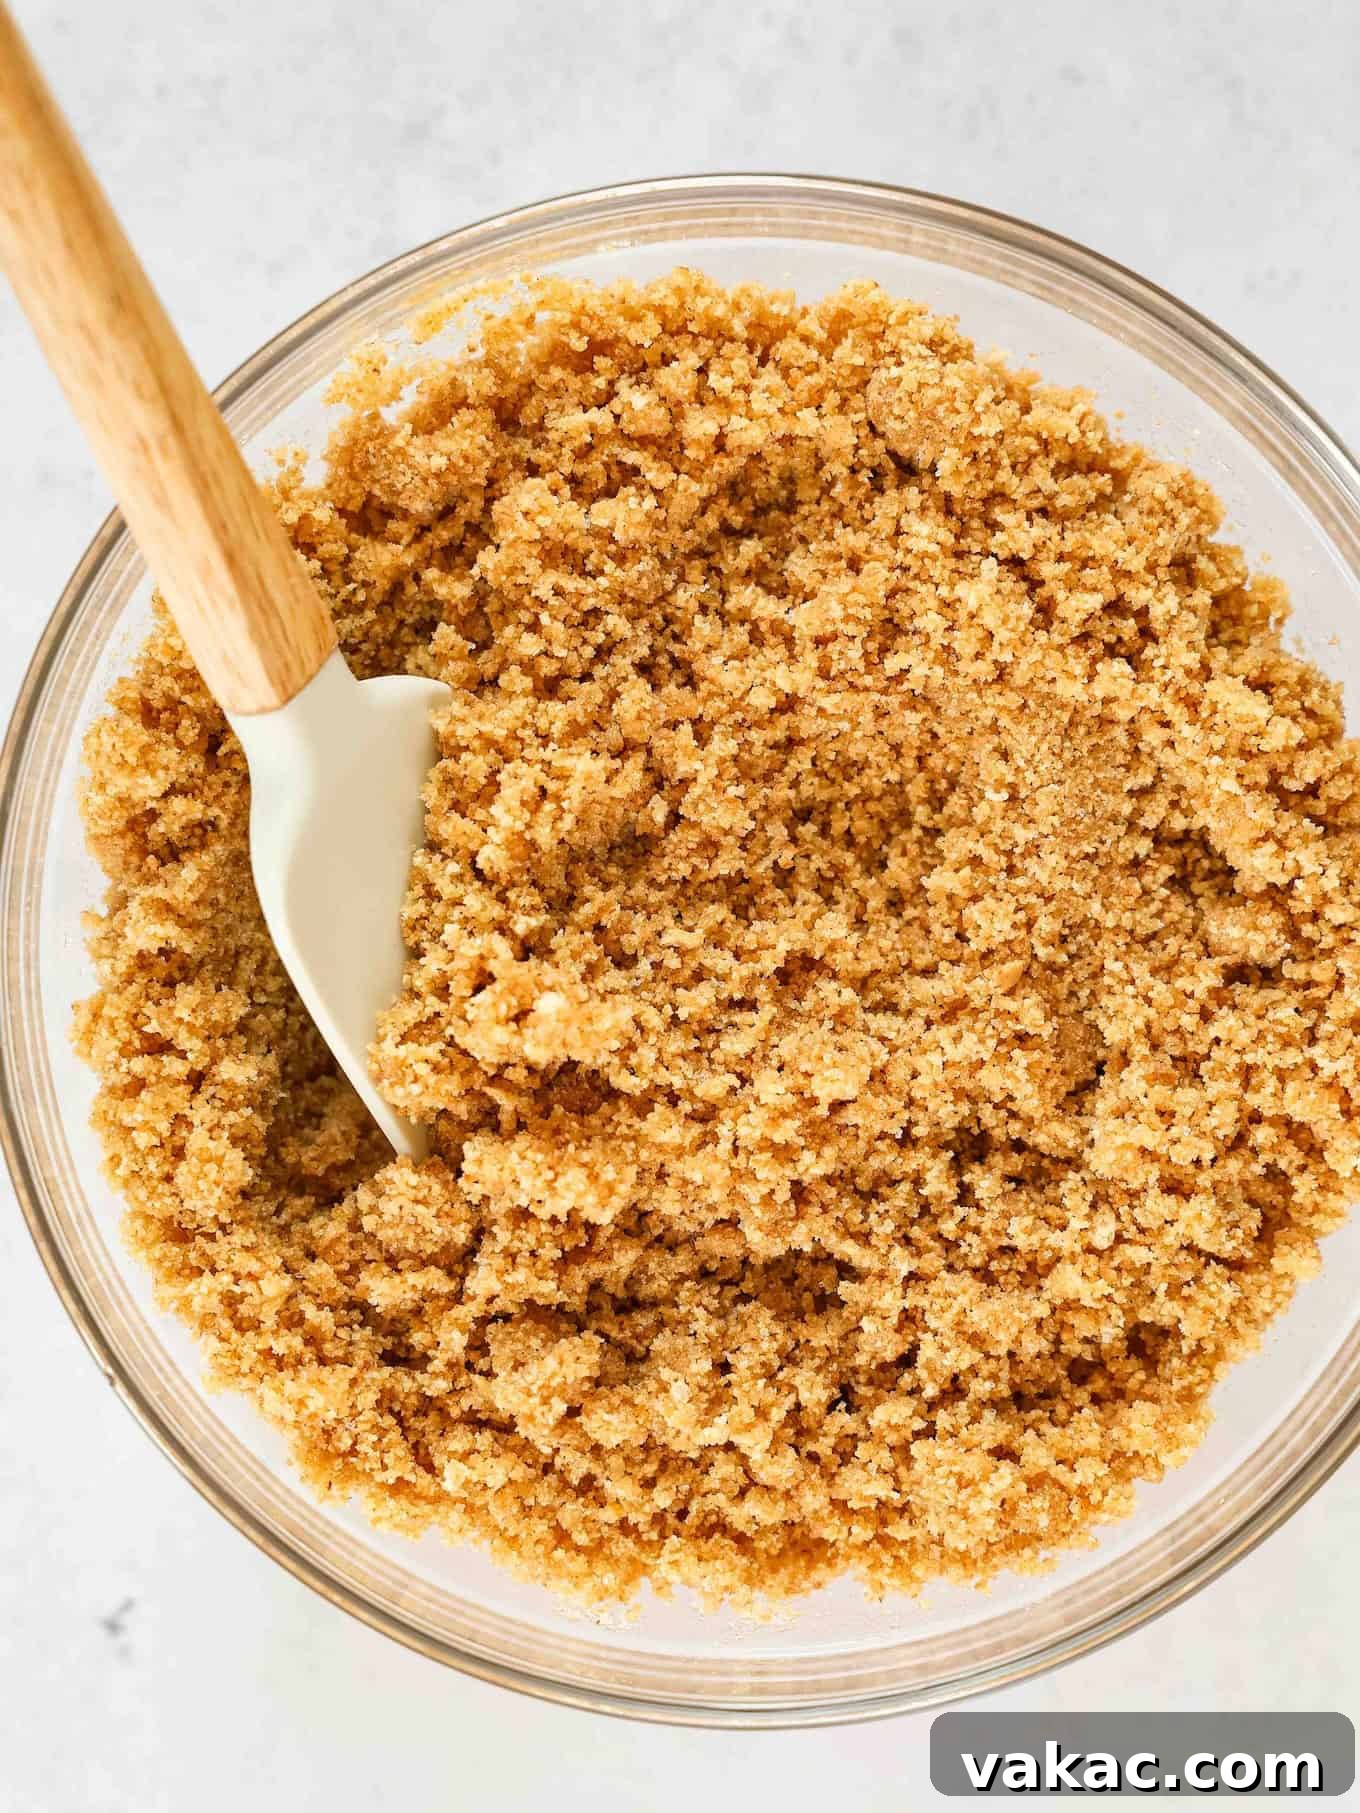
A flawless crust is the unsung hero of any pie, and for a no-bake version, its integrity is paramount. While making a graham cracker crust is incredibly straightforward, a few key techniques will ensure yours is firm, flavorful, and won’t crumble when sliced. If you’ve never made one, don’t worry, it’s easier than you think!
- The Right Amount of Butter for a No-Bake Crust: Unlike baked crusts that can firm up with less fat, a no-bake graham cracker crust relies on melted butter as its primary binder. It’s often beneficial to use an extra tablespoon or two of melted butter than you might for a baked version. The mixture should be well-moistened and hold together when squeezed in your hand, but it shouldn’t be overly greasy. I typically find 6 to 7 tablespoons of melted unsalted butter provides the perfect balance for a standard 9-inch pie. This extra binding power prevents your crust from falling apart when you cut into your finished pie.
- Packing it Perfectly: For a sturdy and even crust, ditch your hands for the initial pressing. Using the flat bottom and sides of a measuring cup is far more effective. Start by pressing the mixture firmly into the bottom of the pie dish, ensuring an even layer. Then, work your way up the sides, using the measuring cup to create a uniform thickness. This technique creates a compact crust that stands up beautifully to the creamy filling and ensures clean slices.
- Chill Your Crust Before Filling: This step is often overlooked but is crucial for a no-bake crust. Once you’ve pressed your crust into the pie dish, transfer it to the refrigerator to chill while you prepare the filling. This cooling period allows the butter to solidify, firming up the crust and making it less prone to crumbling or sticking to your spatula when you spread the filling. A chilled crust also provides a stable base for your luscious Key lime filling.
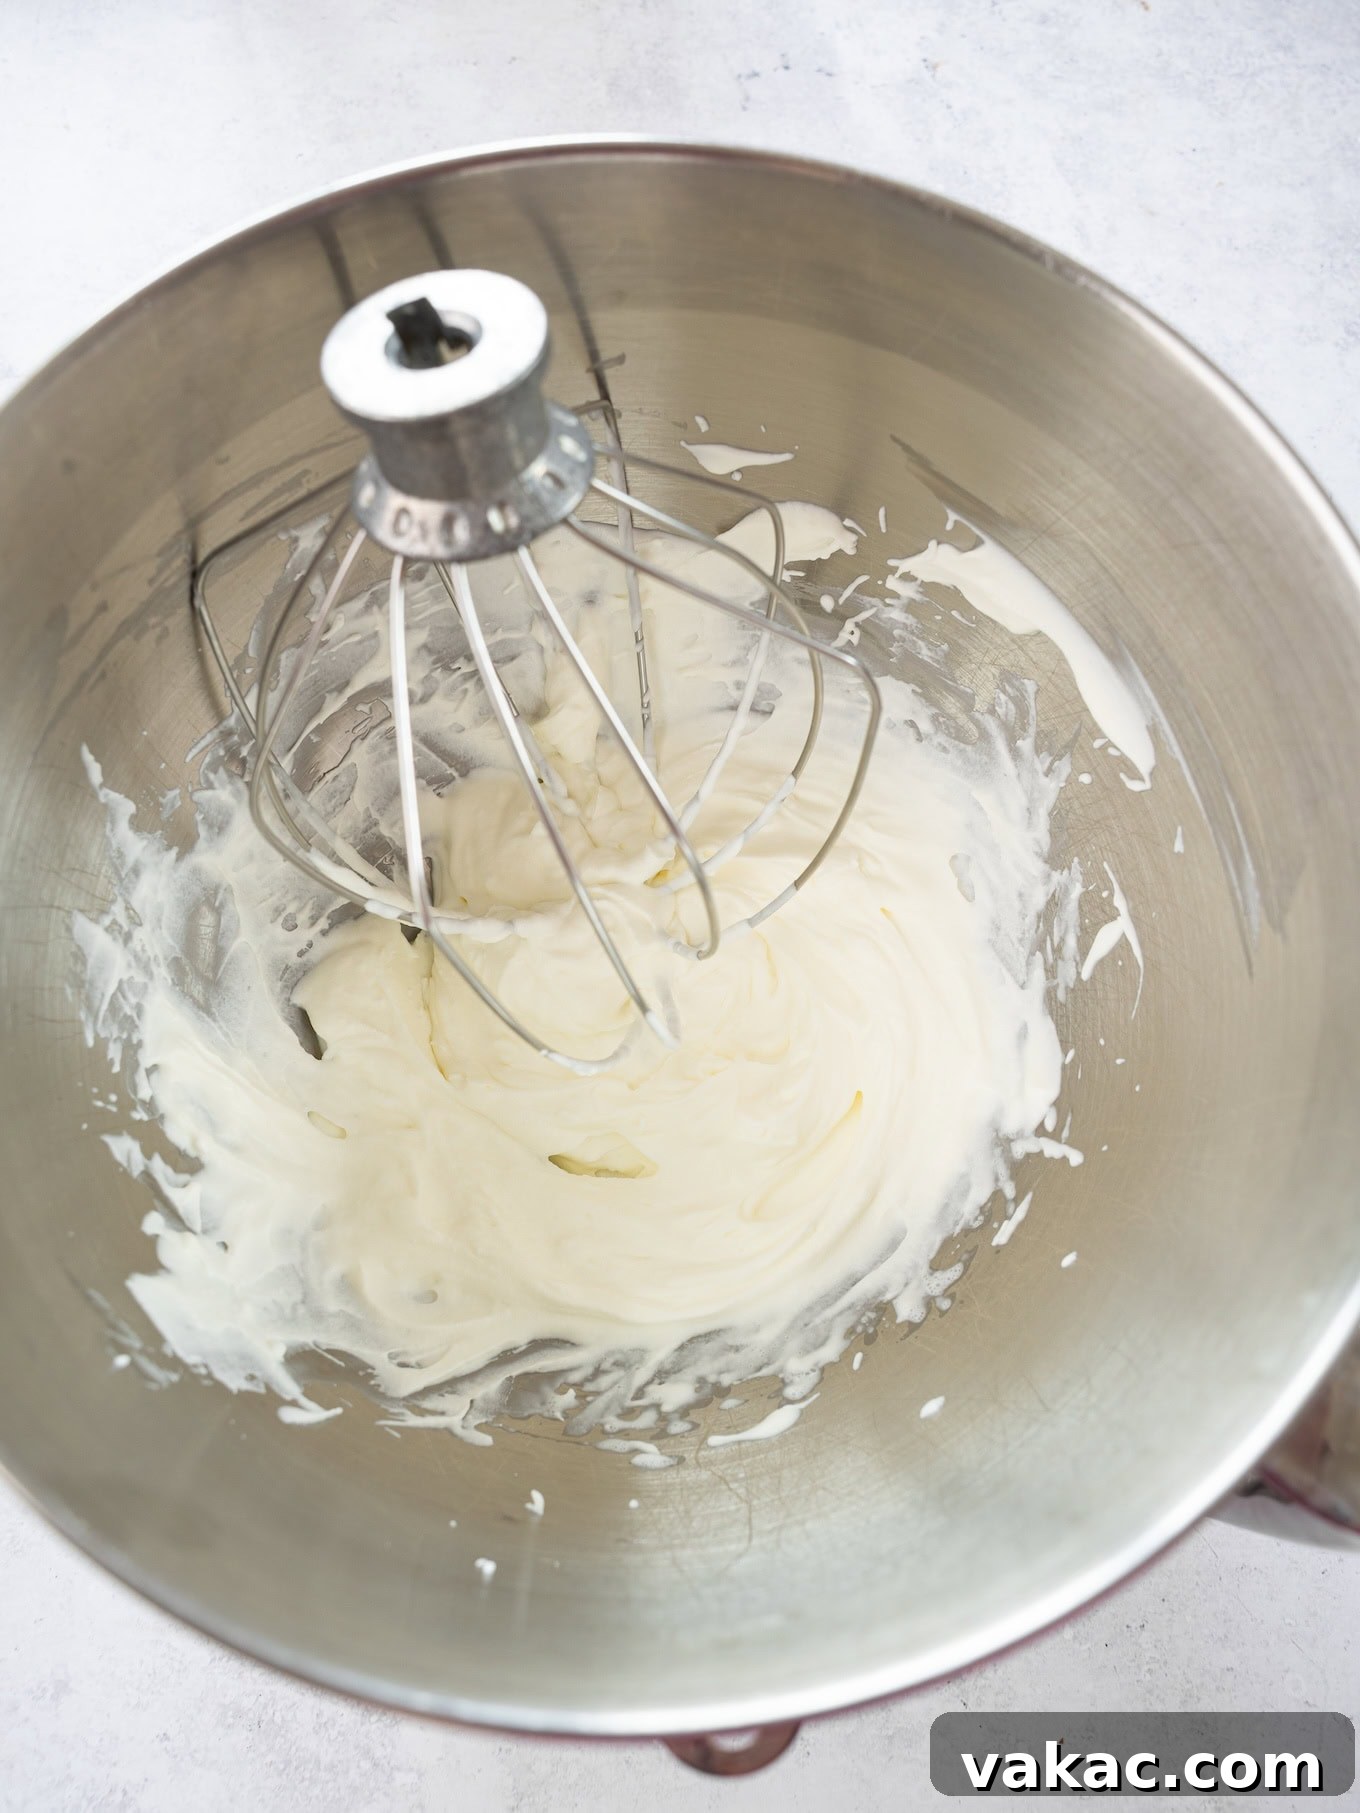
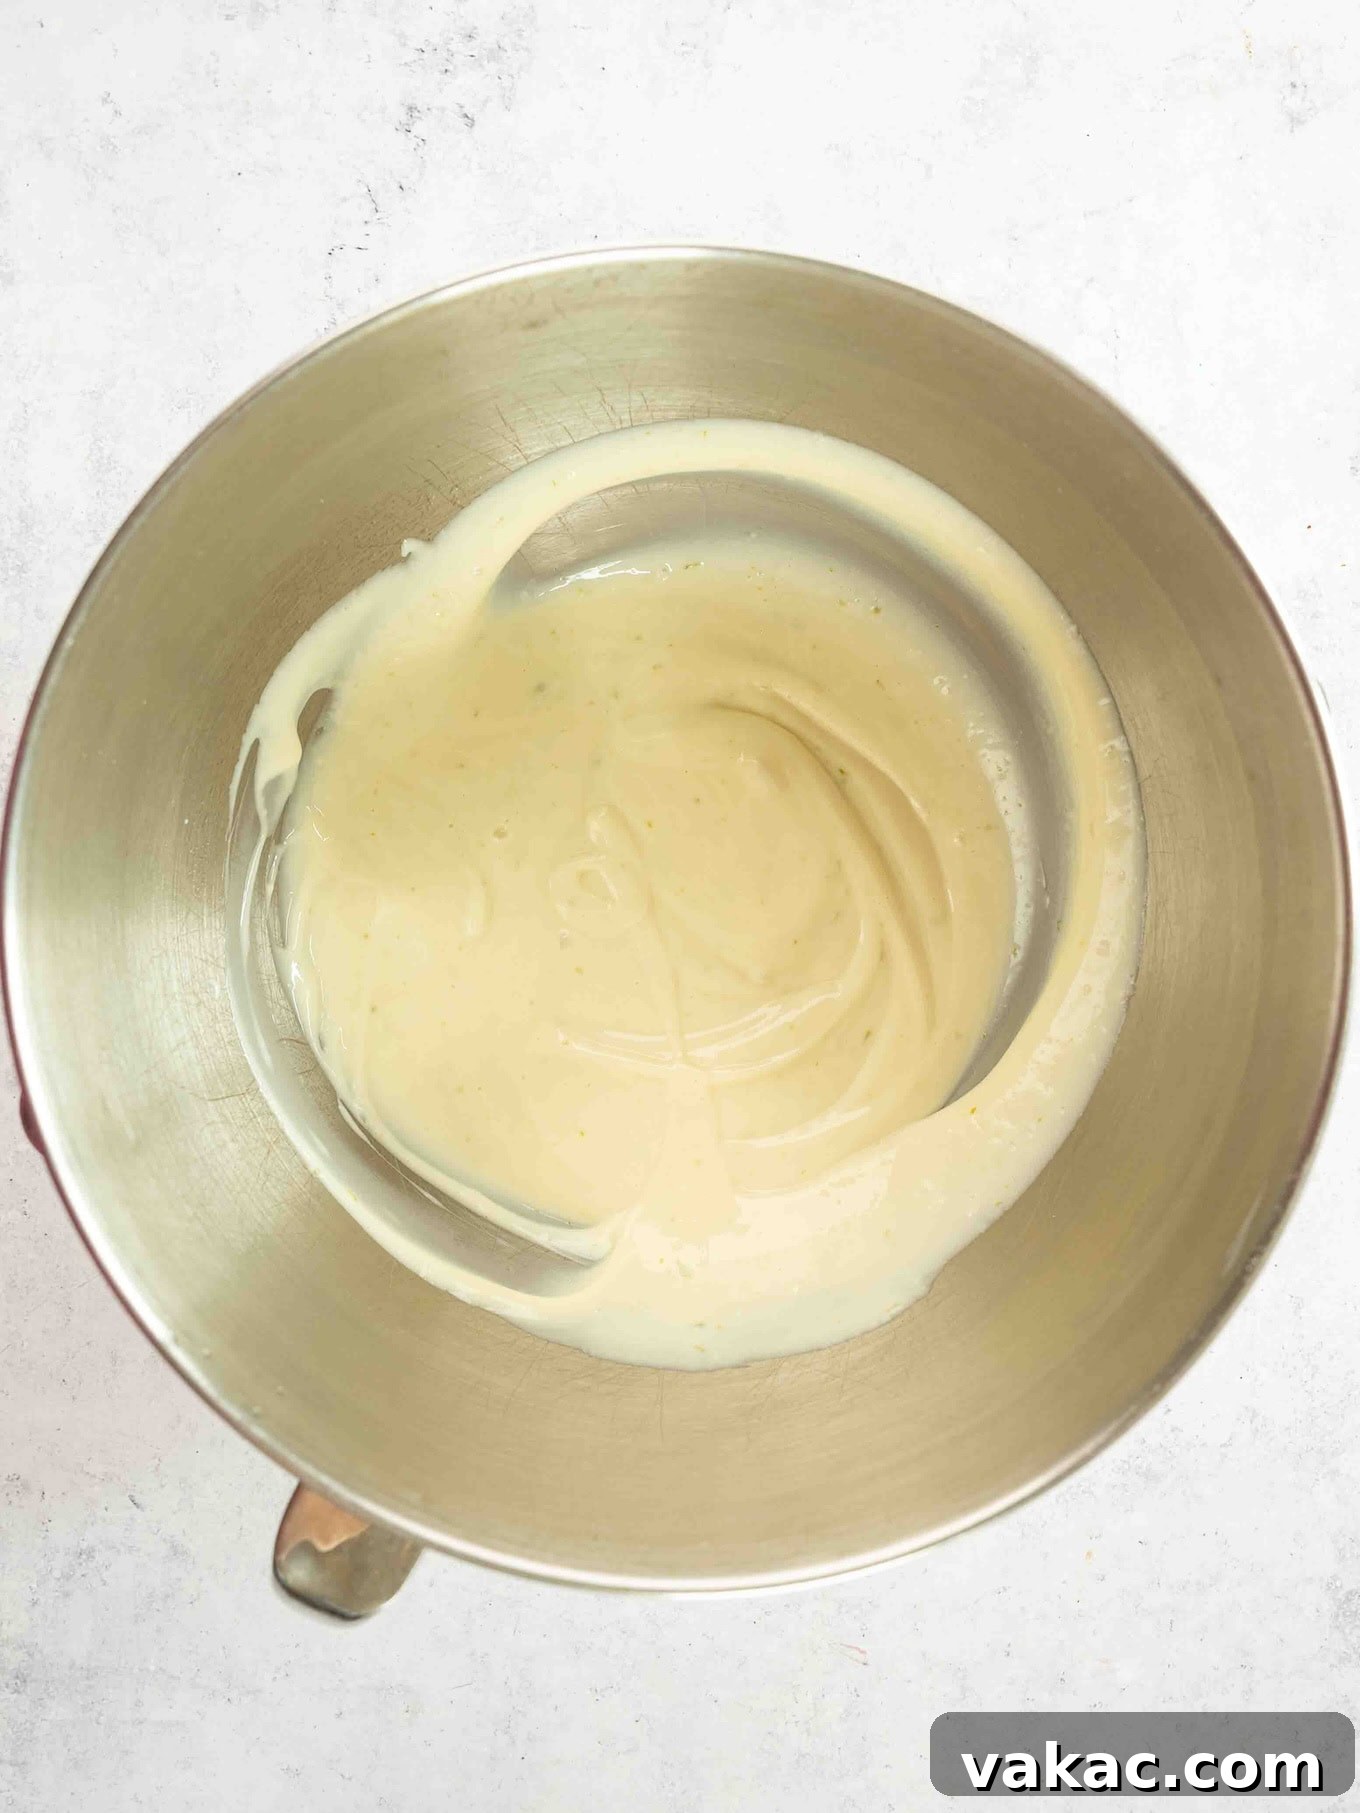
Achieving the Dreamy Creamy Key Lime Filling
The heart of this pie is its incredibly rich and tangy filling. While the ingredients are simple, the technique for combining them is key to achieving that perfect creamy, airy texture that sets beautifully without baking. Follow these tips closely for a truly remarkable Key lime pie filling:
- Start with Softened Cream Cheese: This is non-negotiable for a smooth filling. Cold cream cheese will result in lumps, no matter how long you beat it. For best results, take your brick-style cream cheese out of the fridge at least 30-60 minutes before you plan to mix, or use a quick method to soften cream cheese. Room temperature cream cheese beats smoothly and incorporates easily with other ingredients, creating a homogeneous base for your pie.
- Scrape Down the Sides of Your Bowl Frequently: As you mix the cream cheese and sweetened condensed milk, ingredients tend to cling to the sides and bottom of the bowl. Stop your mixer often and use a rubber spatula to scrape everything back into the center. This ensures all ingredients are thoroughly combined, preventing unmixed pockets and guaranteeing a uniformly creamy texture throughout your filling.
- Whip Your Heavy Cream to Stiff Peaks: The whipped cream is what gives this filling its light, airy structure. It’s crucial to beat the cold heavy whipping cream until stiff peaks form. You’ll know it’s ready when you lift the beaters from the bowl and the peaks stand straight up without drooping. Start on low-medium speed for a minute, then increase to medium-high. Be careful not to over-whip, which can turn the cream grainy. Under-whipping will result in a soft, runny filling that won’t set properly.
- Gently Fold in the Whipped Cream: This step is delicate but vital. Once your cream is whipped, gently fold it into the cream cheese and Key lime mixture in stages (e.g., one-third at a time). The goal is to incorporate the whipped cream without deflating all the air you just painstakingly whipped into it. Use a rubber spatula and a gentle, cutting, and folding motion until just combined. Over-mixing here will cause the filling to lose its airy texture, potentially leading to a denser or slightly softer pie.
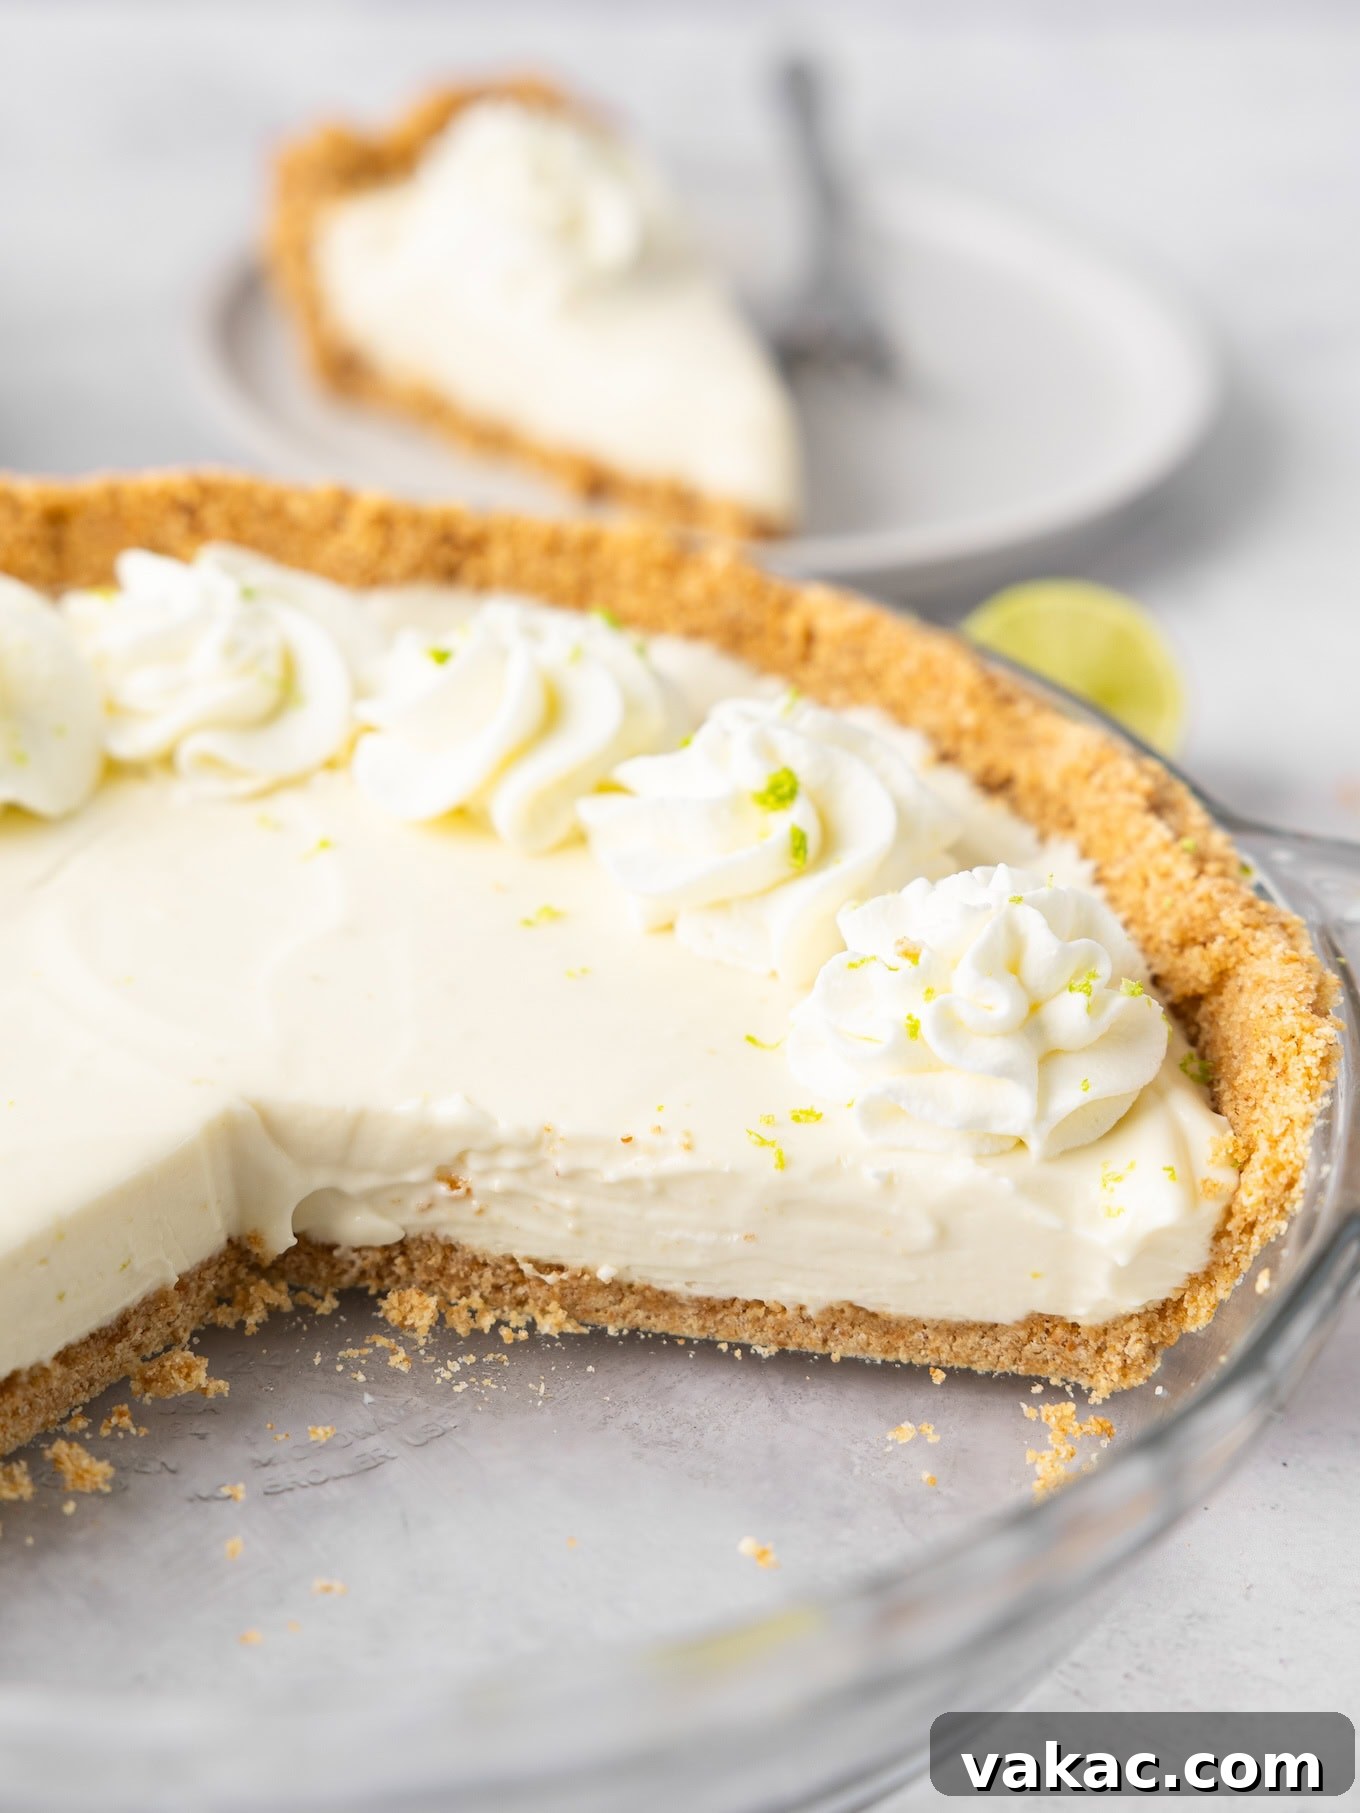
Serving Suggestions and Elegant Garnishes
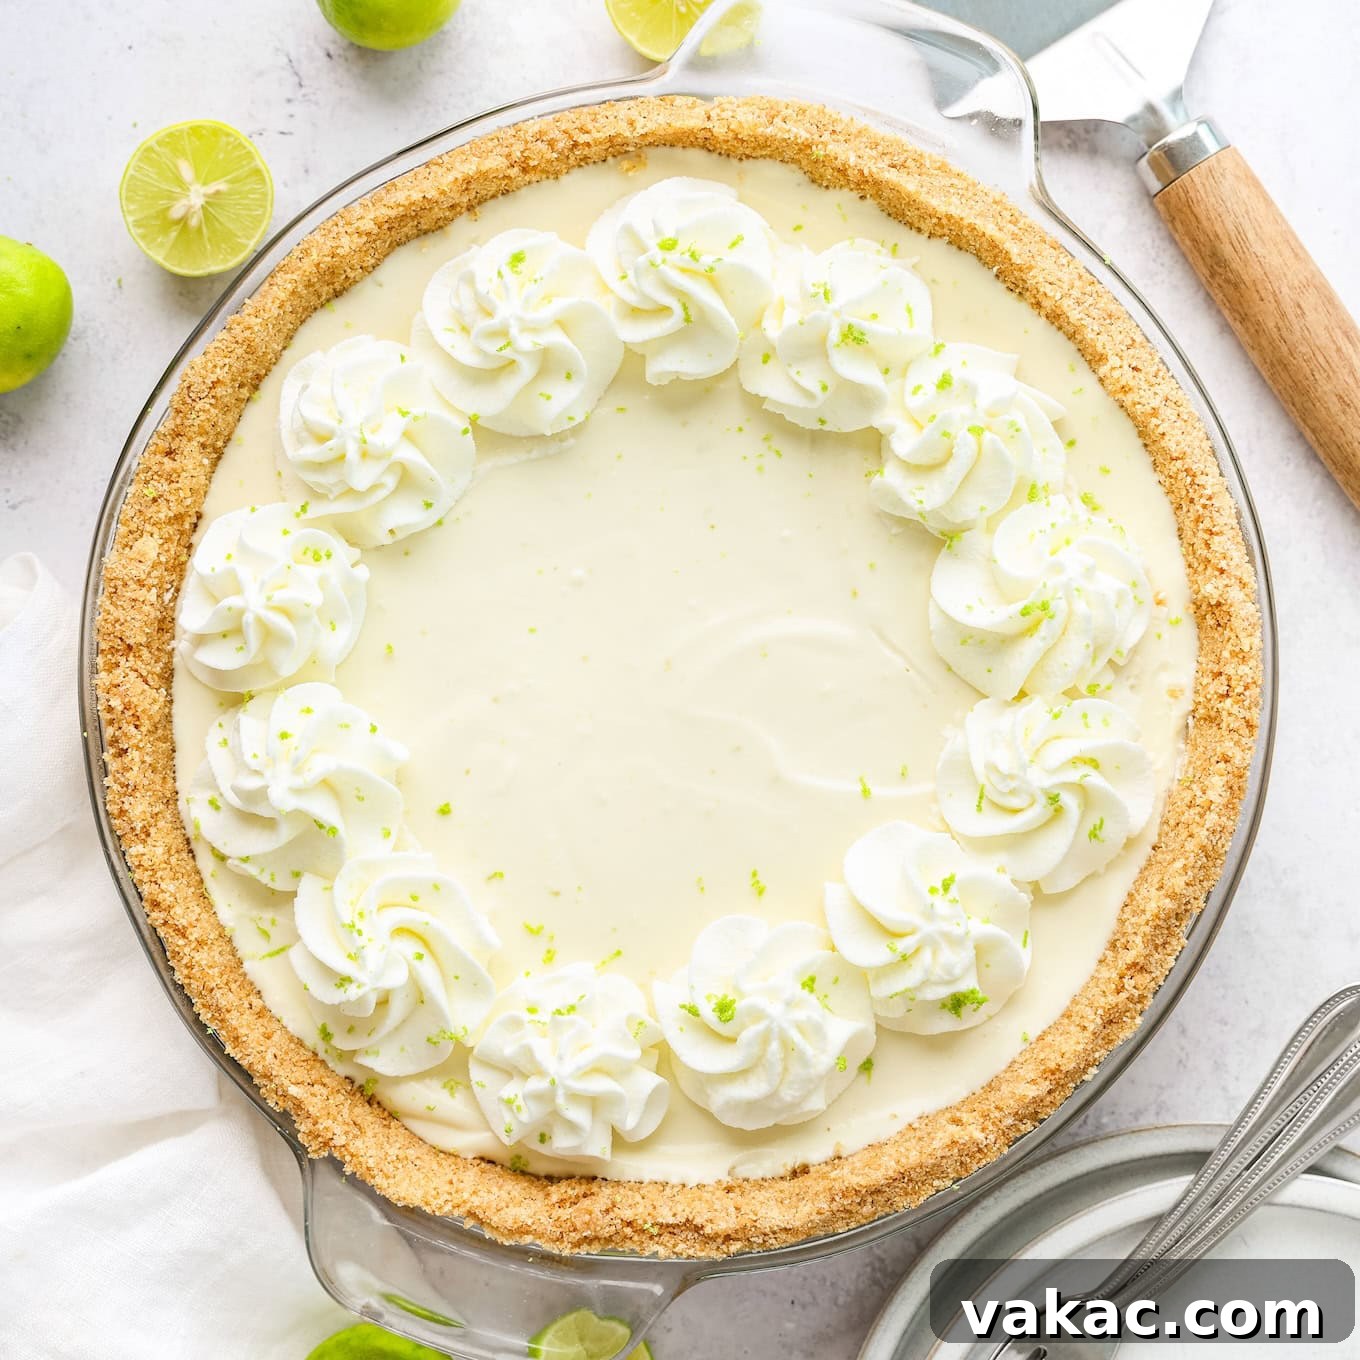
While this no-bake Key lime pie is a showstopper on its own, a few simple garnishes can elevate its presentation and enhance the experience. The classic pairing is a generous dollop of homemade whipped cream, which beautifully complements the tartness of the pie. You can pipe the whipped cream decoratively around the edges or spread it over the entire surface just before serving. A sprinkle of freshly grated Key lime zest (or regular lime zest) adds a pop of color and an extra burst of citrus aroma. For an even more indulgent touch, consider adding:
- Fresh Berries: A scattering of raspberries, blueberries, or sliced strawberries adds a lovely contrast in color and flavor.
- Toasted Coconut Flakes: For a tropical twist, lightly toast some shredded coconut and sprinkle it over the top.
- Candied Lime Slices: Thinly sliced limes, gently candied, make for an elegant and edible decoration.
Slice the chilled pie with a sharp, warm knife (wipe it clean between slices for neat cuts) and serve immediately for the best texture and flavor.
Storage and Make-Ahead Brilliance
This no-bake Key lime pie is a fantastic dessert for making ahead, which is a huge bonus for entertaining! Here’s how to store it and maximize its make-ahead potential:
- Chilling is Crucial: After assembling, the pie needs at least 5 to 6 hours (and preferably overnight) in the refrigerator to properly set. This allows the cream cheese and other ingredients to firm up, resulting in clean, perfect slices. Don’t rush this step!
- Refrigerator Storage: Once fully set, cover the pie tightly with plastic wrap or transfer individual slices to an airtight container. It will keep beautifully in the refrigerator for up to 4 days. The flavors actually deepen slightly over time, making it an excellent candidate for advance preparation.
- Freezing for Longer Storage: Yes, you can freeze this pie! Once the pie is fully chilled and firm, wrap it tightly in several layers of plastic wrap, then an outer layer of aluminum foil. You can freeze the whole pie or individual slices for up to 1-2 months. To serve, thaw the pie in the refrigerator overnight or for several hours until soft enough to slice. Note that the texture of the crust might be slightly softer after freezing and thawing, but the filling will remain delicious.
Frequently Asked Questions (FAQ)
Here are answers to some common questions you might have about making this no-bake Key lime pie:
Can I use regular lemon juice instead of Key lime juice?
Absolutely! You can easily adapt this recipe to make a delicious no-bake lemon meringue pie by substituting fresh lemon juice and zest for the Key lime juice and zest. For the best flavor, I always recommend sticking with freshly squeezed lemon juice and grated lemon zest. The tartness and aroma of fresh lemons are unparalleled.
Can I make mini pies?
Yes, this recipe is perfectly adaptable for mini pies! This recipe makes enough crust and filling for approximately 18 standard-sized muffin cavities. Line your muffin tin with cupcake liners to make them easier to remove and serve. Reduce the chilling time slightly for mini pies, as they will set faster, though a few hours is still recommended for optimal firmness.
My pie didn’t set. What went wrong?
The most common culprits for a pie not setting are using low-fat cream cheese (which has more water and won’t firm up), under-whipping the heavy cream (it needs to reach stiff peaks), or not chilling the pie for long enough. Ensure you use full-fat brick cream cheese, whip your cream until it holds its shape, and give the pie ample time in the refrigerator (preferably overnight).
Is this recipe gluten-free?
This recipe can easily be made gluten-free by simply using gluten-free graham cracker crumbs for the crust. All other ingredients are typically naturally gluten-free, but always check labels to be sure, especially for sweetened condensed milk.
Can I make the crust from scratch with different cookies?
Definitely! While graham crackers are traditional, feel free to experiment with other cookie crumbs for the crust. Vanilla wafers, digestive biscuits, or even shortbread cookies can make excellent substitutes, offering a unique flavor twist. Just ensure you have 1 ½ cups of finely crushed crumbs and adjust the melted butter amount slightly if needed, to achieve a moist, packable consistency.
No-bake desserts are celebrated for their speed, ease, and refreshing qualities, and this Key lime pie perfectly embodies all of these attributes. We are confident that its tangy, creamy perfection will make it a new favorite in your home, just as it has in ours. It’s more than just a dessert; it’s a delightful experience that brings joy with every forkful!
If you try this recipe, don’t forget to leave a comment below to let me know how it turned out! Happy dessert making!
No-Bake Key Lime Pie Recipe
Prep Time: 30 mins
Chilling Time: 6 hrs
Total Time: 6 hrs 30 mins
This no-bake Key lime pie is made with cream cheese and sweetened condensed milk for an ultra-creamy filling that sets up beautifully in the fridge.
Pin Recipe
Save
Leave a Review
Ingredients
Servings: 8 slices
Graham Cracker Crust
- 1 ½ cups crushed graham cracker crumbs (175 grams)
- ⅓ cup granulated sugar (70 grams)
- 6 to 7 tablespoons unsalted butter, melted (85 to 100 grams)
Key Lime Filling
- 8 ounces brick-style cream cheese, softened (226 grams; 1 brick)
- 1 (14-ounce) can sweetened condensed milk
- ½ cup key lime juice (bottled is okay, I used Nellie & Joes)
- 1 teaspoon freshly grated key lime or regular lime zest (optional)
- ¾ cup cold heavy whipping cream (180 ml)
Optional Toppings
- Homemade whipped cream
- Freshly grated key lime zest
Instructions
- To make the graham cracker crust: Combine the graham cracker crumbs and granulated sugar in a medium-sized mixing bowl and stir until well combined. Add 6 tablespoons of melted butter and mix until all of the crumbs are moistened. If the mixture seems a little dry, you can melt one more tablespoon of butter and mix it in (I personally prefer to use 7 tablespoons for this recipe).
- Scoop the graham cracker mixture into a 9 or 9.5-inch pie plate. Use your hands or a measuring cup to firmly press it down into an even layer on the bottom and up around the sides of the dish.
- Transfer to the refrigerator to chill while you make the filling.
- To make the Key lime filling: In the bowl of a stand mixer fitted with the paddle attachment, or in a large mixing bowl using a handheld mixer, beat the cream cheese on medium speed until smooth (about 30 seconds). Add the sweetened condensed milk and continue mixing until fully combined, stopping to scrape down the sides of the bowl as needed.
- Add the Key lime juice and optional zest and mix until fully combined. If needed, use a rubber spatula to turn the filling a few times to make sure everything is thoroughly mixed together. Set aside.
- Add the heavy whipping cream to a separate mixing bowl. Using a handheld mixer or stand mixer fitted with the whisk attachment, mix on low-medium speed for 30 seconds to 1 minute, then increase the speed to medium-high and continue mixing until stiff peaks form.
- Gently fold one-third of the whipped cream into the cream cheese mixture until just combined, then fold in the remaining whipped cream until fully combined.
- Remove the pie plate with the crust from the refrigerator and scoop the filling on top of the crust. Spread the filling into one even layer and smooth it out.
- Cover with plastic wrap and transfer to the refrigerator to chill for at least 5 to 6 hours or overnight.
- Top with whipped cream and some freshly grated Key lime zest, if desired. Slice into pieces and enjoy!
Notes
Storage Instructions: Pie may be covered tightly or stored in an airtight container in the fridge for up to 4 days.
Cuisine: American
Course: Dessert
Author: Danielle Rye
Did you make this recipe?
Mention @livewellbakeoften on Instagram or tag #livewellbakeoften.