
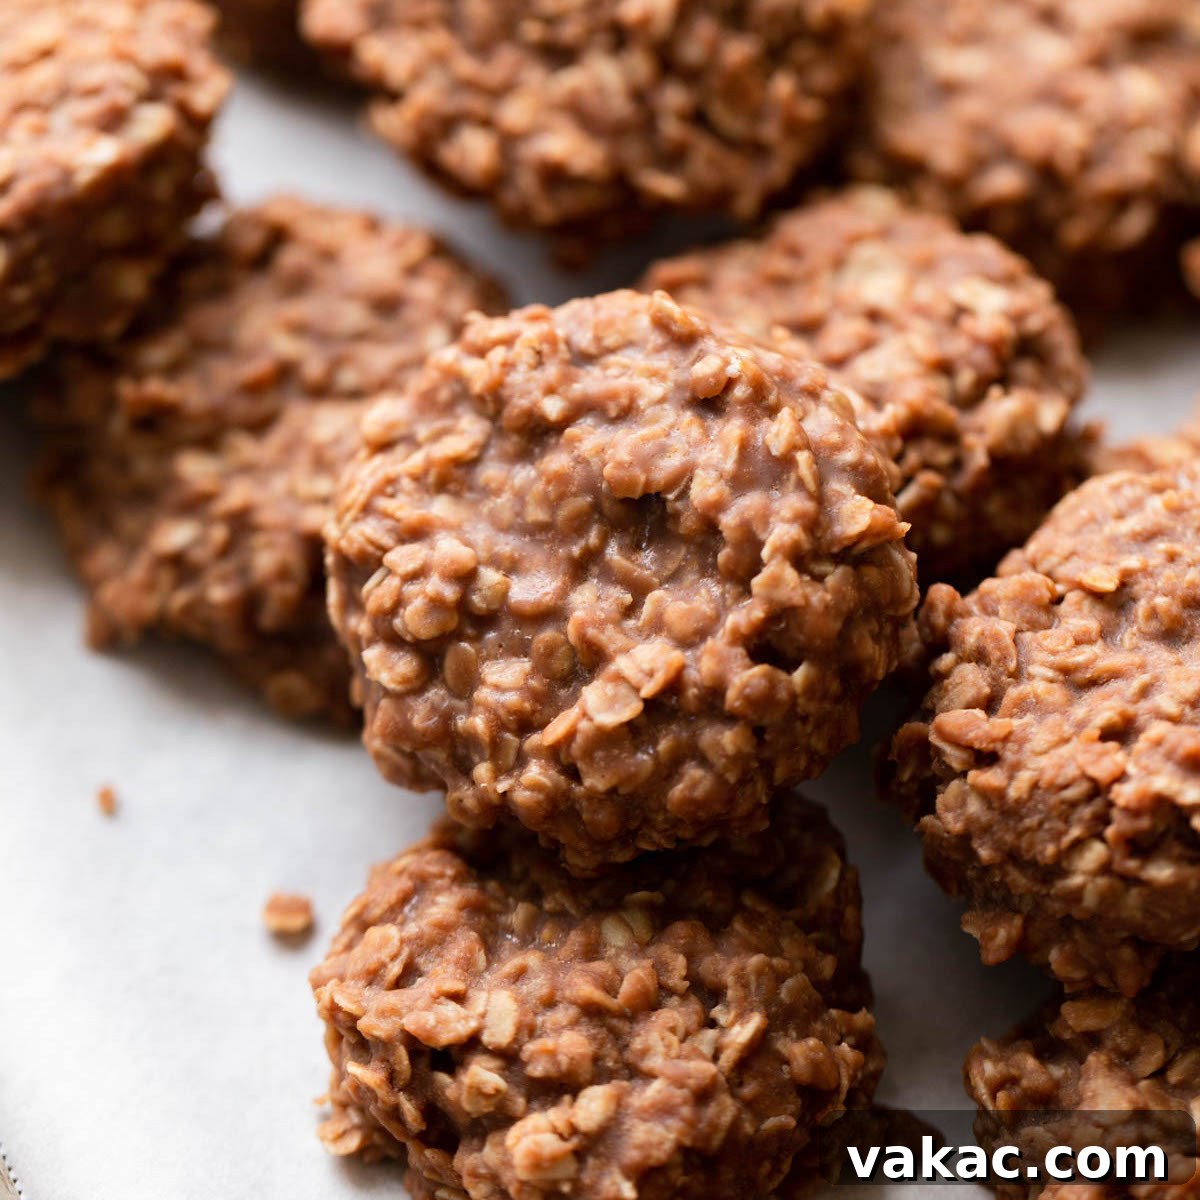
Irresistibly Easy Classic No-Bake Cookies: Your Go-To Sweet Treat
Discover the magic of these Classic No-Bake Cookies – a beloved dessert that brings together the rich flavors of peanut butter and cocoa with the satisfying texture of oats. Requiring only a handful of common pantry staples and absolutely no oven time, these cookies are incredibly simple to prepare, making them the perfect solution for quick cravings, busy schedules, or unexpected guests. Get ready to whip up a batch of these iconic treats that promise pure delight with every bite!
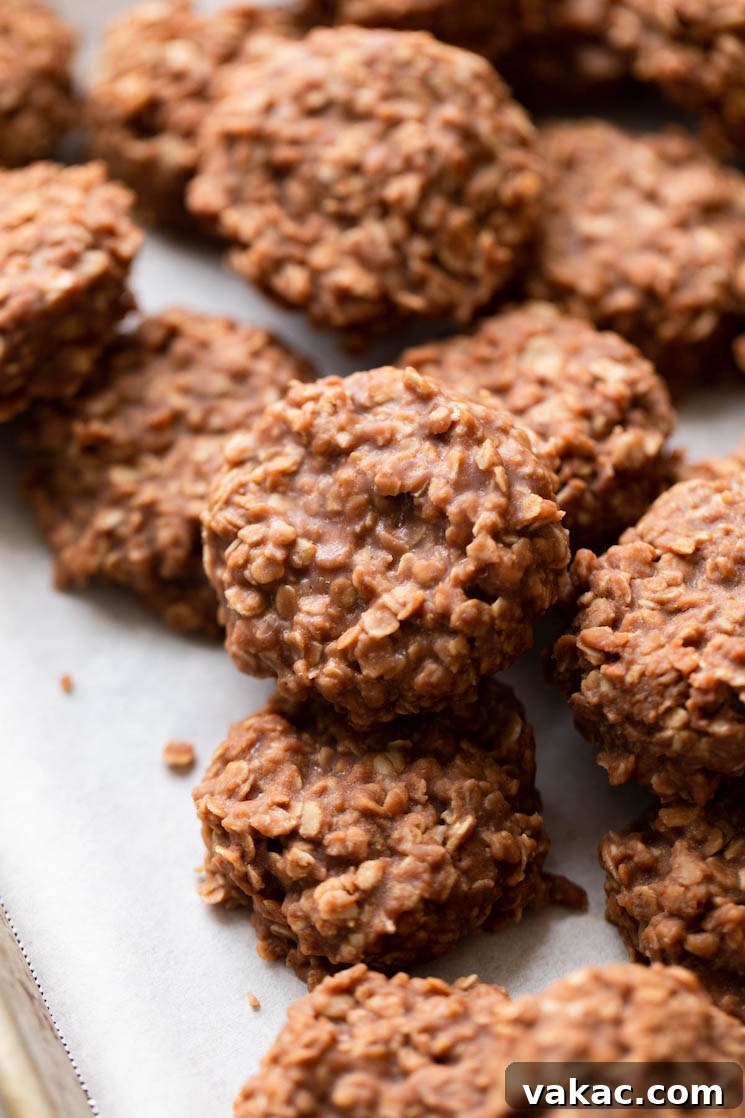
Why You’ll Fall in Love with These No-Bake Delights
Do you have that one cookie that truly captures your heart? The kind you could devour an entire batch of if left unattended? For many, beyond the perennial favorite chocolate chip cookie, no-bake cookies hold a special, nostalgic place. They’re a timeless classic, a taste of childhood that remains as comforting and satisfying today as it ever was.
I fondly remember my mom effortlessly whipping up a batch of these whenever a sweet craving struck. The aroma alone was enough to gather us around the kitchen, and, to be honest, waiting for them to cool completely before sneaking a bite was always the hardest part! The instant gratification of these cookies is truly unparalleled.
What makes these no-bake cookies so extraordinary is their sheer simplicity. You can prepare a full batch in just about 15 to 20 minutes, leaving only the cooling time before you can indulge. This makes them an ideal choice for last-minute desserts, after-school snacks, or even a quick treat for unexpected visitors. The best part? Chances are, you already have all the necessary ingredients right in your pantry. And if not, after experiencing the pure joy of these cookies, you’ll make sure to keep them stocked for future batches – trust me on this one!
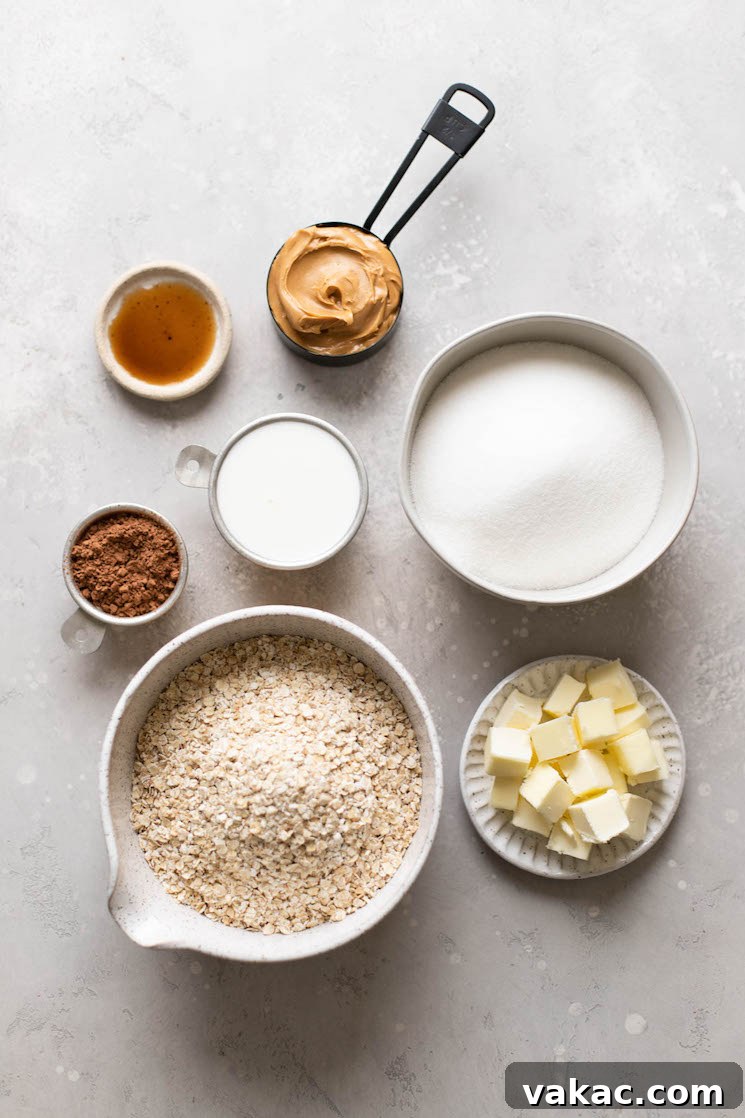
Essential Ingredients for Your No-Bake Adventure
Before you dive into making these delightful cookies, I highly recommend gathering and precisely measuring all your ingredients. This crucial step, often referred to as “mise en place,” ensures a smoother cooking process and is particularly vital for no-bake cookies, as the rapid setting of the mixture requires swift action once it’s boiled. Having everything prepped guarantees the best possible texture and consistency for your finished treats.
A Quick Overview of What You’ll Need:
- Butter: For superior flavor and a richer cookie, I always opt for real butter. While I’ve successfully tested this recipe with margarine, and it works just fine, butter elevates the taste profile significantly. The fat content is crucial for the cookie’s texture and ability to set.
- Milk: Versatility is key here! Any type of milk will work beautifully. My personal preference is whole milk for its creaminess, but 2%, 1%, skim, or even a non-dairy alternative like almond milk will yield fantastic results. Choose what you have on hand or what best suits your dietary needs.
- Granulated Sugar: This is more than just a sweetener; sugar plays a critical role in the structural integrity of these cookies. It not only provides the irresistible sweetness but also helps the cookies set up properly as they cool, preventing them from being too soft or crumbly.
- Unsweetened Cocoa Powder: For that irresistible chocolatey depth, unsweetened cocoa powder is essential. Both natural unsweetened cocoa powder and Dutch-process cocoa powder work wonderfully, each imparting a slightly different nuance to the chocolate flavor. Natural cocoa tends to be fruitier and more acidic, while Dutch-process is milder and darker.
- Peanut Butter: The creamy star of the show! For the best consistency and ease of mixing, I highly recommend using a no-stir, creamy peanut butter such as Jif or Skippy. While crunchy peanut butter is also an option if you prefer an added textural element, the creamy variety ensures a smoother, more uniform cookie. Natural peanut butter can sometimes be too oily and may affect the setting.
- Vanilla Extract: A touch of pure vanilla extract enhances all the other flavors, adding a warm, aromatic depth that completes the cookie’s profile. Don’t skip this ingredient, as it truly makes a difference.
- Quick-Cooking Oats: These are my top choice for no-bake cookies. Their smaller size and finer texture result in a less chewy and more tender cookie compared to old-fashioned rolled oats. They absorb the liquid quickly and integrate seamlessly into the mixture, contributing to the perfect bite.
Crafting Your Perfect Batch: Step-by-Step Instructions
Embarking on the creation of these no-bake cookies is a delightful and straightforward process. Follow these detailed steps to ensure a flawless batch every time.
- Prepare Your Workspace: Begin by lining two large baking sheets with parchment paper. This crucial step prevents sticking and makes cleanup a breeze. Set them aside, ready for scooping your cookies.
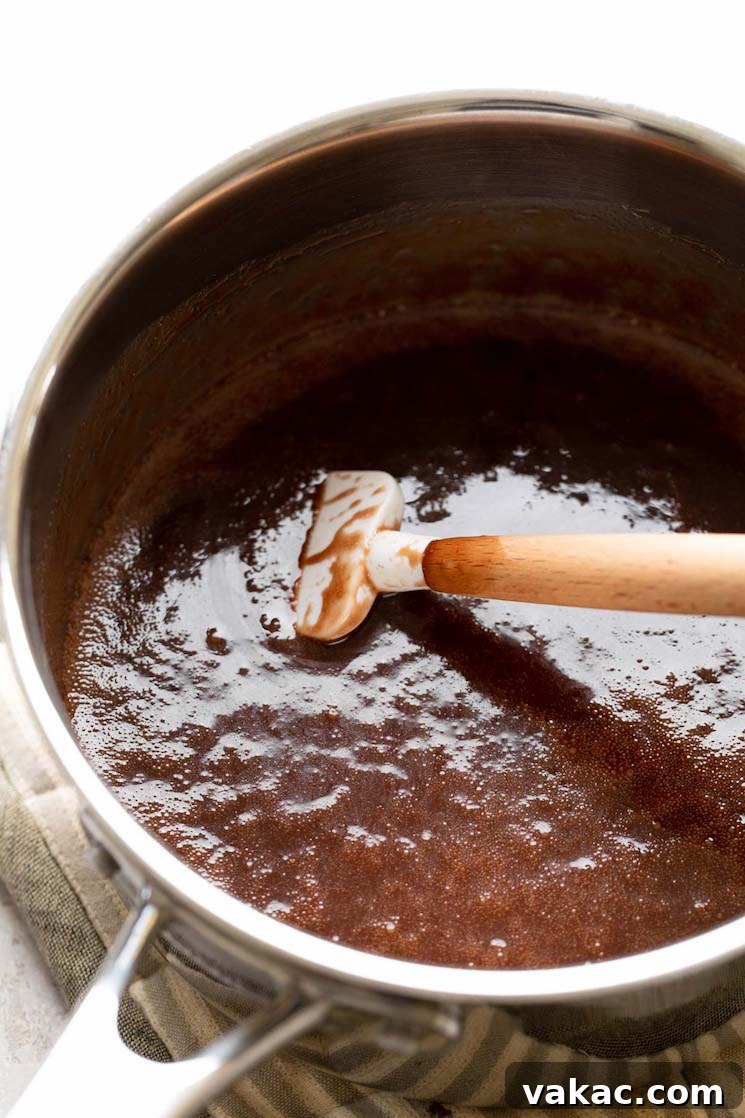
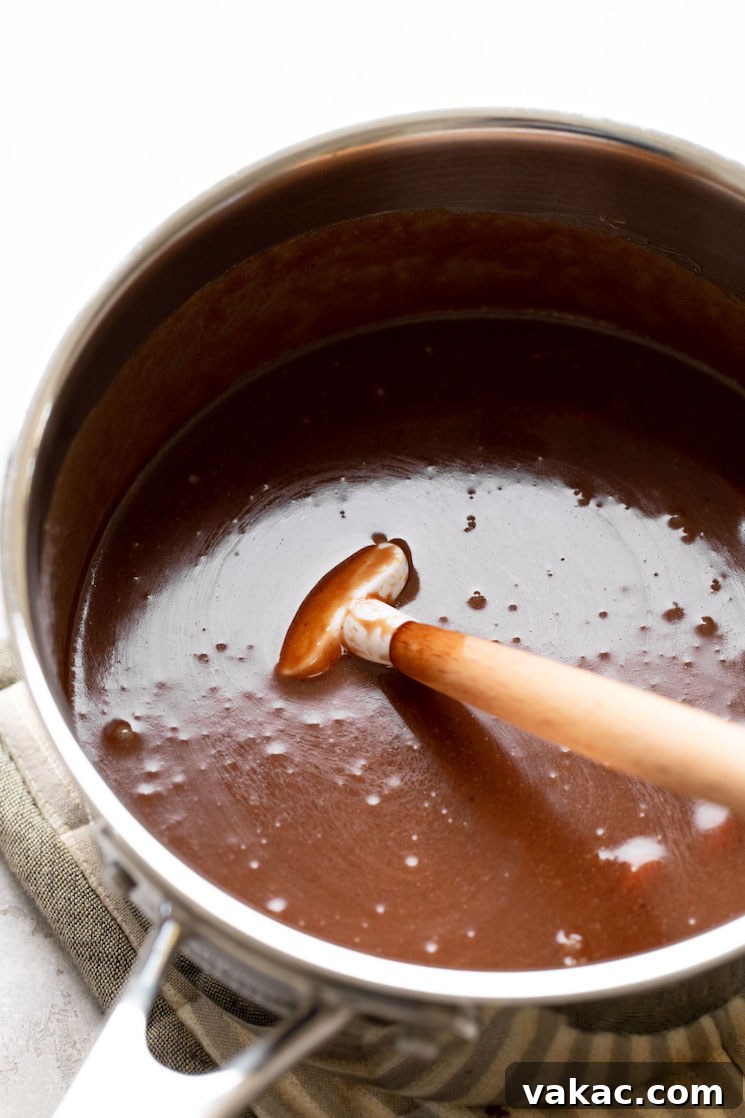
- Combine and Heat Wet Ingredients: In a large, heavy-bottomed saucepan, combine the sliced butter, granulated sugar, milk, and unsweetened cocoa powder. Place the saucepan over medium heat. Stir frequently to ensure the butter melts evenly and all the ingredients are thoroughly combined. Continue stirring until the mixture comes to a full, rolling boil.
- The Critical Boil: Once the mixture reaches a vigorous, rolling boil – meaning the entire surface is covered with consistent bubbles – immediately set a timer for precisely 60 seconds. This timing is absolutely crucial for the cookies’ success! If you boil the mixture for too long, the cookies will become dry, crumbly, and difficult to set. Conversely, if you don’t boil it long enough, they won’t set at all and will remain gooey. Watch the clock diligently!
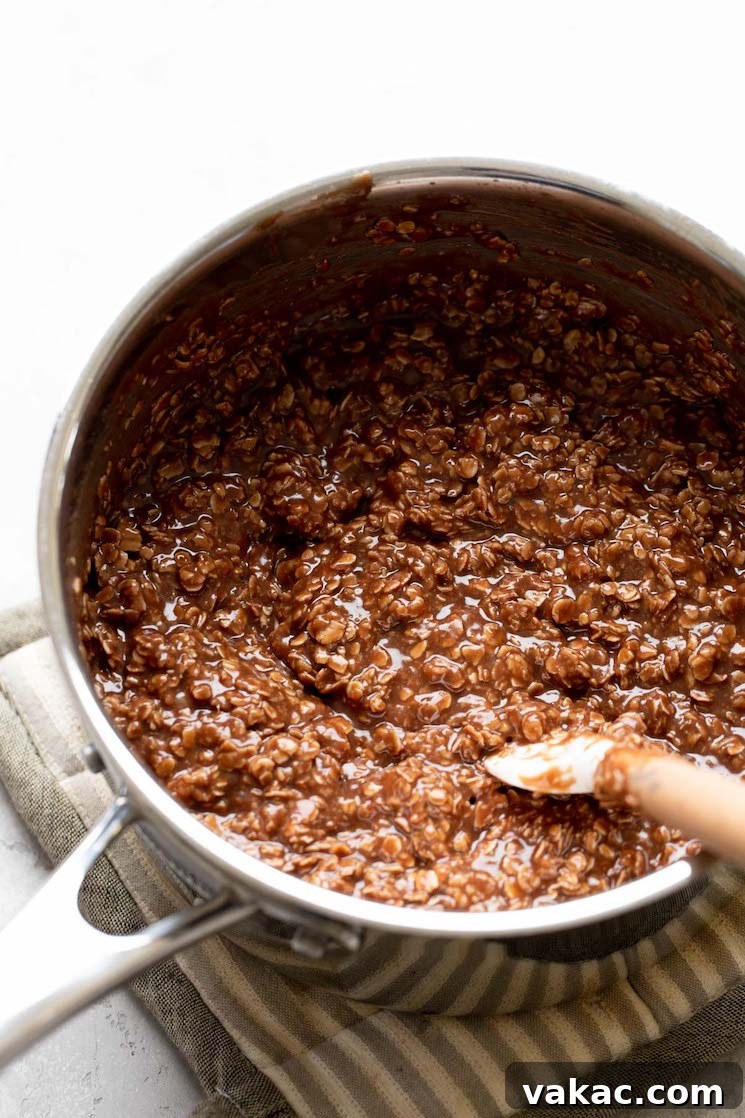
- Introduce Flavor and Texture: As soon as your 60-second timer goes off, promptly remove the saucepan from the heat. Stir in the creamy peanut butter and vanilla extract until the mixture is completely smooth and evenly incorporated. The warmth of the mixture will help the peanut butter melt and blend beautifully.
- Add the Oats: Now, add the quick-cooking oats to the warm mixture. Stir vigorously until every single oat flake is thoroughly coated. Work quickly but carefully to ensure an even distribution.
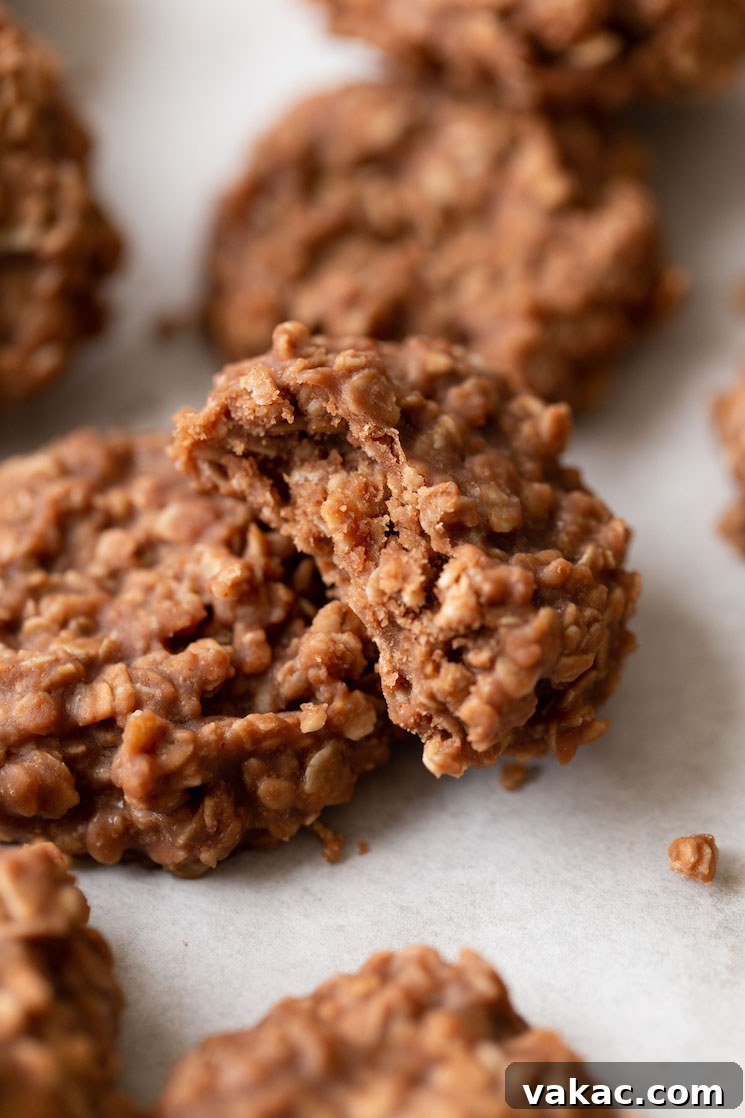
- Scoop and Shape: Using a cookie scoop (I prefer a 1.5-tablespoon size for consistent cookies), scoop portions of the warm mixture and drop them onto your prepared baking sheets. For quicker cooling and a more uniform appearance, you can gently flatten each cookie slightly with the back of the scoop or a spoon.
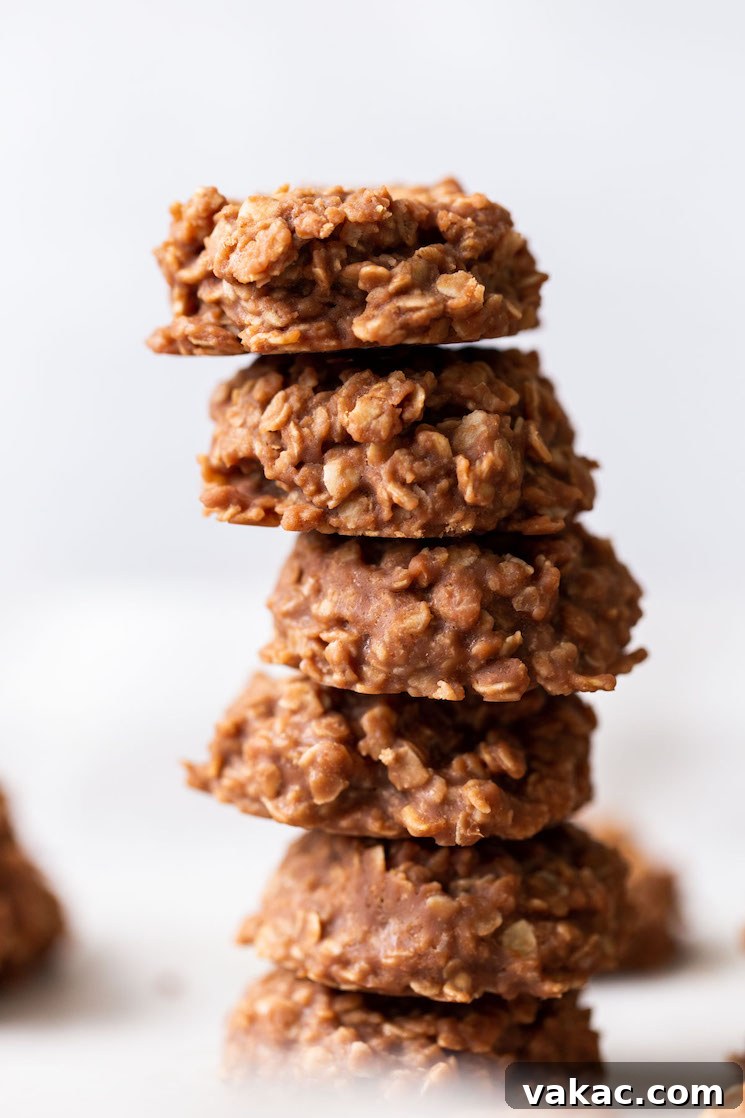
- Cool and Enjoy: The cookies will initially be quite soft. Allow them to cool at room temperature for approximately 20 to 30 minutes, during which they will continue to firm up and set. While patience is a virtue here, don’t hesitate to sneak a warm, gooey cookie – they’re absolutely delicious both warm and fully cooled!
Troubleshooting & Tips for No-Bake Cookie Perfection
Even with a straightforward recipe, sometimes things don’t go exactly as planned. Here are some common questions and essential tips to help you achieve perfect no-bake cookies every time.
Frequently Asked Questions:
- Why didn’t my cookies set?
- The most common culprit for chocolate peanut butter no-bake cookies failing to set is insufficient boiling time. It’s imperative to wait until the mixture reaches a full, rolling boil – where the entire surface is covered in continuous bubbles – before you start your 60-second timer. If you start the timer too early, the mixture won’t reach the correct temperature or concentration, preventing the sugar from crystalizing and setting properly. If your cookies remain soft after 20-30 minutes at room temperature, you can try placing them in the refrigerator for a firmer texture. Some readers have also reported success by microwaving individual soft cookies for just a few seconds to help them firm up.
- Can you freeze these cookies?
- Absolutely! No-bake cookies freeze beautifully. Once they have completely cooled and set, transfer them to a freezer bag or an airtight, freezer-safe container. They will keep well for up to 3 months. When you’re ready to enjoy them, simply take them out and let them come to room temperature on the counter.
- Can I use old-fashioned rolled oats instead of quick-cooking oats?
- While you can use old-fashioned rolled oats, be aware that your cookies will have a noticeably chewier texture. Quick-cooking oats are preferred for their smaller size and ability to blend more smoothly into the cookie, resulting in a more tender bite. If old-fashioned oats are all you have, I recommend pulsing them in a food processor 2 or 3 times to break them down into smaller pieces, mimicking the texture of quick-cooking oats as much as possible.
- How long do no-bake cookies last?
- When stored in an airtight container at room temperature, these cookies will stay fresh and delicious for up to one week. For longer storage, refer to the freezing instructions above.
- Can I make these cookies dairy-free or vegan?
- Yes, with a few substitutions! You can use plant-based butter (sticks, not spread) and non-dairy milk (like almond or soy milk). Ensure your cocoa powder is unsweetened and dairy-free. For peanut butter, check that it doesn’t contain hidden dairy. These substitutions should work well!
Expert Baking Tips for Success:
- Preparation is Key: Always gather and measure all your ingredients before you start cooking. This “mise en place” approach streamlines the process, especially since the boiling and mixing steps for no-bake cookies require speed.
- Work Efficiently After Boiling: Once you remove the mixture from the heat, it’s a race against time. Stir in the remaining ingredients (peanut butter, vanilla, oats) quickly and then immediately begin scooping the cookies onto the parchment paper. If the mixture sits for too long, it will cool and thicken too much, making it difficult to scoop and potentially resulting in dry or crumbly cookies.
- Achieve Uniformity with a Cookie Scoop: For perfectly round, consistently sized cookies, a cookie scoop is your best friend. This ensures even cooling and a professional appearance.
- Don’t Rush the Cooling: While it’s tempting to dig in immediately, allowing the cookies to cool completely is essential for them to fully set and achieve their intended texture. If you try to move them too soon, they might fall apart.
- Consider Variations: Feel free to experiment! You can add a sprinkle of sea salt on top for a delightful sweet and salty contrast, or mix in some shredded coconut or mini chocolate chips with the oats for extra flavor and texture.
More Delicious Classic Cookie Recipes to Explore
If you’re a fan of classic cookies and love exploring new flavors, here are some other recipes you might enjoy:
- Snickerdoodle Cookies
- Peanut Butter No-Bake Cookies (for a pure peanut butter indulgence!)
- Soft Peanut Butter Cookies
- Oatmeal Raisin Cookies
The Full Recipe Card: Classic No-Bake Cookies
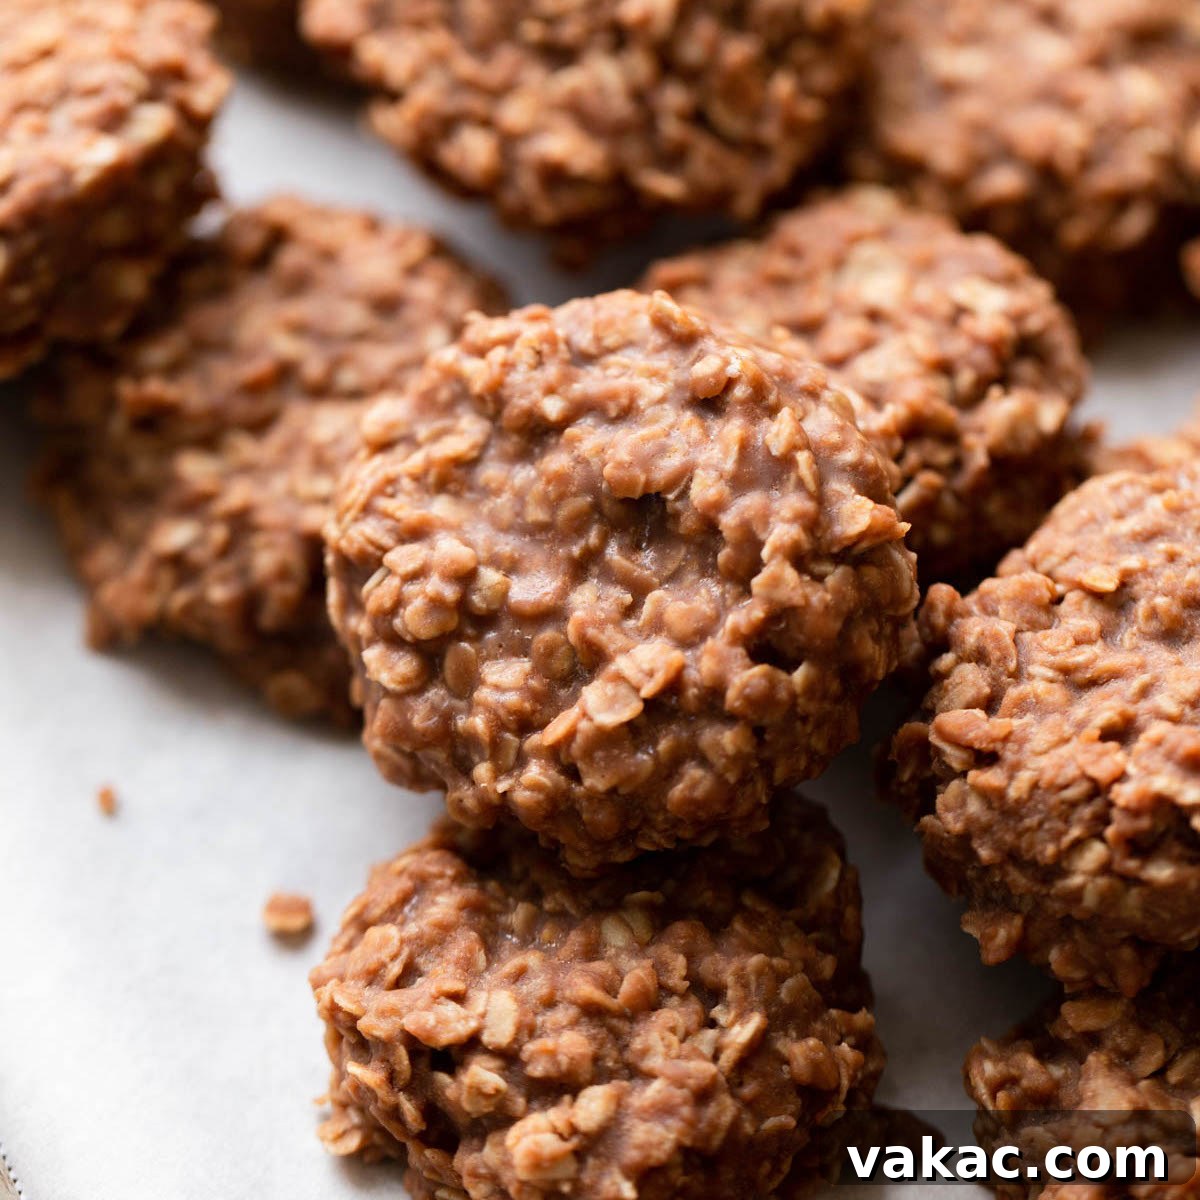
Classic No-Bake Cookies
Rating: 4.94 out of 5 stars based on 194 ratings
Prep Time: 20 mins
Cook Time: 5 mins
Cooling Time: 20 mins
Total Time: 45 mins
These Classic No-Bake Cookies are incredibly easy to make with just a few simple ingredients. Loaded with peanut butter, oats, and cocoa powder, they’re the perfect quick and delightful dessert!
Ingredients (Yields 30 cookies):
- 1/2 cup (115 grams) butter, sliced into pieces
- 2 cups (400 grams) granulated sugar
- 1/2 cup (120 ml) milk
- 1/4 cup (20 grams) unsweetened cocoa powder
- 1/2 cup (125 grams) creamy peanut butter
- 1 teaspoon pure vanilla extract
- 3 cups (300 grams) quick-cooking oats
Instructions:
- Before starting, gather and measure all ingredients. Line two large baking sheets with parchment paper and set aside.
- In a large saucepan, combine butter, sugar, milk, and unsweetened cocoa powder. Heat over medium heat, stirring frequently until butter is melted and everything is well combined. Bring the mixture to a rolling boil and boil for exactly 60 seconds (use a timer!), stirring occasionally.
- Remove from heat. Immediately stir in the peanut butter and vanilla extract until fully combined and smooth. Stir in the quick-cooking oats and mix until all oats are thoroughly coated.
- Drop spoonfuls of the mixture onto the prepared baking sheets (a 1.5 tablespoon cookie scoop works great). Allow to cool at room temperature for 20 to 30 minutes until set. Serve and enjoy!
Notes:
- Storage Instructions: Store cookies in an airtight container at room temperature for up to one week.
- Freezing Instructions: Once completely cooled, transfer cookies to a large freezer bag or freezer-safe container and freeze for up to 3 months. Thaw to room temperature before serving.
- Milk Varieties: While whole milk is preferred for richness, 2%, 1%, skim, or even almond milk can be used.
- Oat Alternatives: Old-fashioned rolled oats can be used for a chewier cookie. For a texture closer to quick-cooking oats, pulse them 2-3 times in a food processor to break them down.
Cuisine: American
Course: Dessert
Author: Danielle Rye
Did you make this recipe?
Share your creations! Mention @livewellbakeoften on Instagram or tag #livewellbakeoften. We love seeing your delicious results!
Slightly adapted from All Recipes