
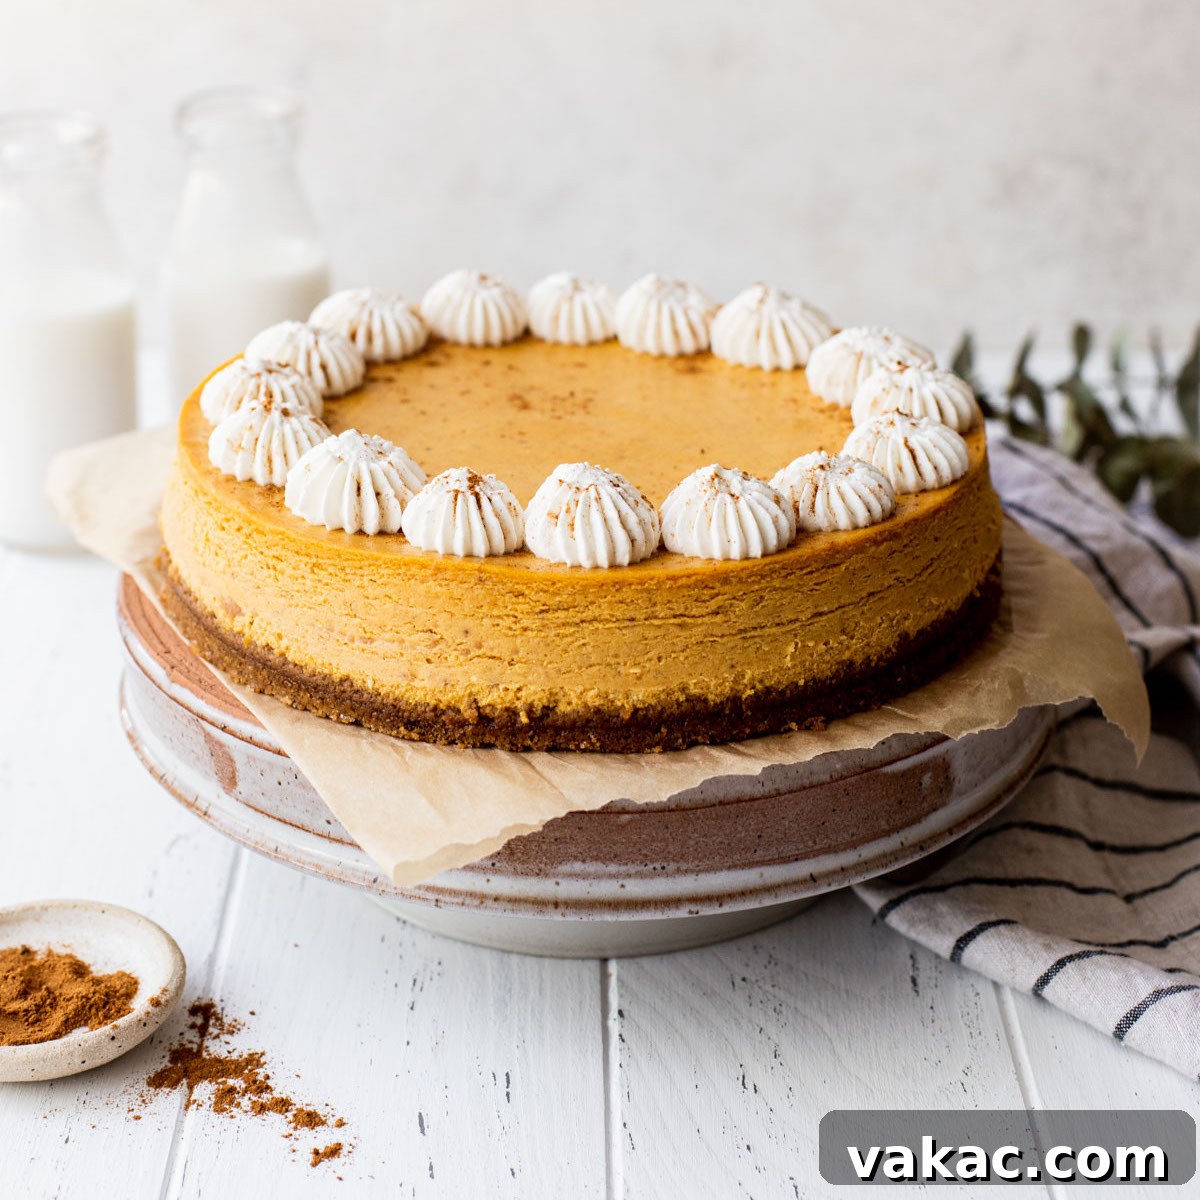
The Ultimate Creamy Pumpkin Cheesecake with Homemade Gingersnap Crust
Prepare to indulge in the most exquisite pumpkin cheesecake you’ve ever tasted! This recipe features an incredibly smooth and creamy pumpkin filling, perfectly spiced, all nestled upon an easy-to-make, delightfully crispy gingersnap cookie crust. It’s the quintessential dessert that embodies the cozy flavors of fall and promises to be a showstopper at your next holiday celebration.
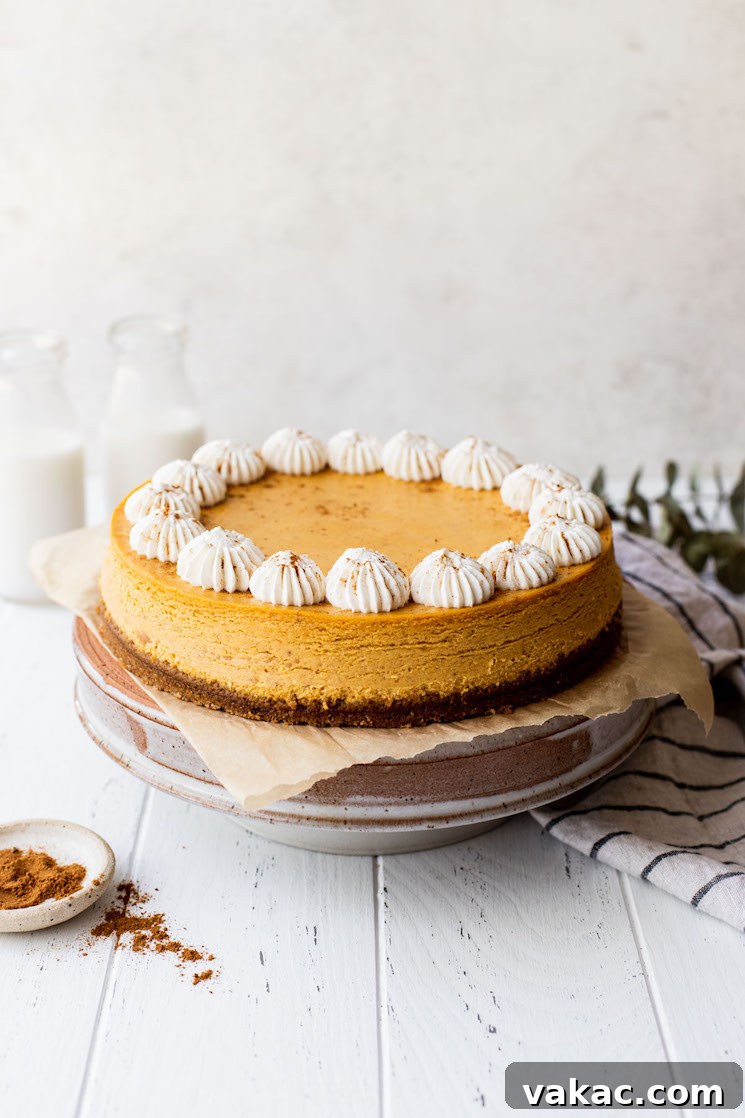
Why This Pumpkin Cheesecake Will Be Your New Fall Favorite
As the leaves begin to change and the air grows crisp, pumpkin desserts become the star of every kitchen. While pumpkin pie traditionally reigns supreme, this year, we invite you to elevate your autumn baking with a truly unforgettable pumpkin cheesecake. We’ve poured our hearts into perfecting this recipe to ensure it’s not just another dessert, but a truly remarkable culinary experience.
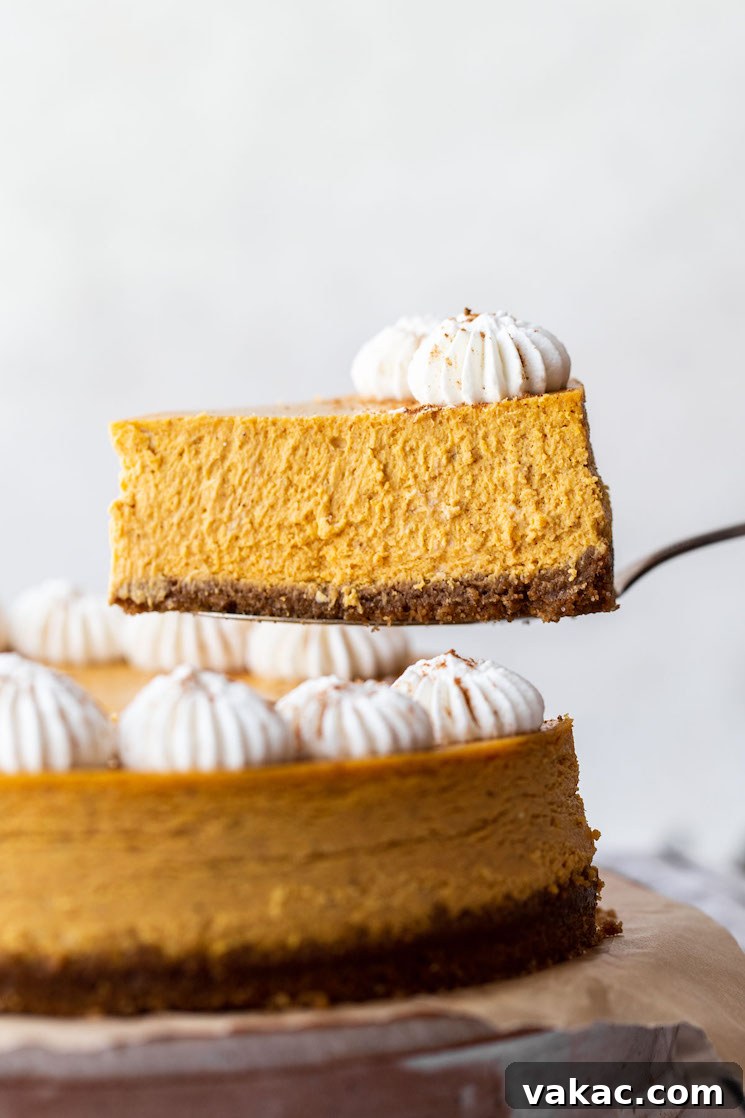
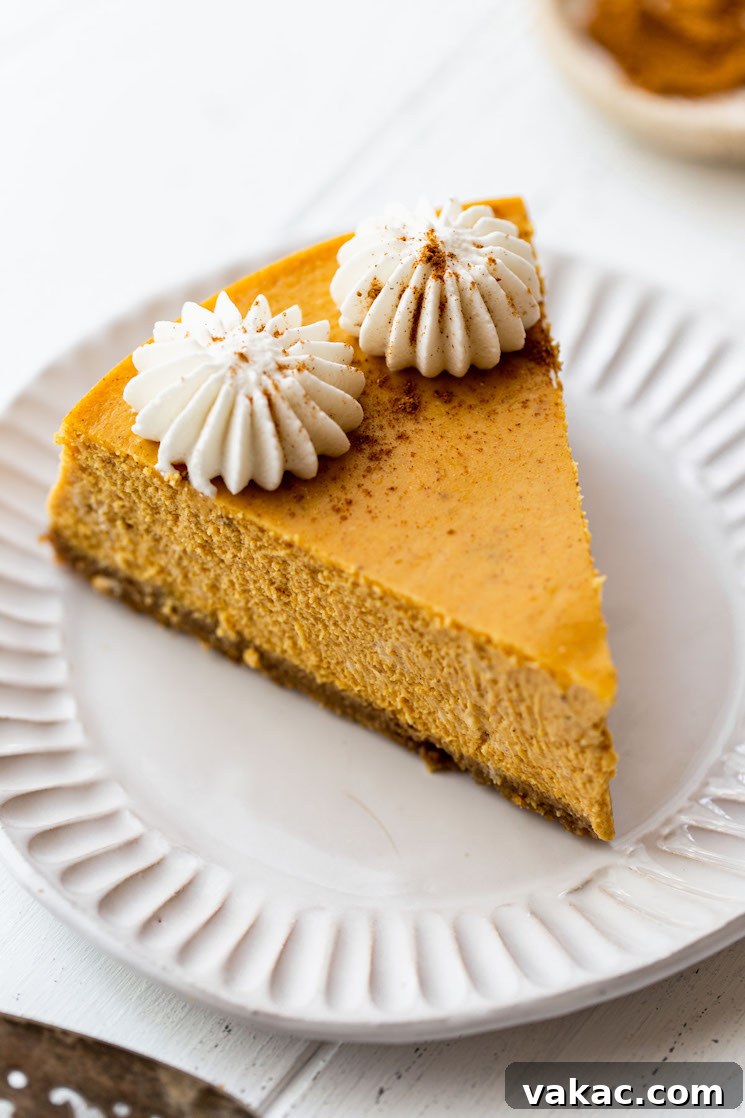
The magic starts with a filling that is astonishingly smooth and lusciously creamy, bursting with a warm medley of spices that perfectly complements the rich pumpkin flavor. What truly sets this cheesecake apart, however, is its foundation: a homemade gingersnap crust that adds a delightful crunch and a hint of zesty spice, taking every bite over the top. Imagine the admiring glances as this gorgeous, spiced masterpiece graces your dessert table – it’s a guaranteed crowd-pleaser for Thanksgiving, Christmas, or any festive gathering.
Elevate Your Dessert: Delicious Topping Ideas
While this pumpkin cheesecake is heavenly on its own, a thoughtful topping can add an extra layer of decadence and visual appeal. For a classic touch, we recommend a generous dollop of our homemade whipped cream. Its light, airy texture provides a beautiful contrast to the rich cheesecake. However, feel free to get creative with these equally delightful options:
- Homemade Salted Caramel Sauce: A drizzle of salted caramel sauce adds a sophisticated sweetness and a hint of salt that pairs wonderfully with pumpkin.
- Rich Chocolate Ganache: For the chocolate lovers, a silky smooth chocolate ganache creates a luxurious topping that will impress.
- Spiced Pumpkin Whipped Cream: Enhance the pumpkin flavor even further with pumpkin spice whipped cream, offering an extra aromatic dimension.
- Candied Pecans or Walnuts: Add texture and a nutty flavor with a sprinkle of candied nuts.
- A Dusting of Cinnamon or Nutmeg: A simple yet elegant finish that highlights the warm spices within the cheesecake.
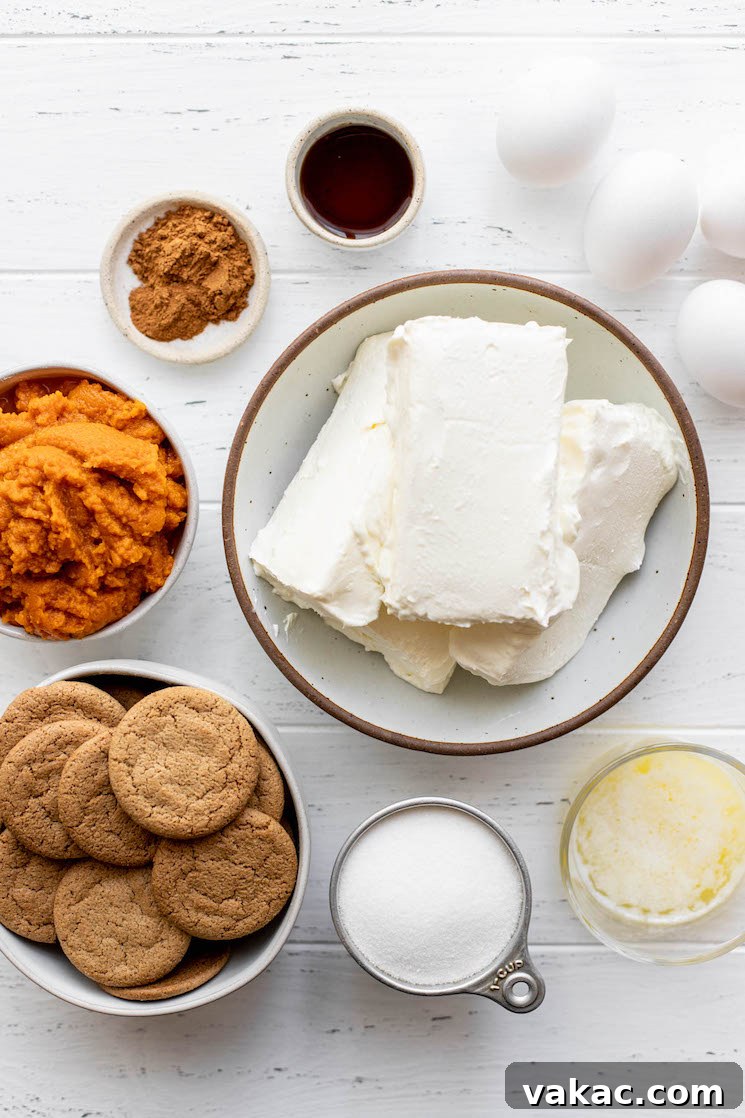
Essential Ingredients for a Flawless Pumpkin Cheesecake
Achieving a truly exceptional pumpkin cheesecake begins with understanding and selecting the right ingredients. While the list is straightforward, paying attention to a few key details will ensure your cheesecake turns out perfectly smooth, creamy, and utterly delicious. Nothing is more disheartening than investing time in baking a cheesecake only for it not to meet expectations, so let’s dive into these crucial components:
- Gingersnap Cookies: The foundation of our exceptional crust! Opt for good quality, store-bought gingersnap cookies that are notably crispy. This crispiness is vital, as it ensures the crust will hold together firmly and provide a satisfying textural contrast to the creamy filling. Avoid softer cookies that might result in a soggy crust.
- Cream Cheese: This is the heart of any cheesecake. Always use brick-style cream cheese, not the spreadable cream cheese found in tubs. Tub cream cheese contains added ingredients to make it spreadable, which alters its consistency and fat content, leading to a cheesecake that isn’t as thick, dense, or creamy as desired. Ensure your cream cheese is softened to room temperature for optimal blending, preventing lumps and promoting a silky-smooth batter.
- Pumpkin Puree: This is where the rich pumpkin flavor comes from. It’s crucial to use pure pumpkin puree and not pumpkin pie filling. Pumpkin pie filling is already sweetened and spiced, which will throw off the carefully balanced flavors in this recipe. Always check the label to confirm you have 100% pumpkin puree.
- Pumpkin Pie Spice: For ultimate convenience and a perfectly balanced spice profile, we use pumpkin pie spice. If you don’t have any on hand, don’t worry! You can easily create your own blend using our homemade pumpkin pie spice substitute, typically a mix of cinnamon, nutmeg, ginger, and cloves.
- Eggs: Use large, room temperature eggs. Incorporating eggs at room temperature helps them emulsify better with the cream cheese mixture, leading to a smoother batter and reducing the risk of cracks during baking.
- Granulated Sugar & Pure Vanilla Extract: These staples provide the essential sweetness and a foundational layer of aromatic flavor that elevates the entire cheesecake.
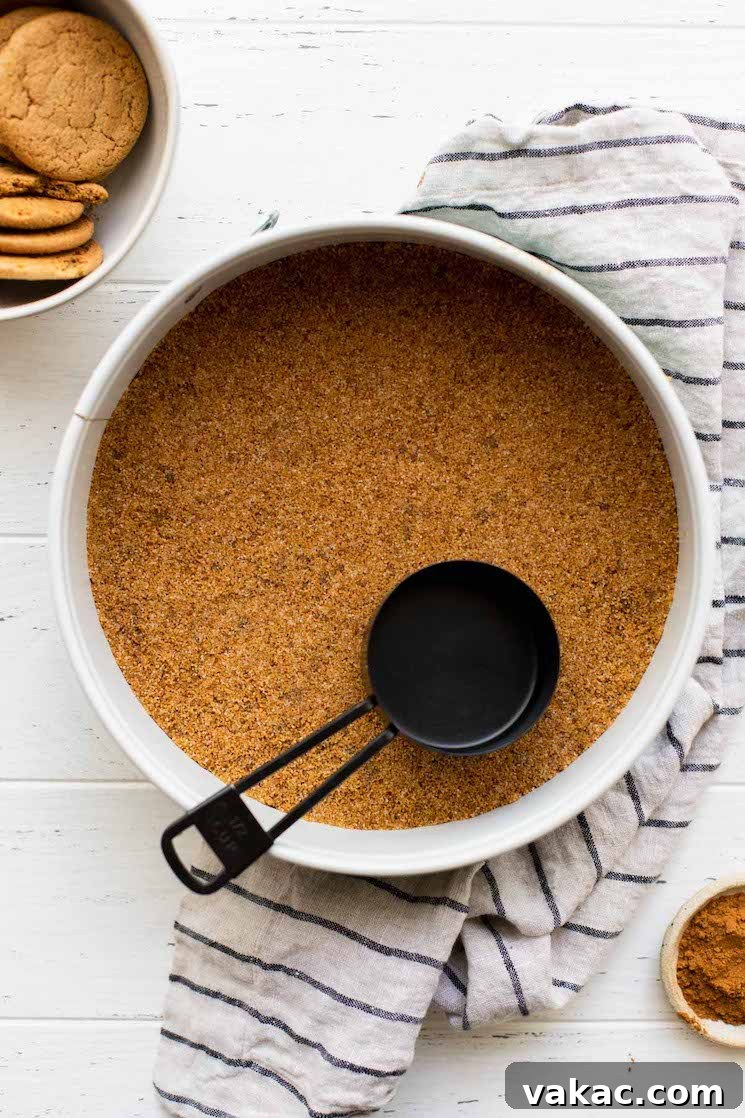
Crafting Perfection: Step-by-Step Pumpkin Cheesecake Guide
Creating this stunning pumpkin cheesecake is a rewarding process. Follow these detailed steps to ensure every component, from the crispy crust to the crack-free filling, is absolutely perfect.
Preparing the Irresistible Gingersnap Crust
- Preheat and Prepare: Start by adjusting your oven rack to the lower-middle position. This placement helps prevent the top of your cheesecake from over-browning. Preheat your oven to 325°F (163°C). Simultaneously, place a large pot of water on the stove to boil; this will be for our essential water bath later.
- Crush the Cookies: In a food processor or blender, pulse the gingersnap cookies until they form fine, even crumbs. Consistency is key here for a solid crust.
- Combine and Press: Transfer the gingersnap crumbs to a mixing bowl. Add the granulated sugar and melted unsalted butter, mixing thoroughly until the crumbs are evenly moistened and resemble wet sand. Press this mixture firmly and evenly into the bottom of a 9-inch springform pan. Use the bottom of a flat glass or measuring cup to achieve a compact, uniform layer.
- Pre-bake the Crust: Bake the crust for 10 minutes. This pre-baking step is crucial for creating a firm, sturdy crust that won’t become soggy once the filling is added. Once baked, remove it from the oven and set it aside to cool while you prepare the filling. Keep the oven at 325°F.
Creating the Velvety Smooth Pumpkin Filling
- Cream the Cheese: In a large mixing bowl, using an electric mixer, beat the room temperature brick-style cream cheese on medium speed until it is completely smooth and creamy. Scrape down the sides of the bowl frequently to ensure no lumps remain.
- Add Sugar and Vanilla: Mix in the granulated sugar and pure vanilla extract until just combined. Continue scraping down the bowl as needed to incorporate all ingredients evenly.
- Incorporate Pumpkin and Spices: Add the pumpkin puree, pumpkin pie spice, and ground cinnamon to the mixture. Beat on low speed until everything is well combined and the filling is uniformly colored and fragrant.
- Gently Mix in Eggs: This is a critical step for preventing cracks. Add the four room temperature large eggs, one at a time. Beat each egg into the batter on the lowest speed possible, mixing only until it is just combined. Over-mixing the eggs introduces too much air into the batter, which can cause the cheesecake to puff up too much and then crack as it cools.
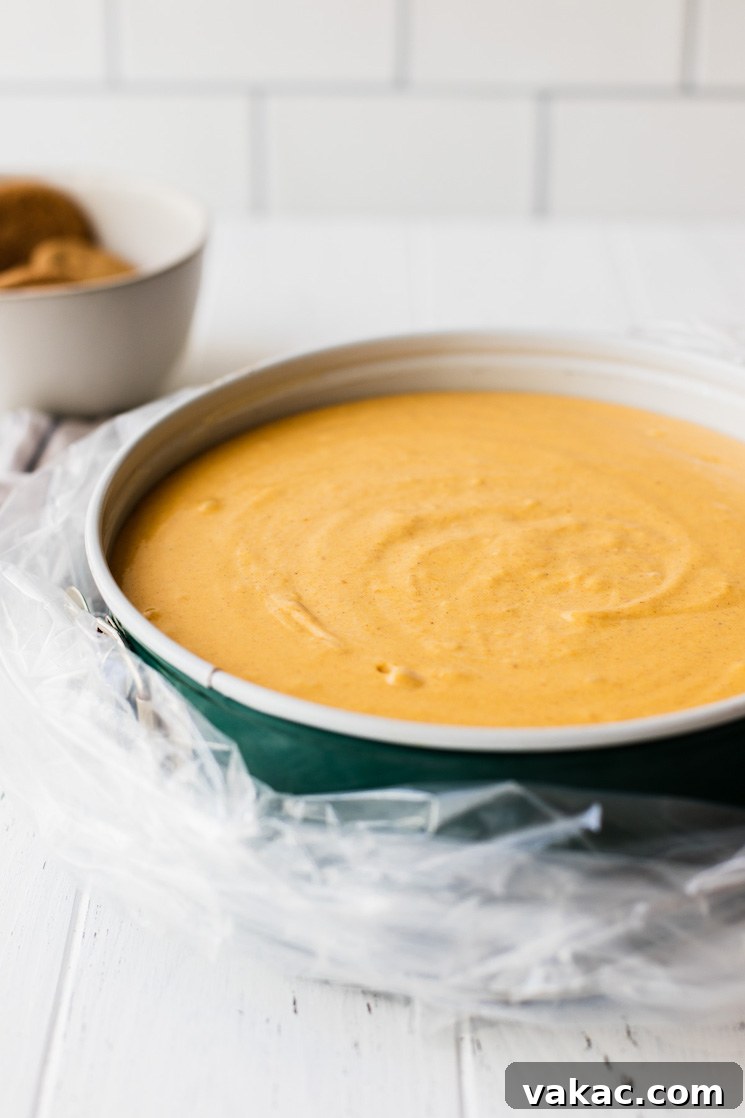
- Fill the Pan: Gently pour the perfectly smooth pumpkin cheesecake filling over the cooled gingersnap crust in the springform pan. Spread it out evenly with a spatula.
The Secret to a Crack-Free Cheesecake: The Water Bath
A water bath (bain-marie) is your best friend when baking cheesecake. It creates a humid environment in your oven, allowing the cheesecake to bake slowly and evenly, preventing it from drying out and, most importantly, significantly reducing the chances of unsightly cracks on the surface. Here’s how to set it up:
- Wrap the Pan: Place your springform pan into an oven bag, securing it around the sides (you can cut or tie the bag so it doesn’t cover the top of the cheesecake but seals around the bottom and sides). Alternatively, wrap the outside of your springform pan tightly with several layers of heavy-duty aluminum foil to prevent any water from seeping in.
- Prepare the Roasting Pan: Place the wrapped springform pan into a larger roasting pan.
- Add Boiling Water: Carefully pour the boiling water (that you started heating earlier) into the roasting pan, ensuring the water level comes up about 1 to 1½ inches around the base of the springform pan. Be careful not to splash water into the cheesecake batter itself.
Baking and the Art of Slow Cooling
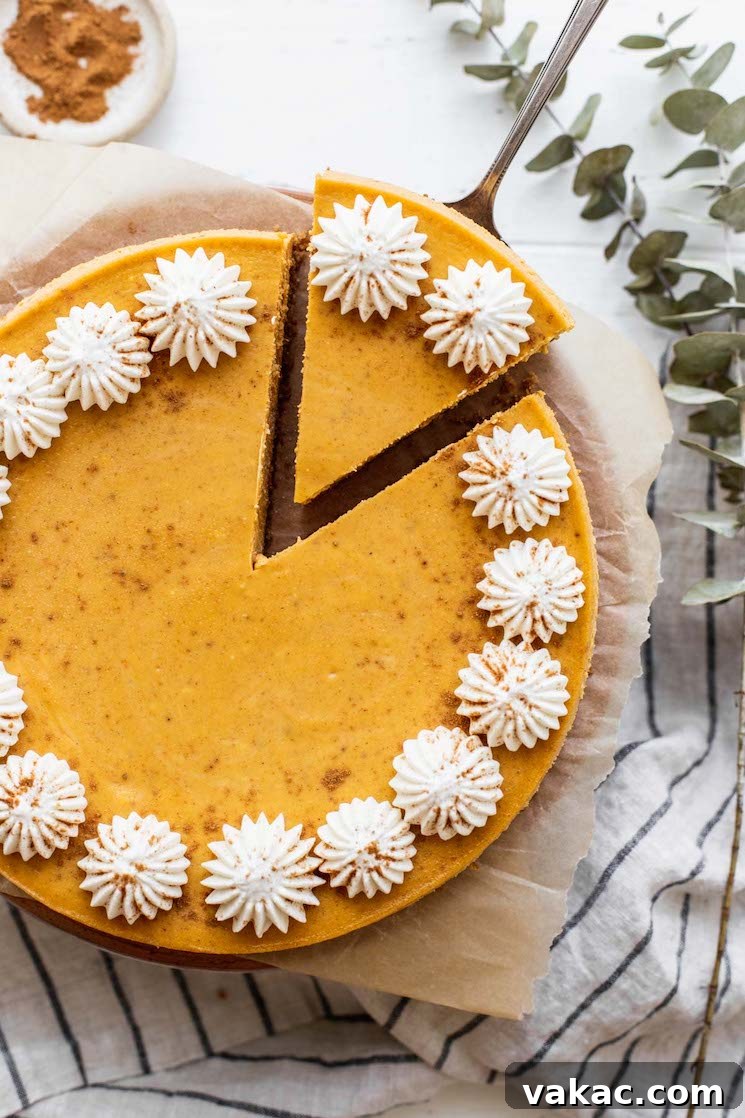
- Bake Slowly: Carefully transfer the roasting pan with the cheesecake and water bath into the preheated oven. Bake for approximately 55 to 65 minutes, or until the edges are set and the center of the cheesecake is almost set (it should still have a slight jiggle, like gelatin, when gently nudged).
- The Crucial Slow Cool-Down: Once the baking time is complete and the cheesecake is almost set, turn off the oven completely. Prop the oven door open slightly (about 1-2 inches) with a wooden spoon or oven mitt. Allow the cheesecake to remain in the cooling oven for an additional hour. This vital “extra step” prevents sudden temperature changes, which are a common culprit for cheesecake cracks. The gradual decrease in temperature helps the cheesecake set gently and evenly.
- Final Cooling and Chilling: After the hour in the cooling oven, carefully remove the roasting pan. Take the cheesecake out of the oven bag or foil and place the springform pan on a wire rack to cool completely at room temperature for about 2 hours. Once it has reached room temperature, run a thin knife around the edge of the cheesecake (between the cheesecake and the springform pan) to loosen it slightly. This helps prevent sticking and makes for easier removal later. Cover the cheesecake tightly with plastic wrap and refrigerate for at least 5 to 6 hours, or ideally, overnight. Thorough chilling is essential for the cheesecake to fully set, develop its rich flavor, and achieve that perfect sliceable texture.
- Serve and Enjoy: Once thoroughly chilled, carefully release the cheesecake from the springform pan. Slice into individual pieces and prepare to impress!
Serving and Storing Your Masterpiece
The beauty of cheesecakes lies not only in their irresistible flavor but also in their make-ahead convenience. This pumpkin cheesecake is a fantastic dessert to prepare in advance, making holiday entertaining a breeze.
How to Store Your Pumpkin Cheesecake
Once your cheesecake has completely cooled and chilled, ensure it is covered tightly with plastic wrap or stored in an airtight container. It will keep beautifully in the refrigerator for up to 3 days. This makes it a perfect dessert to bake a day or two before your event.
Freezing for Future Enjoyment
If you need to prepare this delightful dessert even further in advance, or simply want to save some for a rainy day, freezing is an excellent option. Allow the cheesecake to cool completely after baking and chilling. Wrap the entire cheesecake tightly with several layers of plastic wrap, then place it in a large freezer-safe bag or wrap it again in aluminum foil. It can be stored in the freezer for 2 to 3 months without losing its quality. To thaw, simply transfer the frozen cheesecake to the refrigerator and let it thaw overnight. If you plan to add whipped cream or other delicate toppings, always do so just before serving for the freshest presentation and best texture. Individual slices can also be frozen and thawed using the same method.
Pro Tips for Cheesecake Success
Achieving a picture-perfect and incredibly delicious pumpkin cheesecake is easier with these expert tips:
- Room Temperature is Key: Ensure all your cold ingredients, especially cream cheese and eggs, are at room temperature before you begin mixing. This is crucial for a smooth, lump-free filling that blends perfectly.
- Quick Egg Warm-Up: If you forget to set your eggs out in advance, simply place them in a bowl of warm (not hot) water for 5 to 10 minutes to bring them to room temperature quickly.
- Don’t Overmix the Eggs: Once the eggs are added, mix on the lowest speed possible and only until just combined. Overmixing introduces excess air, which can cause the cheesecake to puff up excessively and then crack as it cools.
- The Gentle Release: After the cheesecake has cooled in the oven and then on a wire rack, carefully slide a thin knife between the outer edge of the cheesecake and the springform pan before chilling. This slight separation helps prevent the cheesecake from sticking and makes for a clean release when you remove the ring.
- Patience with Chilling: The chilling period is non-negotiable! Allow at least 5-6 hours, or preferably overnight, for the cheesecake to fully set. This ensures a firm texture and allows the flavors to meld beautifully.
- No Water Bath? No Problem (Almost): While a water bath is highly recommended for the creamiest, crack-free results, if you’re looking for an alternative that skips this step, consider trying pumpkin cheesecake bars. They often bake beautifully without a water bath and offer a slightly different, equally delicious experience. Check out our pumpkin cheesecake bars recipe for an easier, water-bath-free option!
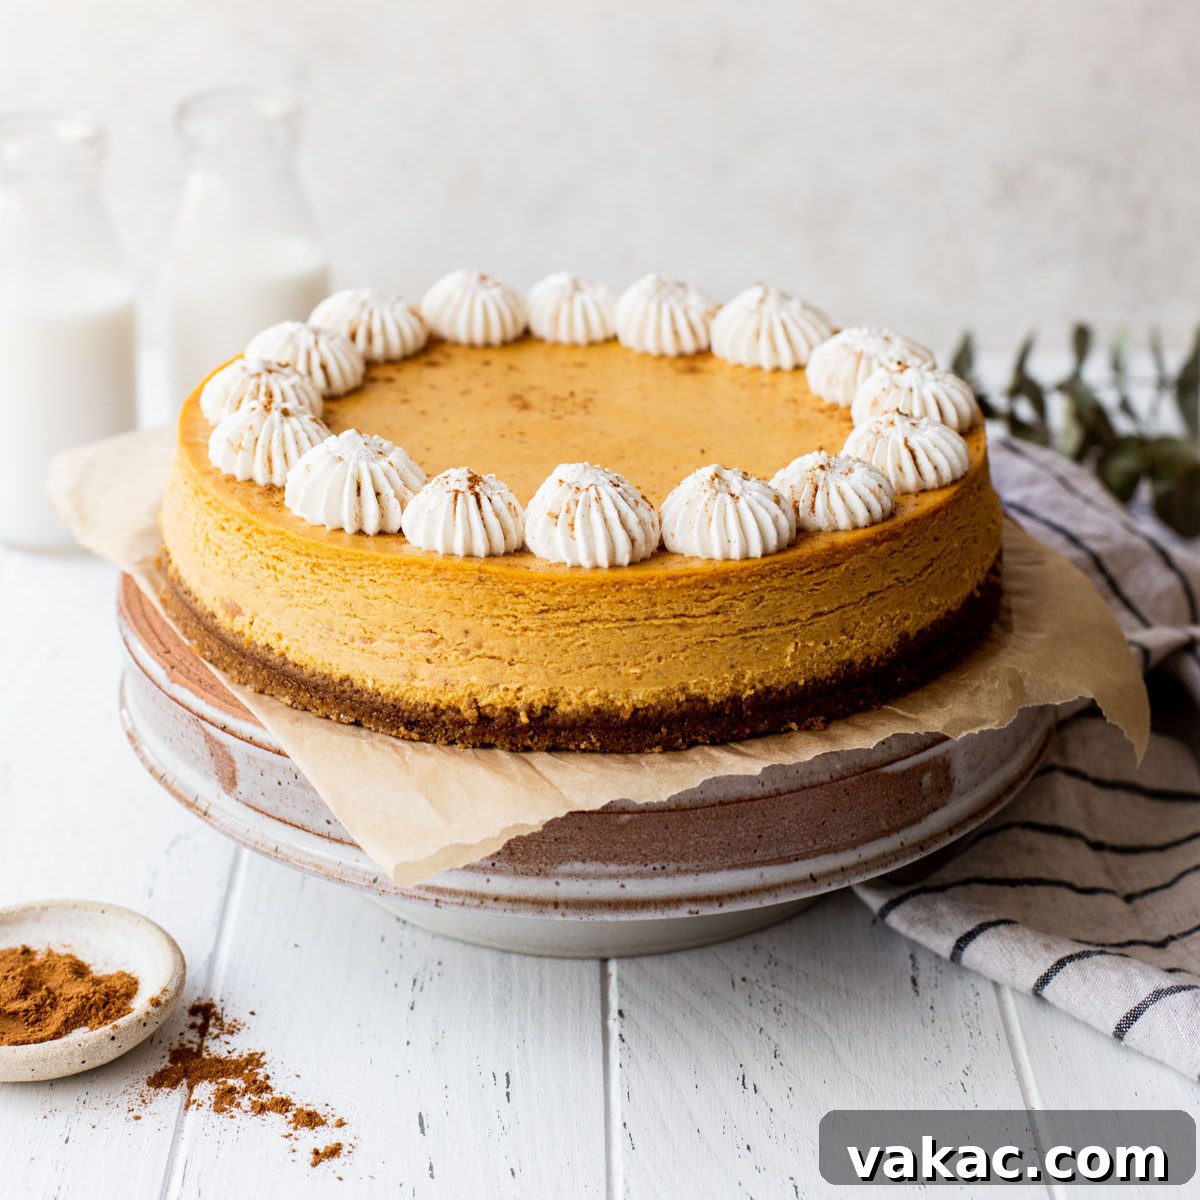
Pumpkin Cheesecake
Rating: 5 from 2 ratings
Prep Time: 40 mins
Cook Time: 2 hrs
Total Time: 2 hrs 40 mins
A smooth and creamy pumpkin cheesecake with an easy homemade gingersnap cookie crust. The perfect dessert for fall!
Ingredients
For the gingersnap crust:
- 1 and 1/2 cups (200 grams) gingersnap cookie crumbs
- 1/4 cup (50 grams) granulated sugar
- 3 tablespoons (45 grams) unsalted butter, melted
For the pumpkin cheesecake:
- 24 ounces (680 grams) brick-style cream cheese, softened to room temperature
- 1 cup (200 grams) granulated sugar
- 2 teaspoon pure vanilla extract
- 1 (15-ounce) can pumpkin puree
- 2 teaspoon pumpkin pie spice
- 1/2 teaspoon ground cinnamon
- 4 large eggs, room temperature
Instructions
To make the gingersnap crust:
- Adjust the oven rack to the lower-middle position. Preheat the oven to 325°F (163°C). Set a large pot of water on the stove to boil.
- Add the gingersnap cookies to a blender or food processor and process until you have fine crumbs. Scoop the crumbs into a mixing bowl, add the sugar and melted butter and mix until fully combined.
- Scoop the mixture into a 9-inch springform pan, making sure to press it down firmly into one even layer. Bake for 10 minutes, remove from the oven and set aside to cool. Keep the oven temperature at 325°F while you make the filling.
To make the pumpkin cheesecake filling:
- In a large mixing bowl using an electric mixer, beat the cream cheese until smooth. Scrape down the sides of the bowl and mix in the sugar and vanilla extract until well combined. Add the pumpkin puree, pumpkin pie spice, and ground cinnamon and mix until fully combined, making sure to stop and scrape down the sides of the bowl as needed. Add the eggs one at a time and mix on low speed until each one is just combined.
- Scoop the cheesecake filling on top of the pre-baked gingersnap crust and spread it around into one even layer.
- Place the springform pan in an oven bag (you may cut the bag or tie it so it’s not covering the top of the cheesecake) or wrap it well with aluminum foil and place in a roasting pan. Pour enough boiling water into the roasting pan until you have about 1 to 1 and 1/2-inches of water surrounding the springform pan.
- Carefully place the roasting pan in the oven with the cheesecake. Bake at 325°F (163°C) for 55 to 65 minutes or until the center of the cheesecake is almost set. Turn off the oven, slightly crack the door, and allow the cheesecake to sit in the oven for one hour.
- Carefully remove the roasting pan with the cheesecake from the oven. Remove the cheesecake from the oven bag or foil and place it on a wire rack, slide a knife around the sides of the cheesecake to loosen it from the pan. Let the cheesecake cool completely at room temperature, about 2 hours, then cover tightly and refrigerate for at least 5 to 6 hours (or overnight) or until the cheesecake is thoroughly chilled.
- Once chilled, release the cheesecake from the springform pan, slice into pieces, and enjoy!
Notes
Storing Instructions: Store cheesecake in an airtight container in the refrigerator for up to 3 days.
Freezing Instructions: Let it cool completely, wrap it tightly with plastic wrap, and store it in a large freezer bag in the freezer for 2 to 3 months. Thaw overnight in the refrigerator.
Room Temperature Ingredients: Make sure all of your ingredients are at room temperature before getting started. This will ensure a much smoother cheesecake filling!
Cream Cheese: Make sure to use bricks or blocks of cream cheese and not cream cheese spread in a tub.
Pumpkin Puree: Be sure to use pumpkin puree and not pumpkin pie filling.
Pumpkin Pie Spice: If you don’t have any on hand, you can use our pumpkin pie spice substitute.
Eggs: If you forget to set your eggs out ahead of time, place them in a bowl of warm water for 5 to 10 minutes.
Cuisine: American
Course: Dessert
Author: Danielle Rye
Did you make this recipe? Mention @livewellbakeoften on Instagram or tag #livewellbakeoften.