
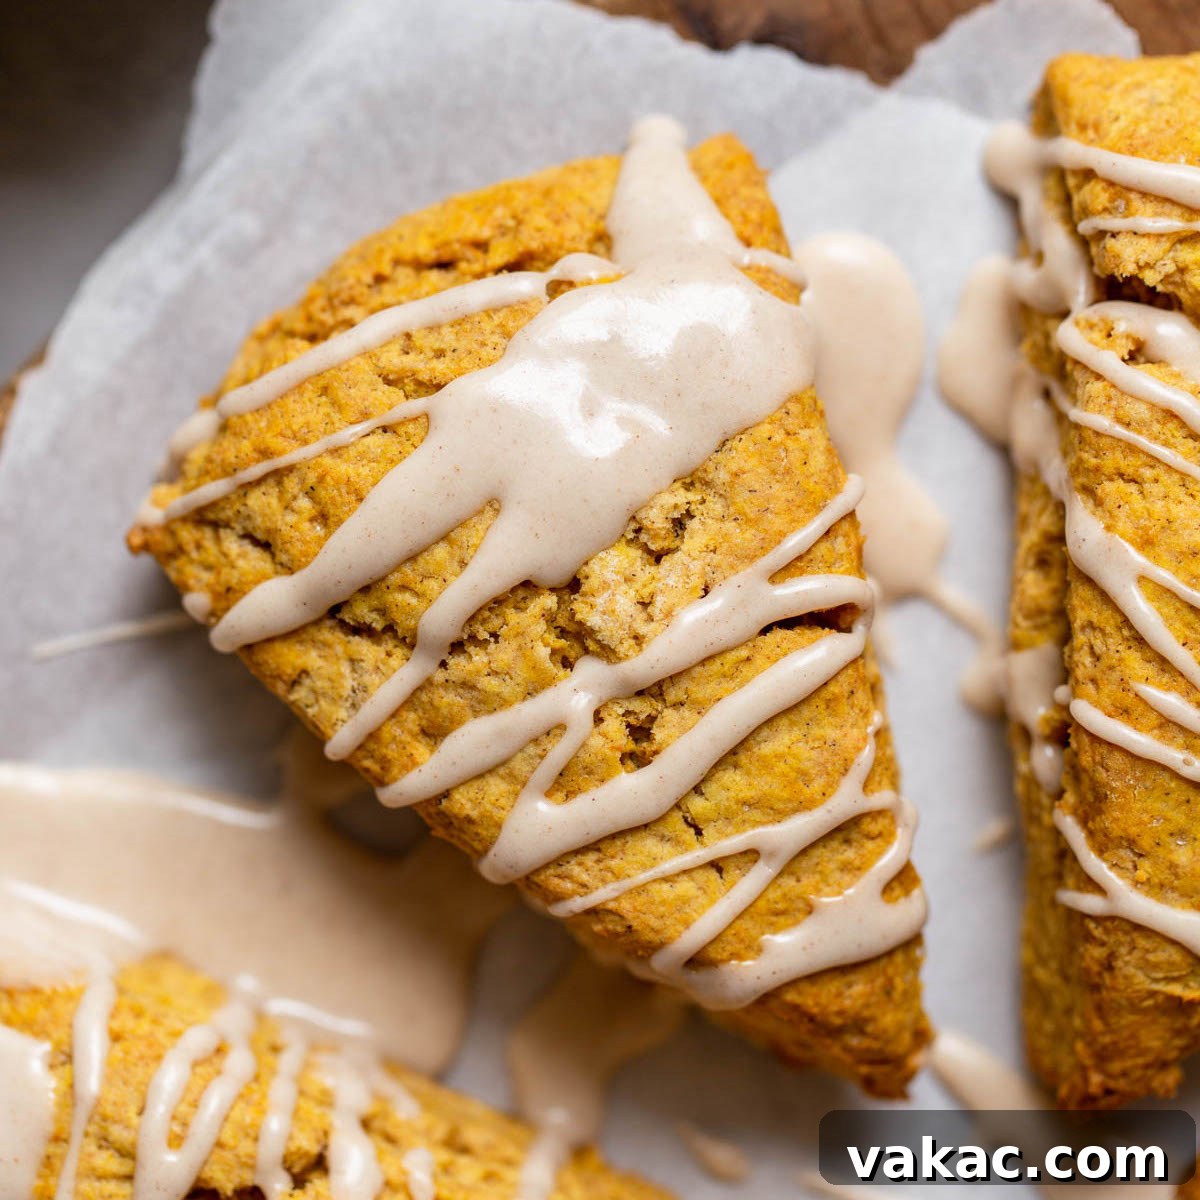
Embrace the cozy flavors of autumn with these irresistible Pumpkin Scones. Perfectly soft, wonderfully moist, and bursting with authentic pumpkin spice, these easy-to-make scones are crowned with a sweet, aromatic maple cinnamon glaze. They are the quintessential breakfast treat or delightful dessert, bringing the warmth of fall right to your table.
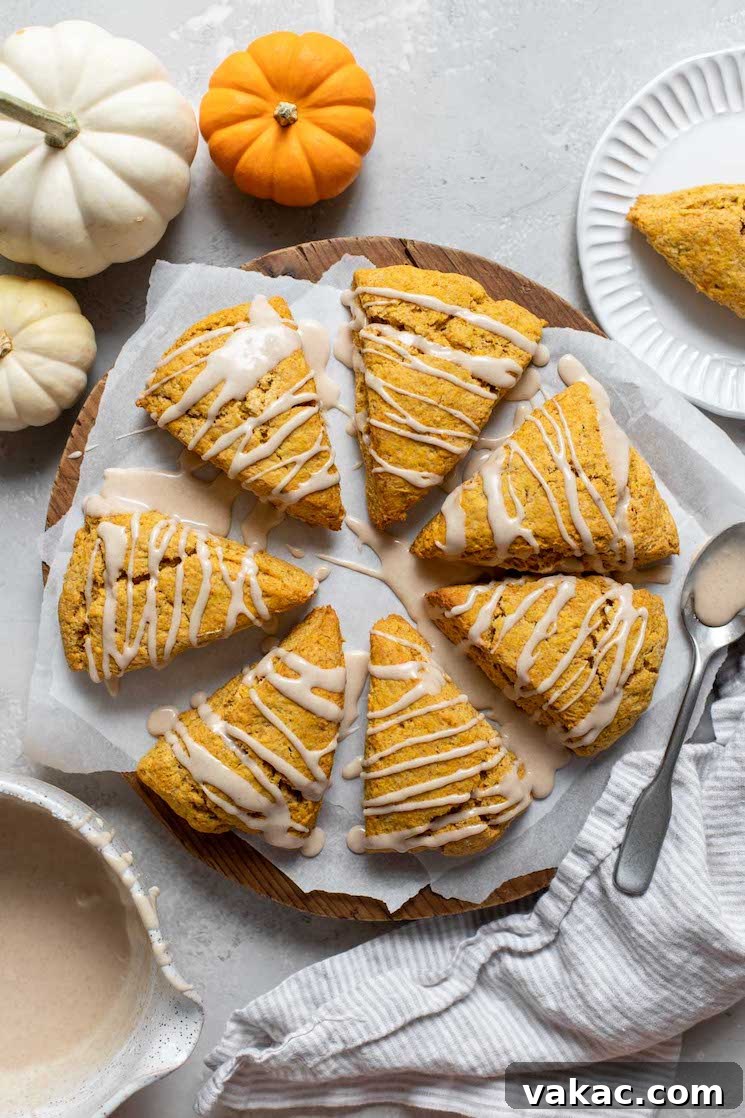
As the leaves begin to turn and the air grows crisp, there’s nothing quite like the comforting embrace of pumpkin-flavored treats. Having recently shared my popular pumpkin cheesecake recipe, I couldn’t wait to introduce you to another fall favorite that’s sure to become a staple in your kitchen: these exquisite pumpkin scones!
Scones often get an unfair reputation for being dry, bland, or difficult to master. However, I’m here to dispel those myths! With the right technique and quality ingredients, homemade scones can be incredibly delicious, surprisingly easy to prepare, and a true testament to the joy of baking. These pumpkin scones, in particular, elevate the classic scone experience. They are not just simple to make, but they also boast a remarkable combination of textures and flavors that will win over even the most discerning palates. You’ll find them to be:
- **Incredibly Soft and Fluffy:** Thanks to key techniques and ingredients, these scones achieve a tender, melt-in-your-mouth texture.
- **Richly Flavored with Pumpkin Spice:** Every bite is infused with the warm, aromatic blend of pumpkin pie spices, perfectly complementing the subtle sweetness of pumpkin.
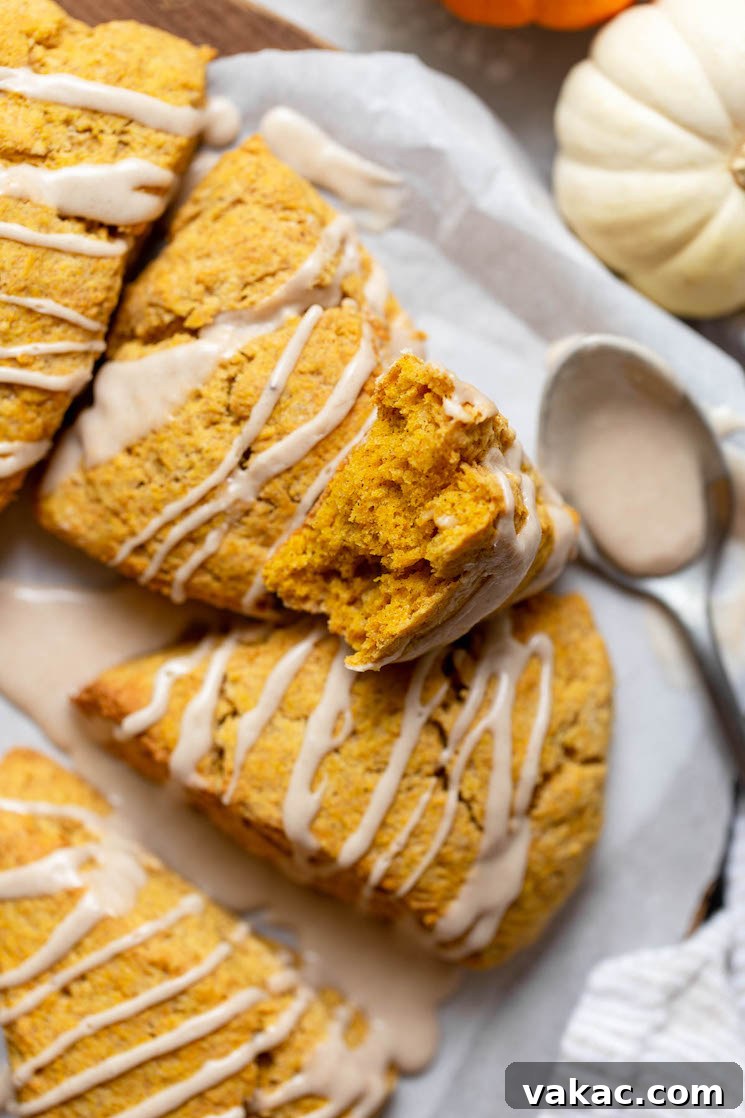
- **Adorned with a Decadent Maple Cinnamon Glaze:** A luscious, easy-to-make glaze adds an extra layer of sweetness and spice, making these scones truly irresistible.
In this comprehensive guide, I’ll walk you through every step of crafting these autumnal delights. From selecting the best ingredients to mastering the mixing and baking process, you’ll gain all the knowledge needed to create perfect pumpkin scones every time. If you adore pumpkin, I can confidently say this recipe will become your new go-to for fall baking!
The Art of Crafting Flawless Pumpkin Scones
Making these delightful pumpkin scones is a straightforward process, but understanding the purpose behind each step will elevate your baking from good to truly exceptional. Let’s dive into the details:
Gathering Your Ingredients: The Foundation of Flavor
Before you begin, ensure all your ingredients are measured and ready. For the dry components, you’ll need all-purpose flour (spooned and leveled for accuracy), granulated sugar, baking powder, a generous amount of pumpkin pie spice, ground cinnamon, and a pinch of salt. These spices are what give our scones their signature autumnal aroma and taste. For the wet ingredients, we’ll use cold heavy whipping cream, pumpkin puree (not pumpkin pie filling!), and pure vanilla extract.
A Crucial Tip: The Power of Cold Butter!
This is arguably the most important secret to achieving light, flaky, and tender scones. Use unsalted butter that is straight from the refrigerator, cut into small cubes. When these tiny, cold pieces of butter hit the hot oven, they melt rapidly, releasing steam. This steam creates small pockets of air throughout the dough, resulting in that wonderfully soft, airy texture we crave in a perfect scone. If your butter is too warm, it will fully incorporate into the dough, leading to a denser, more cookie-like scone. Don’t compromise on cold butter!
Mixing the Dough: A Delicate Balance
- Combine Dry Ingredients: In a large mixing bowl, whisk together your flour, granulated sugar, baking powder, pumpkin pie spice, ground cinnamon, and salt. Whisking ensures an even distribution of leavening agents and spices.
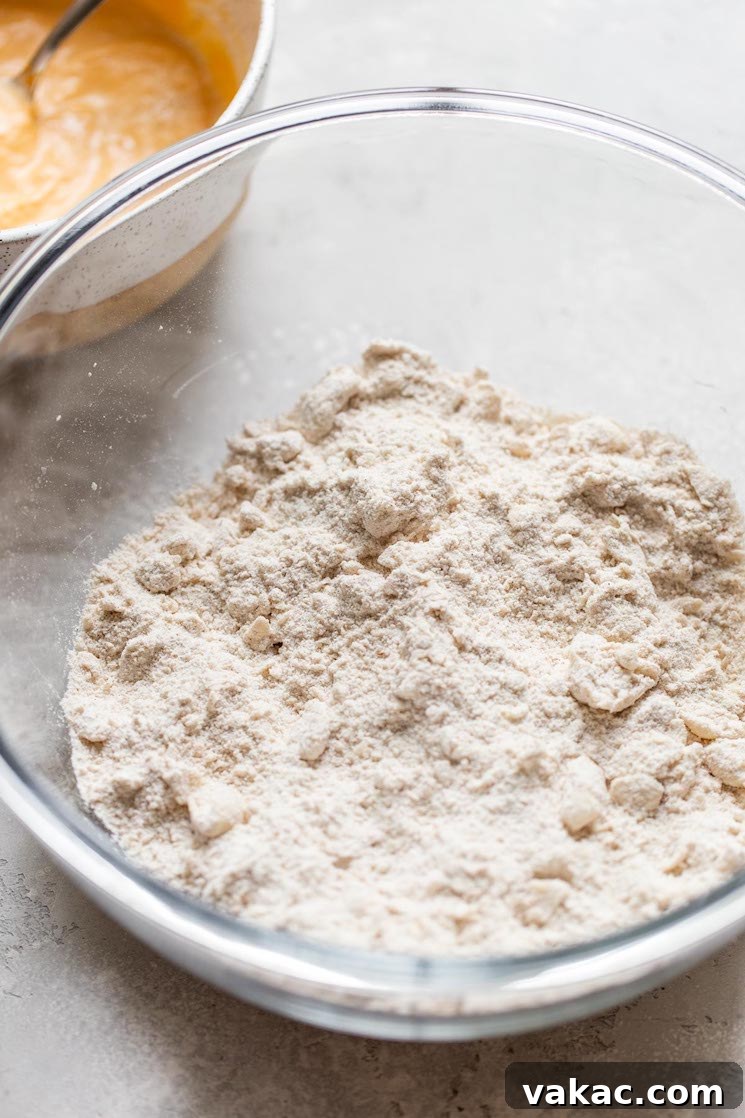
- Cut in the Cold Butter: Add your cold, cubed unsalted butter to the dry ingredients. Using a pastry cutter, two knives, or even your fingertips, work the butter into the flour mixture until it resembles coarse crumbs, with some pieces of butter no larger than small peas. A few slightly larger pieces are perfectly fine and will contribute to flakiness. Avoid overworking it; the goal is to keep the butter cold and distinct.
- Prepare Wet Ingredients: In a separate bowl, whisk together the cold heavy whipping cream, pumpkin puree, and pure vanilla extract until smoothly combined. You might notice there’s no egg in this recipe – that’s not a mistake! The pumpkin puree acts as an excellent binding agent, providing moisture and structure without the need for an additional egg. Using cold wet ingredients also helps keep the butter cold, reinforcing our “cold butter” principle.
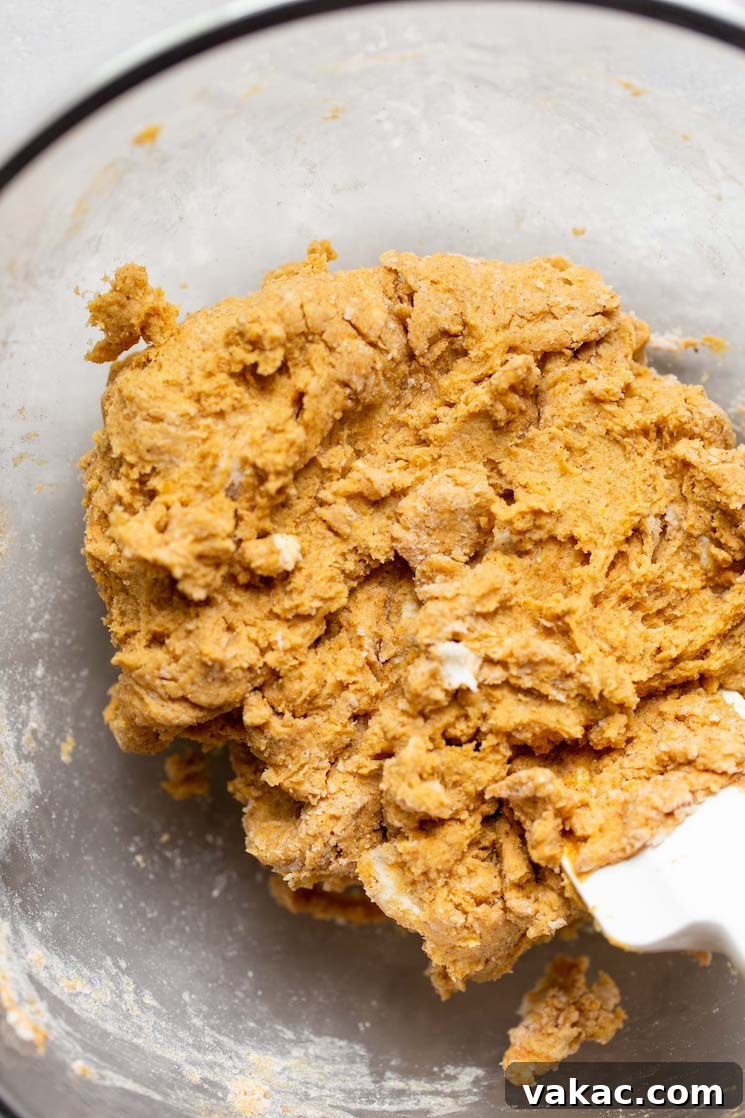
- Gently Combine: Pour the wet ingredients into the dry ingredients. Stir with a spoon or spatula until just combined. The mixture may appear a little crumbly or shaggy at first, which is completely normal. At this stage, you can lightly use your hands to bring the dough together. The key is to mix just until a cohesive dough forms. Overmixing will develop the gluten too much, leading to tough scones.
Shaping and Chilling for Success
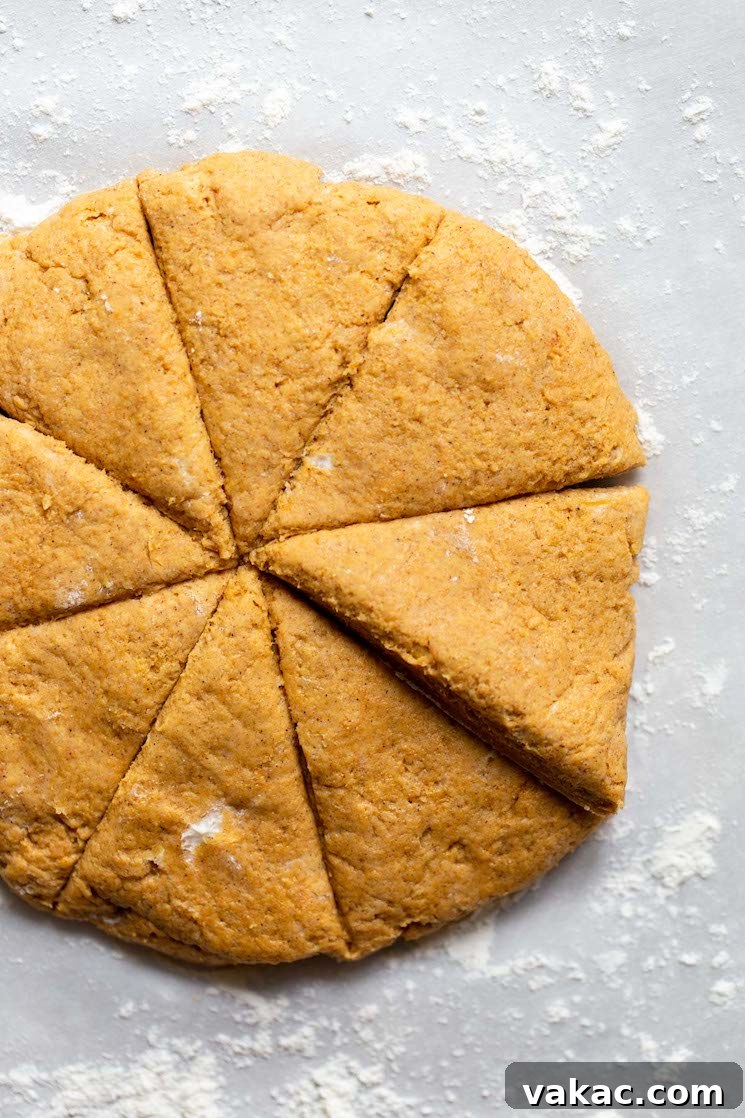
- Shape the Dough: Turn the freshly mixed dough out onto a lightly floured surface. Gently gather it into a ball, then pat it down evenly into a circle, approximately 7 to 8 inches in diameter and about 3/4-inch thick. A consistent thickness ensures even baking.
- Cut the Scones: Using a sharp knife or a pastry cutter, slice the dough circle into 8 equal-sized wedges, much like cutting a pizza.
- Prepare for Baking: Carefully transfer these scone triangles onto a large baking sheet lined with parchment paper or a silicone baking mat. Make sure to leave a little space between each scone for even air circulation.
- The Benefits of Chilling: Place the baking sheet with the formed scones into the freezer for about 10 minutes. While this step isn’t strictly mandatory, it’s highly recommended. This brief chilling period ensures that your butter remains very cold before the scones enter the oven, maximizing the steam production and guaranteeing those wonderfully soft and flaky results. Remember, the colder the butter, the better your scones will be!
Baking and Glazing: The Perfect Finish
- Bake to Golden Perfection: Preheat your oven to 400°F (204°C). Bake the chilled scones for approximately 18 to 22 minutes, or until the tops are beautifully golden brown and set, and they are cooked through. The internal temperature should be around 200-210°F (93-99°C).
- Cool and Glaze: Once baked, remove the scones from the oven and let them cool slightly on the baking sheet before transferring them to a wire rack to cool further. While they are cooling, prepare your maple cinnamon glaze.
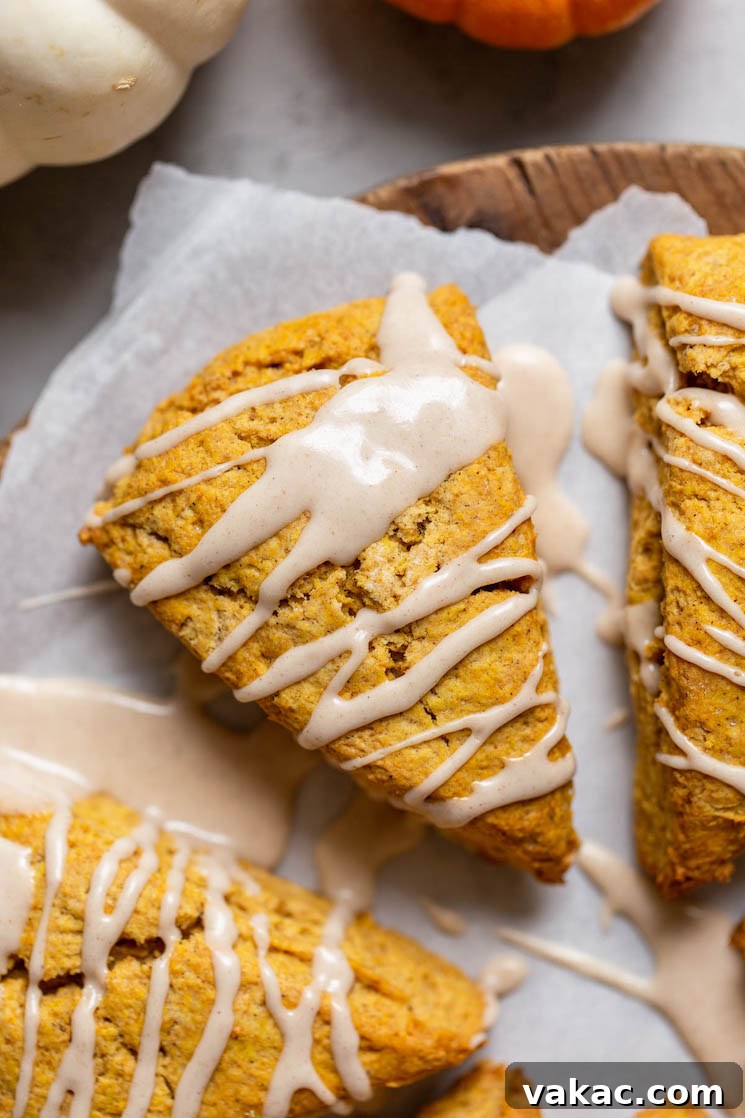
- The Signature Maple Cinnamon Glaze: This glaze is the perfect complement to the rich pumpkin flavor of the scones. In a small bowl, whisk together powdered sugar, pure maple syrup, a tablespoon of milk, and a touch of ground cinnamon until smooth. If the glaze is too thick, add milk in tiny increments (1/2 teaspoon at a time) until you reach your desired drizzling consistency. If you don’t have maple syrup, you can easily substitute it with a little extra milk or water in the glaze. Drizzle the glaze generously over the cooled or slightly warm scones. Allow the glaze to set for 10-15 minutes before serving.
Advanced Tips & Troubleshooting for Scone Perfection
Essential Baking Tips for Scones
- Accurate Flour Measurement: Always spoon your flour into the measuring cup and level it off with the back of a knife. Scooping directly from the bag can compact the flour, leading to too much flour and dense, dry scones.
- Homemade Pumpkin Pie Spice: If you’re out of store-bought pumpkin pie spice, you can easily make your own. A common blend is 3 tablespoons ground cinnamon, 2 teaspoons ground ginger, 2 teaspoons ground nutmeg, 1 ½ teaspoons ground allspice, and 1 ½ teaspoons ground cloves. Store it in an airtight container.
- Pumpkin Puree vs. Pumpkin Pie Filling: This is critical! Always use pure pumpkin puree, which is simply cooked and mashed pumpkin. Pumpkin pie filling contains added sugars and spices and will alter the texture and flavor of your scones.
- Maintain Cold Ingredients: Reiterate the importance of cold butter and cold wet ingredients. This truly is the cornerstone of flaky, tender scones.
- Avoid Overworking the Dough: Mix the dough just until it comes together. Excessive kneading or mixing will develop the gluten, resulting in tough, chewy scones instead of light, tender ones. Gentle handling is key.
Common Scone Problems and How to Avoid Them
- Dry or Crumbly Dough: If your dough is too dry to come together, it might be due to over-measuring flour or under-measuring wet ingredients. Add a tiny bit more heavy cream, 1/2 teaspoon at a time, until the dough is just cohesive.
- Tough Scones: This is almost always caused by overworking the dough. Remember to mix minimally, just until combined.
- Flat Scones: Warm butter or insufficient leavening can lead to flat scones. Ensure your butter is cold, your baking powder is fresh, and you haven’t overmixed the dough.
- Scones Spreading Too Much: This also relates to warm butter. The chilling step before baking is crucial to prevent spreading and maintain their shape.
Make Ahead & Freezing Instructions
These pumpkin scones are perfect for making ahead, offering flexibility for busy mornings or unexpected guests. You have two convenient options for freezing:
- To Freeze Baked Scones: Allow the baked scones to cool completely before glazing. Once cooled, wrap each scone tightly in plastic wrap, then place them in a freezer-safe bag or airtight container. They can be stored in the freezer for up to 3 months. To enjoy, simply place them on the counter for a few hours to thaw to room temperature. You can then prepare and add the maple cinnamon glaze just before serving for ultimate freshness.
- To Freeze Unbaked Scone Dough: This is a fantastic option for fresh-baked scones on demand! After forming and cutting your scone triangles (Step 7 in the instructions), arrange them on a baking sheet lined with parchment paper. Freeze them for 1 to 2 hours, or until they are firm. This crucial step prevents them from sticking together once transferred to a bag. Once frozen solid, transfer the scone triangles to a freezer-safe bag or airtight container. They will keep well in the freezer for 2 to 3 months.
Baking Frozen Scone Dough: When you’re ready to bake, there’s no need to thaw! Simply preheat your oven to 400°F (204°C). Place the frozen scone triangles on a parchment-lined baking sheet and bake for 22 to 26 minutes, or until golden brown and cooked through. Keep an eye on them; if they start to brown too quickly on top, loosely tent them with aluminum foil for the remainder of the baking time. Allow them to cool slightly before glazing and serving.
Serving Suggestions and Flavor Variations
These pumpkin scones are a versatile treat! Enjoy them warm for breakfast with a cup of coffee or tea, or serve them as an elegant dessert after a fall meal. For an extra touch, offer alongside a dollop of whipped cream or a sprinkle of toasted pecans.
Feeling adventurous? You can customize your scones by gently folding in a handful of:
- Chopped toasted pecans or walnuts
- Mini chocolate chips
- Dried cranberries or chopped dried apricots
- A little extra zest from an orange for a brighter flavor profile
Just be careful not to overmix when adding these delicious extras!
More Delightful Scone Recipes To Explore!
If you’ve fallen in love with these pumpkin scones, be sure to explore more scone recipes that are equally simple and delicious:
- Classic Scones (Includes 4 fantastic flavor variations!)
- Strawberry Cream Scones
- Lemon Blueberry Scones
- Apple Cinnamon Scones
Pumpkin Scones Recipe
Rating: 5 out of 5 stars (Based on 1 rating)
| Prep Time: 25 mins | Cook Time: 20 mins |
| Chilling Time: 10 mins | Total Time: 55 mins |
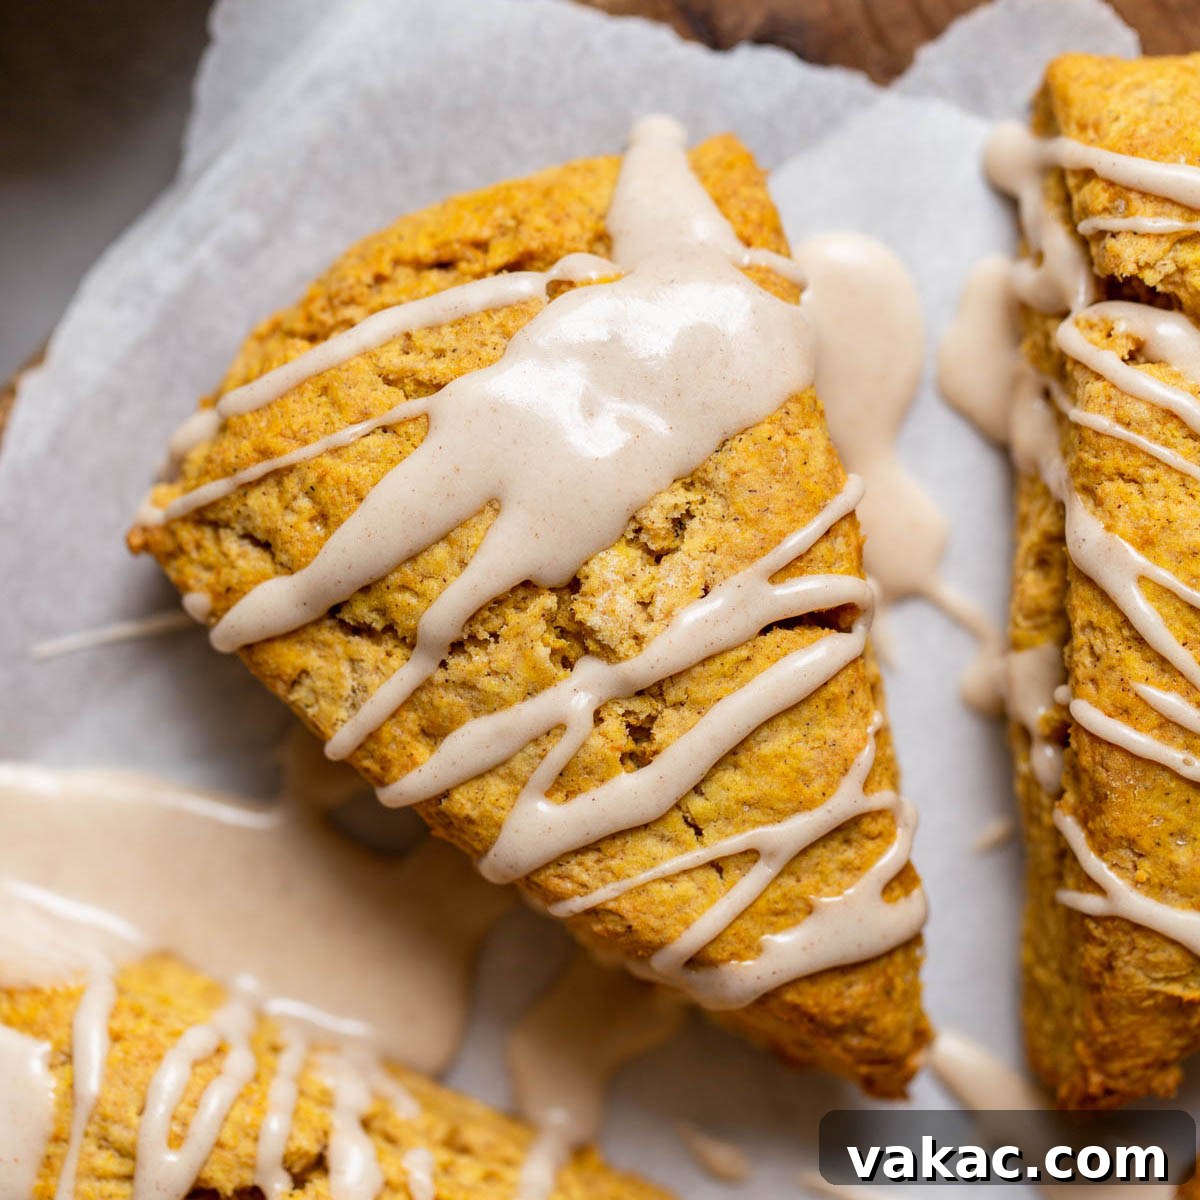
These pumpkin scones are incredibly delicious, soft, and packed with pumpkin flavor. They are easy to make and serve as a perfect breakfast or dessert for the fall season!
Ingredients
For the Scones (Yields 8 scones):
- 2 cups (250 grams) all-purpose flour, spooned and leveled
- ½ cup (100 grams) granulated sugar
- 2 ½ teaspoons baking powder
- 1 ½ teaspoons pumpkin pie spice
- ½ teaspoon ground cinnamon
- ½ teaspoon salt
- 6 tablespoons (85 grams) cold unsalted butter, cubed into small pieces
- ⅓ cup (80 ml) cold heavy whipping cream
- ½ cup (120 grams) pumpkin puree (ensure it’s not pumpkin pie filling)
- 1 teaspoon pure vanilla extract
For the Maple Cinnamon Glaze:
- 1 cup (120 grams) powdered sugar
- 1 tablespoon (15 ml) pure maple syrup (can substitute with extra milk if unavailable)
- 1 tablespoon (15 ml) milk (add more as needed for desired consistency)
- ¼ teaspoon ground cinnamon
Instructions
To make the Pumpkin Scones:
- Preheat your oven to 400°F (204°C). Line a large baking sheet with parchment paper or a silicone baking mat and set it aside.
- In a large mixing bowl, thoroughly whisk together the all-purpose flour, granulated sugar, baking powder, pumpkin pie spice, ground cinnamon, and salt.
- Add the cold, cubed unsalted butter to the dry ingredients. Use a pastry cutter or a fork (or your fingertips) to cut the butter into the mixture until it resembles small, pea-sized crumbs.
- In a separate medium-sized mixing bowl, whisk together the cold heavy whipping cream, pumpkin puree, and pure vanilla extract until fully combined.
- Pour the wet ingredients into the dry ingredients. Stir gently with a spatula or wooden spoon until just combined. The mixture may look crumbly initially; at this point, you can use your hands to lightly work the dough together until it forms a cohesive ball. Be careful not to overmix.
- Transfer the dough onto a lightly floured surface. Gently shape it into a ball, then flatten it into a uniform circle about 7 to 8 inches in diameter and approximately 3/4-inch thick.
- Using a sharp knife, cut the dough circle into 8 equal-sized triangular pieces. Carefully arrange these scones on your prepared baking sheet, ensuring there’s a little space between each one.
- Place the baking sheet with the formed scones into the freezer for 10 minutes. This chilling step helps the butter stay cold, resulting in flakier scones.
- Bake the scones in the preheated oven for 18 to 22 minutes, or until their tops are golden brown and set, indicating they are cooked through.
- Remove the scones from the oven and let them cool completely on a wire rack before applying the glaze.
To make the Maple Cinnamon Glaze:
- In a medium mixing bowl, whisk together the powdered sugar, pure maple syrup, milk, and ground cinnamon until the mixture is smooth and lump-free. If the glaze appears too thick, add an additional 1/2 teaspoon of milk at a time until you achieve your desired drizzling consistency.
- Drizzle the prepared maple cinnamon glaze generously over the cooled scones. Allow the glaze to set for about 10 to 15 minutes before serving for the best experience. Enjoy your delicious homemade pumpkin scones!
Recipe Notes
- Storage: Store any leftover pumpkin scones in an airtight container at room temperature for up to 3 days to maintain their freshness.
- Freezing Baked Scones: For longer storage, let baked scones cool completely without glaze. Wrap each scone tightly with plastic wrap, then place them in a freezer bag or freezer-friendly storage container. Freeze for up to 3 months. Thaw at room temperature for a few hours before glazing and serving.
- Freezing Scone Dough: Cut the scone dough into triangles and freeze them on a parchment-lined baking sheet for 1-2 hours until solid to prevent sticking. Transfer to a freezer bag or container and freeze for 2-3 months. To bake, place frozen scones on a baking sheet and bake at 400°F (204°C) for 22-26 minutes. If browning too quickly, tent with foil.
- Pumpkin Type: Always use pure pumpkin puree, not pumpkin pie filling, which contains added sugar and spices.
- Maple Syrup Alternative: If you don’t have maple syrup for the glaze, you can replace it with a little extra milk or water to achieve the desired consistency.
Cuisine: American
Course: Breakfast
Author: Danielle Rye
Did you create this delightful recipe?
Share your culinary masterpiece on Instagram! Mention @livewellbakeoften or tag #livewellbakeoften so we can see your beautiful creations!