
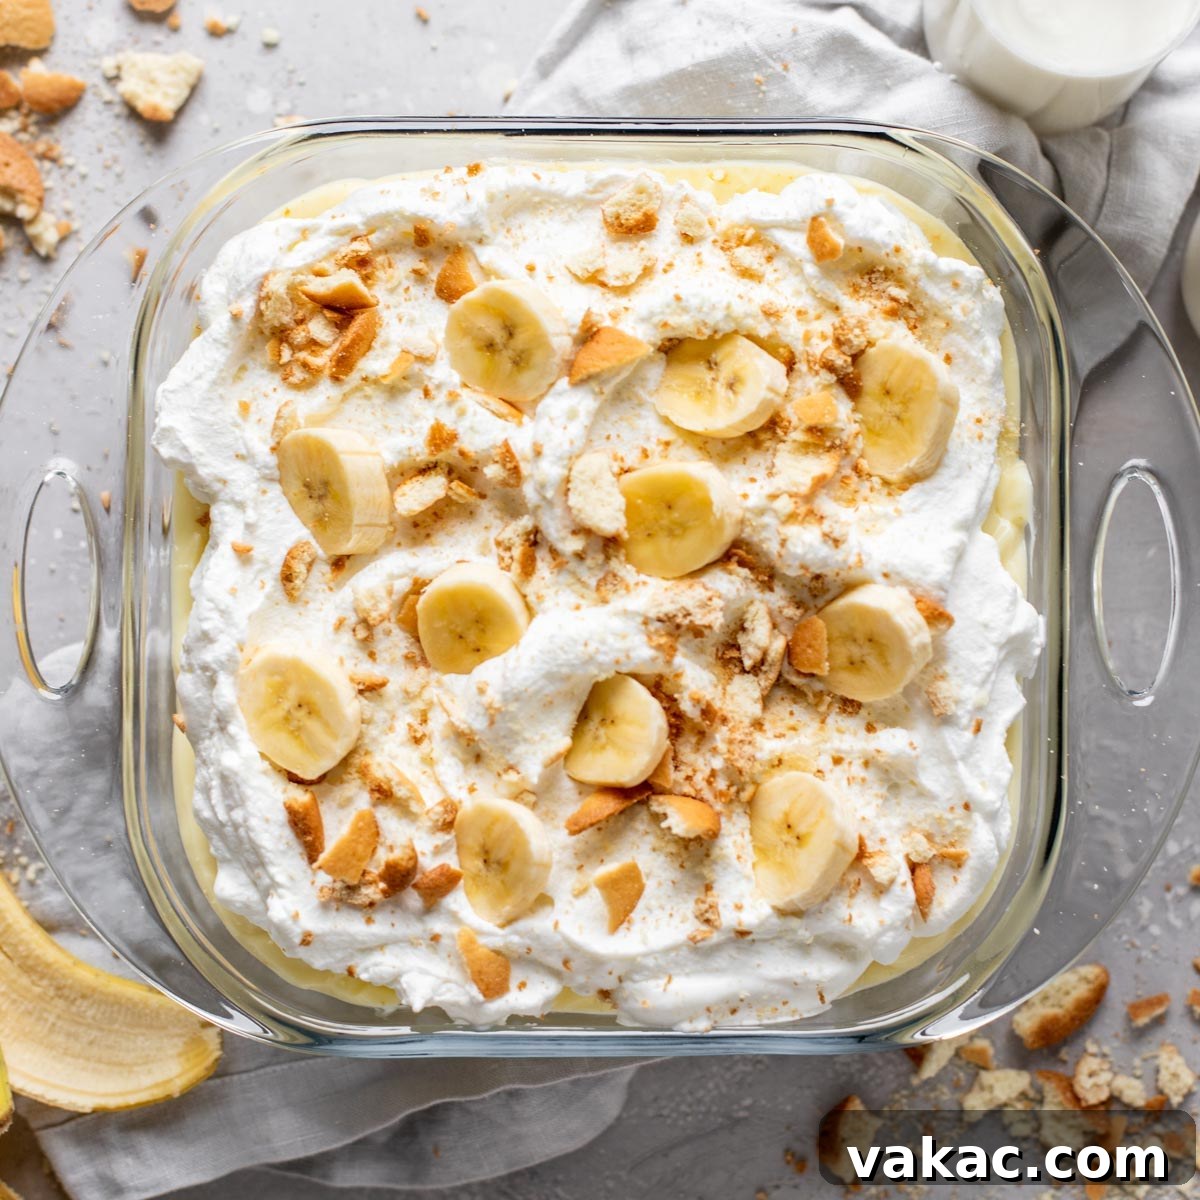
Classic Homemade Banana Pudding from Scratch
There’s nothing quite like a spoonful of creamy, comforting banana pudding. This isn’t just any banana pudding; it’s a labor of love, crafted entirely from scratch to bring you the most authentic and delectable version of this beloved Southern dessert. Forget those box mixes of your childhood – this recipe elevates the classic by featuring layers of perfectly ripe banana slices, rich homemade vanilla pudding, crisp vanilla wafer cookies, and a cloud of freshly whipped cream. It’s an unforgettable treat that promises to be the star of any potluck, family gathering, or even a quiet evening at home.
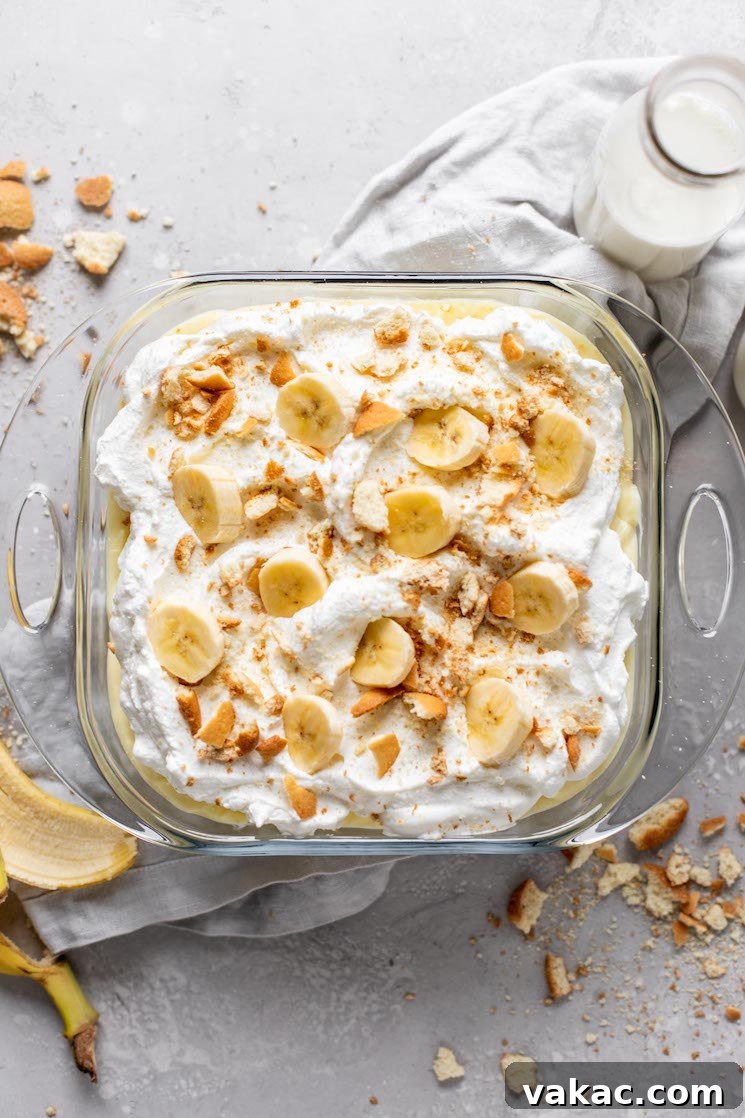
For many, banana pudding conjures nostalgic memories of grandmother’s kitchen and simple, heartfelt desserts. While convenience mixes have their place, the depth of flavor and luscious texture achieved with homemade vanilla pudding is simply unparalleled. This recipe takes you on a journey to create that perfect pudding base, a silky-smooth custard that forms the heart of our banana pudding. We then meticulously layer it with sweet, tender banana slices and those irresistible vanilla wafer cookies – because some traditions are too good to break! A generous topping of light, airy homemade whipped cream finishes this masterpiece, making every bite a celebration of sweet, creamy bliss.
Don’t be daunted by the idea of making pudding from scratch. It’s surprisingly straightforward and immensely rewarding. The extra effort transforms this humble dessert into an extraordinary experience, guaranteed to impress anyone who tries it. Get ready to create a dessert that’s not just food, but a cherished memory in the making.
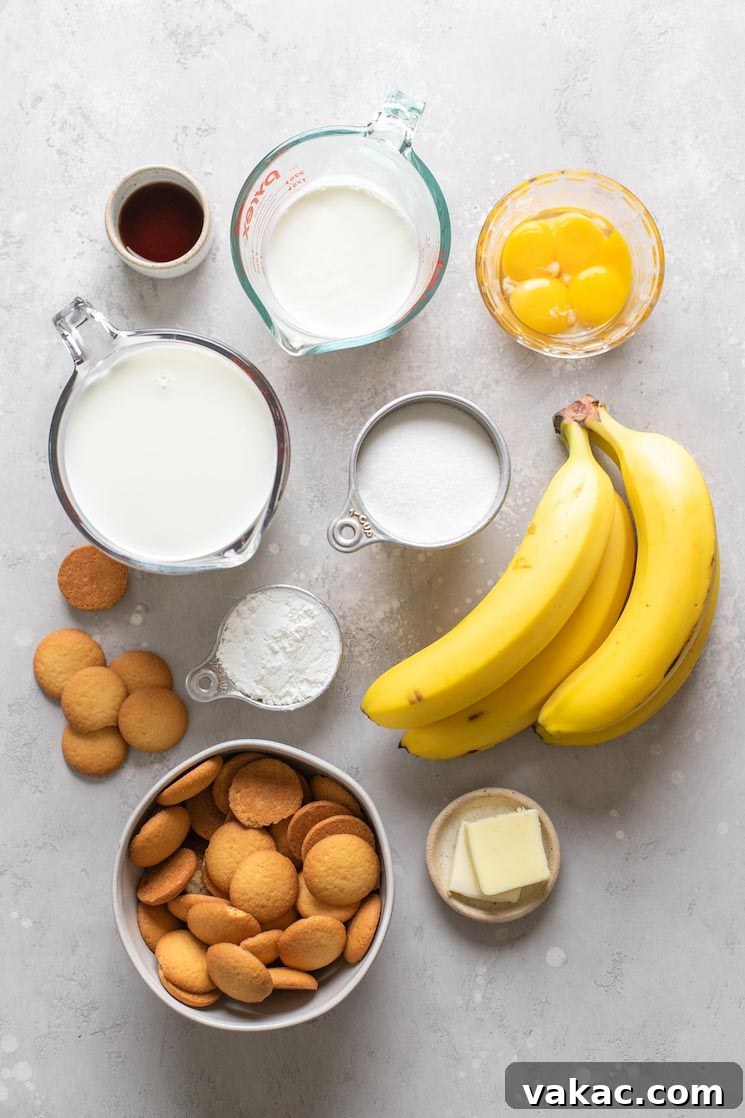
Essential Ingredients for Your Perfect Banana Pudding
Crafting homemade banana pudding requires a few key components, each playing a vital role in achieving that signature flavor and texture. Our recipe consists of four main elements: fresh banana slices, your favorite vanilla wafer cookies, a rich vanilla pudding made from scratch, and a decadent whipped cream topping. Let’s delve into each ingredient to ensure you’re confident and prepared to create this delightful dessert.
- Granulated Sugar: We carefully balance the sweetness, using just ¾ cup for an 8-inch square baking dish. This ensures the vanilla pudding is sweet enough to satisfy without being cloying, especially when combined with the natural sweetness of the bananas and vanilla wafers.
- Cornstarch: This is our secret weapon for an impeccably creamy and thick vanilla pudding. Cornstarch provides stability and a smooth consistency that cannot be easily replicated by other thickeners. For best results, we highly recommend sticking to cornstarch.
- Whole Milk: The richness of whole milk is crucial for the pudding’s texture. Its higher fat content contributes significantly to the pudding’s luxurious creaminess and body, making it truly irresistible.
- Heavy Whipping Cream: A versatile ingredient, heavy whipping cream (at least 36% fat) is used in two ways. It enriches the pudding, adding another layer of creaminess, and forms the luscious base for our homemade whipped cream topping.
- Egg Yolks: Beyond lending a beautiful, subtle yellow hue, egg yolks are essential for creating an exceptionally rich and velvety pudding. They act as an emulsifier and thickener, contributing to the pudding’s smooth mouthfeel. Don’t waste the whites; save them for a healthy breakfast!
- Unsalted Butter: A touch of unsalted butter stirred in at the end enhances the pudding’s richness and glossiness. While unsalted is preferred for control over seasoning, salted butter can also be used.
- Pure Vanilla Extract: The soul of vanilla pudding, pure vanilla extract provides an intense, aromatic vanilla flavor that is far superior to artificial alternatives. Don’t skimp on quality here!
- Vanilla Wafers: A classic choice, Nilla Wafers are perfectly suited for their delicate crunch and vanilla flavor that softens beautifully as they absorb the pudding. Feel free to use a similar plain, crisp vanilla cookie if Nilla Wafers are unavailable.
- Bananas: The star of the show! It’s crucial to use bananas that are just ripe – yellow with a few brown speckles, but still firm. Overripe bananas will become mushy and won’t hold their structure well within the layers of pudding.
- Powdered Sugar: Used exclusively for the whipped cream topping, powdered sugar (confectioners’ sugar) dissolves easily, ensuring a smooth, light, and perfectly sweetened whipped cream without any granular texture.
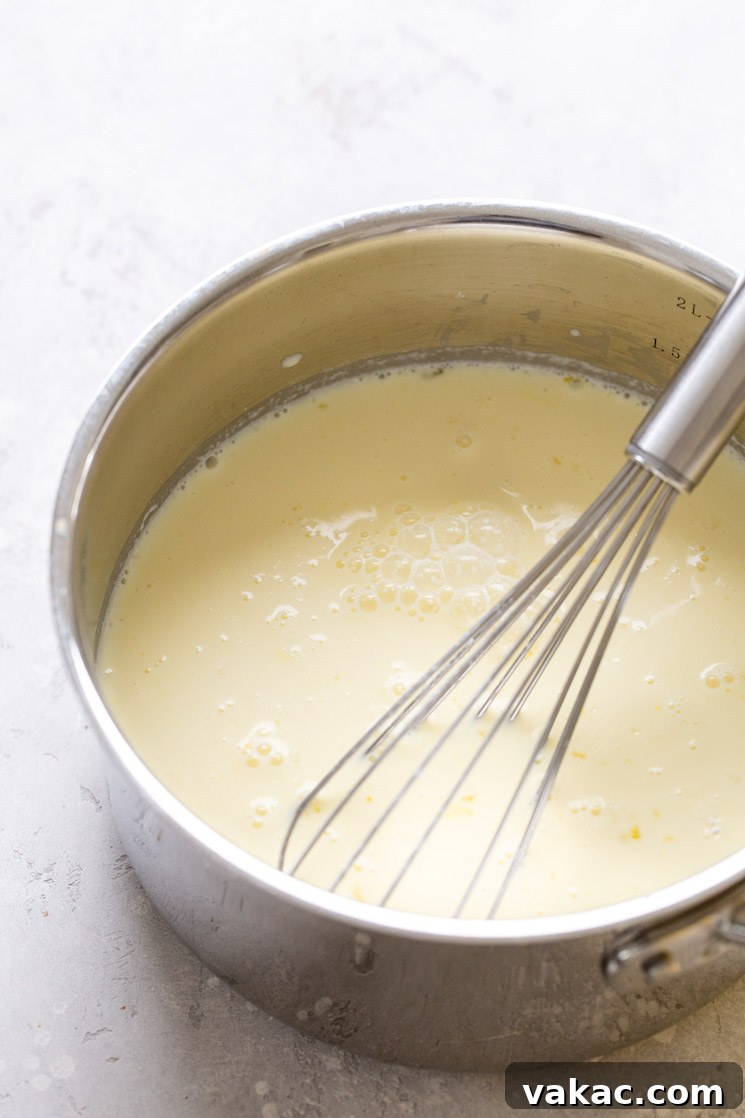
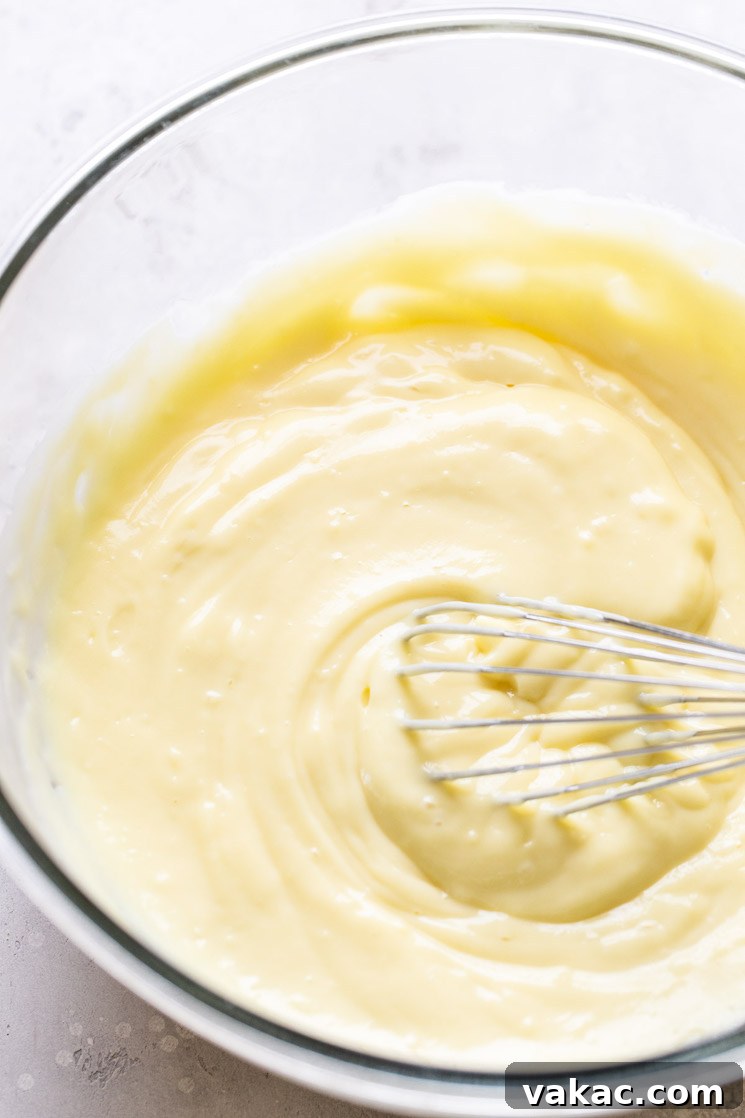
Step-by-Step Guide: Crafting Your Homemade Banana Pudding
Making this incredible banana pudding requires a little planning, as the homemade vanilla pudding needs time to chill and set before assembly. But trust us, the waiting is well worth the sensational flavor!
Part 1: Preparing the Silky Vanilla Pudding
- In a spacious saucepan, begin by thoroughly whisking together the granulated sugar and cornstarch. This crucial step prevents lumps and ensures the cornstarch is evenly dispersed.
- In a separate large mixing bowl, whisk the whole milk, heavy whipping cream, and egg yolks until they are fully combined and smooth.
- Gradually pour the wet mixture into the saucepan containing the sugar and cornstarch, whisking continuously until everything is perfectly incorporated.
- Place the saucepan over medium heat. Bring the mixture to a gentle boil, stirring or whisking constantly to prevent scorching and ensure even thickening. Use a rubber spatula to scrape the bottom and sides of the pan frequently. Once it reaches a boil, continue to cook for exactly one minute; at this point, the pudding should be noticeably thick and creamy.
- Remove the saucepan from the heat. Stir in the butter, one tablespoon at a time, until fully melted and incorporated. Then, add the pure vanilla extract and stir well.
- For the ultimate smooth pudding, strain the mixture through a fine-mesh strainer into a heat-proof bowl. This essential step catches any small lumps or cooked egg bits, guaranteeing a perfectly silky texture.
- Cover the pudding with plastic wrap, pressing the wrap directly onto the surface to prevent a skin from forming as it cools. Refrigerate for at least one hour to allow it to chill and set properly.
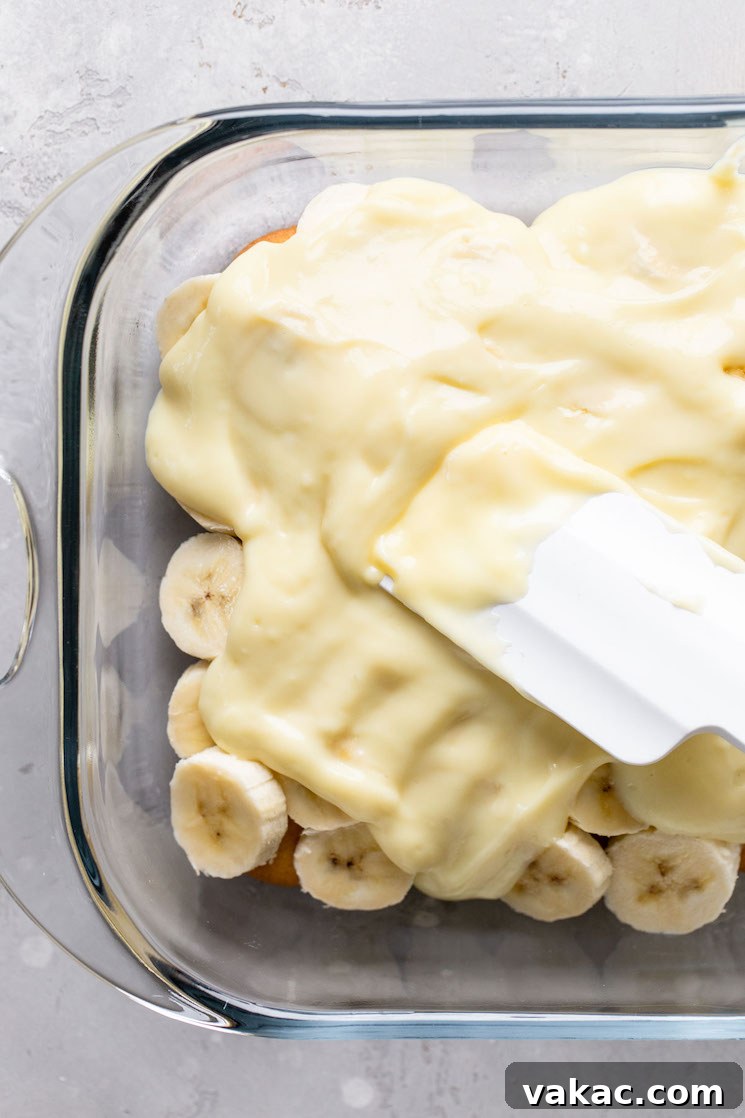
Part 2: Assembling Your Delicious Banana Pudding
Once your vanilla pudding is thoroughly chilled and set, it’s time for the fun part – assembly!
- Remove the pudding from the refrigerator and give it a good whisk until it’s perfectly smooth and creamy again. Set aside.
- Prepare your bananas by slicing them about ¼-inch thick. This thickness ensures they hold up well against the rich pudding and wafer cookies without becoming too soft.
- Arrange approximately half of your vanilla wafers (about 25 cookies) in a single, even layer at the bottom of an 8×8-inch baking dish (or a 2-quart dish).
- Cover the cookie layer with half of the sliced bananas, spreading them out evenly.
- Carefully spoon about half of the prepared vanilla pudding over the banana slices, spreading it gently to create a smooth, even layer.
- Repeat this layering process once more with the remaining vanilla wafers, banana slices, and vanilla pudding.
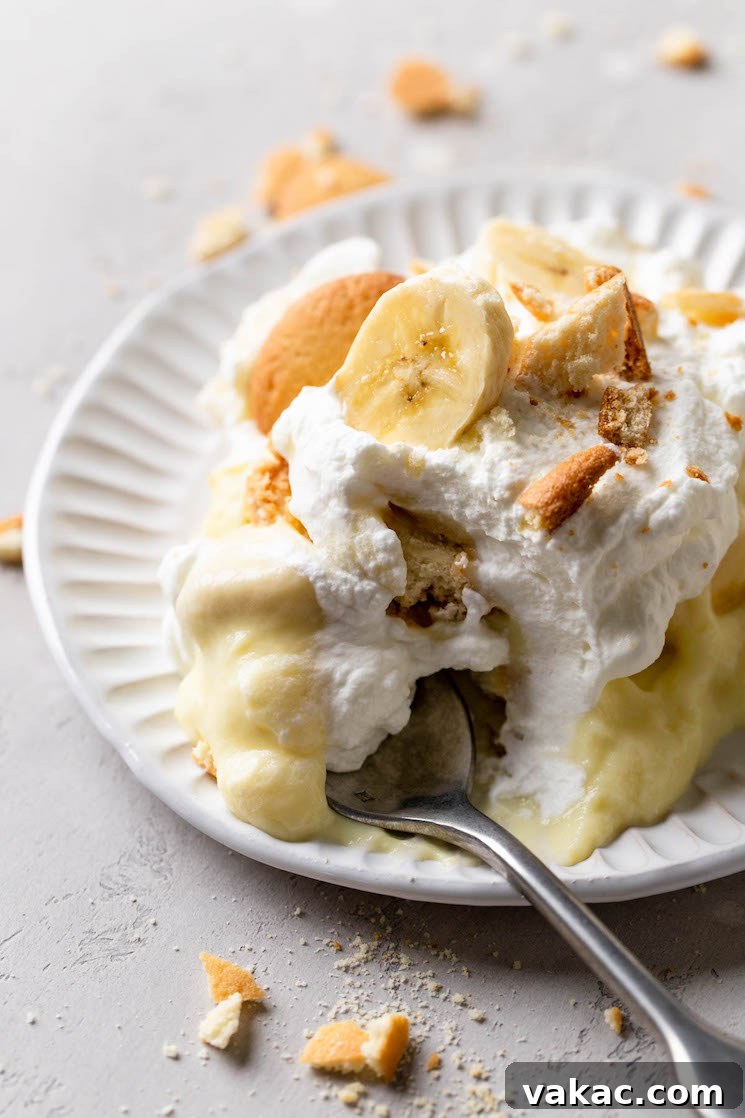
- Cover the assembled banana pudding with plastic wrap, again pressing it directly onto the surface of the pudding. Refrigerate for another 3 to 4 hours. This chilling period allows the flavors to meld beautifully and, crucially, gives the vanilla wafers time to soften and absorb the delicious pudding, creating that signature melt-in-your-mouth texture.
Part 3: Whipping Up the Fluffy Topping
The final touch is a generous layer of homemade whipped cream, adding a delightful contrast in texture and a light, airy finish.
- In the bowl of a stand mixer fitted with a whisk attachment (or using a large mixing bowl and a handheld electric mixer), combine the heavy whipping cream, powdered sugar, and a teaspoon of pure vanilla extract.
- Start mixing on low speed, gradually increasing to medium-high as the cream begins to thicken. Continue whipping until stiff peaks form, indicating a perfectly stable and fluffy whipped cream.
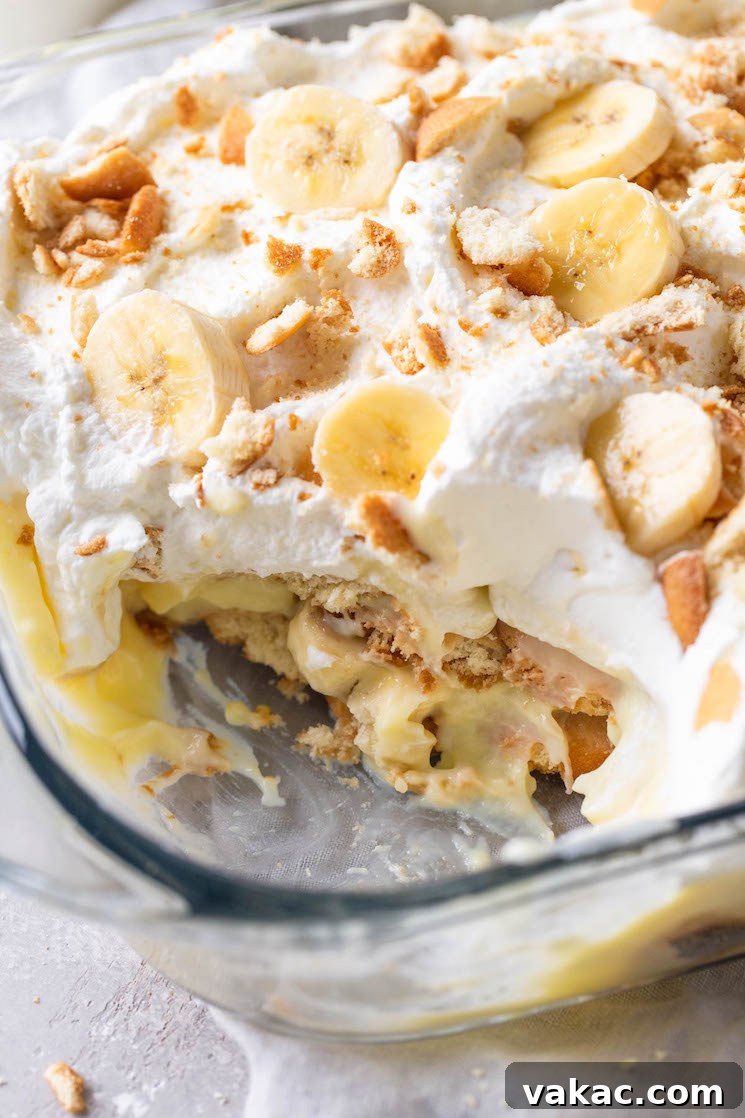
- Once the banana pudding has finished its final chill, remove it from the refrigerator. Spread an even, generous layer of the freshly made whipped cream over the top.
- For an extra touch of elegance and flavor, garnish with additional banana slices and a sprinkle of crushed vanilla wafers before serving, if desired.
Frequently Asked Questions
Can I Prepare This Banana Pudding in Advance?
Yes, absolutely! While this banana pudding is best enjoyed within 24 hours of assembly, it can be prepared in advance. Simply cover it tightly with plastic wrap (ensuring the wrap touches the surface of the whipped cream to prevent drying) and store it in the refrigerator for up to two days. The cookies will continue to soften, but the flavors will deepen beautifully.
Can You Freeze Banana Pudding?
No, we do not recommend freezing this particular banana pudding recipe. The delicate layers of pudding, bananas, and whipped cream are likely to undergo undesirable textural changes upon thawing, resulting in a less-than-ideal dessert.
Expert Tips for the Best Homemade Banana Pudding
Achieving banana pudding perfection is easy with a few insider tips:
- Banana Selection is Key: Always opt for bananas that are ripe but firm. They should be vibrant yellow with perhaps a few tiny brown specks, indicating full sweetness, but avoid those that are soft or heavily speckled with brown. Overripe bananas will break down too quickly in the pudding and can make the dessert watery.
- Embrace the Chill Time: Do not rush the chilling process! The initial hour for the vanilla pudding is crucial for it to set properly, preventing a runny dessert. The subsequent 3-4 hours of chilling after assembly are equally important. This allows the vanilla wafers to soften to that classic cake-like consistency and thoroughly absorb the delicious banana and vanilla flavors, creating a harmonious blend of textures and tastes. Patience is a virtue when it comes to truly great banana pudding.
- Serving Size and Doubling: An 8×8-inch dish of this rich homemade banana pudding typically serves 10 to 12 people generously. It’s a decadent dessert, so a little goes a long way! If you’re feeding a larger crowd or simply want more to share, this recipe can be easily doubled. Simply double all the ingredients and assemble it in a larger 9×13-inch baking dish.
- Prevent Banana Browning: To minimize banana browning, especially if preparing ahead, you can lightly toss the sliced bananas in a tablespoon of lemon juice or a citrus fruit juice of your choice. However, for a quick-assembly recipe like this, if consumed within 24 hours, browning is usually minimal and doesn’t detract from the flavor.
- Clean Strainer is Your Friend: When straining the pudding, make sure your fine-mesh strainer is completely clean to avoid any unwanted particles. This small step ensures the smoothest, most luxurious pudding texture.
- Perfect Whipped Cream: For the best whipped cream, ensure both your heavy whipping cream and your mixing bowl (and whisk attachment) are thoroughly chilled. This helps the cream whip up faster and achieve stiffer peaks, resulting in a stable and airy topping.
More Delicious Banana Desserts to Explore!
- Classic Banana Bread
- Banana Cream Pie
- Moist Banana Cake
- Cinnamon Swirl Banana Bread
- Delightful Banana Crumb Cake
Video Tutorial
Watch our step-by-step video to guide you through making this incredible homemade banana pudding!
Banana Pudding Recipe
This classic homemade banana pudding features delightful layers of fresh banana slices, rich vanilla pudding made from scratch, crisp vanilla wafer cookies, and a fluffy whipped cream topping. It’s the ultimate comforting dessert for any occasion!
Prep Time: 45 mins | Chilling Time: 4 hrs | Total Time: 4 hrs 45 mins
Yields: 12 servings
Ingredients
- ¾ cup (150 grams) granulated sugar
- ¼ cup (32 grams) cornstarch
- 2 ½ cups (600 ml) whole milk
- ½ cup (120 ml) heavy whipping cream
- 4 large egg yolks
- 2 tablespoons (30 grams, or ¼ stick) unsalted butter, sliced into two pieces
- 2 teaspoons pure vanilla extract
- 50 vanilla wafers (such as Nilla Wafers)
- 4 medium ripe bananas, sliced into ¼-inch thick slices
For the whipped cream topping:
- 1 cup (240 ml) heavy whipping cream, chilled
- ¼ cup (30 grams) powdered sugar
- 1 teaspoon pure vanilla extract
Instructions
To make the pudding:
- In a large saucepan, whisk the granulated sugar and cornstarch together until thoroughly combined.
- In a separate large mixing bowl, whisk together the milk, heavy whipping cream, and egg yolks until fully combined and smooth. Slowly pour this wet mixture into the saucepan with the sugar and cornstarch, whisking continuously until incorporated.
- Place the saucepan over medium heat. Bring the mixture to a boil, stirring or whisking constantly (using a rubber spatula to scrape the bottom and sides). Boil for one minute until thickened. Remove from heat. Stir in the butter, one tablespoon at a time, followed by the vanilla extract.
- Strain the pudding mixture through a fine-mesh strainer into a clean, heat-proof bowl to ensure a smooth consistency.
- Cover the pudding with plastic wrap, pressing it directly onto the surface to prevent a skin from forming. Refrigerate for one hour to chill.
To assemble the banana pudding:
- Once chilled, remove the pudding from the refrigerator and whisk until smooth. Set aside.
- Place half of the vanilla wafers (about 25 cookies) in an even layer at the bottom of an 8-inch square (or 2-quart) baking pan.
- Arrange half of the sliced bananas in an even layer over the cookies.
- Gently spread half of the prepared vanilla pudding over the banana layer.
- Repeat the layers with the remaining vanilla wafers, banana slices, and pudding.
- Cover the assembled banana pudding with plastic wrap, pressing it directly onto the pudding surface. Refrigerate for 3 to 4 hours to allow the pudding to set and the cookies to soften.
To make the whipped cream topping:
- In the bowl of a stand mixer (or using a hand mixer), combine the chilled heavy whipping cream, powdered sugar, and vanilla extract.
- Beat on low speed, then increase to medium-high, until stiff peaks form.
- Spread the whipped cream evenly over the chilled banana pudding. Garnish with additional banana slices and crushed vanilla wafers before serving, if desired.
Notes
- Storage: This banana pudding is best served within 24 hours. Cover tightly and refrigerate for up to 2 days.
- Bananas: Use firm, just-ripe bananas for best results. Overripe bananas can become mushy.
- Vanilla Wafers: Nilla Wafers are recommended, but any similar plain vanilla cookie can be used. Adjust quantity if using different sized cookies.
Cuisine: American | Course: Dessert | Author: Danielle Rye
Did you make this recipe? Share your creations! Mention @livewellbakeoften on Instagram or tag #livewellbakeoften.