
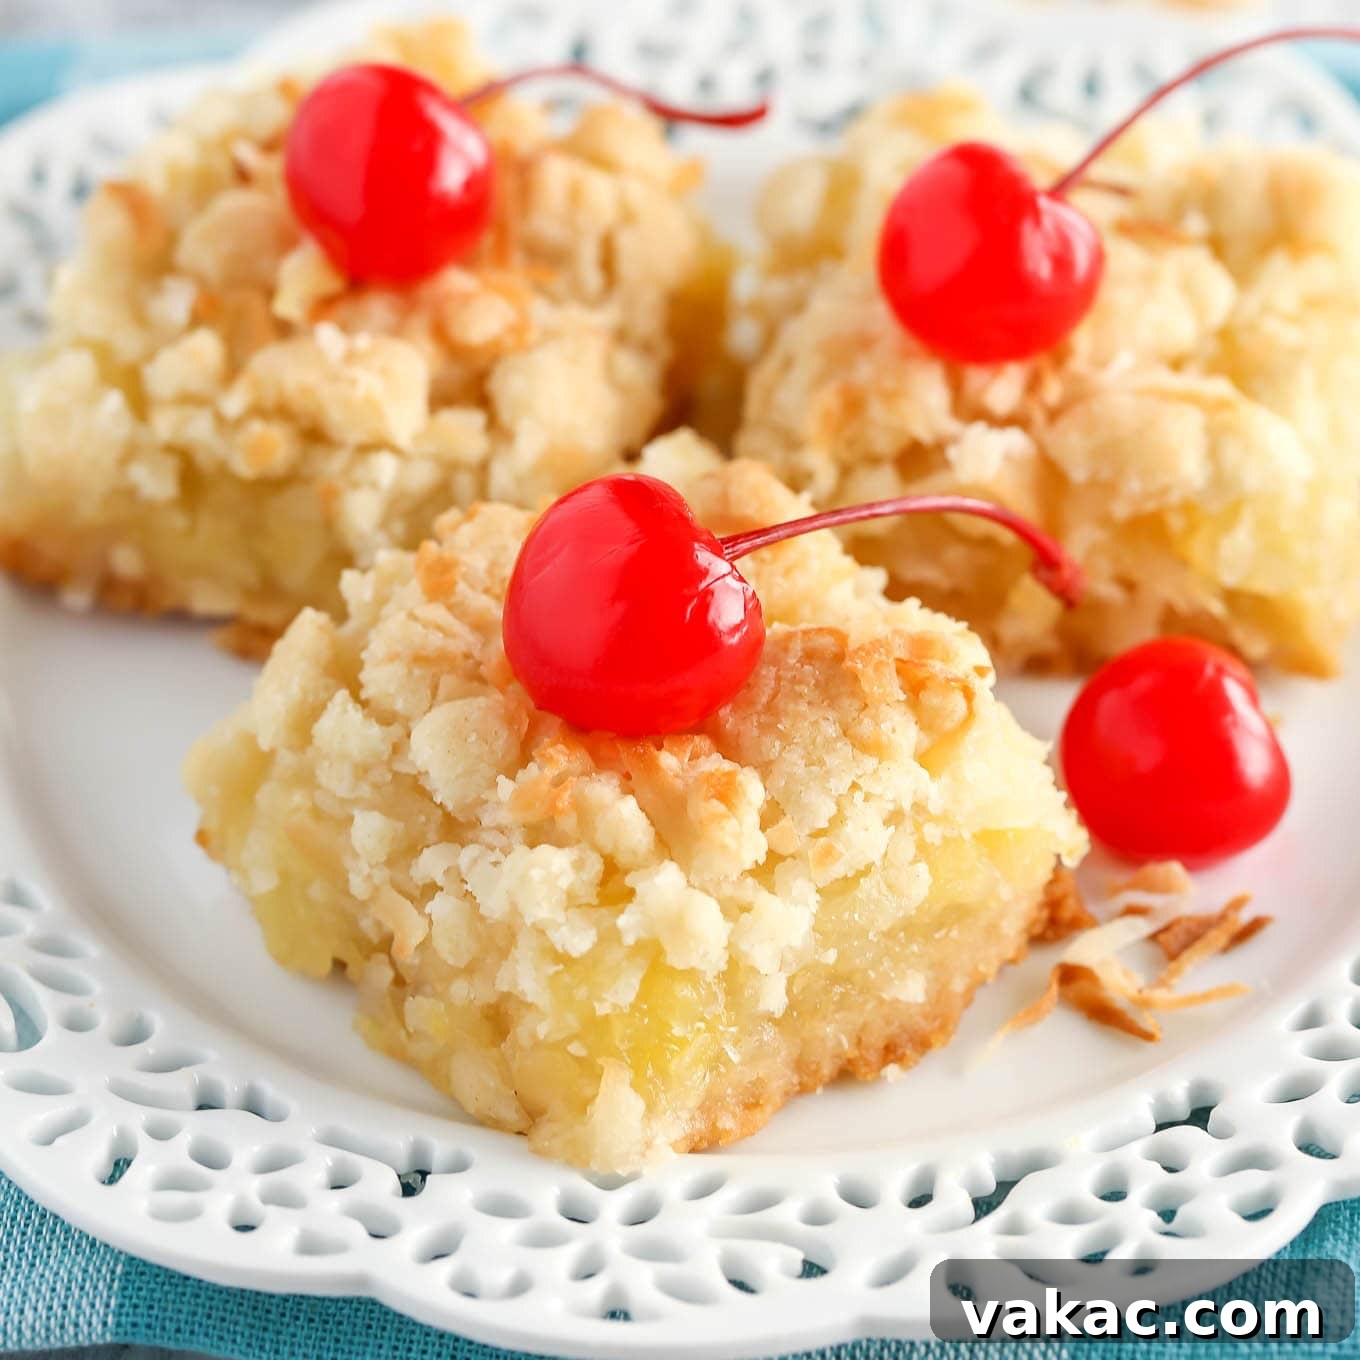
Experience a taste of the tropics with these delightful Coconut Pineapple Bars! They feature a heavenly combination of a rich, buttery crumb crust and topping, perfectly complemented by a luscious pineapple and coconut filling. Easy to make and utterly irresistible, these bars are a fantastic treat for any time of year.
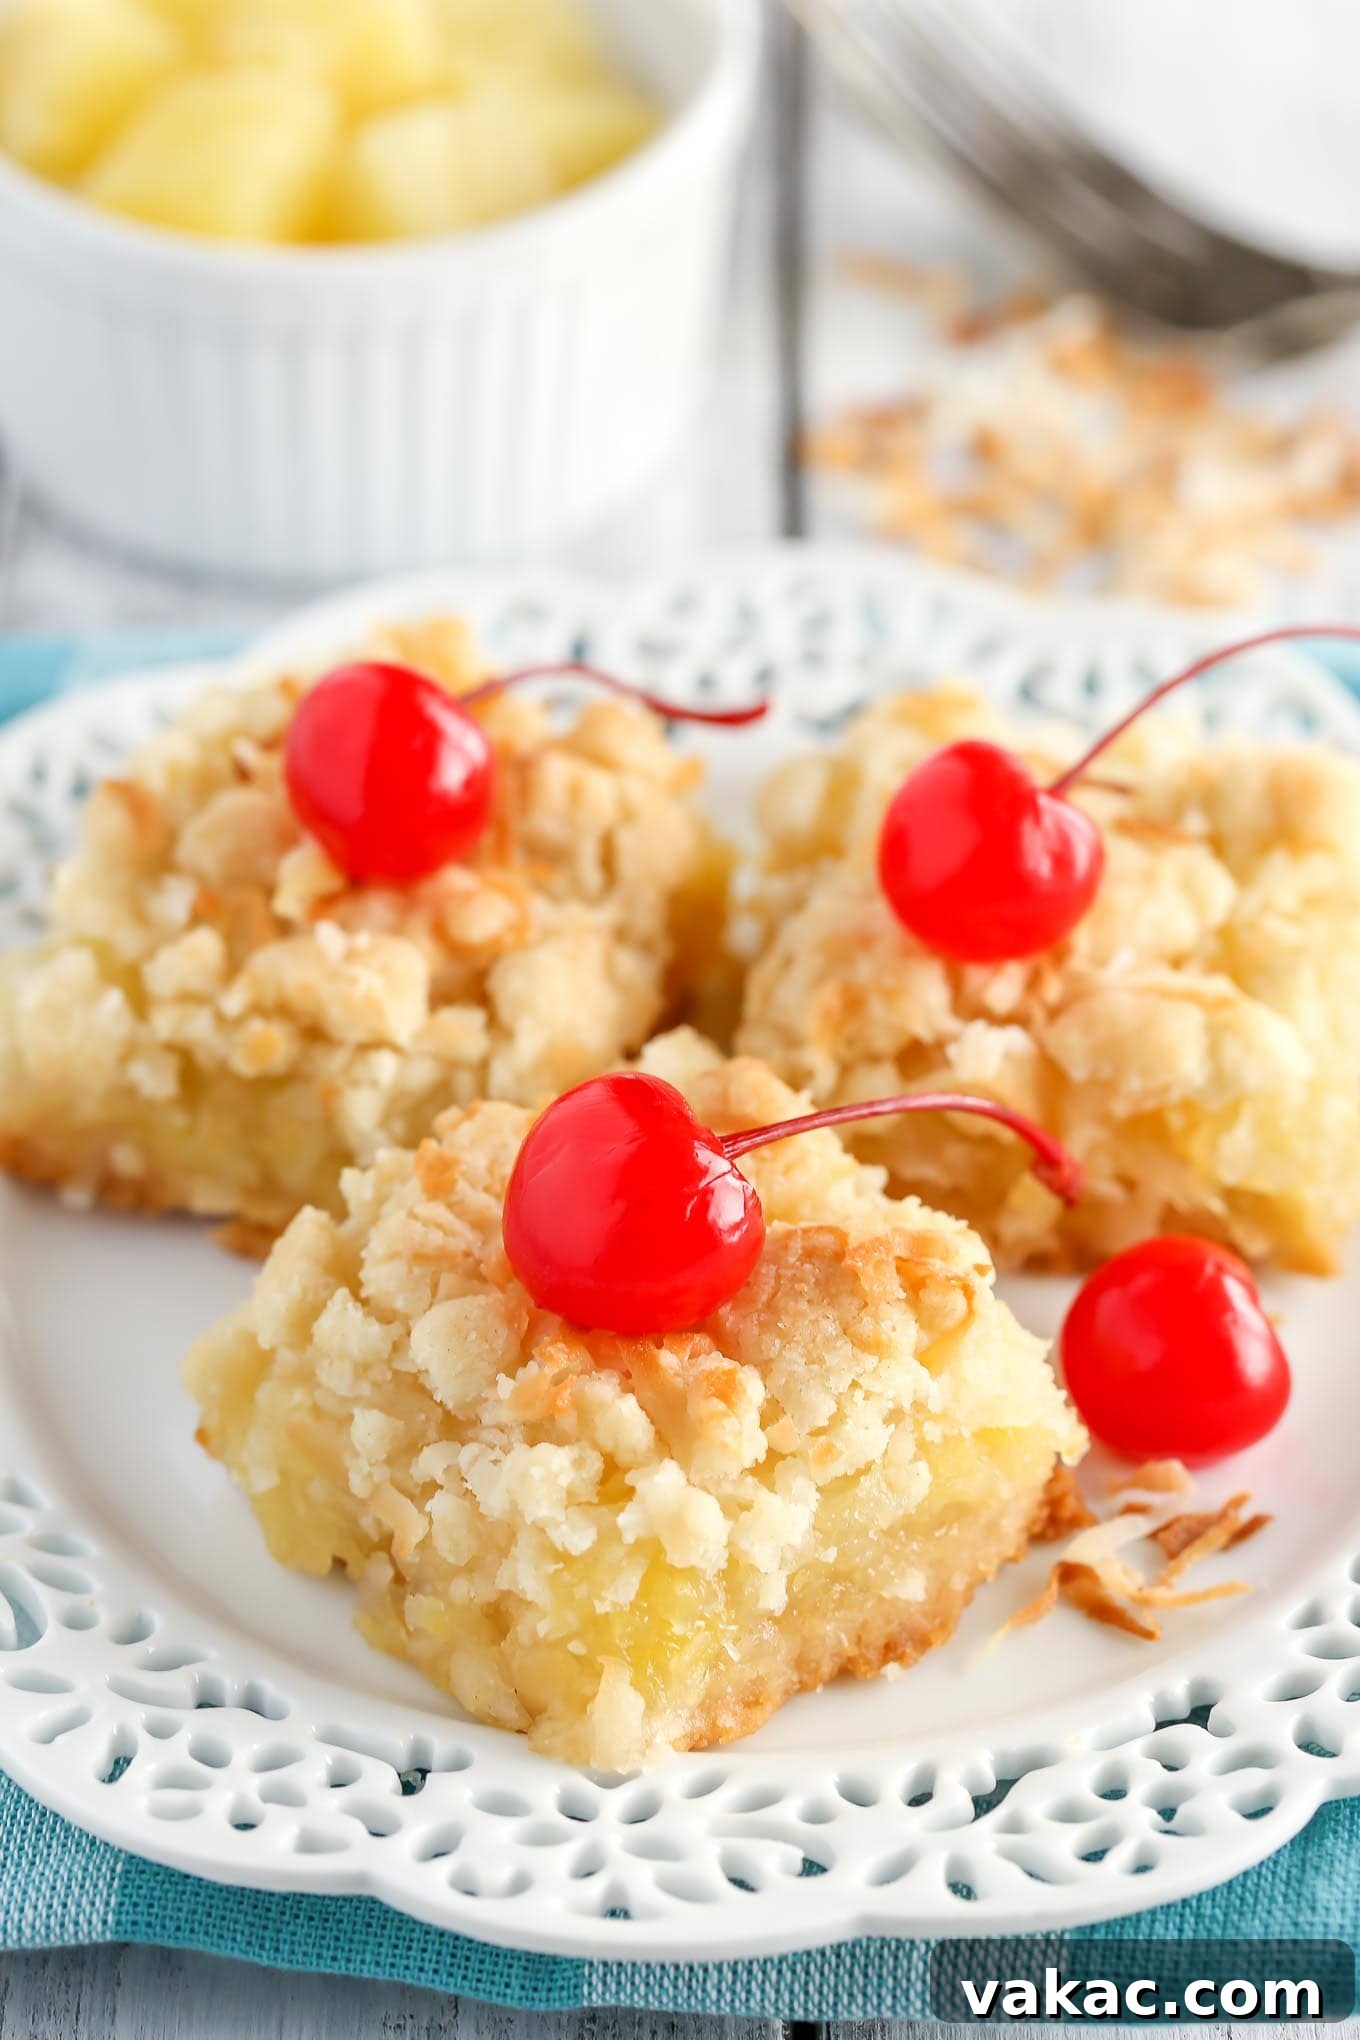
Irresistible Coconut Pineapple Bars: Your New Favorite Tropical Treat
There’s something truly magical about how our palates evolve over time. I vividly remember a phase in my childhood when anything containing cooked fruit or, perhaps even more surprisingly, coconut, was strictly off-limits. My young taste buds simply weren’t ready for such exotic textures and flavors. Fast forward to today, and these two ingredients have not only made their way onto my plate but have become some of my absolute favorites! Whether it’s a comforting fruit pie that reminds me of home or a decadent creamy coconut pie, I find myself craving these delightful flavors throughout every season.
While my appreciation for certain vegetables might still be a work in progress (some battles are just harder won!), I’m incredibly grateful that my culinary horizons expanded enough to embrace the glorious combination of pineapple and coconut. This dynamic duo is, without a doubt, a match made in culinary heaven, bringing a vibrant, sunny essence to any dessert it graces. And these Pineapple Coconut Bars are no exception – they are a testament to the sheer perfection and undeniable deliciousness of this tropical pairing, ready to transport you to an island getaway with every bite.
The journey to perfecting this very recipe involved a pivotal moment: integrating coconut directly into the filling. During my initial attempt at these bars, I made the conscious decision to omit the shredded coconut from the vibrant pineapple layer, focusing solely on the fruit’s tangy sweetness. Upon tasting the first batch, however, it became clear that something fundamental was missing. The bars were good, yes, but they lacked that distinctive nutty sweetness, that subtle chew, and the overall depth of flavor that only coconut could provide. A quick adjustment in the next batch, mixing a generous amount of sweetened shredded coconut directly into the filling, transformed the bars from merely good to absolutely sublime. That strategic addition truly sealed their fate as a beloved, frequently requested recipe in my collection, ensuring each bar bursts with a harmonious blend of tropical flavors and textures.
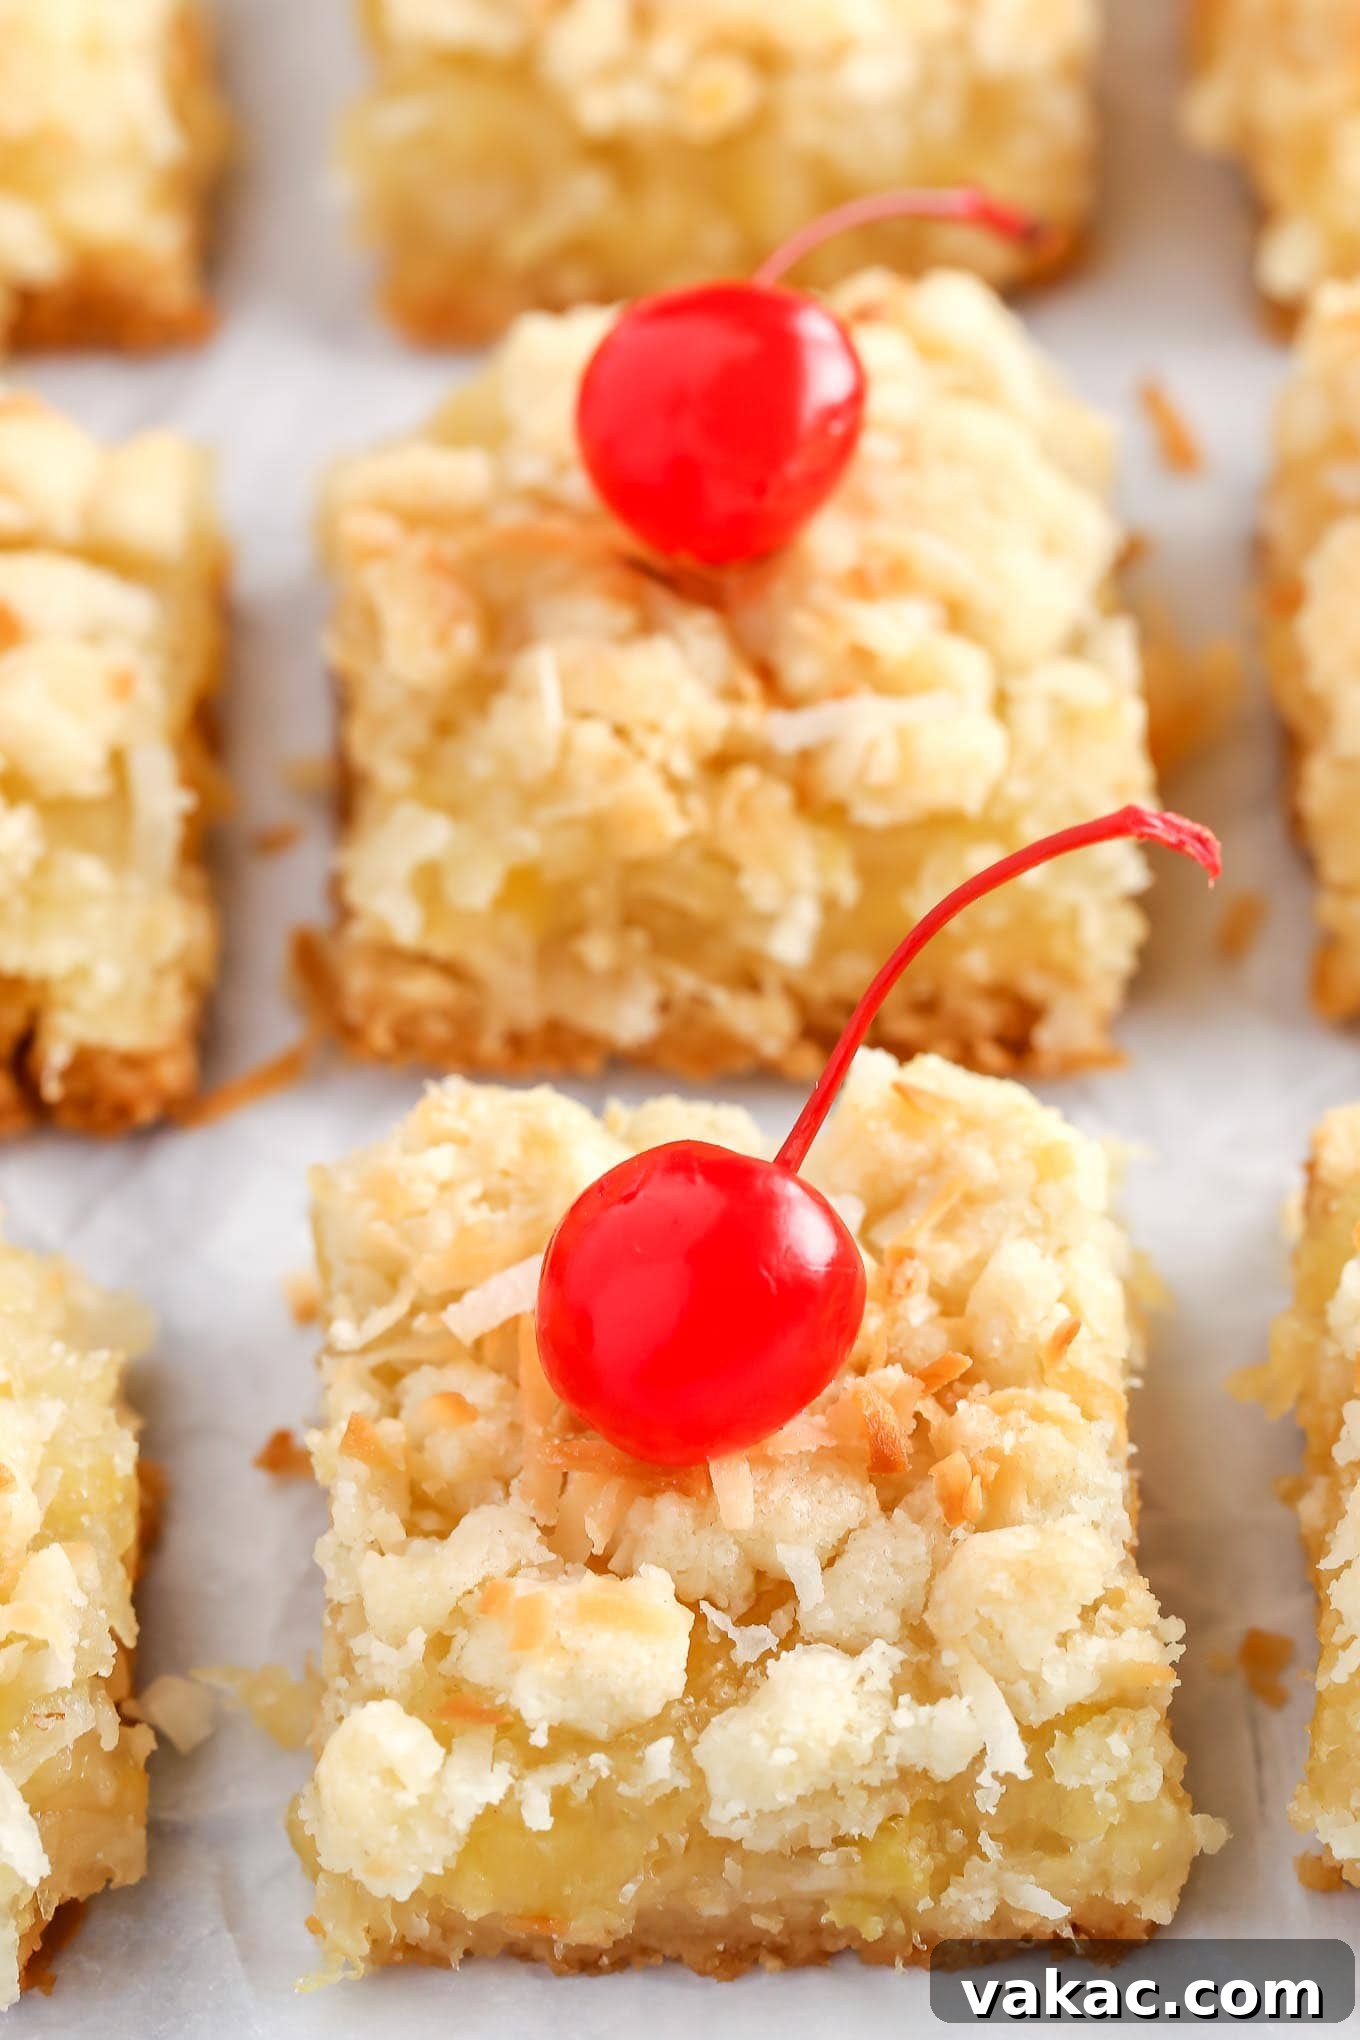
Why These Coconut Pineapple Bars Will Become Your Go-To Dessert
These aren’t just any ordinary dessert bars; they’re a celebration of flavor and texture, meticulously crafted to transport you to a sun-drenched tropical paradise with every single bite. Here’s a deeper dive into why these Coconut Pineapple Bars deserve a permanent and prominent spot in your baking repertoire:
- A Flawless Fusion of Sweet and Tangy: The star of our filling, crushed pineapple, delivers a delightful burst of tangy sweetness that is impeccably balanced by the granulated sugar and the natural sweetness of coconut. This creates a harmonious flavor profile that is never cloyingly sweet, allowing the vibrant fruit notes to truly sing.
- An Irresistible Crumbly and Buttery Texture: The genius of this recipe lies in its dual-purpose crumb mixture. Made from the same simple combination of butter, flour, sugar, and salt, it forms both a tender, rich crust and a wonderfully crunchy, coarse crumb topping. This textural contrast provides an exciting experience with every mouthful, perfectly complementing the smooth, juicy filling.
- Surprisingly Simple to Prepare: Despite their impressive appearance and complex flavor, these bars are incredibly straightforward to make. With common pantry ingredients and an easy-to-follow, step-by-step method, this recipe is perfectly accessible and rewarding for bakers of all skill levels, from novices to seasoned pros.
- Unmatched Versatility for Any Occasion: Whether you’re hosting a lively summer barbecue, looking for a standout treat to bring to a potluck, preparing a holiday dessert, or simply craving a homemade indulgence on a quiet afternoon, these bars are always a resounding crowd-pleaser. Their cheerful, sunny disposition makes them ideal for brightening any gathering or simply elevating your everyday snacking.
- Conveniently Make-Ahead and Freezer-Friendly: One of the best qualities of these bars is their excellent shelf life and freezer-friendly nature. They store beautifully at room temperature for several days, making them a fantastic option for meal prepping your desserts or enjoying throughout a busy week. Plus, they freeze exceptionally well, allowing you to bake a large batch and have delicious treats on hand whenever a craving strikes.
- Authentic Taste of the Tropics: The timeless pairing of sweet pineapple and fragrant coconut effortlessly evokes images of pristine sandy beaches, swaying palm trees, and warm ocean breezes. Each bite offers a mini-vacation, a delightful escape to a tropical haven right in your own home.
The Essential Ingredients for Your Tropical Baking Adventure
Crafting these utterly delectable pineapple coconut bars requires just a handful of common pantry staples, each carefully selected for its crucial role in achieving the perfect taste, texture, and overall balance of this tropical treat. Let’s delve deeper into each key ingredient and understand its contribution:
- All-Purpose Flour: This forms the robust backbone of both our tender, buttery crust and our delightful, crumbly topping. Precision in measurement is paramount when working with flour, as it significantly impacts the final texture of your baked goods. To ensure accuracy, always remember the “spoon and level” method: gently spoon the flour into your measuring cup until it overflows, then use the straight edge of a knife or spoon handle to level off the excess. Avoid scooping directly from the bag, as this can compact the flour and lead to over-measurement, potentially resulting in a dense or dry crust.
- Granulated Sugar: Our primary sweetener, utilized in both the crust mixture and the luscious pineapple filling. The inherent sweetness of pineapple means we can be moderate with added sugar, allowing the fruit’s bright, natural flavors to truly shine. The sugar provides that perfect touch of sweetness, balancing the tanginess of the pineapple and enhancing the rich, nutty notes of the coconut.
- Salt: A seemingly small but incredibly mighty ingredient that plays a critical role in enhancing and balancing flavors. A good pinch of salt is essential in both the crust and the filling. It acts as a powerful flavor enhancer, cutting through sweetness, preventing blandness, and bringing forward the nuanced, complex flavors of both the pineapple and coconut. Do not be tempted to omit it!
- Unsalted Butter: The secret behind a truly rich, tender, and intensely flavorful crumb. Always make it a practice to opt for unsalted butter when embarking on any baking project, as this grants you complete control over the precise salt content in your recipe. For the crumb mixture, ensure your butter is properly softened to room temperature; this critical step allows it to blend seamlessly and beautifully with the dry ingredients, facilitating the formation of those desirable coarse crumbs that define a perfect bar.
- Sweetened Shredded Coconut: This ingredient is absolutely non-negotiable for achieving that authentic, irresistible tropical flavor and adding a wonderfully chewy texture to both the bars themselves and the topping. Be sure to specifically purchase sweetened shredded coconut, which is readily available in the baking aisle of virtually all well-stocked grocery stores. Its natural moisture and inherent sweetness contribute significantly, enriching both the toasted topping and the creamy filling with its unique character.
- Canned Crushed Pineapple: The undisputed star of our vibrant filling! For the absolute best results, it is imperative to choose canned crushed pineapple that has been packed exclusively in its own natural juices, rather than heavy syrup. Thoroughly draining the pineapple before incorporating it into the recipe is a crucial step to prevent the filling from becoming overly watery or thin, ensuring it achieves the desired thick, rich consistency. The natural acidity and sweetness of pineapple juice are precisely what we need for our exquisite filling.
- Cornstarch: This acts as our indispensable thickening agent for the pineapple filling. Cornstarch ensures that the filling sets up beautifully and firmly without ever becoming gelatinous, gummy, or “gloopy.” It yields a smooth, spreadable consistency that not only holds its shape impeccably when the bars are sliced but also contributes to a delightful mouthfeel.
- Fresh Lemon Juice: A bright splash of fresh lemon juice is added to the filling with a specific purpose: to cut through the richness, brighten up all the flavors, and provide a subtle, zesty counterpoint to the inherent sweetness. This touch of acidity is vital; it prevents the bars from tasting overly sweet and, more importantly, enhances and elevates the tropical notes of the pineapple and coconut, making them even more pronounced and enjoyable.
Step-by-Step Guide: Crafting Your Perfect Pineapple Coconut Bars
Embarking on the creation of these irresistible bars is a truly rewarding culinary process. By meticulously breaking down each stage into simple, actionable steps, we ensure a successful and, most importantly, a deliciously satisfying outcome. Here’s your comprehensive guide to bringing these tropical treats to life:
1. Preparing the Versatile Crumb Mixture (Crust & Topping)
This ingenious recipe utilizes a single, versatile crumb mixture that serves a dual purpose: it forms both the rich, buttery foundation of the crust and the delightful, crunchy streusel topping. To begin, in a generously sized mixing bowl, thoroughly whisk together your all-purpose flour, granulated sugar, and a critical pinch of salt. Next, cut your softened, unsalted butter into smaller, manageable pieces and gradually add them to your dry ingredients. Using either a handheld electric mixer on a low speed setting (which is highly recommended for efficiency), a sturdy fork, or even your clean fingertips, meticulously blend the butter into the flour mixture until it achieves a texture that resembles coarse crumbs. The ideal consistency should be somewhat sandy, yet still feature distinct, small pea-sized pieces of butter. This particular texture is absolutely crucial for achieving that signature crumbly, tender effect in both the crust and the topping. When gently pressed between your fingers, the mixture should hold together momentarily, yet still retain its overall crumbly characteristic.
2. Forming the Sturdy Base Crust
Once your perfectly textured crumb mixture is prepared, carefully measure and set aside exactly 1 cup of this mixture into a separate, smaller mixing bowl. This reserved portion will be used later as your exquisite topping. To this 1 cup of reserved mixture, gently fold in 1/4 cup of the sweetened shredded coconut. Once combined, cover this bowl tightly with plastic wrap and transfer it to the refrigerator to keep it cool and firm while the base crust undergoes its initial bake. The remaining crumb mixture in the large bowl is destined to become your foundational crust. Scoop this mixture into your meticulously prepared 8×8-inch baking dish. Ensure that your aluminum foil lining has ample overhangs on all sides; this thoughtful preparation will make lifting the entire slab of baked bars out of the pan remarkably easy later. With the mixture in the pan, use the bottom of a glass or your hands to press it down firmly and evenly across the entire bottom of the pan, creating a compact, cohesive base. This firm pressing is vital for ensuring a sturdy crust that will hold its integrity beautifully when the bars are eventually sliced.
3. The Crucial Partial Baking of the Crust
Your expertly formed base crust now requires a head start in the oven. Place the baking dish into your preheated oven (set to 350°F or 175°C) and bake for approximately 18 to 20 minutes. Keep a close eye on it; it’s ready when the top appears visibly set and the edges have just begun to acquire a delicate, light golden-brown hue. This pre-baking step is absolutely crucial. It helps to create a crisp and firm base that will not become soggy or soft once the moist and luscious pineapple filling is introduced. While the crust is baking to perfection, this interim period presents the ideal opportunity to seamlessly prepare your vibrant and flavorful pineapple coconut filling, ensuring a smooth and efficient transition in the overall baking process.
4. Preparing the Luscious Pineapple Coconut Filling
While your crust is diligently baking, turn your attention to the irresistible filling. In a medium-sized saucepan, thoroughly combine the well-drained crushed pineapple, the remaining granulated sugar, cornstarch, and the splash of fresh lemon juice. Whisk these ingredients together until they are completely smooth and well-integrated. Place the saucepan over a medium heat setting, stirring the mixture frequently and consistently. As the mixture gradually heats, the cornstarch will begin to activate, and you will notice the filling starting to visibly thicken. Continue to cook, stirring, for approximately 5 to 7 minutes, or until the filling achieves a consistency similar to that of a thick, spreadable jam. Once it has reached this desired thickness, promptly remove the saucepan from the heat and gently stir in the remaining 1/2 cup of sweetened shredded coconut. This final addition is key; it not only elevates the authentic tropical flavor but also contributes a wonderful, subtle chewiness to the creamy, vibrant filling. Set the filling aside to cool slightly while your crust finishes its initial bake.
5. Expert Assembly and Final Baking
Once the partially baked crust is out of the oven and has cooled slightly, evenly spoon the warm pineapple coconut filling over its surface. Take care to gently spread the filling right to the very edges of the crust, ensuring uniform coverage. Next, retrieve your chilled crumb and coconut topping mixture from the refrigerator. Generously and evenly sprinkle this delightful mixture over the entire pineapple layer, creating a tempting streusel. Carefully return the baking dish to the oven and continue to bake at 350°F (175°C) for an additional 30 to 40 minutes. The bars are perfectly baked when the topping achieves a beautiful, golden-brown color and the pineapple filling is visibly bubbling around the edges of the pan. This final bake allows the crumb topping to become wonderfully toasted and crisp, and most importantly, it gives all the exquisite flavors ample time to meld and deepen beautifully.
6. The Art of Cooling, Slicing, and Serving
Now comes perhaps the most challenging, yet ultimately most rewarding, part of any baking project: patience! Once baked to perfection, carefully remove the pan from the oven and transfer it to a wire rack to cool completely at room temperature. Allowing these bars to cool thoroughly is an absolutely essential step, as it provides the pineapple filling with adequate time to set properly and firm up. Attempting to slice them while still warm will result in a messy, unset filling and crumbly, difficult-to-manage bars. Once they are completely cooled (this process can take a couple of hours, so resist the urge!), use the convenient foil overhangs to carefully lift the entire slab of bars out of the pan. Transfer the cooled slab to a clean cutting board and, with a sharp knife, slice it into 9 generously sized bars or 16 smaller, more delicate squares, depending on your preference. For an extra touch of tropical flair and a vibrant visual pop, consider garnishing each individual bar with a bright maraschino cherry before serving. Now, finally, you can indulge and enjoy the exquisite taste of paradise you’ve created!
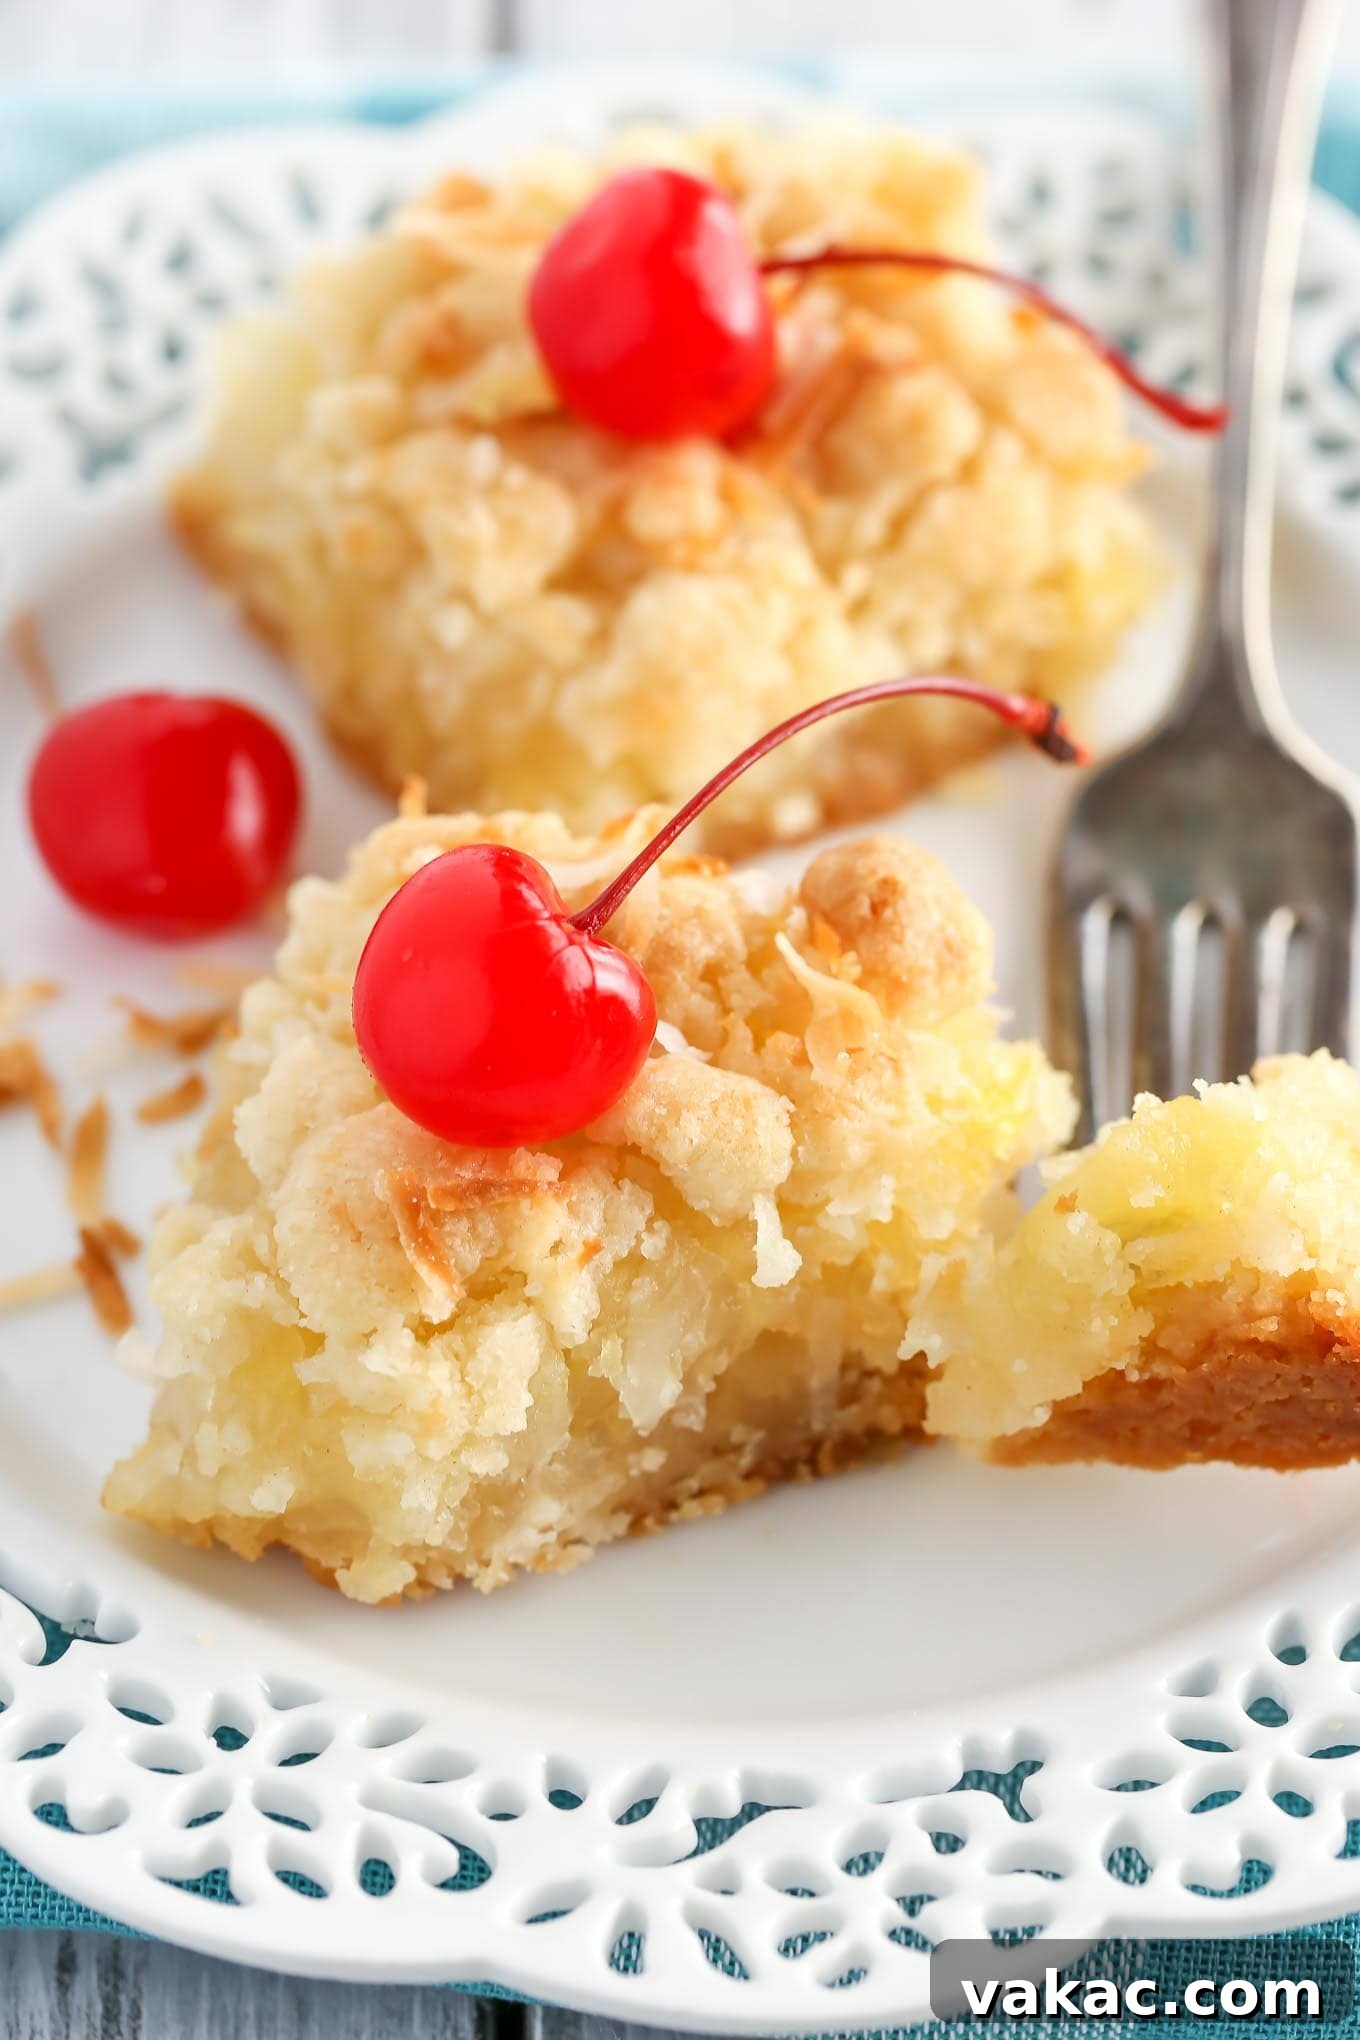
Storage & Make-Ahead Tips for Maintaining Peak Freshness
These delightful Coconut Pineapple Bars are remarkably versatile, often tasting just as delicious (if not more so!) on day two or three as they do straight from the oven. This makes them an ideal candidate for planning ahead, preparing for gatherings, or simply enjoying as a grab-and-go treat throughout the week. Implementing proper storage techniques is key to ensuring they retain their delightful texture, vibrant flavor, and overall freshness for as long as possible:
- Room Temperature Storage: For immediate enjoyment or short-term storage, your cooled pineapple coconut bars can be kept in an airtight container at room temperature for up to 5 days. It is absolutely crucial that the bars are completely and thoroughly cooled before placing them into the container. Storing warm bars will create condensation within the container, which can lead to a soggy crust and a less appealing texture.
- Refrigeration for Extended Freshness: While not strictly necessary for safety within the 5-day window, if you reside in a particularly warm or humid climate, or if you simply prefer your desserts chilled, you can certainly store them in an airtight container in the refrigerator. When refrigerated, these bars will maintain their quality for up to an entire week. Chilling can also make them even firmer and easier to slice.
- Freezing for Long-Term Enjoyment: These Coconut Pineapple Bars freeze exceptionally well, making them perfect for batch baking and future indulgence! Once the bars are completely cooled to room temperature, slice them into individual portions. For optimal protection against freezer burn, tightly wrap each individual bar in plastic wrap, then place the wrapped bars into an airtight freezer-safe container or a heavy-duty freezer bag. They can be safely frozen for up to 3 months without significant loss of quality or flavor.
- Thawing Instructions: To enjoy your frozen bars, the most straightforward method is to simply transfer them from the freezer to the refrigerator and allow them to thaw overnight. For a quicker thaw if you’re in a pinch, you can leave individual wrapped bars on the kitchen counter at room temperature for approximately one to two hours before serving.
Expert Baking Tips & Creative Flavor Variations for Your Bars
Achieving baking perfection often comes down to understanding a few fundamental insights and mastering subtle techniques. Here are some expert tips meticulously gathered to ensure your Coconut Pineapple Bars are absolutely flawless from crust to topping, alongside an array of exciting ideas for creative variations to keep your baking adventures fresh and inspiring:
Baking Tips for Unparalleled Success:
- Precision in Flour Measurement: Re-emphasizing a crucial point: always measure your all-purpose flour by spooning it into the measuring cup and then leveling it off. Scooping directly from the bag can compact the flour, leading to an excess amount. Too much flour will result in a dry, dense, and potentially tough crust, detracting from the desired tender texture.
- Avoid Overmixing the Crumb Mixture: When incorporating the butter into the dry ingredients for the crust and topping, mix only until coarse crumbs have just formed. Overmixing can lead to the development of gluten in the flour, which will result in a tougher, less desirable shortbread-style crust. The goal is tenderness and flakiness.
- Thoroughly Drain the Crushed Pineapple: This step is non-negotiable. Any excess liquid from the crushed pineapple will inevitably lead to a watery, runny filling that will not set properly, making your bars soggy and difficult to slice. Use a fine-mesh sieve and press down on the pineapple to extract as much juice as possible before adding it to your saucepan.
- Cool Completely Before Slicing: This is arguably the most important rule for bar recipes. Warm bars will be incredibly messy, difficult to handle, and impossible to slice cleanly, as the filling needs sufficient time to firm up and set its structure. Patience is truly a virtue here; allow the bars to cool completely to room temperature, ideally for several hours or even overnight, for the cleanest cuts and best texture.
- The Importance of Pan Size: An 8×8-inch square baking pan is specifically recommended for this recipe, as it ensures the ideal thickness for both the buttery crust and the generous pineapple filling. If you opt to use a larger pan, such as a 9×13-inch, be aware that your layers will be considerably thinner, and consequently, your baking times will need significant adjustment to prevent over-baking and dryness.
- The Delightful Optional Garnish: For a delightful visual flourish and a playful nod to a tropical cocktail, consider garnishing your fully cooled bars with vibrant maraschino cherries. This not only adds a lovely pop of color that enhances their appeal but also contributes a touch of extra sweetness and a classic “piña colada” vibe.
Creative Variations to Elevate Your Bars:
- The Pure Pineapple Enthusiast Version: If, for any reason, coconut isn’t to your personal taste, you can certainly omit it entirely from both the topping mixture and the pineapple filling. The bars will still be wonderfully delicious, showcasing the pure, bright, and tangy flavor of pineapple as the star.
- Introduce a Nutty Crunch: For an added layer of texture and a complementary flavor profile, consider gently folding in 1/4 cup of finely chopped pecans, walnuts, or macadamia nuts into the crumb topping mixture. Toasting the nuts lightly beforehand can further enhance their flavor.
- A Hint of Spiced Tropical Warmth: To imbue your pineapple filling with a warmer, more complex, and intriguing flavor profile, try adding a small pinch of ground cinnamon or nutmeg, approximately 1/4 teaspoon, alongside the other filling ingredients. These spices pair surprisingly well with pineapple.
- The Zesty Lime Boost: Elevate the tropical essence of the bars by incorporating 1 teaspoon of fresh lime zest into the pineapple filling, either in addition to or as a substitute for the lemon juice. Lime’s bright, aromatic zest pairs exquisitely with both pineapple and coconut, amplifying the summery notes.
- A Luscious Glaze Topping: For an extra layer of sweetness and a glossy finish, prepare a simple glaze. Whisk together about 1 cup of powdered sugar with 1-2 tablespoons of pineapple juice (from the drained can) or milk until smooth. Drizzle this glaze elegantly over the completely cooled bars before serving.
- Experiment with Different Fruits: While pineapple is a classic for a reason, the basic concept of these crumb bars is incredibly adaptable. Consider exploring other fruit fillings such as crushed mango, finely diced apricots, or even a mixed berry blend (adjusting sugar content as needed for tartness).
More Irresistible Pineapple Desserts to Explore!
If you’ve utterly fallen in love with the vibrant, sweet, and tangy flavors of pineapple in these delightful bars, you’re truly in for a treat! Pineapple is an incredibly versatile fruit that shines brilliantly in a wide array of dessert creations, bringing its unique tropical charm to every bite. Here are a few more delicious and highly recommended recipes to add to your ever-growing baking list:
- The Quintessential Classic Pineapple Upside Down Cake
- Our Delightful and Moist Pineapple Carrot Cake
- Charming Individual Pineapple Upside Down Cupcakes
- The Beloved Southern-Inspired Hummingbird Cake
Recipe: Coconut Pineapple Bars
A true tropical classic, these Coconut Pineapple Bars feature a rich, buttery shortbread-style crust and a sweet, tangy pineapple-coconut filling, all generously crowned with a delightful, golden crumbly coconut streusel. This recipe is straightforward to follow, yielding simple-to-make bars that are absolutely perfect for any gathering, celebration, or simply as a sunny indulgence!
Yields: 9 generously sized bars or 16 smaller, more delicate bars
Prep time: 25 minutes
Cook time: 55 minutes
Total time: 1 hour 20 minutes
Ingredients
For the crust and topping:
- 1 ½ cups (190 grams) all-purpose flour, spooned & leveled
- ½ cup (100 grams) granulated sugar
- ¼ teaspoon salt
- ¾ cup (170 grams) unsalted butter, softened
- ¼ cup (18 grams) sweetened shredded coconut
For the pineapple coconut filling:
- 1 (20-ounce) can crushed pineapple, well drained
- ½ cup (100 grams) granulated sugar
- ¼ cup (32 grams) cornstarch
- 1 tablespoon (15 ml) fresh lemon juice
- ½ cup (35 grams) sweetened shredded coconut
Instructions
To make the crust and topping:
- Preheat your oven to 350°F (175°C). Line an 8-inch square baking pan with aluminum foil, ensuring a generous overhang on all sides. This will create “handles” for easy removal of the baked bars. Set the prepared pan aside.
- In a large mixing bowl, combine the all-purpose flour, granulated sugar, and salt. Cut the softened unsalted butter into smaller pieces and add them to the dry ingredients. Using a handheld electric mixer on low speed, a sturdy fork, or even your clean hands, beat or mix until the butter is fully incorporated and the mixture forms coarse, pea-sized crumbs.
- Carefully measure out 1 cup of this crumb mixture and transfer it to a separate small mixing bowl. Stir 1/4 cup of the sweetened shredded coconut into this reserved portion. Cover the bowl tightly with plastic wrap and place it in the refrigerator to chill while the crust bakes.
- Take the remaining crumb mixture from the large bowl and transfer it into your prepared 8-inch baking pan. Using the bottom of a glass, a flat spatula, or your hands, firmly and evenly press the mixture across the bottom of the pan to create a compact crust.
- Bake the pressed crust in the preheated oven for 18 to 20 minutes, or until the top appears set and the edges begin to turn a light golden brown. Remove the pan from the oven and set it aside on a wire rack to cool slightly while you prepare the filling.
To make the pineapple coconut filling:
- In a medium saucepan, thoroughly whisk together the well-drained crushed pineapple, the remaining 1/2 cup of granulated sugar, cornstarch, and fresh lemon juice until the mixture is smooth and well combined.
- Place the saucepan over medium heat, stirring constantly and diligently, for about 5 to 7 minutes. The mixture will gradually thicken to a consistency resembling a thick jam as it cooks. Once thickened, remove the saucepan from the heat and gently stir in the remaining 1/2 cup of sweetened shredded coconut.
- Pour the warm pineapple coconut filling evenly over the partially baked crust in the baking pan, carefully spreading it gently with a spatula to cover the entire surface right to the edges.
- Retrieve the chilled crumb and coconut topping mixture from the refrigerator. Evenly sprinkle this mixture generously over the entire pineapple filling layer.
- Return the baking pan to the oven and continue to bake for an additional 30 to 40 minutes, or until the topping is beautifully golden brown and the pineapple filling is gently bubbling around the edges of the pan.
- Once baked, remove the pan from the oven and transfer it to a wire rack to cool completely at room temperature. This cooling step is absolutely crucial for allowing the filling to set properly.
- Once completely cool (which may take a couple of hours), use the foil overhangs to carefully lift the entire slab of bars out of the baking pan. Transfer it to a clean cutting board and, using a sharp knife, slice it into 9 larger squares or 16 smaller, bite-sized bars. If desired, garnish with vibrant maraschino cherries before serving. Enjoy your delightful tropical creation!
Notes:
This recipe was lovingly adapted from a classic Land O’Lakes Pineapple Crumble Bars recipe, with careful adjustments made to enhance the coconut flavor and optimize the texture for an even more exquisite tropical treat.
Did you create these delicious Coconut Pineapple Bars? We are always thrilled to see your culinary masterpieces! Please mention @livewellbakeoften on Instagram or tag your photos with #livewellbakeoften so we can admire your beautiful baking!