
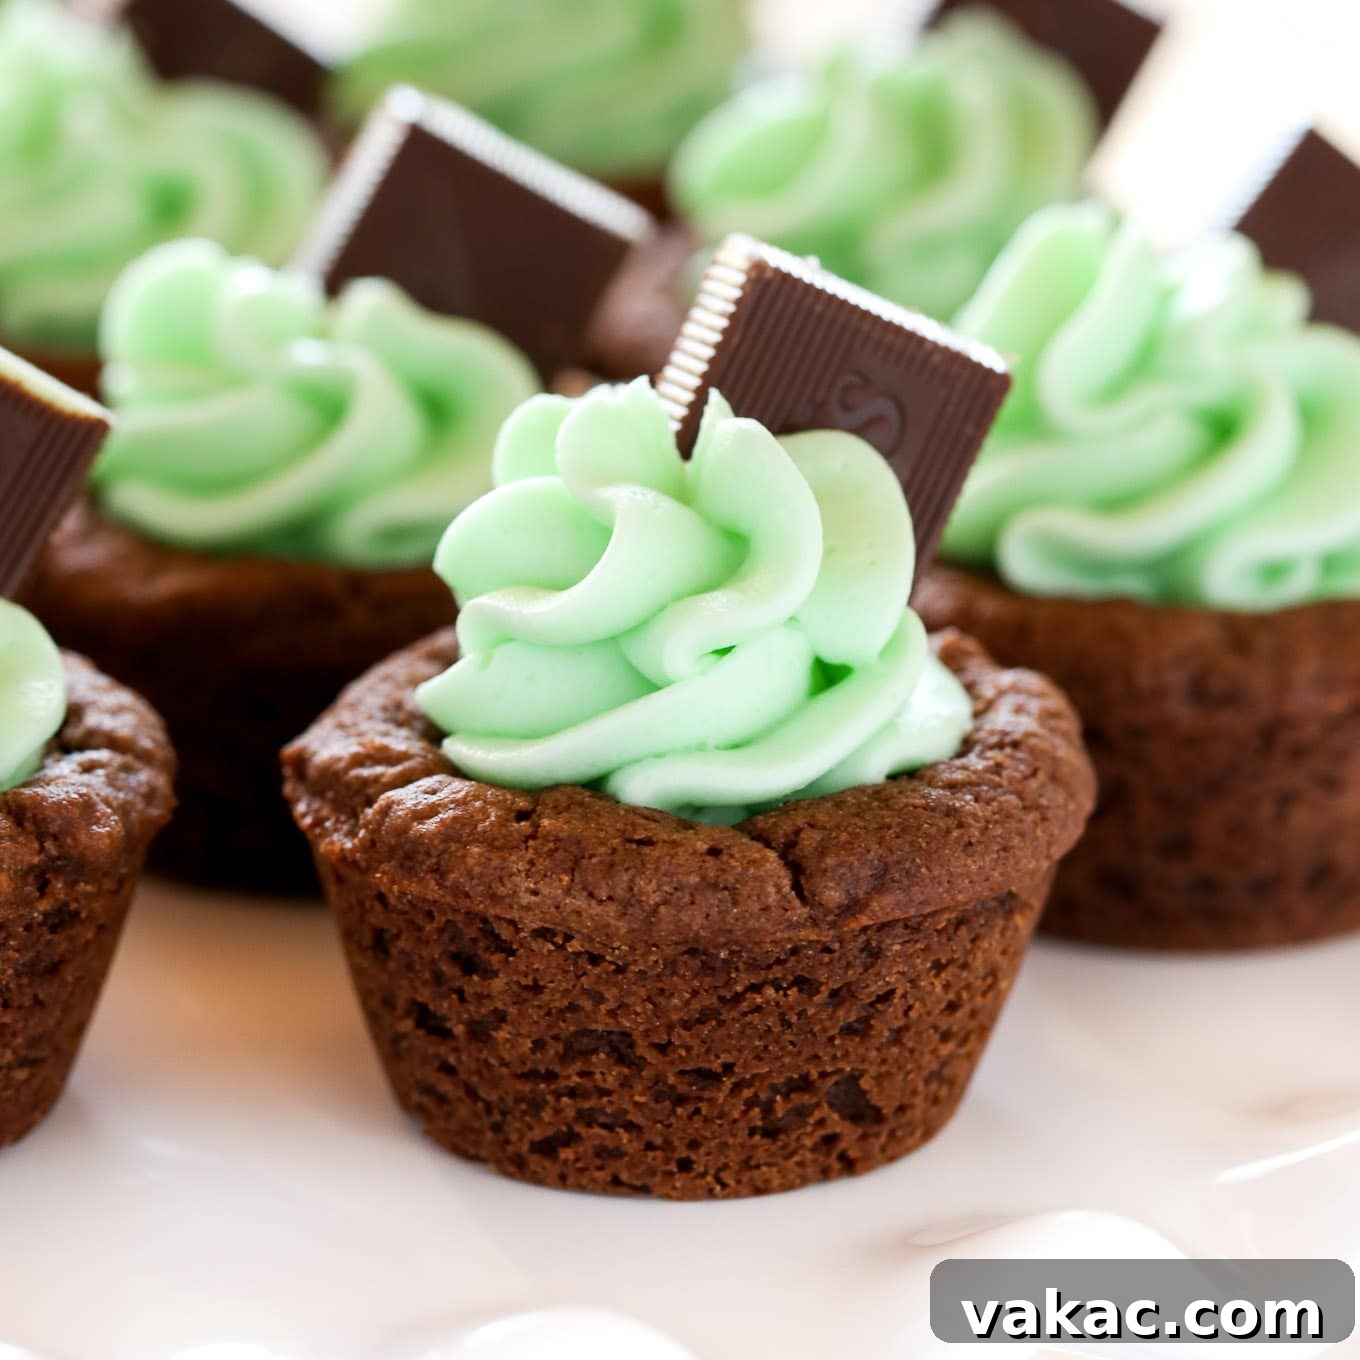
Welcome to the ultimate guide for crafting delightful Mint Chocolate Cookie Cups – a treat that promises to enchant your taste buds and become a beloved staple in your baking repertoire. These irresistible chocolate cookie cups, filled with a luscious, easy-to-make mint frosting and crowned with a classic Andes mint, are more than just a dessert; they’re a celebration of one of the most cherished flavor combinations. Whether you’re planning a festive spread for St. Patrick’s Day or simply seeking a refreshing indulgence for any mint chocolate enthusiast, this recipe is guaranteed to be a hit. Get ready to bake, decorate, and savor every minty, chocolatey bite!
*Photos and recipe updated March 2017*
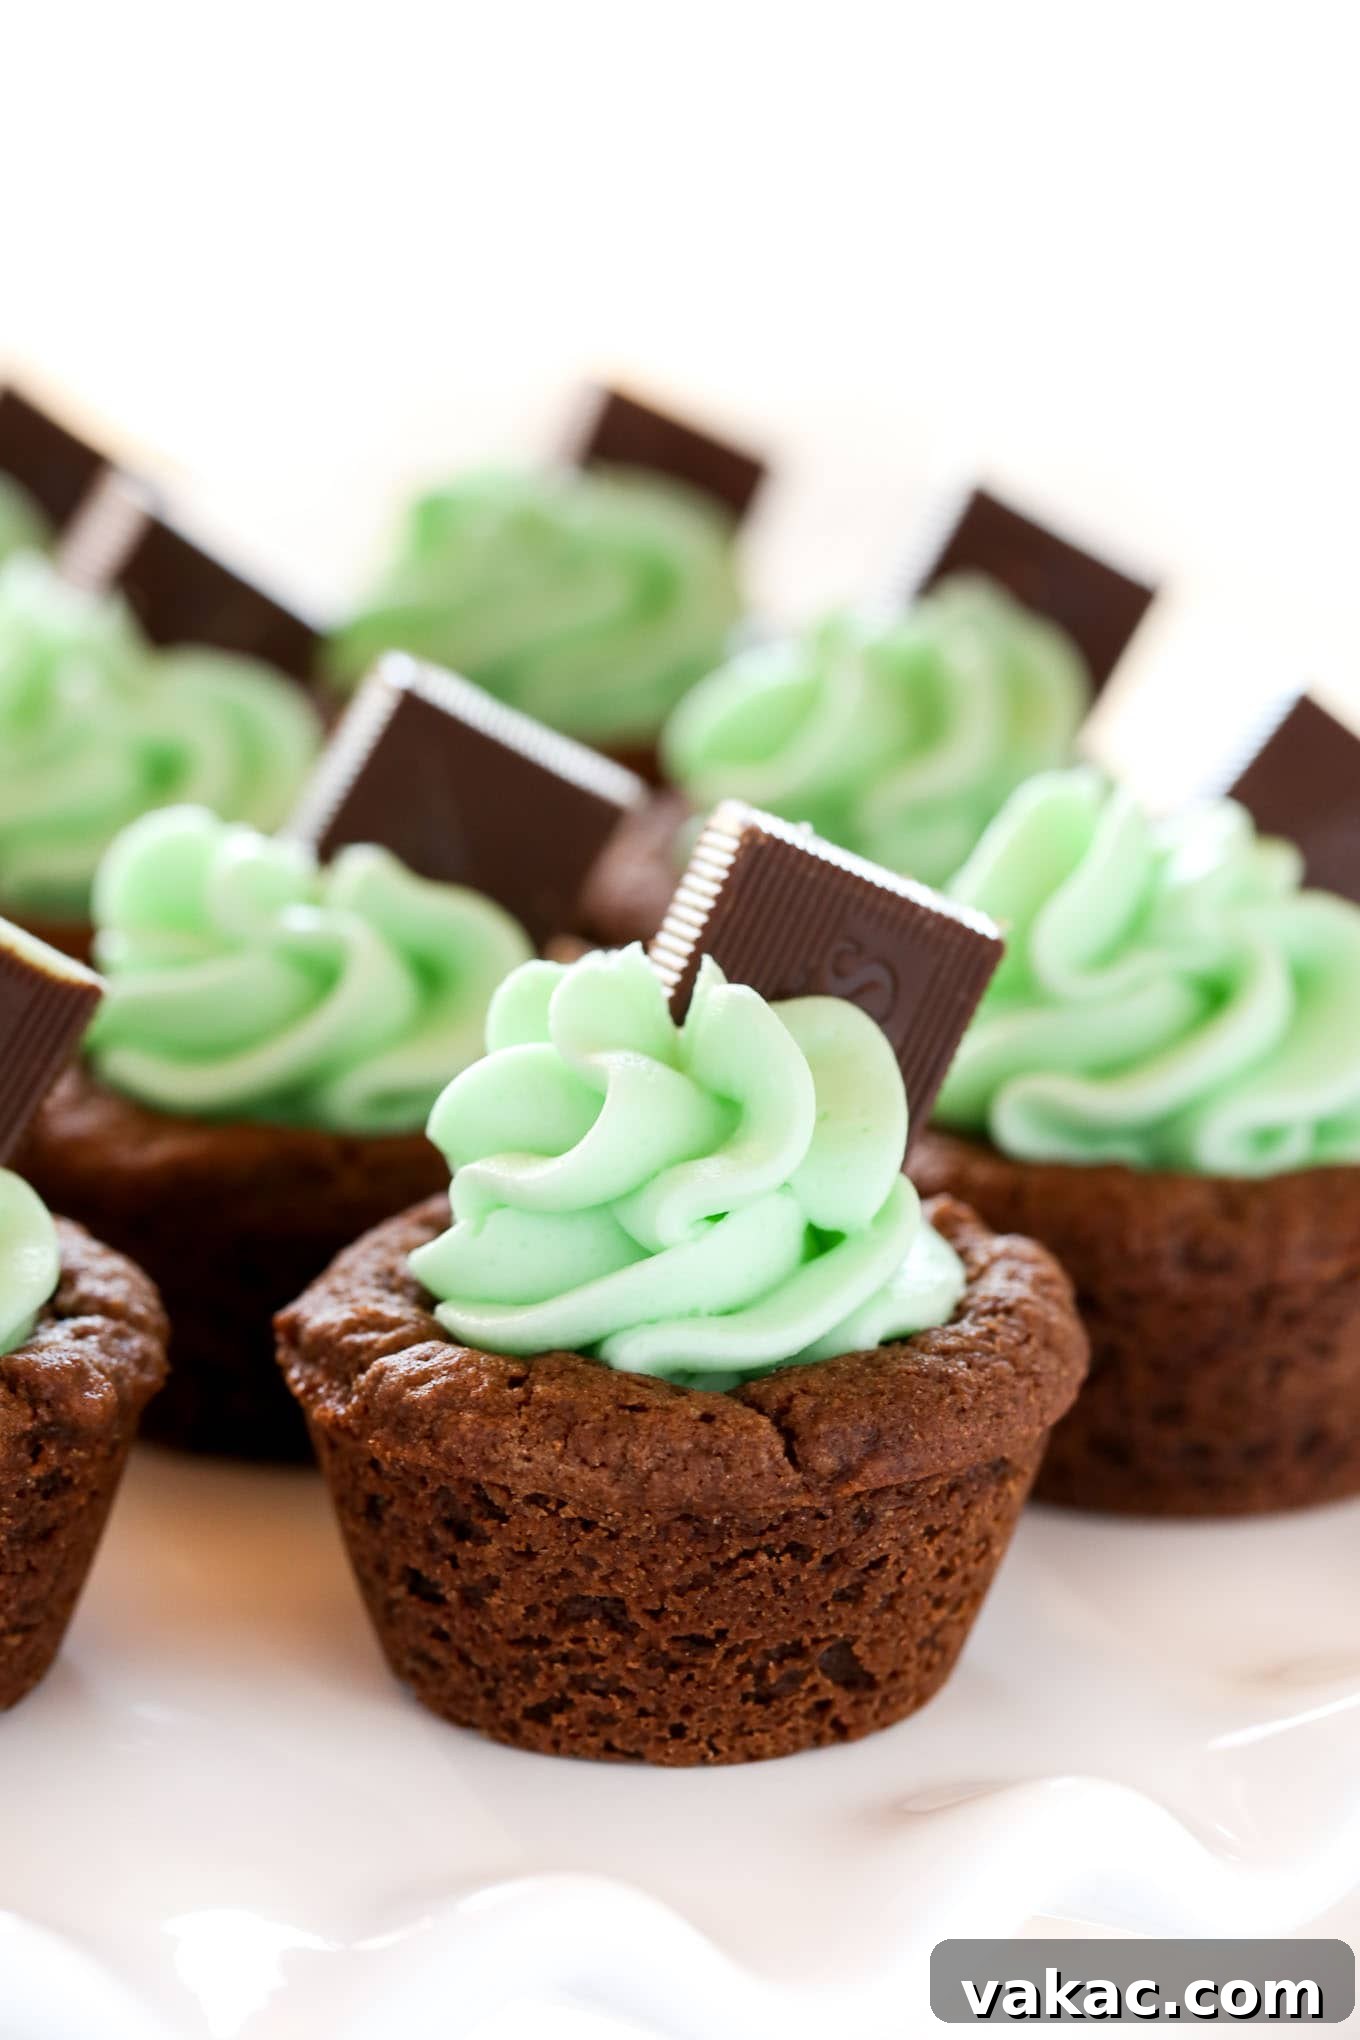
Why You’ll Fall in Love with These Mint Chocolate Cookie Cups
If there’s one flavor pairing that rivals the classic peanut butter and chocolate, it’s undeniably mint and chocolate. There’s something inherently refreshing and deeply satisfying about the cool, crisp essence of mint mingling with the rich, comforting taste of chocolate. For me, it’s a combination I can never resist – my go-to ice cream order is always mint chocolate chip, and it never disappoints. This recipe takes that beloved duo to a new level, transforming it into charming, bite-sized cookie cups that are perfect for sharing, gifting, or simply treating yourself.
I’ve crafted these cookie cups countless times over the years, and they consistently receive rave reviews. Their miniature size makes them ideal for parties, potlucks, or as a delightful end to any meal. And with St. Patrick’s Day often signaling the arrival of all things green and minty, it felt like the perfect moment to refresh this beloved recipe with updated photos and share it anew with all of you. Prepare for these little cups to become a firm favorite!
The Foundation: Crafting the Perfect Chocolate Cookie Cups
The journey to these exquisite Mint Chocolate Cookie Cups begins with a robust and incredibly flavorful chocolate cookie base. This isn’t just any cookie; it’s designed to be the perfect vessel for our creamy mint frosting. The process is straightforward, starting with my favorite chocolate cookie dough recipe that consistently delivers a tender, chewy cookie with a rich cocoa depth. You’ll prepare the dough, then carefully divide it among the cavities of a mini muffin pan. The magic truly happens in the oven, where they transform into perfectly formed cups, ready to embrace their minty filling.
Baking Tips for Flawless Cookie Cups
Baking cookie cups differs slightly from baking traditional drop cookies, and a little attention to detail can make all the difference. The key is finding that sweet spot between a perfectly baked center and a firm-enough edge. If you prefer your cookie cups on the softer side, I recommend checking them around the 10-minute mark. Remember that, like regular cookies, they will continue to firm up as they cool outside the oven. Personally, I find that 11 minutes at 350°F yields the ideal texture – slightly crisp on the edges and beautifully tender in the middle. However, every oven has its unique quirks, so trust your judgment and make slight adjustments based on your oven’s performance.
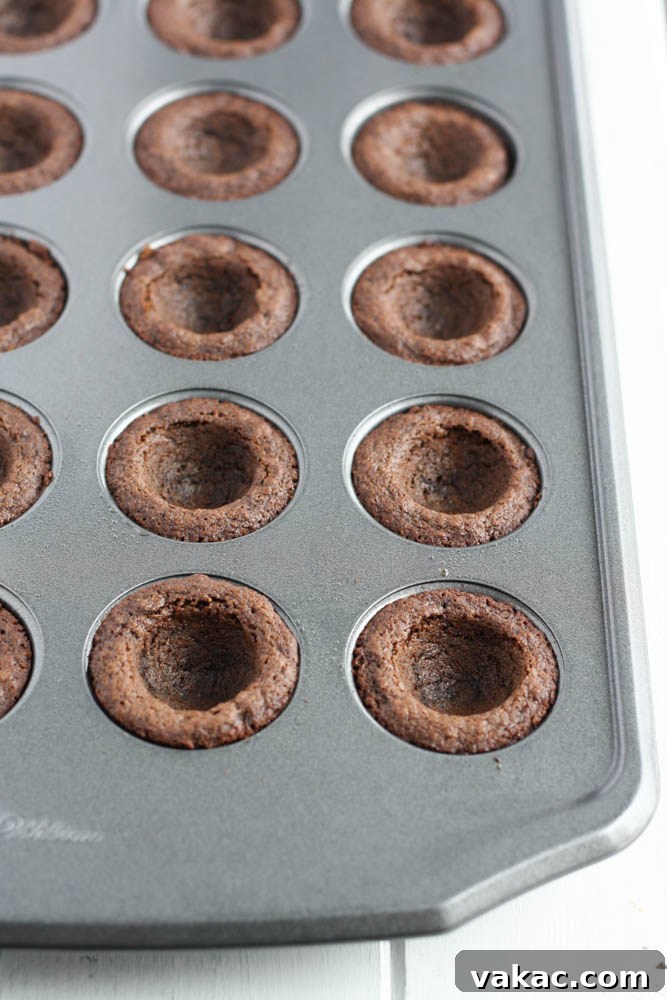
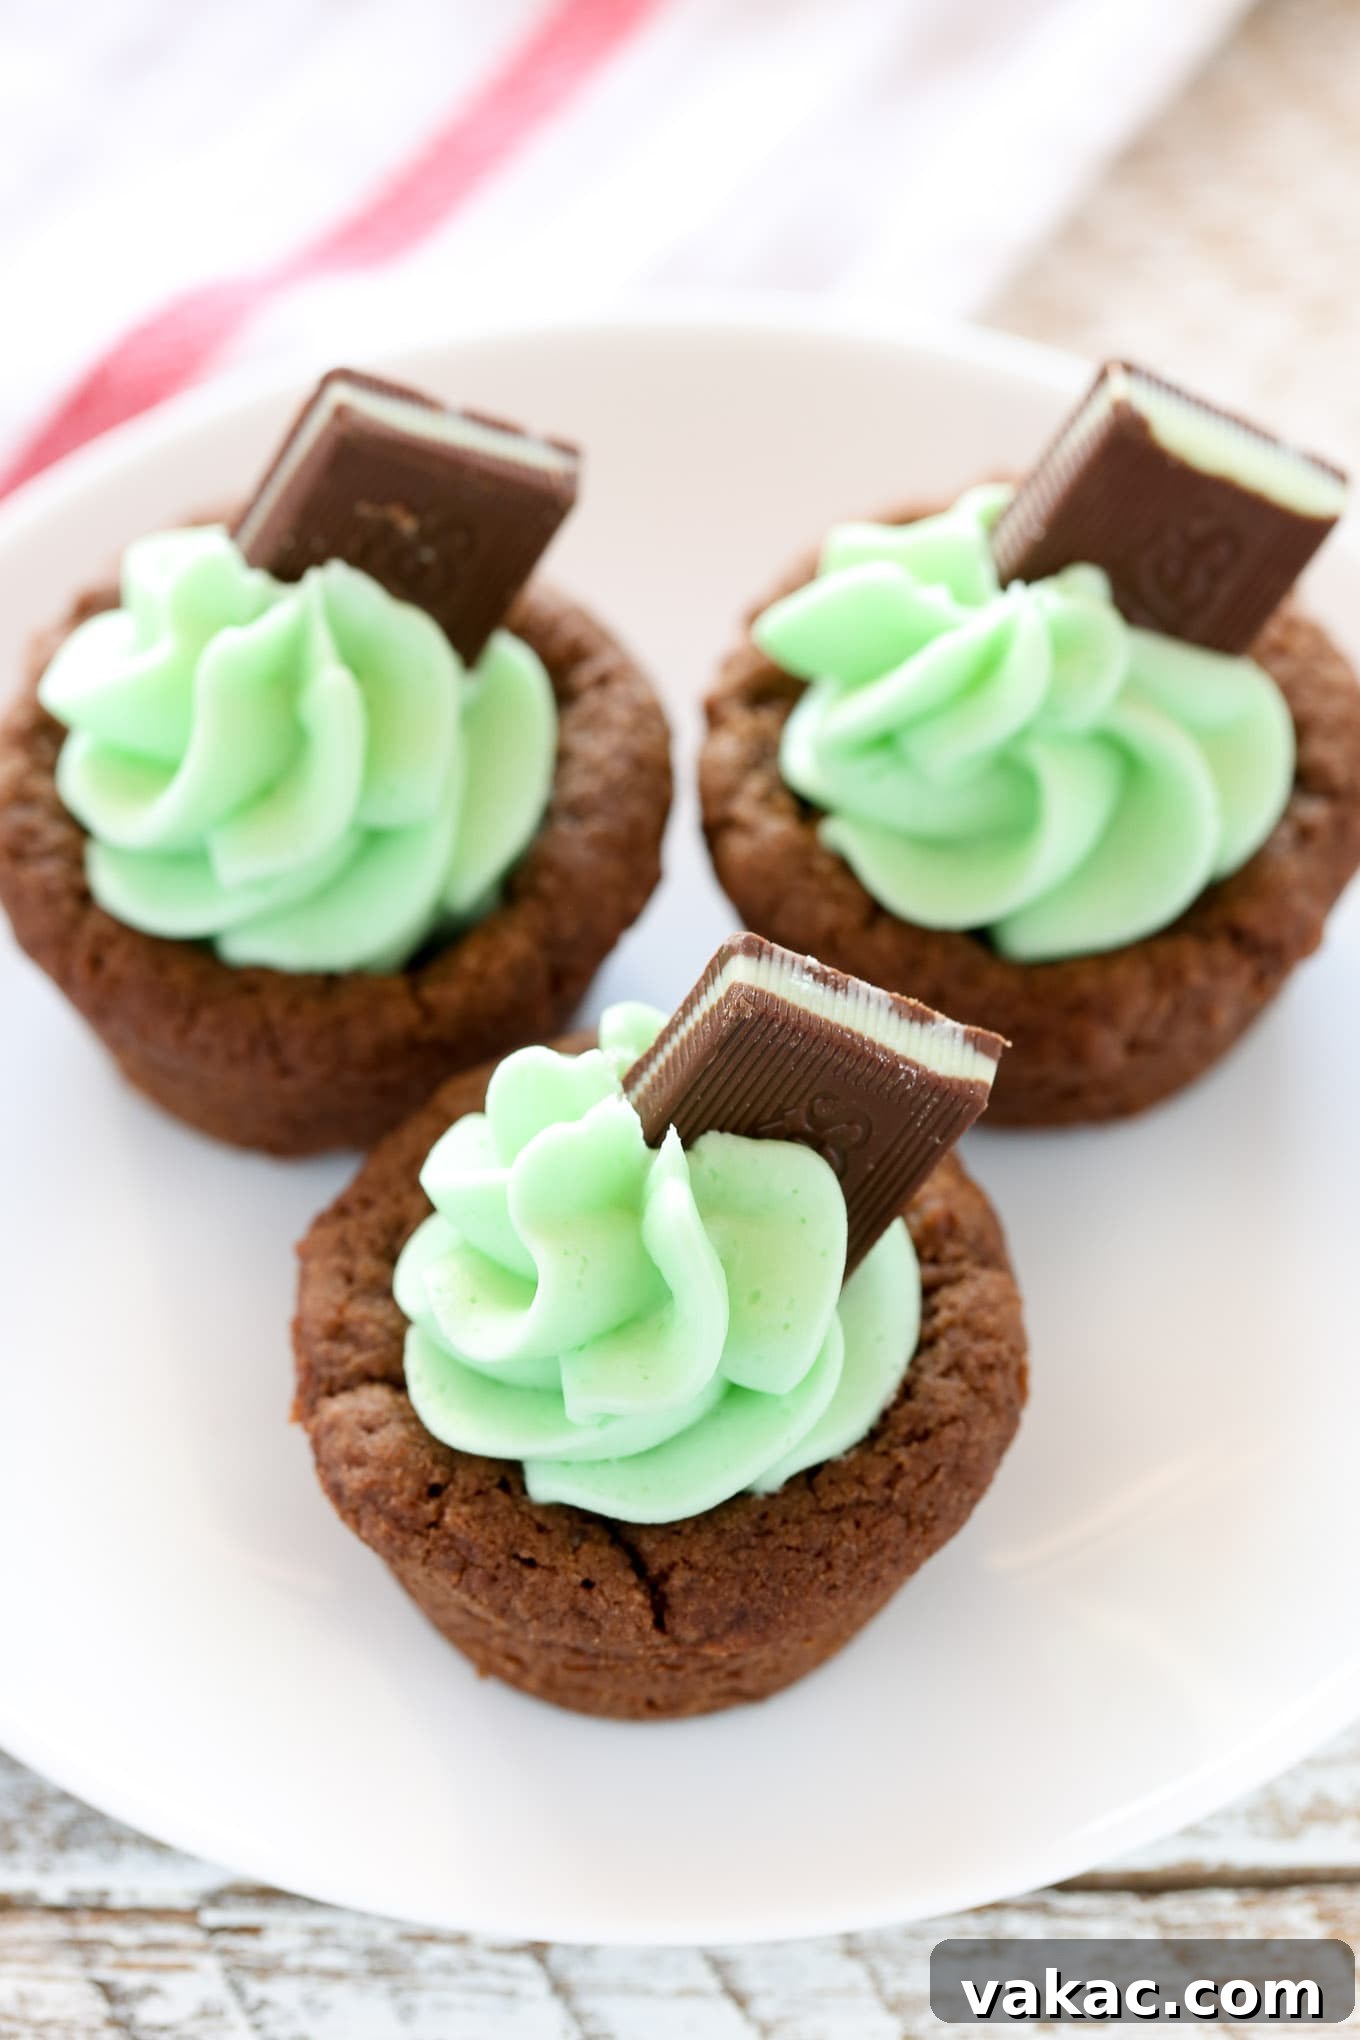
Achieving that signature “cup” indentation is crucial for holding your luscious frosting. The image above illustrates exactly what they should look like as they cool. The trick is to create this indentation immediately after removing the pan from the oven. While the cookies are still warm and pliable, use the back of a measuring teaspoon to gently press down into the center of each cookie cup. This simple step forms the perfect well, ensuring each cup is ready for its generous dollop of mint buttercream.
Crafting the Dreamy Mint Buttercream Frosting
Once your chocolate cookie cups have cooled, it’s time to prepare the star of the show: the easy mint buttercream frosting. This frosting is remarkably simple to whip up and delivers that refreshing minty kick that perfectly complements the rich chocolate. You’ll combine butter, confectioners’ sugar, a touch of cream, and, of course, the mint extract. For the “mint” flavoring, you have a choice: peppermint extract or general mint extract. I personally lean towards peppermint extract. While mint extract can be used, it often contains spearmint, which, if used in excess, can sometimes impart a flavor reminiscent of toothpaste. Peppermint, on the other hand, provides a clean, bright, and universally loved minty taste that pairs flawlessly with chocolate. A few drops of green food dye will give your frosting that iconic St. Patrick’s Day hue, making these treats visually appealing as well as delicious.
Piping and Presentation
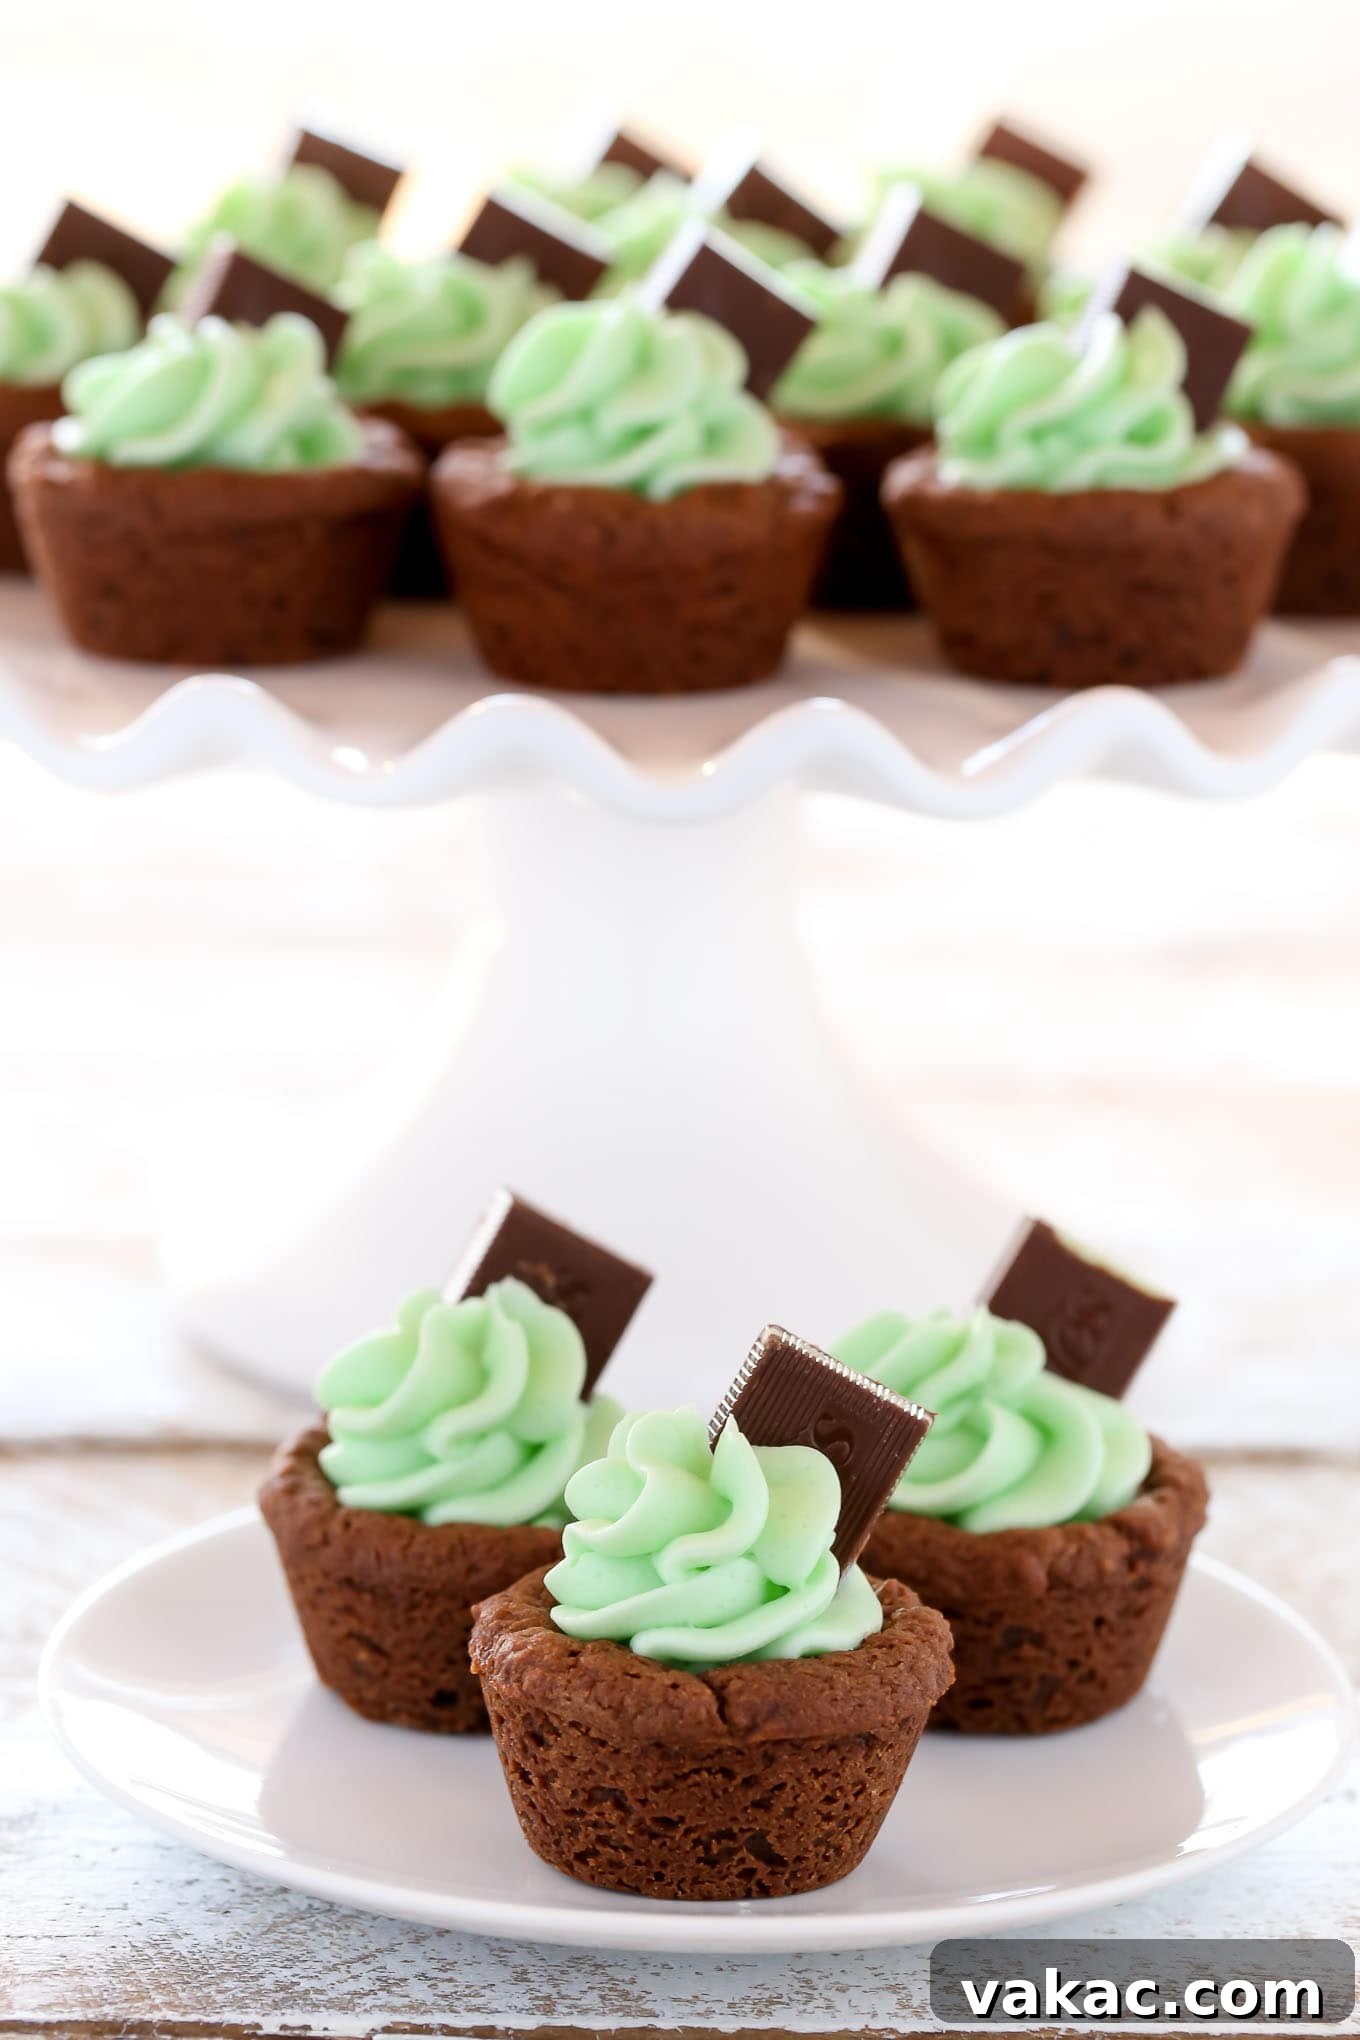
For a beautiful presentation, piping the frosting into the cooled cookie cups creates an elegant swirl. If you don’t have a dedicated piping bag and tip, don’t worry! A simple ziplock bag will do the trick. Just spoon the frosting into one corner of the bag, snip off a small piece of the corner, and you have an instant piping tool. This allows you to control the flow and create lovely peaks of minty goodness. Top each frosted cookie cup with half an Andes mint for an extra layer of mint chocolate bliss and a charming decorative touch.
And if you’re not a massive fan of mint, or simply want to explore other delicious possibilities, these versatile cookie cups can be paired with a variety of frosting flavors. Discover how to create other delicious buttercream variations with my comprehensive guide on how to make buttercream frosting, which includes several different flavor options!
Mint Chocolate Cookie Cups
Pin Recipe
Save Recipe
Leave a Review
Ingredients
Yields: 24 cookie cups
For the chocolate cookie cups:
- 1 and 1/3 cups (165 grams) all-purpose flour (spooned & leveled)
- 1/3 cup (25 grams) unsweetened cocoa powder, sifted
- 1/2 teaspoon baking soda
- 1/4 teaspoon salt
- 1/2 cup (115 grams) unsalted butter, softened to room temperature
- 1/2 cup (100 grams) light brown sugar
- 1/2 cup (100 grams) granulated sugar
- 1 large egg
- 1 teaspoon vanilla extract
For the mint frosting:
- 1/2 cup (115 grams) unsalted butter, softened to room temperature
- 1 and 1/2 cups (180 grams) confectioners’ sugar
- 1-2 tablespoons (15-30 ml) heavy cream or milk
- 1/4 – 1/2 teaspoon peppermint or mint extract (adjust to taste)
- 2-3 drops green food dye
Optional:
- 12 Andes mints, cut in half
Instructions
To make the cookie cups:
- Preheat oven to 350°F (175°C). Lightly spray a 24-count mini muffin pan with non-stick cooking spray and set aside.
- In a large mixing bowl, whisk together the flour, cocoa powder, baking soda, and salt.
- In the bowl of a stand mixer fitted with the paddle attachment (or using a handheld mixer in a large bowl), cream together the softened butter, light brown sugar, and granulated sugar for 1-2 minutes until light and fluffy. Then, mix in the egg and vanilla extract one at a time until thoroughly combined, scraping down the sides of the bowl as needed.
- Gradually add the dry ingredients to the wet ingredients, mixing on low speed until just combined. Be careful not to overmix.
- Evenly distribute the chocolate cookie dough among all 24 cavities of the mini muffin pan. Each cavity should receive a little over 1 tablespoon of dough.
- Bake at 350°F (175°C) for 11-13 minutes, or until the tops of the cookie cups are set and the edges are lightly golden.
- Remove the pan from the oven. Immediately use the back of a measuring teaspoon to gently press into the center of each warm cookie cup, creating an indentation. Allow the cookie cups to cool in the pan for five minutes before carefully removing them and transferring them to a wire rack to cool completely.
To make the mint frosting:
- In the bowl of a stand mixer fitted with the paddle attachment (or using a handheld mixer), beat the softened butter until smooth and creamy.
- Gradually add the confectioners’ sugar and heavy cream (or milk) to the butter, mixing on low speed until combined, then increase speed and beat until light and fluffy.
- Add the peppermint (or mint) extract and green food coloring. Mix until fully combined and the color is uniform. Taste the frosting and add more extract if you desire a stronger mint flavor.
- Once the cookie cups are completely cooled, pipe the mint frosting into the center of each one. Garnish each frosted cookie cup with half of an Andes mint. Serve immediately and enjoy!
Notes
The cookie cups may seem a bit soft when you first remove them from the oven, which is perfectly normal. They will firm up considerably as they cool in the pan and then on the wire rack.
Store these Mint Chocolate Cookie Cups in an airtight container at room temperature for up to three days for optimal freshness. For longer storage, they can be refrigerated for up to a week, or even frozen for up to a month (thaw at room temperature before serving).
Cuisine: American
Course: Dessert
Author: Danielle Rye
Did you make this recipe? We’d love to see your creations! Mention @livewellbakeoften on Instagram or tag #livewellbakeoften.
Love Mint Chocolate? Explore More!
If these Mint Chocolate Cookie Cups have awakened your inner mint-chocolate enthusiast, then you’re in for a treat! This incredible flavor combination is versatile and always a crowd-pleaser. Here are a couple more must-try recipes that celebrate the refreshing pairing of mint and chocolate, perfect for expanding your dessert repertoire or satisfying any craving.
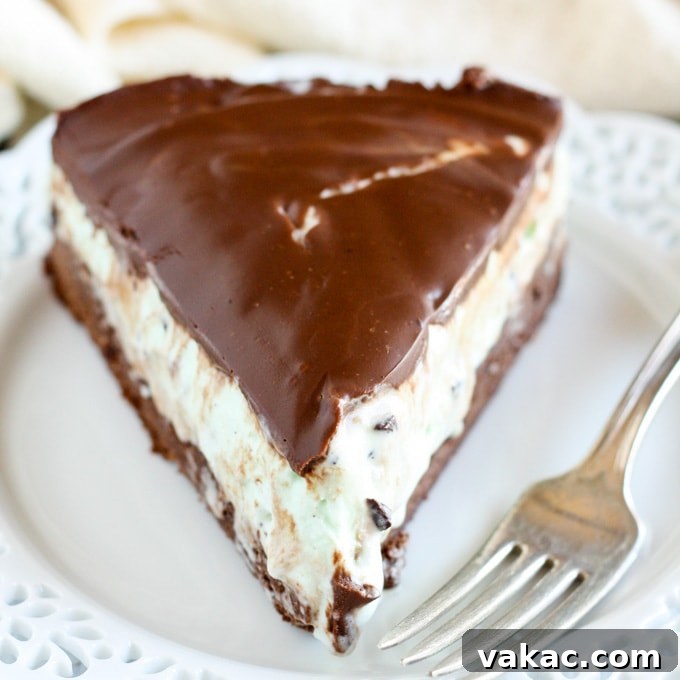
First, indulge in my rich and decadent Mint Chocolate Chip Ice Cream Brownie Pie. It combines a fudgy brownie base with cool, creamy mint chocolate chip ice cream for a truly show-stopping dessert that’s surprisingly easy to assemble.
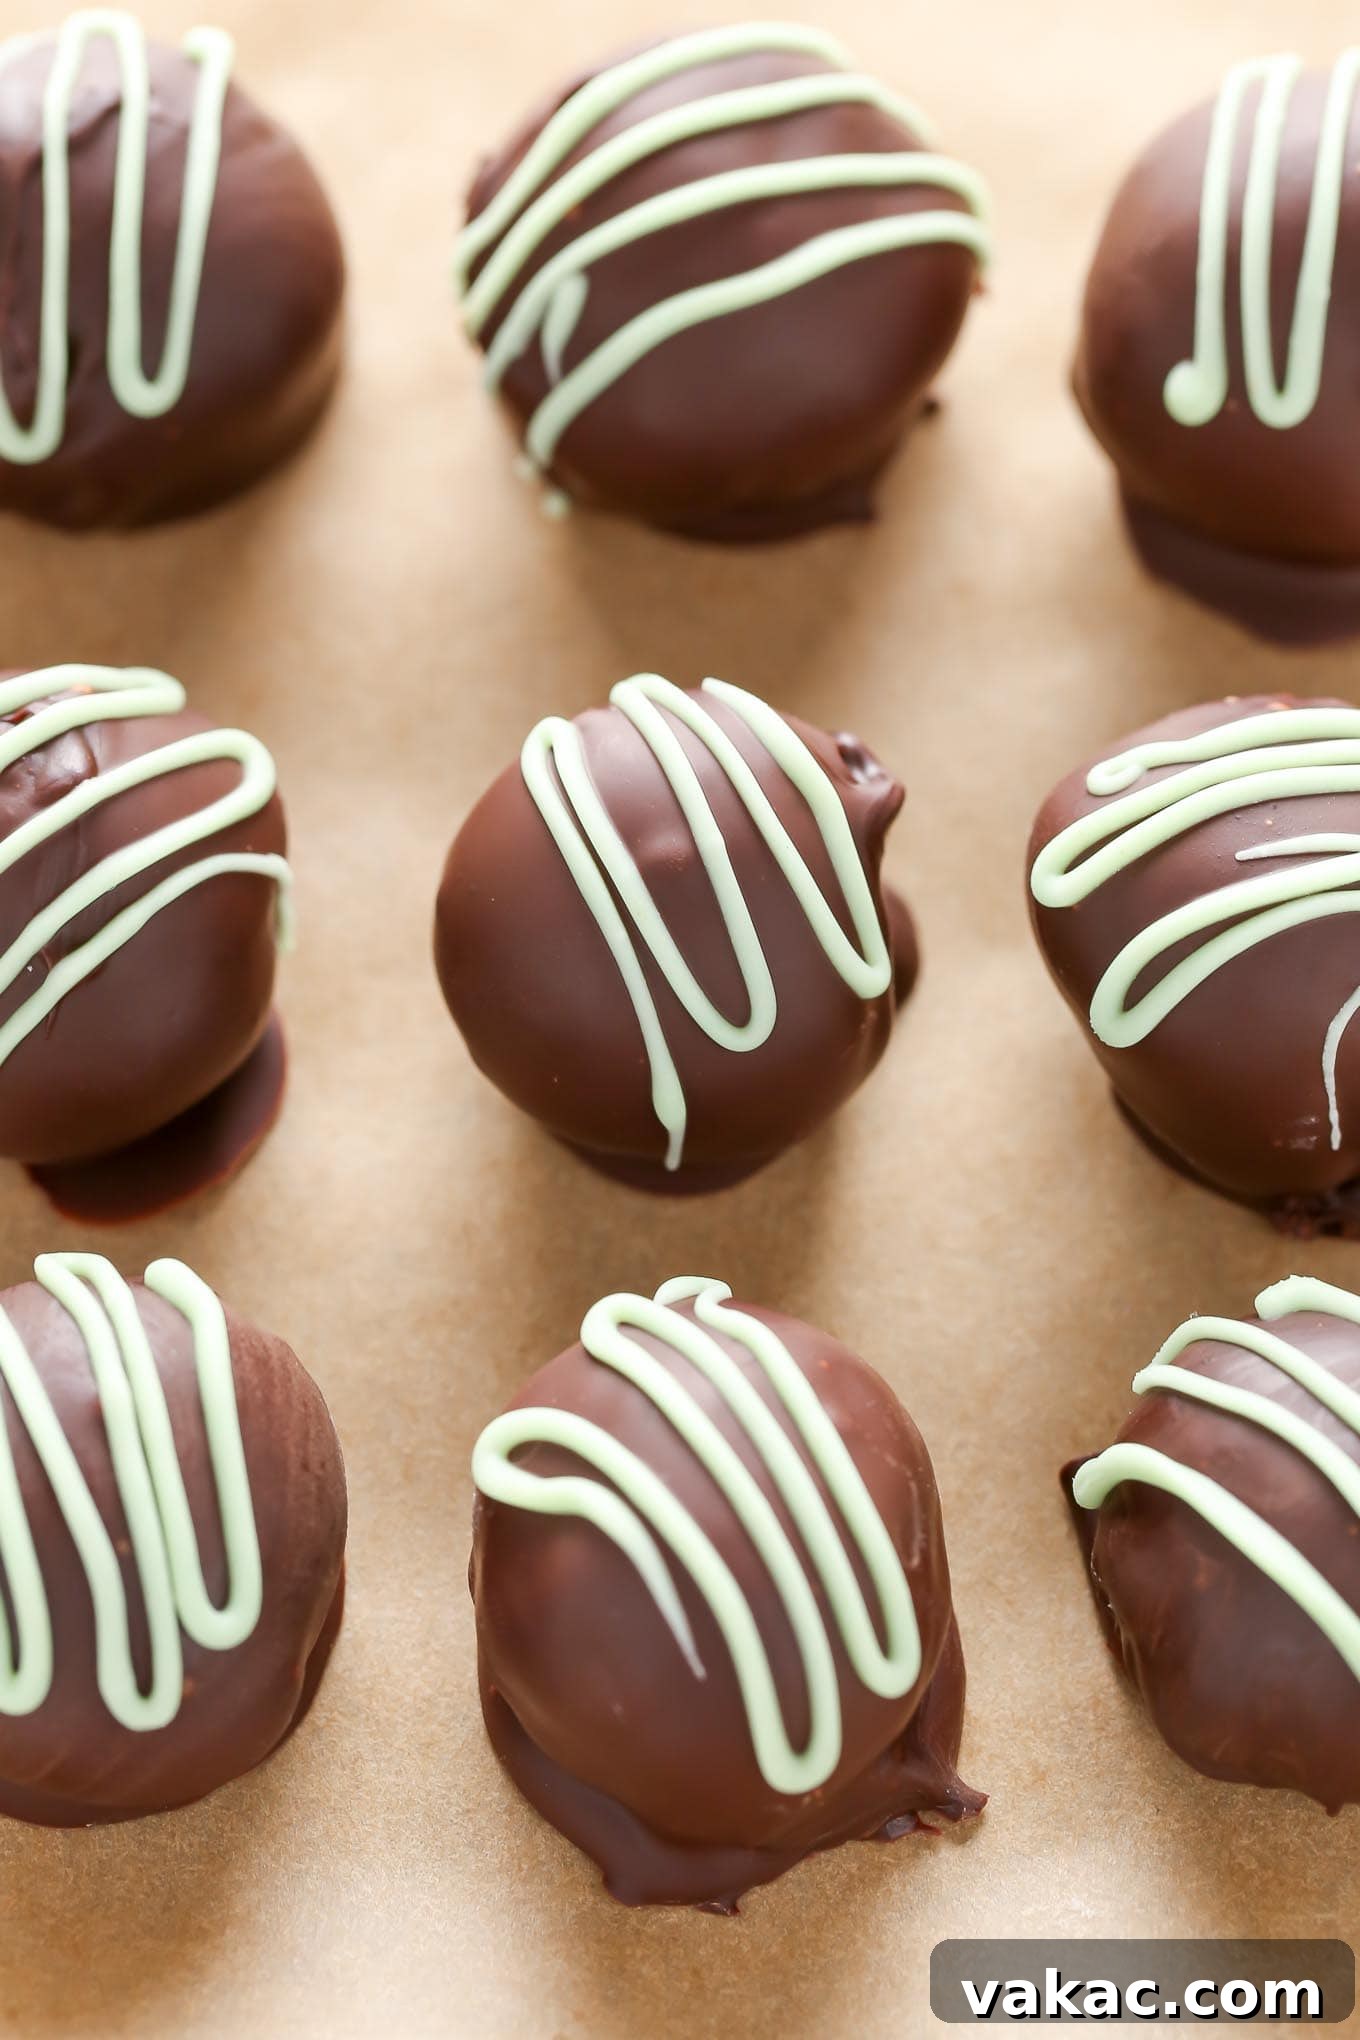
Next, for a simpler yet equally satisfying treat, try these easy Mint Chocolate Truffles! Requiring just 4 simple ingredients and able to be made using only your microwave, these truffles are a fantastic quick dessert for any mint chocolate lover looking for a rich, melt-in-your-mouth experience.
Whether you opt for the simplicity of the truffles, the grandeur of the brownie pie, or the charming appeal of these cookie cups, you’re sure to find a new favorite way to enjoy the classic combination of mint and chocolate. Happy baking!