
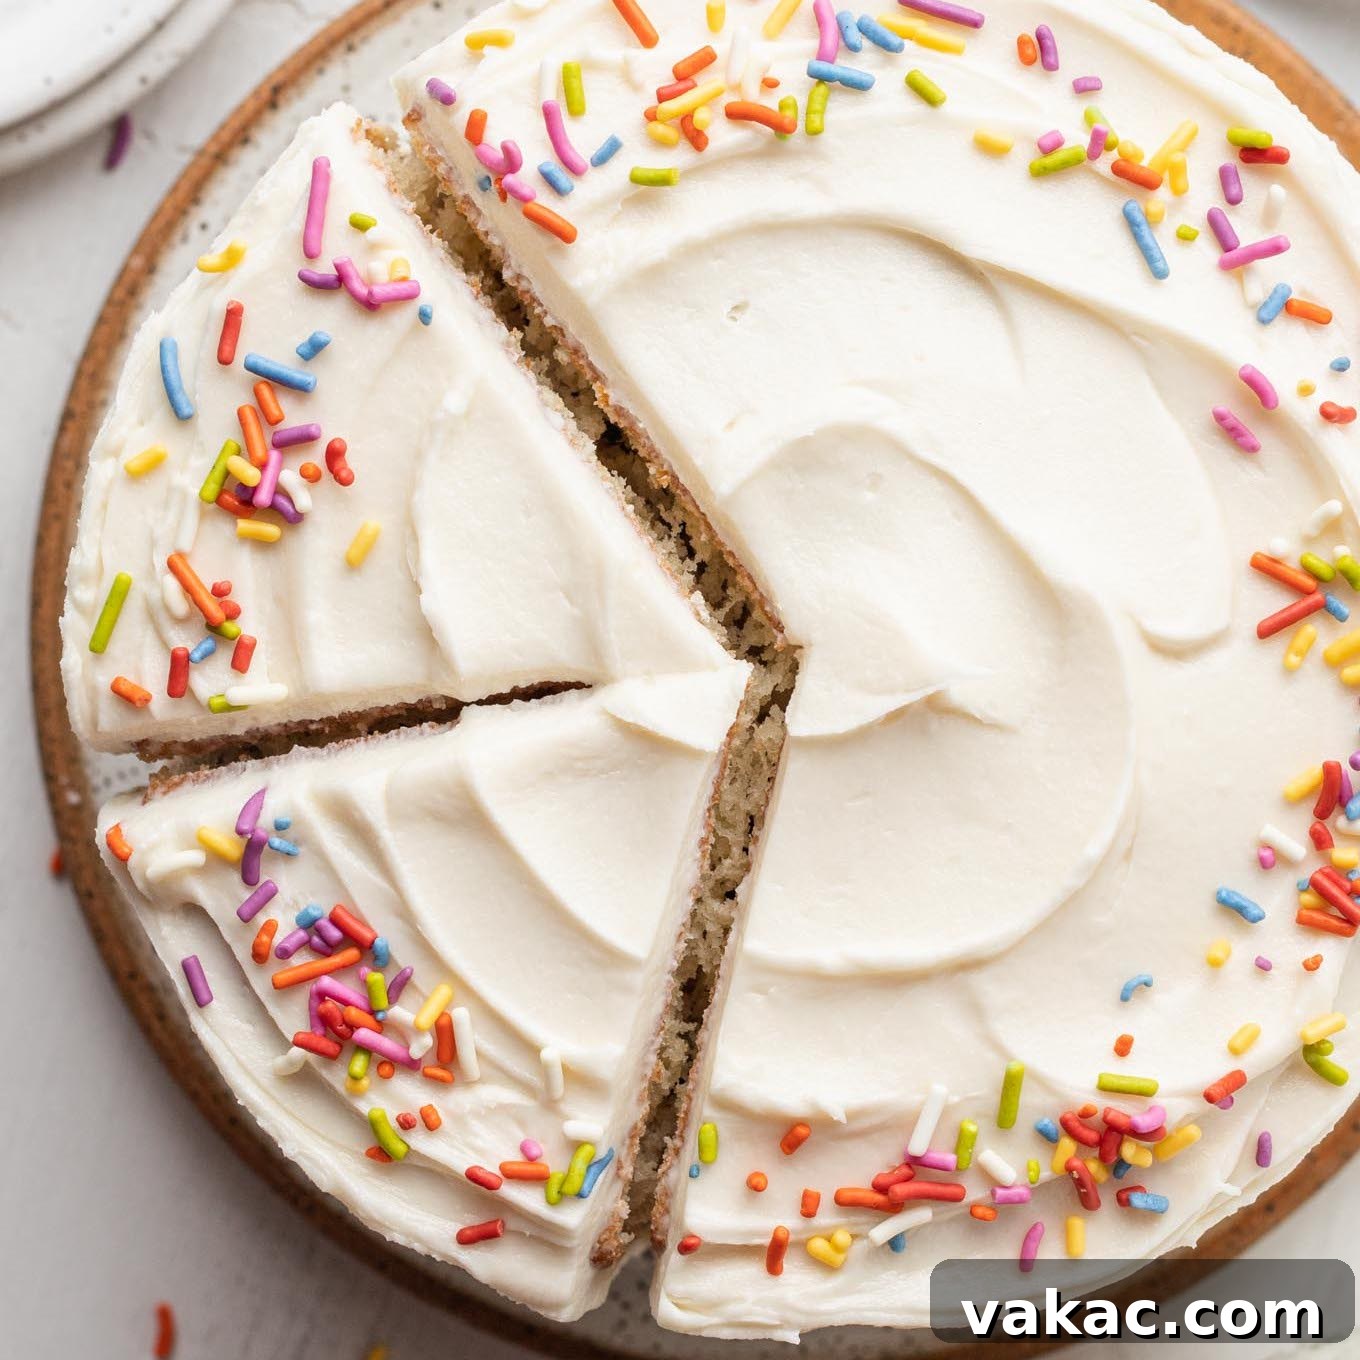
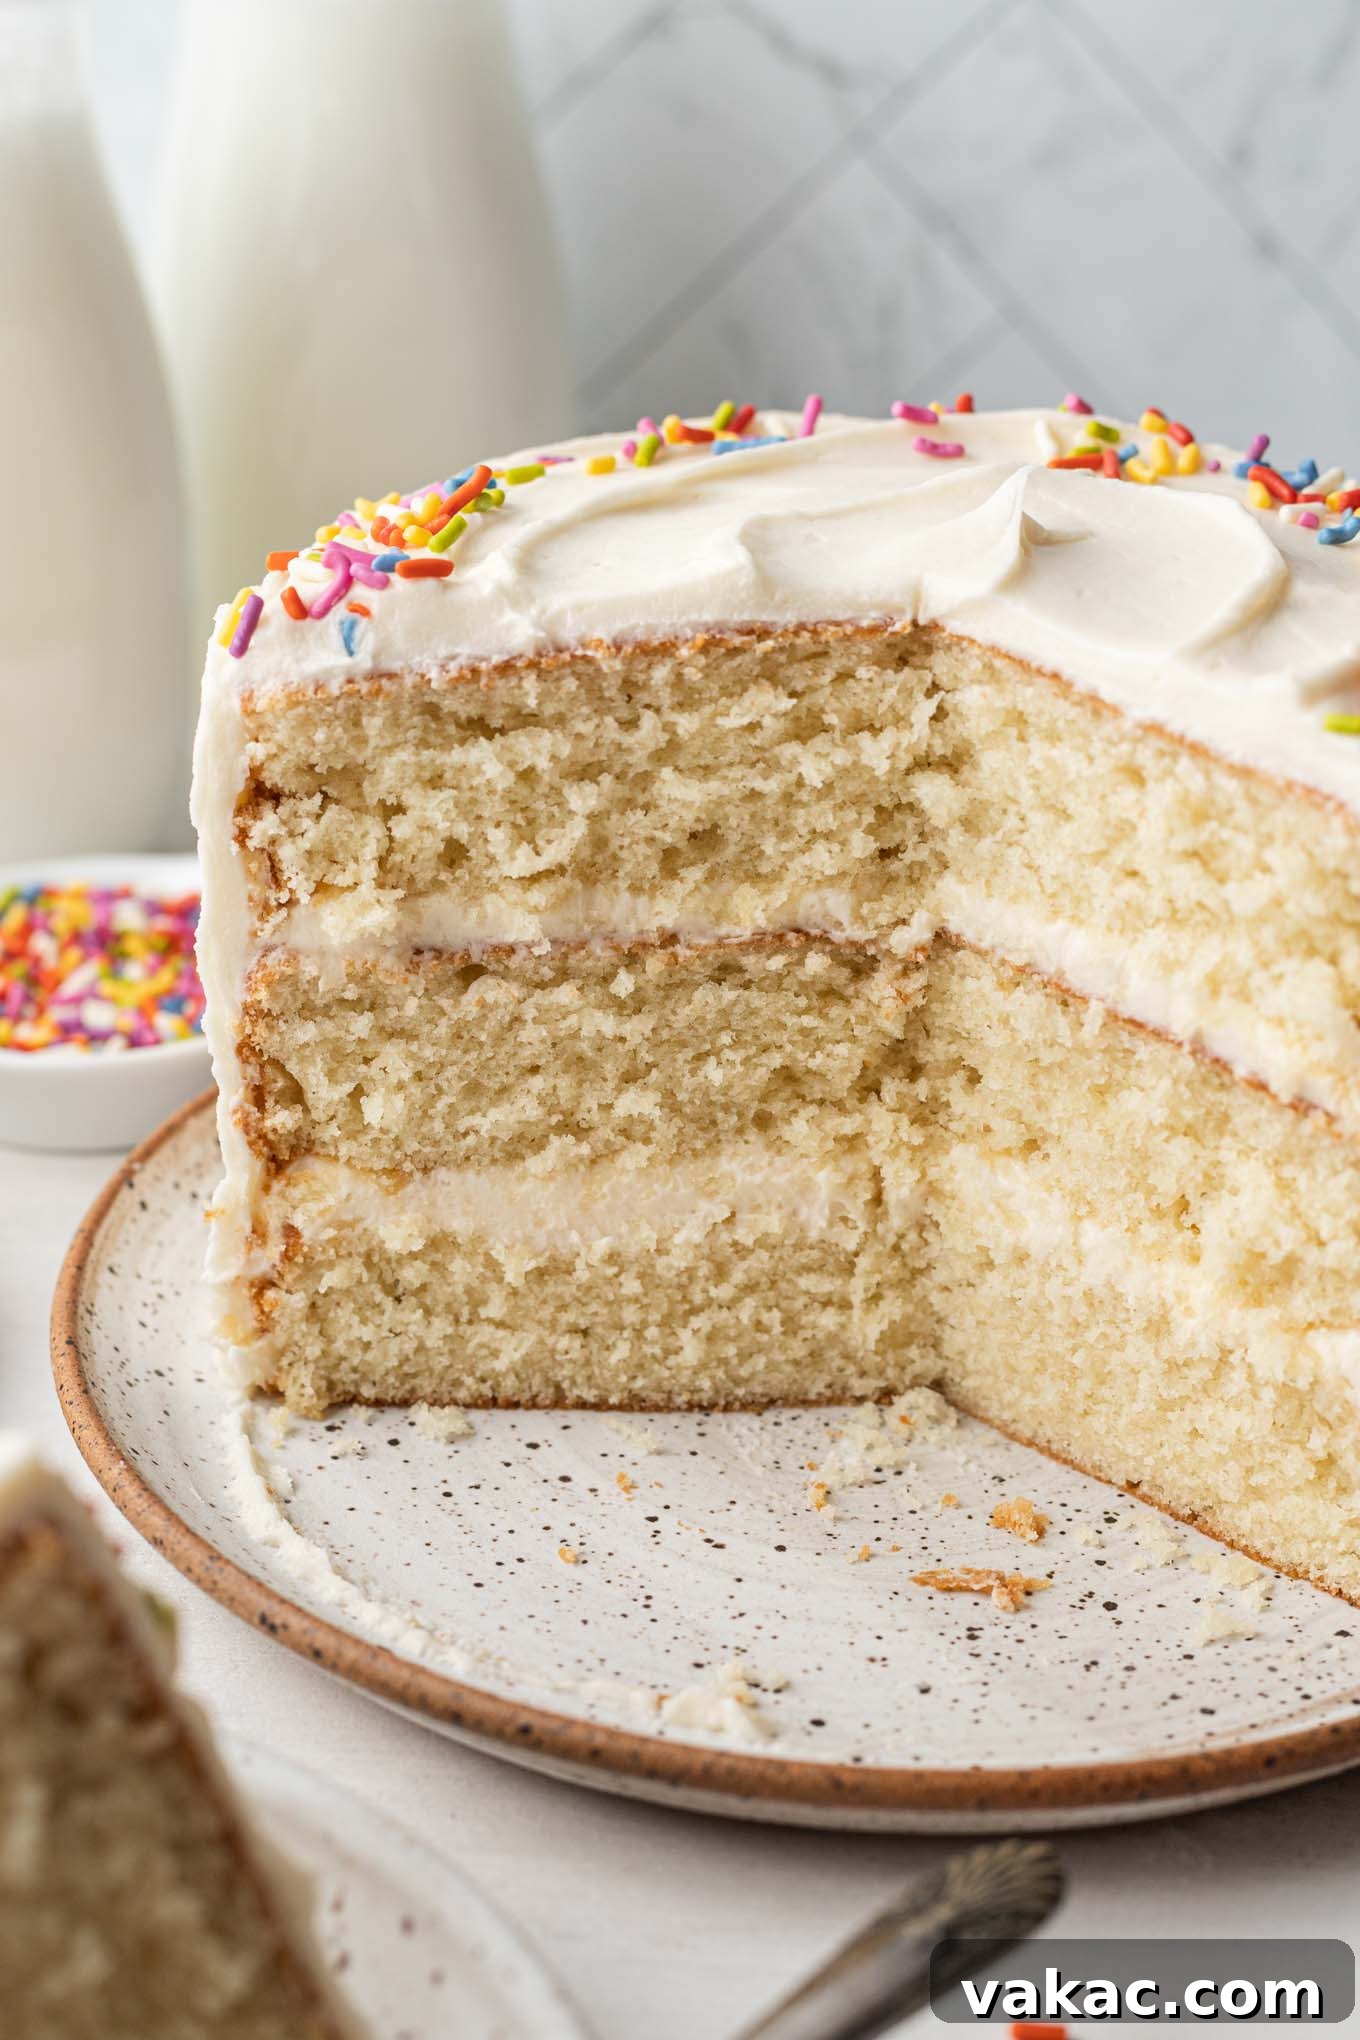
There’s an undeniable charm to miniature desserts, and this 6-inch vanilla cake recipe is a perfect example. Whether you’re planning an intimate gathering, celebrating a baby’s first birthday with a delightful smash cake, or simply craving a freshly baked treat without the commitment of a full-sized confection, this mini vanilla layer cake is your ideal solution. It’s not just adorable; it’s incredibly straightforward to prepare, yielding a tender, moist crumb and rich vanilla flavor that will captivate everyone who takes a bite.
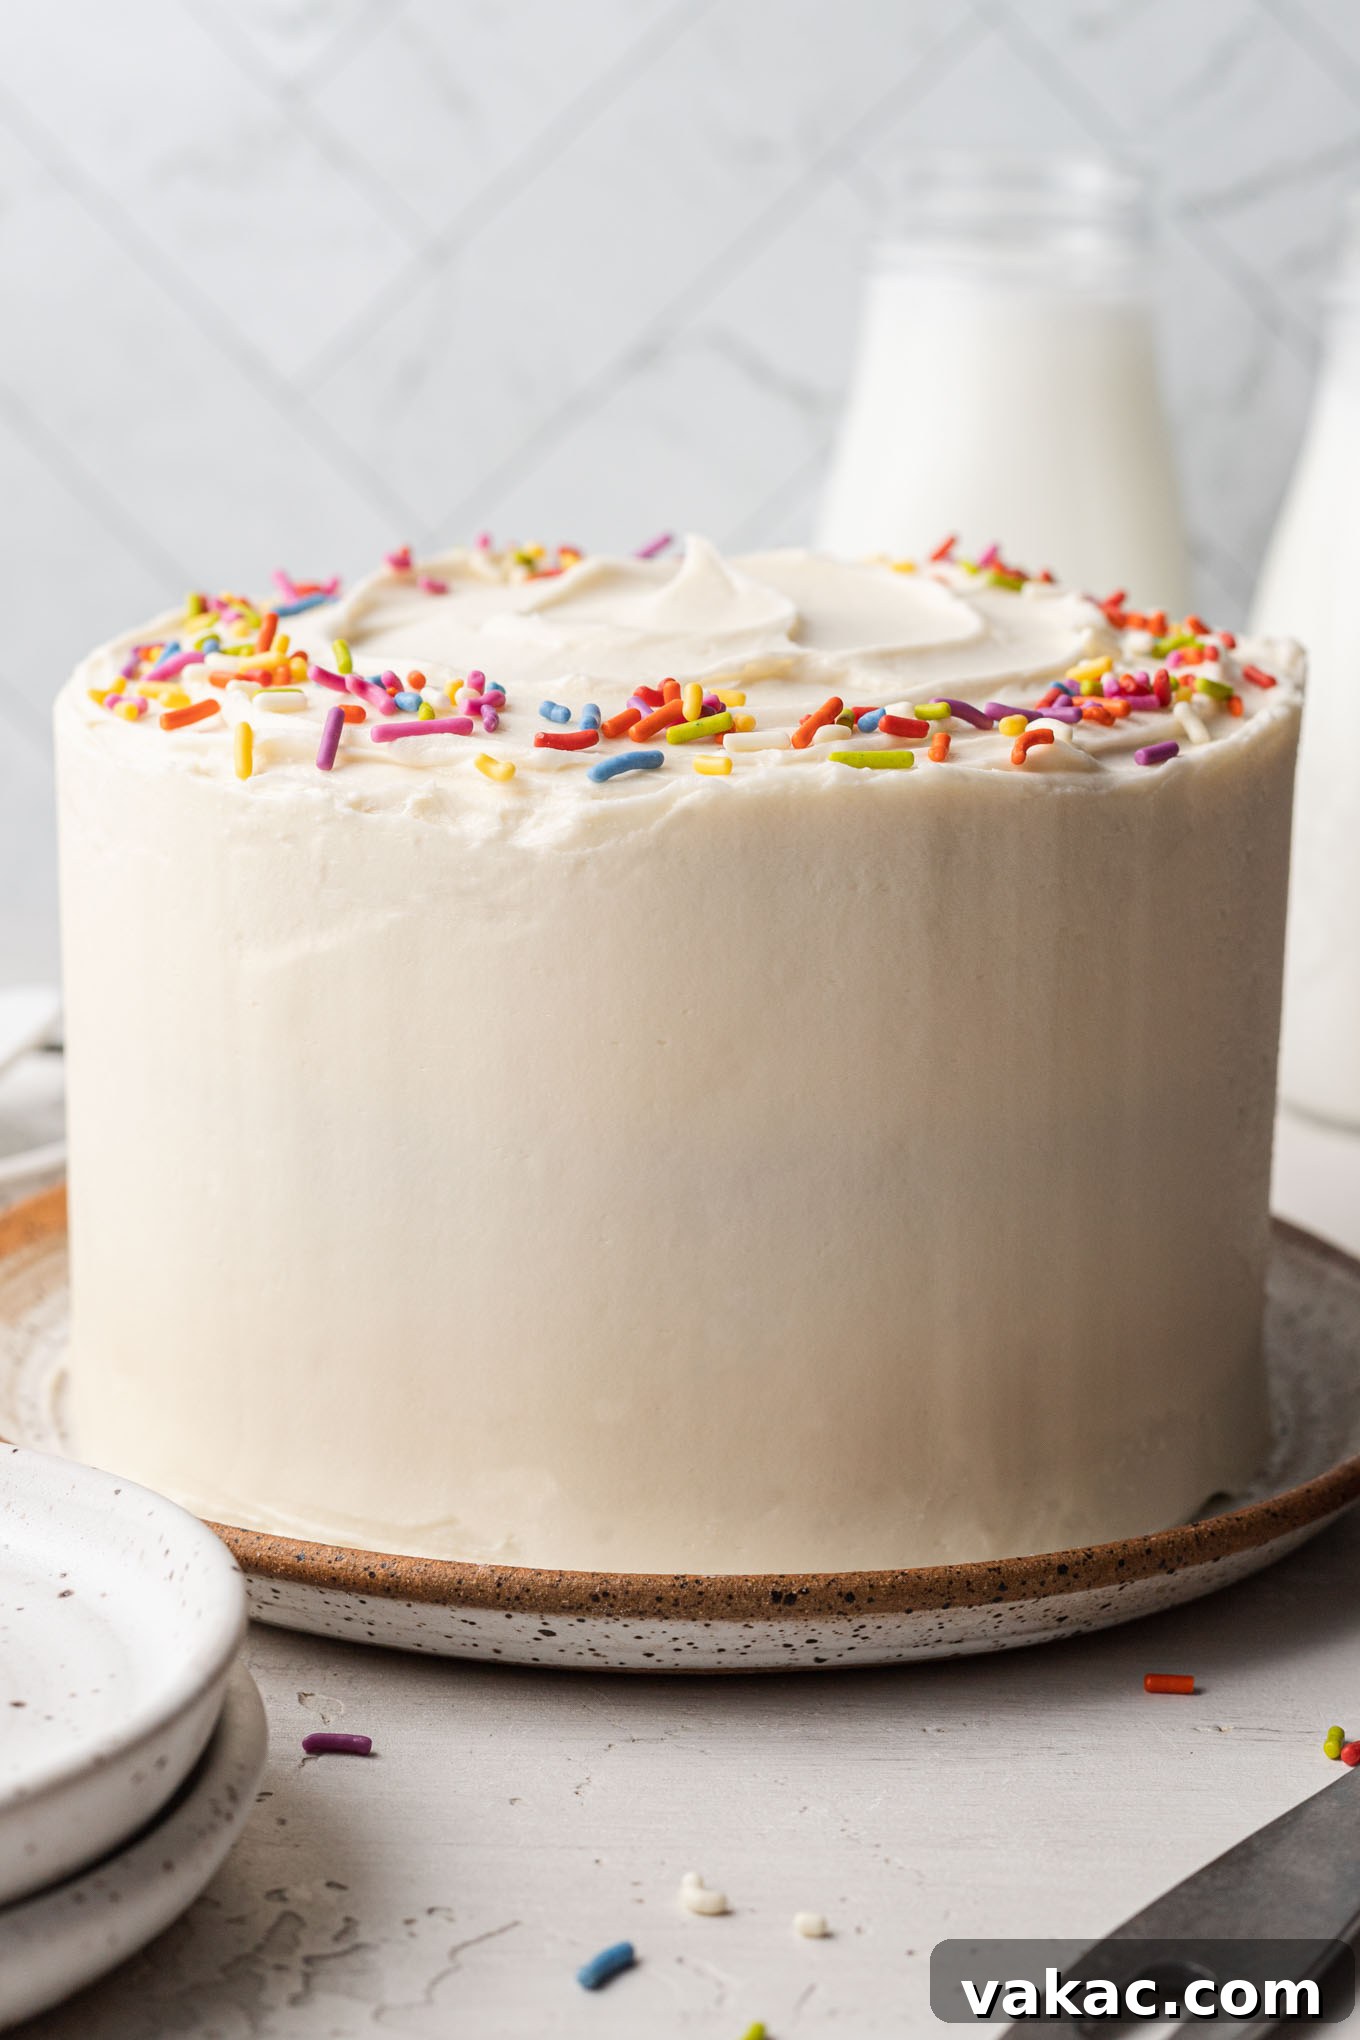
There’s a common saying that miniature versions of food often taste better, and when it comes to this small vanilla cake, we wholeheartedly agree. While our classic full-sized vanilla cake recipe consistently receives rave reviews, this scaled-down rendition holds a special place in our hearts. Its compact size doesn’t compromise on flavor; instead, it concentrates that beloved vanilla essence into every single delightful bite. It transforms any occasion into a celebration, making it a perfect centerpiece for a small dinner party, a cozy family dessert, or an unforgettable first birthday celebration.
The Irresistible Appeal of a Mini Vanilla Cake
Why opt for a 6-inch cake when larger options are available? The benefits are manifold. A smaller cake means less waste, especially if you’re not feeding a crowd. It’s ideal for portion control, ensuring everyone gets a perfect slice without overindulging. Furthermore, the baking time is significantly reduced, making it a convenient choice for busy schedules. From its delicate aesthetic appeal to its practical advantages, a mini vanilla cake is a testament to the idea that sometimes, less is truly more. It allows for creative freedom in decoration, making each cake a personalized masterpiece for any special moment.
Essential Ingredients for Your Perfect 6-Inch Vanilla Cake
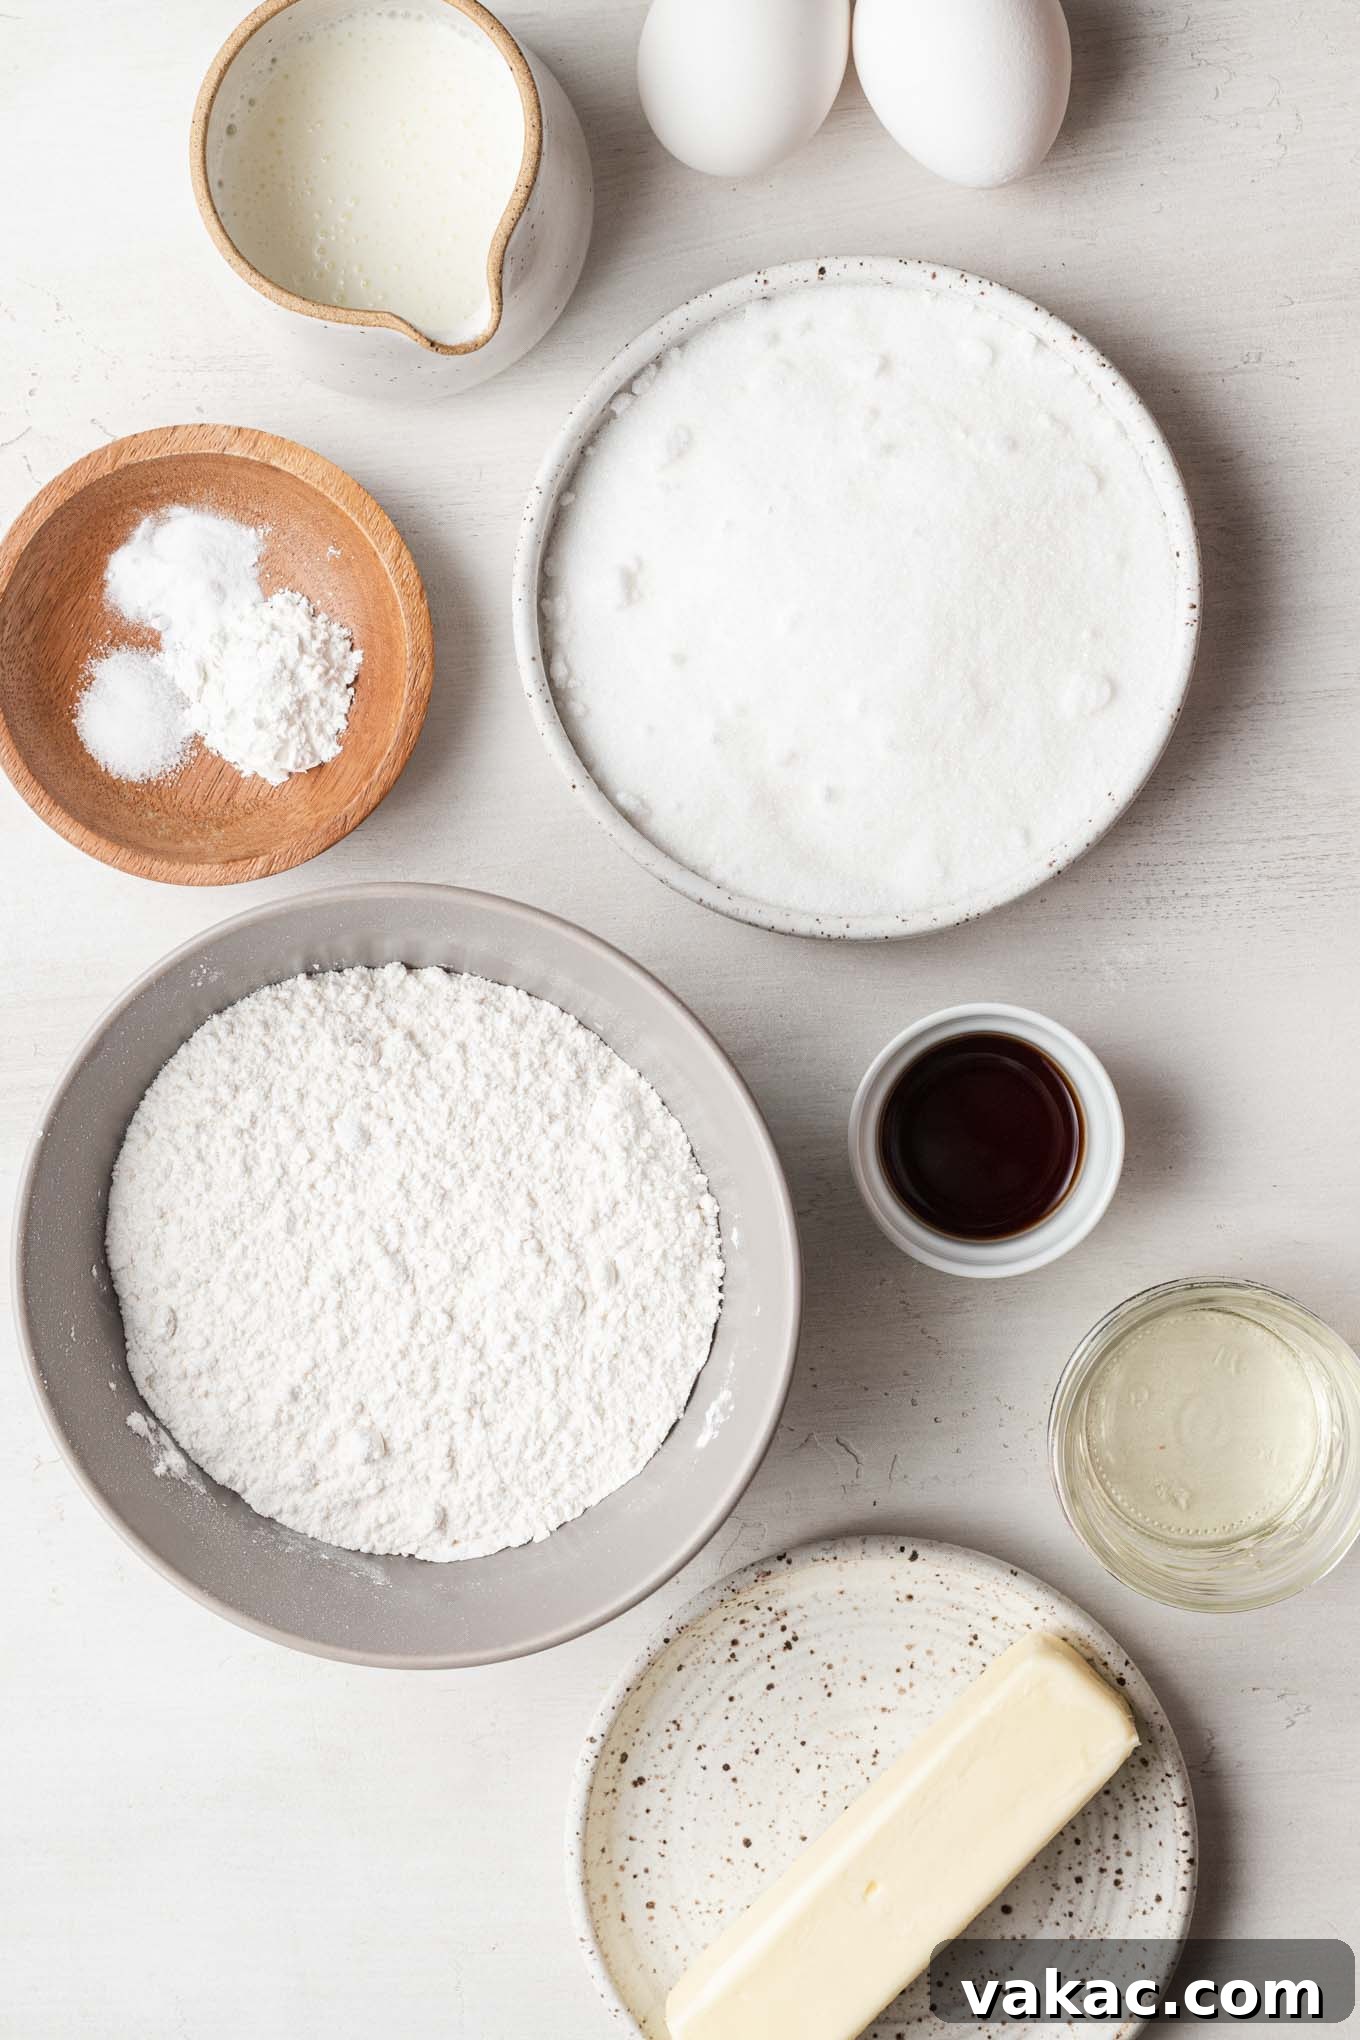
Despite its petite stature, this vanilla layer cake is bursting with maximum vanilla flavor, thanks to a careful selection of quality ingredients. Understanding the role of each component is key to achieving that exquisite taste and texture. Here’s a detailed look at what you’ll need to create this moist, tender, and incredibly flavorful small cake:
- Cake Flour: This is a crucial ingredient for a truly light and airy cake. Cake flour contains a lower protein content compared to all-purpose flour, which results in a softer, more delicate crumb. If you don’t typically keep cake flour on hand, don’t worry! You can easily make your own substitute by combining all-purpose flour with a bit of cornstarch. This simple trick ensures your mini vanilla cake achieves the desired fluffy texture.
- Buttermilk: The secret to a remarkably moist and tender cake lies in buttermilk. Its acidity reacts with the baking soda, creating a lighter texture and a subtle tang that complements the sweetness of the vanilla. If you find yourself without buttermilk, a quick homemade buttermilk substitute can be made using regular milk and either vinegar or lemon juice. Just let it sit for a few minutes until it curdles slightly.
- Pure Vanilla Extract: Given that this is a vanilla cake, the quality of your vanilla extract is paramount. We strongly recommend investing in a good quality, pure vanilla extract for the best, most authentic flavor. We’ve been generous with the vanilla in this recipe to ensure a truly rich and aromatic experience.
- Unsalted Butter: When baking, using unsalted butter gives you precise control over the salt content in your recipe. The amount of salt in salted butter can vary significantly between brands, potentially altering the final taste. Remember to bring your butter to room temperature before you begin mixing; this ensures it creams properly with the sugar, creating a smooth, emulsified batter.
- Large Eggs: Just like butter, eggs should also be at room temperature. Room temperature eggs emulsify more easily with other ingredients, leading to a smoother batter and a more evenly baked cake. If you forget to take them out of the fridge in advance, a quick trick is to place them in a bowl of warm tap water for about 10 minutes.
- Granulated Sugar: Provides sweetness and helps create a tender crumb.
- Baking Powder & Baking Soda: These leavening agents work together with the buttermilk to give the cake its lift and airy structure.
- Salt: A pinch of salt balances the sweetness and enhances all the other flavors in the cake.
- Canola or Vegetable Oil: Adds an extra layer of moisture, ensuring your cake stays soft and delicious.
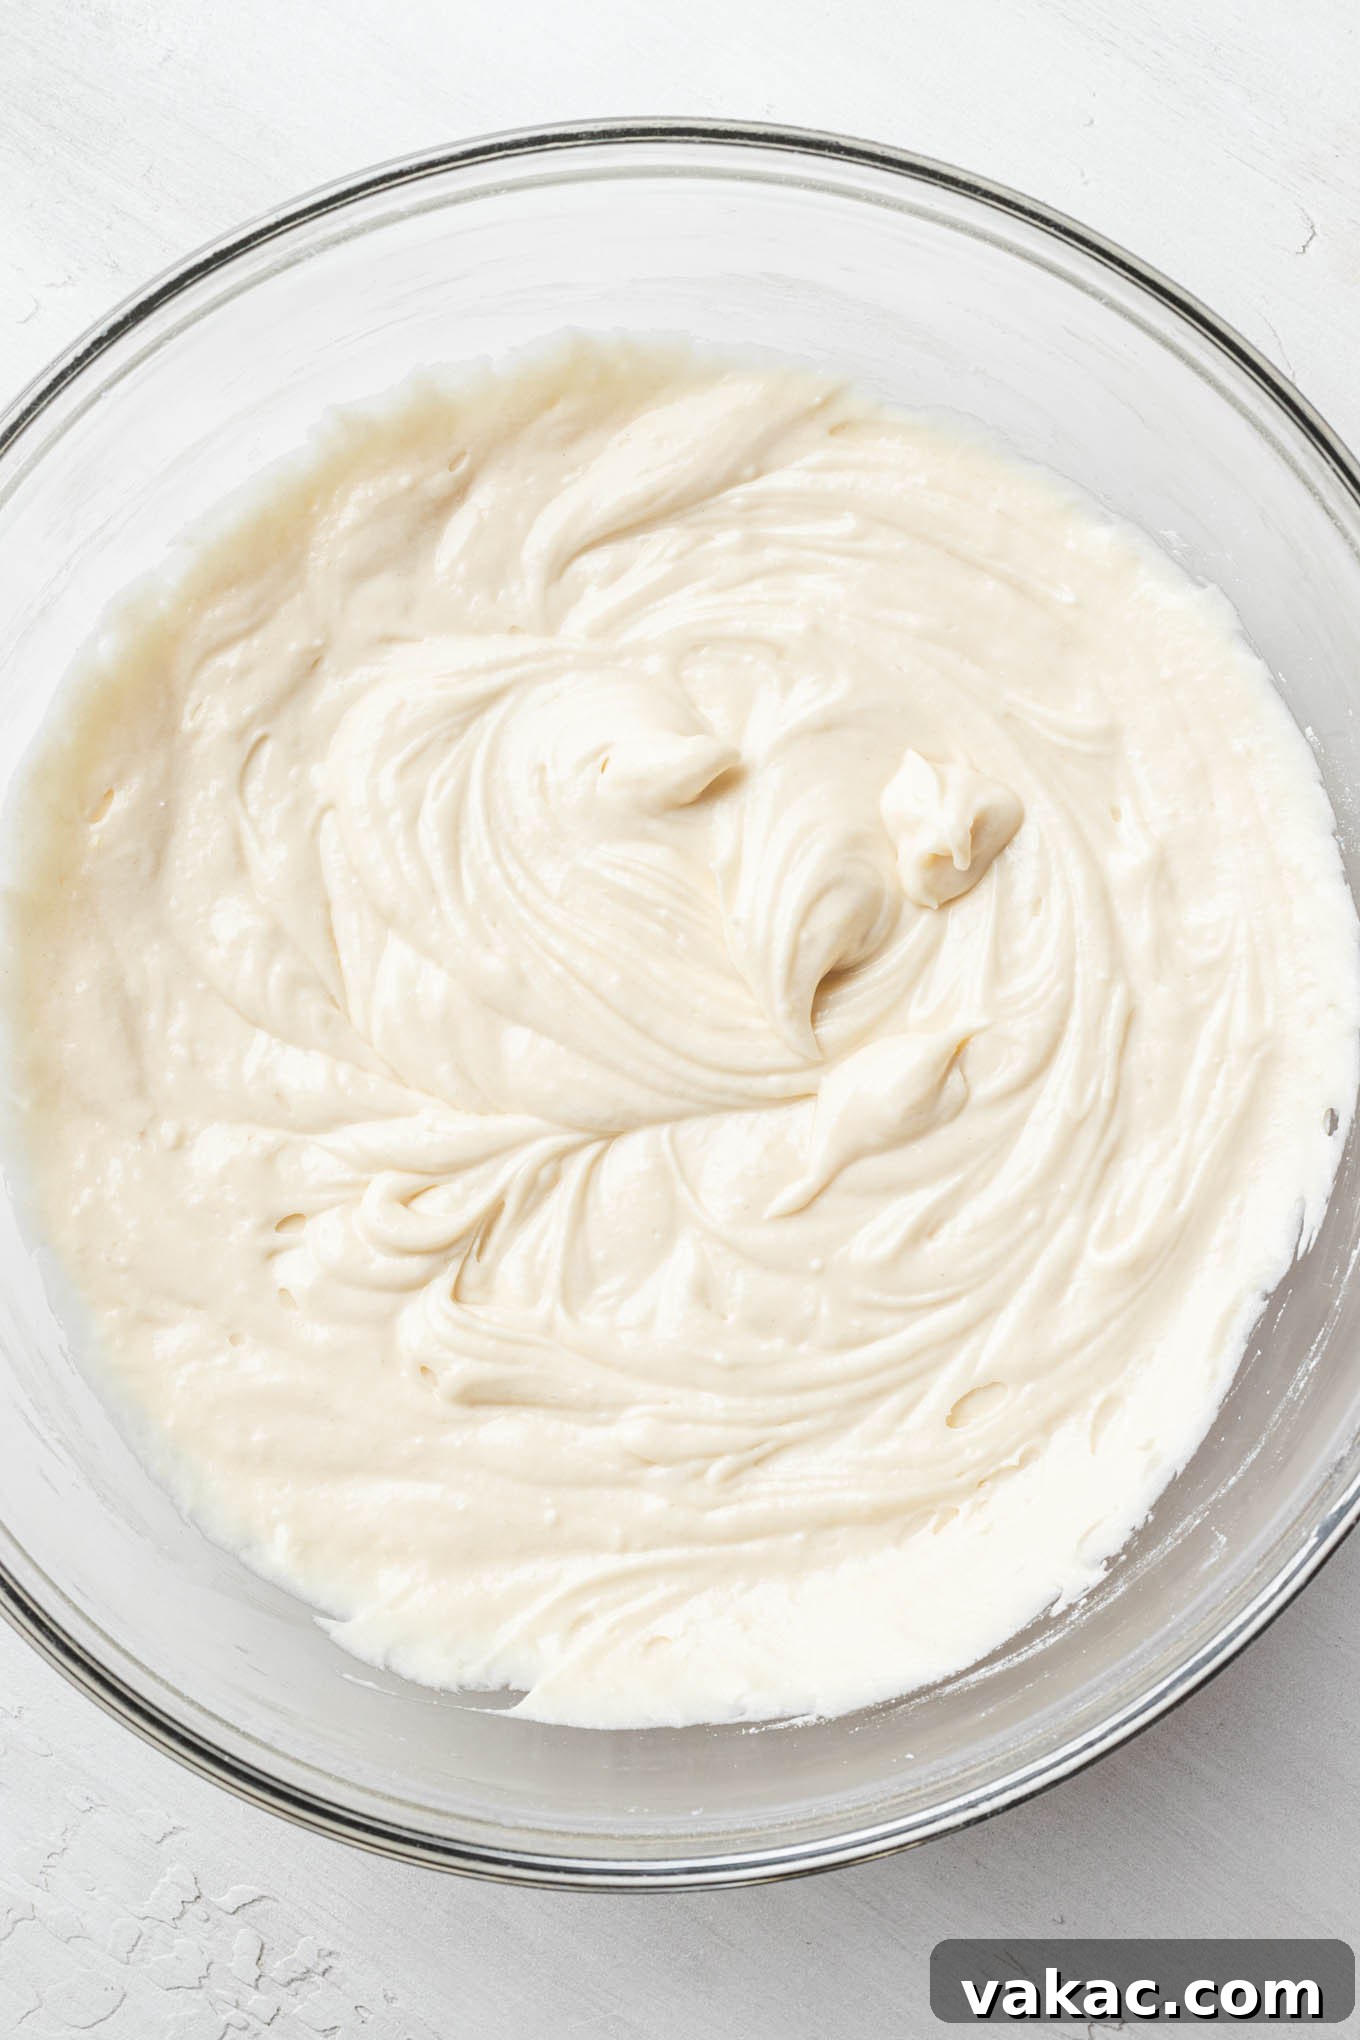
Baking Your 6-Inch Vanilla Cake: A Step-by-Step Guide
Creating this delightful small layer cake follows a process similar to baking a larger vanilla cake, only scaled down to fit three 6-inch cake pans. The core techniques remain the same, ensuring a professional-quality bake every time. Here’s how to achieve perfectly baked vanilla cake layers:
- Prepare Your Pans and Preheat Oven: Begin by preheating your oven to 350°F (180°C). Prepare three 6-inch round cake pans by spraying them generously with non-stick cooking spray and lining the bottoms with parchment paper. This vital step prevents sticking and ensures your beautiful cake layers release effortlessly.
- Whisk Dry Ingredients: In a medium-sized mixing bowl, whisk together the cake flour, baking powder, baking soda, and salt. This thoroughly combines the leavening agents and ensures they are evenly distributed throughout the batter. Set this mixture aside.
- Combine Wet Ingredients: In a large measuring cup or a separate bowl, whisk together the buttermilk, canola or vegetable oil, and pure vanilla extract until everything is well combined. Keeping these wet ingredients separate initially helps prevent overmixing later.
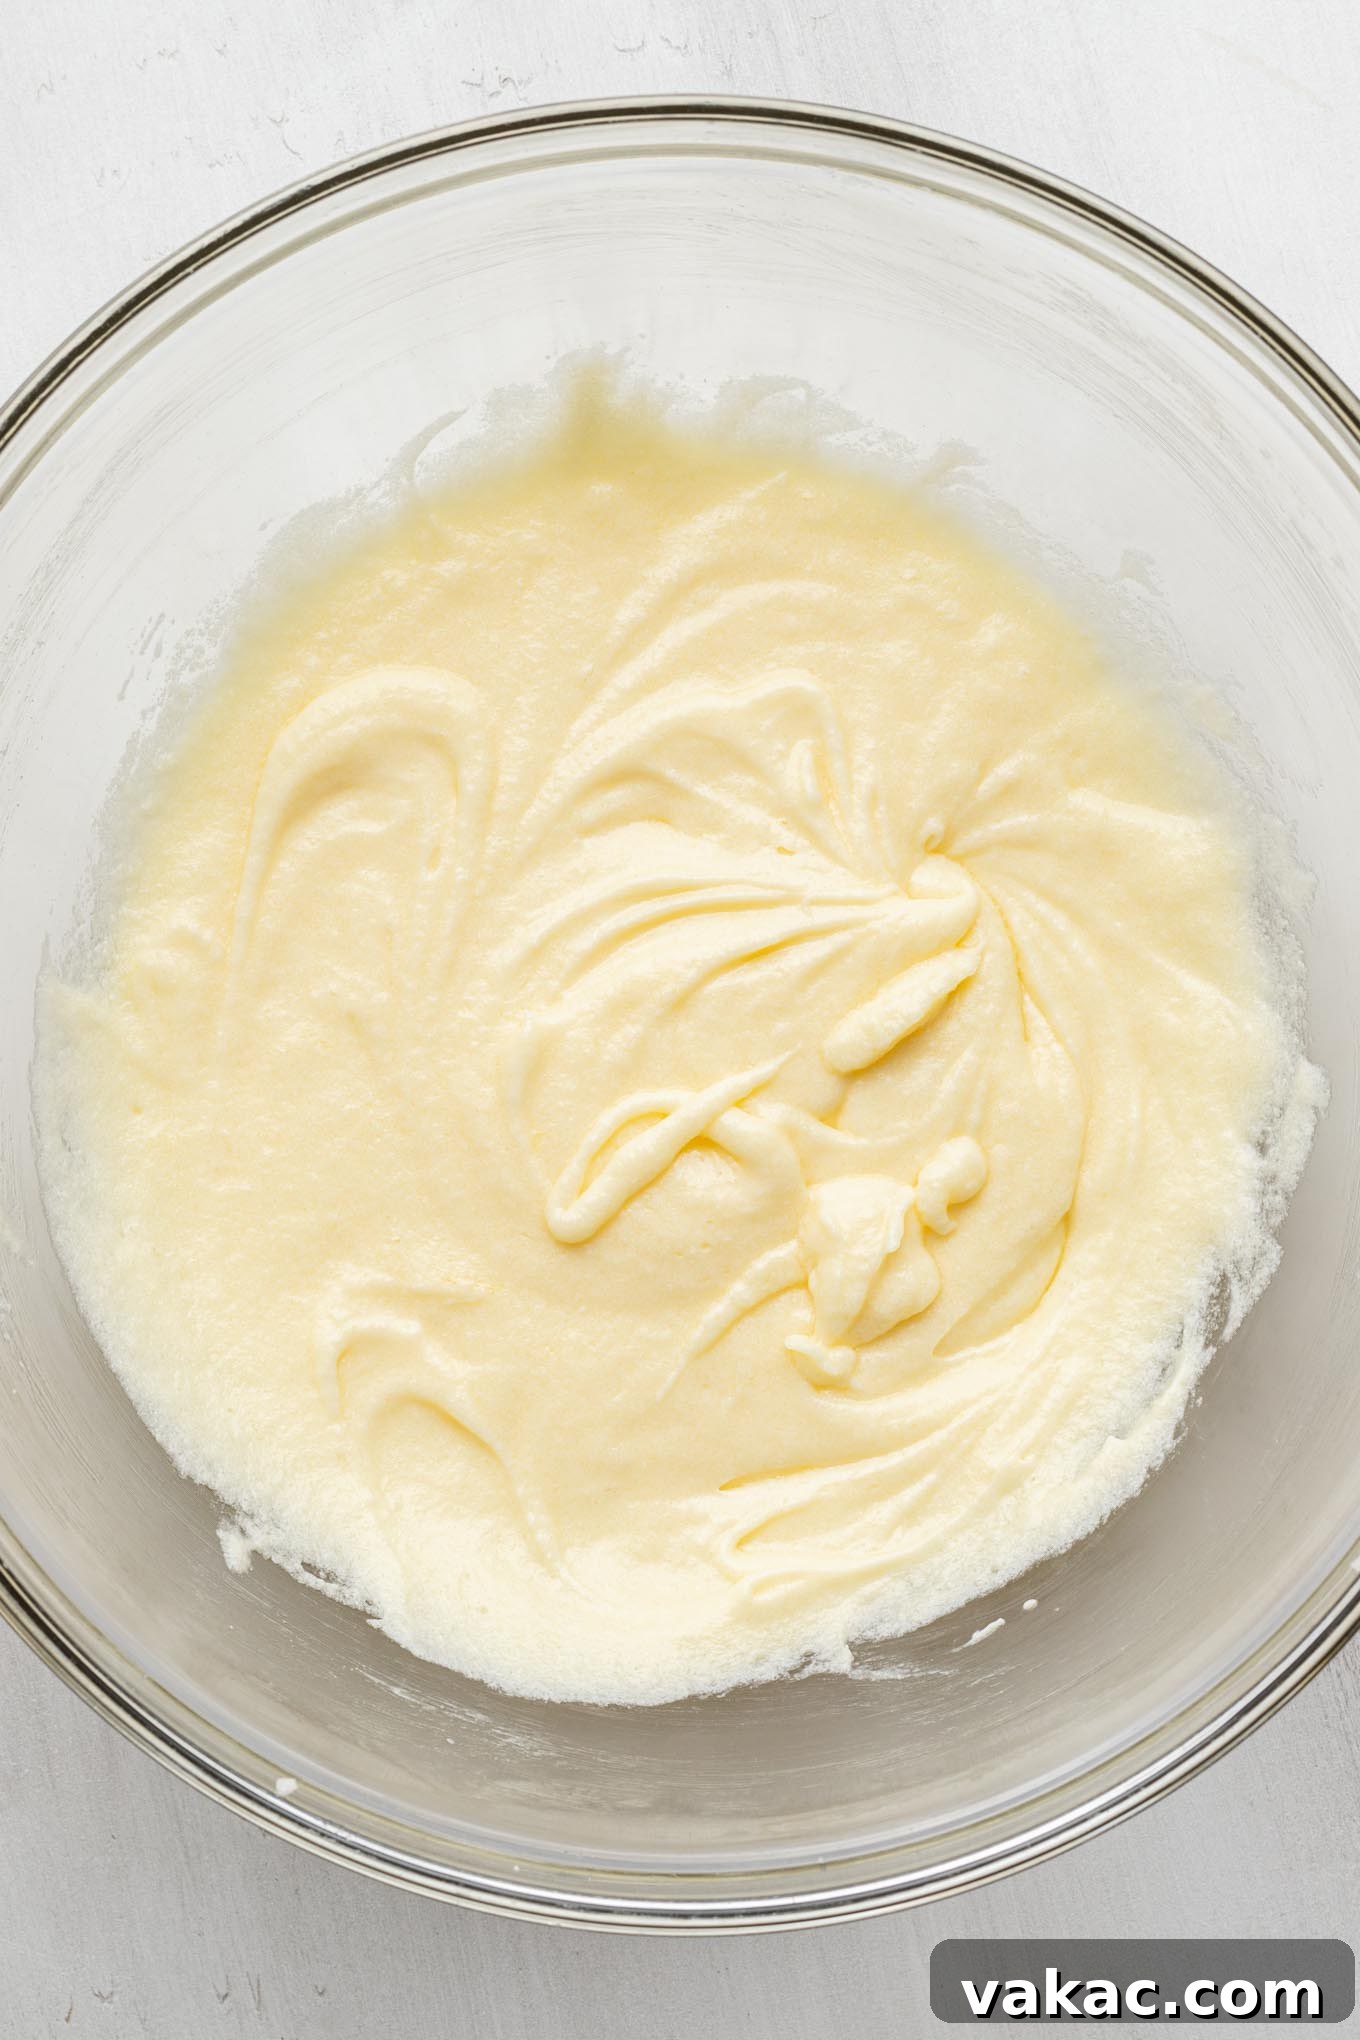
- Cream Butter and Sugar: In the bowl of a stand mixer fitted with the paddle attachment (or using a handheld electric mixer), beat the softened unsalted butter on low speed until it’s smooth and creamy. Gradually add the granulated sugar, continuing to beat until the mixture becomes visibly light, fluffy, and pale in color. This crucial step, known as creaming, incorporates air into the butter and sugar, contributing significantly to the cake’s tender texture. Be patient; this can take 3 to 4 minutes.
- Add Eggs Gradually: Incorporate the large room-temperature eggs one at a time, beating well after each addition. Make sure to scrape down the sides and bottom of the bowl frequently with a rubber spatula to ensure all ingredients are fully incorporated and the batter is uniform.
- Alternate Dry and Wet Mixtures: With the mixer on low speed, add half of the dry ingredient mixture to the butter-sugar-egg mixture and mix until just combined. Then, pour in the entire buttermilk mixture and mix until it’s just incorporated. Finally, add the remaining half of the dry ingredients, mixing only until no streaks of flour remain. Avoid overmixing at this stage, as it can develop the gluten in the flour, leading to a tougher, denser cake. A few gentle scrapes with a spatula can ensure everything is perfectly blended without overworking the batter.
- Bake the Cake Layers: Divide the perfectly prepared cake batter evenly among the three lined and greased 6-inch round cake pans. Gently spread the batter to create an even surface. Bake for approximately 22 to 28 minutes. You’ll know the cakes are done when a wooden toothpick inserted into the center of a cake layer comes out clean, or with only a few moist crumbs attached.
- Cool the Layers: Once baked, remove the cakes from the oven and let them cool in their pans for about 15 to 20 minutes. This allows them to firm up slightly. Then, carefully run a knife around the edges of each cake, invert them onto a wire cooling rack, remove the parchment paper, and allow them to cool completely before frosting. This prevents the layers from tearing or crumbling during assembly.
Crafting the Dreamy Vanilla Buttercream Frosting
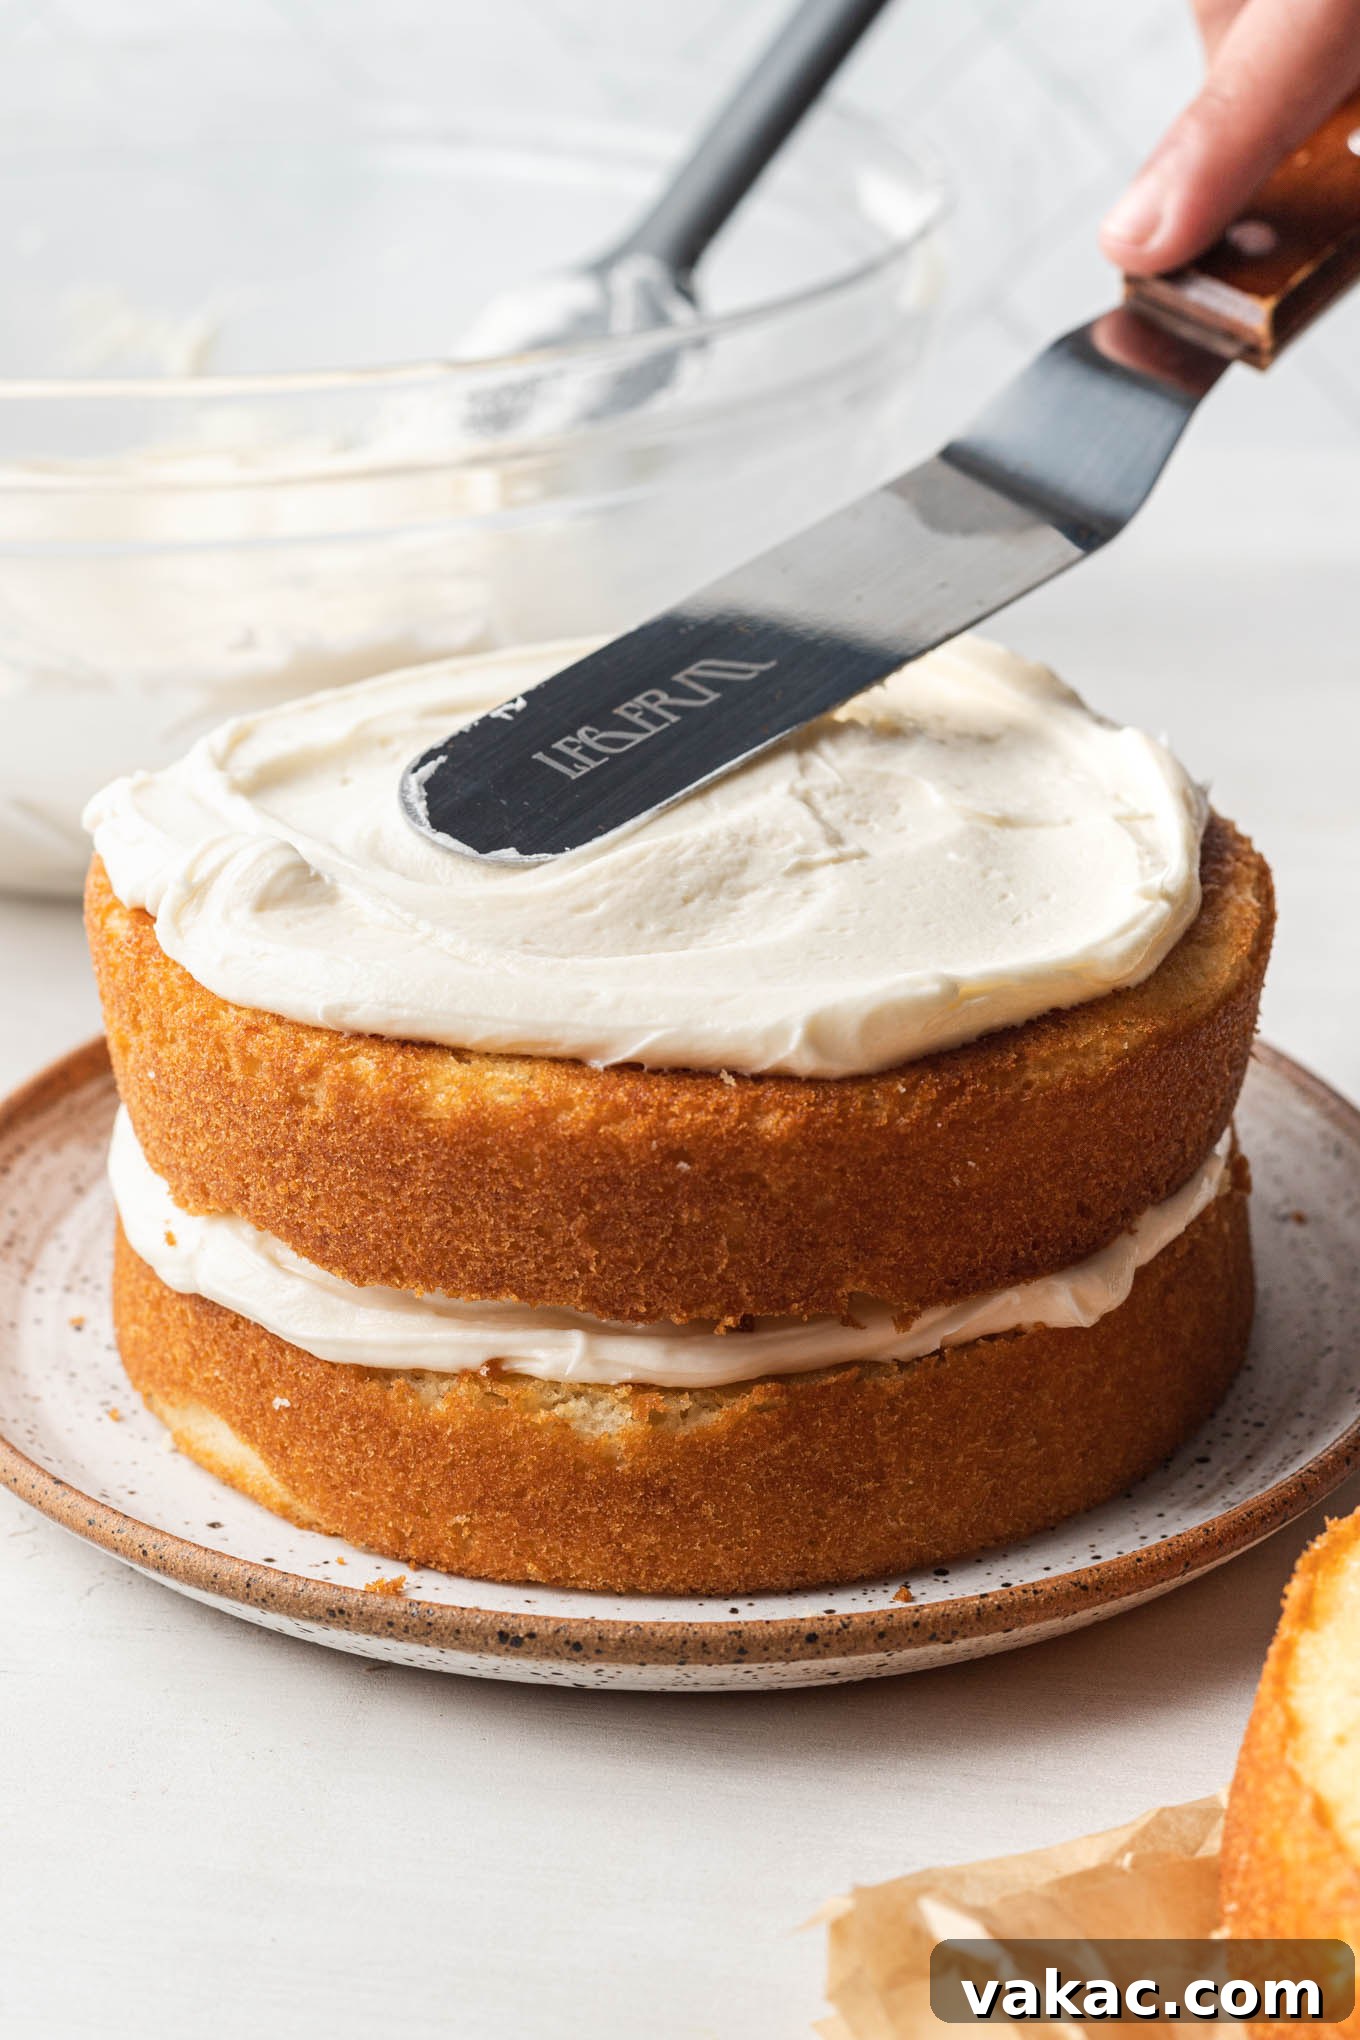
While your delightful 6-inch cake layers are cooling, it’s the perfect time to whip up a batch of creamy, luscious vanilla buttercream frosting. This frosting is the ideal companion to our tender vanilla cake, adding another layer of sweetness and elegance. The process is simple, but a few key techniques ensure a perfectly smooth and pipeable consistency:
- Beat the Butter Until Smooth: In the bowl of a stand mixer fitted with the paddle attachment, or using a large mixing bowl with a handheld mixer, beat the softened unsalted butter on medium speed until it is light, fluffy, and smooth. This takes a few minutes and is essential for achieving a light buttercream texture.
- Gradually Add Powdered Sugar: Begin by adding about half of the powdered sugar to the beaten butter. Mix on low speed until it’s fully incorporated, which helps prevent a cloud of sugar from enveloping your kitchen! Once the first half is mixed in, add the remaining powdered sugar and continue mixing on low speed until completely blended. Then, increase the speed to medium-high and beat for another 2-3 minutes until the frosting is light and fluffy.
- Incorporate Liquids and Flavor: With the mixer still on low speed, add 2 tablespoons of heavy cream (or milk), pure vanilla extract, and a pinch of salt. Mix until everything is well combined and smooth. If your frosting seems too thick, gradually add the remaining tablespoon of heavy cream, one teaspoon at a time, until you reach your desired consistency. If it becomes too thin, add a little more powdered sugar until it thickens. Scrape down the sides of the bowl as needed to ensure an even mix.
Assembling Your Masterpiece: The 6-Inch Vanilla Cake
Once your cake layers have completely cooled and your buttercream is ready, it’s time for the exciting part: assembling and decorating your stunning mini vanilla cake!
- Level the Cake Layers: For a stable and even cake, use a serrated knife or a dedicated cake leveler to carefully trim the domed tops off each cooled cake layer. This creates flat surfaces that stack beautifully.
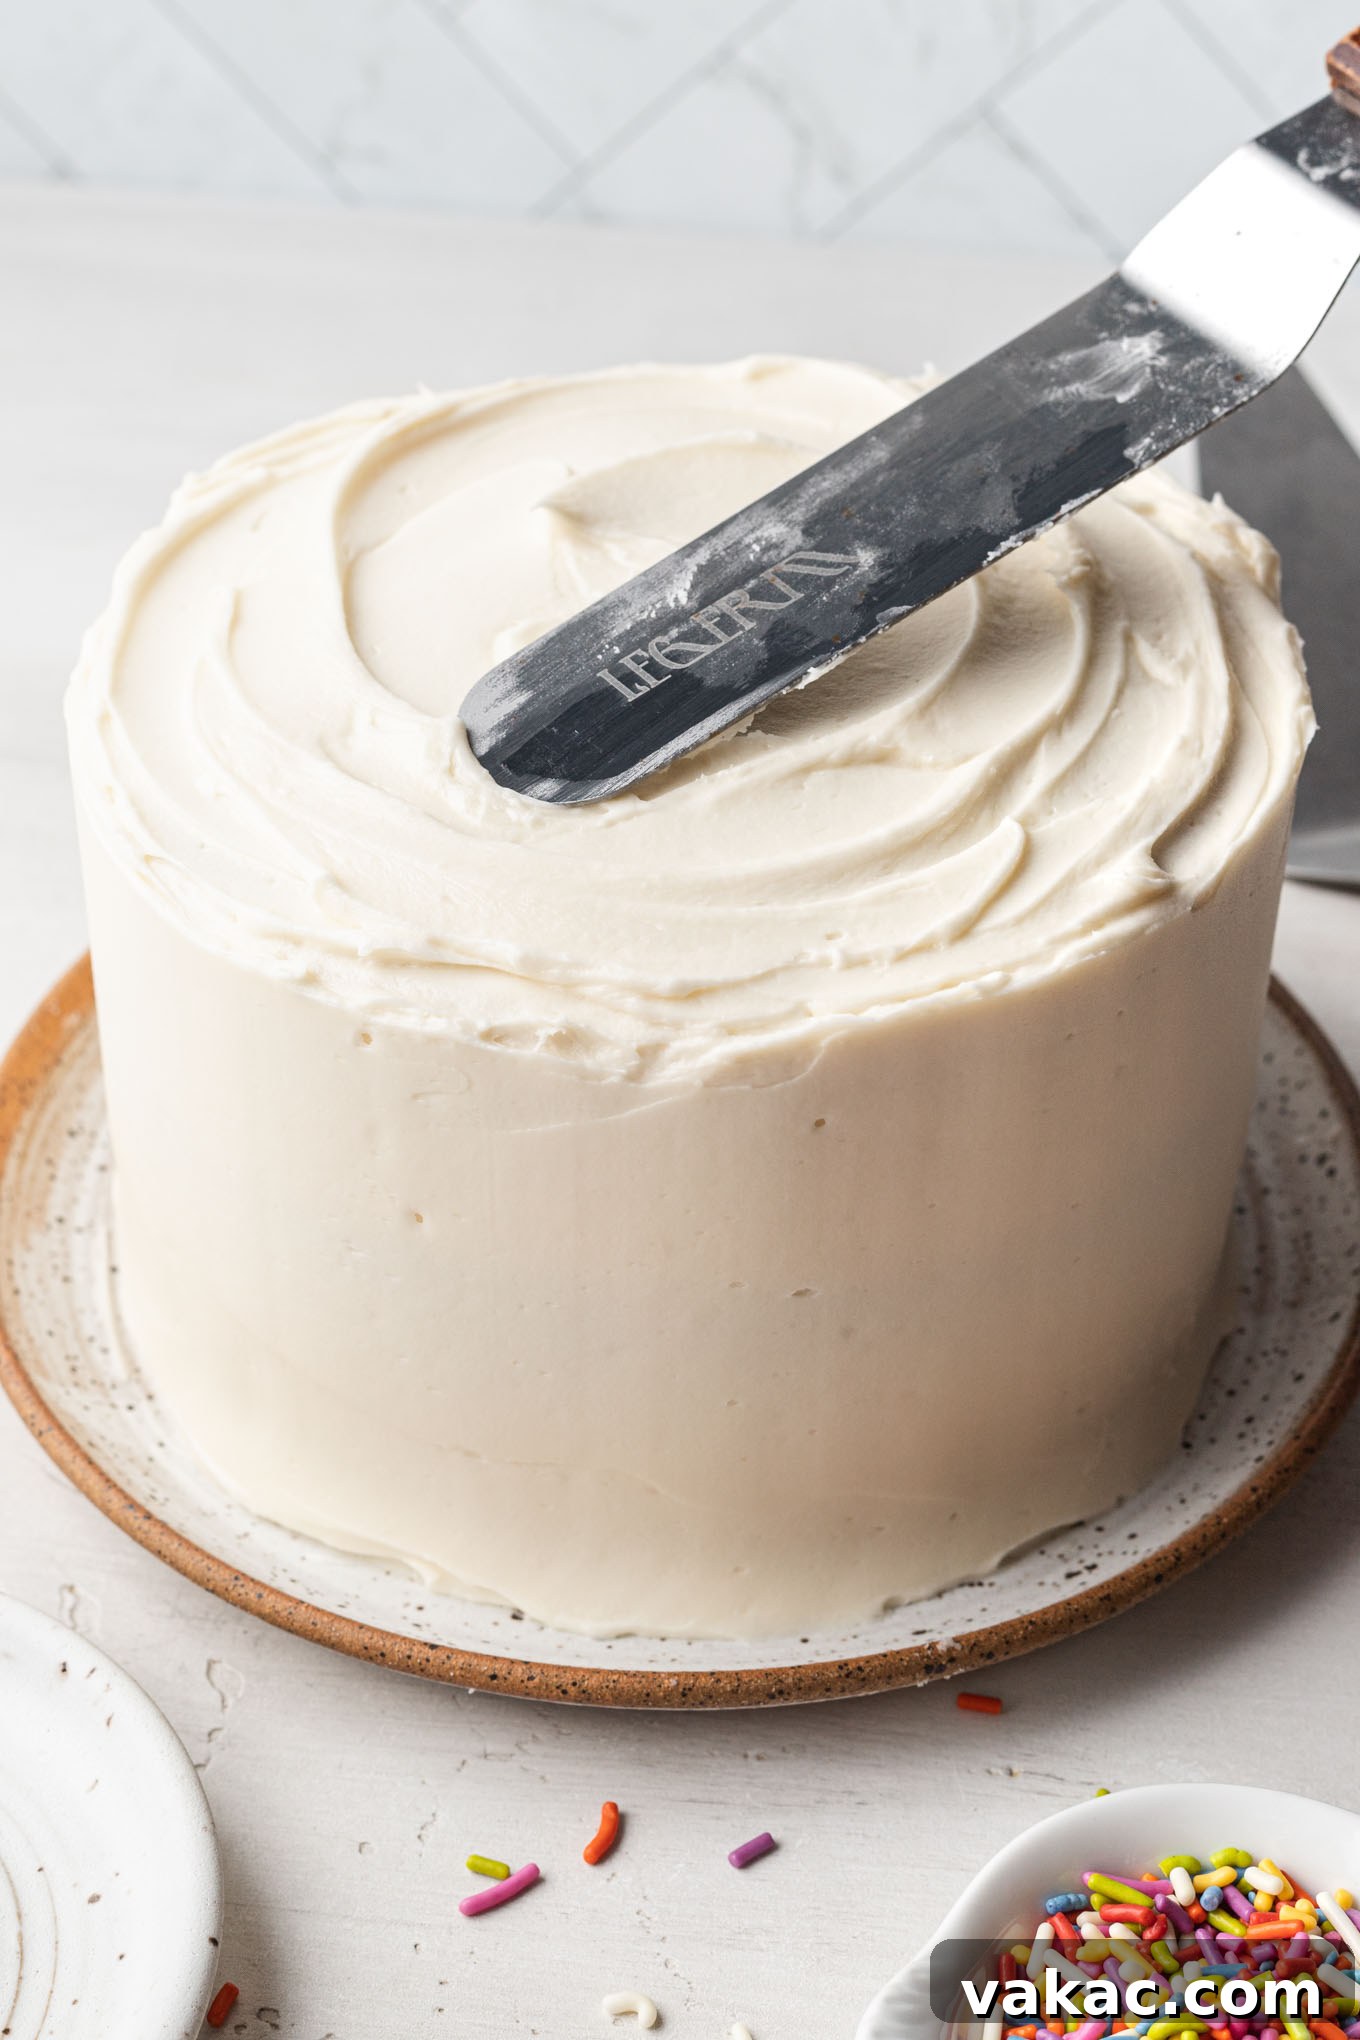
- First Layer and Frosting: Place your first leveled cake layer onto a cardboard cake round, a cake stand, or a large serving plate. Scoop about ½ cup of your freshly made vanilla buttercream frosting onto the top of this layer. Using an offset spatula, spread the frosting evenly across the surface, reaching close to the edges.
- Second Layer and Frosting: Carefully place the second cake layer directly on top of the first. Gently press down to ensure it’s secure. Repeat the frosting process, spreading another ½ cup of buttercream over this layer.
- Third Layer and Crumb Coat: Position the third cake layer on top of the second. For the neatest finish, place the third layer upside-down – this often provides a perfectly flat top surface. Now, apply a thin layer of frosting all over the entire cake, including the sides and top. This “crumb coat” traps any loose crumbs, preventing them from mixing into your final decorative layer.
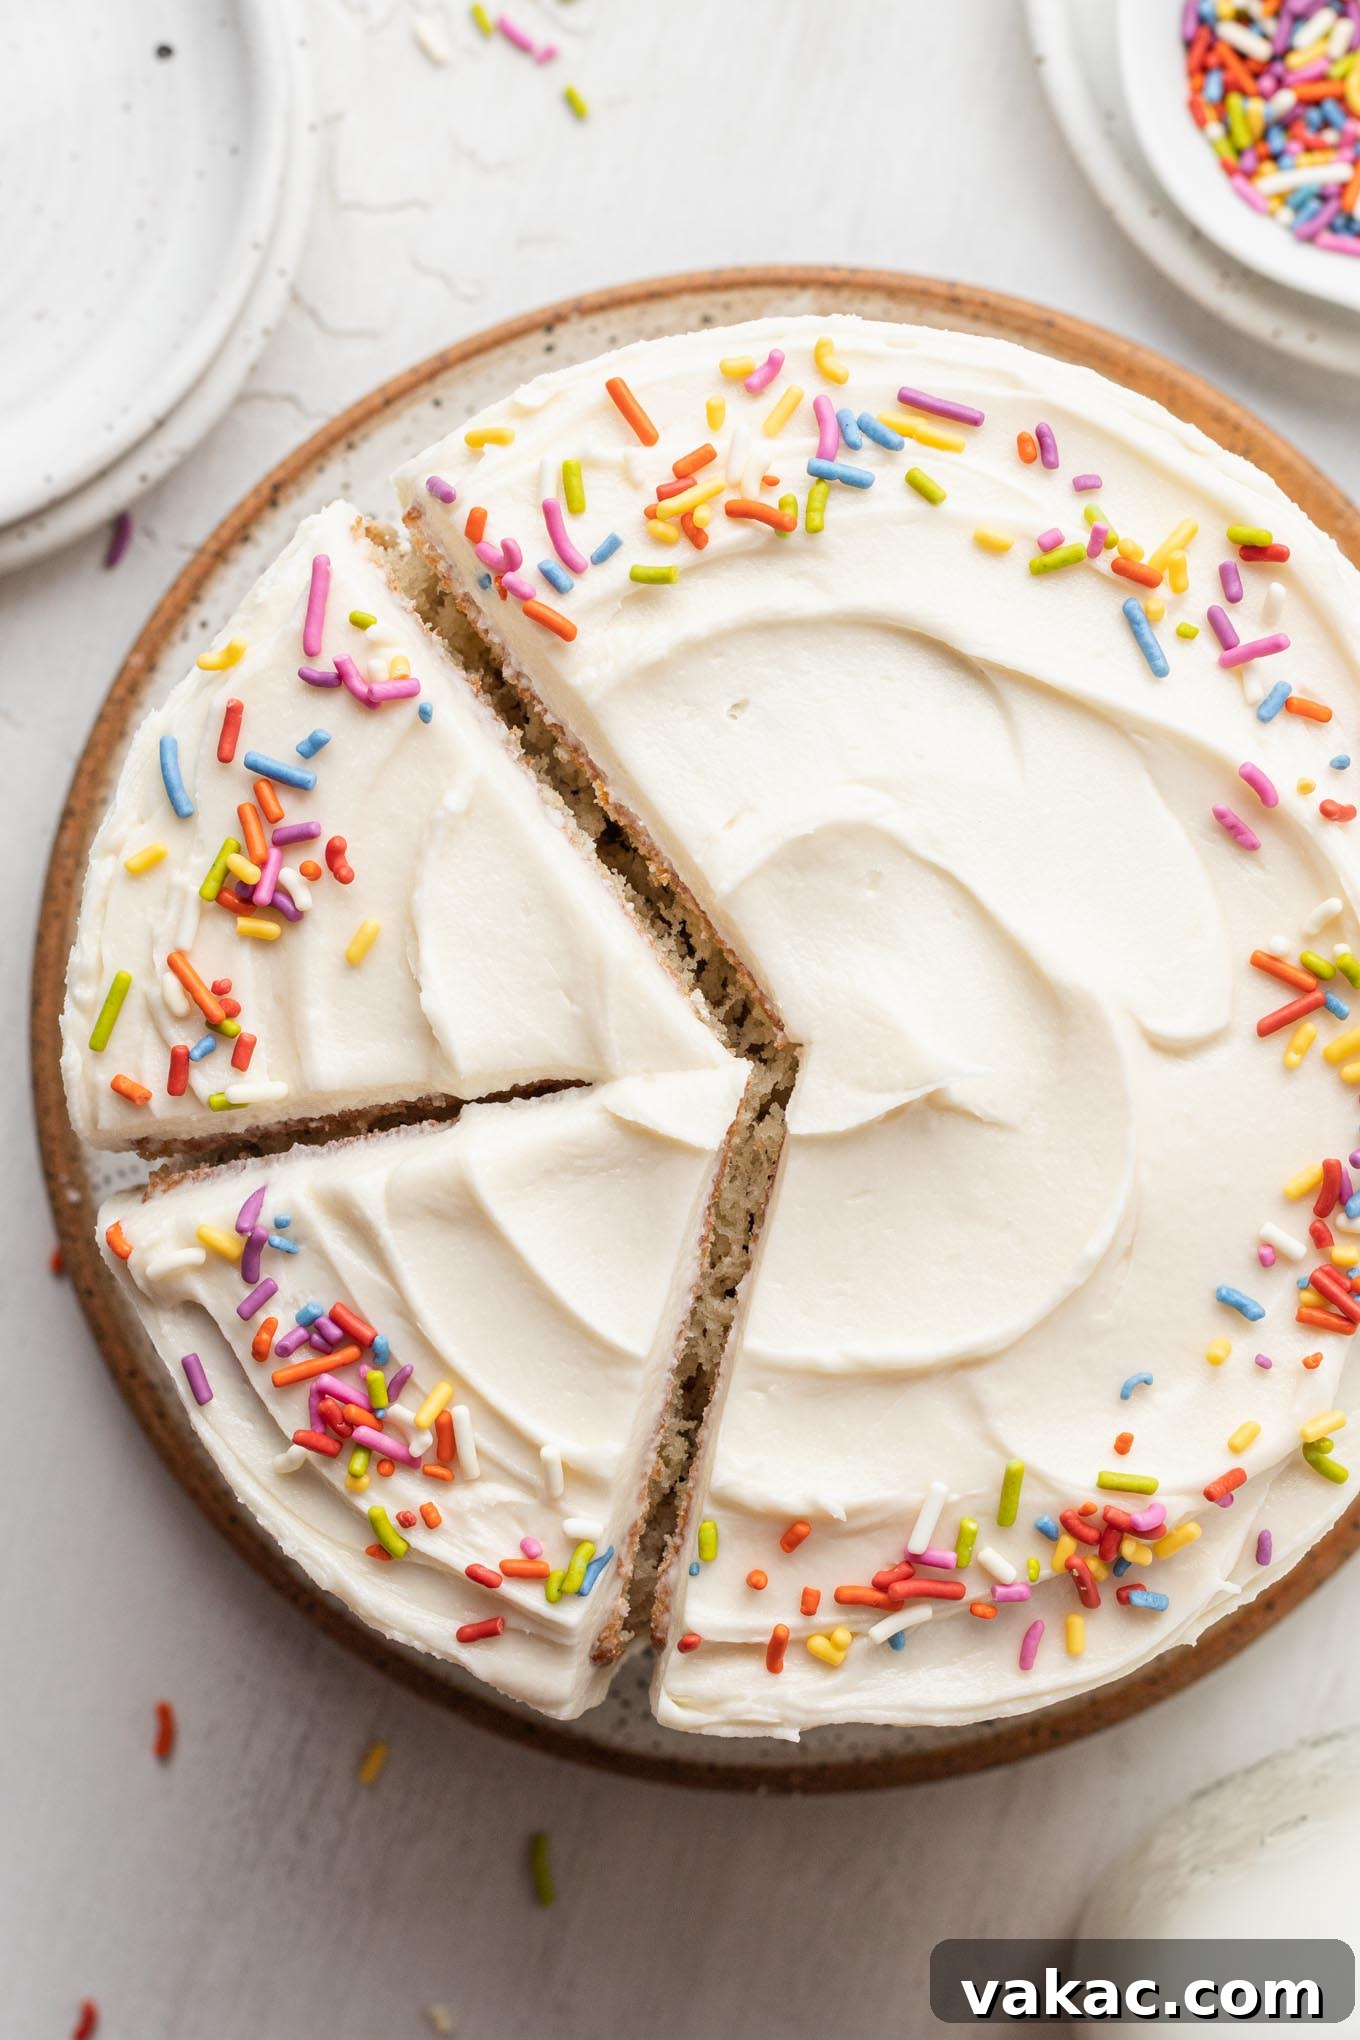
- Chill and Final Frost: For best results, transfer the crumb-coated cake to the refrigerator for about 20-30 minutes. This allows the crumb coat to firm up, making the final frosting much easier and smoother. Once chilled, apply the remaining vanilla buttercream frosting to decorate the top and sides of your 6-inch vanilla cake beautifully. Get creative with your decorations!
Recipe Variations to Inspire Your Creativity
One of the best aspects of this small batch cake recipe is its adaptability. After extensive testing, we discovered that many of our cupcake recipes are perfectly scaled to create gorgeous three-layer 6-inch cakes. The baking times for these adapted recipes will generally be quite similar to this vanilla version, making customization a breeze! This opens up a world of possibilities for your next mini cake adventure.
If you’re looking to explore different flavors for your 6-inch layer cake, consider adapting these popular cupcake recipes:
- Red Velvet Cake: A classic with a hint of cocoa and vibrant color.
- Rich Chocolate Cake: For the ultimate chocolate lover, deeply satisfying.
- Lemon Raspberry Cake: A bright and fruity combination, perfect for spring or summer.
- Spiced Carrot Cake: Warm spices and tender carrots make a comforting treat.
- Lemon Blueberry Cake: Zesty lemon paired with juicy blueberries for a refreshing flavor.
Pro Tip: You can also easily transform our larger layered cake recipes into a 6-inch cake. Simply remember to halve all the ingredients in the original recipe list. This simple adjustment ensures you maintain the perfect balance of flavors and textures in your smaller creation.
Don’t stop at cake flavors! The frosting is another fantastic element to customize. While vanilla buttercream is a dream, sometimes a different frosting can elevate the experience. Here are a few other delicious options that would pair wonderfully with this mini vanilla cake or any of the variations above:
- Decadent Chocolate Buttercream: A rich and creamy classic that complements vanilla beautifully.
- Tangy Cream Cheese Frosting: A popular choice, especially with carrot or red velvet cakes, but also lovely with vanilla.
- Fresh Strawberry Frosting: Adds a burst of fruity flavor and a beautiful pink hue.
- Fun Rainbow Chip Frosting: For a playful and nostalgic touch that kids and adults adore.
- Zesty Lemon Cream Cheese Frosting: A bright and creamy option that pairs perfectly with lemon or blueberry cakes.
Frequently Asked Questions & Expert Baking Tips
How Many People Does a 6-Inch Cake Feed?
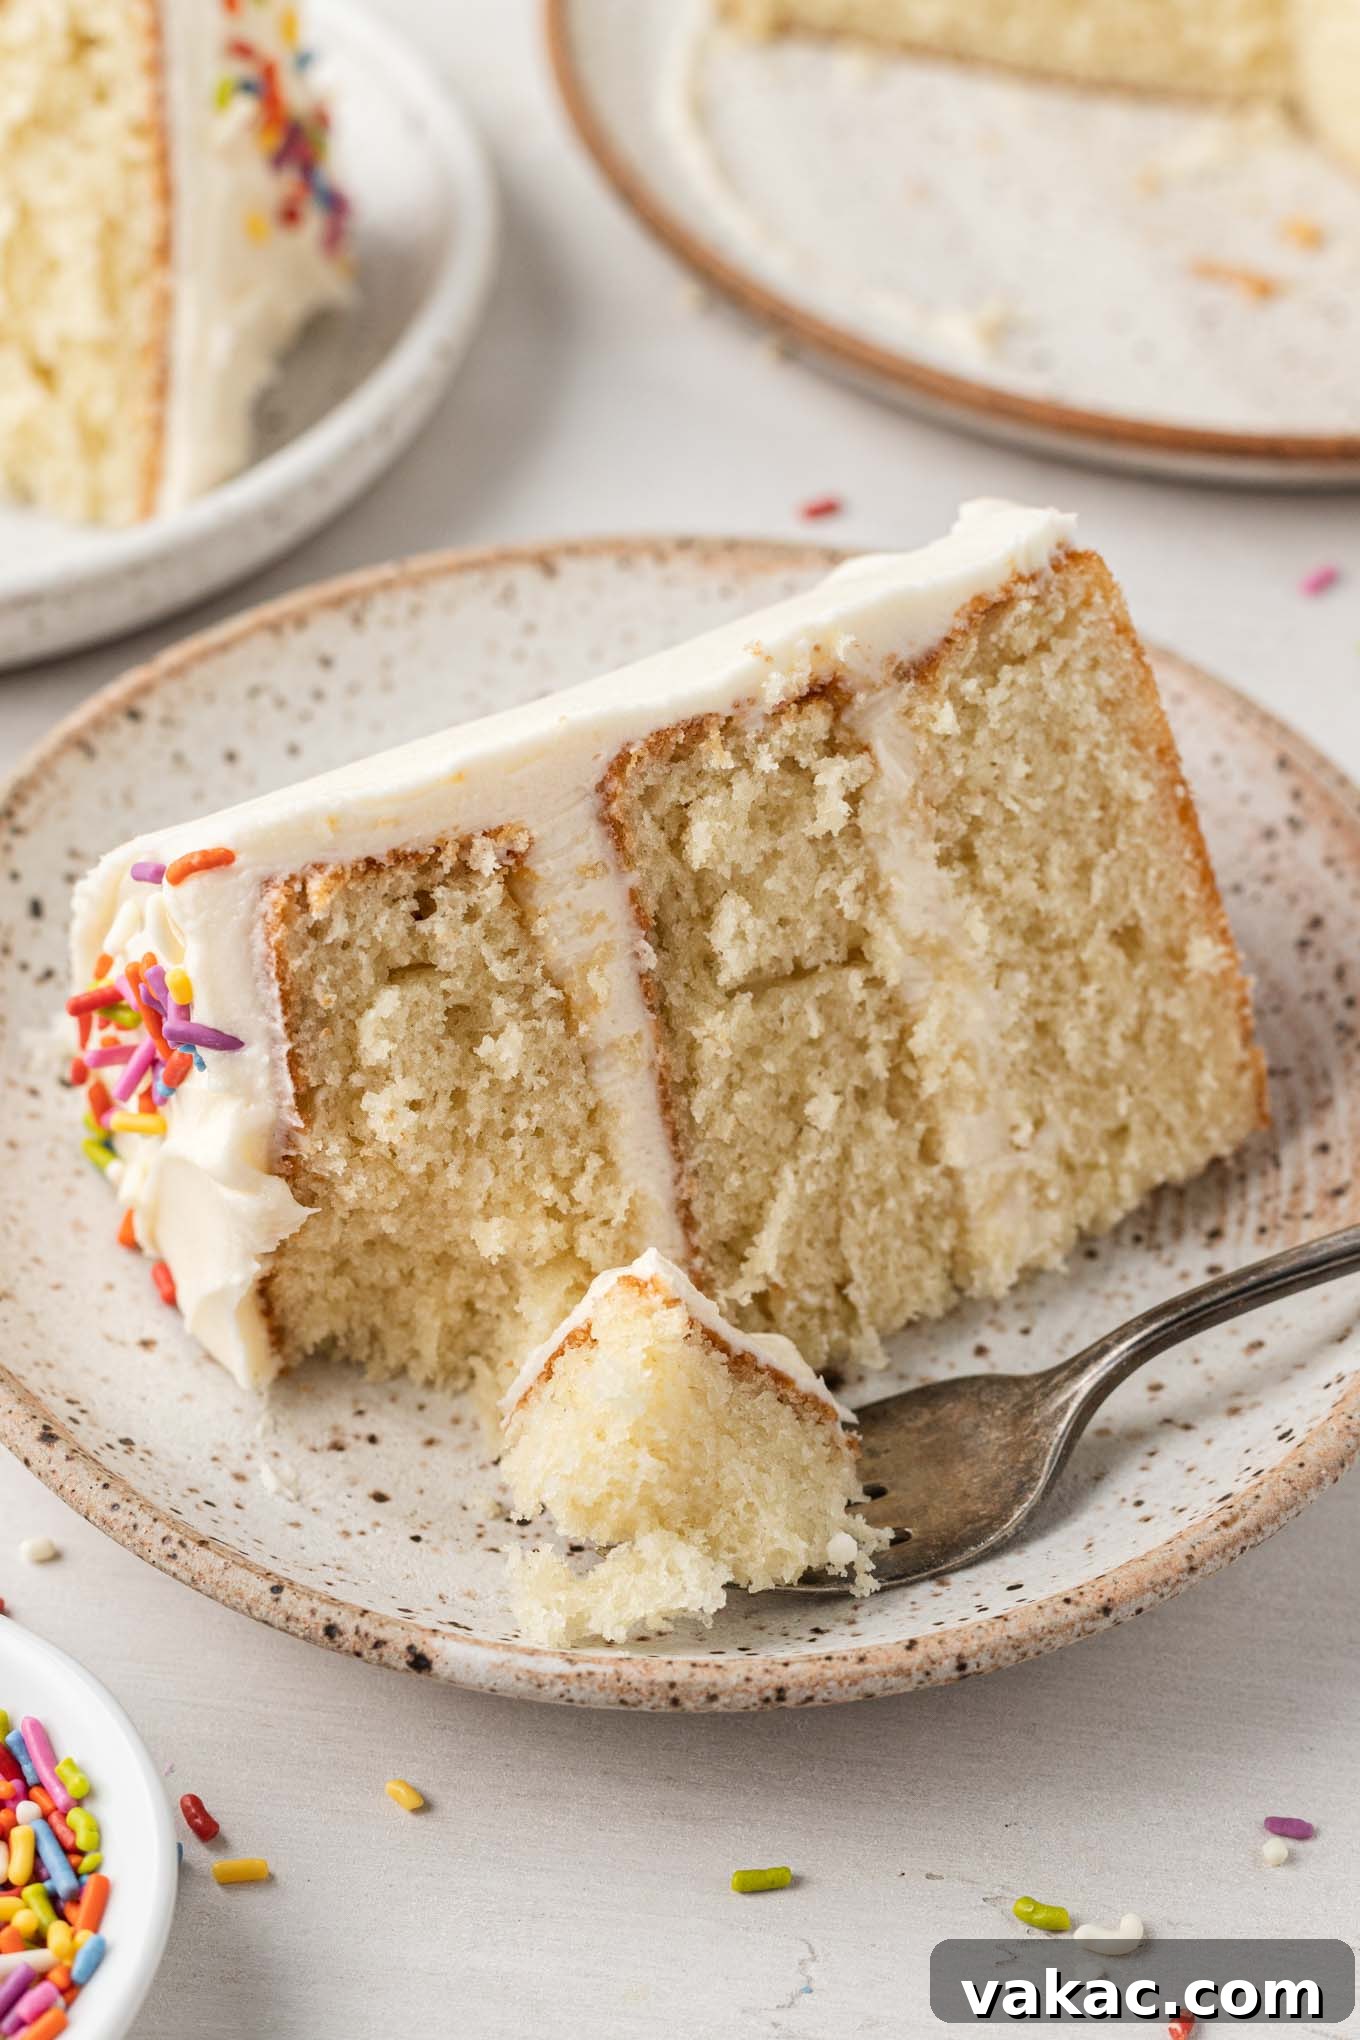
This delightful 6-inch vanilla cake is designed to yield six generous slices. Depending on appetites, it can comfortably serve six individuals, or provide a smaller group with room for a second helping. It’s the perfect size for an intimate celebration where everyone gets to enjoy a substantial piece.
Can the Cake Be Made in Advance?
Absolutely! Planning ahead can make entertaining much less stressful. The cake layers can be baked up to 24 hours before you plan to assemble and frost the cake. Simply allow them to cool completely, then wrap them tightly in plastic wrap and store at room temperature. The vanilla buttercream frosting can also be prepared in advance, up to three days. Store it in an airtight container in the refrigerator, and let it come to room temperature before re-whipping it to a fluffy consistency for frosting.
Additional Baking Tips for Success:
- Pan Size Alternatives: If you don’t own three 6-inch cake pans, you can still make this delicious cake! The batter can be baked in a single 9-inch round or square pan. Adjust the baking time accordingly, typically around 30-35 minutes, or until a toothpick inserted into the center comes out clean. Be sure to still grease and line the bottom of the pan with parchment paper.
- Mind the Baking Time: Because 6-inch cake pans are smaller in diameter than standard 8- or 9-inch pans, your cake layers will bake more quickly. It’s crucial to start checking for doneness around the 22-minute mark to prevent overbaking. Overbaked cakes can be dry and dense, so keep a close eye on them!
- Room Temperature Ingredients are Key: We’ve stressed this before, but it bears repeating. Ensuring your butter and eggs are at room temperature (around 68-72°F or 20-22°C) is fundamental for a smooth, well-emulsified batter. This leads to a finer crumb and a more tender cake.
- Measure Ingredients Accurately: Especially with baking, precision is important. For the most consistent results, we highly recommend weighing your flour with a kitchen scale rather than relying solely on volume measurements, as spooning and leveling can still lead to variations.
- Don’t Overmix the Batter: After adding the dry ingredients, mix only until just combined. Overmixing develops gluten, which can make your cake tough and chewy instead of tender and fluffy.
- Creative Cake Decorations: While we suggest rainbow sprinkles for a cheerful finish, the sky’s the limit for decorating your mini vanilla cake! Consider mini chocolate chips, elegant chocolate shavings, fresh berries like whole strawberries or raspberries, delicate slivered almonds, edible flowers, or even a simple dusting of powdered sugar. Let your creativity shine!
More Small Batch Desserts to Enjoy:
If you love the idea of baking for one or two, or simply prefer smaller portions, explore these other fantastic small batch dessert recipes from our collection:
- Molten Chocolate Lava Cakes for Two: An indulgent, restaurant-quality dessert that’s surprisingly easy.
- Quick Chocolate Mug Cake: Instant gratification for your chocolate cravings.
- Perfect Small Batch Brownies: Fudgy, rich brownies in a manageable size.
- Chewy Small Batch Chocolate Chip Cookies: Freshly baked cookies without a huge batch.
- Delicious Small Batch Peanut Butter Cookies: A classic comfort cookie, scaled down.
This detailed recipe provides everything you need to bake a show-stopping yet perfectly proportioned 6-inch vanilla cake. Its delightful taste and charming size make it an absolute winner for any occasion.
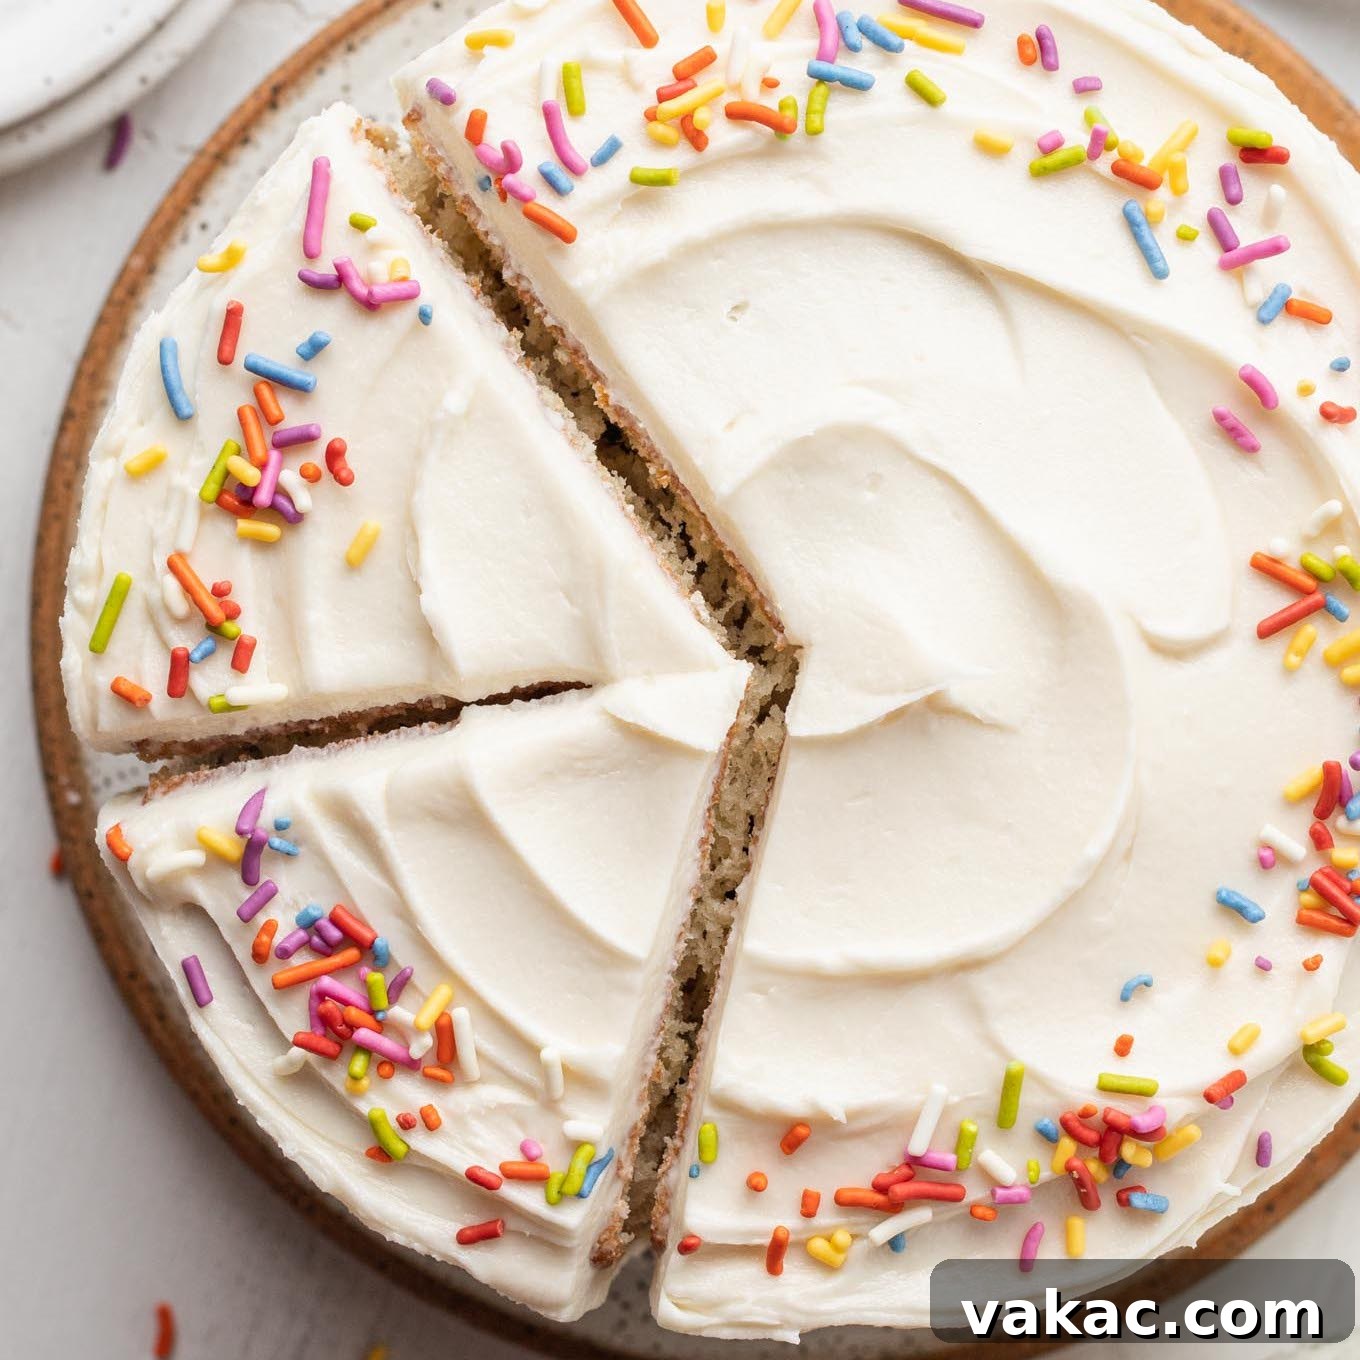
6-Inch Vanilla Cake
This 6-inch vanilla cake recipe is perfect for small gatherings, as a smash cake, or when you just don’t want a full-size layer cake in your kitchen. Mini cakes are super cute and incredibly easy to prepare!
Pin Recipe
Leave a Review
Ingredients
Vanilla Cake
- 1 ½ cups cake flour (spooned & leveled, 175 grams)
- 1 teaspoon baking powder
- ¼ teaspoon baking soda
- ¼ teaspoon salt
- ½ cup buttermilk (at room temperature, 120 ml)
- 2 tablespoons canola or vegetable oil (30 ml)
- 1 ½ teaspoons pure vanilla extract
- ½ cup unsalted butter (softened, 1 stick; 115 grams)
- 1 cup granulated sugar (200 grams)
- 2 large eggs (at room temperature)
Vanilla Buttercream Frosting
- 1 cup unsalted butter (softened, 2 sticks; 230 grams)
- 3 cups powdered sugar (360 grams)
- 2 to 3 tablespoons heavy whipping cream or milk (30 to 45 ml)
- 2 teaspoons pure vanilla extract
- ⅛ teaspoon salt
Instructions
-
To make the vanilla cake: Preheat the oven to 350°F (180°C). Spray three 6-inch round cake pans with nonstick cooking spray, line the bottom of each pan with parchment paper (this will prevent the cake layers from sticking to the pans), and set aside.
-
In a medium-sized mixing bowl, whisk the cake flour, baking powder, baking soda, and salt together. Set aside.
-
In a large bowl or measuring cup, stir the buttermilk, oil, and vanilla extract together until well combined. Set aside.
-
In the bowl of a stand mixer fitted with the paddle attachment or in a large mixing bowl using a handheld mixer, beat the butter on low speed until smooth, then slowly mix in the granulated sugar.
-
Once all of the sugar is added, increase to medium speed and continue mixing for another 3 to 4 minutes or until the mixture is light and fluffy.
-
Mix in the eggs, one at a time, making sure to stop and scrape around the bottom and sides of the bowl after each egg.
-
Mix in half of the dry ingredients on low speed until just combined, then mix in the buttermilk mixture, then the remaining half of the dry ingredients. Make sure to mix in each addition until just combined and be careful not to over mix the batter. If needed, stop and scrape around the bottom and sides of the bowl with a rubber spatula to ensure that everything is well combined.
-
Pour the batter into the prepared cake pans and spread around evenly.
-
Bake for 22 to 28 minutes or until a toothpick inserted into the center of the cakes comes out clean. Remove from the oven and allow to cool in the pans for 15 to 20 minutes. Slide a knife around the outside of the cakes, then carefully remove the cakes from the pans, and transfer to a wire rack to cool completely.
-
To make the vanilla buttercream frosting: In the bowl of a stand mixer fitted with the paddle attachment or in a large mixing bowl using a handheld mixer, beat the butter until smooth.
-
Add half of the powdered sugar and mix on low speed at first, then increase to medium speed and continue mixing until well combined. Add the remaining half of the powdered sugar and mix until fully combined.
-
Add the heavy cream (or milk), vanilla extract, and salt and continue mixing on low speed until everything is well combined, stopping to scrape down the sides of the bowl as needed.
-
To assemble the cake: Use a knife or a cake leveler to level the tops of each cake layer.
-
Place the first cake layer on a cardboard cake round, large plate, or cake stand.
-
Scoop ½ cup of frosting on top and use an offset spatula or the back of a spoon to spread it around into an even layer.
-
Add the second cake layer upside down on top of the first one and repeat the same process with another ½ cup of frosting.
-
Place the third cake layer upside down on top of the second layer. Apply a thin coat of icing to the outside of the cake to catch any crumbs. Refrigerate for 20 to 30 minutes, if desired. Then use the rest of the frosting to decorate the top and sides of the cake.
Notes
Storage Instructions: Store cake in an airtight container at room temperature for 2 to 3 days or in the fridge for up to 4 days.
Freezing Instructions: Cake layers may be wrapped tightly and frozen for up to 3 months, thaw overnight in the refrigerator. Frosting can be stored in a large freezer bag and frozen for up to 3 months. Thaw overnight in the refrigerator and bring to room temperature before frosting the cake.