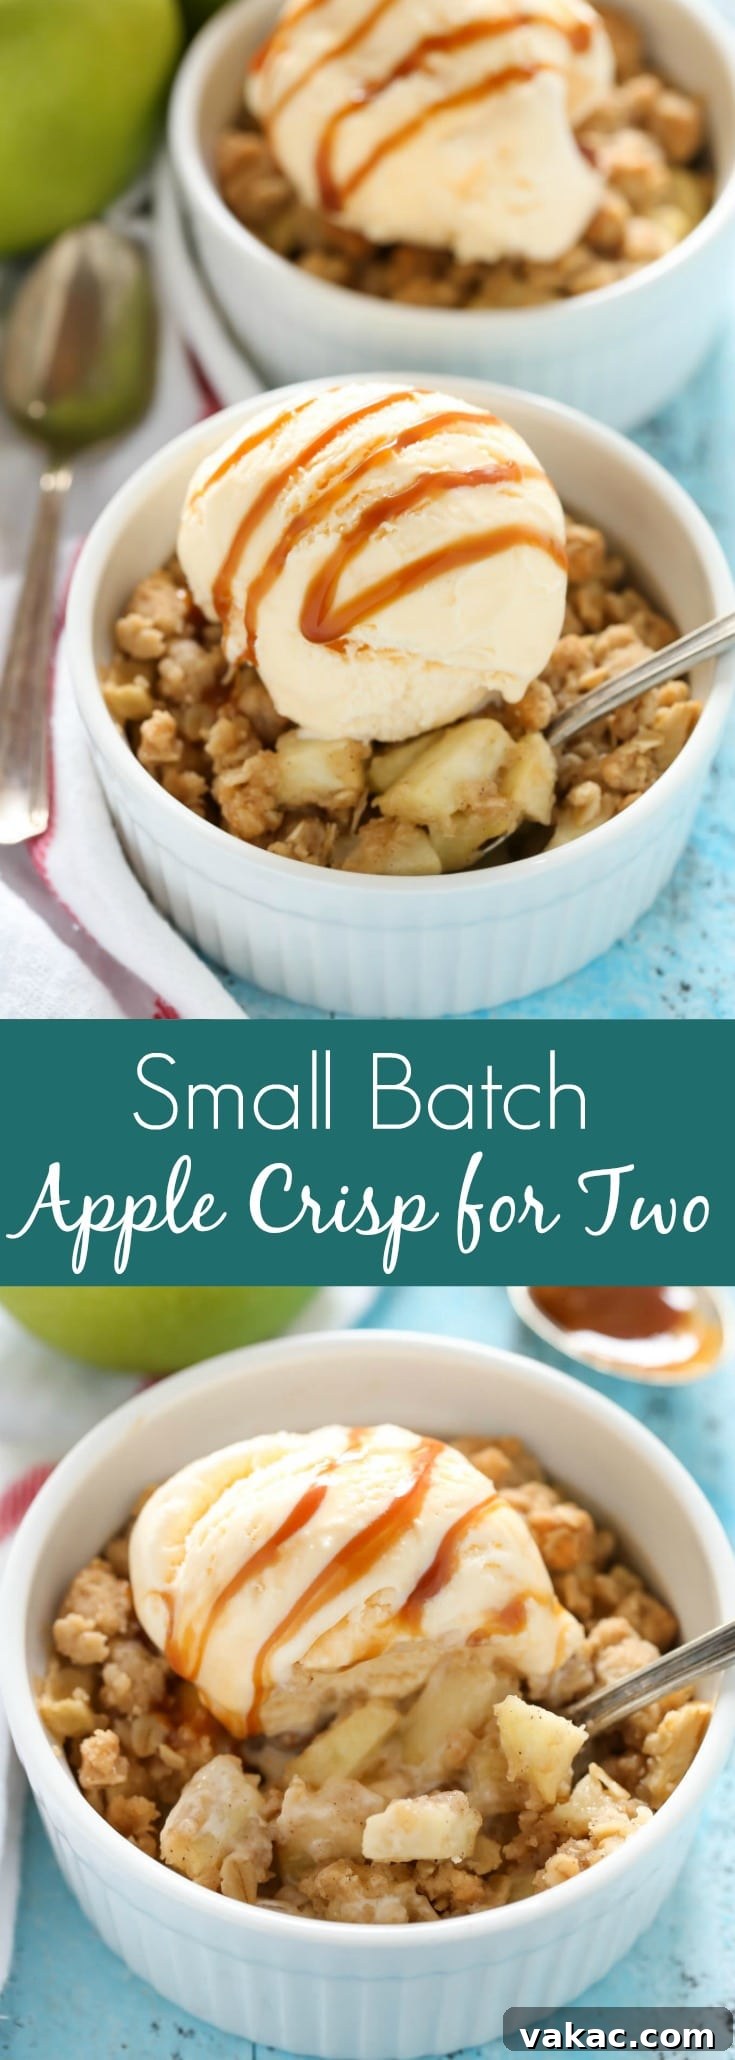
Irresistible Apple Crisp for Two: Your Perfect Small Batch Fall Dessert
Discover the ultimate cozy dessert designed just for two! This homemade Apple Crisp for Two is incredibly simple to prepare, making it the perfect small-batch treat to welcome the crisp air and warm flavors of fall. Forget about overwhelming leftovers or tedious baking; this recipe delivers maximum flavor with minimal effort, ensuring a fresh, delightful dessert every time.
Why Choose a Small Batch Apple Crisp?
Have you ever found yourself yearning for a sweet, comforting dessert but immediately hesitated at the thought of baking a huge batch? Perhaps it’s just you and your significant other, or you simply prefer not to have an abundance of leftovers taking up precious fridge space. This is precisely where the beauty of small-batch desserts shines through, offering a fresh, perfectly portioned treat without any waste.
Our Apple Crisp for Two recipe is designed to be your go-to solution. It’s not just easy; it’s ridiculously simple to assemble, yielding precisely two servings. Imagine preparing both the apple filling and the crunchy topping in the same bowl! This clever trick significantly reduces cleanup, leaving you more time to savor your warm, delightful creation. Once you try this recipe, you’ll want to keep it on hand and make it a regular indulgence, especially during the autumn season.
Selecting the Perfect Apples for Your Crisp
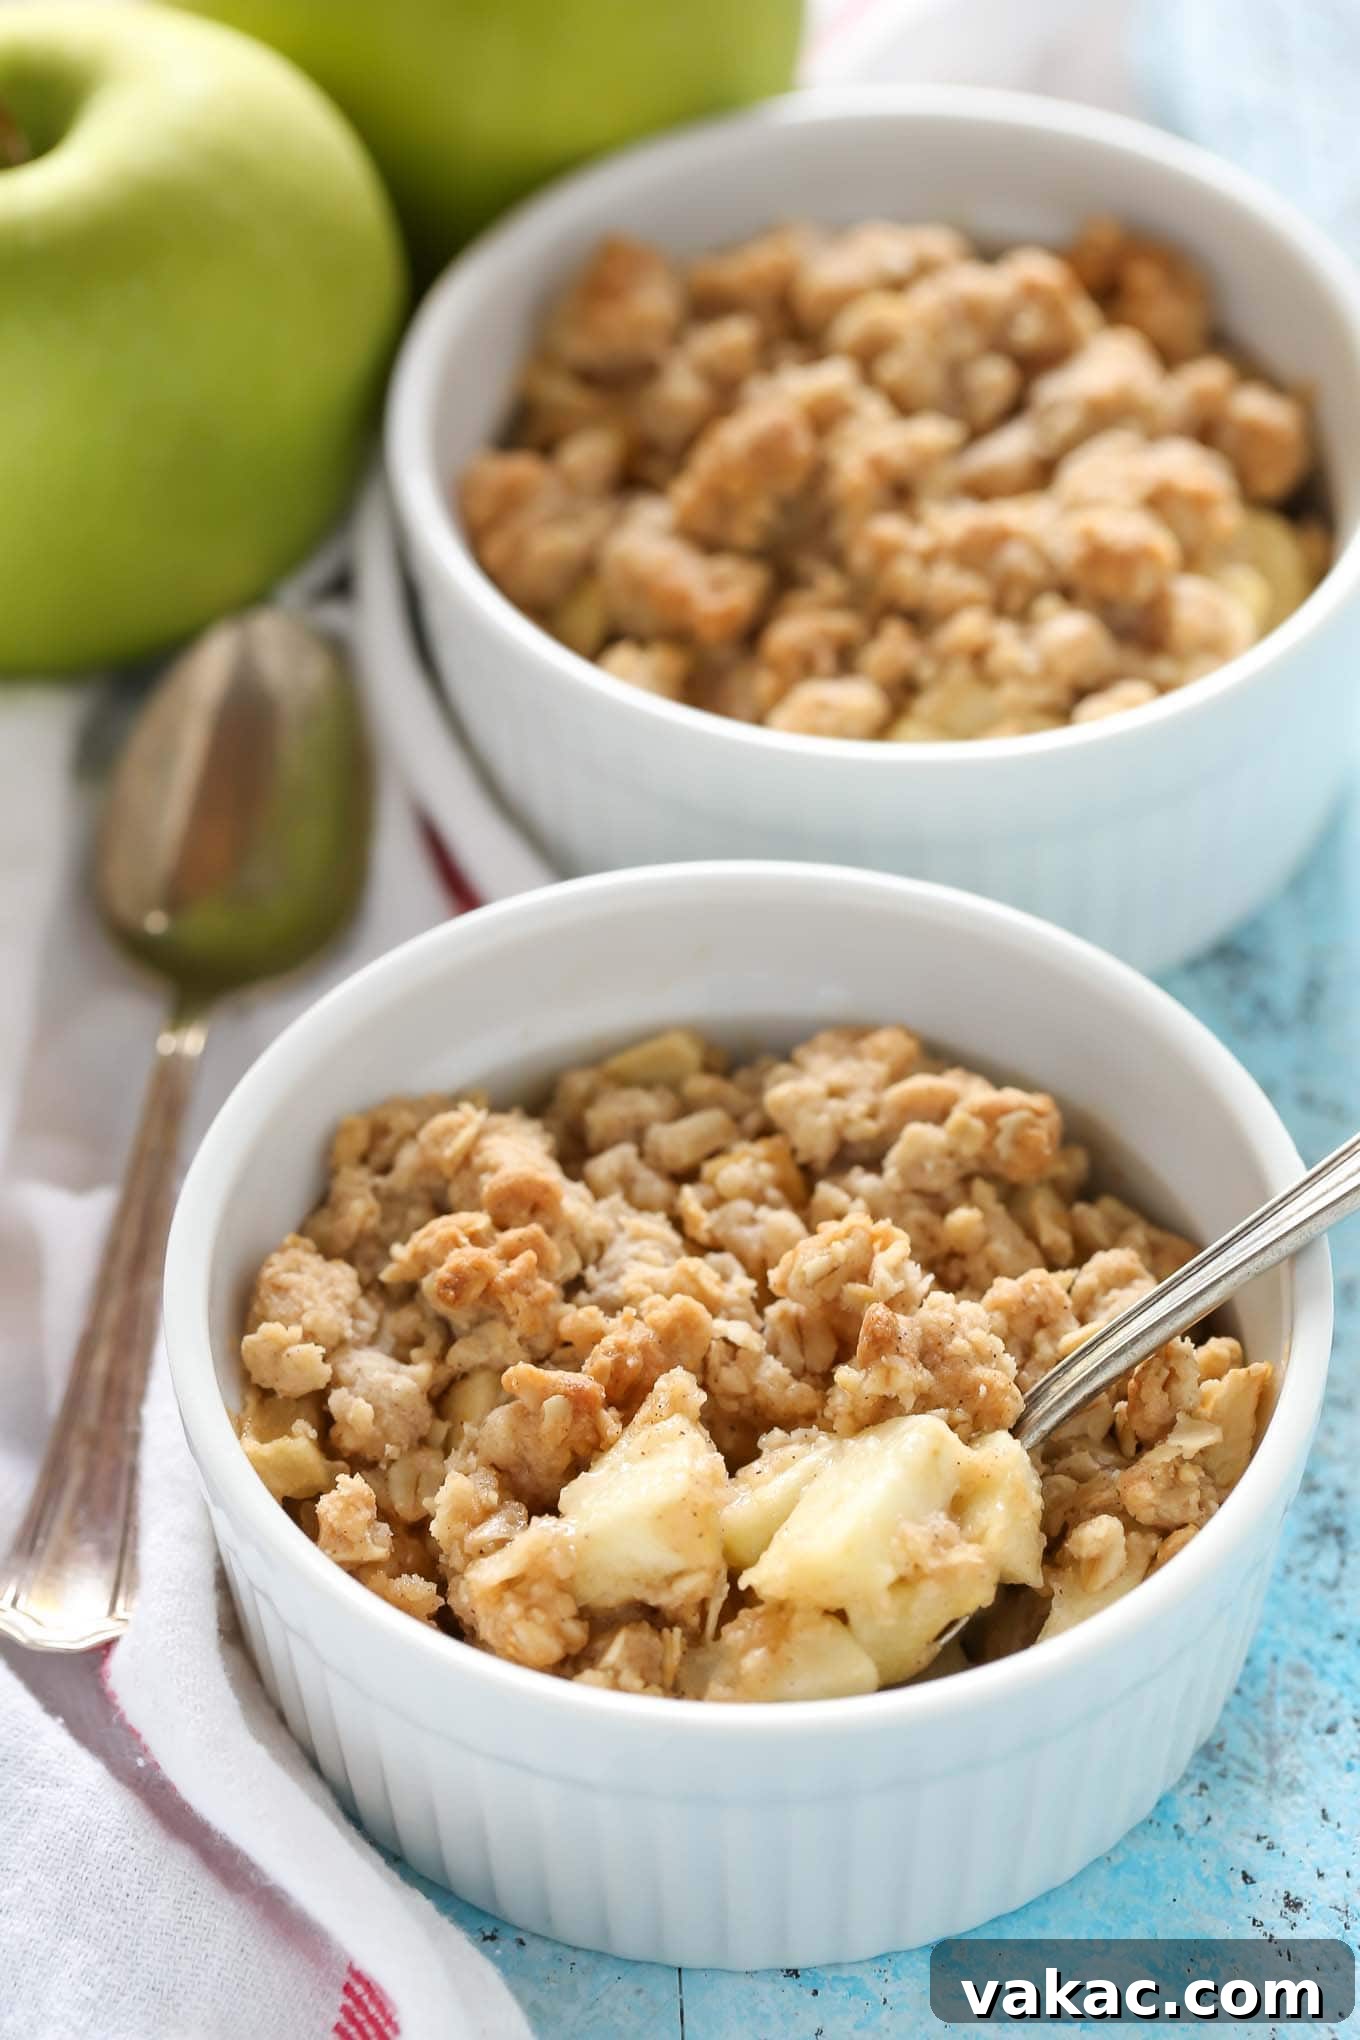
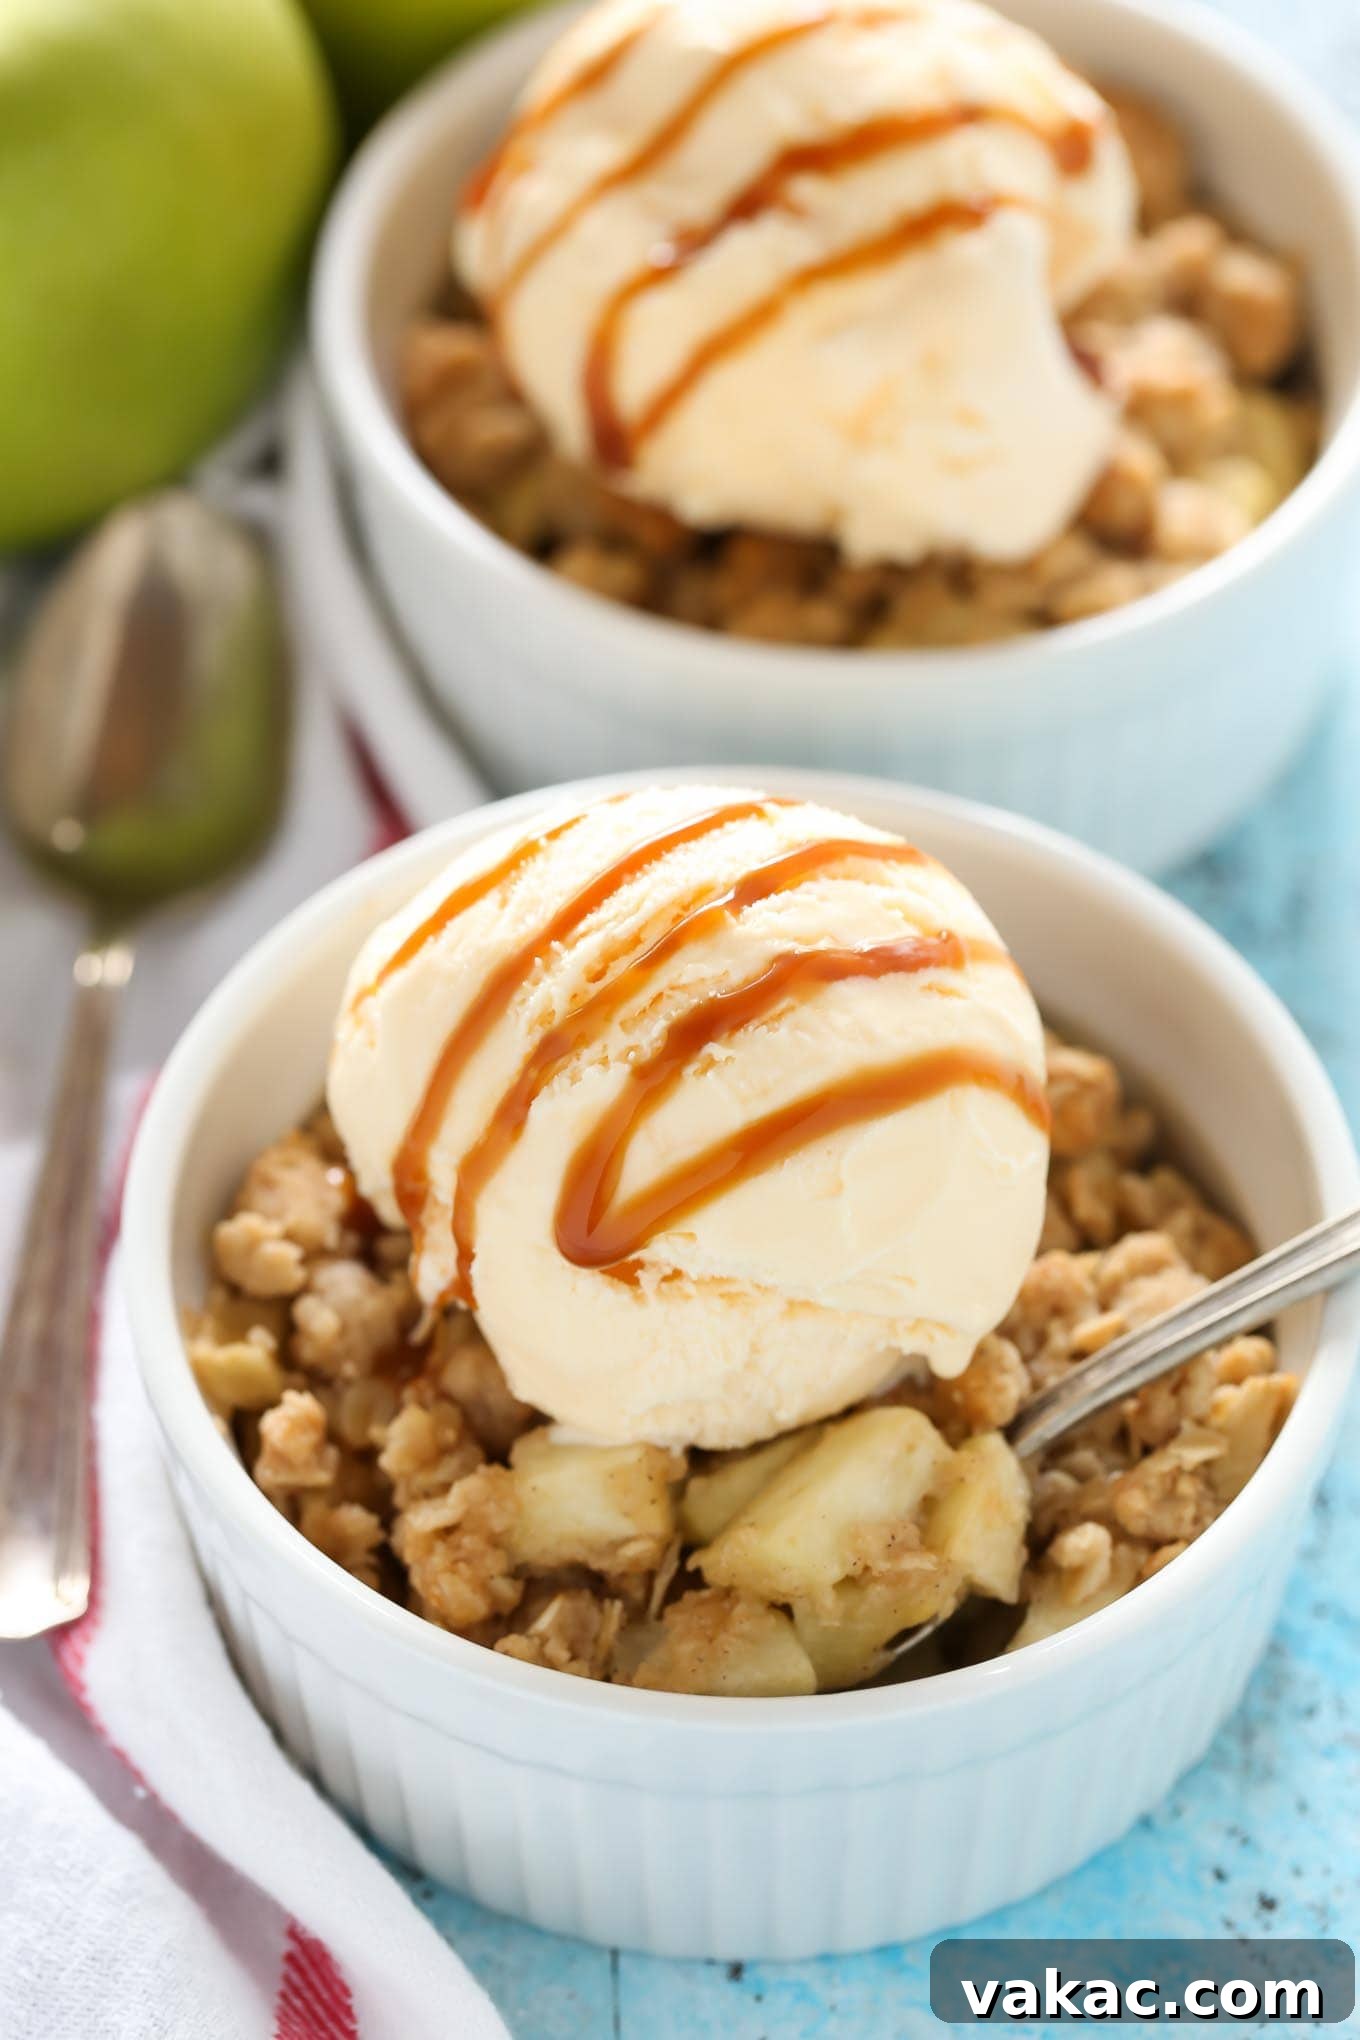
The heart of any great apple crisp lies in its apples. For this recipe, we’ve found that Granny Smith apples are simply unbeatable. Their distinct tartness provides a wonderful contrast to the sweetness of the crisp topping and the brown sugar in the filling, creating a perfectly balanced flavor profile that many adore. However, feel free to experiment with your favorite baking apples!
If you prefer a sweeter apple like Honeycrisp, Fuji, or Gala, you might consider slightly reducing the amount of brown sugar in the filling to prevent it from becoming overly sweet. A blend of apples can also add complexity and depth of flavor. For instance, combining a tart Granny Smith with a sweeter Honeycrisp can create a harmonious symphony of tastes and textures. Regardless of your choice, make sure to chop your apples into pieces of roughly the same size. This seemingly small detail is crucial for ensuring they bake evenly, resulting in a consistent, tender texture throughout your individual apple crisps. While slicing is an option, chopped apples tend to fit more neatly and cook more uniformly within the smaller ramekins.
Crafting the Delightful Apple Filling
Creating the flavorful base for our small-batch apple crisp is a straightforward process. The filling is a simple yet effective mixture of your chosen apples, a touch of all-purpose flour, and rich brown sugar. The flour acts as a subtle thickener, ensuring that the apple juices transform into a luscious, syrupy sauce rather than a watery mess during baking. Brown sugar, with its deep molasses notes, adds a wonderful caramel-like sweetness that complements the apples beautifully.
For an extra layer of warmth, consider adding a tiny pinch of ground cinnamon or a dash of nutmeg to your apple mixture. These spices enhance the natural sweetness of the apples and evoke that quintessential fall feeling. Once your apples are perfectly coated, they are ready to be divided between your prepared ramekins. This simple preparation ensures that each bite of your warm apple crisp is bursting with tender, spiced apple goodness, creating a truly comforting dessert experience.
Achieving the Ultimate Crunchy Topping
The crisp topping is arguably the star of any apple crisp, providing that essential textural contrast to the soft apple filling. Our topping is a classic blend of all-purpose flour, old-fashioned rolled oats, brown sugar, cinnamon, a tiny pinch of salt, and cold, cubed unsalted butter. The rolled oats are key to achieving that satisfying chewiness, while the flour provides structure. Brown sugar again lends its signature warmth and depth, and cinnamon ties all the fall flavors together.
The secret to a perfect crumbly topping lies in the butter. Using cold, cubed butter and working it into the dry ingredients with your hands or a fork ensures that it melts slowly in the oven, creating pockets of steam that result in a wonderfully tender yet crisp texture. You’ll want to mix until the mixture resembles coarse crumbs with some pea-sized pieces of butter still visible. Once your topping is ready, simply sprinkle it generously over the apple filling in each ramekin. This easy process means you can often have your individual apple crisps prepped and baking in the oven while you’re enjoying dinner, ready to be served warm for dessert.
The Perfect Vessels: Choosing Your Ramekins
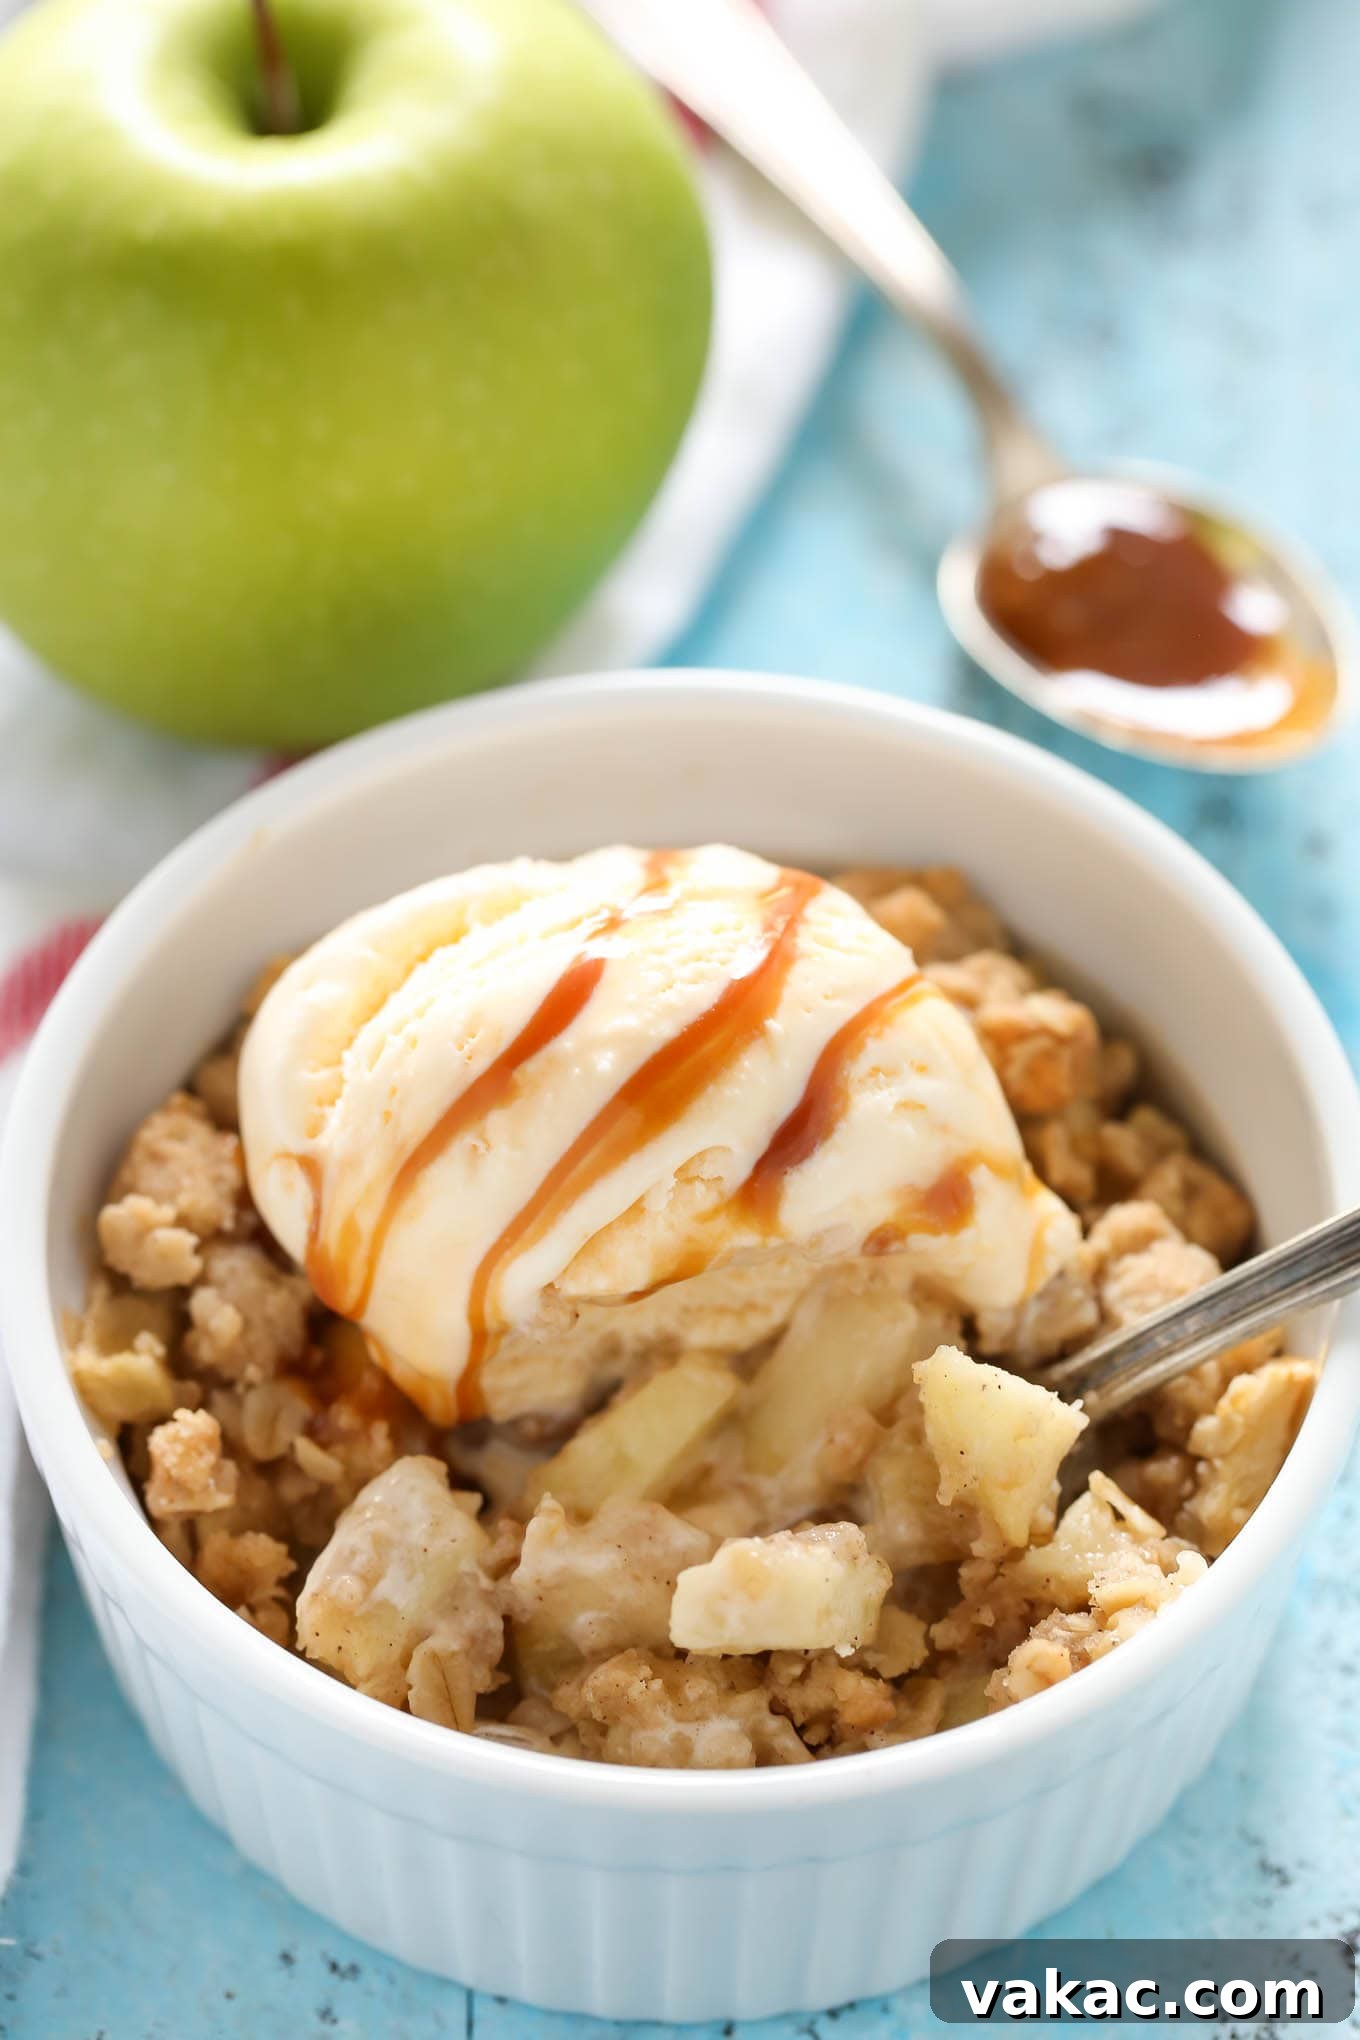
For this delightful Apple Crisp for Two, 10-ounce ramekins are absolutely ideal. They are the perfect size to hold a generous individual portion, allowing the apple filling and crisp topping to cook beautifully and evenly. Not only do they make for an elegant presentation, but they also simplify portion control, making this a truly “crisp for two” experience. You can often find these versatile ceramic dishes at kitchenware stores or even local supermarkets for just a few dollars each. Investing in a couple is well worth it, as ramekins can be used for a variety of other small-batch desserts, savory soufflés, or even prep bowls.
If you don’t have 10-ounce ramekins, don’t worry! You can use other oven-safe dishes of similar capacity, such as small oven-safe bowls, custard cups, or even small cast-iron skillets. Just ensure they are suitable for high oven temperatures and have enough depth to contain the filling and topping. The beauty of individual portions is that each person gets their own warm, bubbly, golden-brown crisp straight from the oven.
Baking Your Apple Crisp to Perfection
Once your apple filling and crumbly topping are nestled in their ramekins, it’s time for the magic to happen in the oven. Preheat your oven to 350°F (175°C), and in just 20-25 minutes, you’ll be treated to a symphony of enticing aromas filling your kitchen. Keep an eye on your crisps: the apples should be cooked through and tender when pierced with a fork, and the topping should boast a gorgeous, lightly golden-brown hue. This golden color signifies a perfectly crunchy texture, contrasting beautifully with the soft fruit below.
Allowing the crisps to cool for about 5-10 minutes after removing them from the oven is a crucial step. This brief resting period allows the filling to set slightly and prevents any scorching of your tongue from the bubbling hot fruit. While tempting to dive in immediately, this patience ensures the best possible eating experience. The waiting is part of the fun!
Serving Suggestions: Elevate Your Dessert
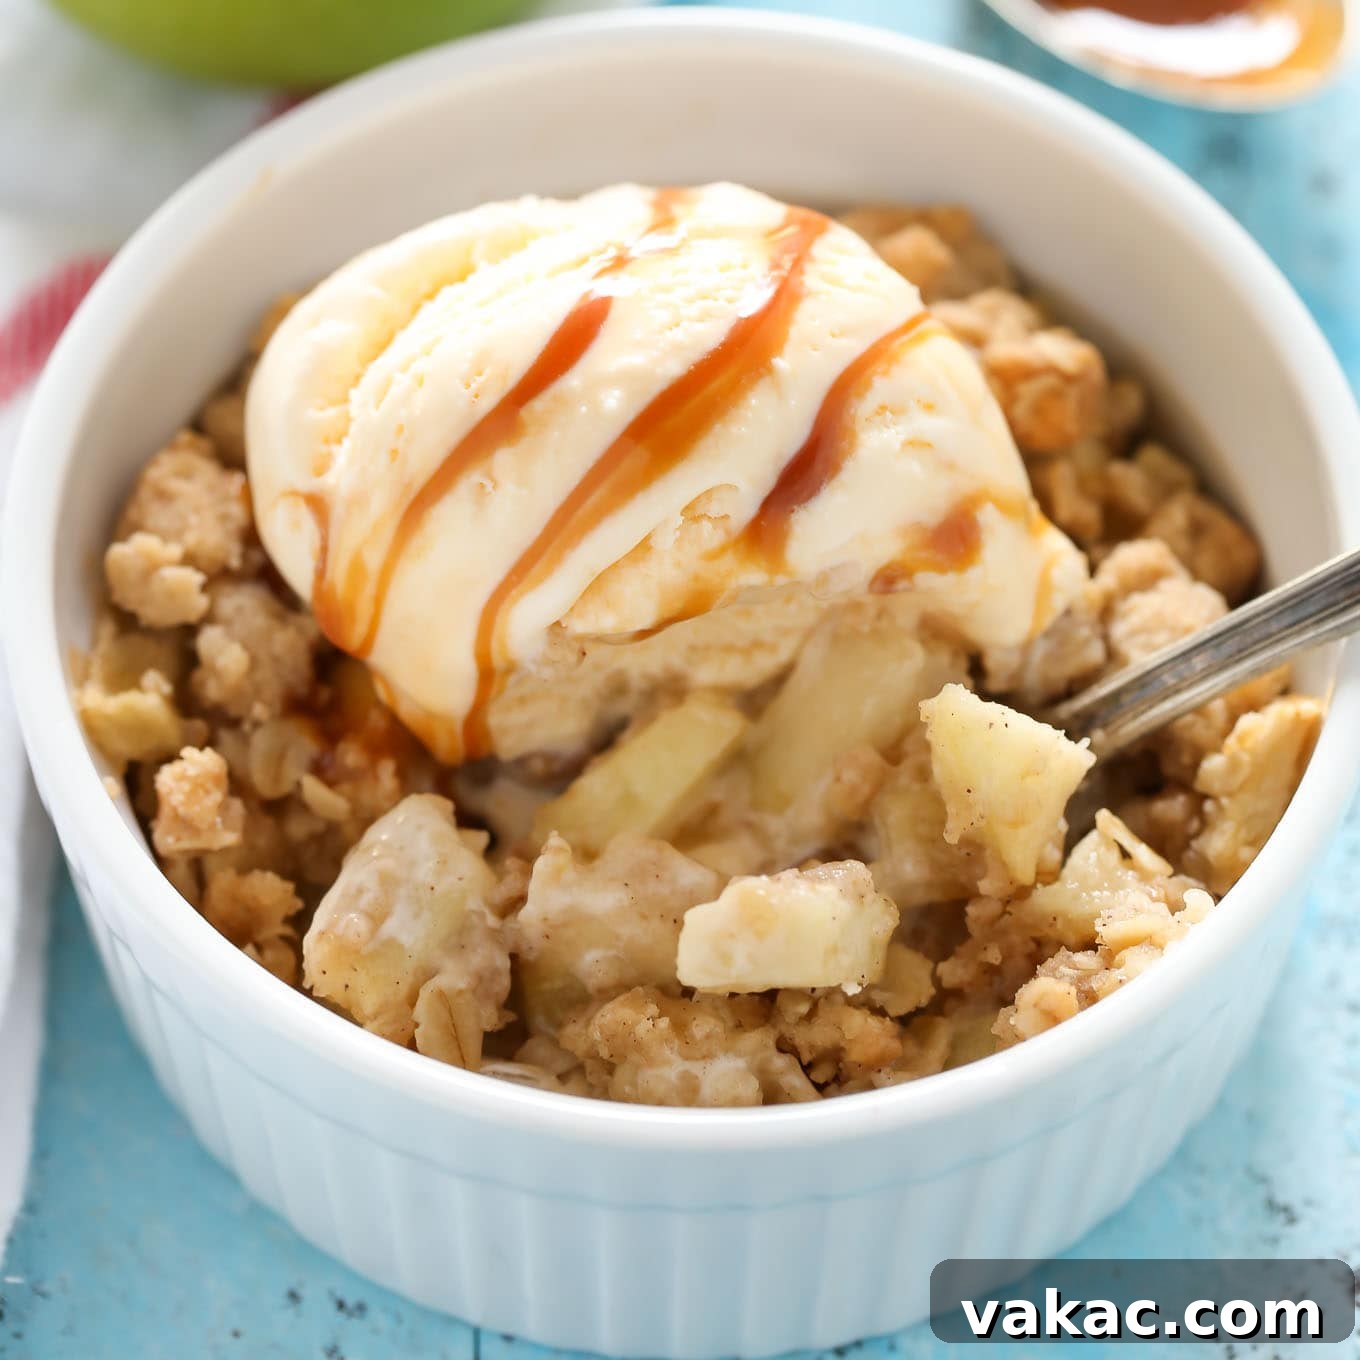
A warm apple crisp is a delight on its own, but it truly shines when paired with a few simple enhancements. Since this recipe makes just two servings, there’s no guilt in indulging a little! We highly recommend a scoop of creamy vanilla ice cream melting decadently over the warm crisp. For an extra touch of luxury, a drizzle of homemade salted caramel sauce is an absolute game-changer. The combination of warm apples, crunchy topping, cold ice cream, and gooey caramel creates an unforgettable dessert experience. You won’t regret it!
Other fantastic serving ideas include a dollop of freshly whipped cream, a sprinkle of toasted chopped nuts (like pecans or walnuts) for added crunch, or even a dusting of powdered sugar. Whether enjoyed as a weeknight treat or a special occasion dessert, this apple crisp offers comfort and joy in every spoonful.
Expert Tips for the Best Apple Crisp for Two
- Don’t Overmix the Topping: When combining the butter with the dry ingredients for the topping, work it just enough until crumbs form. Overmixing can lead to a less tender and more cookie-like topping.
- Cold Butter is Key: Ensure your butter for the topping is very cold and cubed. This helps create those desirable pockets of steam, resulting in a flakier, crispier crumble.
- Adjust Sugar to Taste: If you’re using sweeter apples than Granny Smiths, consider reducing the brown sugar in the filling by half a tablespoon to maintain balance.
- Make Ahead Option: You can prepare the apple filling and the crisp topping separately the day before. Store the apple mixture covered in the fridge and the topping in an airtight container at room temperature. Assemble and bake when ready.
- Storage: Leftover (highly unlikely!) apple crisp can be covered and stored in the refrigerator for up to 2-3 days.
- Reheating: Reheat in a preheated oven at 300°F (150°C) for about 10-15 minutes, or until warmed through and the topping is crisp again.
Apple Crisp For Two Recipe
This Apple Crisp for Two is easy to make and a perfect small batch dessert for fall!

Prep Time: 20 minutes
Cook Time: 25 minutes
Total Time: 45 minutes
Servings: 2 apple crisps
Ingredients
For the filling:
- 2 large Granny Smith apples, peeled, cored, and chopped (about 2 cups)
- 1 tablespoon all-purpose flour
- 2 tablespoons brown sugar
For the topping:
- 1/4 cup all-purpose flour (spooned & leveled)
- 3 tablespoons old-fashioned rolled oats
- 2 tablespoons brown sugar
- 1/8 teaspoon cinnamon
- tiny pinch of salt
- 2 tablespoons unsalted butter, cold and cubed
Instructions
To make the filling:
- Preheat oven to 350°F (175°C). Lightly spray two 10-ounce ramekins with non-stick cooking spray and set aside.
- In a medium-sized mixing bowl, toss together the chopped apples, flour, and brown sugar until all of the apple pieces are coated well. Evenly distribute the apple filling between both ramekins and set aside.
To make the topping:
- In a medium-sized mixing bowl (or reuse the bowl from the filling after a quick wipe), add the flour, oats, brown sugar, cinnamon, and salt. Mix until well combined.
- Add in the cubed butter and work the mixture together with your hands or a fork until it starts to clump together and resembles coarse crumbs.
- Evenly distribute the topping between both ramekins, sprinkling it over the apple filling.
- Bake at 350°F (175°C) for 20-25 minutes, or until the apples are cooked through and tender, and the topping is lightly golden brown and crisp.
- Allow to cool for about 5-10 minutes before serving. Enjoy your warm Apple Crisp for Two!
Cuisine: American
Course: Dessert
Author: Danielle Rye
Did you make this recipe? We’d love to see it! Mention @livewellbakeoften on Instagram or tag #livewellbakeoften.
You can find all of our small batch recipes here.
Explore More Delicious Apple Recipes!
If you’re an apple lover, you’ll adore these other fantastic recipes:
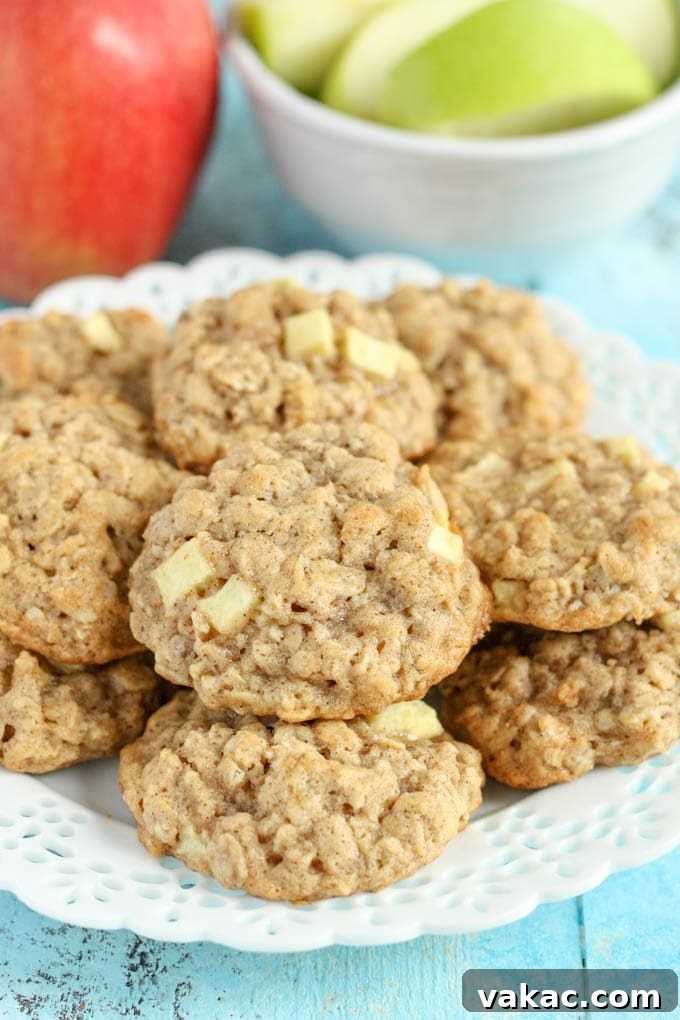
Apple Oatmeal Cookies
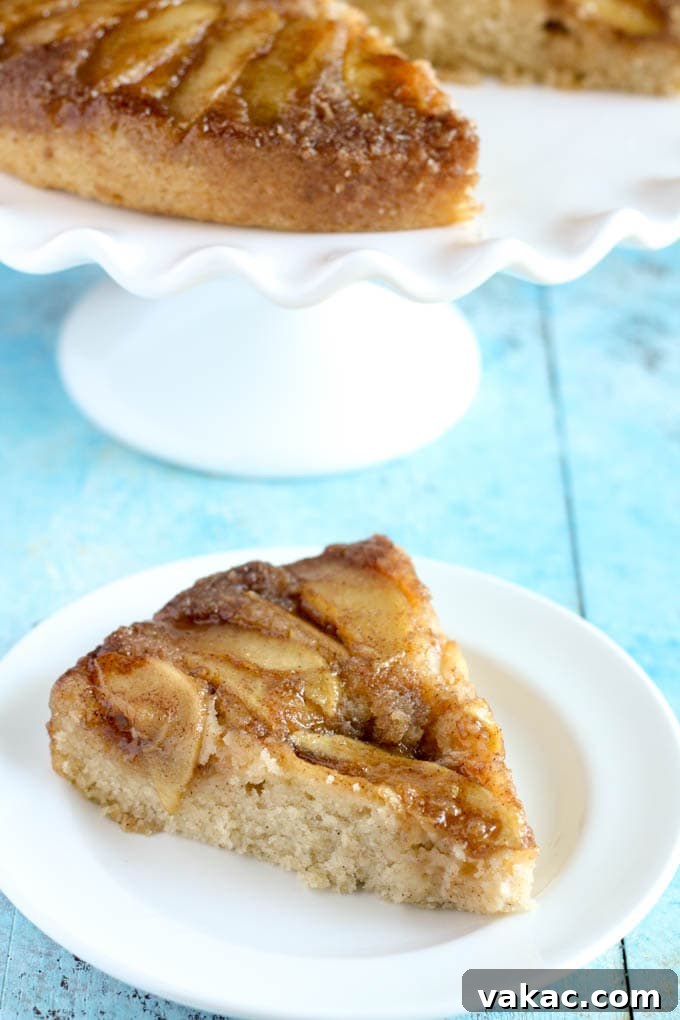
Caramel Apple Upside-Down Cake