
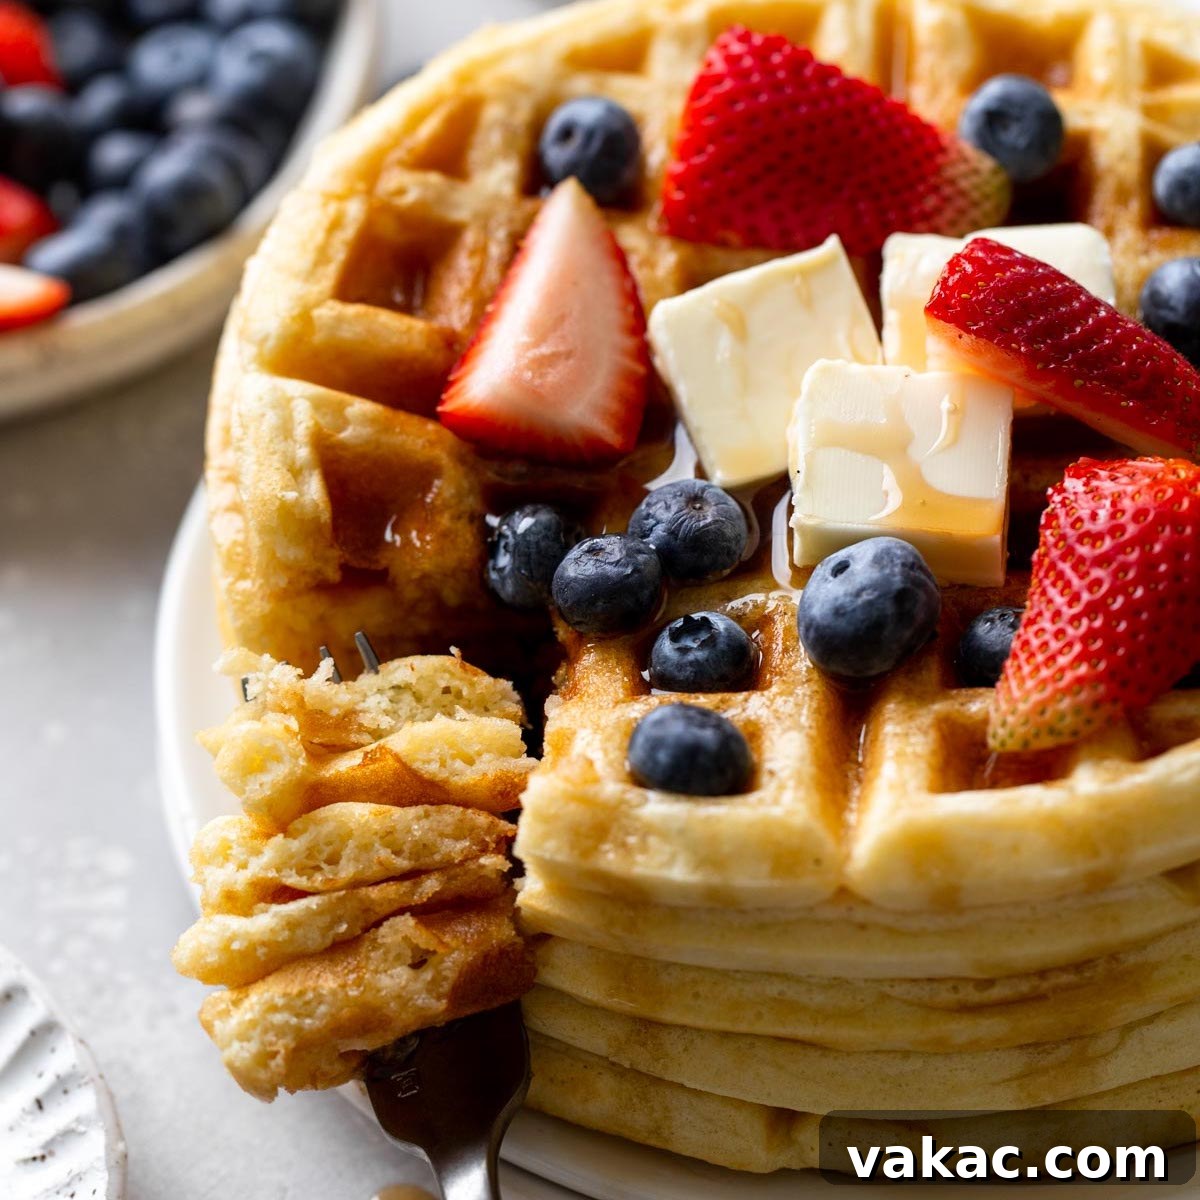
The Ultimate Guide to Making Perfectly Fluffy Waffles from Scratch
Imagine waking up to the irresistible aroma of freshly made, golden-brown waffles, crispy on the outside and wonderfully fluffy on the inside. This isn’t just a dream – it’s an easily achievable reality with our ultimate fluffy waffle recipe! Forget complicated restaurant preparations or store-bought mixes; crafting perfect homemade waffles is surprisingly simple, deeply satisfying, and far more delicious than anything you’ll find elsewhere.
This recipe is designed to demystify the art of waffle making, transforming your weekend breakfasts into a truly special occasion. With just eight common ingredients and minimal prep work, you’ll master the technique to create light, airy waffles that are subtly sweet and infused with a delicate vanilla flavor. Whether you’re a seasoned baker or a beginner, this guide will walk you through every step, ensuring a flawless batch of waffles every time.
While this recipe focuses on perfecting the basic fluffy waffle, it also serves as an excellent canvas for your creativity. Feel free to personalize your waffles with optional mix-ins like fresh berries, chocolate chips, or a sprinkle of cinnamon. But for now, let’s dive into the core recipe that promises to elevate your breakfast game and make homemade waffles your new favorite tradition.
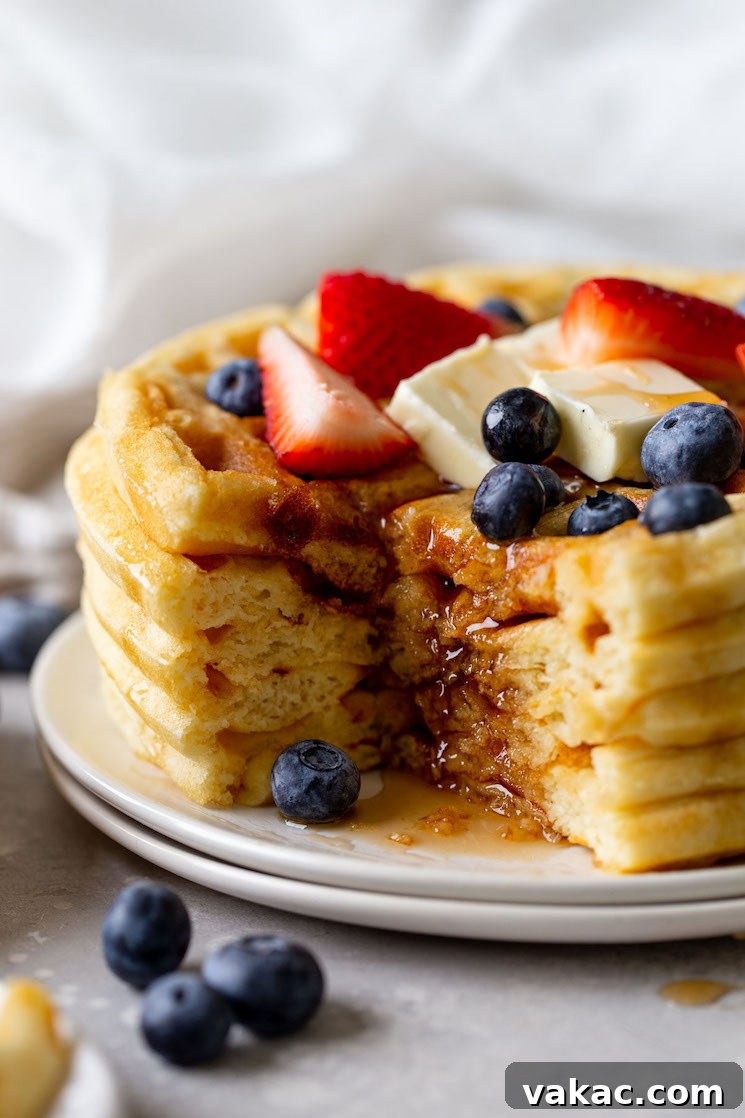
Why Choose Homemade Waffles? The Unmatched Taste and Comfort
Many home cooks find the idea of making waffles from scratch a bit intimidating. They envision complex techniques, a multitude of ingredients, or a difficult cleaning process. However, I’m here to tell you that homemade waffles are not only incredibly easy to prepare but also vastly superior in taste and texture to anything you’ll get from a box mix or even most diners. When you make waffles yourself, you control the quality of the ingredients, ensuring a fresh, wholesome, and truly flavorful result.
The difference is palpable. Boxed mixes often produce dense, rubbery waffles lacking in depth of flavor. Restaurant waffles, while sometimes good, can be inconsistent and often laden with excessive sugar or artificial additives. Our recipe guarantees waffles that are light, airy, and delicately crisp – a harmonious balance that awakens your taste buds and leaves you feeling perfectly satisfied. Plus, the process itself is a therapeutic and enjoyable culinary experience, perfect for a relaxed weekend morning with family or friends. There’s something uniquely comforting about a breakfast made with love, right in your own kitchen.
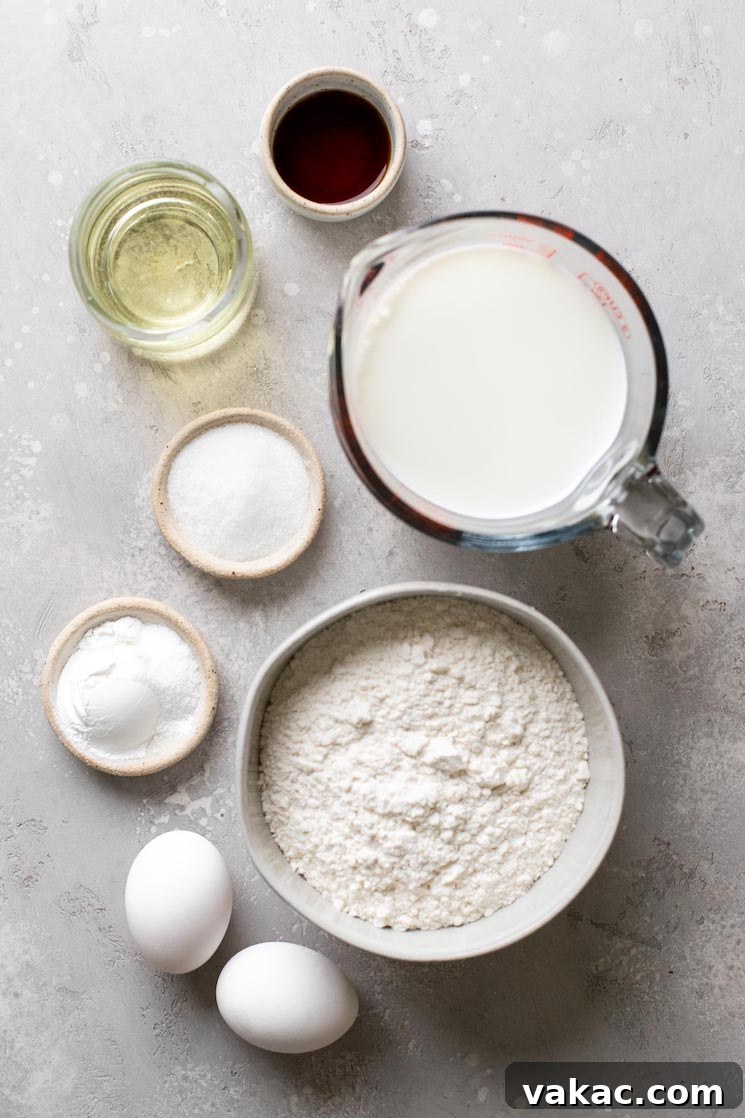
Essential Ingredients for Fluffy Perfection
One of the best aspects of this fluffy waffle recipe is that it relies on basic pantry staples you likely already have on hand. No need for a special trip to the grocery store! Each ingredient plays a crucial role in achieving that coveted light and crispy texture with a rich, inviting flavor. Here’s a closer look at what you’ll need and why:
- All-Purpose Flour: The foundation of our waffles. Proper measurement is key here. To avoid a dense batter, gently spoon the flour into your measuring cup and then level it off with a straight edge, rather than scooping directly from the bag. This method prevents over-compacting the flour, ensuring your waffles remain light and airy.
- Granulated Sugar: We use just 3 tablespoons to impart a subtle sweetness that complements the rich flavors without being overpowering. The sugar also aids in achieving that beautiful golden-brown color during cooking.
- Baking Powder: This is our primary leavening agent, responsible for much of the incredible fluffiness. It reacts with the wet ingredients and heat, creating air pockets that make the waffles rise high and light. Don’t confuse it with baking soda; they have different chemical reactions!
- Salt: A small pinch of salt works wonders to balance the sweetness, enhance all the other flavors, and prevent the waffles from tasting flat. It’s a secret weapon in many baked goods!
- Whole Milk: For the richest, most tender waffles, whole milk is highly recommended. Its higher fat content contributes significantly to moisture and flavor, resulting in a more decadent finished product. If whole milk isn’t available, other milks can be used, but the texture might vary slightly.
- Pure Vanilla Extract: Essential for adding warmth and depth of flavor. Always opt for pure vanilla extract over imitation for the best taste. It truly makes a difference in elevating the overall aroma and profile of your waffles.
- Eggs: Eggs are critical for structure, binding, and especially for achieving that signature fluffiness. We’ll be separating the egg whites and whipping them separately, a technique that introduces air into the batter, making the waffles incredibly light. For best results when whipping, ensure your eggs are at room temperature. A quick tip: place cold eggs in a bowl of warm water for 5-10 minutes before separating.
- Oil (Canola or Vegetable): This adds moisture and helps create a crispy exterior. Canola or vegetable oil are neutral in flavor, allowing the other ingredients to shine. You can substitute with melted butter for a richer, more buttery flavor, but if you do, make sure your milk is also at room temperature to prevent the butter from solidifying upon contact.
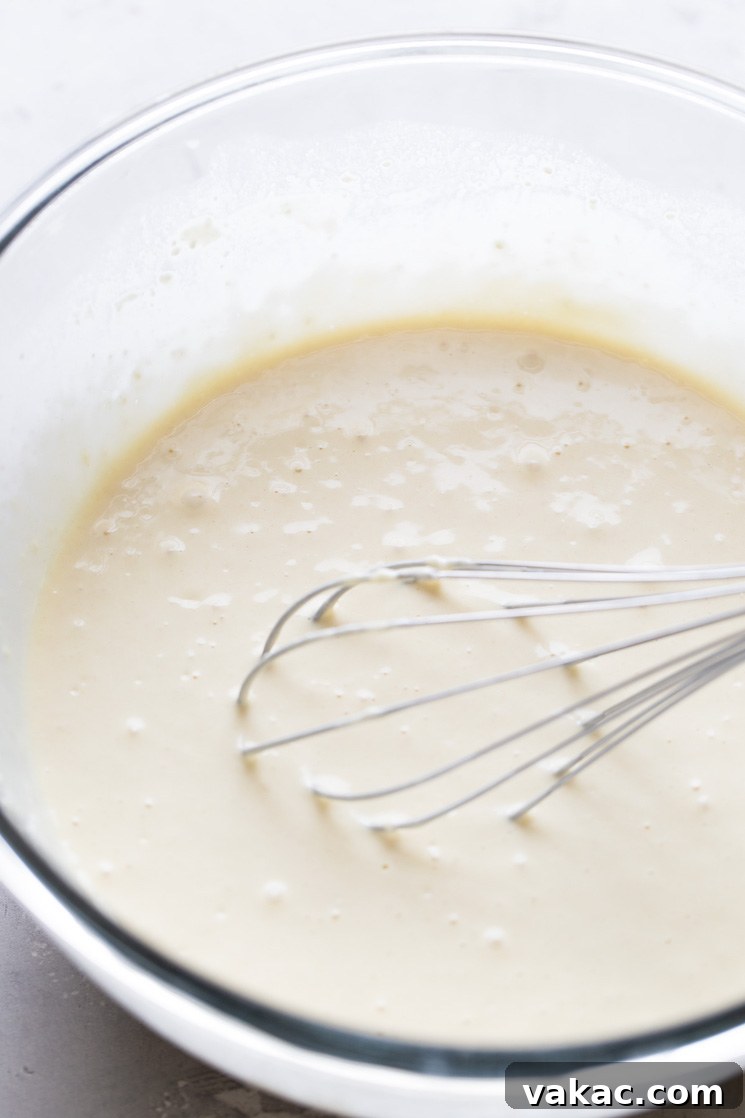
Tools for Waffle Success
Beyond the ingredients, having the right tools makes the waffle-making process seamless and enjoyable. You don’t need fancy equipment, but a few basics will ensure your success:
- Waffle Iron: This is, of course, the star of the show. Whether you have a classic square waffle iron, a round Belgian waffle maker, or a flip-style iron, any non-stick model will work beautifully. Familiarize yourself with its specific heating and cooking instructions.
- Mixing Bowls: You’ll need at least two large mixing bowls – one for dry ingredients and one for wet, plus a separate clean bowl for whipping egg whites.
- Whisks: A sturdy wire whisk is essential for thoroughly combining both dry and wet ingredients.
- Electric Mixer: While you can technically whip egg whites by hand, an electric hand mixer or a stand mixer with a whisk attachment will make this step significantly easier and faster, ensuring perfectly stiff peaks.
- Measuring Cups and Spoons: Accurate measurements are crucial in baking, so ensure you have a reliable set.
- Rubber Spatula: Ideal for gently folding in the egg whites and scraping down the sides of bowls.
- Non-stick Cooking Spray or Butter: For greasing your waffle iron, even if it’s non-stick, to prevent sticking and promote crispiness.
Crafting Perfectly Fluffy Waffles: A Step-by-Step Guide
Making fluffy waffles at home is a rewarding experience, and following these steps carefully will ensure a delightful outcome every time. The secret lies in a few simple techniques that elevate the texture from good to extraordinary.
Preparation is Key: Preheat Your Waffle Iron!
Before you even think about mixing your batter, plug in and preheat your waffle iron. This crucial step ensures that your waffles cook evenly, develop a beautiful golden-brown crust, and don’t stick to the plates. If you add batter to a cold or lukewarm iron, your waffles will turn out pale, limp, and may stick, resulting in a less-than-perfect texture. Give your iron ample time to reach its optimal temperature, usually indicated by a ready light.
Mixing the Batter: Dry, Wet, and Combined
- Combine Dry Ingredients: In a large mixing bowl, whisk together the all-purpose flour, granulated sugar, baking powder, and salt. Whisking ensures that the leavening agents and salt are evenly distributed throughout the flour, preventing pockets of unmixed ingredients and promoting a consistent rise. Set this aside.
- Whisk Wet Ingredients: In a separate, medium-sized bowl, whisk together the whole milk, oil (or melted butter), pure vanilla extract, and the separated egg yolks until everything is thoroughly combined and smooth.
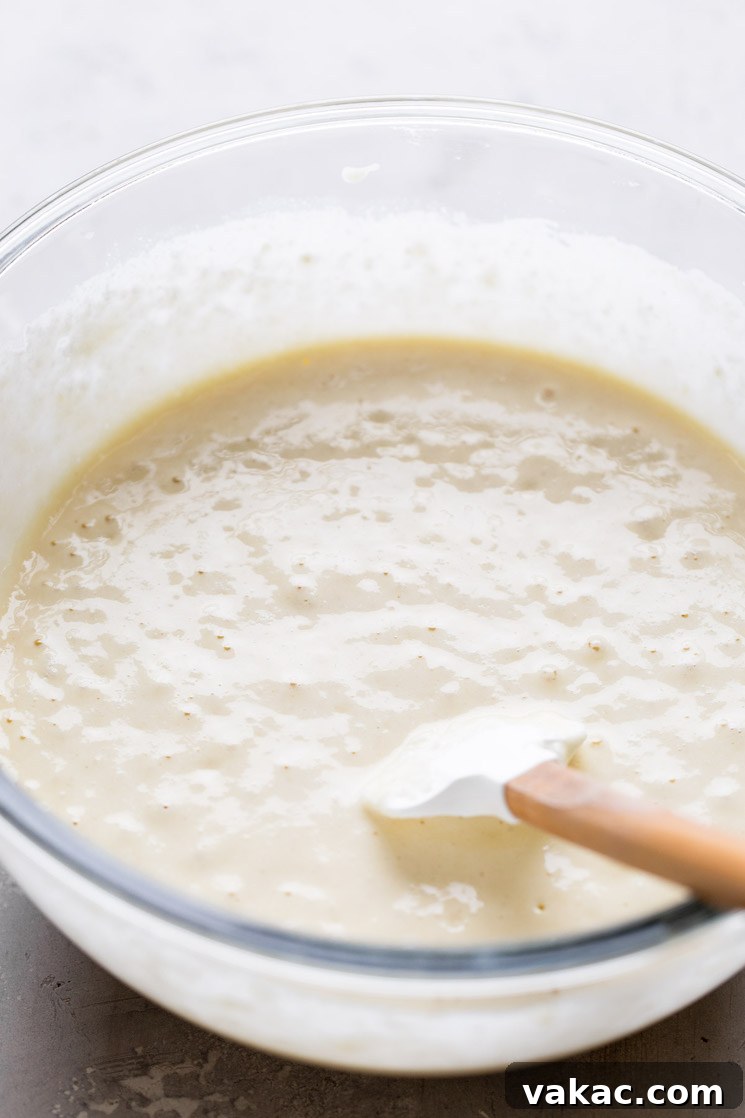
- Unite Dry and Wet: Pour the wet ingredient mixture into the bowl with the dry ingredients. Stir gently with a whisk or rubber spatula until just combined. It’s perfectly fine – even desirable – to have a few small lumps remaining. Overmixing the batter can develop the gluten in the flour too much, leading to tough, dense waffles instead of fluffy ones. Stop mixing as soon as the dry ingredients are mostly moistened.
The Secret to Fluffiness: Whipped Egg Whites
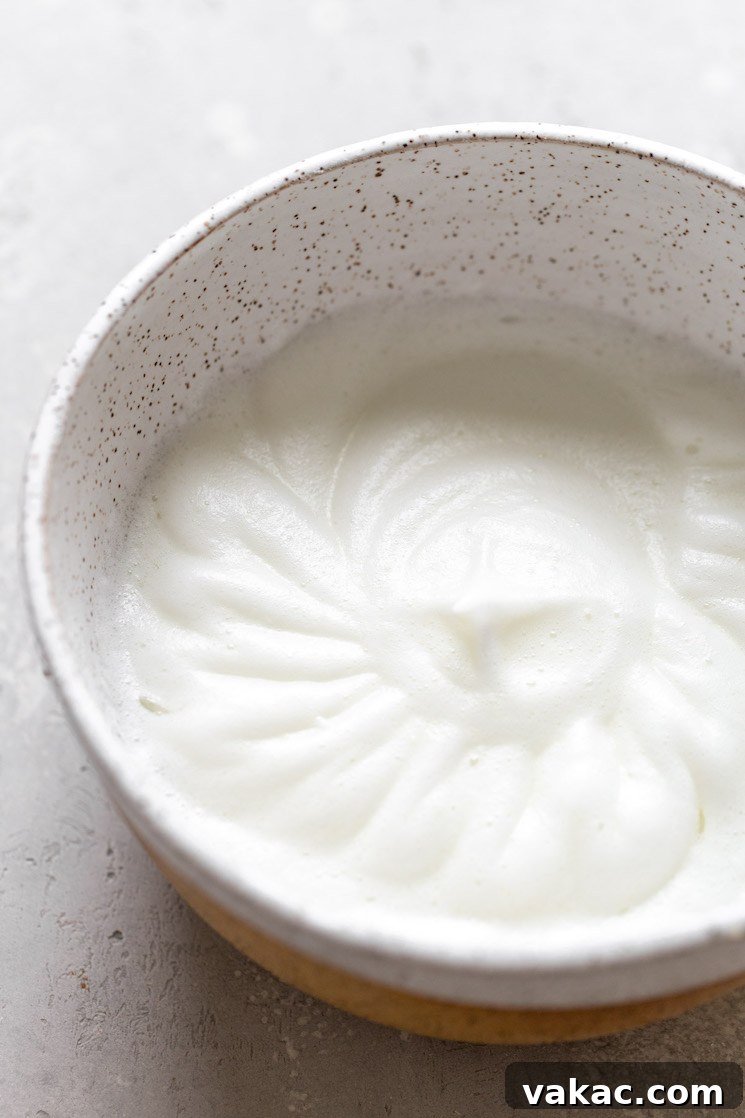
Here’s where the magic happens for truly fluffy waffles. The secret lies in incorporating air into the batter by whipping the egg whites to stiff peaks and then gently folding them in. This technique creates a light, aerated batter that expands beautifully in the waffle iron.
- Whip Egg Whites: In a separate, clean mixing bowl (ensure there’s absolutely no grease or egg yolk, as this will prevent them from whipping properly), add the room temperature egg whites. Using an electric hand mixer or stand mixer, beat the egg whites on medium-high speed until they form stiff, glossy peaks. This means when you lift the beaters, the peaks hold their shape firmly and don’t droop. This process can take a few minutes, so don’t rush it.
- Gently Fold into Batter: Carefully transfer about one-third of the whipped egg whites into your waffle batter. Gently fold them in using a rubber spatula, employing a cutting and turning motion, until just barely combined. Then, add the remaining whipped egg whites and continue to fold until no streaks of egg white remain. The key is to be as gentle as possible to avoid deflating the air you’ve just incorporated. Overmixing at this stage will knock out the air, resulting in dense waffles.
Cooking Your Waffles to Golden Perfection
With your perfectly aerated batter ready, it’s time to cook your waffles!
- Grease and Pour: Lightly spray your preheated waffle iron with non-stick cooking spray, even if it’s already non-stick. This ensures easy release and helps create a crispy exterior. Scoop or pour the appropriate amount of batter onto the hot waffle iron. The exact quantity will depend on your specific waffle maker; I typically get four large 6-inch waffles with this recipe, but yours may vary. Be careful not to overfill, as the batter will expand.
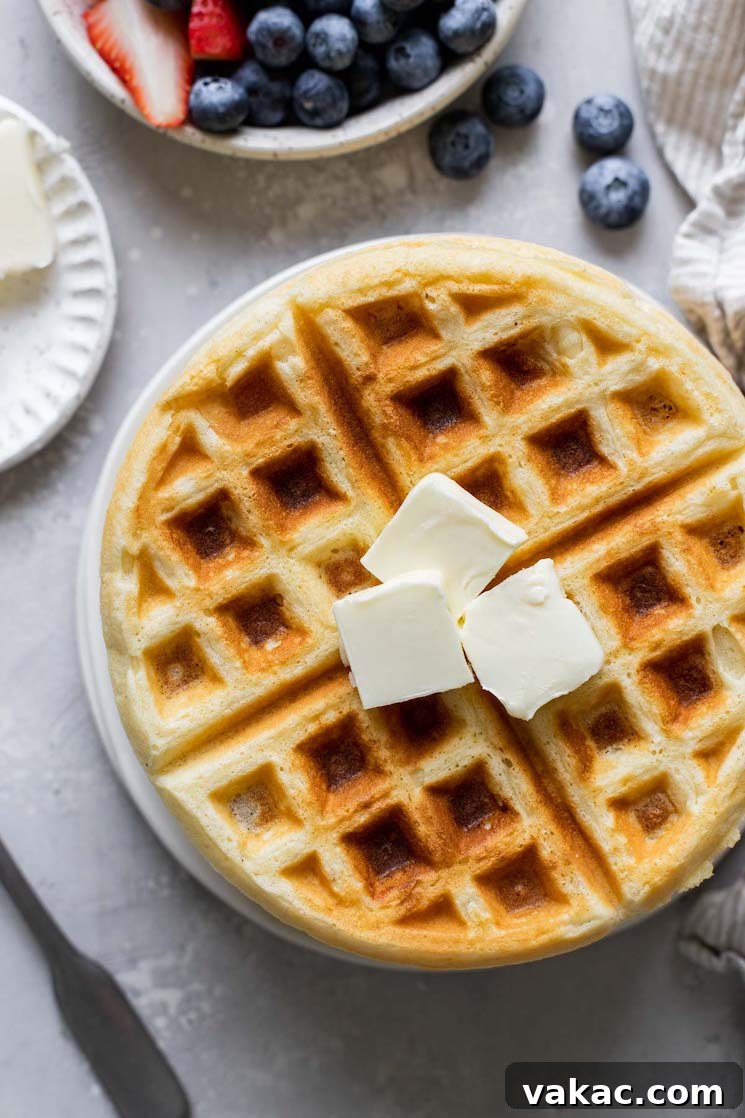
- Cook Until Golden: Close the lid of your waffle iron and cook according to your manufacturer’s instructions. Most irons will have a light that indicates when the waffle is done, or you can judge by the cessation of steam and a rich golden-brown color. This usually takes anywhere from 3 to 6 minutes, depending on your iron and desired crispness.
- Serve Immediately: Once cooked, carefully remove the waffle from the iron. Repeat the process with the remaining batter, greasing the iron as needed between batches. Serve the waffles warm with your choice of toppings and prepare to dig into a breakfast masterpiece! To keep cooked waffles warm while you finish the batch, you can place them on a wire rack in an oven preheated to its lowest setting (around 200°F / 95°C).
My Favorite Waffle Toppings: Elevate Your Breakfast
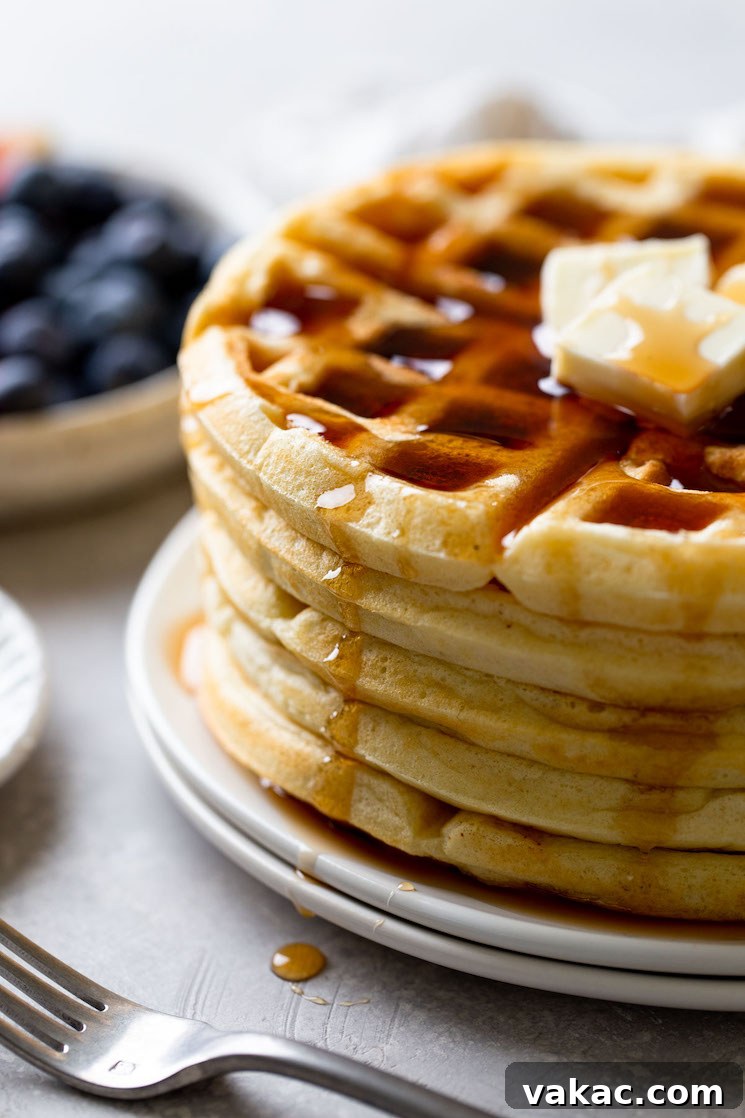
This simple yet sophisticated waffle recipe provides the perfect neutral base for an endless array of toppings. While delicious on their own, a little extra something can transform your fluffy waffles into an unforgettable culinary experience. Here are some of my all-time favorite toppings and ideas to inspire your own creations:
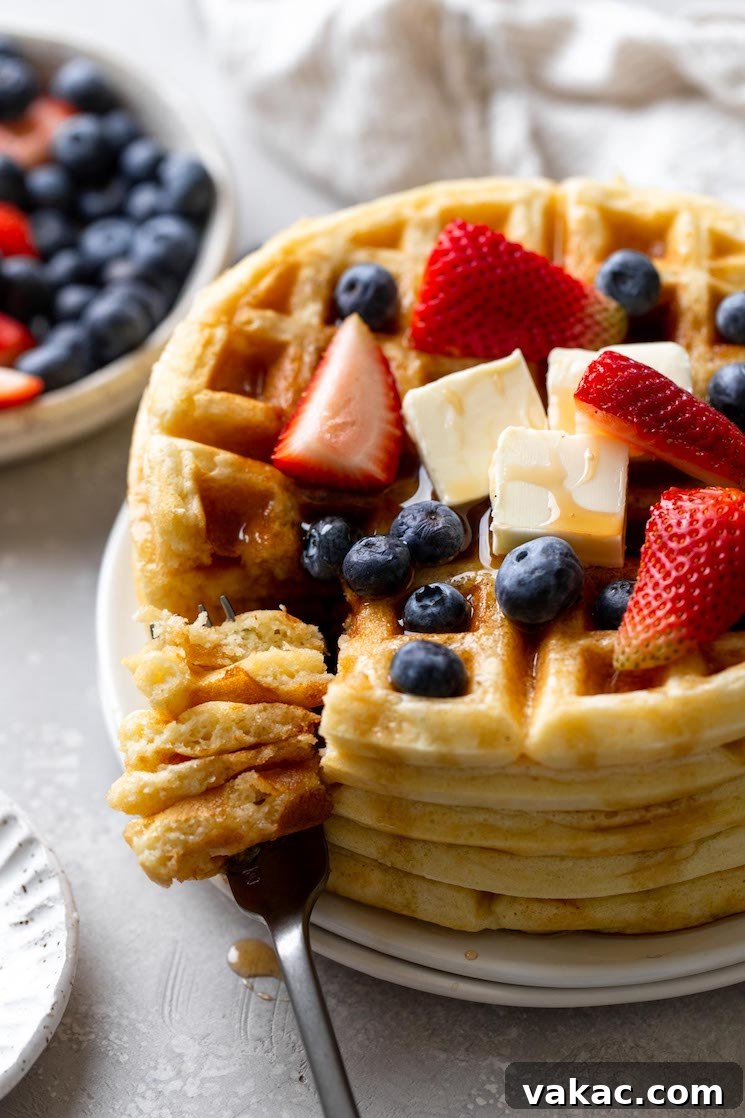
- Classic Butter and Maple Syrup: You can never go wrong with the timeless combination of a pat of melting butter and a generous drizzle of warm, pure maple syrup. It’s the quintessential waffle experience.
- Fresh Berries: A vibrant mix of fresh strawberries, blueberries, raspberries, or blackberries adds natural sweetness, a touch of tartness, and a burst of color.
- Powdered Sugar: A simple dusting of powdered sugar (confectioners’ sugar) adds an elegant touch and delicate sweetness without masking the waffle’s flavor.
- Homemade Whipped Cream: Light, airy, and far superior to store-bought versions, homemade whipped cream adds a luxurious cloud-like texture.
- Warm Blueberry Sauce: A quick homemade blueberry sauce (simmered fresh or frozen blueberries with a touch of sugar and lemon) brings a comforting, fruity warmth.
- Sweet Strawberry Sauce: Similar to blueberry, a homemade strawberry sauce is bursting with fresh flavor and makes for a beautiful presentation.
- Decadent Chocolate Gravy: For the ultimate indulgent treat, a rich chocolate gravy is surprisingly easy to make and utterly irresistible.
- Warm Fried Apples: Soft, cinnamon-spiced fried apples offer a taste of comforting autumn any time of year.
- Nut Butters and Bananas: For a protein-packed option, spread a dollop of peanut butter or almond butter and top with sliced bananas.
- Chopped Nuts: Toasted pecans, walnuts, or almonds add a delightful crunch and nutty flavor.
- Chocolate Chips: Sprinkle chocolate chips directly onto the batter in the waffle iron, or melt some chocolate for a drizzle.
- Savory Twist: For a unique experience, consider pairing your waffles with fried chicken for a classic “chicken and waffles” dish, or with a fried egg and a sprinkle of chives.
Storage and Reheating Instructions for Leftover Waffles
While these fluffy waffles are best enjoyed fresh from the iron, any leftovers can be easily stored and reheated for a quick and delicious breakfast on busy weekdays.
Refrigerator Storage:
Allow cooked waffles to cool completely to room temperature. This is crucial to prevent them from becoming soggy. Once cool, place them in an airtight container or a resealable bag, separating layers with parchment paper if stacking multiple waffles. Stored this way, they will stay fresh in the refrigerator for up to five days.
Freezer Storage:
For longer storage, freezing is an excellent option. Again, ensure the waffles are completely cool. Lay them in a single layer on a parchment paper-lined baking sheet and freeze for about an hour, or until solid. This “flash freezing” prevents them from sticking together. Once hardened, transfer the frozen waffles to a freezer-safe bag or airtight container, removing as much air as possible to prevent freezer burn. They can be stored in the freezer for up to three months. This method is perfect for meal prepping a batch of waffles for future breakfasts!
Reheating Methods:
- Toaster or Toaster Oven: This is the best method for restoring crispiness. Place frozen or refrigerated waffles directly into your toaster or toaster oven. Toast on a medium-low setting for a few minutes, or until heated through and crispy. For frozen waffles, you may need to toast them for a few rounds at a lower heat to ensure they warm through without burning.
- Microwave: For a quicker reheat, especially if you don’t mind a softer waffle, place a single waffle on a microwave-safe plate. Heat in 20-second intervals until warmed through. Be careful not to overheat, as they can become chewy.
- Oven: Preheat your oven to 300°F (150°C). Place waffles in a single layer on a baking sheet and heat for about 5-10 minutes (longer if frozen), until warmed and slightly crispy.
Pro Tips for Waffle Perfection
Achieving truly exceptional fluffy waffles isn’t just about the recipe; it’s also about understanding a few key techniques. Keep these professional tips in mind for consistently perfect results:
- Room Temperature Egg Whites are Best: This tip is worth repeating! Cold egg whites are more difficult to whip to stiff peaks. If you forgot to set your eggs out in advance, simply place them (still in their shells) in a bowl of warm water for 5 to 10 minutes. This will quickly bring them to an ideal temperature for whipping.
- Extreme Care When Separating Eggs: When separating your egg yolks from the whites, be meticulously careful. Even a tiny speck of egg yolk in the whites can prevent them from whipping up properly. Use a three-bowl method: crack the egg into a small bowl, separate it, then transfer the white to your whipping bowl and the yolk to your wet ingredients bowl. This way, if you accidentally break a yolk, it only contaminates one egg, not your entire batch of whites.
- Always Preheat Your Waffle Iron: As mentioned, a hot waffle iron is non-negotiable for crispy, golden waffles that don’t stick. Don’t rush this step. Allow your iron to fully preheat according to its indicator light or manual before pouring in any batter. A properly heated iron also ensures even cooking and prevents soggy spots.
- Don’t Overmix the Batter (Before Egg Whites): When combining your dry and wet ingredients, mix only until they are just combined. A few small lumps are perfectly fine and even preferable. Overmixing develops the gluten in the flour, leading to tough and chewy waffles.
- Gentle Folding of Egg Whites: Once the egg whites are whipped, the goal is to incorporate them into the batter without deflating them. Use a rubber spatula and a gentle “cut and fold” motion. Work quickly but carefully. This aerated batter is what gives these waffles their signature lightness.
- Consistent Batter Amount: For uniformly sized and cooked waffles, try to use roughly the same amount of batter for each waffle. A measuring cup or an ice cream scoop can help with this.
More Easy Breakfast Recipes to Try!
If you’ve enjoyed mastering these fluffy waffles, you might be ready to explore other delightful breakfast options. Here are some more easy and delicious recipes to expand your breakfast repertoire:
- Homemade Banana Pancakes
- The Best French Toast
- Classic Buttermilk Pancakes
- Basic Crepes
- Wholesome Whole Wheat Pancakes
Fluffy Waffle Recipe
Prep Time: 20 mins
Cook Time: 20 mins
Total Time: 40 mins
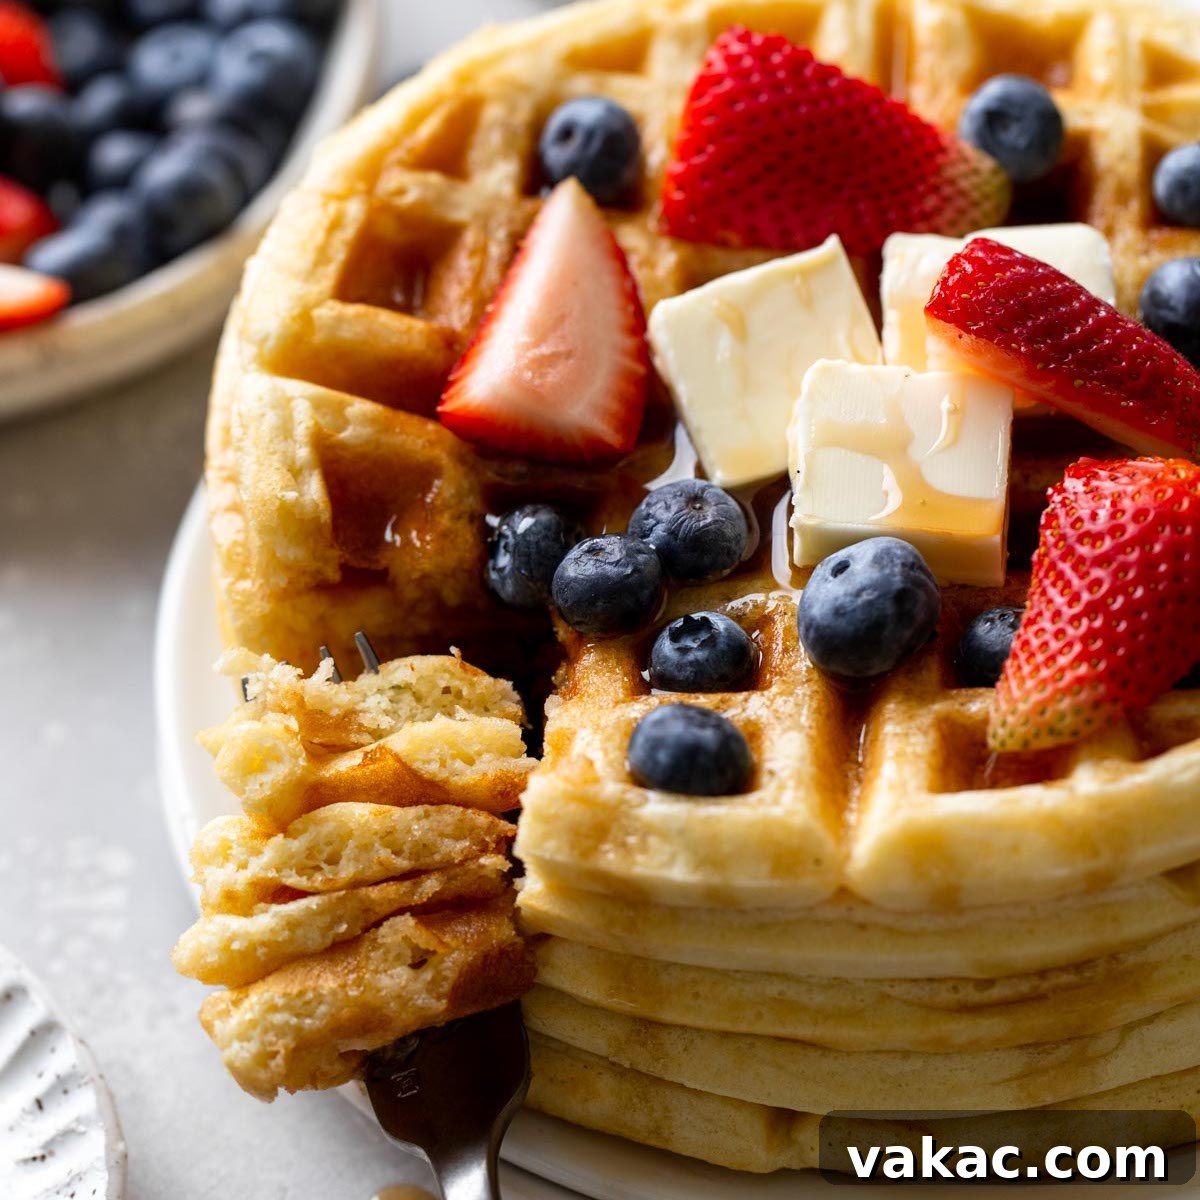
This fluffy waffle recipe comes together with just eight ingredients and minimal prep work, guaranteeing your weekend breakfast just got a whole lot better!
Pin Recipe
Leave a Review
Ingredients
Servings: 4 waffles
- 2 cups (250 grams) all-purpose flour (spooned and leveled)
- 3 tablespoons (40 grams) granulated sugar
- 1 tablespoon baking powder
- ½ teaspoon salt
- 1 ¾ cups (420 ml) whole milk
- ⅓ cup (80 ml) canola or vegetable oil
- 1 teaspoon pure vanilla extract
- 2 large eggs (room temperature and separated)
Instructions
- Preheat the waffle maker and set aside.
- In a large mixing bowl, whisk the flour, sugar, baking powder, and salt together until well combined. Set aside.
- In a separate large mixing bowl, whisk together the milk, oil, vanilla extract, and egg yolks until fully combined. Add the dry ingredients to the wet ingredients and mix together until just combined.
- Add the egg whites to a clean mixing bowl and beat to stiff peaks.
- Gently fold the egg whites into the batter until just combined.
- Spray the waffle maker well with nonstick cooking spray. Scoop or pour some of the batter onto the hot waffle iron (the amount will depend on your waffle maker), close the lid, and cook according to your waffle maker’s instructions or until crisp and golden brown. Repeat with the remaining batter.
- Serve warm with pure maple syrup, fresh fruit, or toppings of choice.
Notes
Storage instructions: Let waffles cool completely, then store in an airtight container in the fridge for up to five days. To reheat, warm in the microwave in 20-second intervals or in the toaster.
Freezing instructions: Let the waffles cool completely, then place on a parchment paper-lined baking tray. Freeze the waffles on the tray until hardened (about 1 hour) and then seal in a freezer bag for up to three months. To reheat, warm in the microwave in 20-second intervals or place in the toaster (you may need to toast them at a lower heat for a few rounds if reheating from frozen).
Eggs: To bring your eggs to room temperature quickly, place them in a bowl of warm water for 5 to 10 minutes.
Cuisine: American
Course: Breakfast
Author: Danielle Rye
Did you make this recipe? Mention @livewellbakeoften on Instagram or tag #livewellbakeoften.
We hope this comprehensive guide has inspired you to create your own batch of perfectly fluffy, homemade waffles. There’s truly nothing like the taste and aroma of fresh waffles to brighten any morning. With our simple instructions and helpful tips, you’re well on your way to becoming a waffle master. So gather your ingredients, fire up your waffle iron, and prepare for a breakfast experience that will delight your senses and impress your loved ones. Happy waffling!