
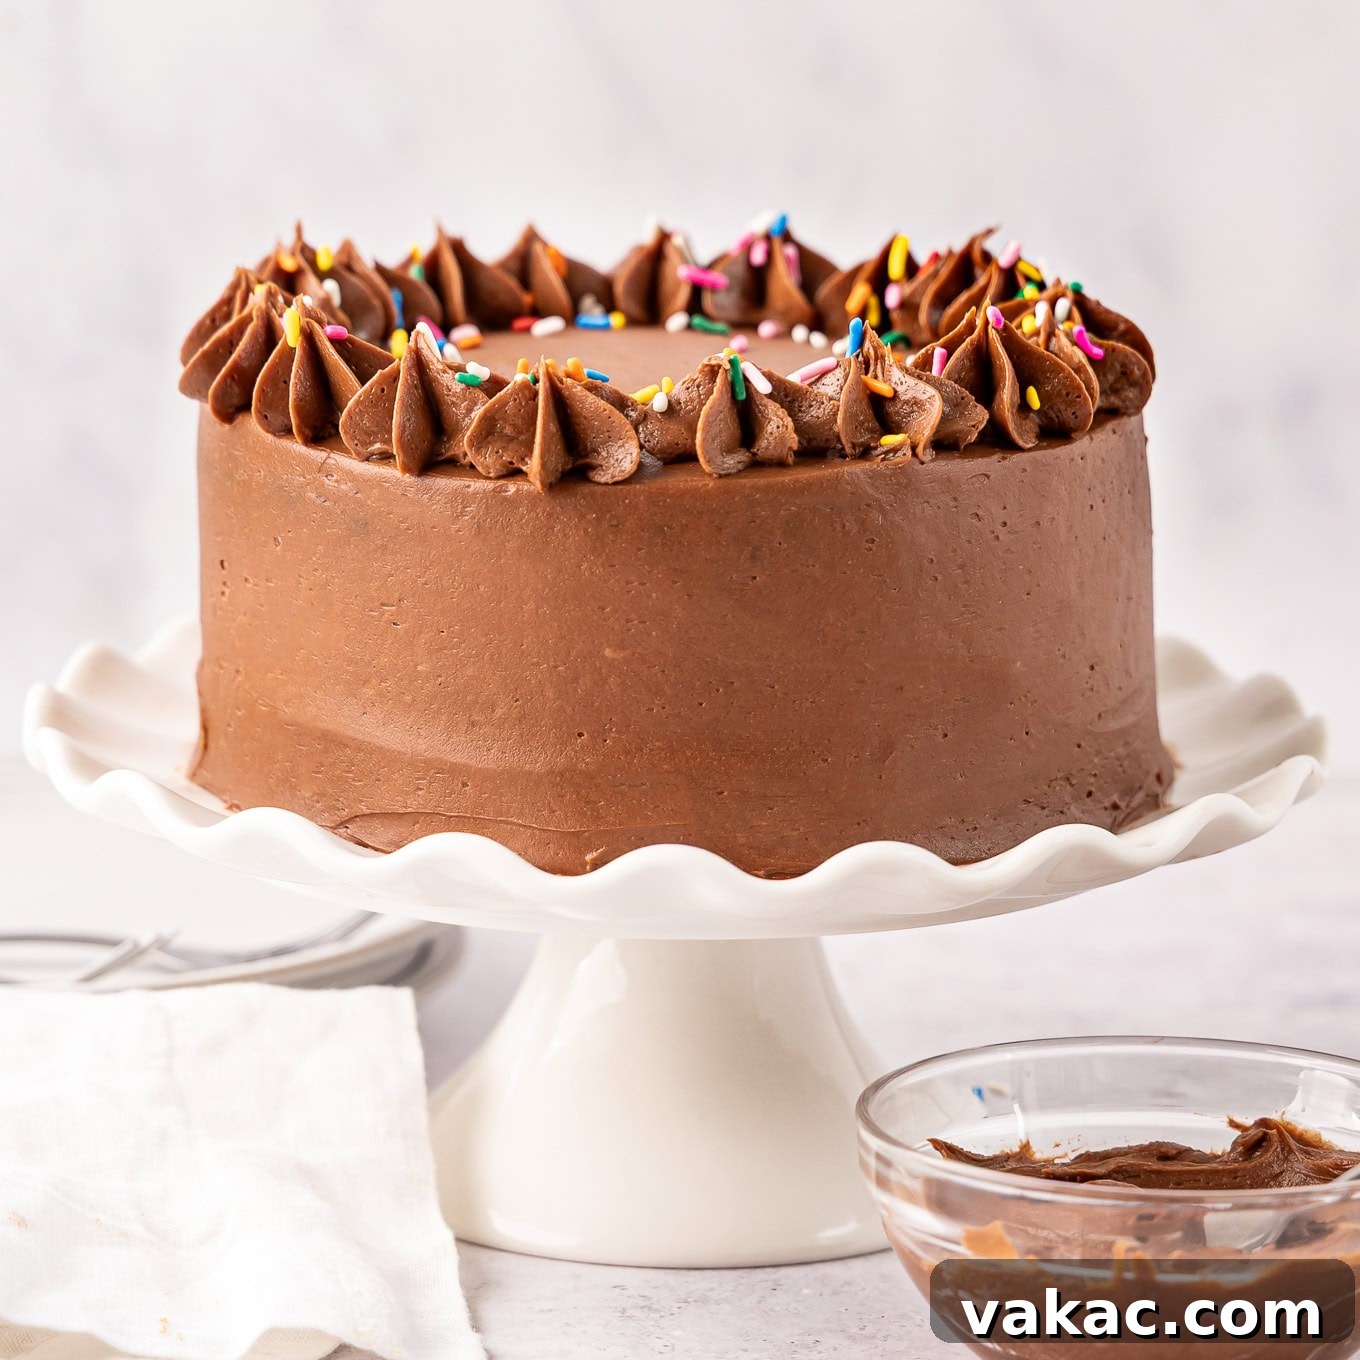
Craving a rich, moist chocolate cake but don’t need to feed a crowd? Look no further! This delightful small chocolate cake recipe is perfectly scaled to create a beautiful two-layer, 6-inch cake, yielding 6 to 8 generous slices. It’s the ideal solution for intimate gatherings, a cozy dessert for two, or any occasion when a full-sized cake feels like too much indulgence.
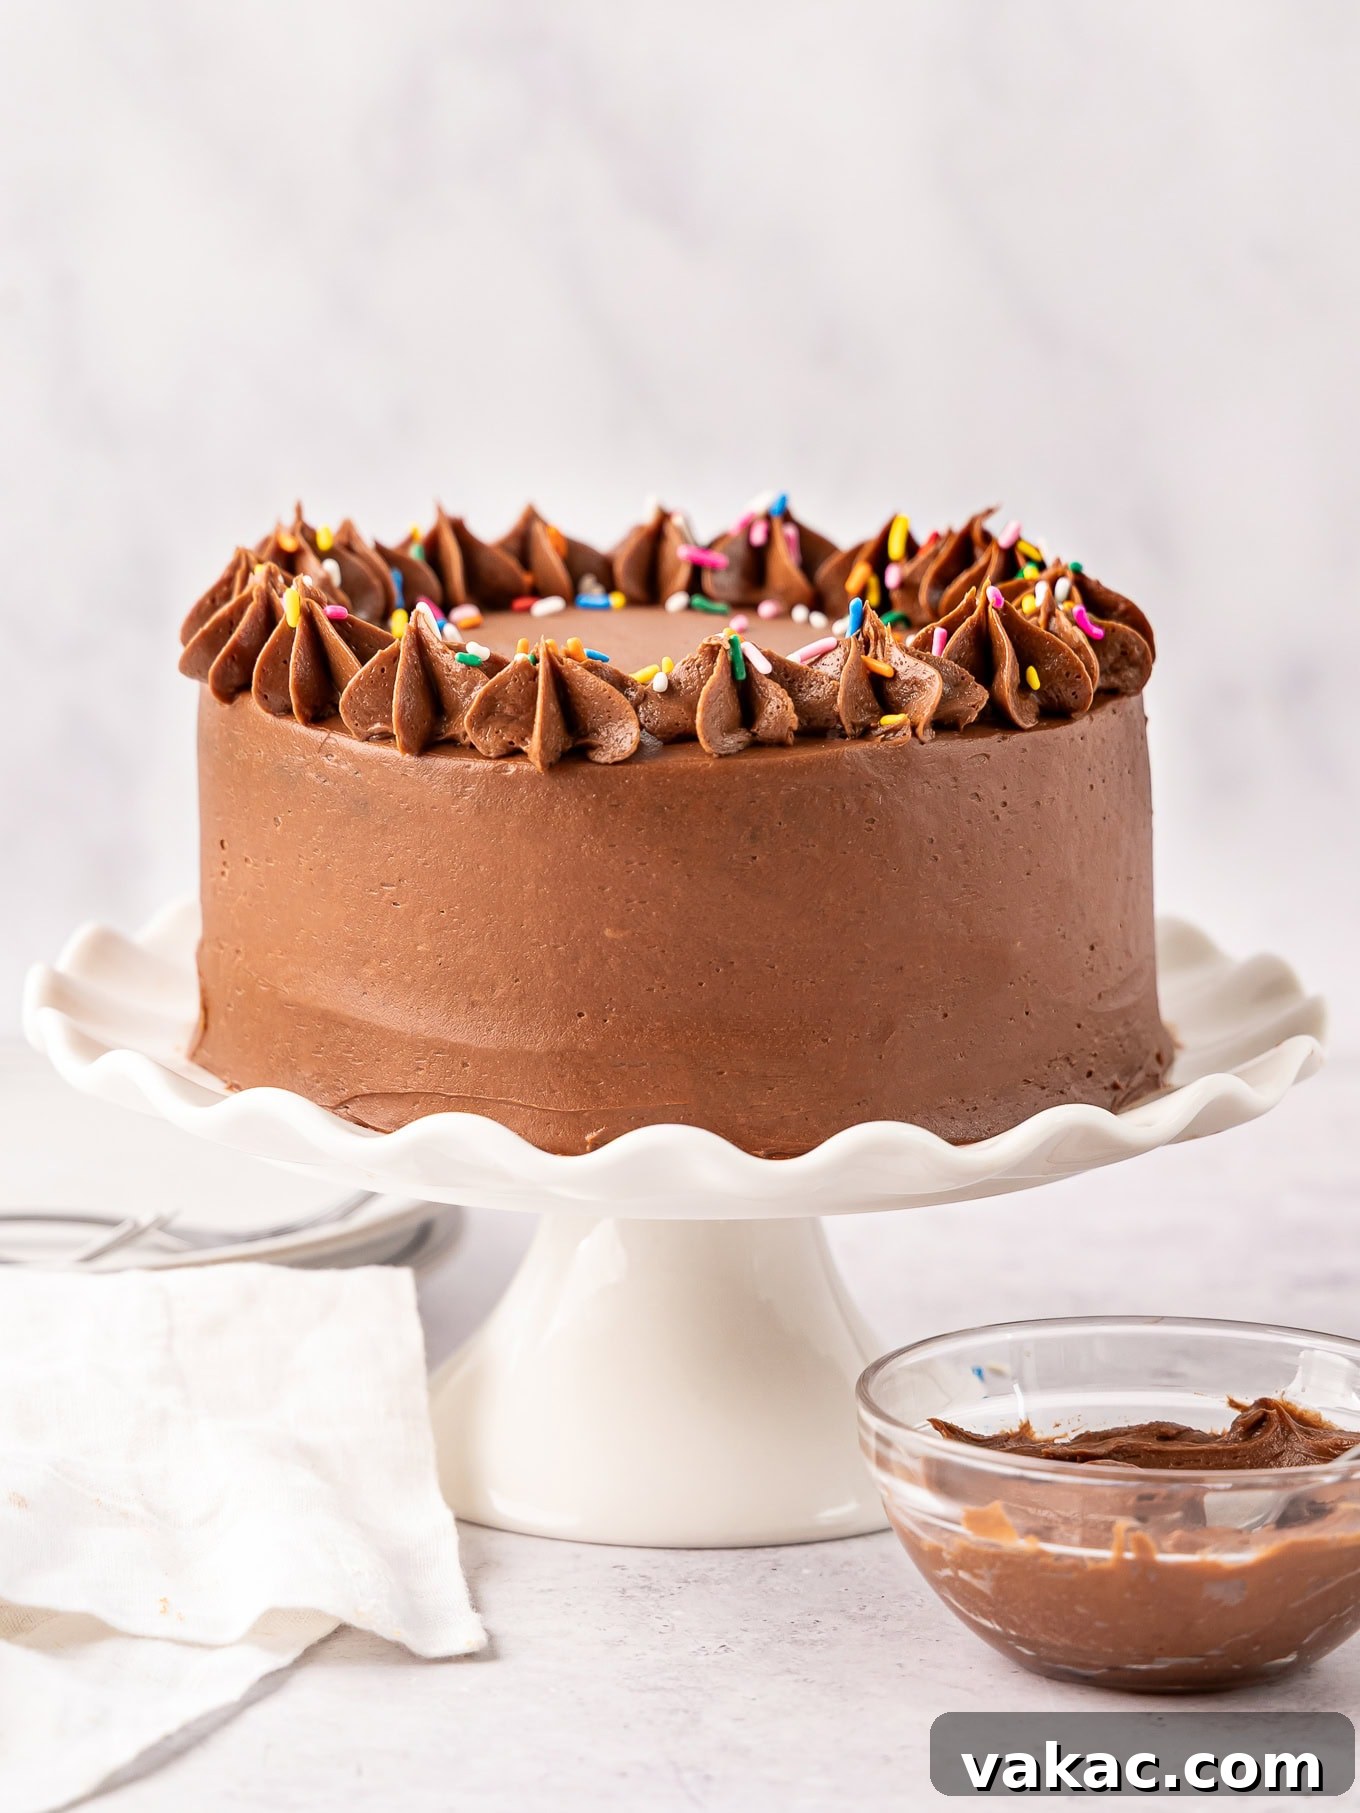
This adorable mini chocolate cake brings all the deep flavor and tender crumb of a classic chocolate layer cake, expertly proportioned for smaller cake pans. You won’t compromise on taste or texture; it’s just as rich, moist, and intensely chocolatey as its larger counterpart, but designed specifically for two 6-inch cake pans.
Crafted with readily available pantry staples, this easy small chocolate cake recipe simplifies the baking process. The batter comes together effortlessly in a single bowl, requiring minimal fuss. Once baked to perfection, these tender chocolate layers are crowned with a decadent chocolate buttercream frosting, creating a truly irresistible dessert experience.
Whether you’re celebrating Valentine’s Day, a small birthday, or simply treating yourself, this homemade chocolate cake is wonderfully versatile. It even makes for an adorable smash cake for a baby’s first birthday party! Below, you’ll find a variety of alternative frosting options and creative decorating ideas that pair beautifully with this rich chocolate base, ensuring your small cake is always a showstopper.
Why Choose a Small Batch Chocolate Cake?
In a world of grand celebrations, sometimes the most cherished moments are the small, intimate ones. This small chocolate cake isn’t just about scaling down a recipe; it’s about embracing the joy of baking without the overwhelming commitment of a large dessert. Here are a few compelling reasons why a 6-inch chocolate cake might be your new favorite go-to:
- Perfect Portions: Yielding 6-8 slices, this cake is ideal for small families, couples, or a few friends, minimizing waste and ensuring every slice is savored.
- Less Intimidating: For novice bakers or those with less time, a smaller cake feels more manageable to tackle, leading to greater confidence in the kitchen.
- Freshness Guaranteed: Smaller cakes mean less time sitting around, allowing you to enjoy every bite at its freshest.
- Versatile for Any Occasion: From a romantic dinner dessert to a thoughtful gift, or a delightful treat for a small gathering, its size makes it suitable for countless scenarios.
- Quick to Bake and Decorate: Smaller layers bake faster and are quicker to cool, assemble, and decorate, getting you to deliciousness in less time.
This mini chocolate cake recipe proves that good things truly come in small packages, delivering maximum flavor and charm without the extra fuss.
Recipe Video: Watch & Learn to Make Your Perfect Small Chocolate Cake
For visual learners, a step-by-step video tutorial can make all the difference. Watch us guide you through every stage of creating this delicious 6-inch chocolate cake, from expertly mixing the batter to achieving those smooth frosting flourishes. Our video ensures your baking journey is seamless and successful.
(Video content related to the recipe would typically be embedded here.)
Essential Ingredient Notes & Smart Substitutions for Your Mini Chocolate Cake
Achieving a truly remarkable moist chocolate cake starts with understanding your ingredients. Here’s a deeper dive into the key components of this small batch chocolate cake recipe and how to make smart choices or substitutions for the best results.
Cocoa Powder: The Foundation of Flavor and Structure
For this easy chocolate cake, I strongly recommend using natural unsweetened cocoa powder. This type of cocoa is acidic and reacts with the baking soda in the recipe, creating carbon dioxide bubbles that provide lift and a wonderfully tender crumb. If you were to use Dutch-processed cocoa powder, which has been alkalized to reduce its acidity, it would neutralize the necessary acidic reaction for proper leavening. This can tragically lead to cake layers that sink in the middle, or are dense and heavy. Trust me, I speak from personal experience! Understanding the subtle but significant difference between these two types of cocoa powder is crucial for successful chocolate baking. You can delve deeper into this topic by exploring our post on natural vs. Dutch process cocoa powder.
Buttermilk: The Secret to Supreme Moisture and Tenderness
Buttermilk is a star ingredient in this homemade chocolate cake, playing a crucial role in both moisture and texture. Its acidity activates the baking soda, contributing significantly to the cake’s rise and creating a wonderfully tender, fine crumb. The lactic acid in buttermilk also helps to tenderize the gluten in the flour, resulting in a softer, more delicate texture that melts in your mouth. If you don’t have any buttermilk on hand, don’t fret! You can easily make your own buttermilk substitute at home. Simply combine regular whole milk with a tablespoon of lemon juice or white vinegar, give it a gentle stir, and let it sit for 5-10 minutes until it appears slightly curdled. This simple trick ensures you can always achieve that desired moisture.
Hot Water & Instant Espresso Powder/Coffee: Intensifying Chocolate Depth
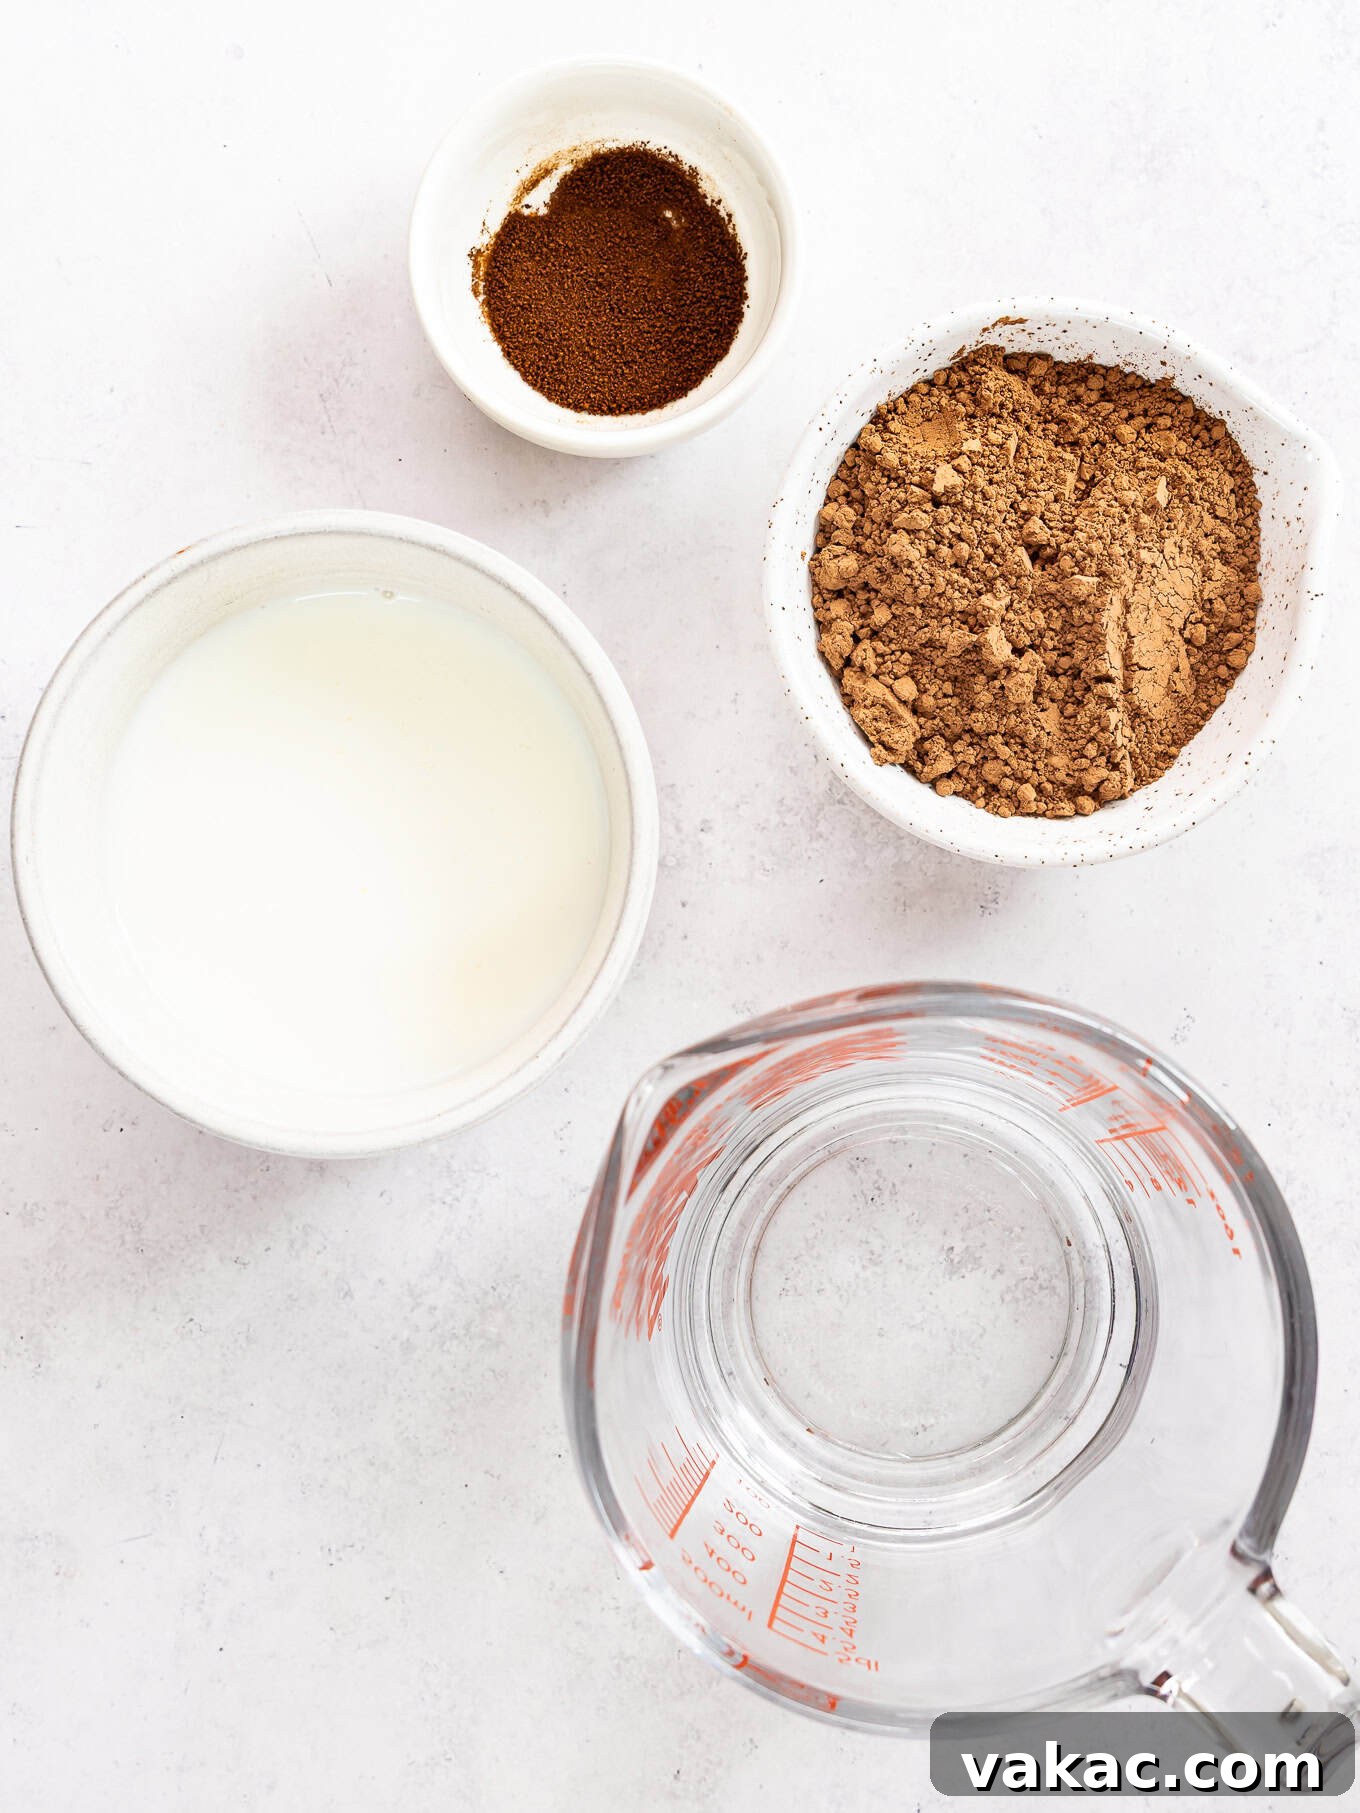
This is where a touch of magic happens for an exceptionally rich chocolate layer cake! The instant espresso powder is not meant to make your cake taste like coffee; its primary role is to intensify and deepen the chocolate flavor, making it sing with a more robust and complex profile. You won’t detect any overt coffee notes, just a more pronounced and sophisticated chocolate taste. If you don’t have instant espresso powder, instant coffee granules work just as well in the same quantity. Alternatively, you can replace the ½ cup of hot water and espresso powder entirely with ½ cup of freshly brewed hot coffee for a similar effect. If you prefer to omit any coffee product altogether, simply ensure you still use ½ cup of hot water in the batter to achieve the correct consistency and maintain the cake’s desirable moisture level.
Flour & Sugars: Building Blocks of Structure and Sweetness
Precision in measuring flour is absolutely vital for a perfectly moist cake. Too much flour can lead to a dense, dry, and crumbly result. We’ll cover correct measuring techniques shortly to help you avoid this common pitfall. The thoughtful combination of light brown sugar and granulated sugar in this recipe is intentional. Brown sugar not only imparts a lovely subtle caramel note but also contributes significantly to the cake’s moisture and softness, thanks to its molasses content. Granulated sugar, on the other hand, provides sweetness and helps to establish the cake’s essential structure. It’s important to resist the urge to reduce the sugar content, as sugar is a hygroscopic ingredient, meaning it attracts and holds onto moisture, playing a key role in preventing your cake from drying out prematurely and ensuring a tender crumb.
Oil: For Unparalleled Tenderness and Moisture
In this small chocolate cake recipe, oil is a preferred fat over butter for several reasons. Unlike butter, which can make cakes denser and firmer when chilled, oil contributes to a consistently moist and exceptionally tender crumb, maintaining its delightful texture even at room temperature and beyond. Canola oil, vegetable oil, or avocado oil are all excellent neutral-flavored choices that allow the star of the show – the chocolate – to truly shine without any competing flavors. Using oil is one of the key factors in achieving that wonderfully soft, yielding, and melt-in-your-mouth texture that characterizes a truly superior 6-inch chocolate cake recipe.
The Critical Step: Prepare Your Cake Pans for a Flawless Small Chocolate Cake
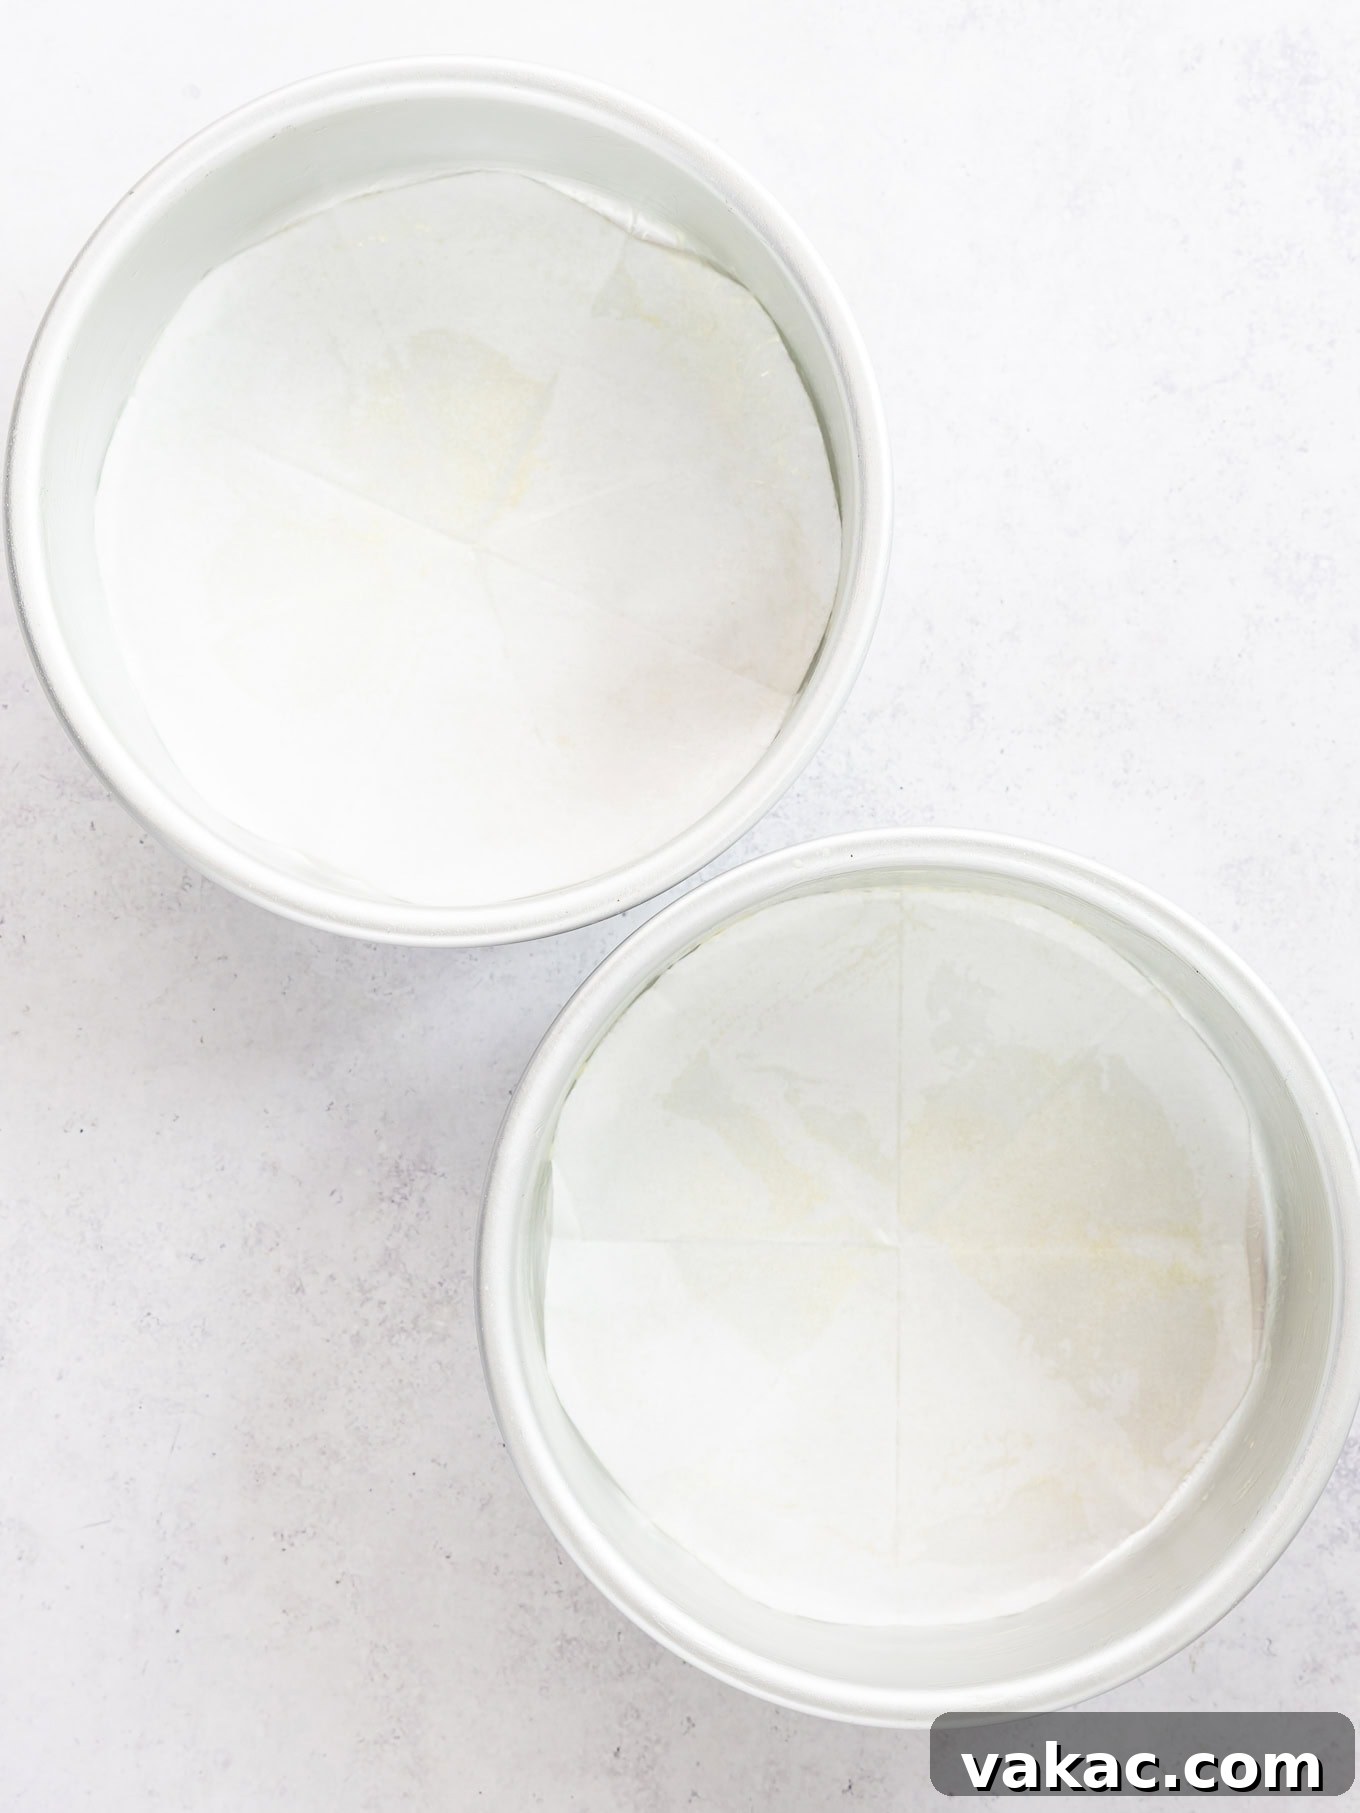
Ensuring your cake layers release cleanly and easily from the pans is absolutely paramount, especially with a wonderfully moist cake like this small chocolate cake. Don’t skip or rush this crucial step, as it can be the difference between a perfect cake and a frustrating baking mishap! To prevent any sticking, begin by thoroughly preparing your two 6-inch round cake pans. Spray the bottoms and sides generously with a good quality non-stick cooking spray.
The cooking spray serves a vital dual purpose: it helps the parchment paper adhere securely to the bottom of the pan, preventing it from shifting, and it also provides an extra layer of non-stick protection for the cake sides. This particular chocolate cake is incredibly moist and tender, which means it can be more prone to sticking than drier cakes. A parchment paper circle perfectly fitted at the bottom of each pan will make removing the delicate cake layers MUCH easier, smoother, and will prevent any heartbreaking mishaps, ensuring your beautiful 6-inch chocolate cake layers remain intact. This simple barrier offers peace of mind.
While you can purchase pre-cut 6-inch parchment paper circles for convenience, I often find myself with larger 9-inch ones on hand. It’s quite simple to trim them down to the correct size, or you can easily cut your own perfect circles from a sheet of parchment paper. If you need a visual guide to master this technique, here’s a quick video demonstrating an easy way to make a parchment paper round. Proper pan preparation truly sets the stage for a beautifully intact and easy-to-handle homemade chocolate cake.
Secrets to Achieving an Incredibly Moist Small Chocolate Cake Every Time
Baking a perfectly moist cake is a harmonious blend of accurate measurements and careful technique. Follow these essential tips diligently to ensure your small chocolate cake turns out wonderfully tender, never dry, and consistently delicious:
- Measure Your Flour Correctly: The Golden Rule for a Moist Cake. Flour is frequently the primary culprit behind dry cakes if measured improperly. The most accurate and professional method is to use a food scale to weigh your flour. For this recipe, one cup of all-purpose flour should ideally weigh 125 grams. If you don’t own a food scale, employ the crucial “spoon and level” method: gently spoon the flour into your dry measuring cup until it’s overflowing, then carefully level it off with the back of a knife or a straight edge. Never scoop directly from the bag or container, as this compacts the flour and inevitably results in using too much, leading to a dry and dense cake. For a more detailed guide, learn more on how to measure flour correctly.
- Don’t Reduce the Sugar: It’s More Than Just Sweetness in Your Mini Chocolate Cake. While sugar is undeniably essential for sweetness, it’s also a critical moisture-retaining agent in baking. Both granulated and brown sugars (especially brown sugar, with its hygroscopic molasses content) contribute significantly to the cake’s tender and moist texture. Sugar is hydrophilic, meaning it attracts and holds water, which prevents your cake from drying out prematurely and keeps it soft for longer. Attempting to reduce the sugar in this mini chocolate cake recipe will, unfortunately, lead to a noticeably drier cake that stales much faster. Stick to the specified amounts for optimal moisture and a perfect crumb.
- Avoid Overmixing the Batter: Gentle Handling for a Tender Crumb. Once you’ve added the wet ingredients to the dry, it’s crucial to mix only until they are just combined. Overmixing develops the gluten in the flour too much, which can result in a tough, dense, or even gummy cake with an undesirable texture. A few small lumps in the batter are perfectly acceptable and even preferred; it’s always better to slightly undermix than to overmix for a tender and soft crumb in your homemade chocolate cake. Stop mixing as soon as no dry streaks of flour are visible.
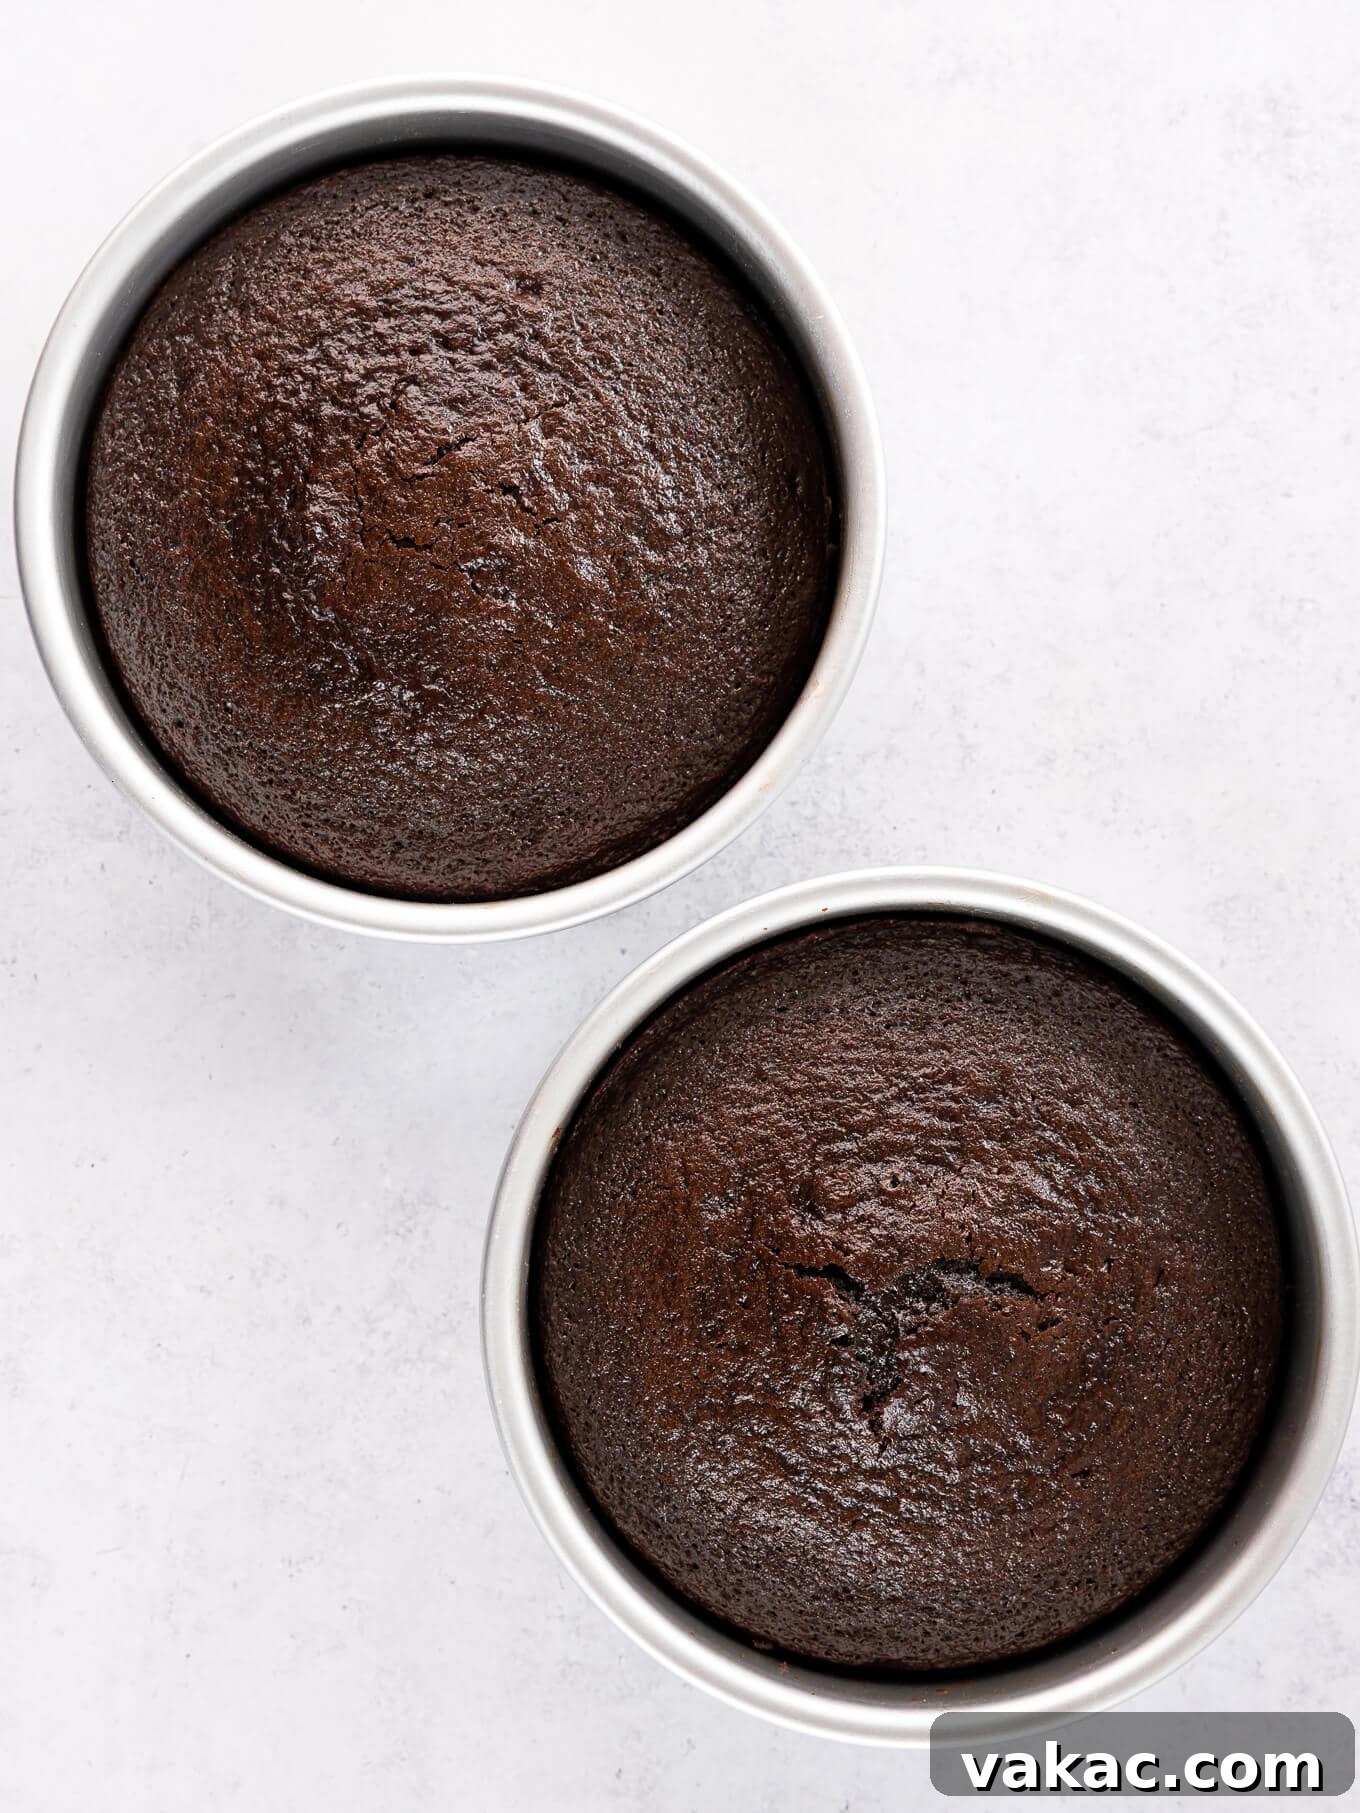
- Do Not Overbake the Cake Layers: A Guaranteed Way to Prevent Dryness. This is arguably the most common and impactful mistake leading to a dry, crumbly cake. Oven temperatures can vary, so keep a close eye on your baking time, but always rely on visual cues and the toothpick test. The 6-inch chocolate cake layers are done when the tops gently spring back when lightly pressed with a fingertip, and a wooden toothpick inserted into the very center comes out clean or with only a few moist crumbs attached (not wet batter). Keep in mind that darker baking pans tend to bake cakes a little faster due to their ability to absorb and conduct heat more efficiently, so adjust your baking time accordingly and always prioritize the doneness tests over strict timing.
- Ensure Ingredients are at Room Temperature: The Key to a Smooth Emulsion. For an ideally emulsified, smooth, and homogenous batter, make sure your perishable ingredients, specifically eggs and buttermilk, are at room temperature. Cold ingredients don’t emulsify as well with other ingredients, which can lead to a less consistent batter texture and potentially a denser, less tender cake. Bringing them to room temperature allows them to blend more evenly into the other ingredients, resulting in a more uniform cake structure and a wonderfully tender finished product.
Decorating Your Small Chocolate Cake: From Simple Elegance to Festive Flair
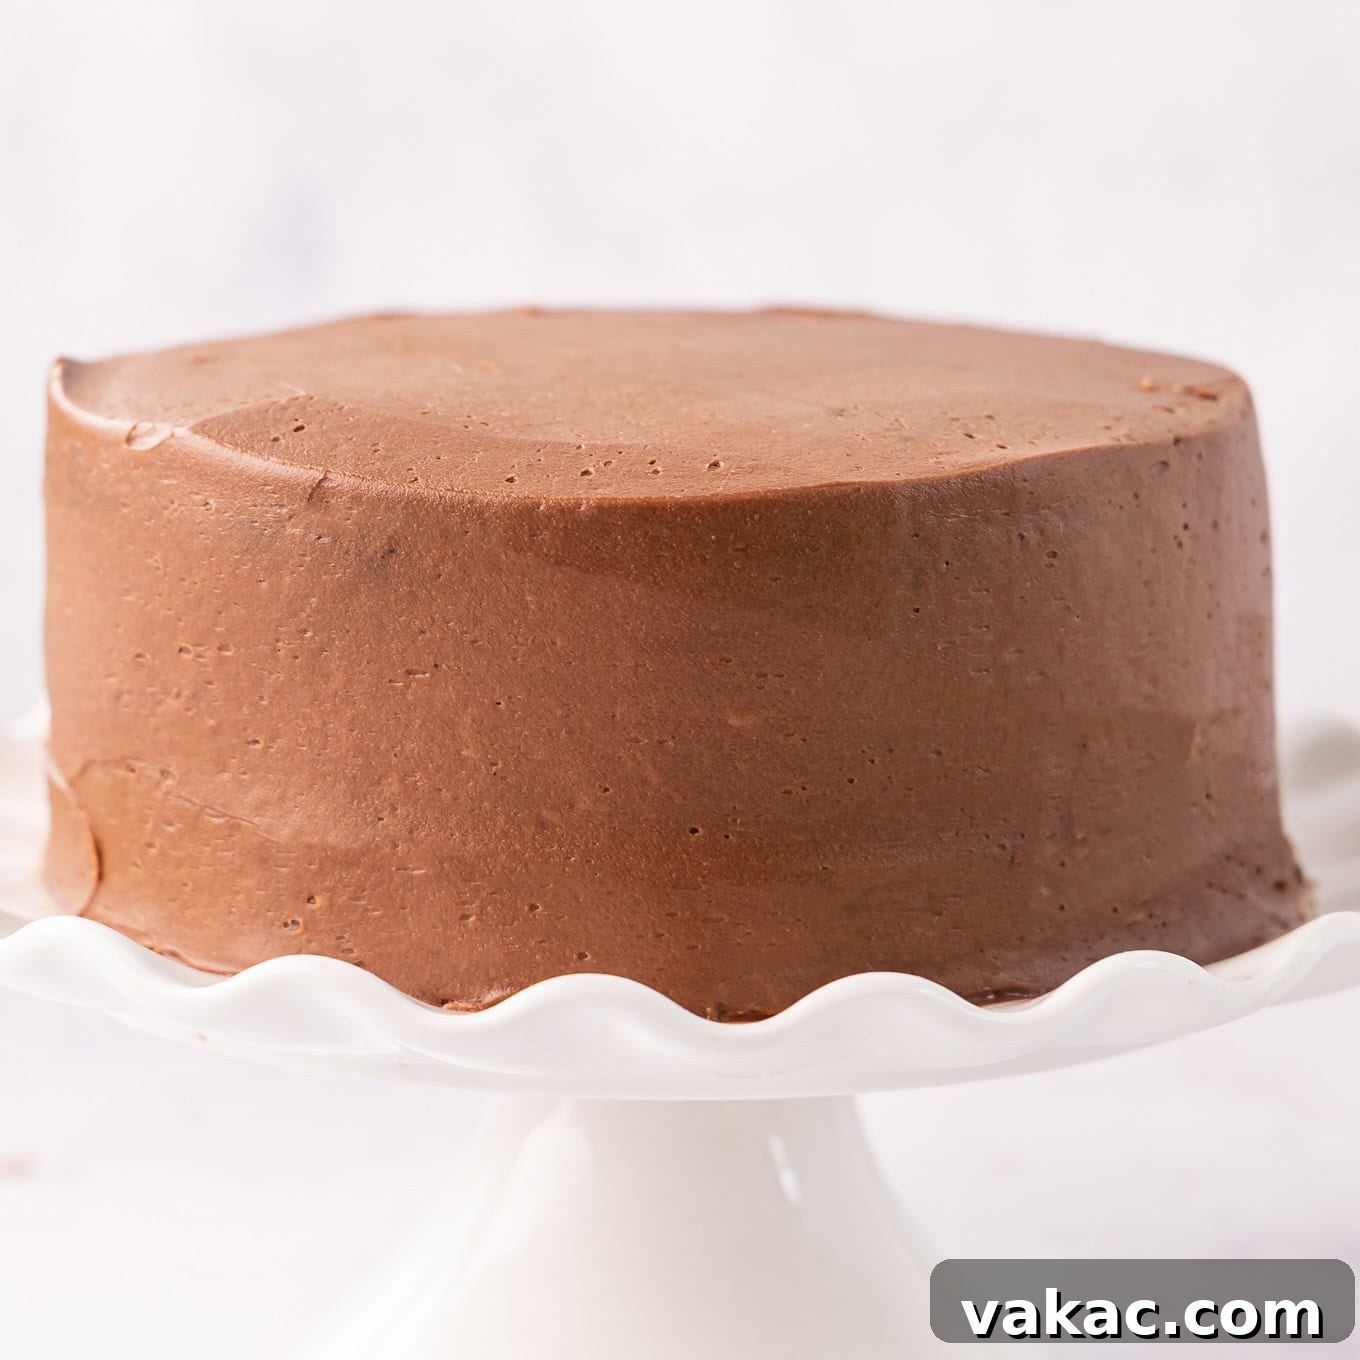
Once your small chocolate cake layers have cooled completely – and patience here is truly key to avoiding a frustrating frosting meltdown – the enjoyable process of decorating begins! Whether you’re a seasoned cake artist or completely new to the craft, personalizing your cake is a delightful and rewarding part of the baking journey. If you’re seeking more in-depth guidance on layering and frosting techniques, my comprehensive post on how to decorate a layer cake offers step-by-step instructions and visual tips that can easily be adapted for this smaller scale.
For this specific mini chocolate cake, I opted for my signature chocolate buttercream. Its rich, silky texture and intense chocolate flavor are a match made in heaven for the tender cake layers, creating a harmonious and utterly delicious combination that truly elevates every bite. However, don’t limit yourself to just one option! This versatile chocolate base pairs beautifully with a wide variety of frostings, allowing you to customize your dessert for any taste preference or special occasion:
- Oreo Frosting: For the ultimate cookie lovers, a creamy Oreo frosting adds a delightful crunch and an extra layer of indulgent flavor.
- Strawberry Frosting: A fresh, vibrant, and naturally sweet strawberry frosting offers a lovely fruity contrast to the deep, rich chocolate.
- Peanut Butter Frosting: The timeless and beloved combination of chocolate and peanut butter is always a guaranteed winner – rich, nutty, and utterly satisfying for any palate.
- Chocolate Cream Cheese Frosting: For a slightly tangy, incredibly smooth, and often less-sweet option, a luscious chocolate cream cheese frosting is a fantastic and sophisticated choice.
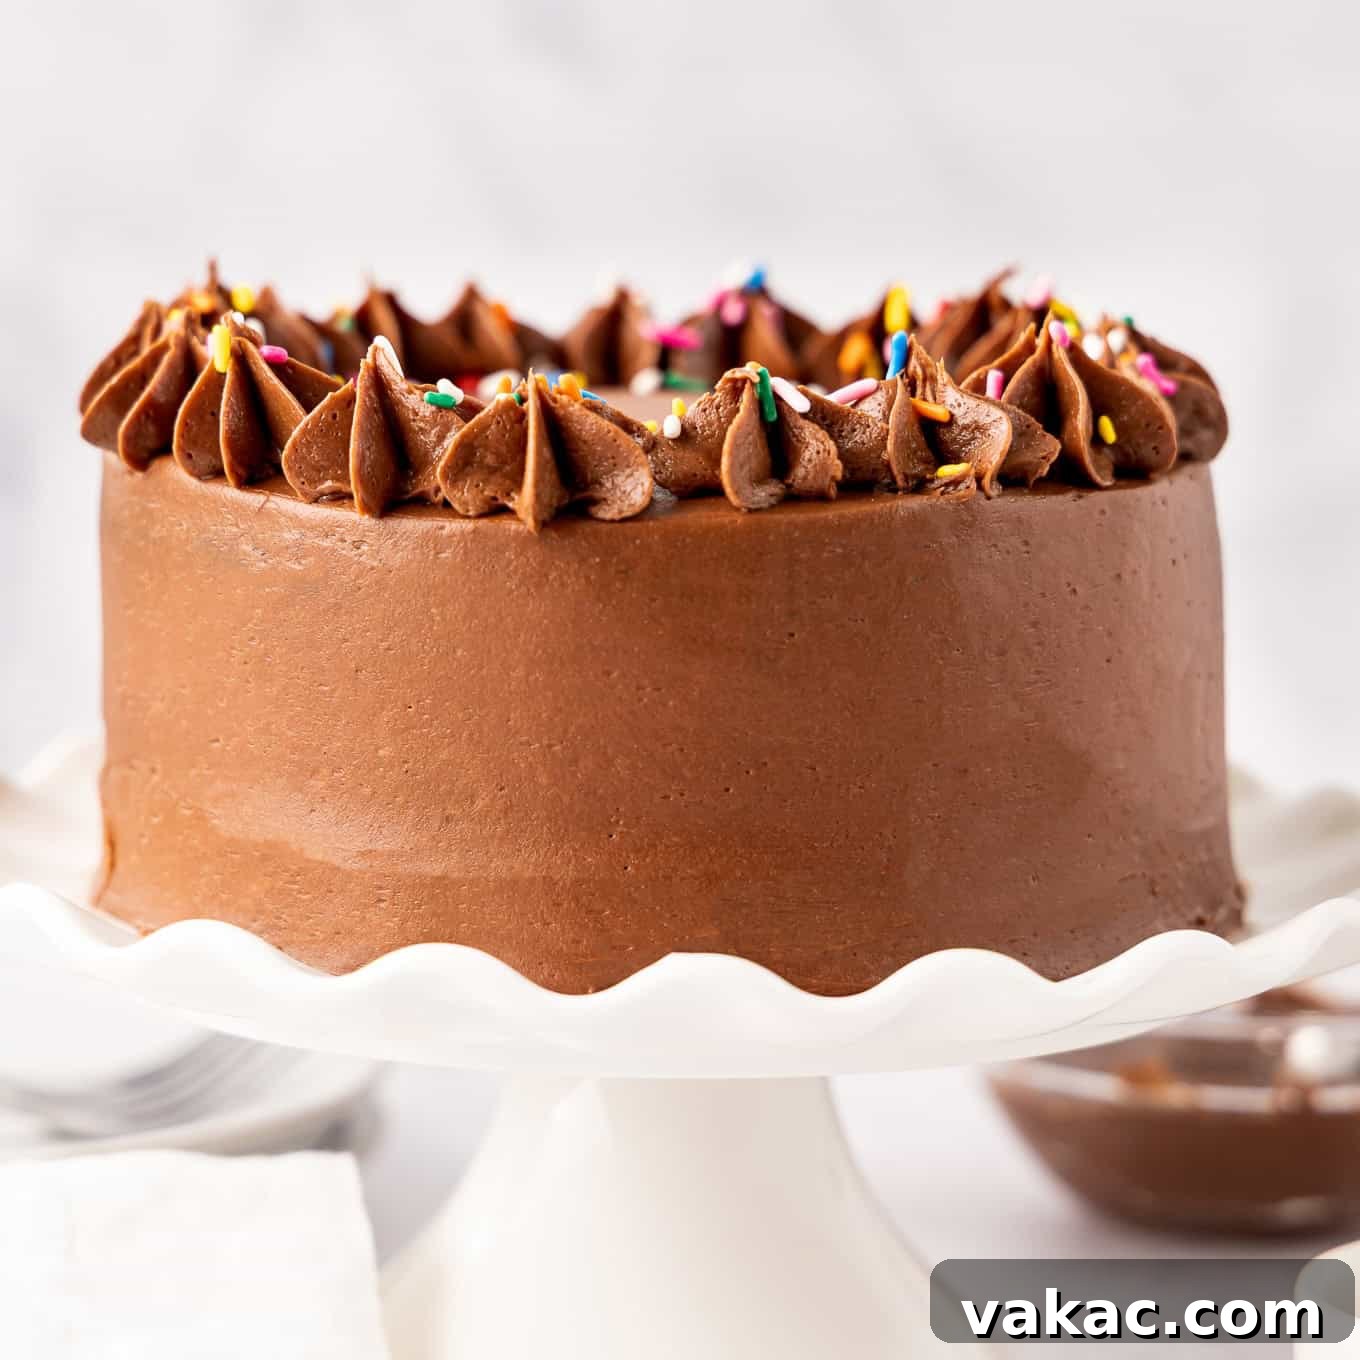
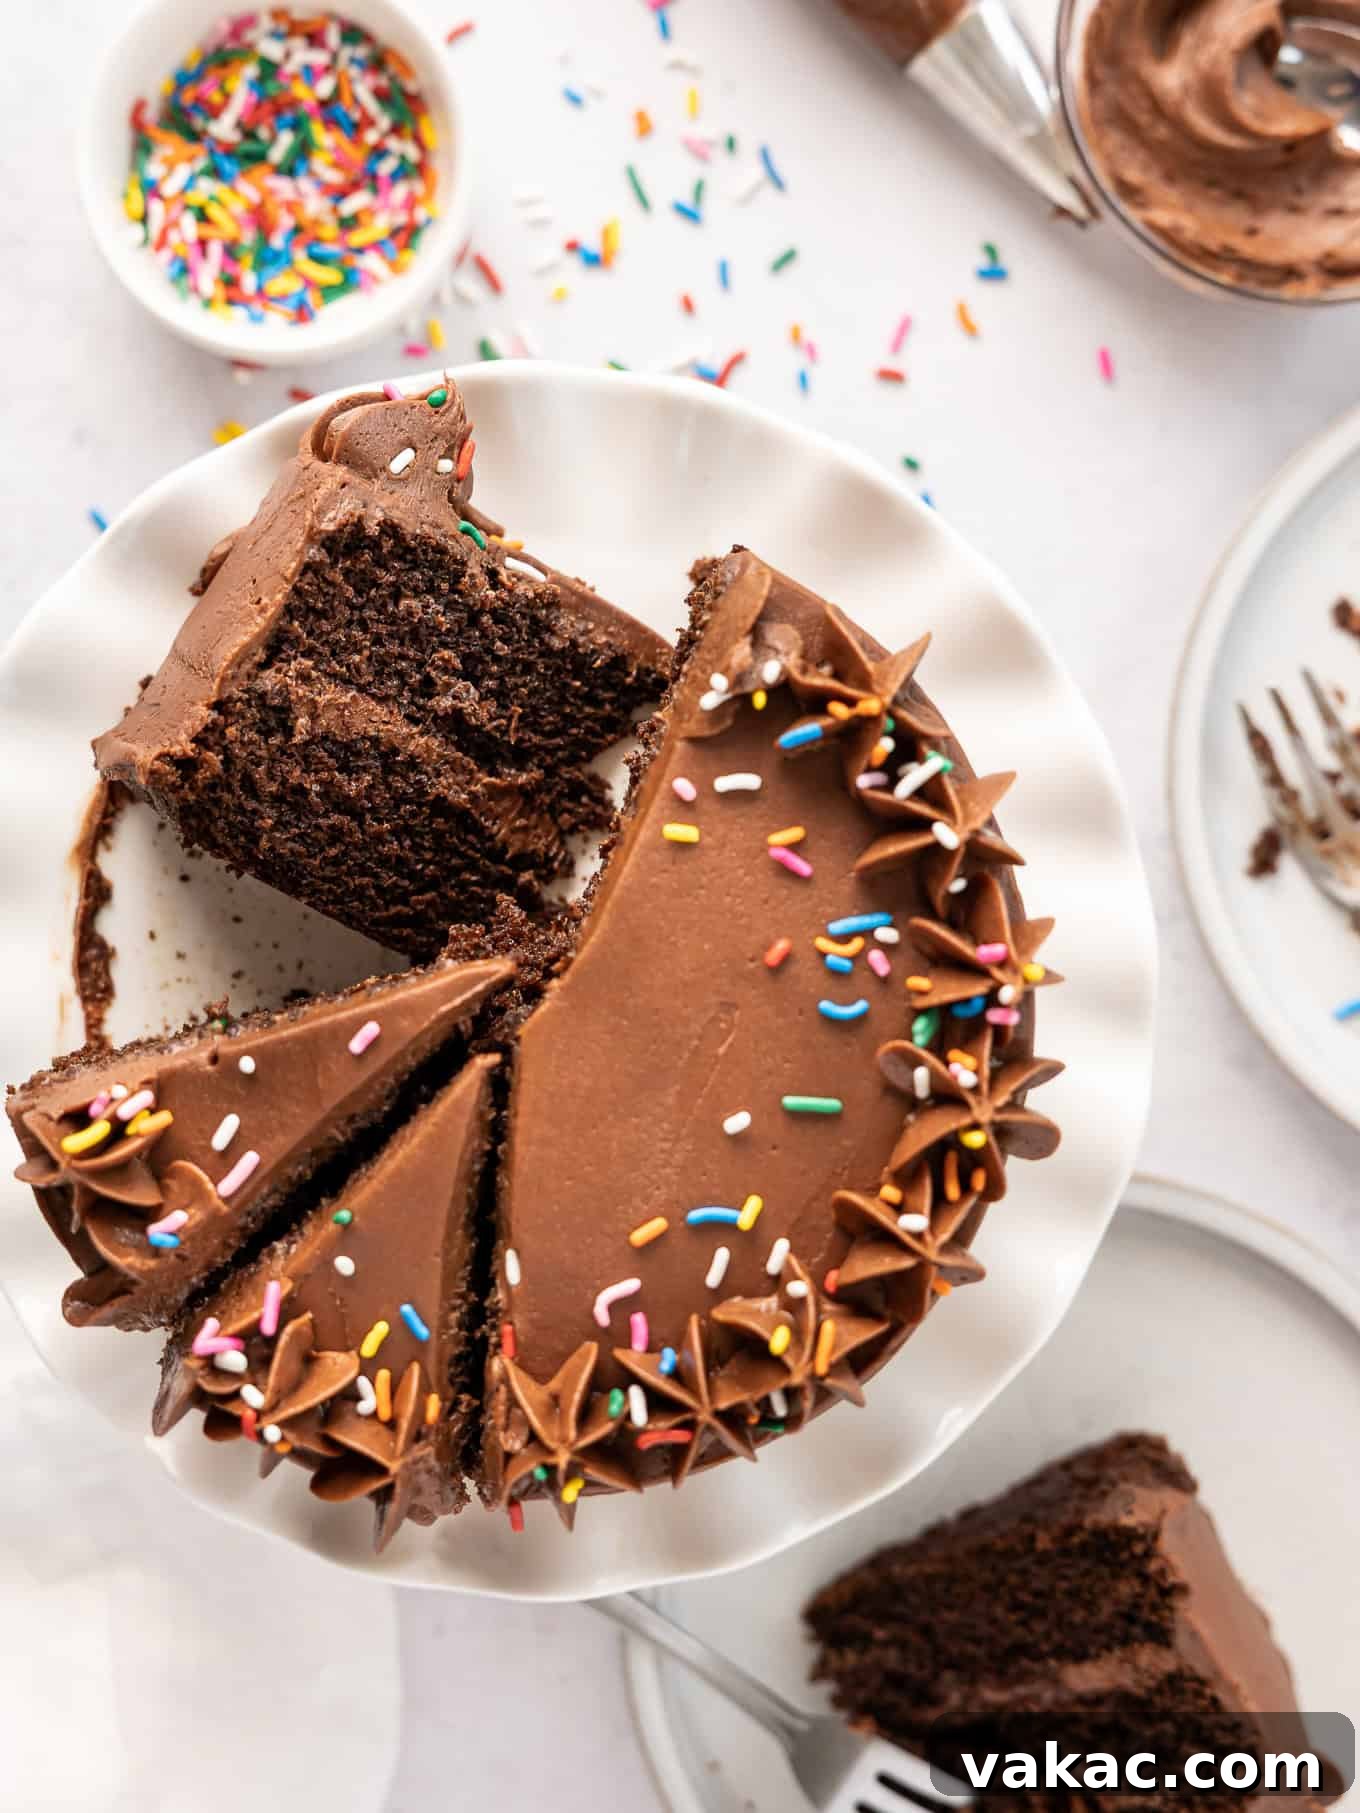
I adorned my 6-inch chocolate cake with a simple yet elegant star border around the top using a Wilton 1M piping tip, then finished it with a scattering of colorful festive sprinkles. Feel empowered to use your favorite piping tip to create your preferred decorative design, or keep it wonderfully minimalist by simply spreading the frosting smoothly for a sleek, modern finish. The true beauty of this easy chocolate cake is its remarkable adaptability to your personal style and creative vision.
Elevate Your Small Chocolate Cake: Add More Flavor Dimensions! Want to take your dessert to the next level and impress your guests? Consider incorporating a luscious filling between your cake layers. My homemade strawberry cake filling or a tangy raspberry cake filling would introduce a wonderful burst of fruity freshness and brightness. For an extra touch of stunning decadence, finish your cake with a glossy chocolate ganache drip (using a 1:1 ratio for a perfect pourable consistency) or a luxurious drizzle of rich salted caramel sauce. These thoughtful additions can effortlessly transform your simple homemade chocolate cake into an extraordinary gourmet treat!
Frequently Asked Questions About This Small Chocolate Cake Recipe
Here are answers to some common questions you might have when baking this delightful small chocolate cake, ensuring you feel confident and prepared in the kitchen.
Can I Use a Larger Pan Instead of Two 6-Inch Rounds for My Chocolate Cake?
Absolutely! If you don’t have two 6-inch cake pans readily available, this versatile batter can be successfully baked in a single 9-inch round cake pan instead. Keep in mind that the baking time will need to be adjusted accordingly for the larger, thicker layer. Expect it to bake for approximately 30 to 35 minutes, though this can vary slightly depending on the exact dimensions of your pan and your oven’s calibration. Always rely on the trustworthy toothpick test for doneness: insert it into the center of the cake, and if it comes out clean or with only a few moist crumbs, your cake is perfectly ready!
How Many Servings Does This Mini Chocolate Cake Recipe Yield?
This 6-inch chocolate cake is thoughtfully designed for smaller gatherings or intimate occasions. It typically yields 6 larger, more indulgent servings, perfect for those who appreciate a generous slice of dessert. Alternatively, it can comfortably provide 8 smaller, equally satisfying slices. It’s the ideal size to enjoy without an abundance of leftovers, making it perfect for a dessert for two, a small family treat, or a cozy evening indulgence.
What is the Best Way to Store This Moist Chocolate Cake?
To maintain its incredible moisture, tender texture, and rich flavor, any leftover frosted homemade chocolate cake should be stored in an airtight container. Place it in the refrigerator, where it will keep beautifully for up to 5 days. For the absolute best eating experience, we recommend allowing individual slices to come to room temperature for about 15-30 minutes before serving. This brief period out of the fridge will soften the chocolate buttercream frosting and enhance the cake’s tenderness, bringing out its full flavor profile.
Can I Make This Small Batch Chocolate Cake Ahead of Time?
Yes, this recipe is wonderfully forgiving and excellent for make-ahead preparations, which is a fantastic time-saver! The unfrosted cake layers can be baked, allowed to cool completely, then wrapped tightly in plastic wrap and stored at room temperature for up to 2 days. For longer storage, the unfrosted layers freeze exceptionally well for up to 3 months. To freeze, wrap each cooled layer individually in plastic wrap, then again in a layer of aluminum foil to prevent freezer burn. Thaw them overnight in the refrigerator before you plan to frost and assemble the cake. The chocolate buttercream frosting can also be made in advance and stored in an airtight container in the fridge for up to a week. Before use, bring it to room temperature and re-whip it with a mixer until it’s perfectly smooth and fluffy again.
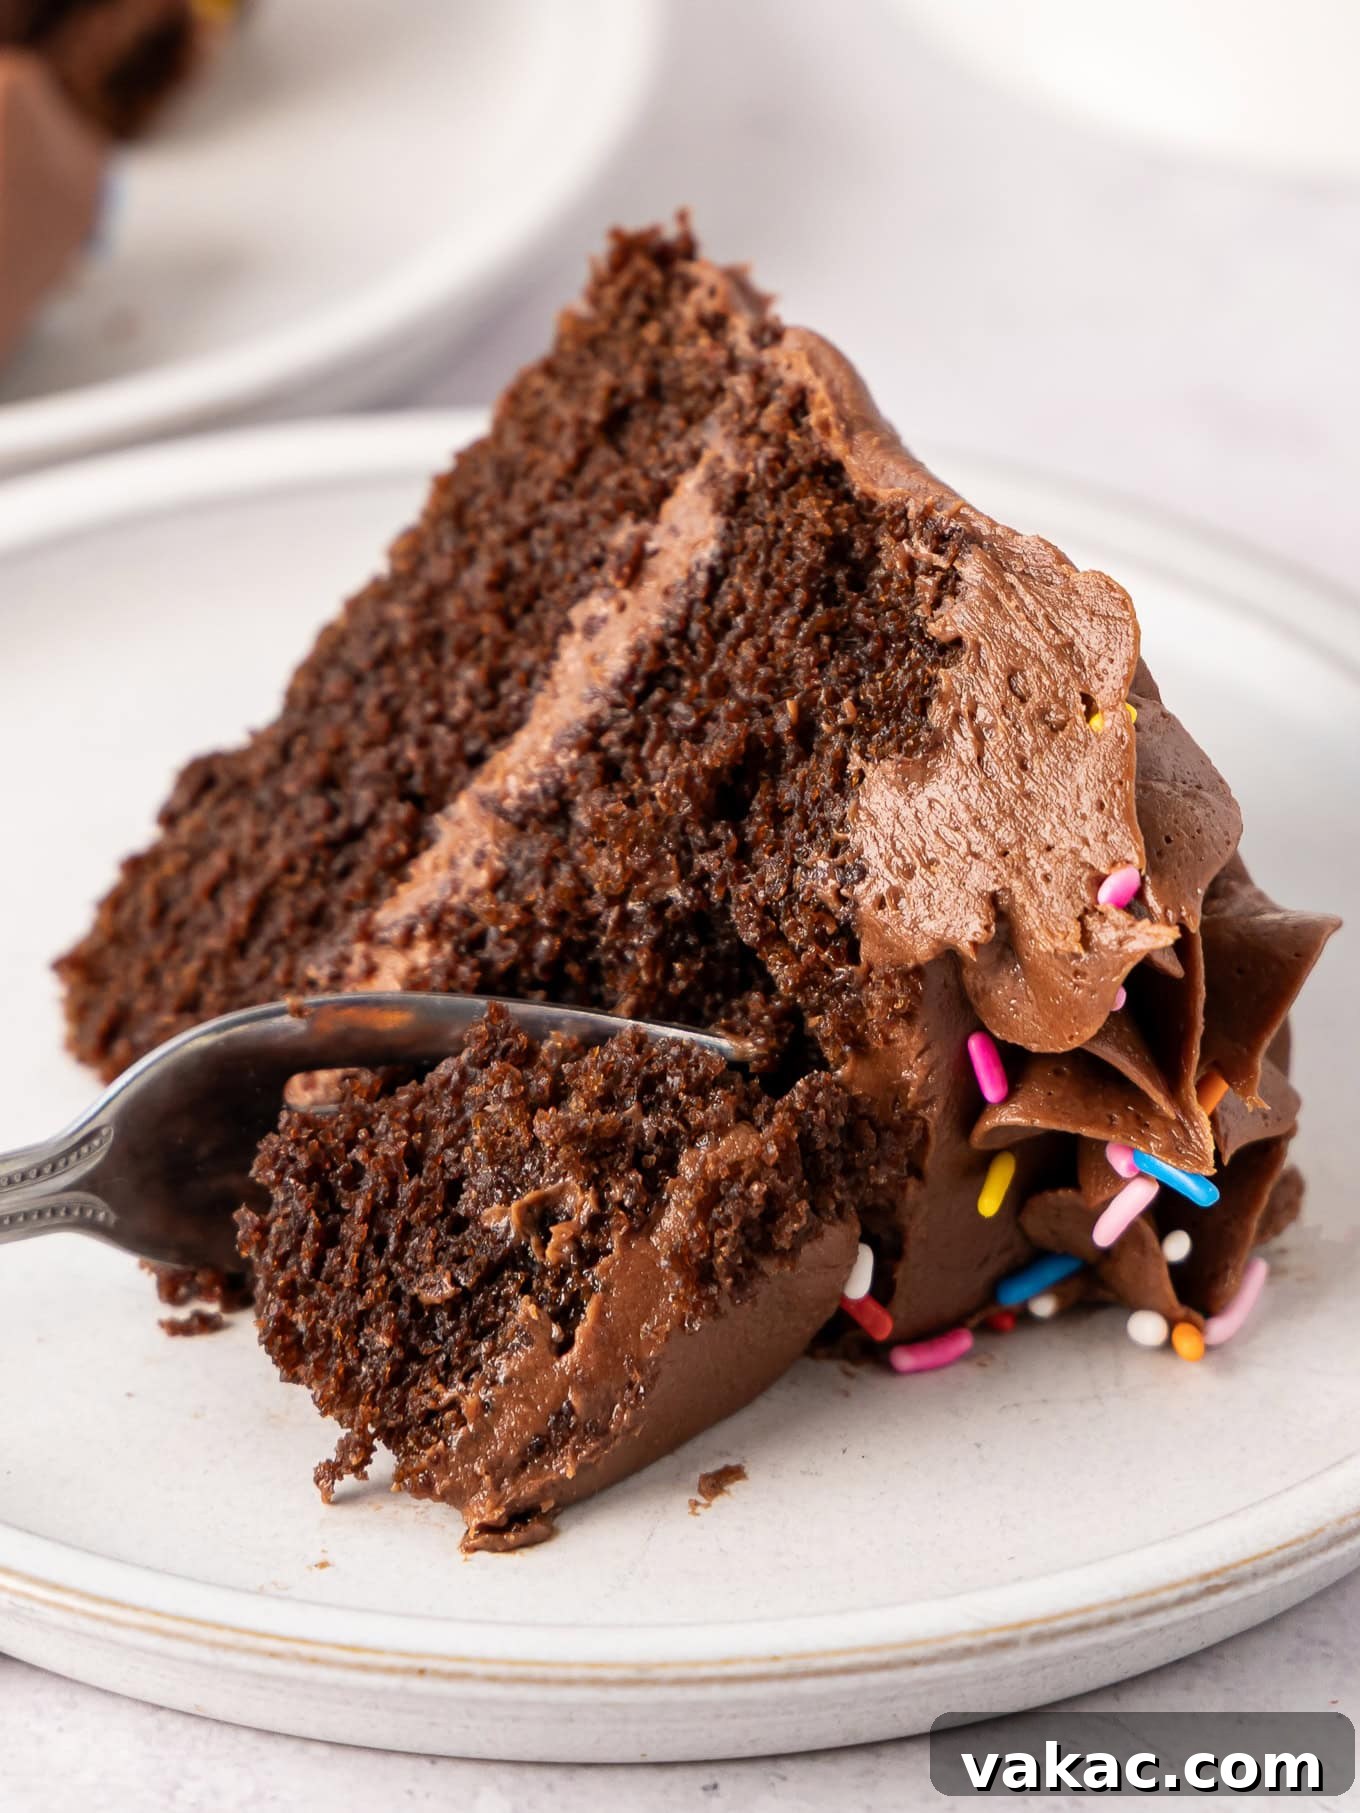
I am genuinely excited for you to try this small chocolate cake recipe! It truly delivers big on flavor and charm, perfectly sized for life’s sweeter, smaller moments. Please share your experiences – I’d love to hear how you decided to decorate your cake and if you experimented with any unique frosting combinations. Your creativity always inspires!
P.S. If you adore this small batch concept and are looking for a delightful vanilla alternative to add to your repertoire, be sure to check out my equally charming 6-inch vanilla cake recipe!
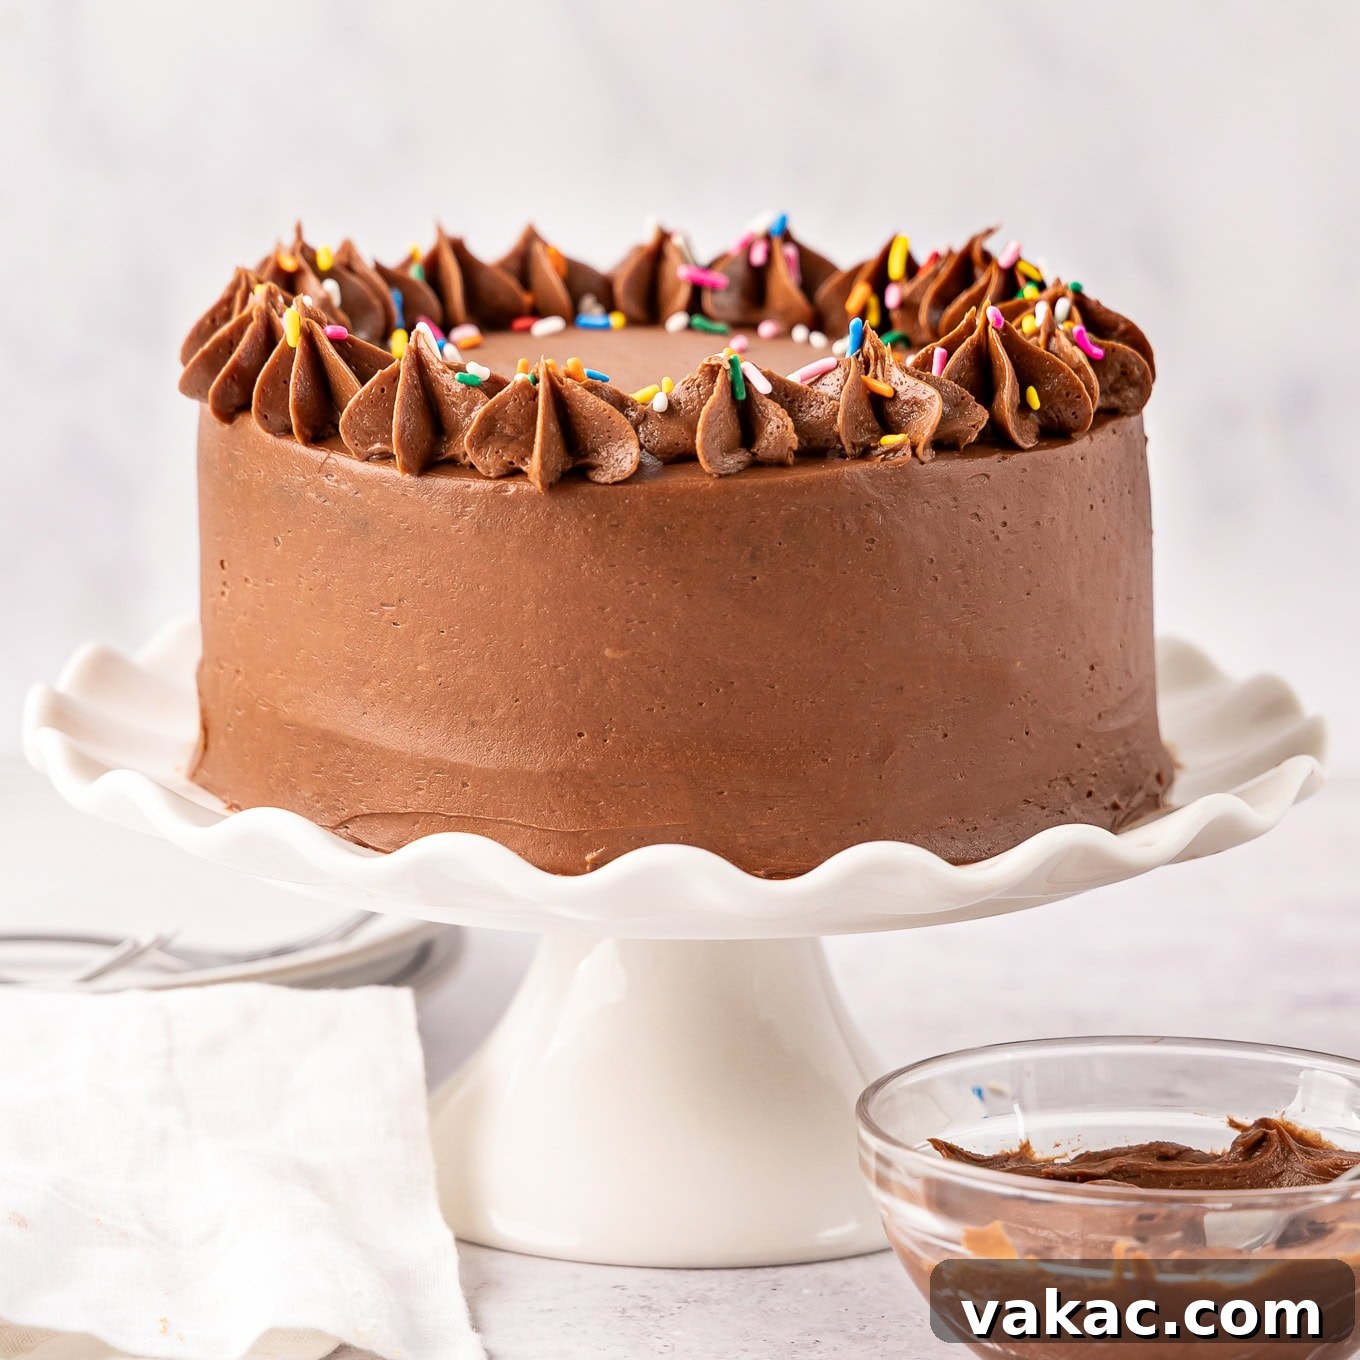
Small Chocolate Cake Recipe
Prep Time: 1 hr
Cook Time: 30 mins
Total Time: 1 hr 30 mins
This easy recipe makes a 6-inch, two-layer chocolate cake or one 9-inch round cake. It’s soft and moist like a regular chocolate cake, just scaled down for a smaller crowd!
Pin Recipe
Ingredients
Servings: 6 servings
Chocolate Cake
- 1 cup all-purpose flour (spooned & leveled, 125 grams)
- ¼ cup plus 2 tablespoons unsweetened natural cocoa powder (34 grams)
- ¾ teaspoon baking powder
- ½ teaspoon baking soda
- ½ teaspoon salt
- ½ cup packed light brown sugar (100 grams)
- ½ cup granulated sugar (100 grams)
- ⅓ cup canola, vegetable, or avocado oil (80 ml)
- ½ cup buttermilk (120 ml)
- 1 large egg
- 1 teaspoon pure vanilla extract
- ½ cup hot water (120 ml)
- ½ teaspoon instant espresso powder or 1 teaspoon instant coffee (optional; if not used, still add hot water)
Chocolate Buttercream Frosting
- 1 cup unsalted butter (softened, 226 grams; 2 sticks)
- 3 cups powdered sugar (360 grams)
- ½ cup unsweetened natural cocoa powder (sifted, 45 grams)
- 3 to 4 tablespoons heavy cream or whole milk (45 to 60 ml)
- 1 teaspoon pure vanilla extract
- ⅛ teaspoon salt
Instructions
- To make the chocolate cake: Preheat the oven to 350°F (180°C). Spray two 6-inch round cake pans with nonstick cooking spray, line the bottom of each pan with a parchment paper circle (this prevents sticking), and set aside.
- In a large mixing bowl, sift together the flour, cocoa powder, baking powder, baking soda, and salt. Whisk in the granulated sugar and brown sugar until well combined.
- Add the oil, buttermilk, egg, and vanilla extract and mix until just combined.
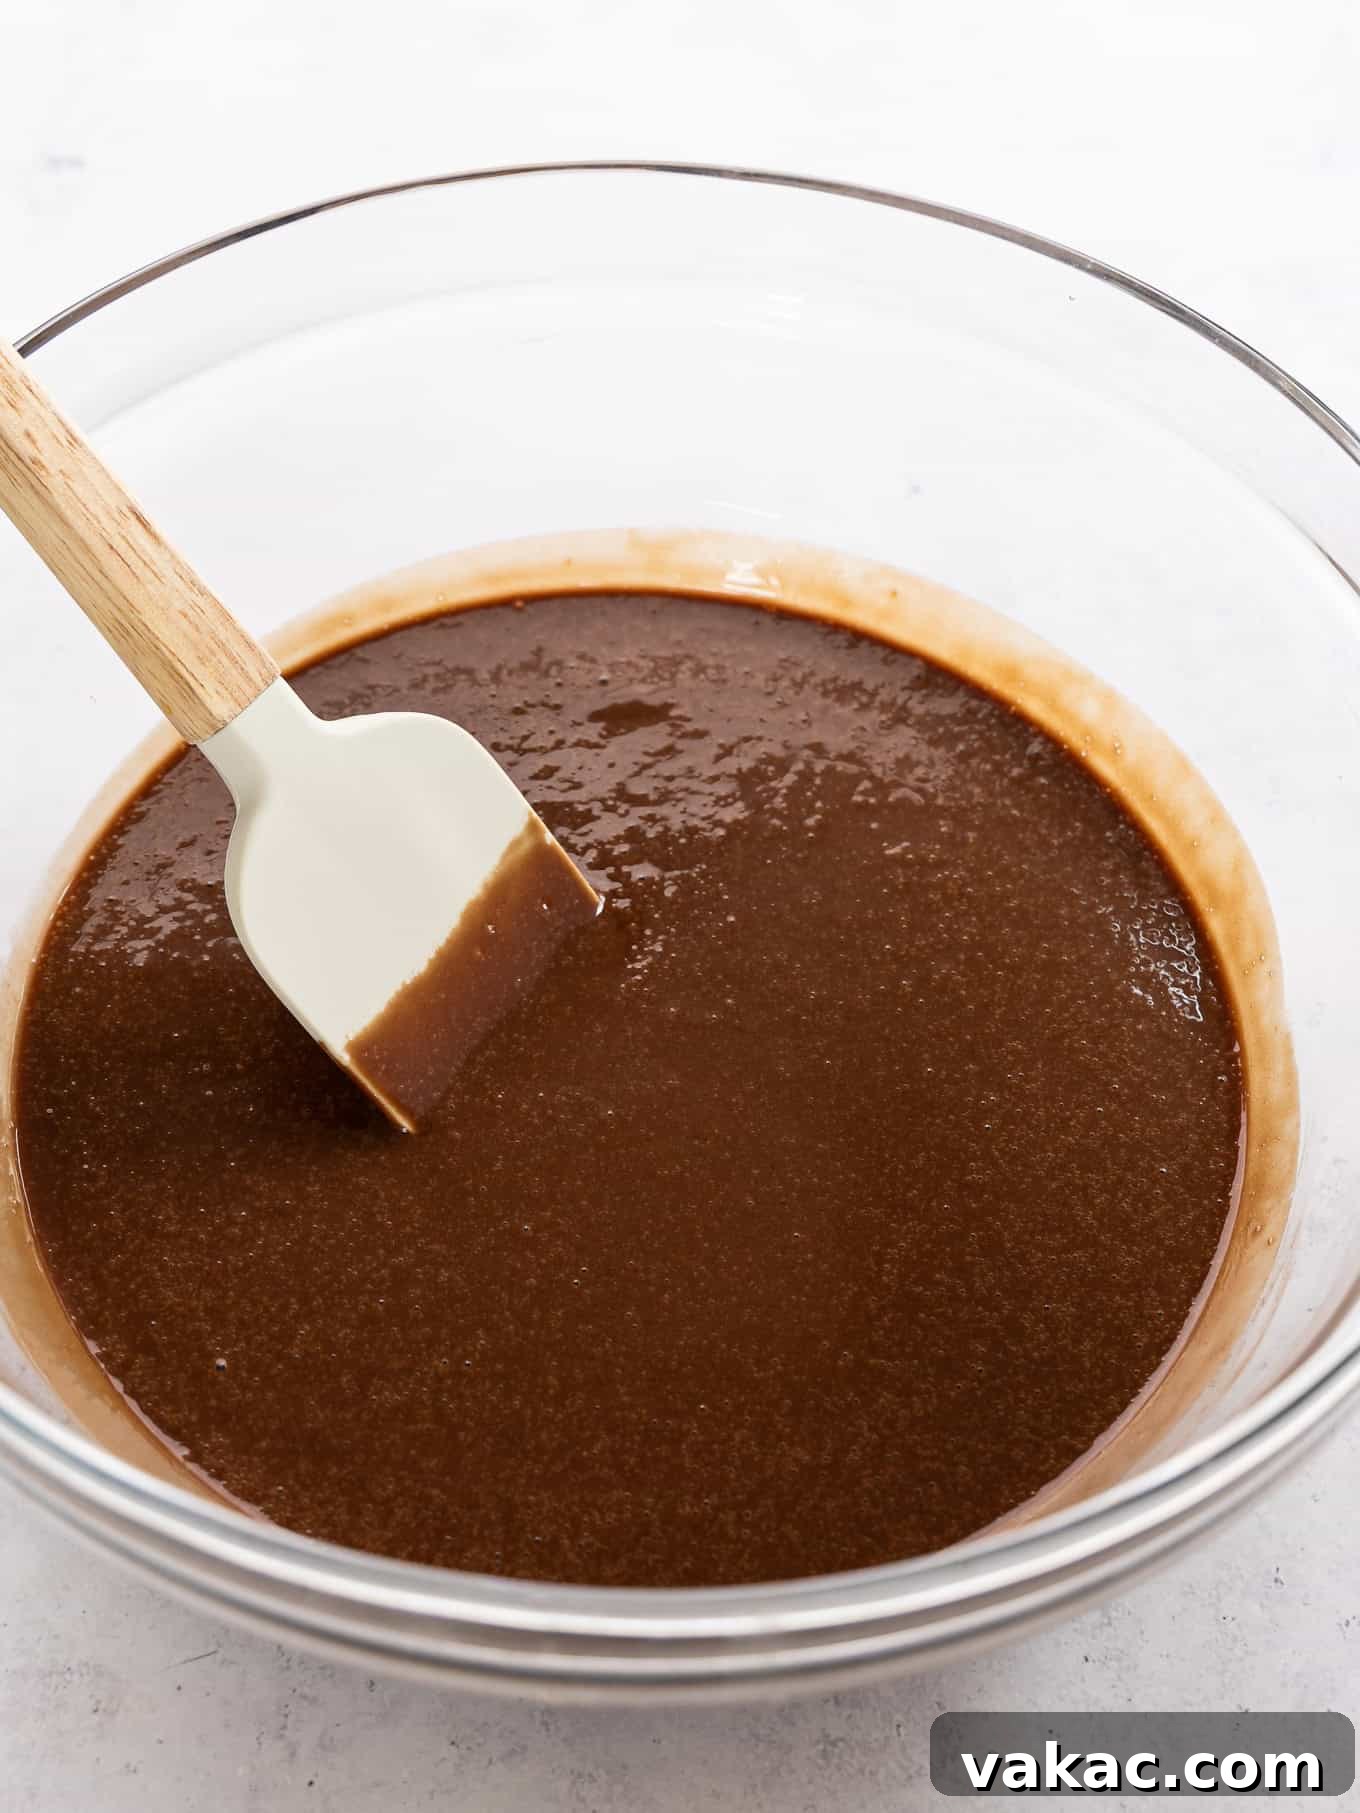
- Add the instant espresso powder (or instant coffee) to the ½ cup of hot water and mix until fully dissolved. Add this mixture to the mixing bowl and mix until everything is just combined. The batter will be thin, which is normal for this recipe!
- Evenly divide the batter between the two prepared cake pans and bake for 28 to 33 minutes or until a toothpick inserted into the center of the cakes comes out clean.
- Remove from the oven and allow to cool in the pans for 15 to 20 minutes, or until they’re cool enough to handle. Slide a knife around the outside of each cake layer, then carefully remove the cakes from the pans, and transfer to a wire rack to cool completely. For firmer cake layers that are easier to frost, place them in the freezer for about 30 minutes before frosting.
- To make the chocolate buttercream frosting: In the bowl of a stand mixer fitted with the paddle attachment (or using a handheld mixer in a large bowl), beat the softened butter on medium speed for 1 minute until smooth and creamy.
- Gradually add the powdered sugar, one cup at a time, mixing well after each addition. Then, add the sifted cocoa powder and mix until fully combined.
- Add 3 tablespoons of heavy whipping cream (or whole milk), the vanilla extract, and salt. Mix on low speed until fully combined, stopping to scrape down the sides of the bowl as needed. If the frosting is too thick, incorporate an extra tablespoon of heavy cream or milk until desired consistency is reached.
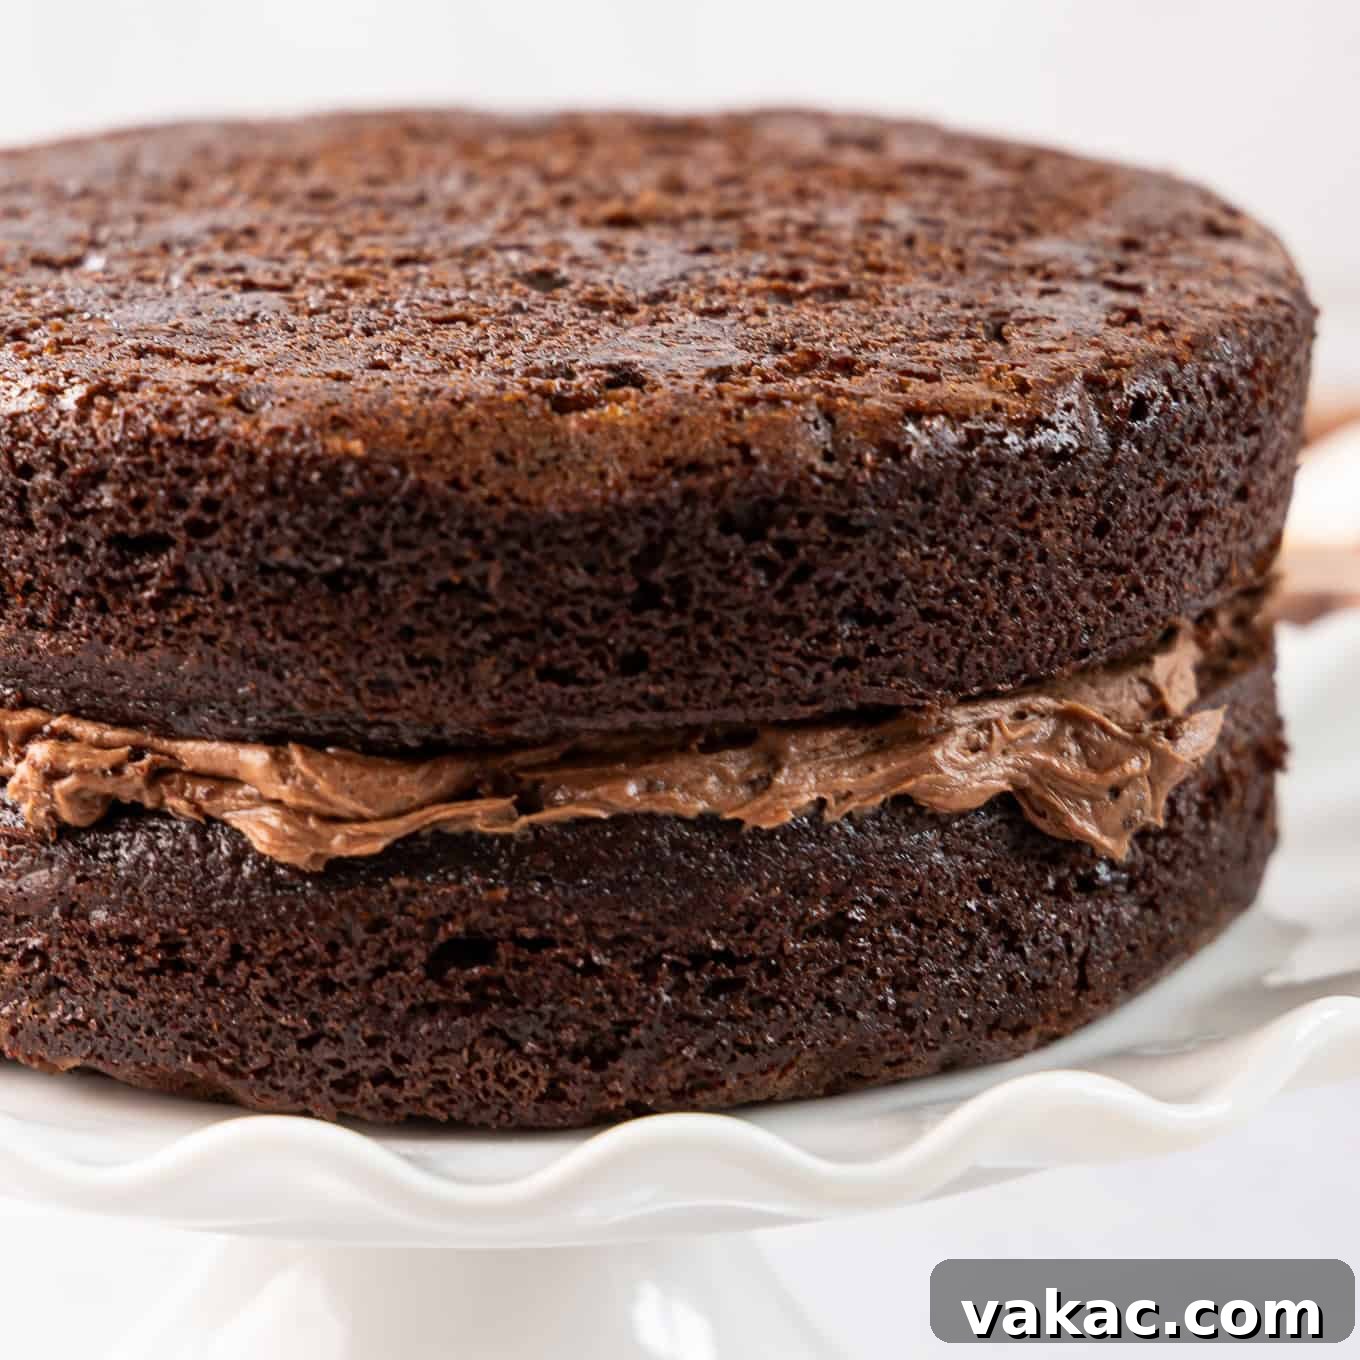
- To assemble the cake: Use a knife or a cake leveler to level the tops of each cooled cake layer for a neat presentation.
- Place the first cake layer on a cardboard cake round, large plate, or cake stand.
- Scoop about ¾ cup of frosting on top and use an offset spatula or the back of a spoon to spread it around into an even layer.
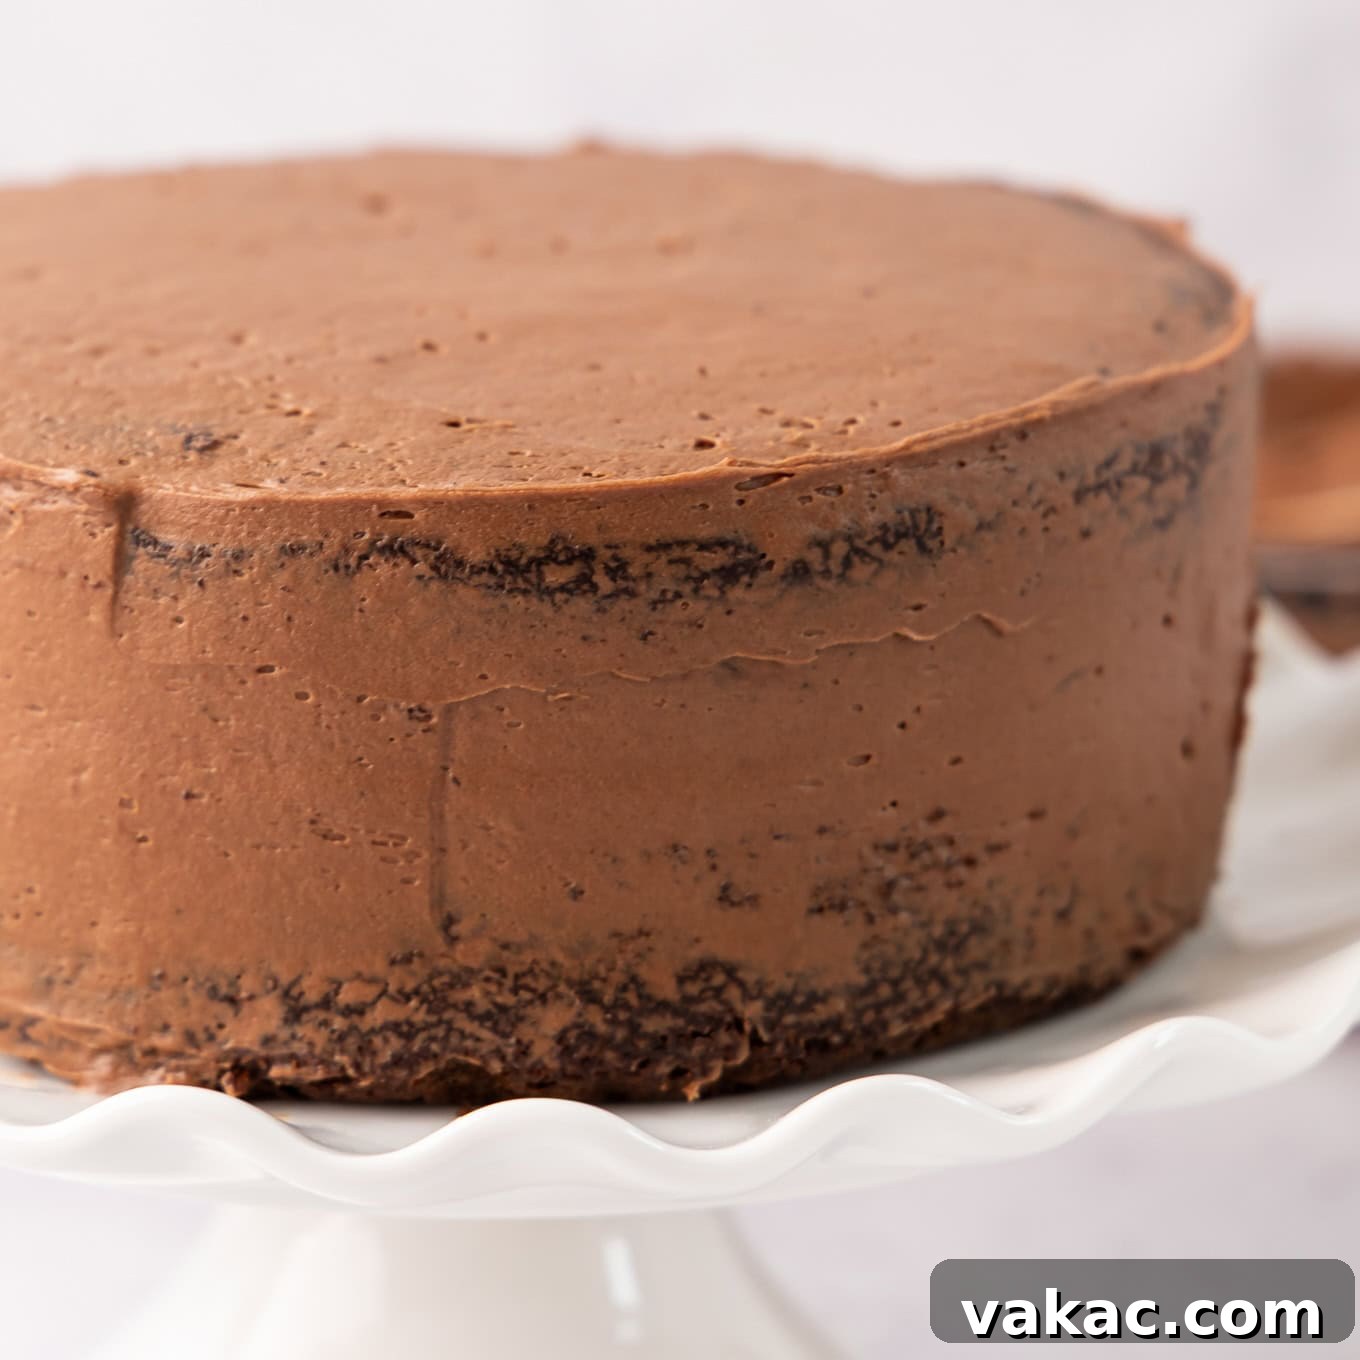
- Add the second cake layer upside down on top of the first one. Apply a thin layer of icing to the outside of the cake – this is your “crumb coat” – to trap any loose crumbs. Freeze for 10 minutes or refrigerate for 20 minutes to allow the crumb coat to firm up; this makes applying the final layer of frosting much easier and cleaner.
- Use the remaining frosting to generously decorate the top and sides of the cake as desired.
Notes
Storage Instructions: This moist chocolate cake can be stored in an airtight container in the refrigerator for up to 5 days. For the best taste and texture, bring slices to room temperature before serving.
Freezing Instructions: Unfrosted cake layers freeze exceptionally well for up to 3 months. Wrap them tightly in plastic wrap and then in aluminum foil. Thaw overnight in the refrigerator before decorating. The chocolate buttercream frosting also freezes well for up to 3 months; thaw overnight in the refrigerator, bring to room temperature, and re-whip until smooth and fluffy before use. You can also freeze frosted cake slices in an airtight container or freezer bag for up to 3 months. Thaw overnight in the refrigerator and allow to reach room temperature before enjoying.
Cuisine: American
Course: Dessert
Author: Danielle Rye
Did you make this recipe? Mention @livewellbakeoften on Instagram or tag #livewellbakeoften.