
Mastering the art of baking starts with the fundamentals. Discover how to measure flour precisely using the essential spoon and level method for consistently perfect results.
Unlock Your Baking Potential: The Secret to Perfect Pastries and Cakes
Many aspiring bakers, and even seasoned ones, often marvel at the seemingly magical ability to conjure up delightful treats like fluffy cupcakes, rich chocolate chip cookies, or elegant cakes from scratch. While it might appear daunting at first glance, the truth is that baking is a skill built on a foundation of fundamental techniques and a dash of practice. It’s a culinary journey that becomes incredibly rewarding once you grasp the basics.
When I first ventured into the world of baking, there were countless small details and crucial tips that, had I known them earlier, would have transformed my initial experiences. To demystify the process and empower you on your own baking adventures, I’ve committed to sharing valuable baking tips and tricks right here. From understanding ingredient roles to mastering essential techniques, we’ll cover it all.
Why Accurate Flour Measurement is Non-Negotiable for Baking Success
For today’s crucial discussion, we’re diving deep into a topic that might seem deceptively simple: how to properly measure flour. You might be thinking, “Measuring flour? Isn’t that straightforward?” And you’re absolutely right, the action itself is easy! However, the *method* you employ makes all the difference between a baking triumph and a disappointing flop.
It’s important to note that the guidelines I’m sharing are the ones I meticulously follow when developing recipes for this blog, aiming for consistent and reliable outcomes every time. While these methods are widely accepted, always remember that flour brands can vary slightly in density and weight. Furthermore, some professional recipes may specify flour quantities in precise grams or ounces, which is the gold standard for accuracy. In such cases, adhering to those weight measurements is always the best approach to guarantee your baked goods achieve the intended texture and structure.
The Pitfalls of Improper Flour Measurement: Too Much or Too Little?
When it comes to measuring flour, the most common mistake is directly scooping your measuring cup into the flour container or bag. This seemingly innocent action packs the flour tightly into the cup, resulting in significantly more flour than the recipe actually calls for. Imagine a recipe that needs 100 grams of flour, but your packed cup actually holds 150 grams. This excess flour drastically alters the delicate balance of ingredients in your dough or batter.
- Too Much Flour: The most frequent outcome of over-measuring flour is a dry, dense, and often crumbly finished product. Cookies become hard pucks, cakes turn out heavy and dry, and breads lack the desired tenderness. The excess flour absorbs too much moisture, hindering gluten development and affecting leavening agents.
- Too Little Flour: Conversely, while less common with volumetric methods, under-measuring flour can lead to baked goods that are too soft, greasy, or lack structural integrity. Cakes might collapse, cookies spread excessively thin, and breads may not hold their shape.
To avoid these common baking woes and ensure your creations are consistently delicious, it’s essential to adopt the universally recommended “spoon and level” method.
Mastering the Spoon and Level Method: A Step-by-Step Guide
The spoon and level method is a simple yet incredibly effective technique that prevents flour compaction and ensures you’re adding the correct amount to your recipes. Here’s how to execute it perfectly:
Step 1: Fluff Your Flour
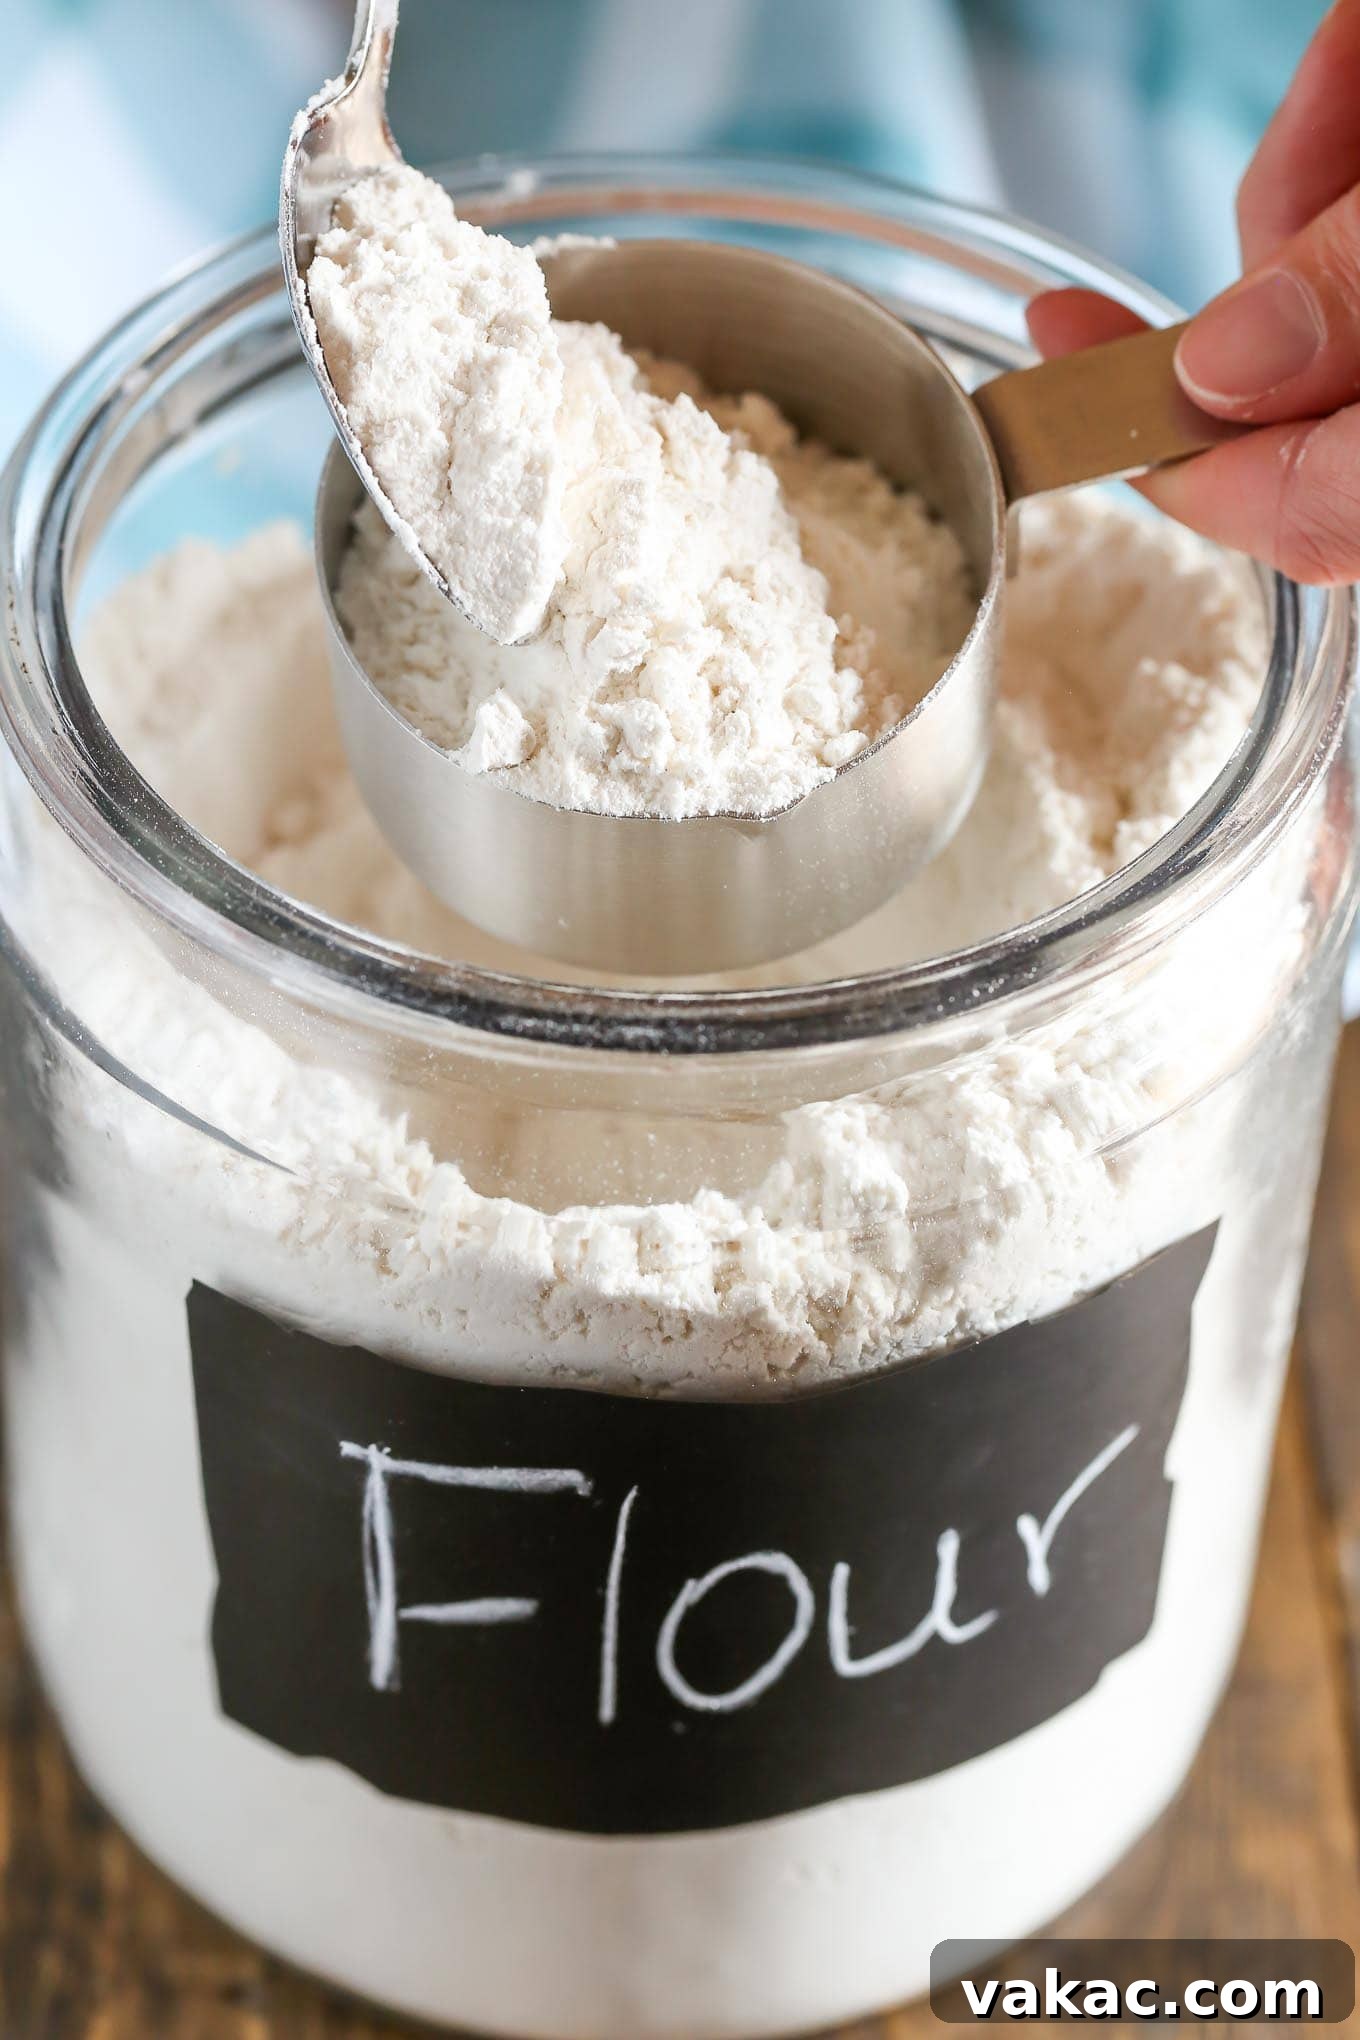
Before you even bring out your measuring cup, take a spoon (or a fork, or even your hand) and gently fluff up the flour in its container. Flour, especially all-purpose flour, tends to settle and compact over time. Aerating it helps to loosen the flour particles, ensuring a lighter, more consistent density when measured. This crucial first step prevents you from scooping dense, packed flour, which is the root cause of many baking inconsistencies.
Step 2: Spoon Flour into the Measuring Cup
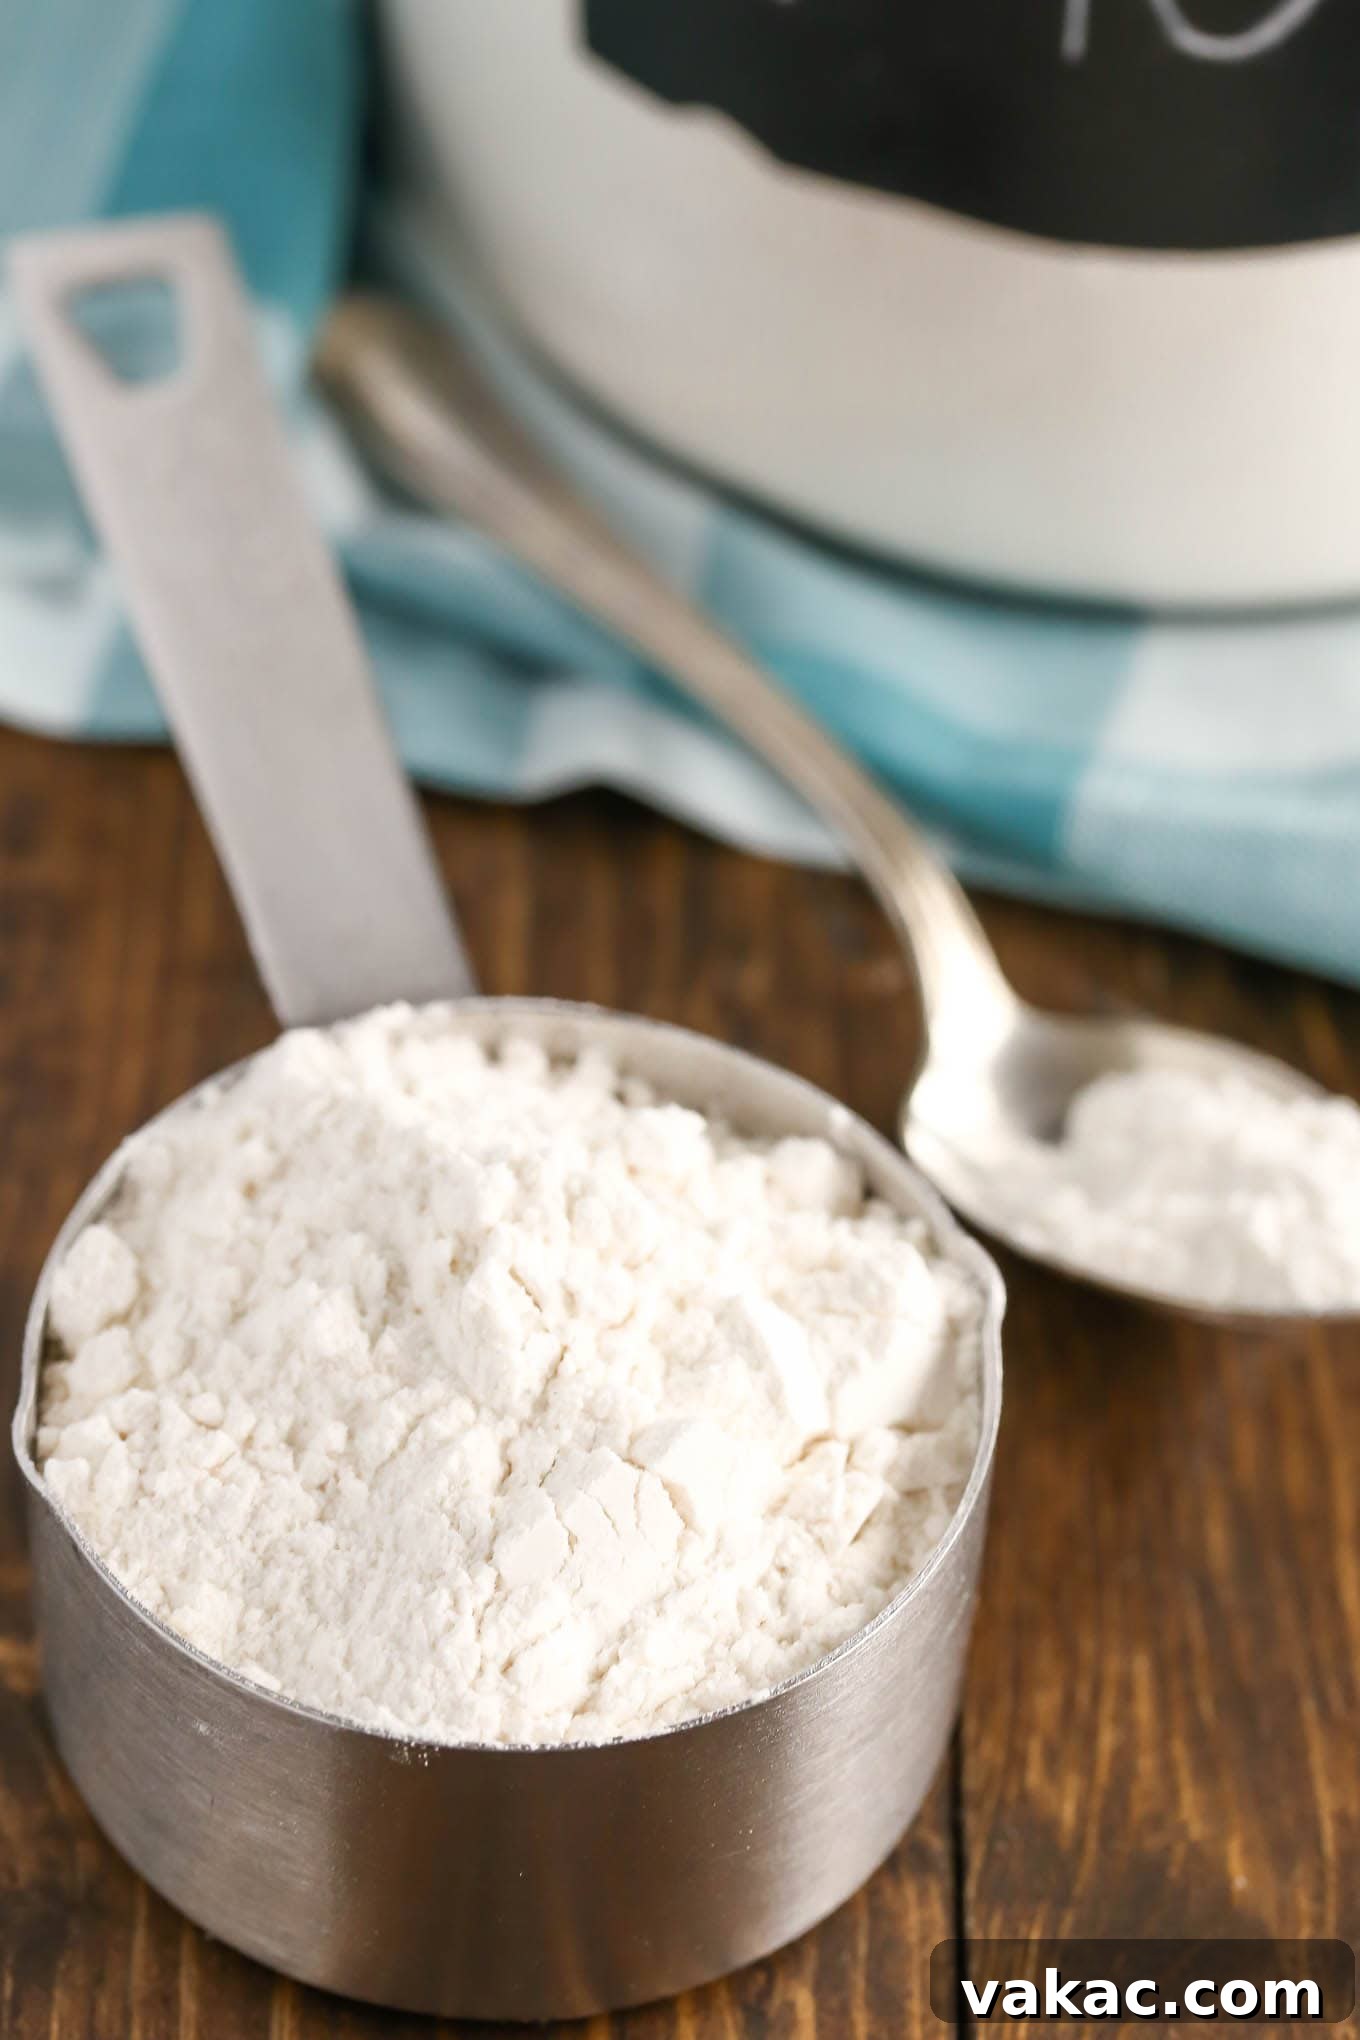
Once the flour is fluffed, use a separate spoon to gently scoop the flour into your dry measuring cup. Do not pack it down, shake the cup, or tap it on the counter. Simply let the flour pile up loosely into the cup, allowing it to overflow slightly. The goal here is to fill the cup without any compression.
Step 3: Level Off the Top
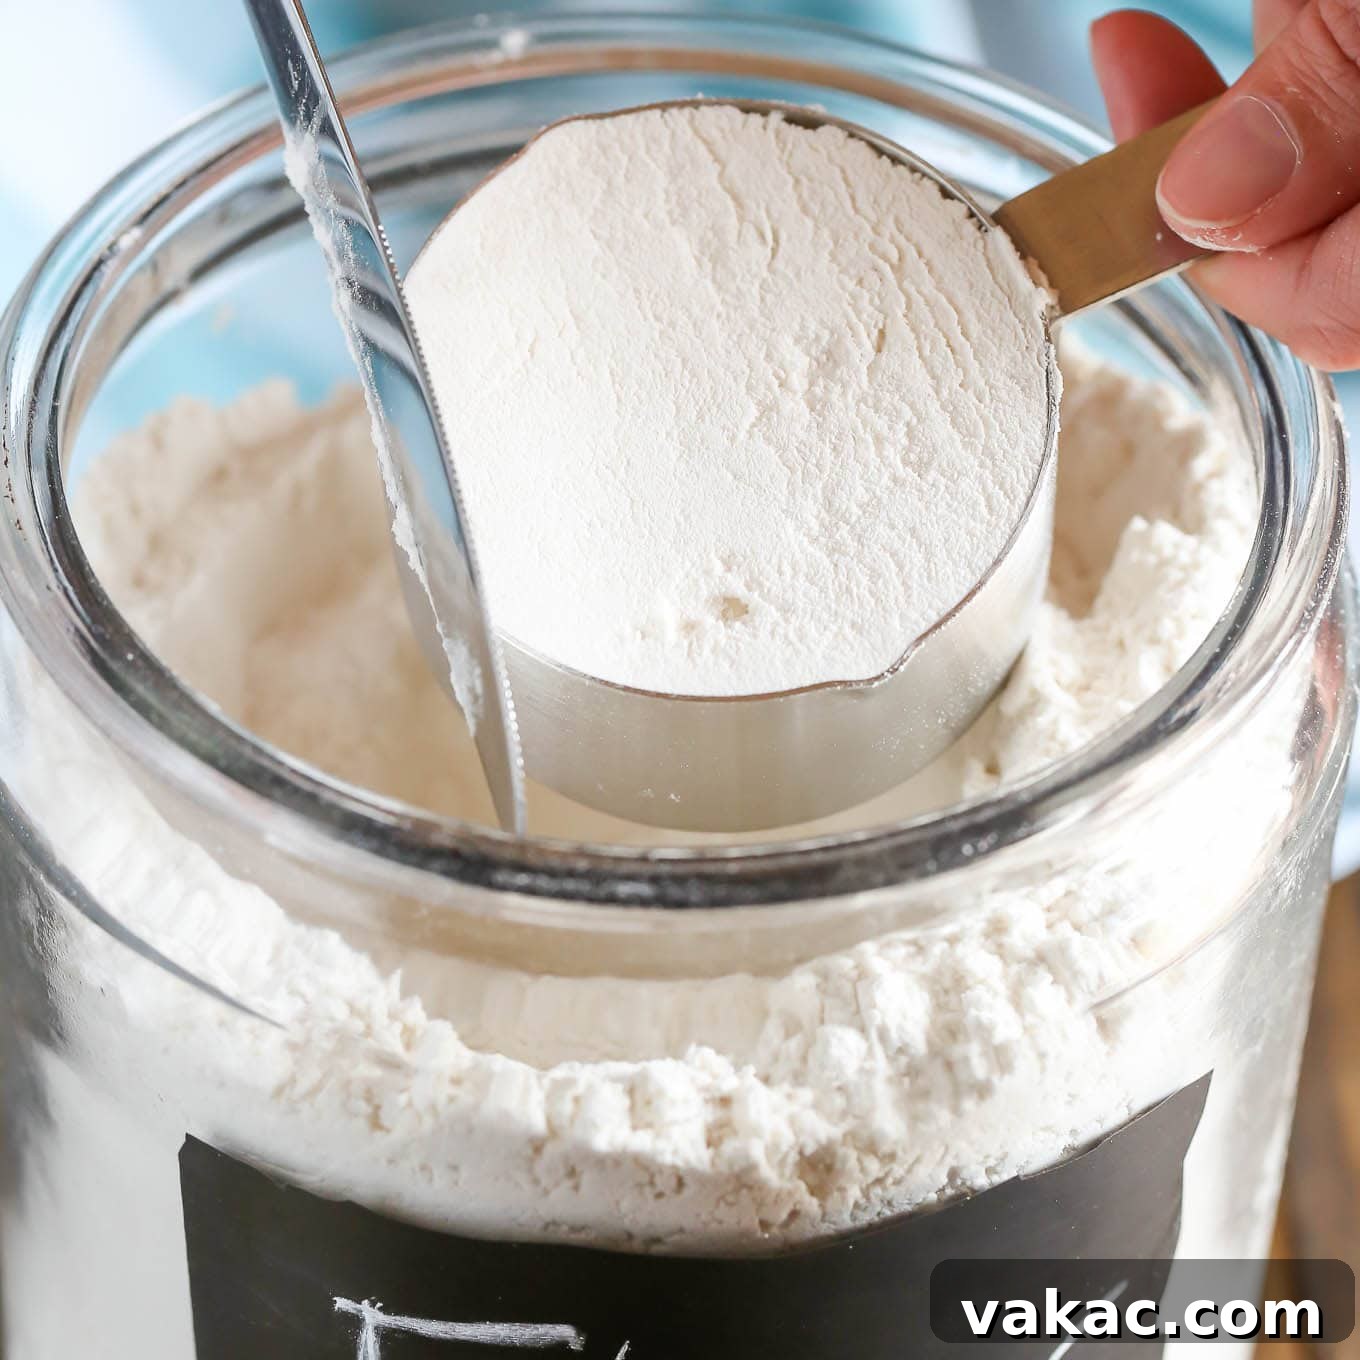
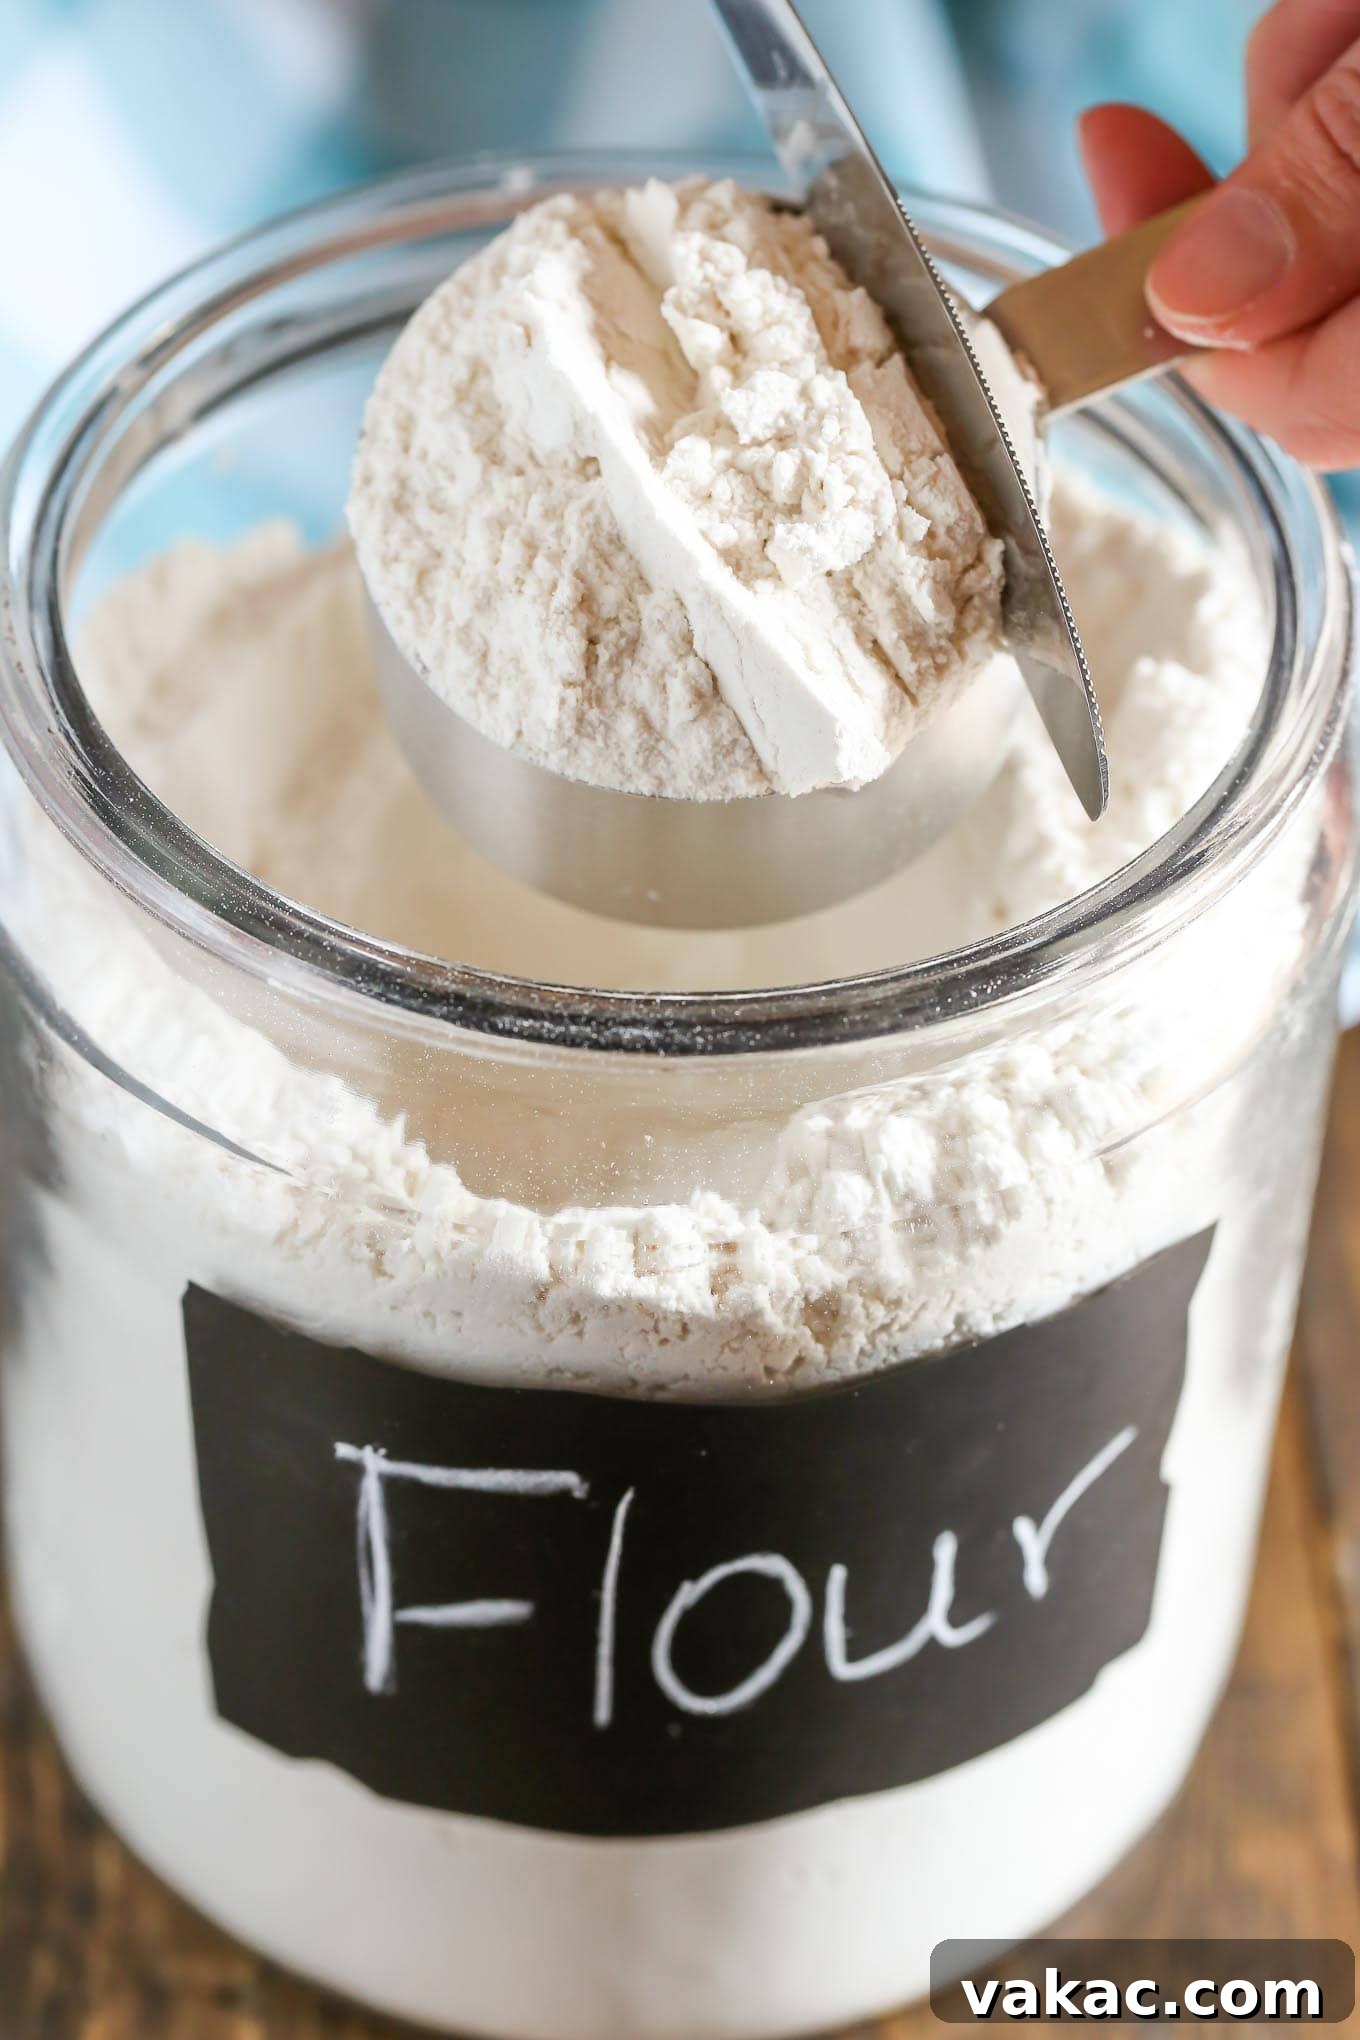
With the measuring cup generously filled and slightly overflowing, take the straight, flat edge of a knife, an offset spatula, or even a bench scraper. Place the flat edge across the top rim of the measuring cup and gently sweep away the excess flour. This action ensures that the flour is perfectly level with the rim, providing an accurate, consistent measurement.
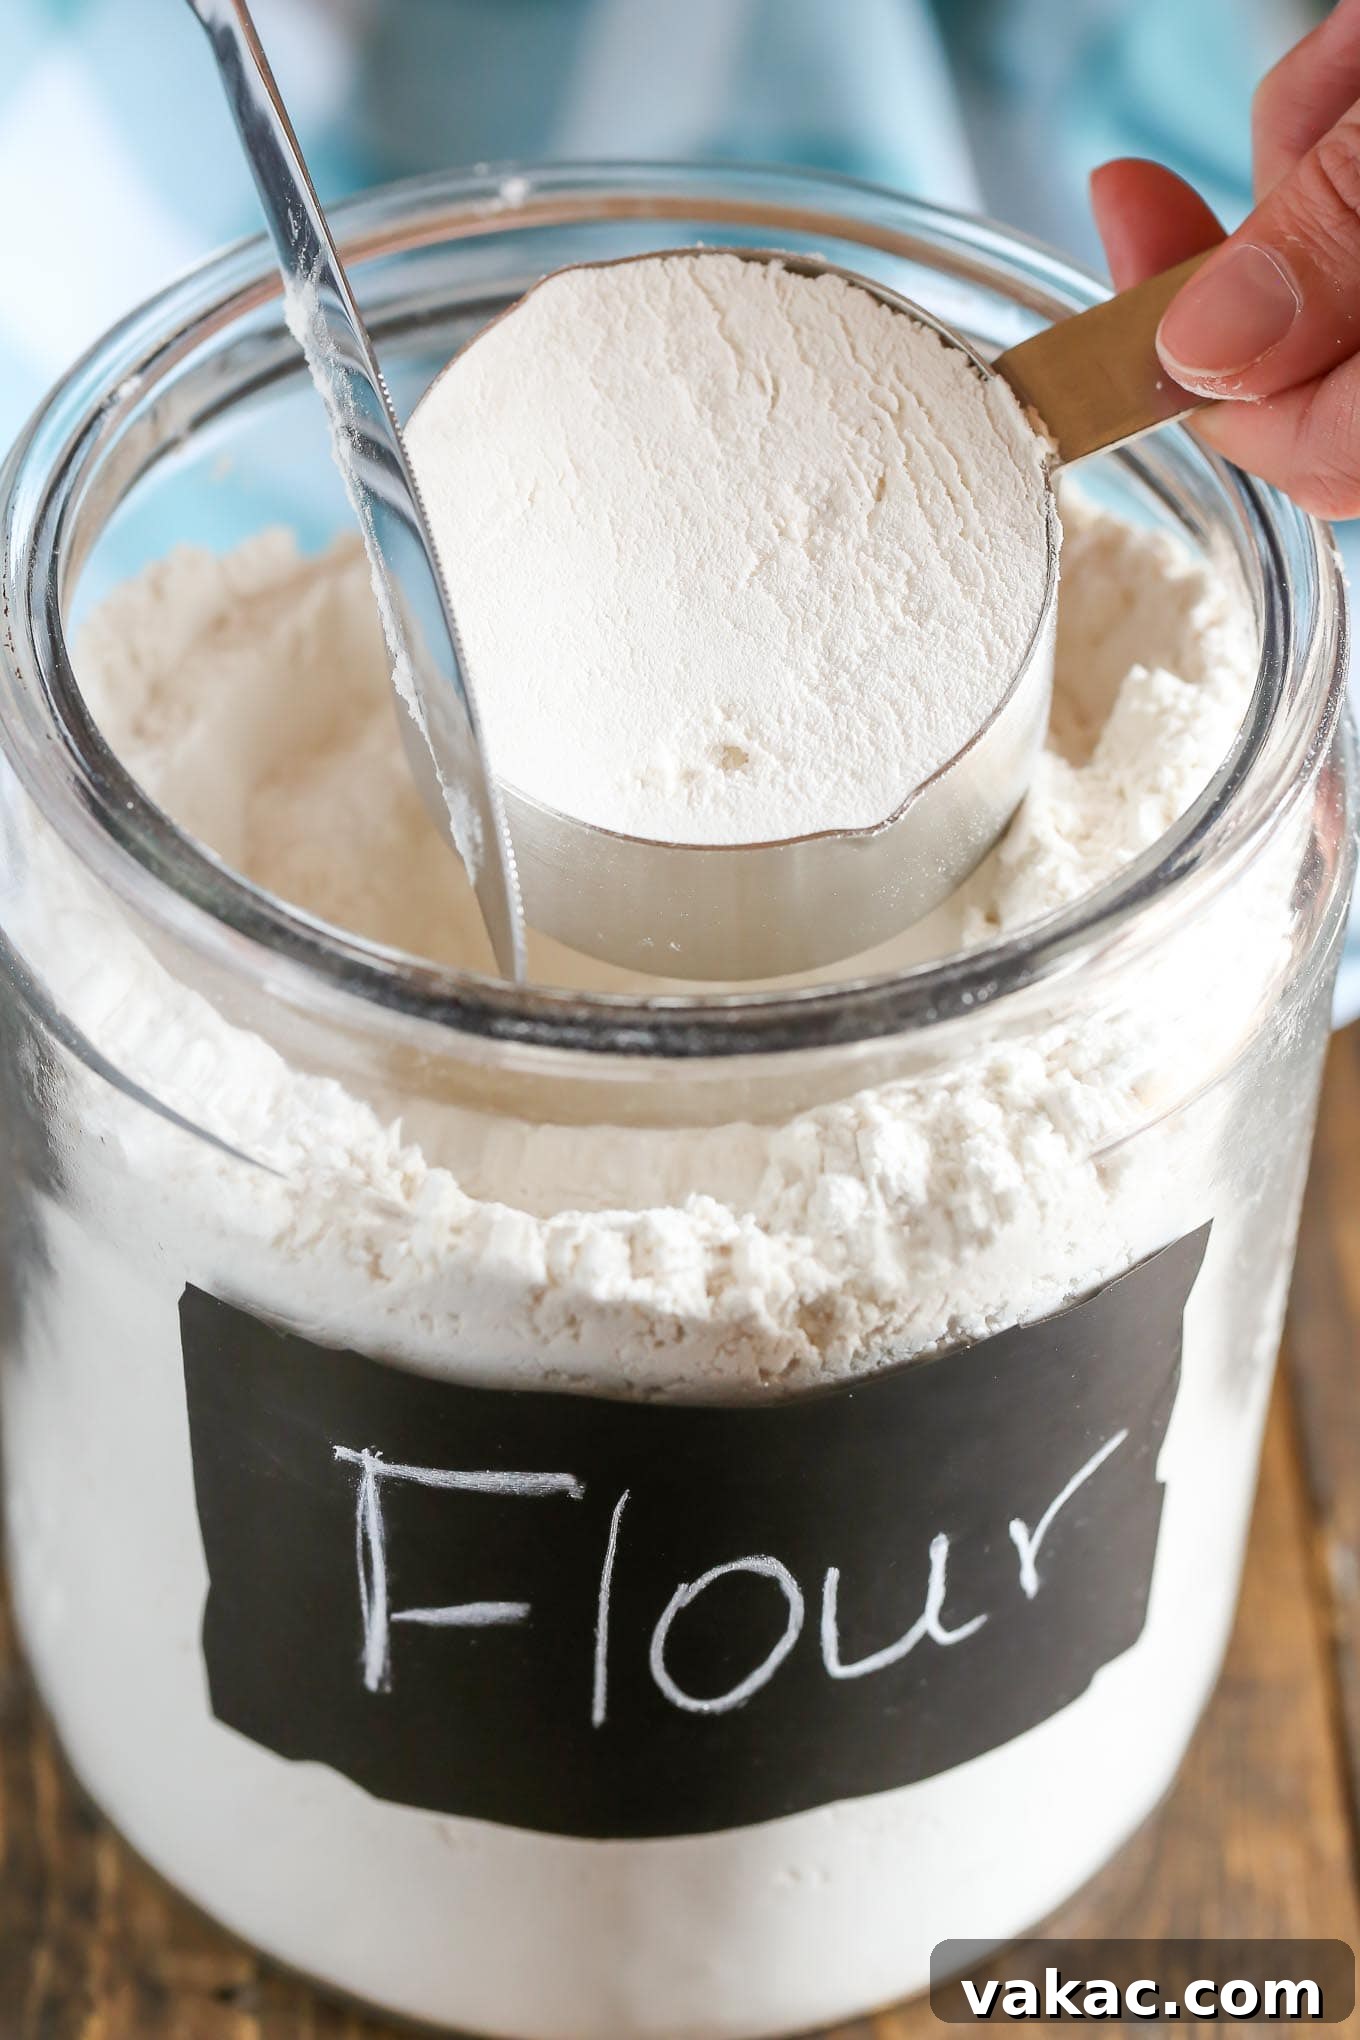
See? It’s incredibly straightforward once you get the hang of it! This method is my go-to when measuring all-purpose flour for every recipe I develop and share on this blog. When measured correctly using the spoon and level technique, one cup of all-purpose flour typically weighs approximately 4.5 ounces, which is roughly 127 grams. This consistency is vital for replicating recipes successfully.
The Gold Standard: Investing in a Kitchen Scale
While the spoon and level method offers significant improvement over direct scooping, for ultimate precision, nothing beats a digital kitchen scale. A kitchen scale measures ingredients by weight (grams or ounces) rather than volume. Since weight is an immutable property of an ingredient, it removes all guesswork and variability associated with how tightly flour might be packed into a cup. This makes it the most reliable method for achieving consistent results, especially for sensitive recipes like macarons or artisan breads.
If you don’t currently own a kitchen scale, don’t fret! The spoon and level method is a fantastic alternative that will serve you well. However, I wholeheartedly encourage aspiring bakers to consider it a worthwhile investment. In my own kitchen, I often use my scale to double-check my volumetric measurements. More often than not, when I carefully spoon and level a cup of all-purpose flour, the scale confirms it’s remarkably close to 127 grams, usually within a couple of grams. This reinforces the reliability of the spoon and level method when executed correctly.
Beyond All-Purpose: Understanding Different Flours
It’s also worth noting that different types of flour have varying densities. For example:
- Bread Flour: Higher in protein, often denser than all-purpose.
- Cake Flour: Lower in protein, typically finer and lighter.
- Whole Wheat Flour: Contains bran and germ, making it significantly heavier and denser than white flours.
Always consider the type of flour specified in your recipe. If a recipe calls for cake flour, substituting it directly with all-purpose flour measured by volume (even with spoon and level) might lead to different results due to their inherent density differences and protein content.
Your Journey to Baking Excellence
Baking is a delightful blend of creativity and precision. By understanding and consistently applying fundamental techniques like the spoon and level method for flour measurement, you elevate your baking from guesswork to a predictable science. This seemingly small detail has a profound impact on the texture, structure, and overall deliciousness of your homemade treats.
I genuinely hope this detailed guide has been incredibly helpful for everyone. I’m always eager to hear about your baking experiences! Do you ever struggle with specific aspects of baking? Perhaps you have questions about other ingredients or techniques? Please don’t hesitate to share your thoughts or send your questions my way in the comments below. Your feedback helps me create content that truly assists you on your baking journey. I’ll be back soon with another delicious recipe and more essential baking insights. Until then, happy baking and have a wonderful week!