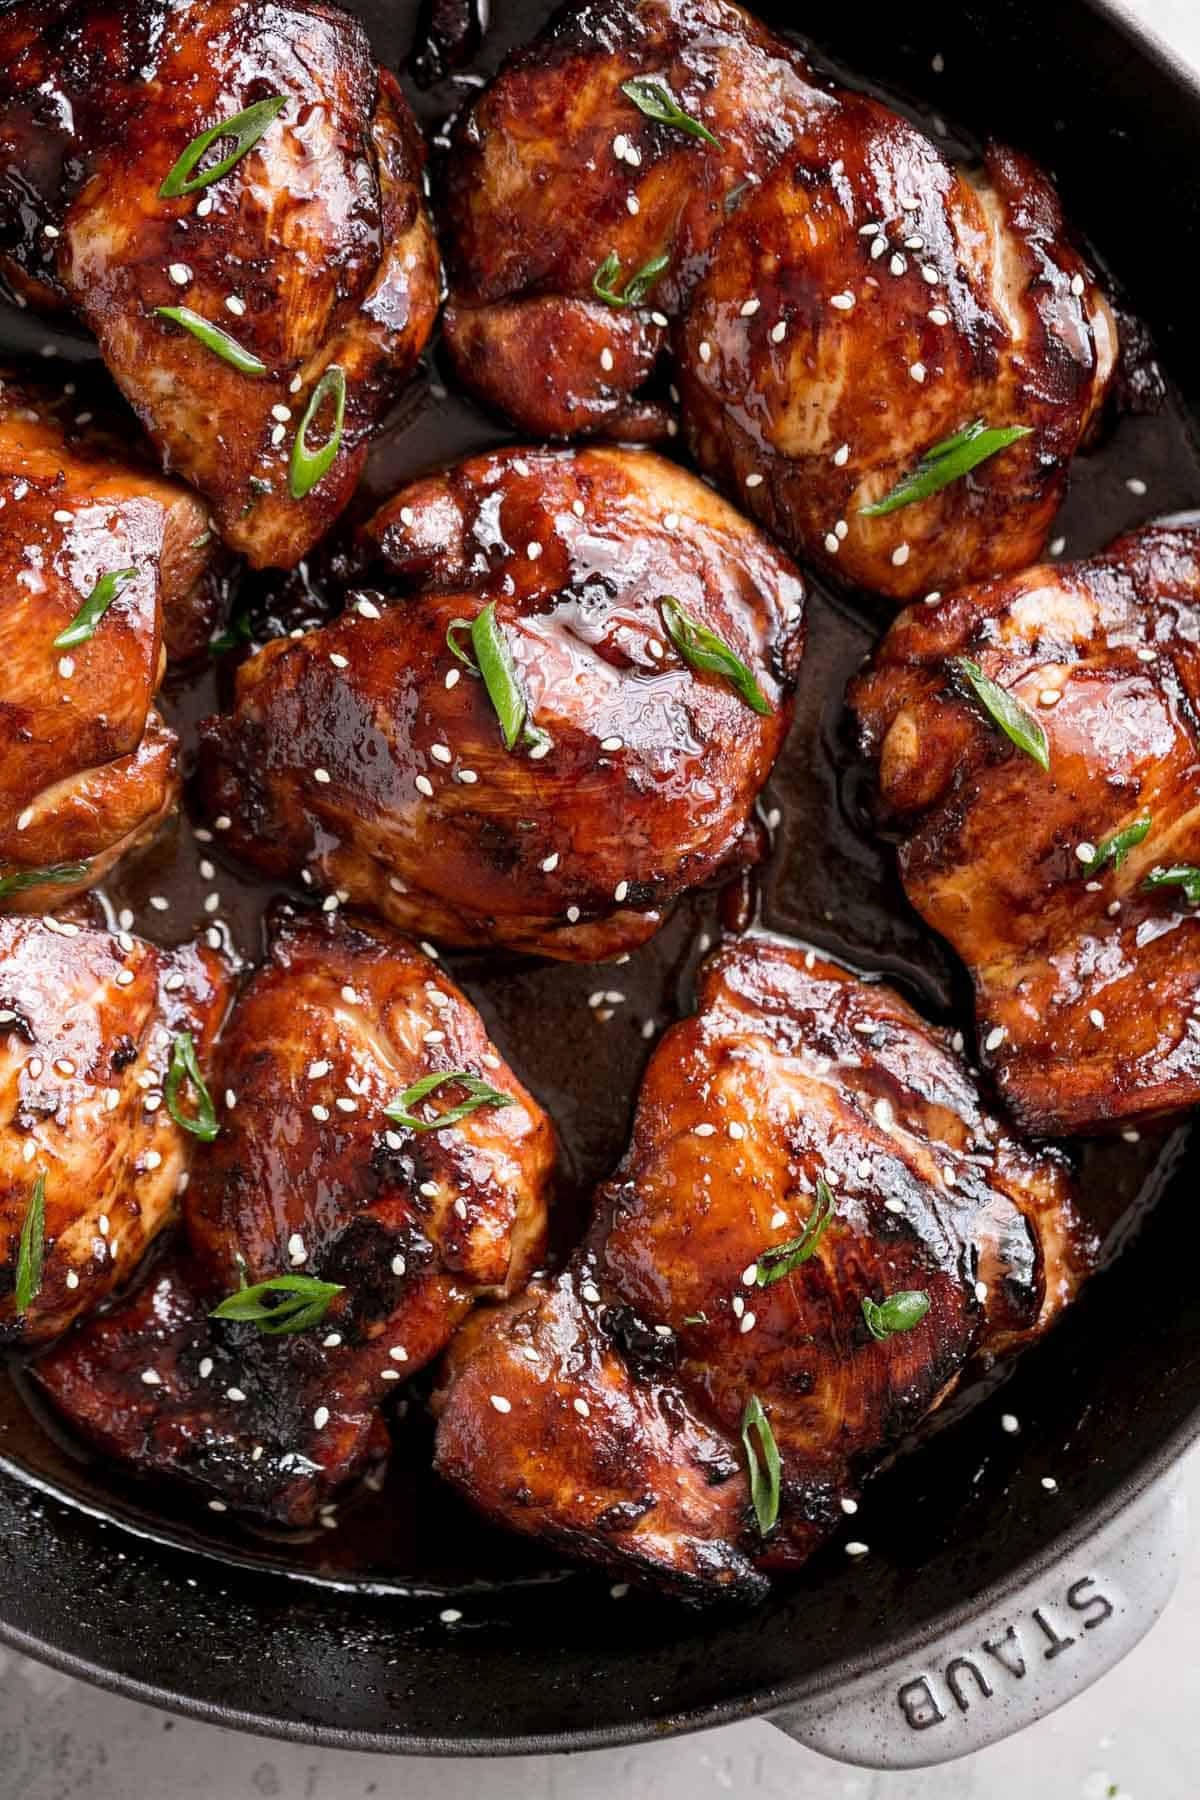
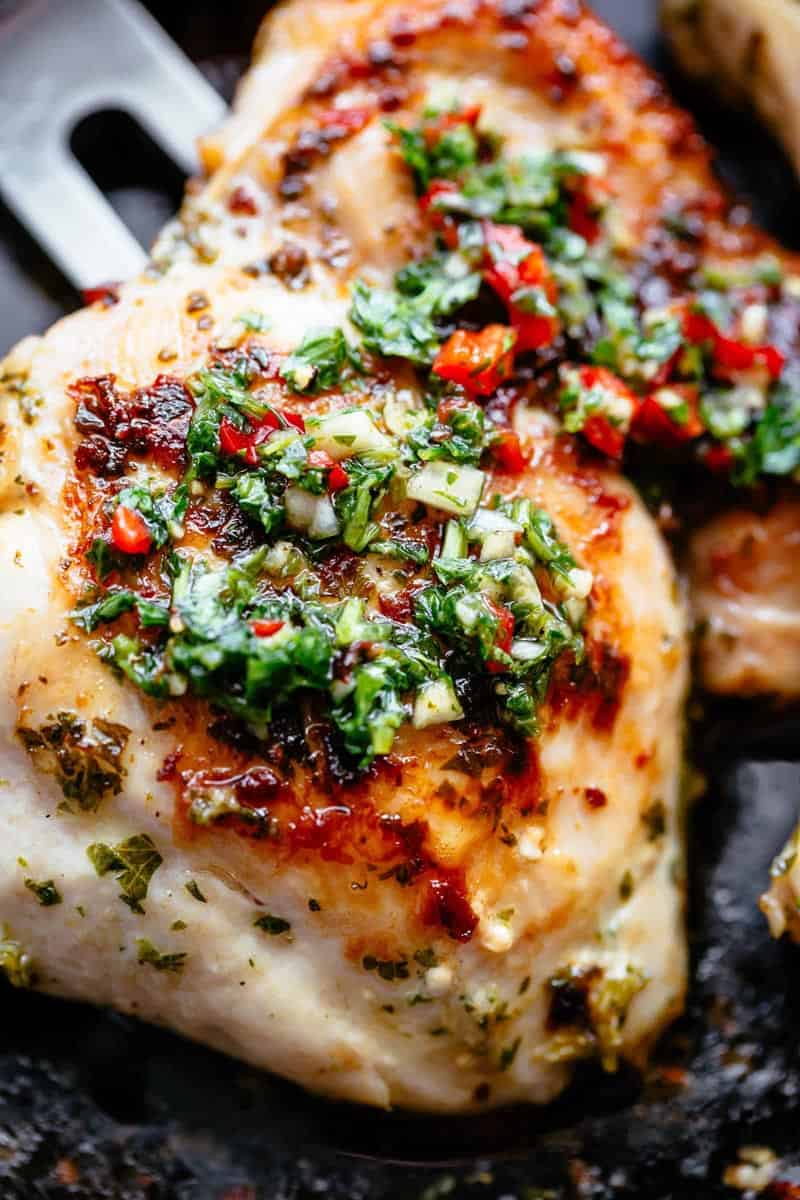
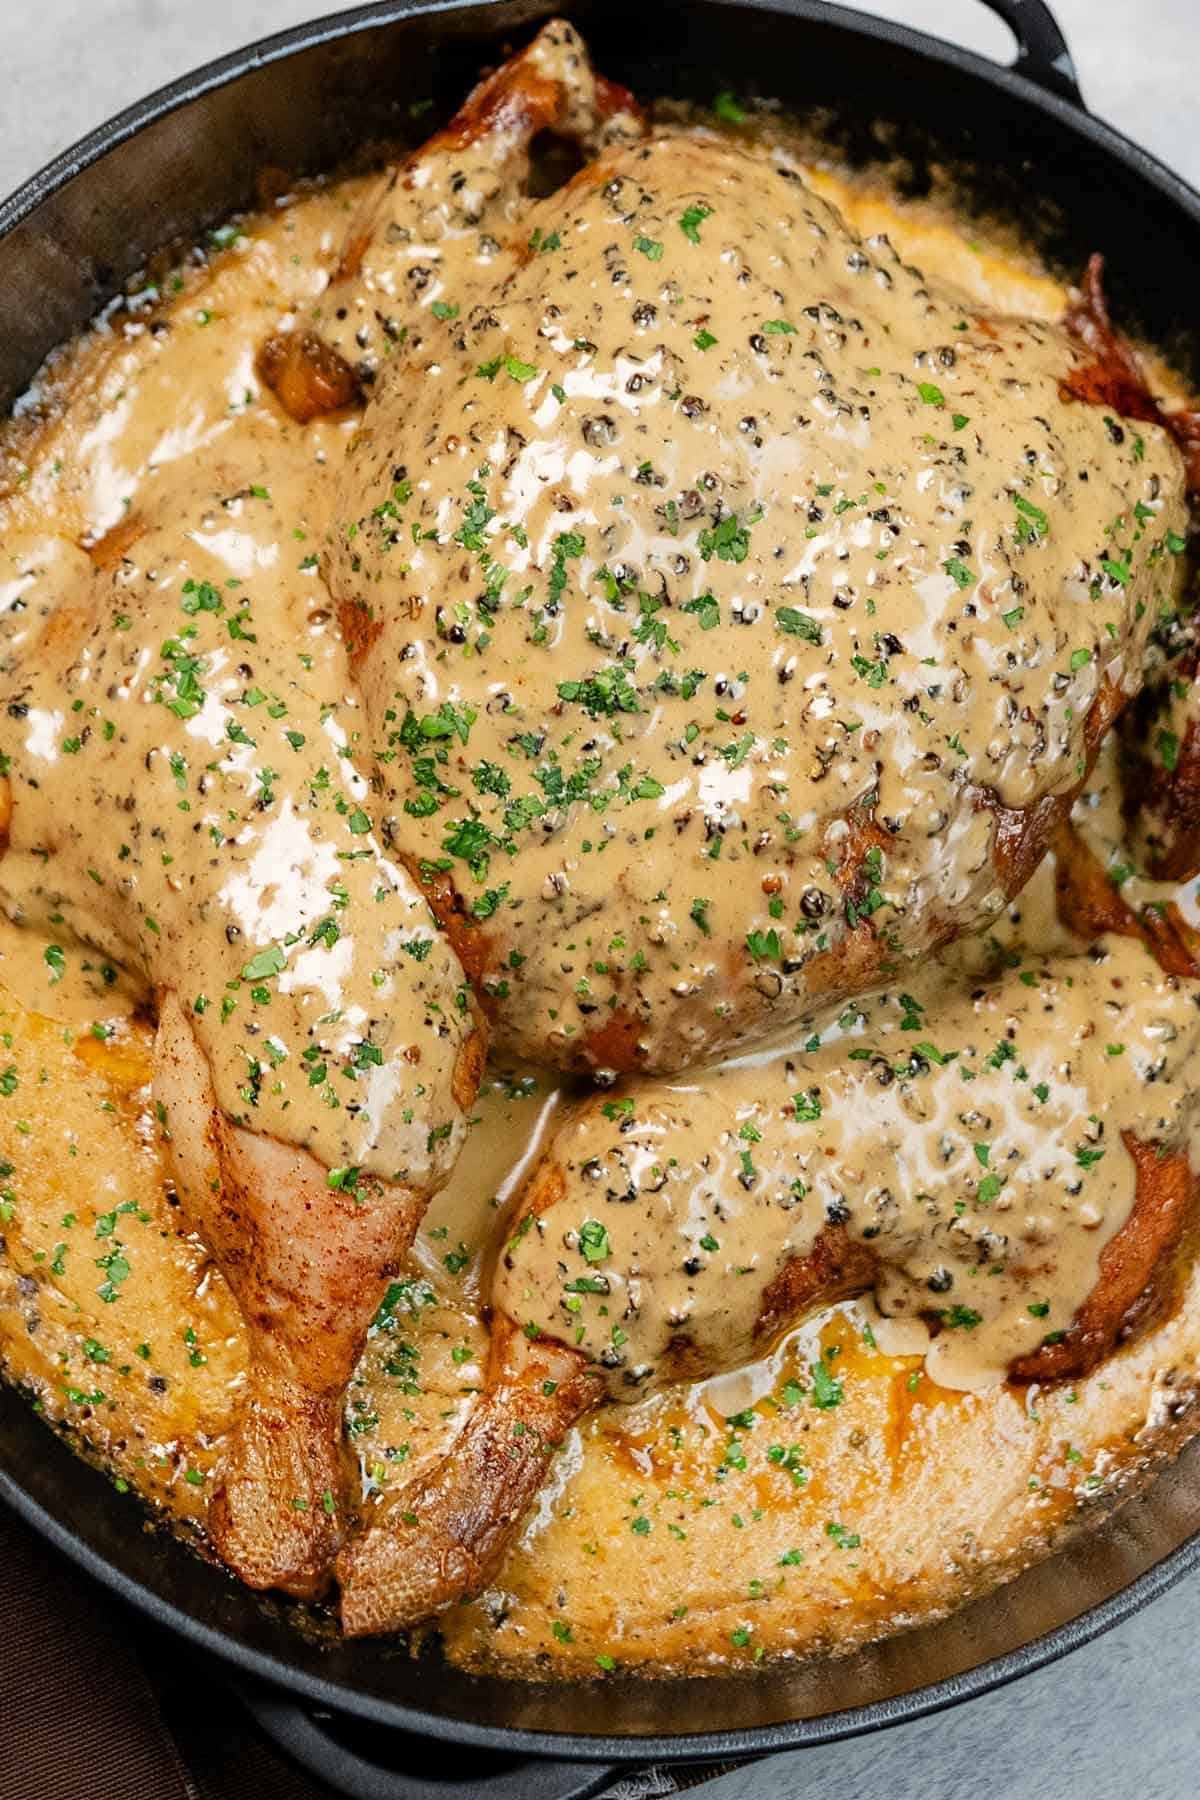
Garlic Herb Butter Roast Chicken that is packed with unbelievable flavours, crispy skin, and so juicy!
Nothing beats an easy-to-make and even easier-to-prepare roast chicken. Especially when roasted with garlic butter, rosemary, parsley, lemon, and a hint of white wine for an unbeatable flavor. This Garlic Herb Butter Roast Chicken definitely beats the pants off of any rotisserie chicken!
Similar to the lemon roasted versionbut keeping it simple. Prepare in 10 minutes, let the oven do the rest!
Why This Is a reliable Roast Chicken?
When we roast chicken, we don't do it with just a sprinkling of salt. No, no, no…we like to cook it with FLAVOR. There is so much of it in this chicken that it beats any restaurant chicken recipe. The secret is a homemade garlic butter as a reliable seasoning for chicken.
What makes this specific method the absolute best, though, is how ridiculously easy it is. You don't need to stress over overnight brining or complicated prep work. It takes about ten minutes to get it oven-ready. The trick is all in the technique: massaging the butter directly under the skin. As the bird roasts, it naturally bastes itself from the inside out, locking in all the juices. Then, you just give it a quick blast under the broiler at the end for that shatteringly crisp skin, and let it rest. It is completely foolproof.
And honestly, that same rule applies to anything we put in the oven. We don't mess around when it comes to building flavor. Just like with a classic pork roast or a beef tenderloina truly great chicken comes down to not holding back on the good stuff.
Ingredients for Garlic Herb Butter Chicken
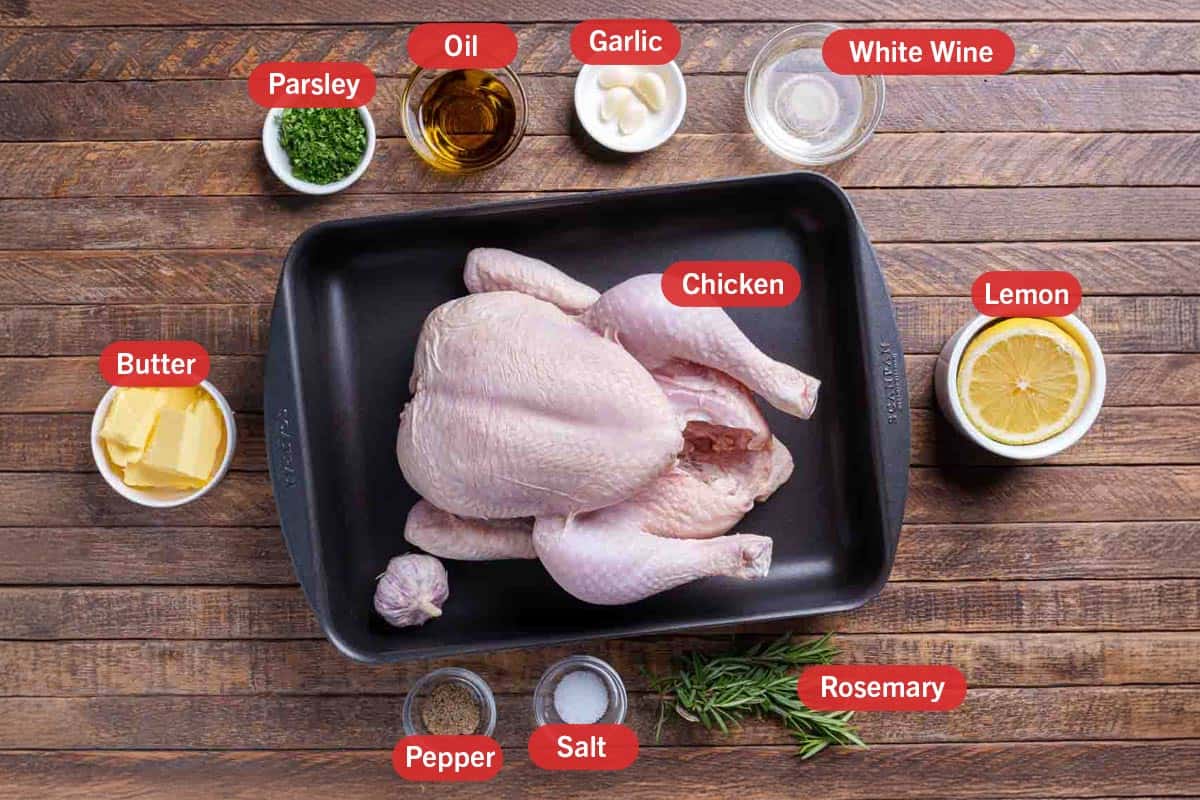
You do not need a massive grocery list for this. Easy to find ingredients you have in your fridge or pantry.
- Butter: Butter melts slowly in the oven, basting the meat as it cooks and helping the skin get truly golden and crisp. You can replace it with olive oil or ghee, but regular butter gives you a classic, flavor that oil just cannot match.
- Fresh Garlic: We mash this right into the butter. Fresh garlic releases natural oils that penetrate the meat while it roasts. Garlic powder works if you have to use it, but it tends to just sit on the surface of the skin instead of melting into the chicken.
- Fresh Herbs (Rosemary and Parsley): Fresh herbs hold up well to high oven temperatures and flavor the pan drippings beautifully. You can swap these for fresh thyme or sage, depending on what you have. If you only have dried herbs in your pantry, they work too just remember to use half the amount since their flavor is much more concentrated.
- Dry White Wine: Pouring a splash into the bottom of the roasting pan creates steam to keep the chicken juicy, and it mixes with the garlic butter drippings to make a great pan sauce. If you prefer not to cook with wine, swap it out for chicken broth and a good squeeze of fresh lemon juice.
Note: Please see the Recipe Card at the bottom for a full list of ingredients and measurements.
How to Roast a Whole Chicken
Not only does this recipe give you a roast chicken with real flavor… it delivers crispy skin, juicy meat, and a great dinner to go with potato salad.
Getting a whole chicken ready for the oven is all about building layers of flavor. We always start by making sure the bird is completely dry using paper towels. This is a crucial detail because any extra moisture on the surface will steam the meat instead of roasting it, and you want that skin to get crisp.
Once the chicken is dry, we move on to the wet ingredients. We mix the olive oil, melted butter, wine, and lemon juice, then massage that mixture everywhere. We make sure to get it inside the cavity, all over the outside of the chicken, and we carefully work it right under the skin. After that, we season the whole thing with salt, pepper, and parsley. Do not hold back on the seasoning here.
We actually save the minced garlic for the end of the prep. Rubbing it on as the last step, particularly under the skin, maximizes the garlic flavor so it stands out rather than getting lost in the liquid. To finish getting it ready, we stuff the cavity with the halved garlic head, fresh rosemary sprigs, and the squeezed lemon halves.
During the roast, we baste the chicken about halfway through with all the flavorful juices collecting at the bottom of the pan. Once the meat is cooked entirely through, we slide the pan under the broiler for just a few minutes. You will want to watch it closely at this stage until the skin turns a deep golden brown and crisps up completely.
Roast Chicken Cooking Time Chart
Over one hour, depending on the size of your bird. This 4-pound (about 2kg) bird took one hour and 20 minutes of cooking time, then a resting time of 10 minutes to keep all of those juices in before slicing.
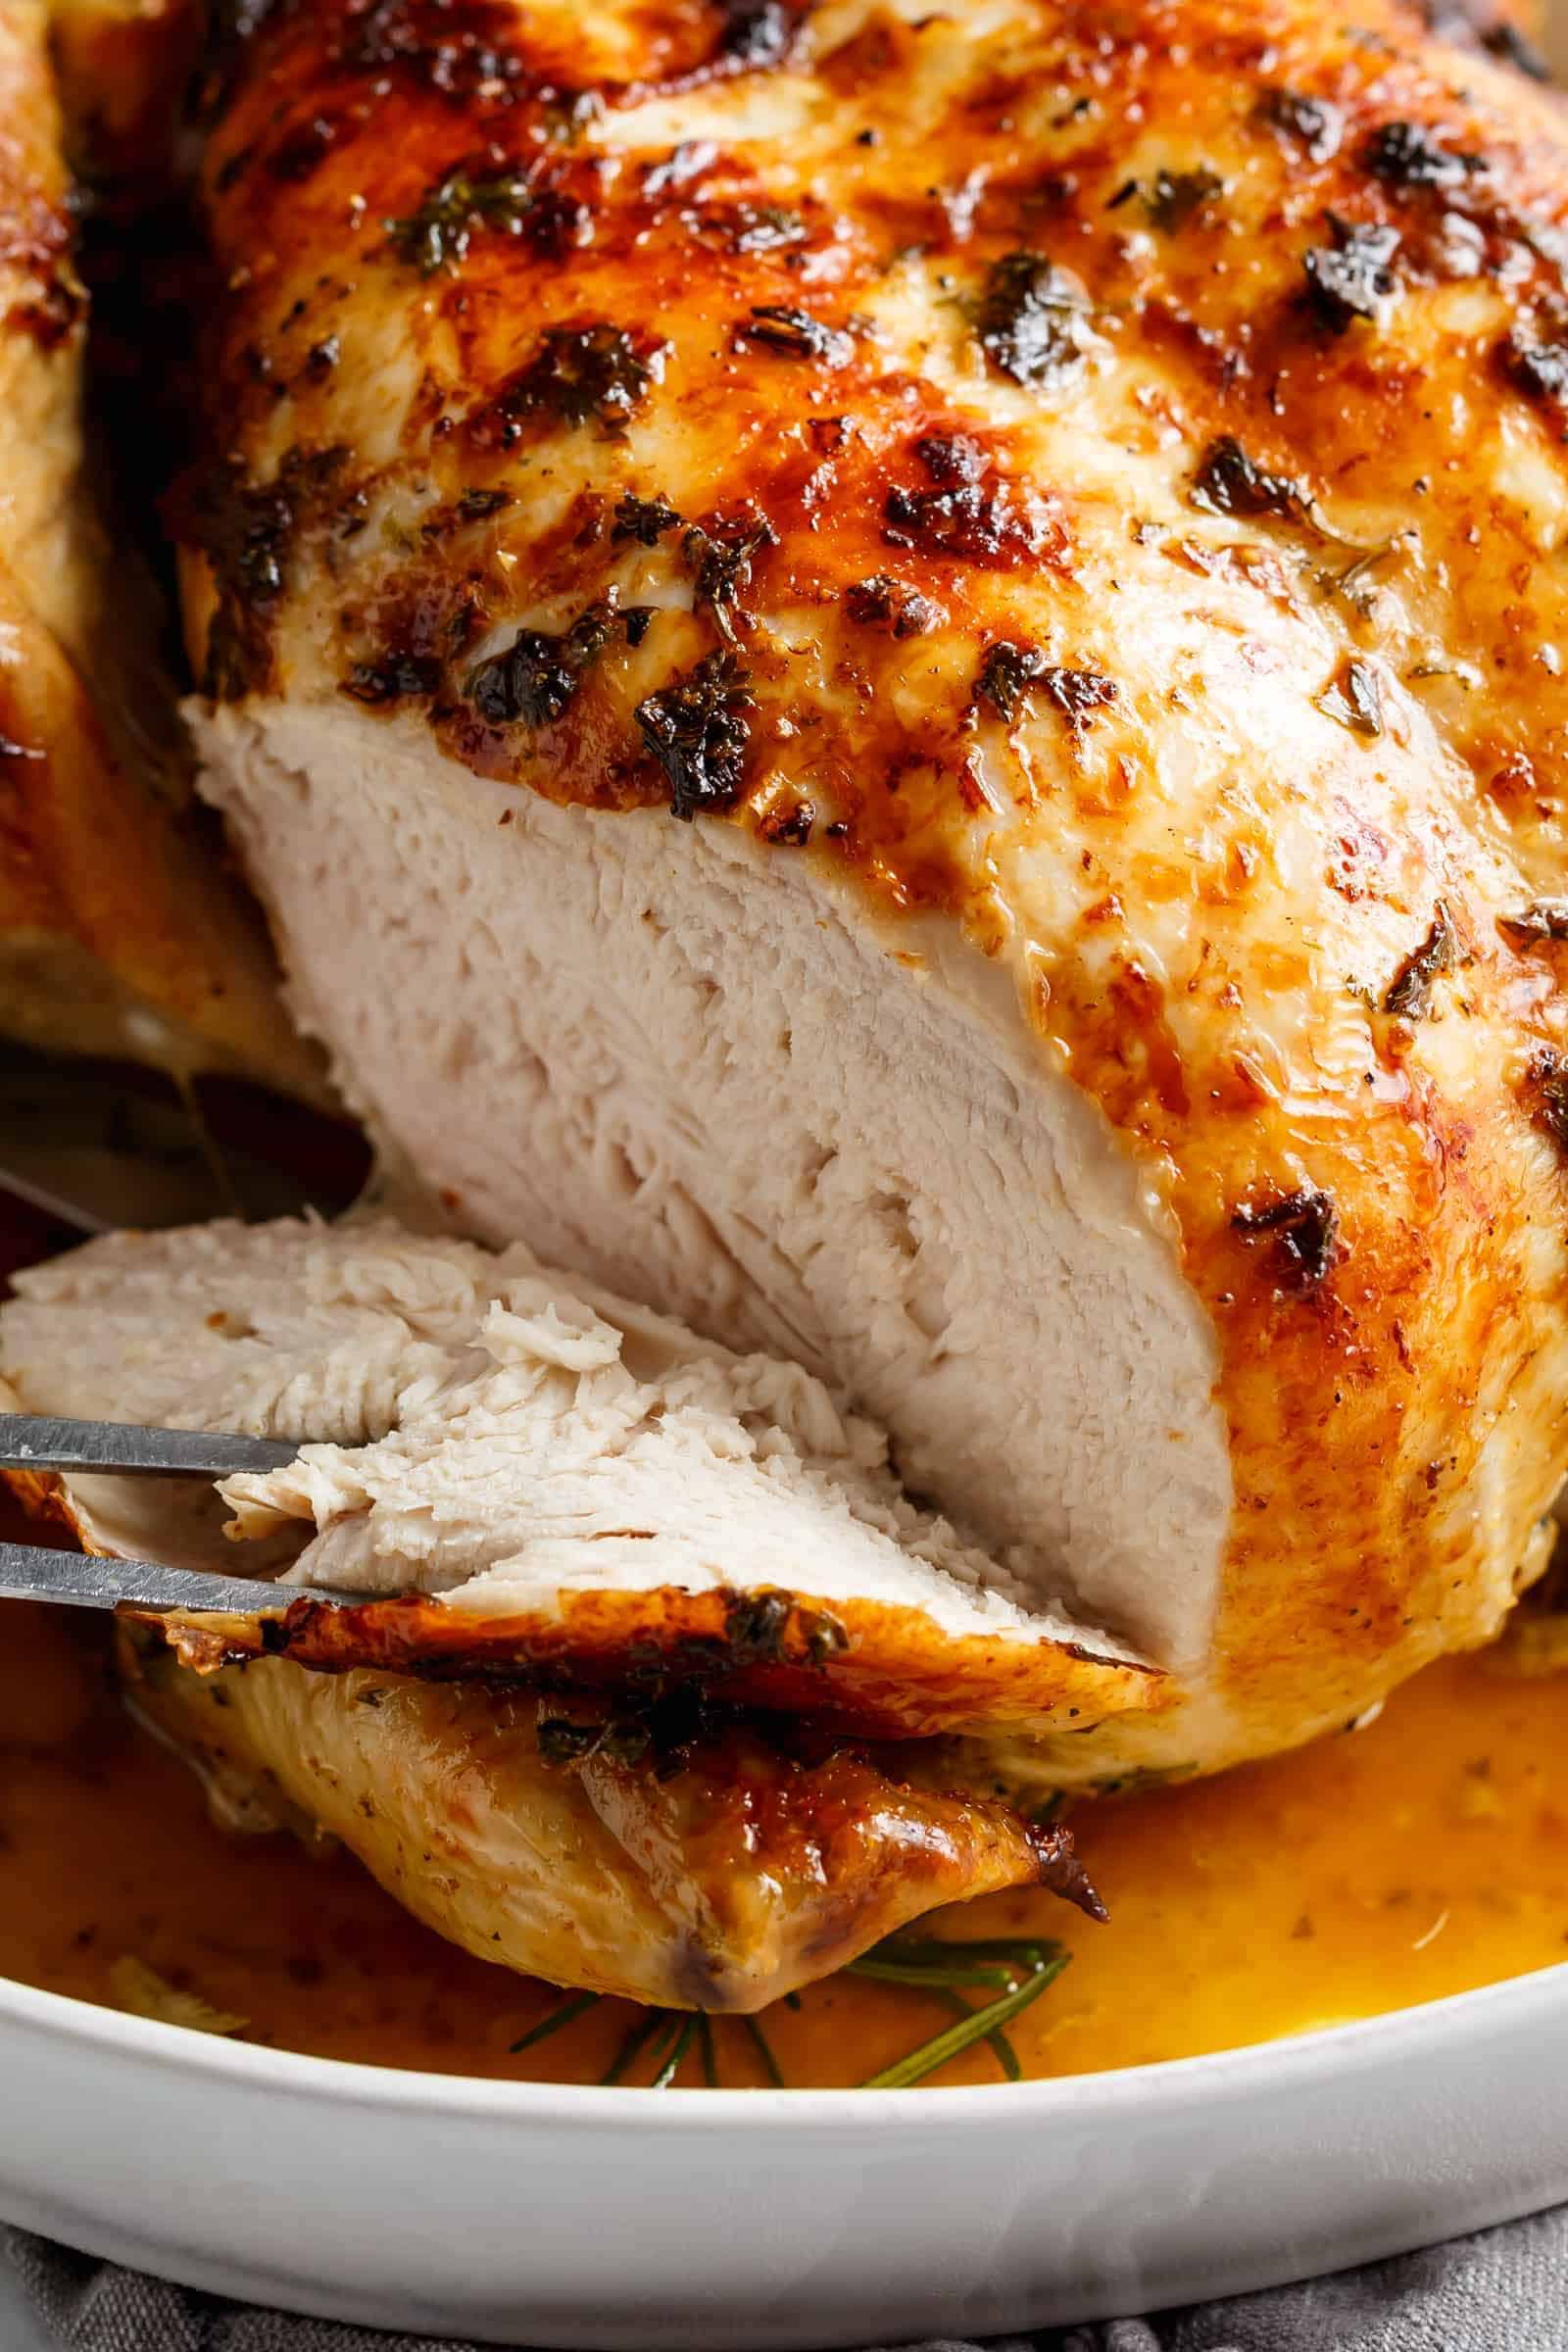
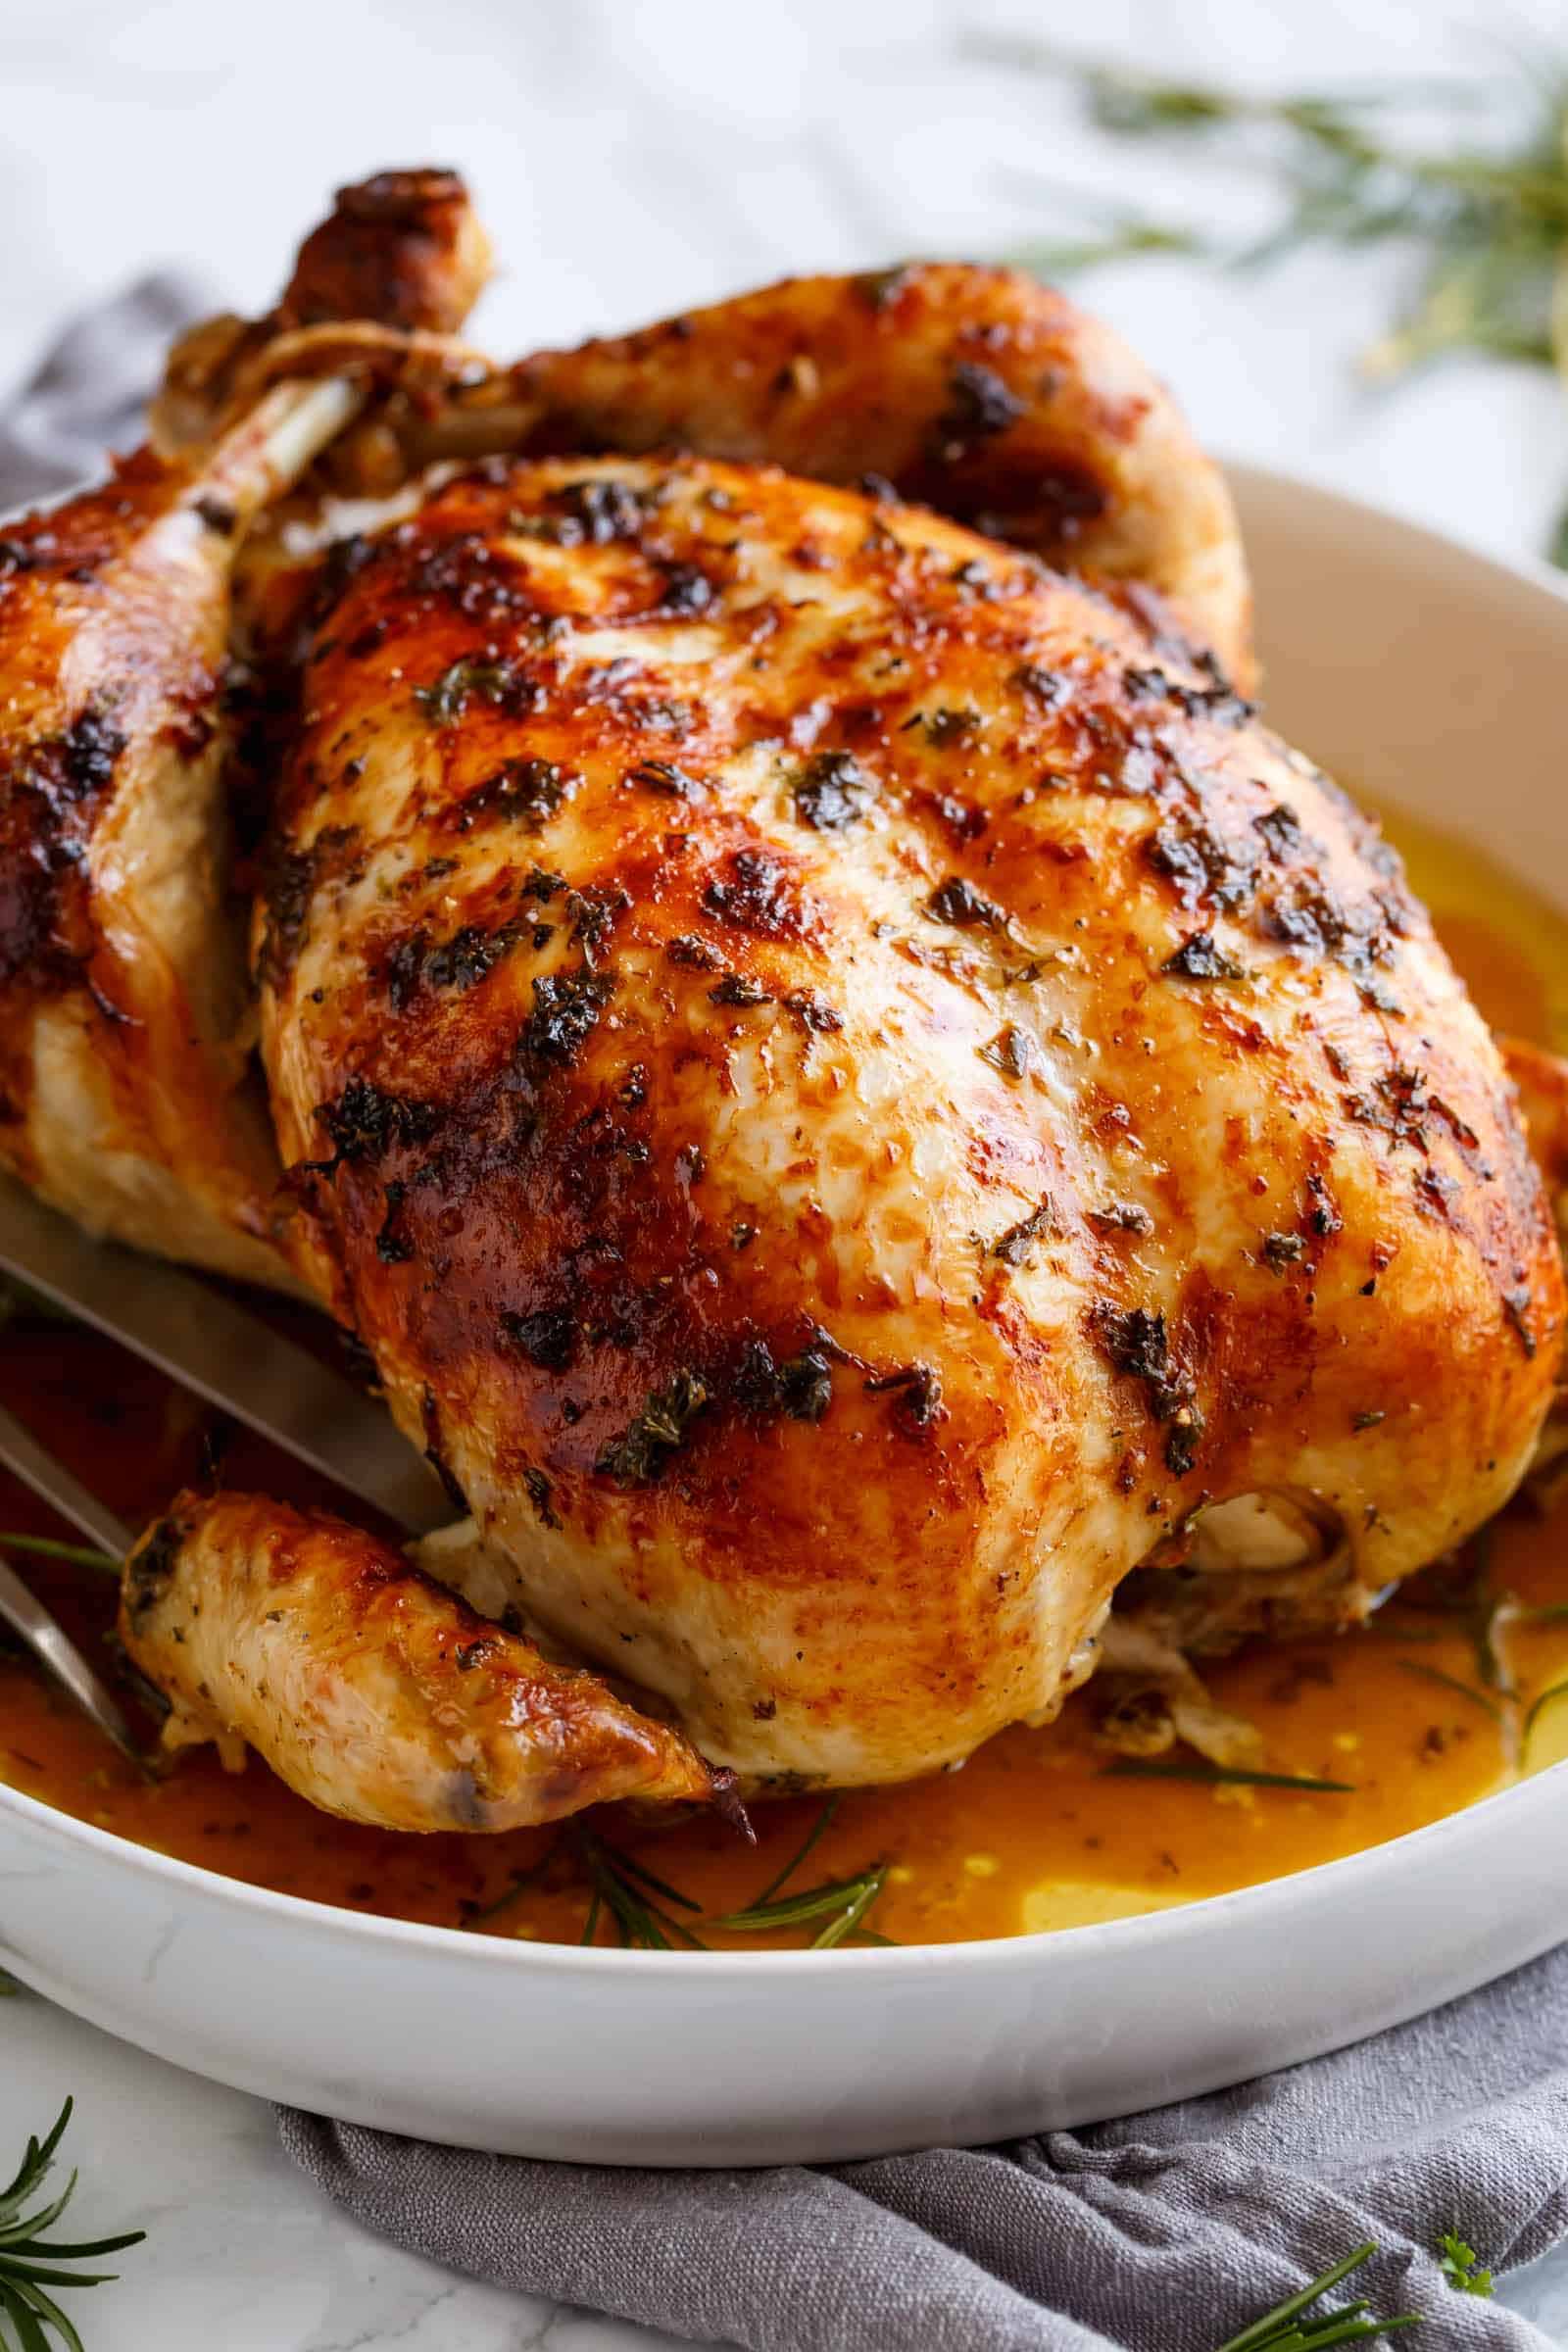
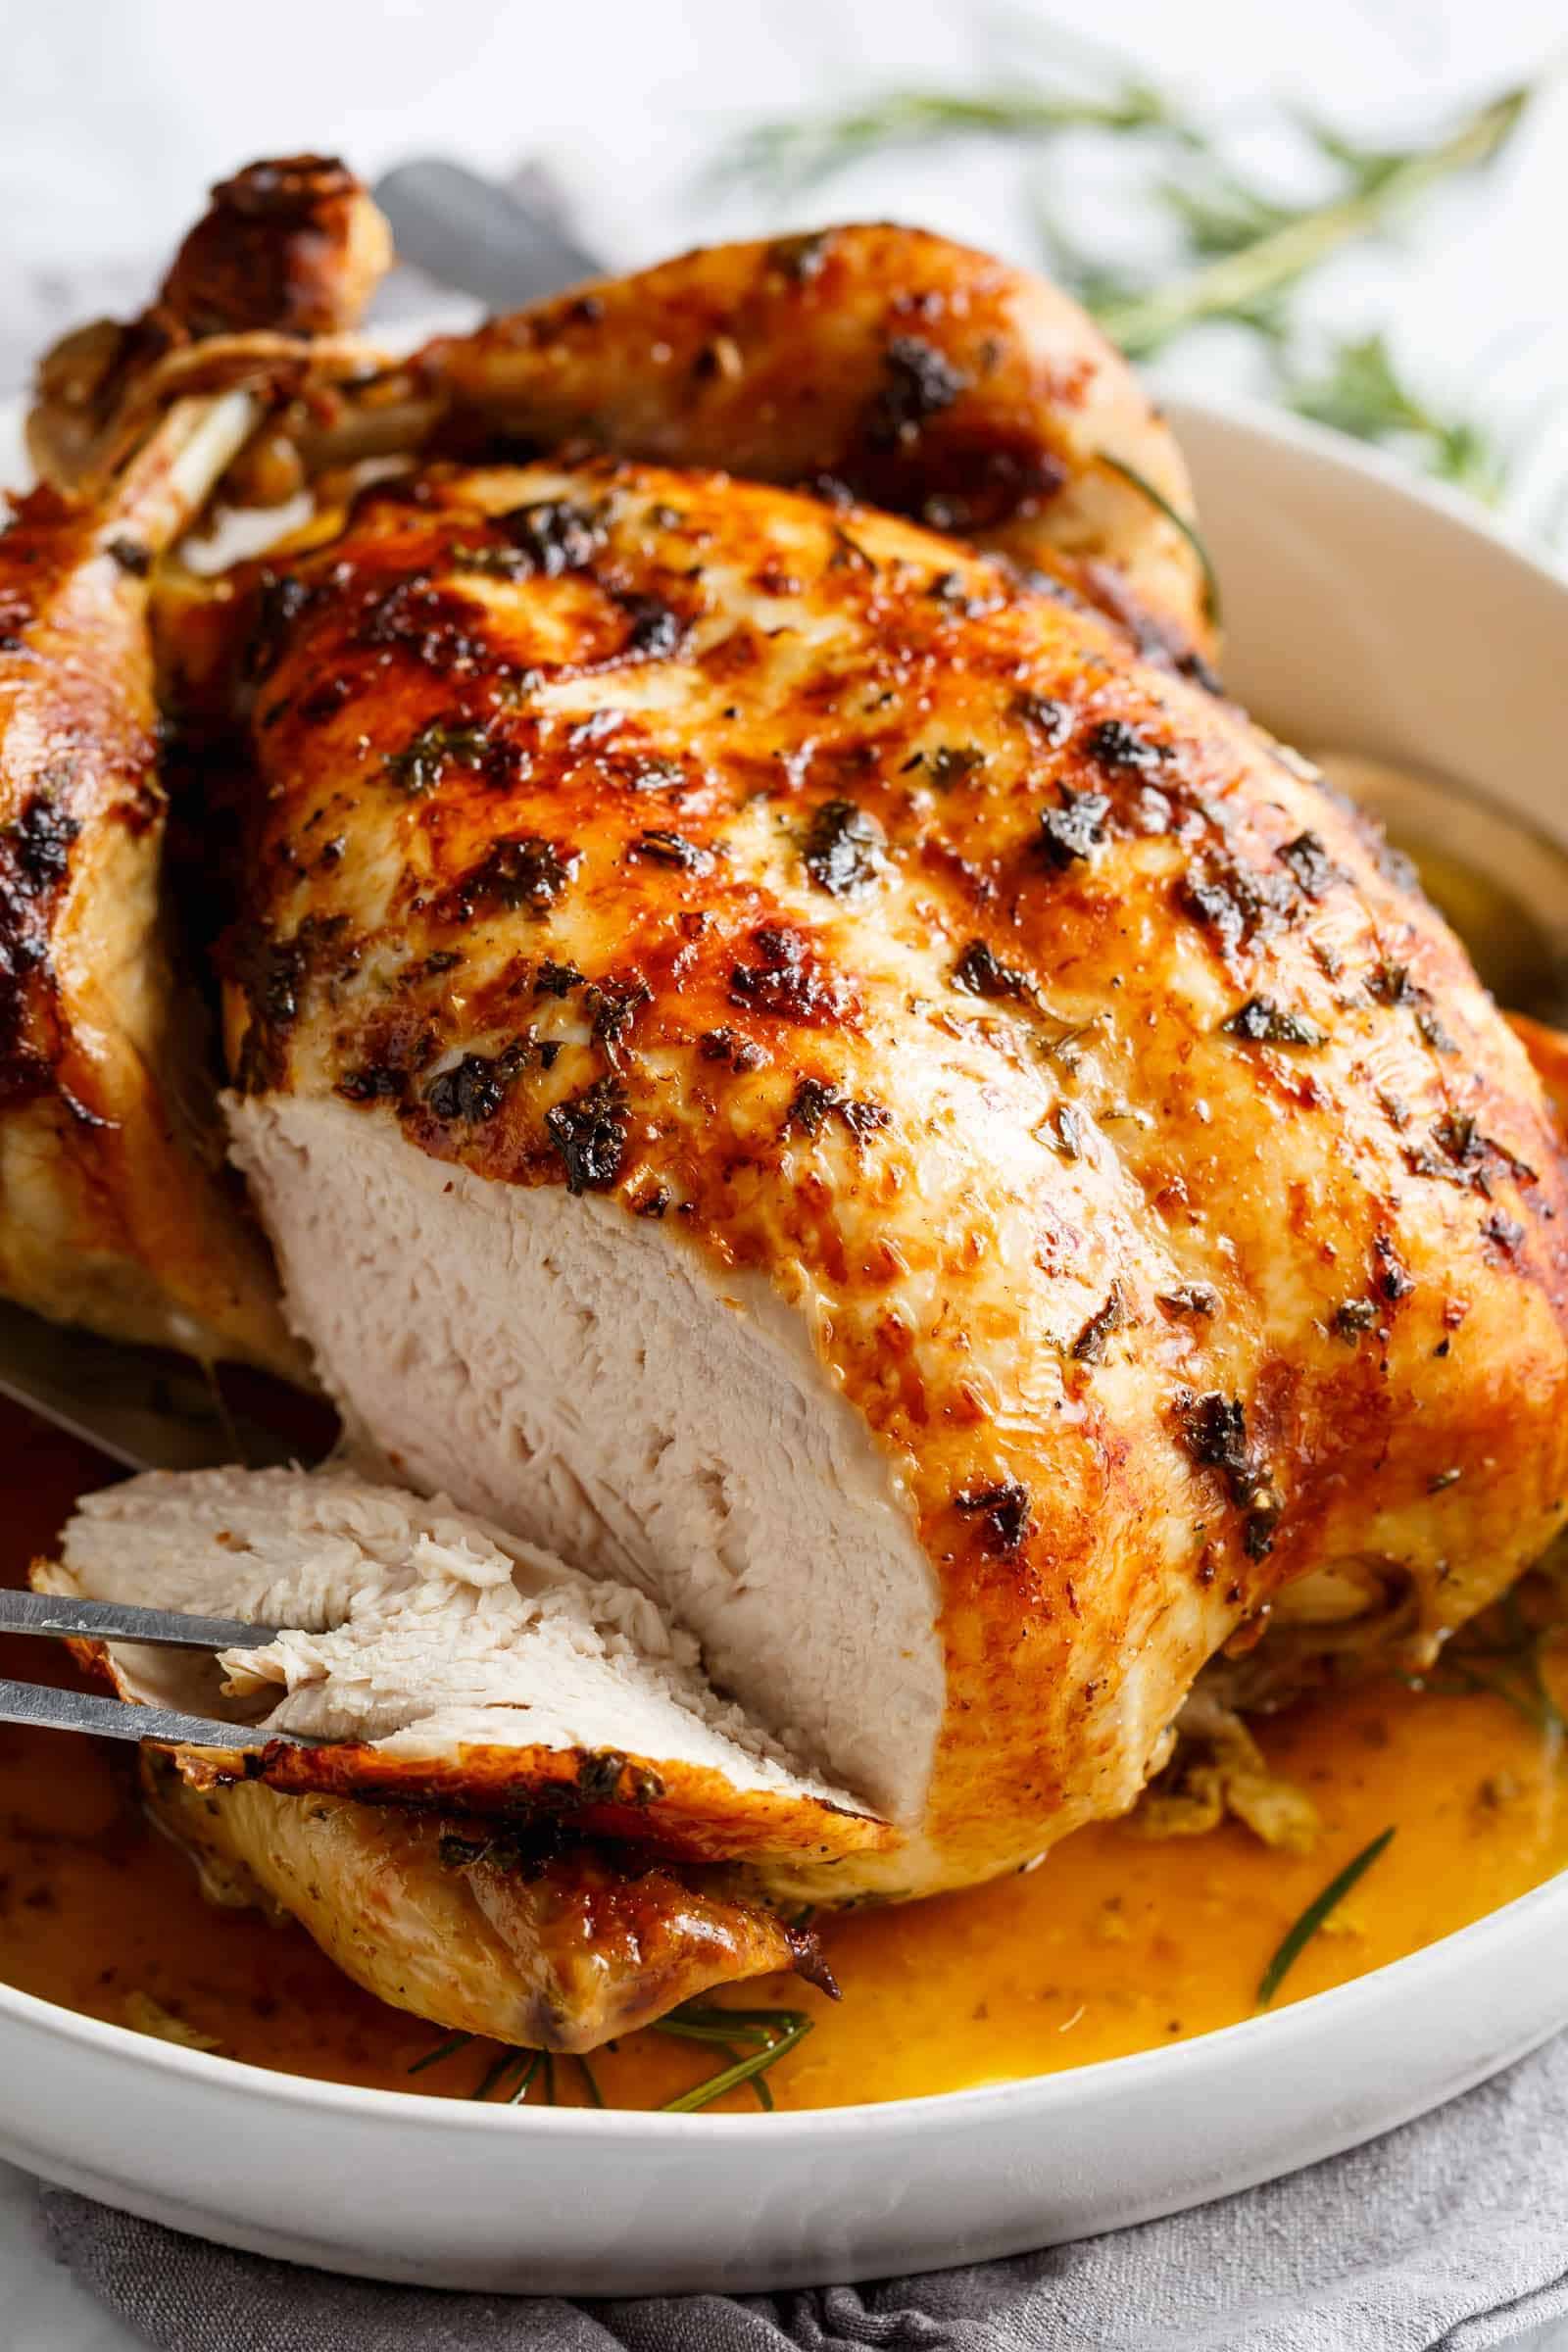
Usually, we'll pass on chicken breasts because juicy, crispy chicken legs are our favorite! BUT, in this roast chicken recipe? We eat it ALL. The breasts come out so moist. NO dry meat happening on this plate!
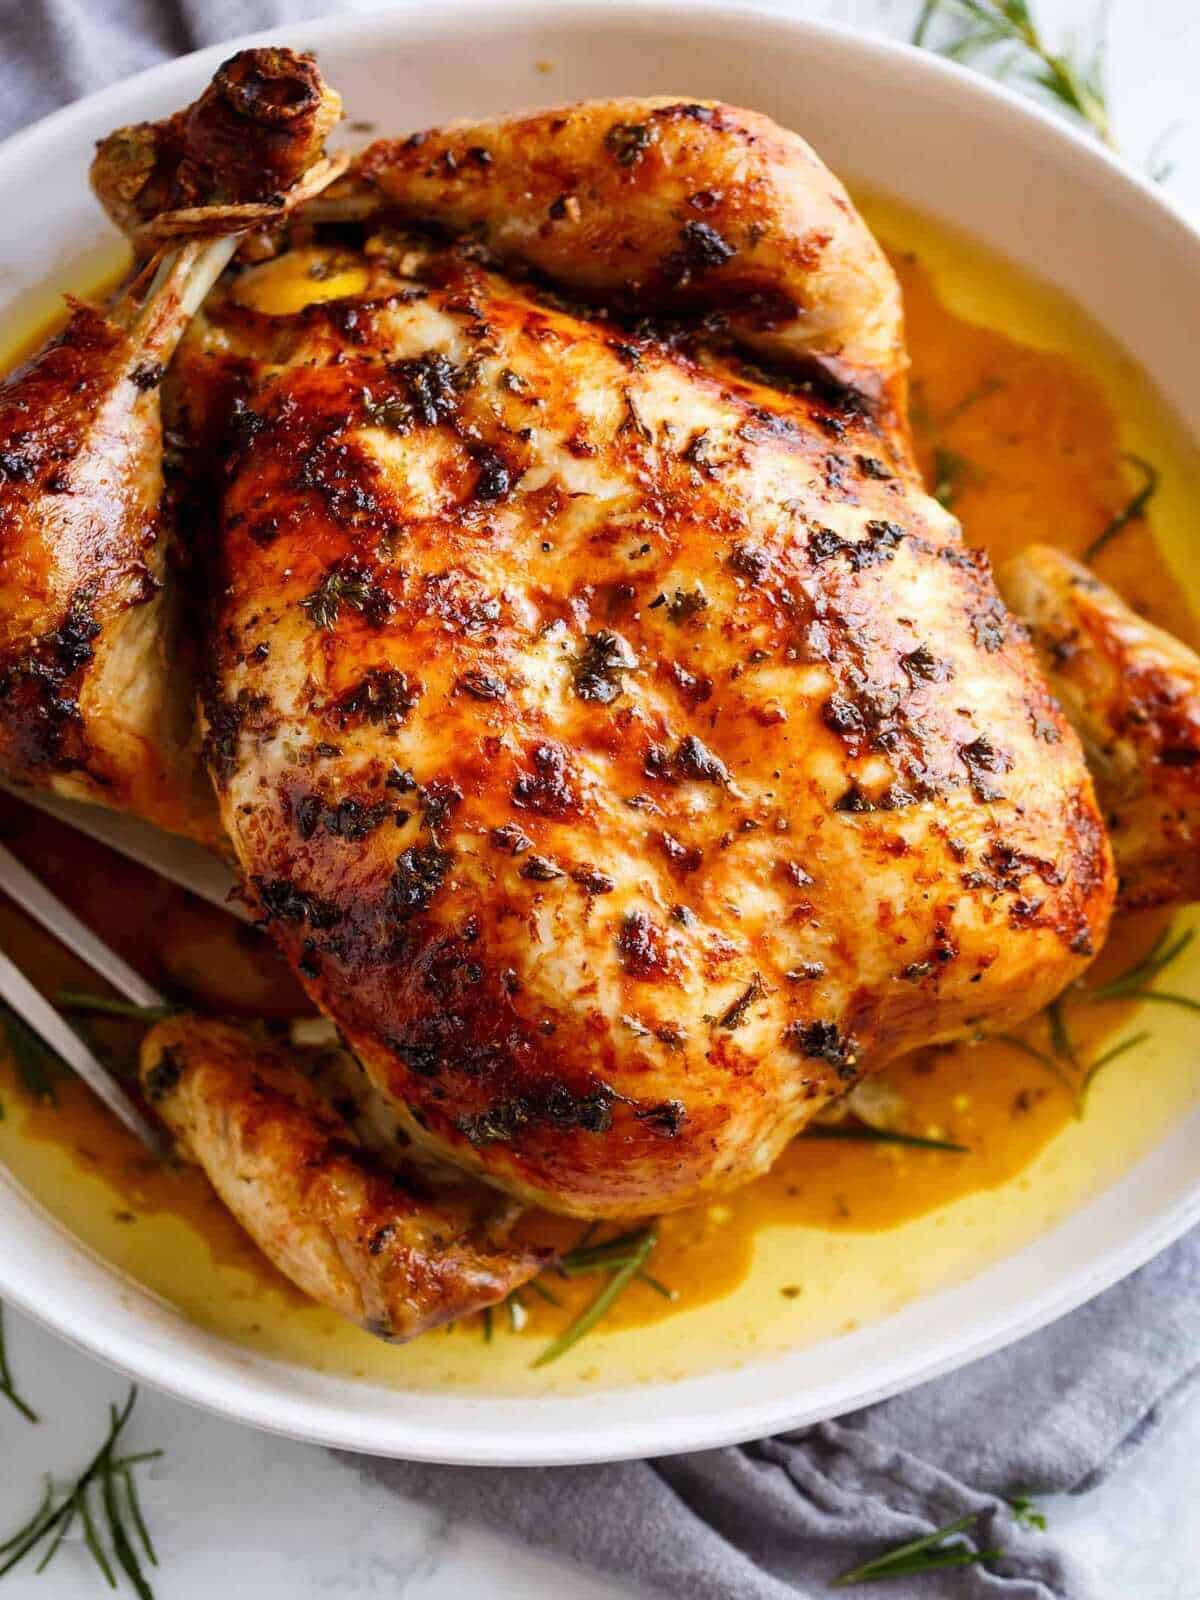
Do you see that crispy skin happening? That's the part we fight over at the table. PLEASE tell us we are normal and your family fights over crispy skin too?
SOOOO soft and juicy inside!
Remember to always use a meat thermometer, it should read 165°F / 75°C in the thickest part of the thigh.
On the stove
Please, whatever you do, do NOT throw away that liquid gold at the bottom of your roasting pan! Those garlic-herb butter drippings are packed with flavor and make the most good homemade gravy.
While the chicken is resting, carefully pour the pan juices into a jug. Scoop about 2 tablespoons of the fat that rises to the top and place it in a small saucepan over medium heat.
- Whisk in 2 tablespoons of all-purpose flour and let it cook for a minute to form a paste.
- Slowly whisk in 1 cup of low-sodium chicken broth along with the remaining pan juices.
- Let it simmer for 2-3 minutes until beautifully thickened, stirring constantly.
Taste, add a little salt and pepper if needed, and pour it generously over your chicken and mashed potatoes!
My Top Tips for Roasting Chicken
Use softened butter: We always make sure the butter is completely at room temperature before we start mashing the garlic into it. If the butter is too cold or stiff, it will not spread easily and you risk tearing the skin when you push it underneath.
Adjust the heat for a larger bird: If we are roasting a bigger chicken, we change our strategy so it cooks all the way through without burning the outside. We start the oven at 430°F (220°C)or 400°F (200°C) for fan-forced, and roast it for one hour. Then, we drop the temperature down to 325°F (160°C). At that point, we baste the chicken, cover it, and let it roast for another 45 minutes to an hour, stopping to baste two more times. It is done when the juices run clear and the internal temperature hits 165°F (75°C).
Tie the legs together: We use a simple piece of kitchen twine to tie the ends of the drumsticks together. Keeping the bird compact helps the whole thing cook at an even rate and stops the breast meat from drying out.
Invest in a meat thermometer: Ovens run at different temperatures and chickens vary in size, so guessing the time is a huge risk. We always rely on a digital meat thermometer inserted into the thickest part of the thigh to know exactly when to pull the pan out.
Choose the right pan: We recommend using a roasting pan or a large cast iron skillet with low sides. If the sides of your pan are too high, they trap steam around the meat, which prevents the outside from getting that great crunch you want.
Do not skip the resting time: We know it is tempting to slice right into it, but we always force myself to wait 10 to 15 minutes. Letting the meat rest on a cutting board gives the juices time to redistribute, so they stay inside the chicken instead of running all over your table.
Serve it with
This roast chicken has a satisfying crunch to the skin and so much flavor in the meat, making it the exact kind of dinner that begs for potatoes. We usually serve it with our garlic roasted potatoes baked potato wedges or a simple batch of mashed potatoes with butter and parmesan.
If you want something bright and green on the table honey garlic butter roasted carrots grilled asparagusor green beans all work well with the pan drippings. For a different pairing entirely, try savory garlic butter caprese mushrooms or a bowl of pumpkin soup. Also, since the chicken needs time to rest before you carve it, we often set out our buffalo deviled eggs as a starter. They are spicy, bite-sized, and usually disappear fast.
If we have leftover shredded chicken sitting in the fridge, our absolute favorite way to use it up is tossing it into a fast mexican tomato soup for lunch.
Recipe FAQ's
Do You Cover A Whole Chicken When Roasting?We always roast our chicken uncovered. Leaving it uncovered exposes the outside to the direct heat of the oven, which is exactly what you need to get that satisfying crunch. If you notice the top browning too fast before the meat is fully cooked, you can loosely place a piece of foil over the breast to protect it.
Should You Wash Chicken Before Cooking?We never wash raw chicken. Rinsing it in the sink actually splatters bacteria all over your kitchen counters. The heat of the oven takes care of any bacteria during the roasting process. All you need to do is use paper towels to pat the outside completely dry before you rub in your butter.
Do You Roast A Chicken Breast Side Up Or Down?We always roast the bird breast side up. This keeps the presentation looking great and allows the skin on top to get a great crunch. Some people like to start it breast side down to keep the white meat moist, but flipping a hot bird halfway through usually makes a huge mess. Pushing the butter under the skin does plenty to keep the breast meat juicy.
Why Do You Need To Let Chicken Rest?Letting the meat sit after cooking is a strict rule in our kitchen. When you pull the pan out of the oven, the juices are pushed all the way to the outside edges of the bird. If you slice into it right away, all that liquid runs out onto your cutting board. Giving it 15 minutes at room temperature allows those juices to settle back into the meat.
What you need
- 4 pound whole chicken at room temperature giblets and neck removed from cavity
- 1/4 cup unsalted butter melted
- 3 tablespoons olive oil
- 1/4 cup white wine optional – use a dry wine like a Sauv blanc or Chardonnay
- 1 lemon halved
- 1 pinch salt to taste
- 1 pinch pepper to taste
- 2 tablespoons fresh parsley chopped
- 4 cloves garlic minced
- 1 head garlic head of garlic roughly peeled and cut in half horizontally through the middle, crosswise
- 3 fresh rosemary whole sprigs
- 2 tbsp chicken fat scooped from the pan drippings
- 2 tbsp all-purpose flour
- 1 cup low-sodium chicken broth
- Remaining pan juices from the roasting pan
- Salt and freshly cracked black pepper to taste
Method
- Preheat oven to 430°F | 220°C (400°F or 200°C fan forced). Line a baking tray with foil, or lightly grease a roasting pan.
- Discard neck from inside the cavity and remove any excess fat and leftover feathers. Pat dry with paper towels.
- Pour the olive oil, melted butter, wine (if using) and the juice of half a lemon over the chicken, under the skin and inside the cavity. Season chicken liberally on the outside and inside the cavity with salt and pepper. Sprinkle over the parsley.
- Rub the minced garlic over the chicken, mixing all ingredients together over the chicken and under the skin.
- Stuff the garlic head into the chicken cavity along with the rosemary sprigs and the squeezed lemon halve. Tie legs together with kitchen string.
- Place breast-side up into baking tray or roasting pan. Roast for 1 hour and 15-20 minutes, basting half way through cooking time, until juices run clear when chicken thigh is pierced with a skewer.
- Baste again, then broil for a further 2-3 minutes, until golden.
- Remove from the oven, cover with foil and allow to stand for 10 minutes before serving. Serve, drizzled with pan juices and remaining lemon half cut into wedges or slices.
- Carefully pour all the liquid and juices from the roasting pan into a heatproof jug or fat separator. Let it sit for a minute so the fat rises to the top.
- Scoop exactly 2 tablespoons of the clear fat from the top of the jug and place it into a small saucepan over medium heat. Whisk in the all-purpose flour and cook for 1 minute until it forms a smooth paste.
- Slowly pour in the chicken broth while whisking continuously to prevent lumps. Add in the rest of the dark pan juices left in your jug.
- Let the gravy simmer for 2 to 3 minutes, stirring often, until it thickens enough to coat the back of a spoon. Taste and add salt and pepper if needed. Serve hot over the sliced chicken!