
Decadent Homemade Chocolate Chess Pie: A Southern Comfort Classic
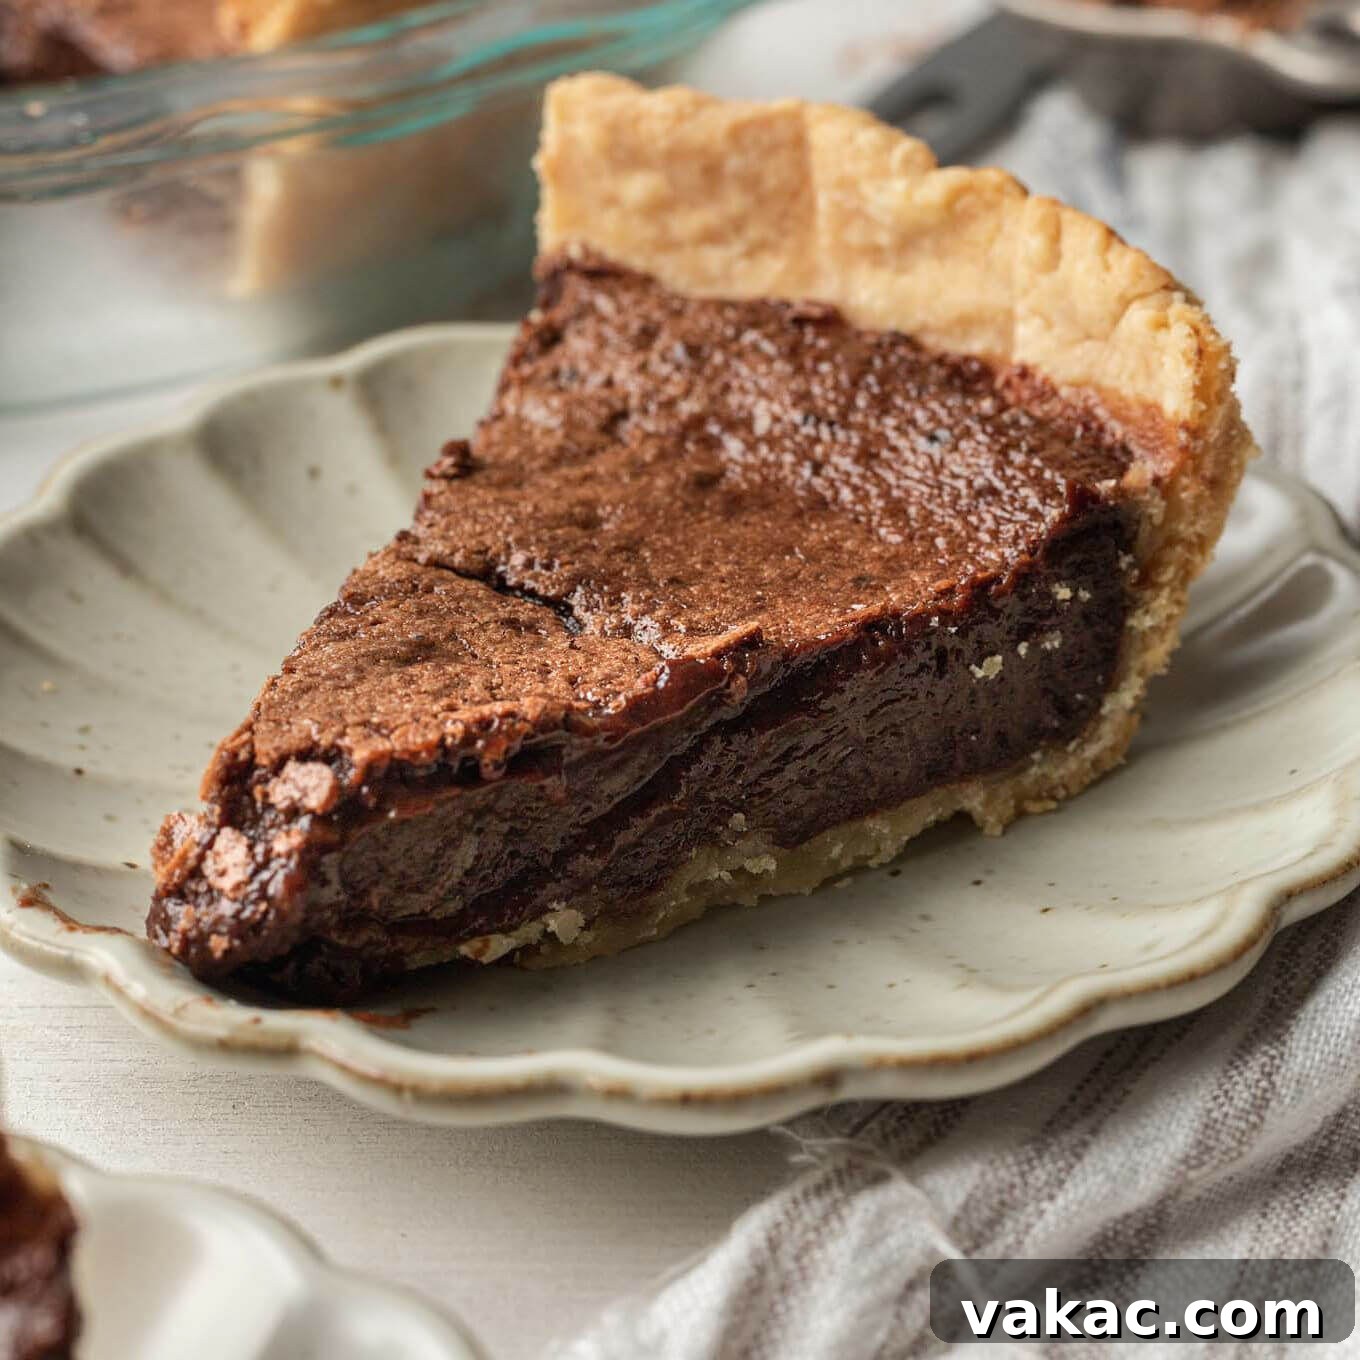
There’s nothing quite like the comforting indulgence of a perfectly baked pie, and when it comes to classic Southern desserts, Chocolate Chess Pie holds a special place. This beloved delicacy features a wonderfully buttery, flaky pie crust generously filled with a rich, intensely gooey chocolate filling that offers a texture reminiscent of a dense, fudgy brownie. Each slice delivers a profound chocolate experience, making it an absolute showstopper for any family gathering, festive holiday celebration, or simply when you yearn for a deeply satisfying sweet treat. Its inviting aroma and irresistible flavor guarantee it will become a cherished recipe in your repertoire, promising warmth and comfort with every single bite.
Unveiling the Charm and History of Chocolate Chess Pie
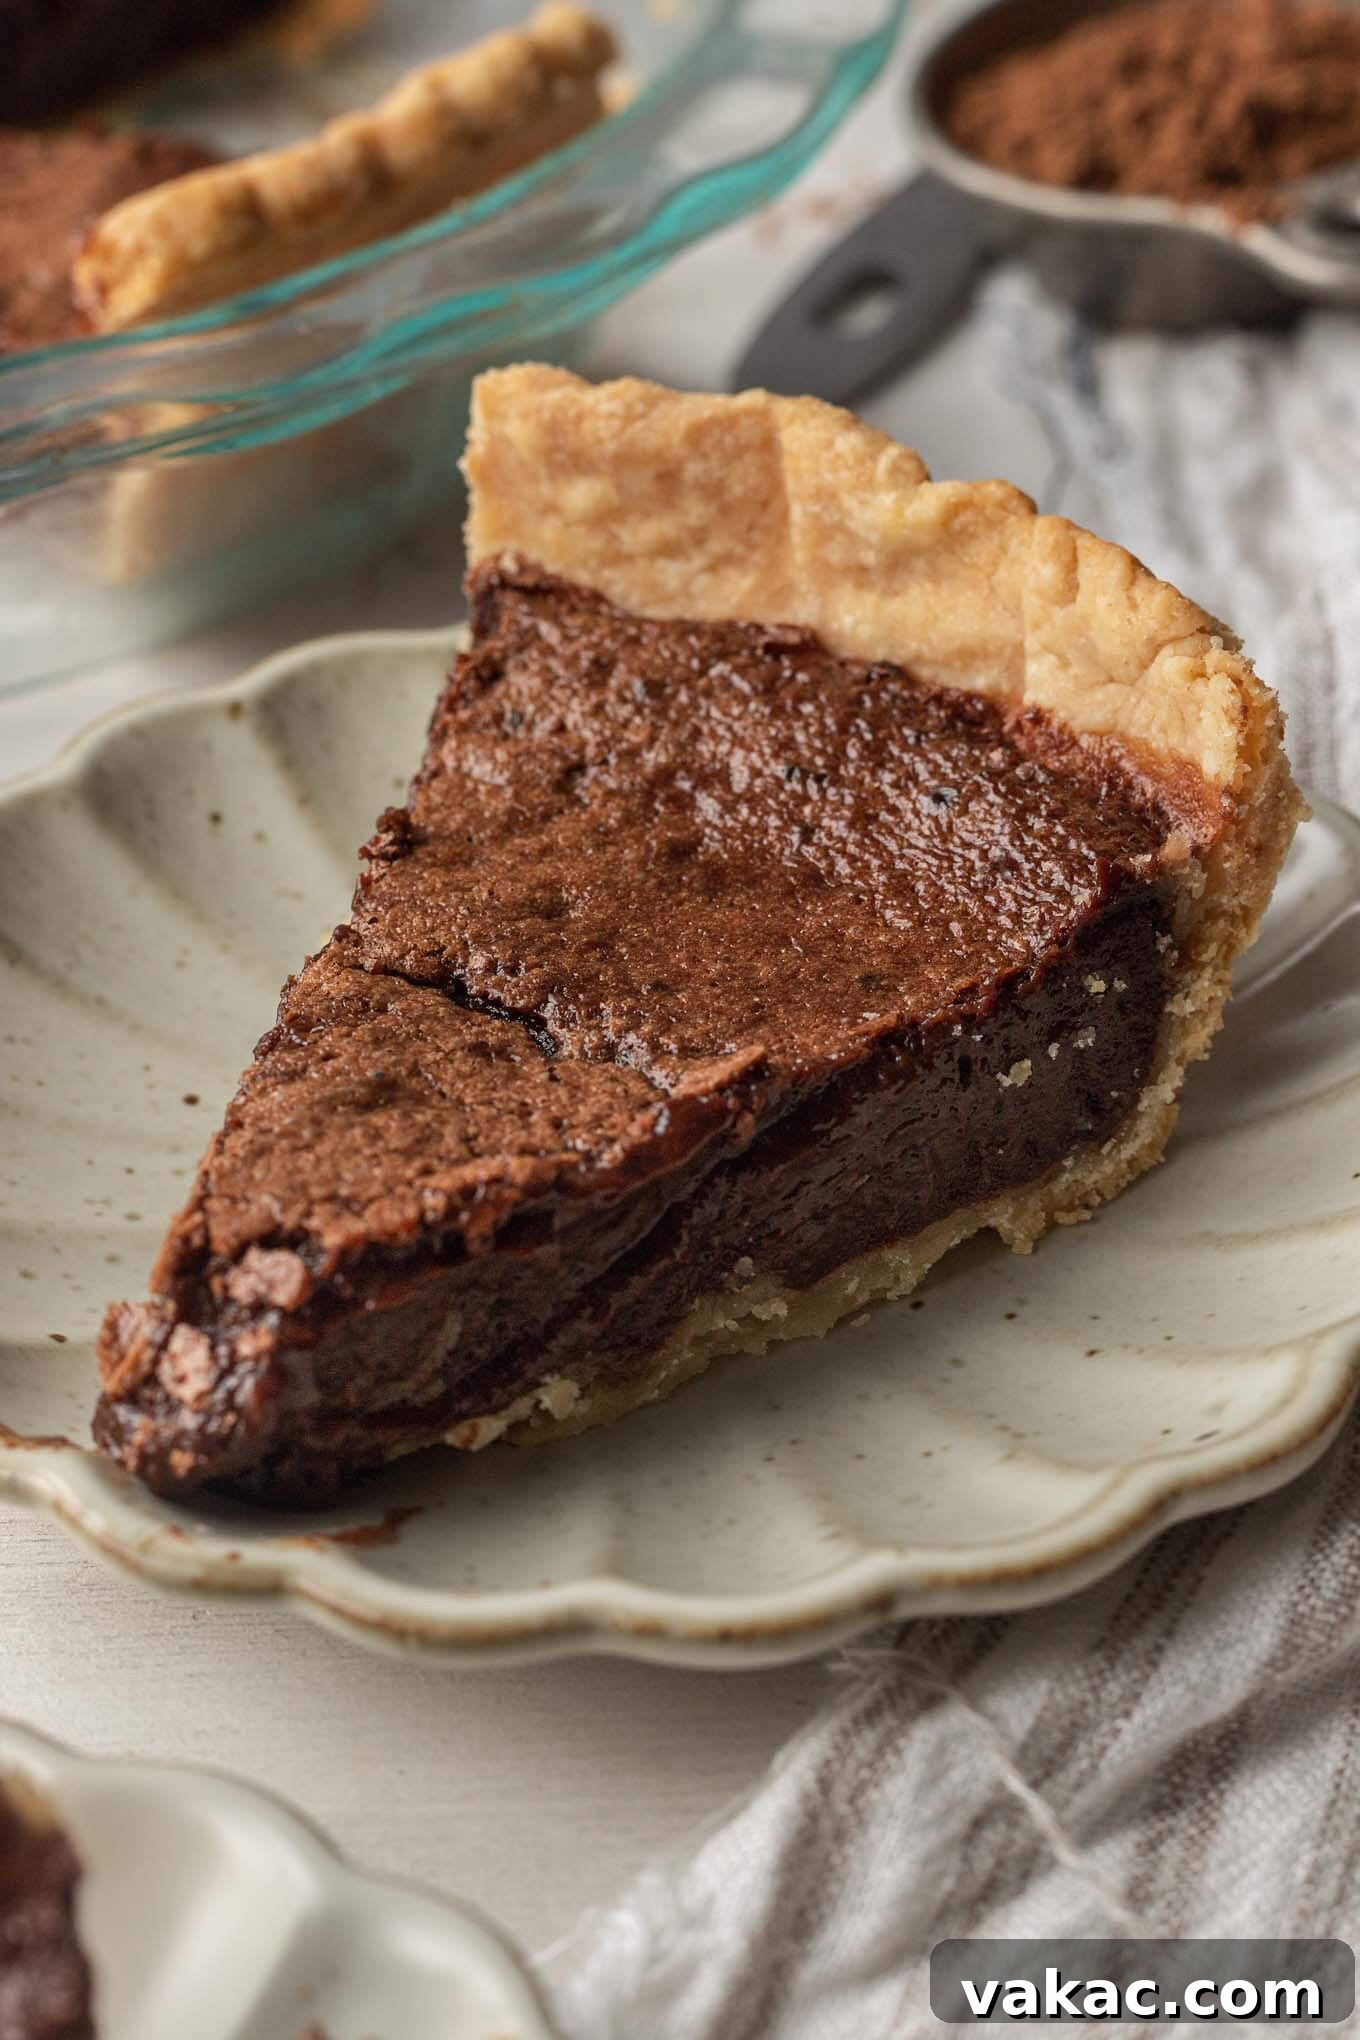
At its core, Chocolate Chess Pie is a delightful and luxurious variation of the traditional Southern Chess Pie, a dessert deeply rooted in American culinary history. The name “chess pie” itself is often debated, with theories ranging from being a corruption of “chest pie” (referring to a pie stored in a pie chest) to a simpler explanation: its rich, sweet nature is so pleasing that “it’s just pie.” Traditional chess pie typically showcases a simple, custardy vanilla filling, often thickened with flour or cornmeal, and made from a basic blend of sugar, eggs, milk, and butter.
The chocolate version, however, elevates this humble classic into a decadent chocolate lover’s dream. The key difference lies in its star ingredients: cocoa powder and cornstarch. Instead of relying solely on flour for thickening, Chocolate Chess Pie masterfully combines cornstarch and a generous amount of high-quality cocoa powder. This ingenious combination not only provides the necessary structure and a beautifully glossy finish but also infuses the pie with an unparalleled depth of chocolate flavor and a distinctive fudgy, dense, yet melt-in-your-mouth texture.
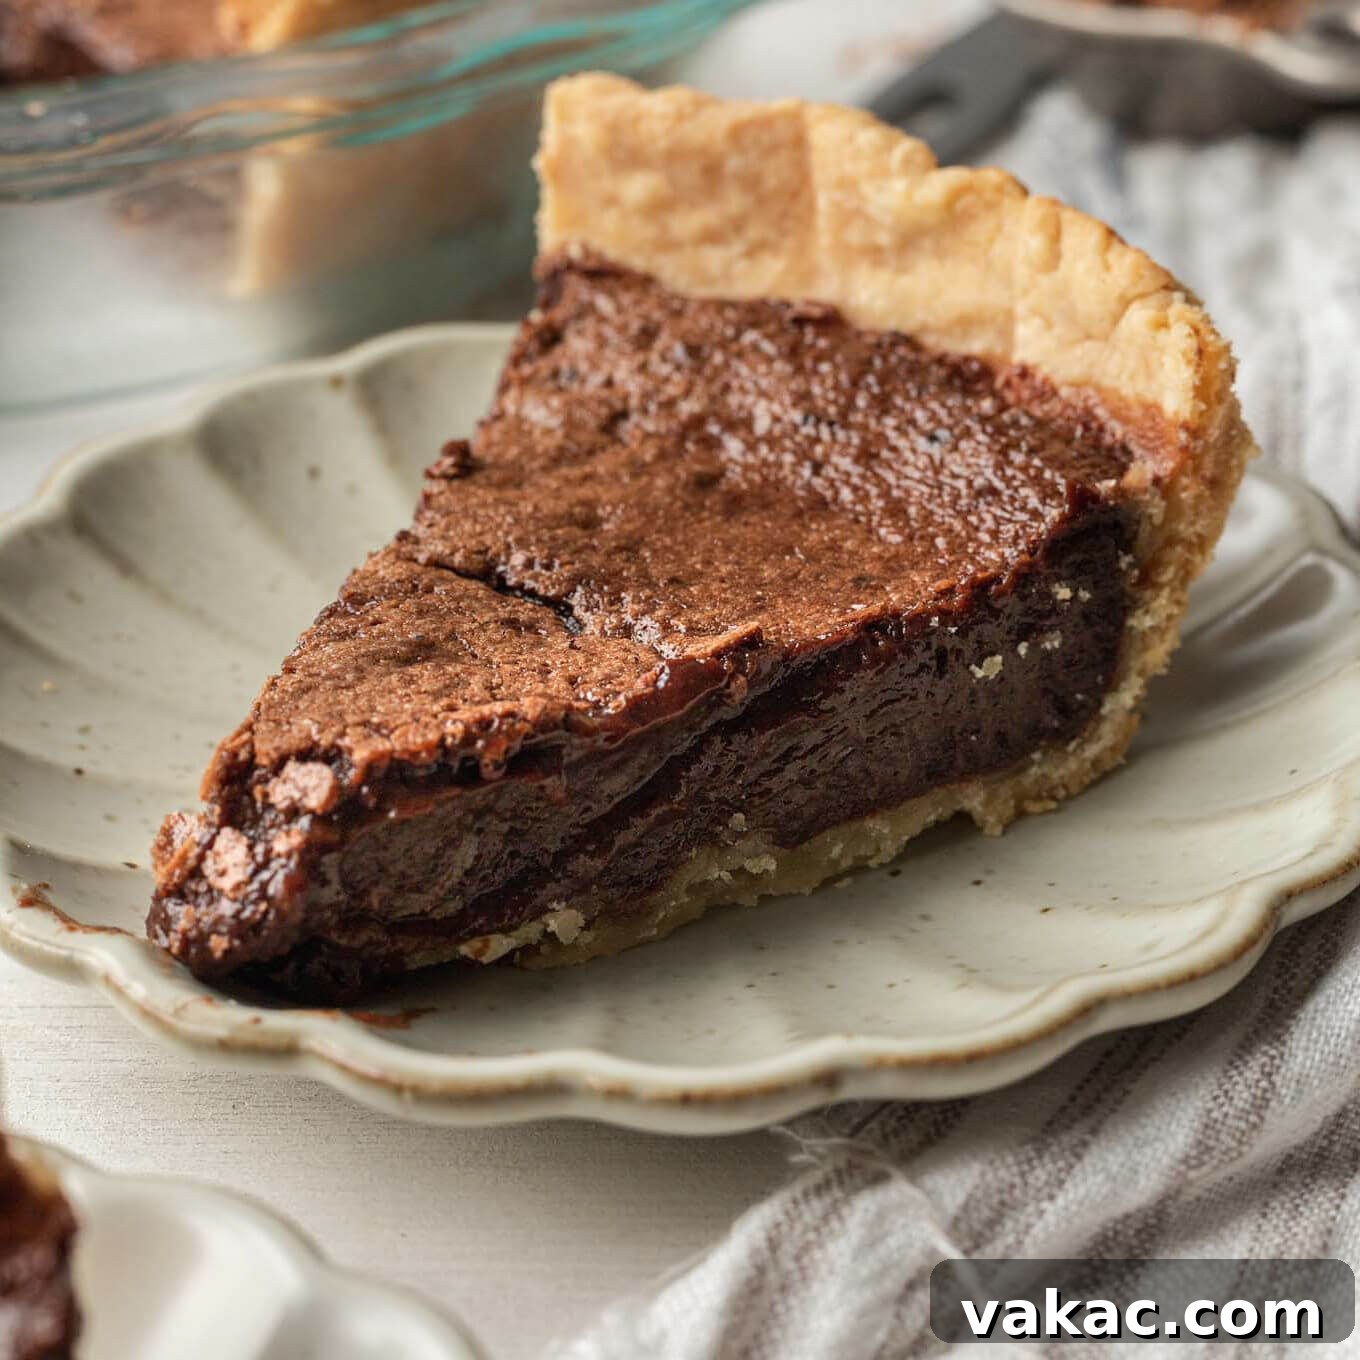
Imagine a dessert that merges the silky smoothness of a delicate custard with the rich, chewy intensity of a gourmet chocolate brownie – that’s the magical experience of a perfectly baked homemade Chocolate Chess Pie. With its crisp crust, firm yet gooey filling, and crackled top, it’s a testament to simple ingredients creating extraordinary flavor. If your household is home to ardent chocolate enthusiasts, learning how to make this pie is not just a suggestion; it’s an essential journey into the heart of Southern baking that promises to earn you endless compliments.
Essential Ingredients for Your Perfect Chocolate Chess Pie
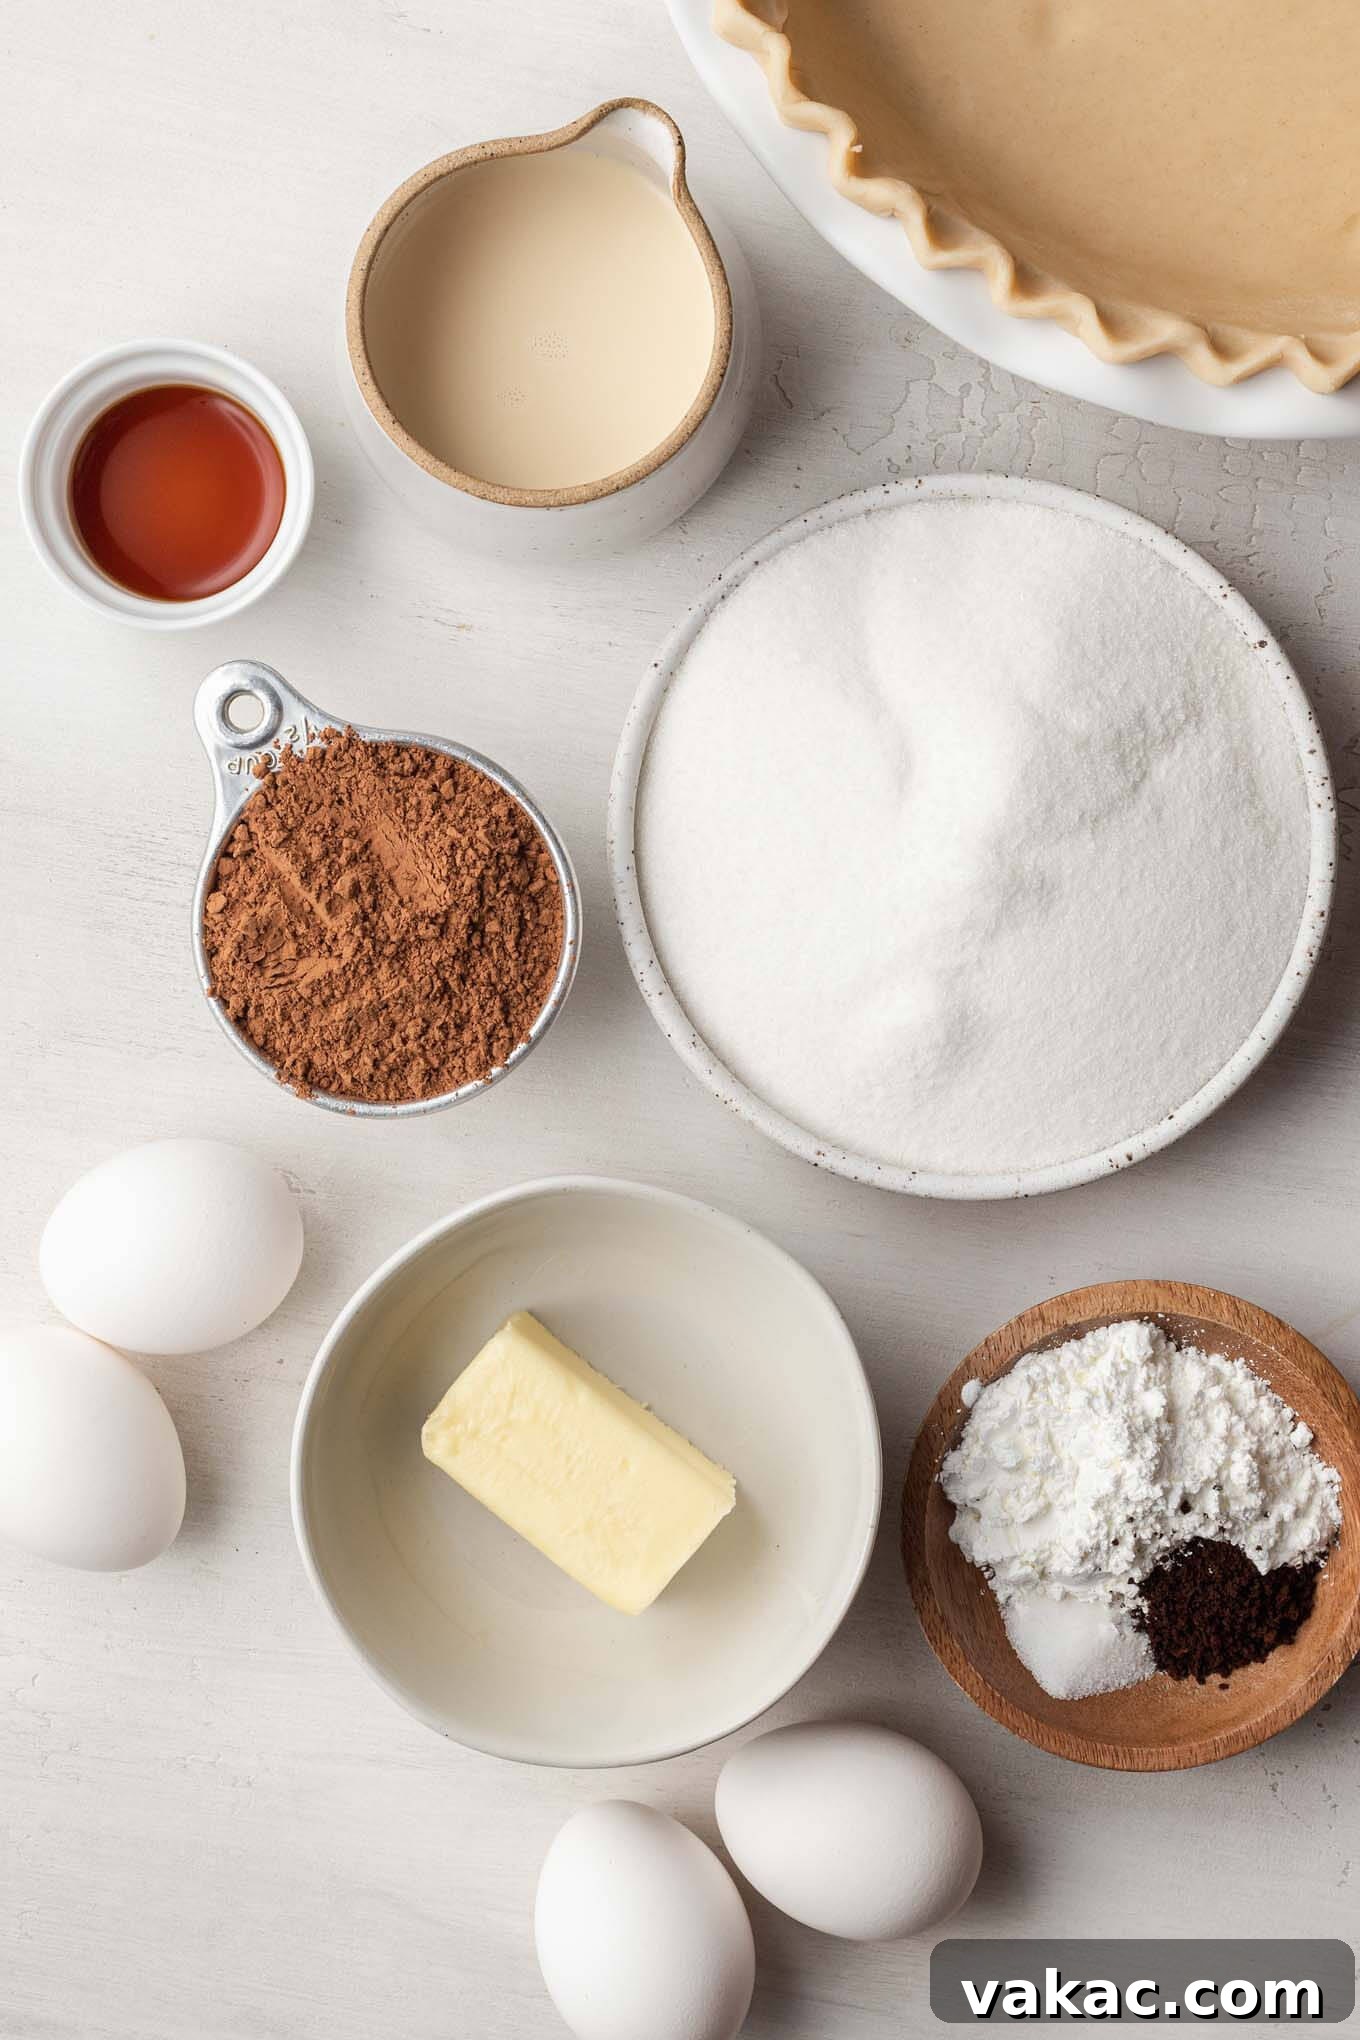
One of the many appealing characteristics of this chocolate chess pie recipe is its straightforwardness, utilizing common baking ingredients that most home cooks will readily have on hand. While the comprehensive recipe card below details every item, let’s delve deeper into some of the main components and understand why each plays a vital role in crafting this pie’s exquisite flavor and texture.
- Pie Crust: The foundation of any outstanding pie is its crust. For this recipe, one 9-inch pie crust is required. You have the flexibility to choose a good quality store-bought crust for convenience, which can significantly shorten preparation time. However, for an truly exceptional experience, consider making your own flaky, buttery pie crust from scratch. A homemade crust offers an unmatched depth of flavor and a tender, crisp texture that beautifully complements the rich chocolate filling.
- Cornstarch (or Cornflour): This humble but mighty ingredient is the key thickening agent for our pie filling. Known as cornflour in many parts of the world, cornstarch is crucial for achieving the pie’s signature dense, fudgy, yet smooth consistency. It works to stabilize the filling without the use of wheat flour, contributing to that desirable melt-in-your-mouth texture that sets chess pie apart.
- Cocoa Powder: The undisputed star ingredient that gives this pie its decadent chocolate identity! Both Dutch-processed and natural unsweetened cocoa powder are suitable options. Dutch-processed cocoa, which has been treated with an alkali, typically results in a darker pie with a milder, less acidic chocolate flavor. Natural unsweetened cocoa, on the other hand, is lighter in color but boasts a more intense, sometimes fruitier, chocolate taste. Whichever you choose, ensure it is unsweetened. To guarantee a silky-smooth filling free from lumps, it’s highly recommended to sift your cocoa powder through a fine mesh sieve before mixing.
- Instant Espresso Powder: This is a secret weapon in many chocolate desserts, and for good reason! A small amount of instant espresso powder doesn’t make the pie taste like coffee; instead, it miraculously deepens and intensifies the chocolate flavor, making it richer and more profound. It enhances the cocoa notes without introducing any discernible coffee taste, making it indispensable for a truly exceptional chocolate experience.
- Evaporated Milk: A critical dairy component, and it’s imperative to use evaporated milk, absolutely NOT sweetened condensed milk. Evaporated milk is essentially cow’s milk from which about 60% of the water has been removed, resulting in a richer, slightly thicker liquid than regular milk but still pourable. Sweetened condensed milk, in stark contrast, is very thick and intensely sugary, and its substitution would drastically alter the pie’s texture, sweetness, and overall composition.
- Eggs and Egg Yolks: A combination of whole large eggs and additional egg yolks forms the luxurious, custardy base of the filling. The egg yolks are particularly important as they contribute significant richness, creaminess, and a wonderfully smooth texture. For optimal results, ensure your eggs are at room temperature before incorporating them into the filling; this aids in better emulsification, leading to a more homogenous and perfectly set batter.
- Unsalted Butter: Melted unsalted butter provides essential moisture, richness, and a foundational buttery flavor that complements the chocolate beautifully, contributing to the pie’s classic gooey texture.
- Granulated Sugar: This is the primary sweetener, crucial for balancing the slight bitterness of the cocoa powder and creating that characteristic sweet, decadent taste.
- Pure Vanilla Extract: A splash of pure vanilla extract is indispensable for rounding out and enhancing all the other flavors, adding a warm, aromatic depth to the rich chocolate profile.
- Salt: A small but mighty ingredient, a pinch of salt is vital for balancing the sweetness, cutting through the richness, and truly intensifying all the other flavors, especially the chocolate.
Mastering the Art of Chocolate Chess Pie: A Comprehensive Step-by-Step Guide
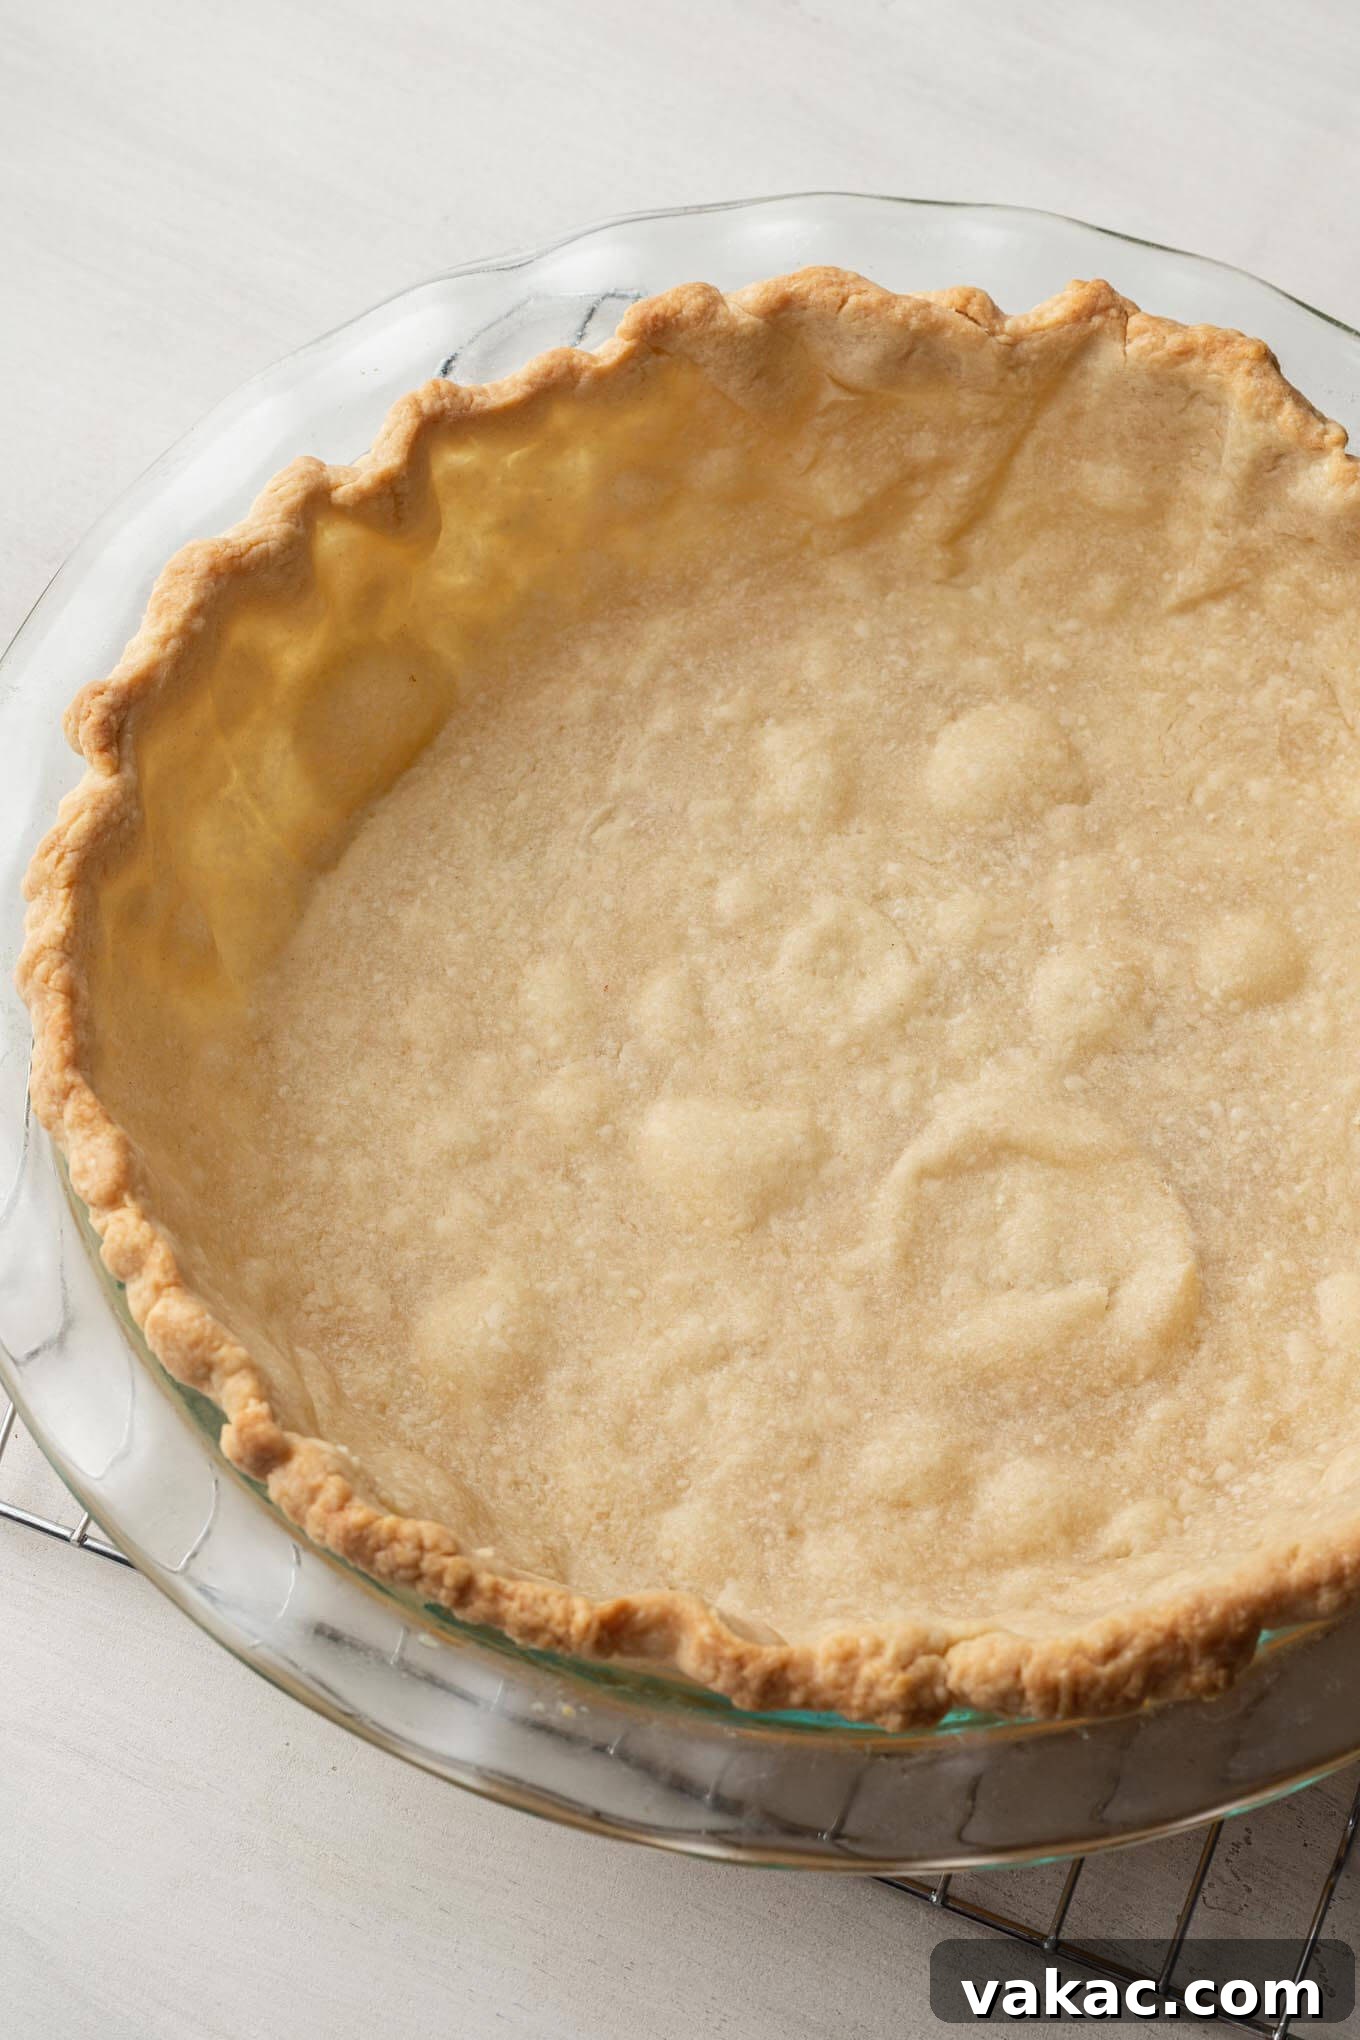
Creating this magnificent chocolate chess pie involves two primary stages: diligently preparing and partially baking the pie crust, and then expertly crafting and baking the rich chocolate filling. The initial step of blind baking the crust is paramount; it’s a crucial technique that ensures the bottom of your pie remains crisp and flaky, preventing any sogginess from the moist filling.
Preparing the Flaky Pie Crust
- Preheat Your Oven Accurately: Begin by preheating your oven to 400ºF (204°C). An accurately preheated oven is essential for successful blind baking, ensuring the crust bakes evenly and quickly.
- Prepare and Roll the Dough: If you are making a homemade pie crust, follow your preferred recipe instructions until the dough is ready for rolling. Then, roll the pie dough into an even circle, aiming for approximately 12 inches in diameter. This size is ideal for a standard 9-inch pie plate, providing enough overhang for proper crimping.
- Fit the Dough into the Pie Plate: Carefully transfer the rolled dough into a 9-inch pie plate. Gently press it into the contours of the dish, ensuring it fits snugly without stretching the dough, which can lead to shrinkage. Trim any excess dough from the edges, leaving about a half-inch overhang, which you can then neatly tuck under and crimp for a decorative finish.
- Chill the Crust: Place the pie plate, with the fitted dough, into the refrigerator to chill for about 15 to 20 minutes. This chilling period is vital as it allows the butter in the crust to firm up, which helps prevent the crust from shrinking excessively during baking and contributes to a wonderfully flaky texture. Do this while your oven continues to preheat.
- Initiate Blind Baking: Once the dough is firm and your oven is fully preheated, remove the pie plate from the refrigerator. Carefully line the dough with a piece of parchment paper or aluminum foil, ensuring it covers the bottom and extends up the sides of the crust. Fill the lined crust with an even layer of pie weights, dried beans, or even uncooked rice, making sure to press them up against the sides to support the crust’s structure during baking. This critical step, known as blind baking, is your best defense against a soggy pie bottom.
- First Bake with Weights: Bake the crust with the pie weights for 15 minutes, or until the edges of the crust just begin to turn a light golden brown. Keep a close eye on it, especially if using a thinner store-bought crust, as these might require a slightly shorter initial baking time.
- Second Bake Without Weights: Carefully remove the pie crust from the oven. Gently lift out the parchment paper (or foil) and the pie weights. Return the crust to the oven and bake for an additional 5 to 6 minutes, or until the bottom of the crust appears set, dry, and lightly golden. This ensures the entire crust is properly cooked and ready to hold the rich filling.
- Cooling the Crust: Once partially baked, remove the pie crust from the oven and transfer it to a wire rack to cool slightly while you proceed with preparing the delectable chocolate filling.
Crafting the Silky Chocolate Filling and Final Bake
As your perfectly blind-baked pie crust cools, it’s time to prepare the star of the show – the rich, fudgy chocolate filling. Don’t forget to adjust your oven temperature before moving forward!
- Adjust Oven Temperature: Reduce the oven temperature to 350°F (180°C). This lower temperature is ideal for baking the filling slowly and evenly, allowing it to set properly without scorching the delicate ingredients.
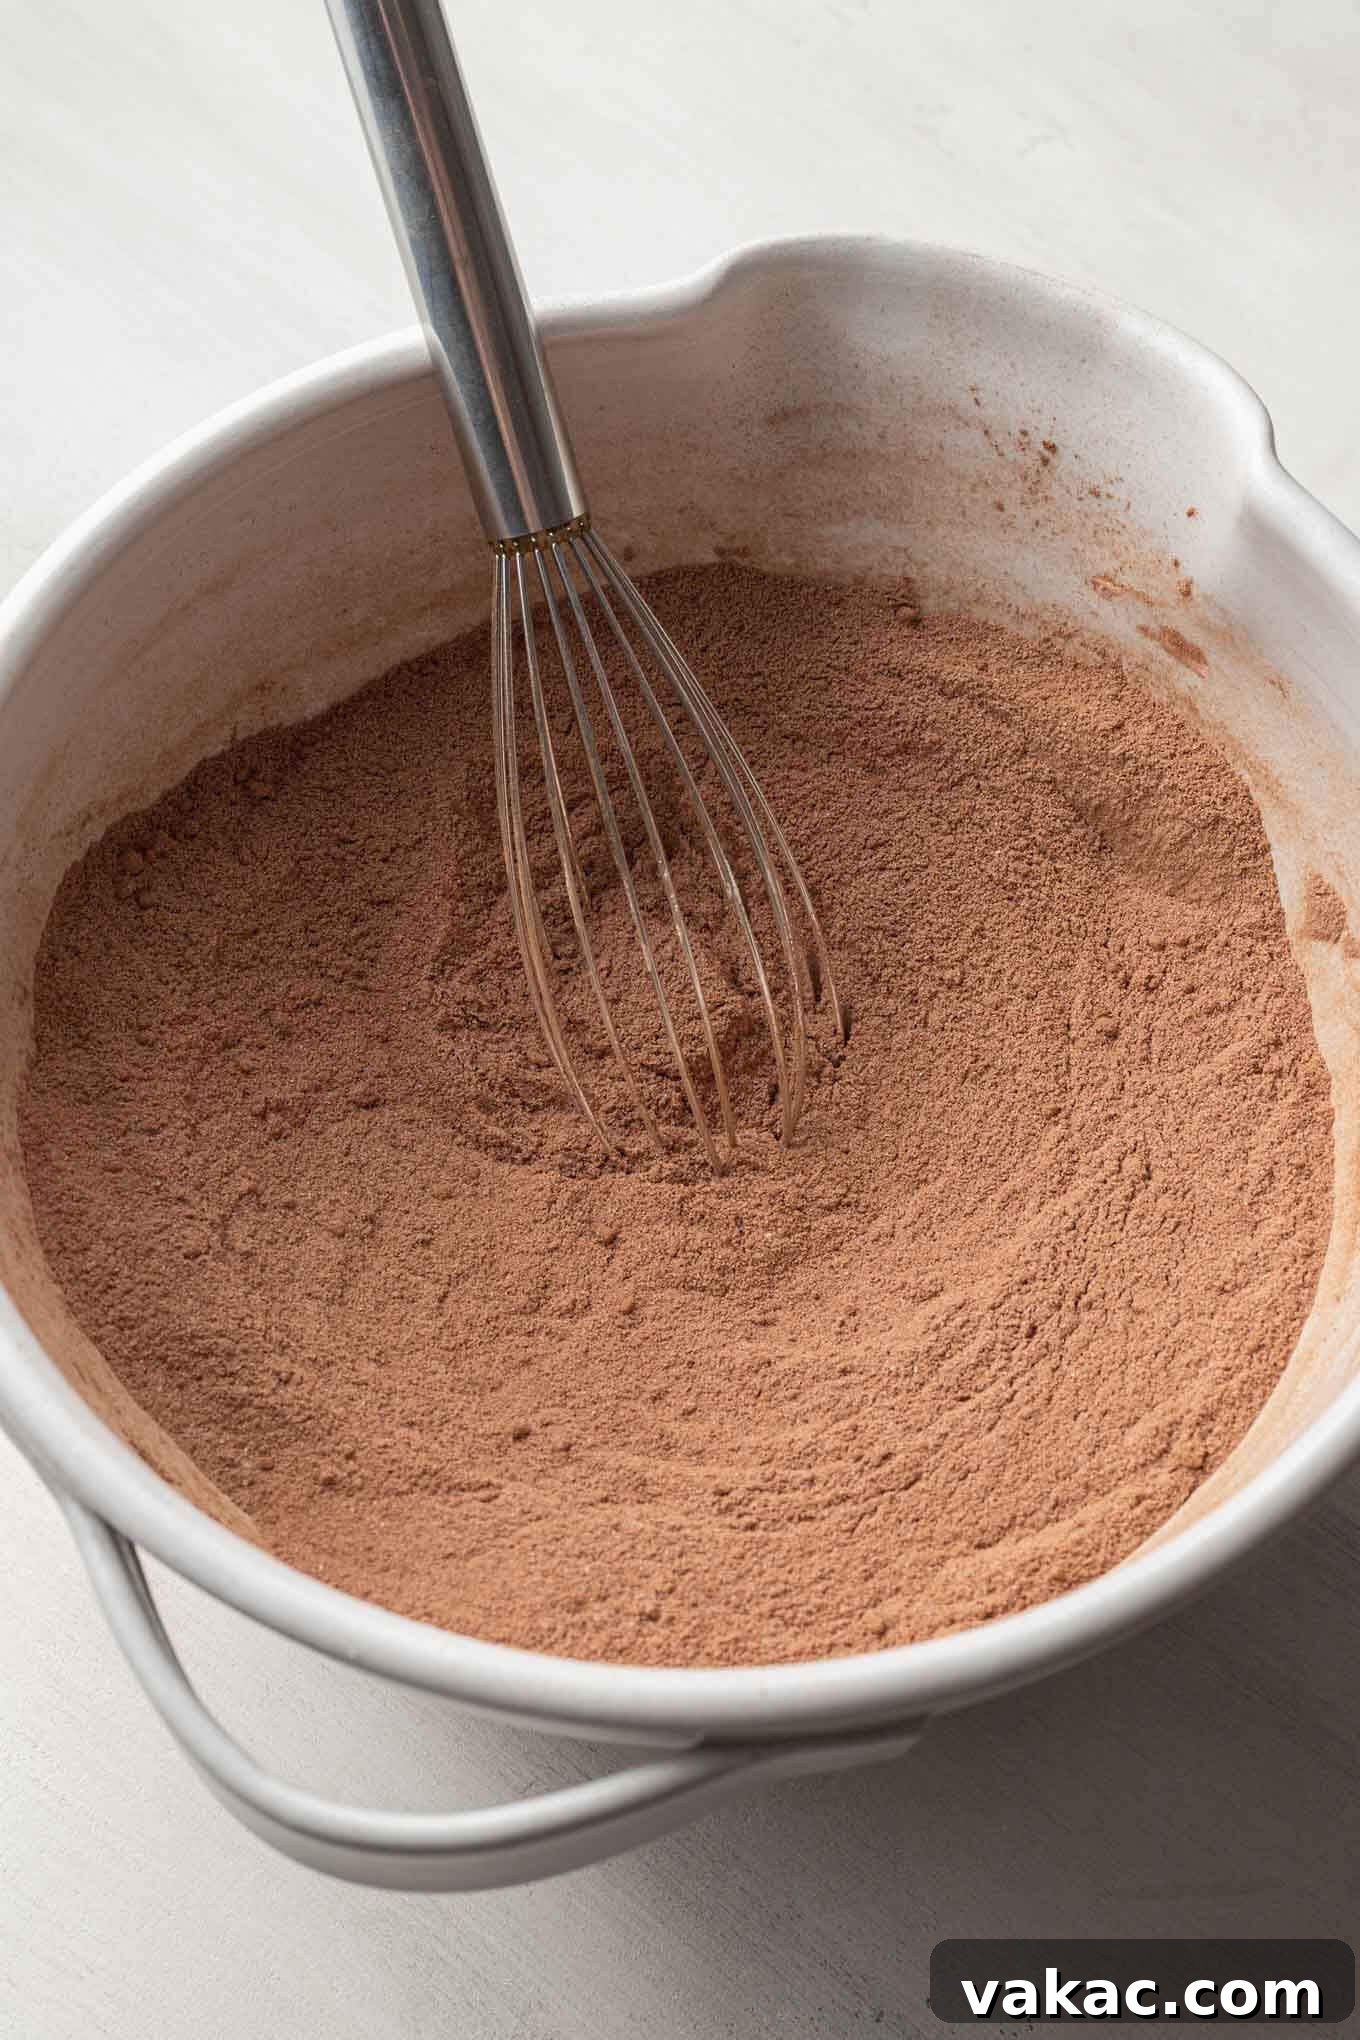
- Combine Dry Ingredients Thoroughly: In a large mixing bowl, meticulously whisk together the granulated sugar, unsweetened cocoa powder, cornstarch, instant espresso powder, and salt. Whisking these dry ingredients thoroughly ensures they are evenly distributed, which is crucial for preventing lumps and achieving a uniformly flavored filling.
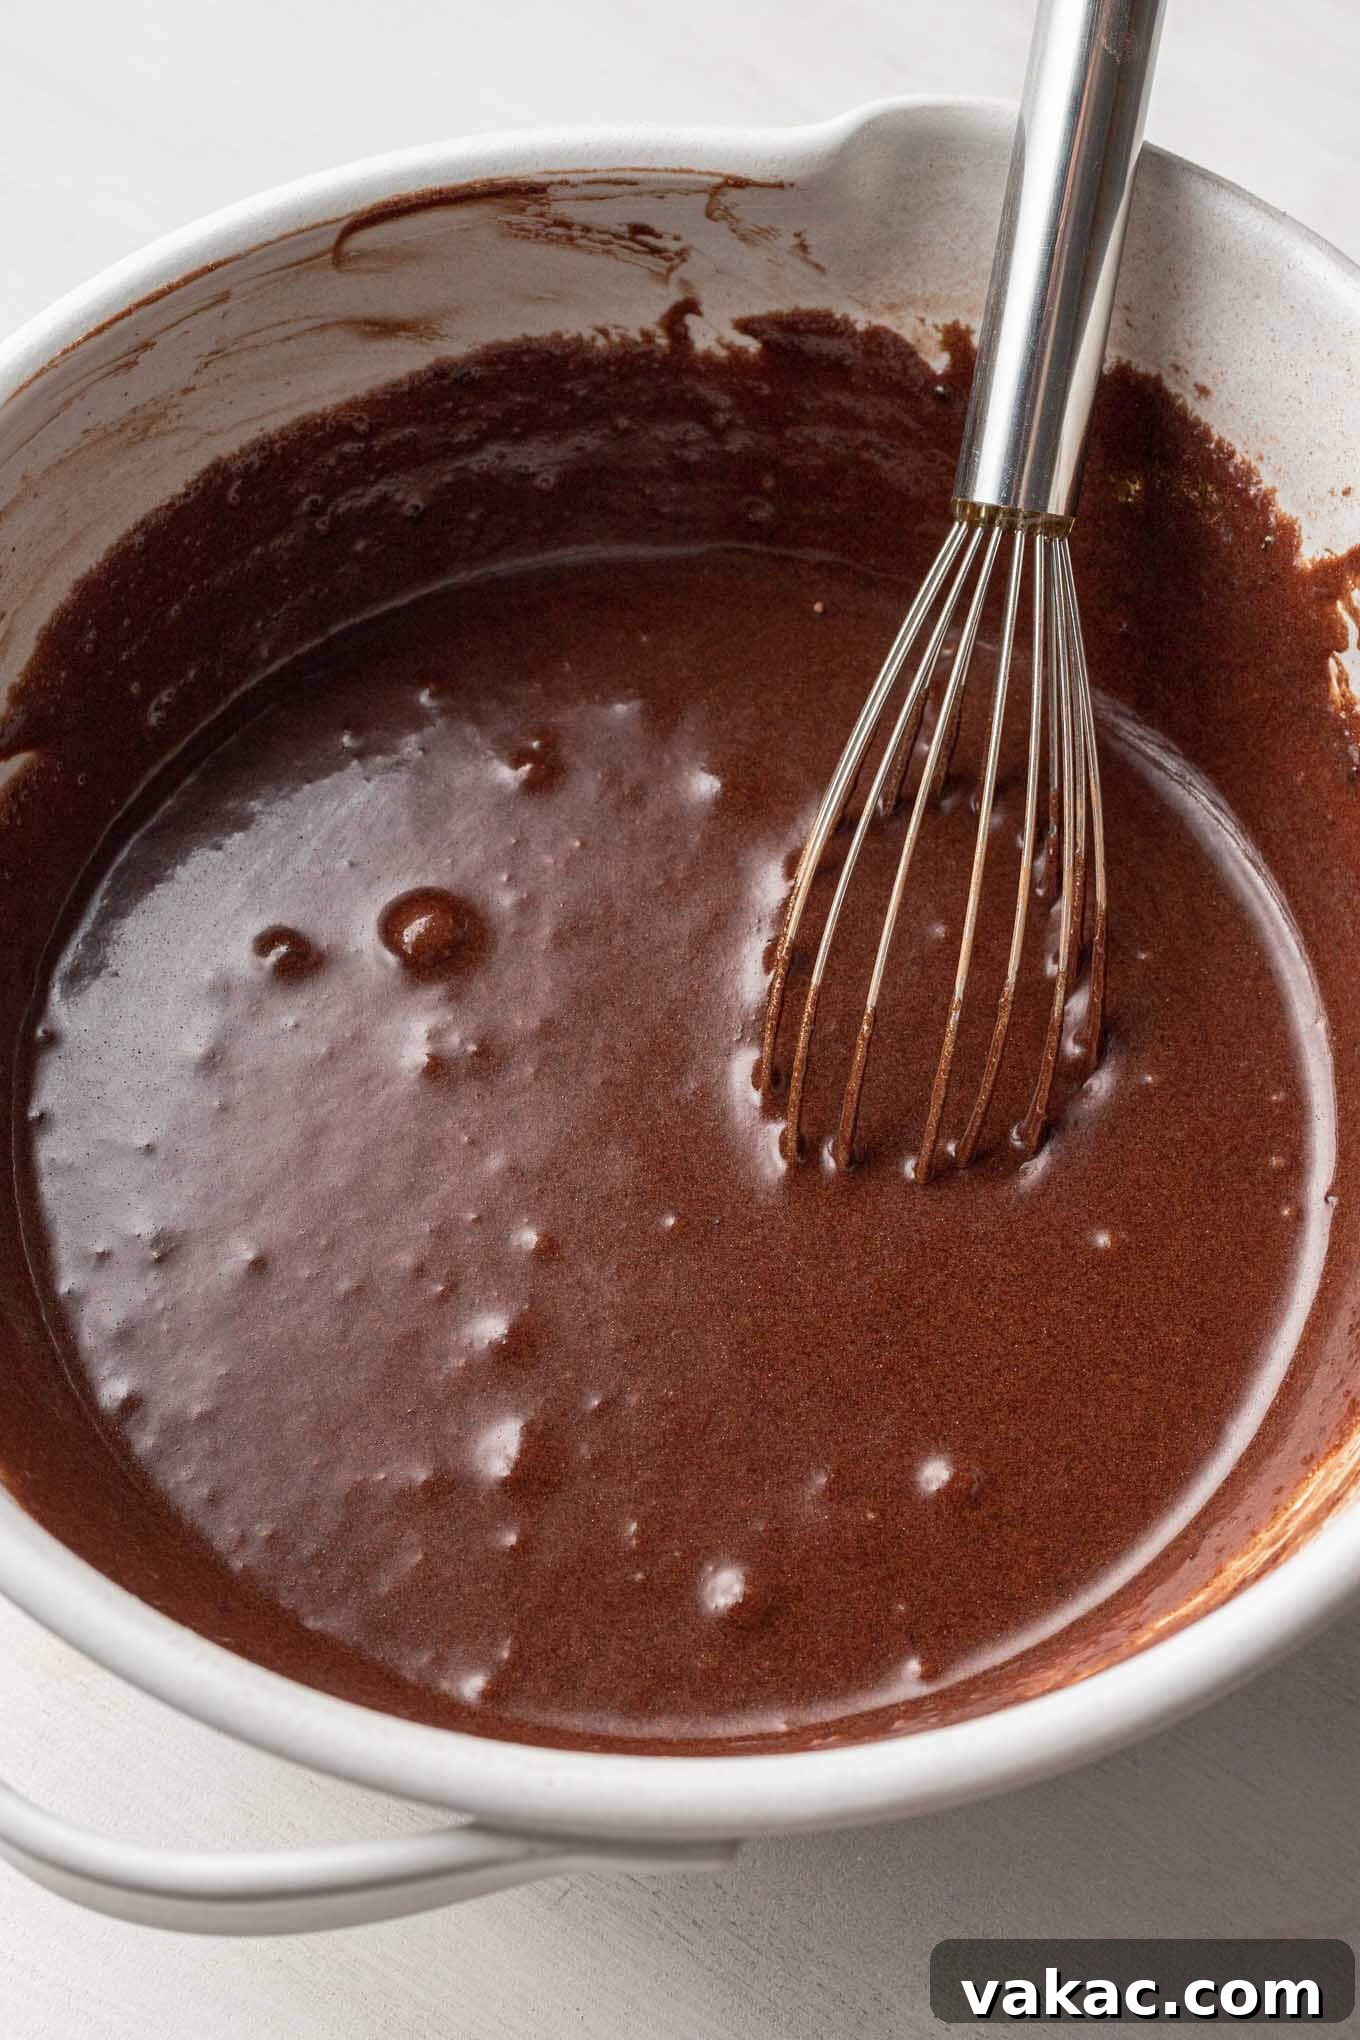
- Incorporate Wet Ingredients: Add the evaporated milk, the melted unsalted butter (ensure it has cooled slightly and isn’t hot, as hot butter can affect the eggs), and the pure vanilla extract to the dry mixture. Whisk these components until they are just combined and the batter begins to come together smoothly, without overworking it.
- Gently Add Eggs: In a separate, smaller bowl, lightly beat the two whole large eggs and the two large egg yolks together. This pre-beating step helps to break down the egg structure, ensuring they incorporate smoothly into the main batter. Then, with a gentle hand, fold or lightly whisk the beaten eggs into the chocolate filling until they are just combined. This step is critical: be extremely careful not to overmix the batter at this stage, as excessive agitation of the eggs can introduce too much air, potentially leading to a tough or rubbery texture in the baked pie, rather than the desired smooth, fudgy consistency.
Baking to Perfection and Essential Cooling
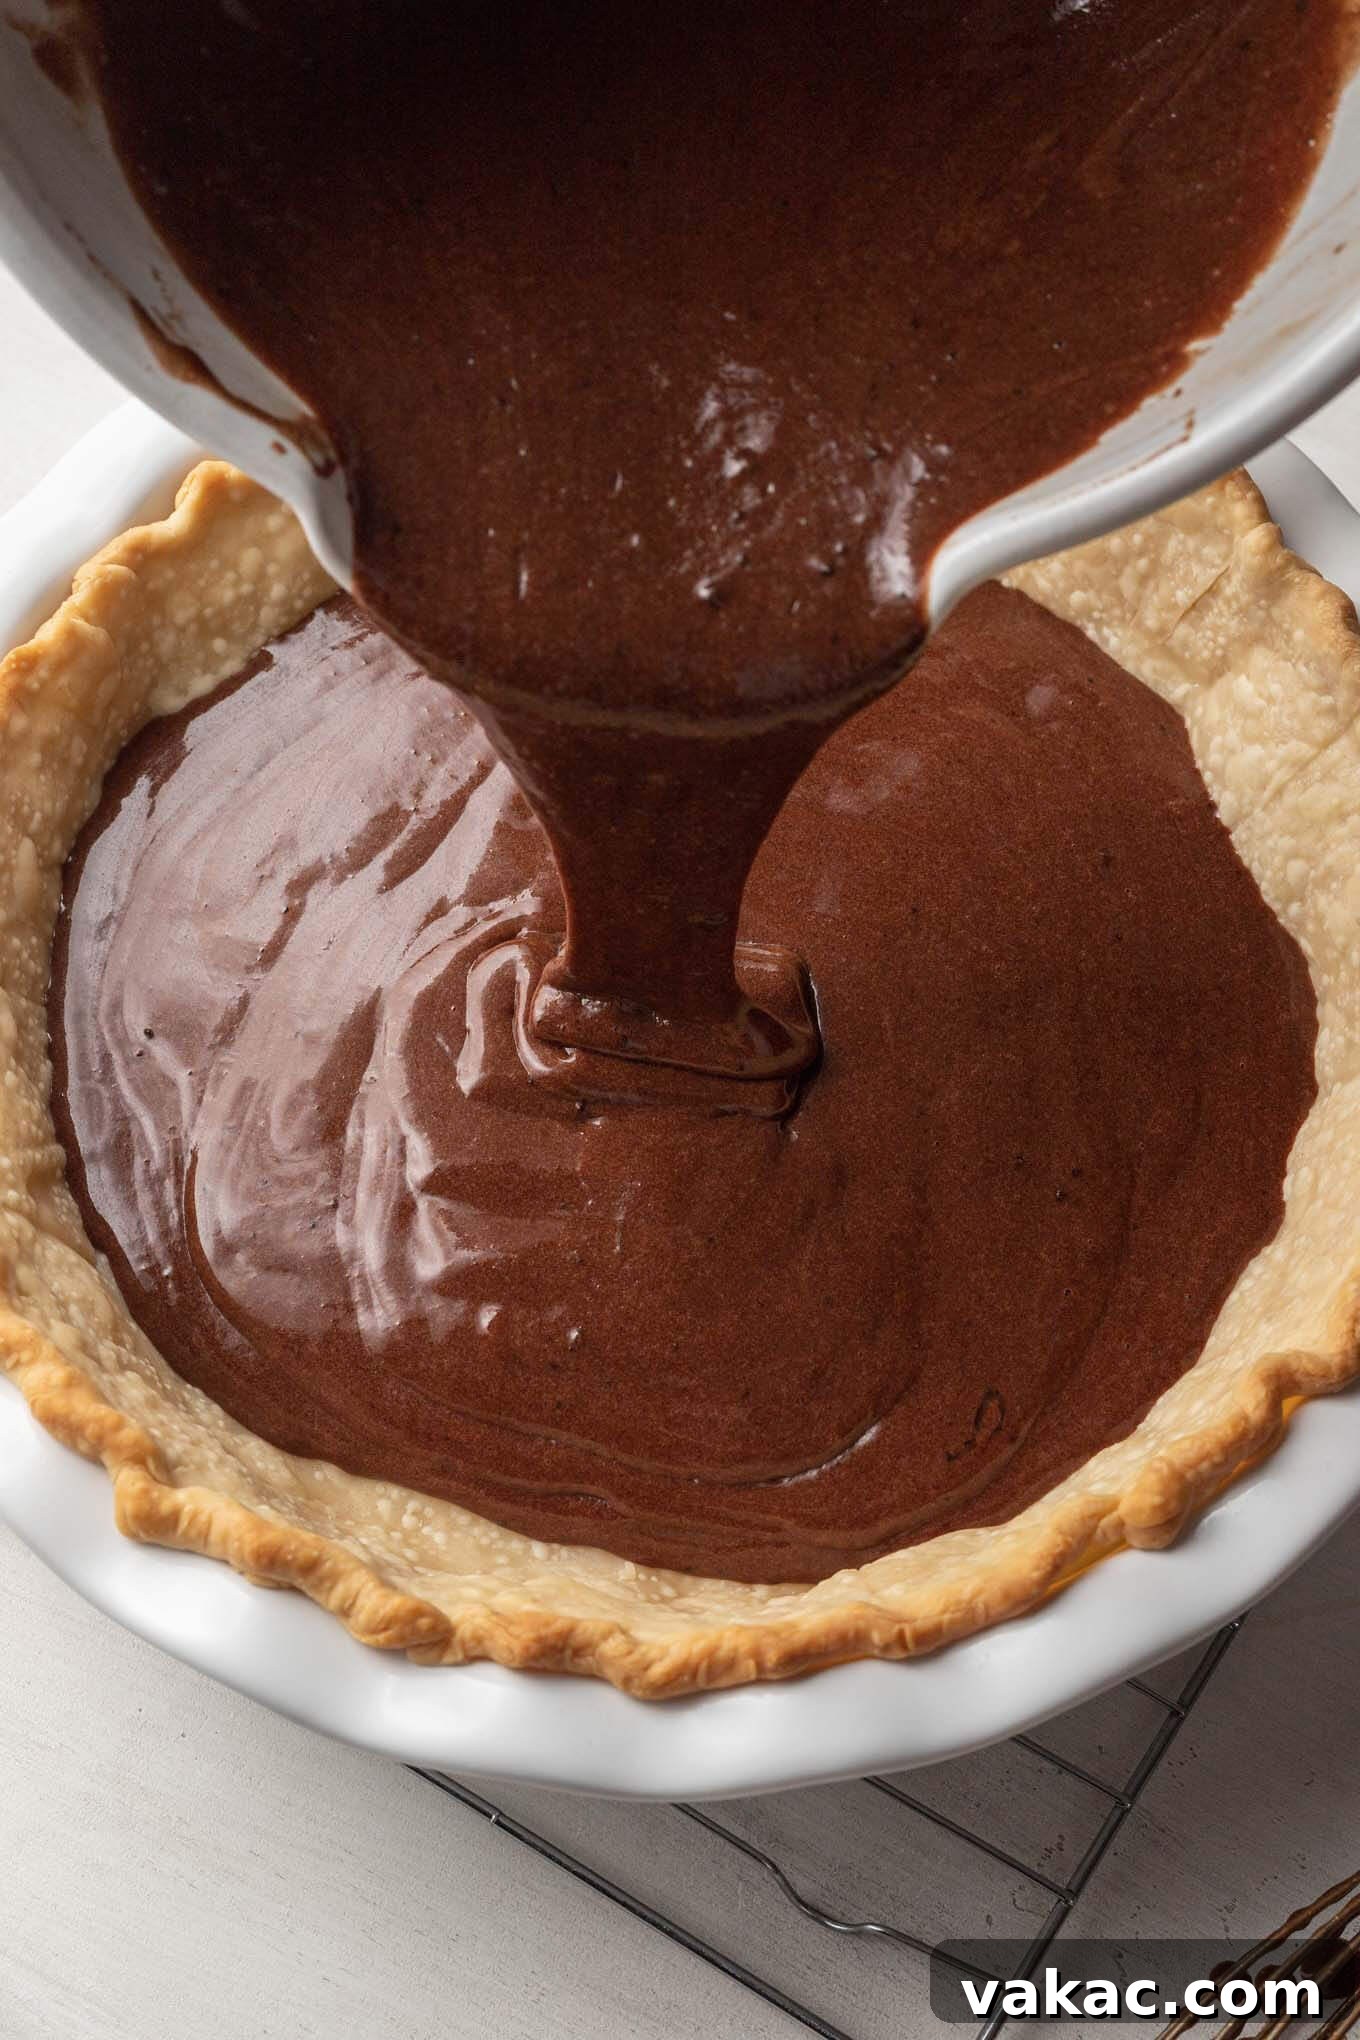
- Transfer and Bake: Carefully pour the prepared silky chocolate filling into your partially baked and cooled pie crust. If needed, you can gently smooth out the top of the filling with the back of a spoon or an offset spatula to ensure an even surface. Carefully transfer the pie to the preheated 350°F (180°C) oven. Bake for approximately 30 to 35 minutes.
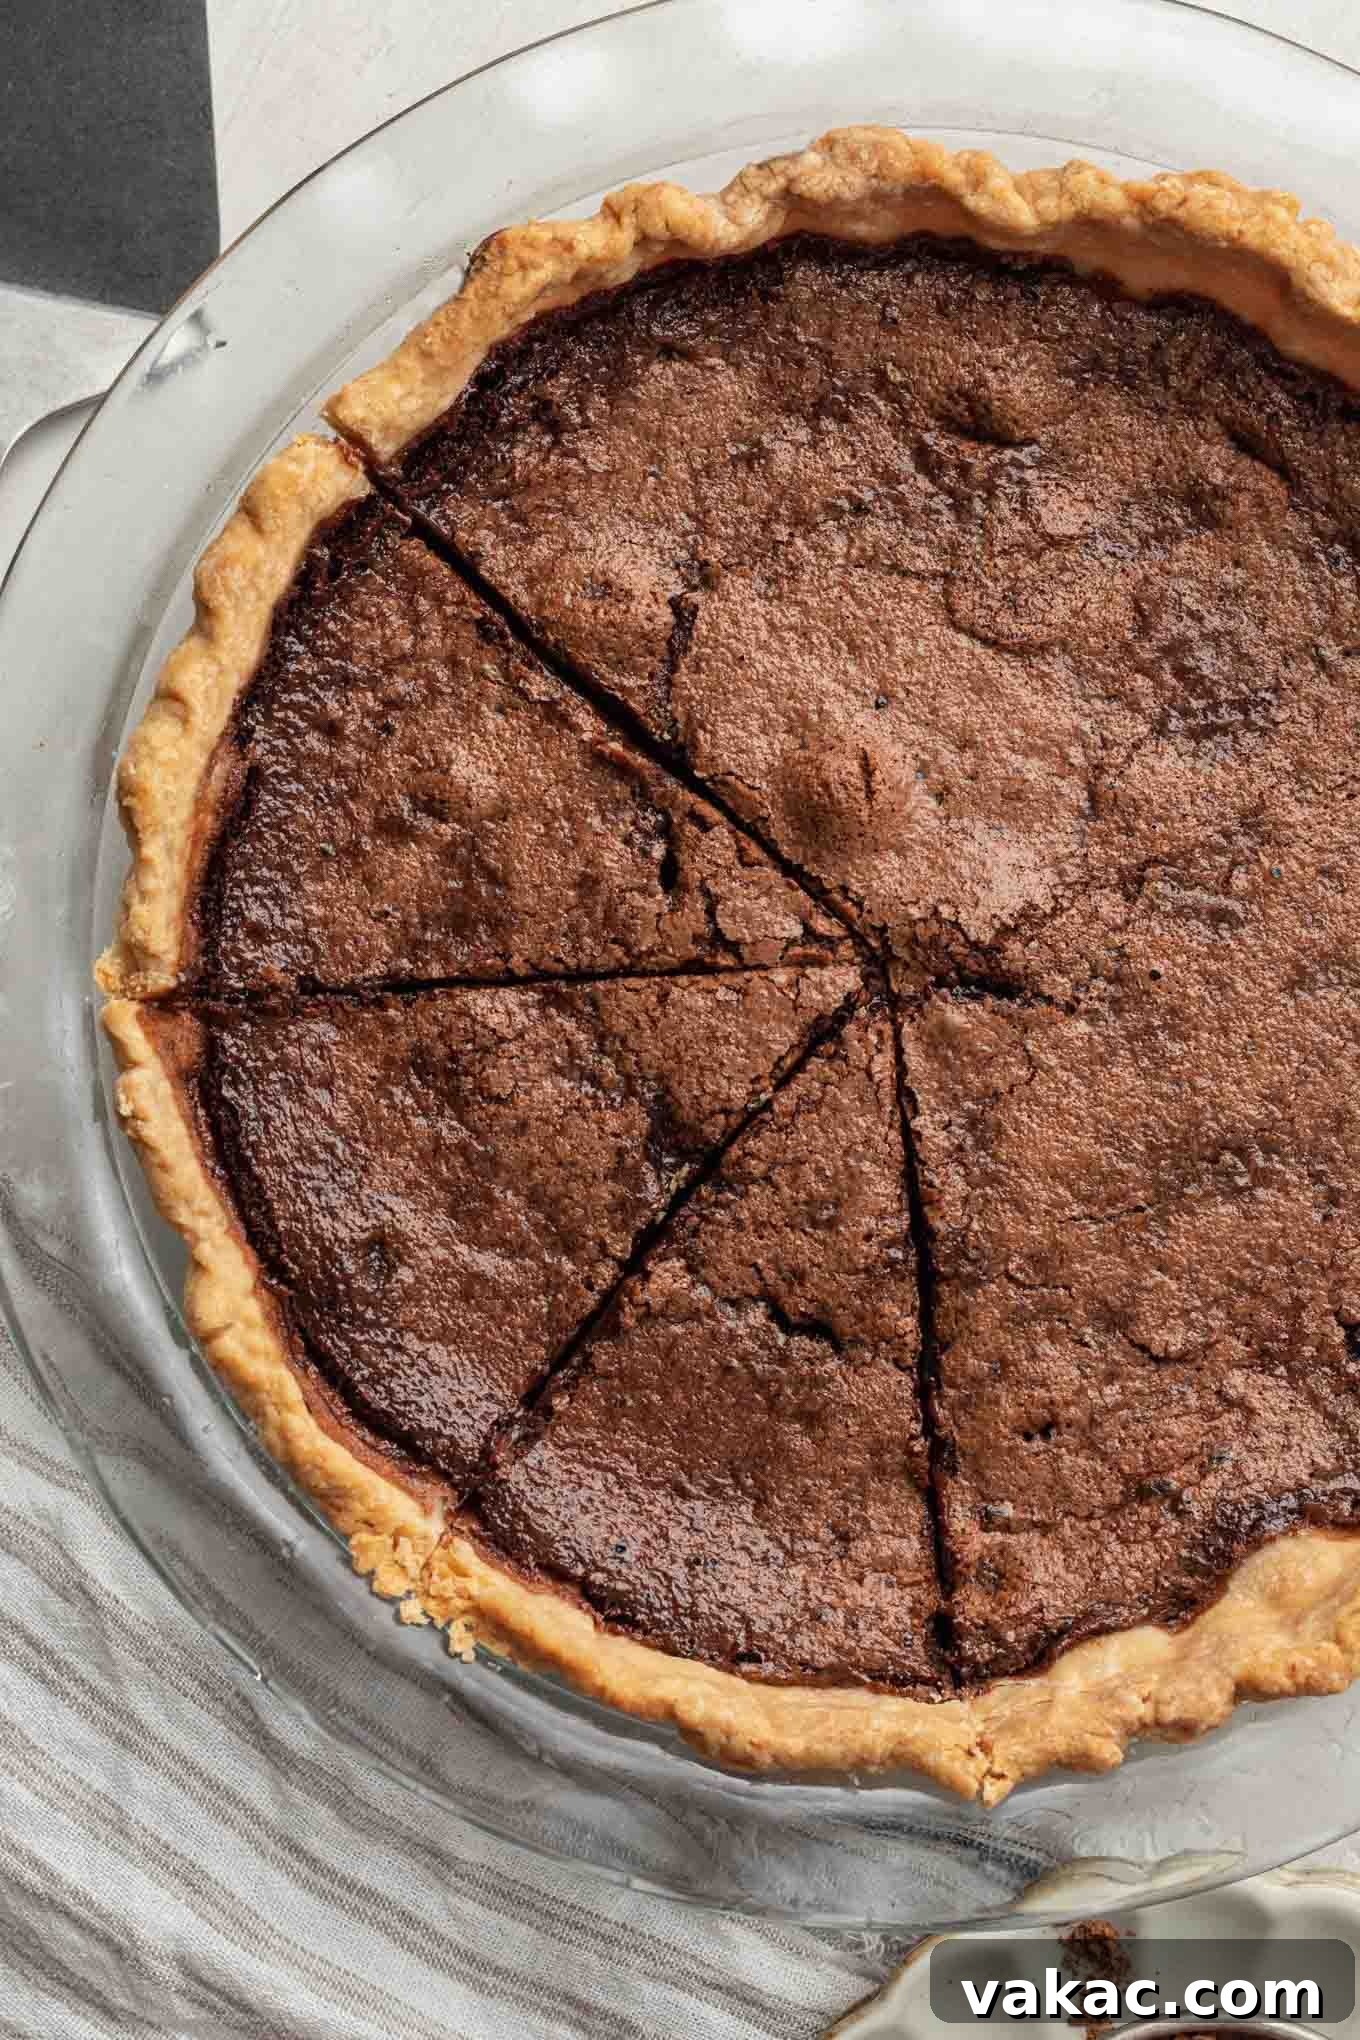
- Check for Doneness: The pie is typically ready when it appears mostly set around the edges but still exhibits a slight, delicate jiggle in the very center when gently shaken. This subtle movement is your cue that the pie is cooked through but will continue to firm up as it cools, achieving that perfect fudgy-custard consistency. If it’s completely firm, it might be slightly overbaked.
- Crucial Cooling and Refrigeration: This step is absolutely non-negotiable for achieving a perfectly firm and sliceable pie! Once baked, carefully remove the pie from the oven and allow it to cool completely to room temperature on a wire rack. This process usually takes about 2 hours. After it has fully cooled to room temperature, gently cover the pie with plastic wrap and transfer it to the refrigerator for an additional 2 to 3 hours. Skipping this vital cooling and chilling period will result in a pie that is too soft to slice neatly, lacking the desired firm-yet-gooey texture. Patience here will be rewarded with perfect slices!
Serving Suggestions: Elevating Your Chocolate Chess Pie Experience
This homemade chocolate chess pie is inherently rich, deeply flavored, and intensely satisfying, making it absolutely perfect to enjoy on its own. The profound chocolate notes and its unique fudgy texture are a treat in themselves. However, if you wish to further enhance the dessert experience, a few thoughtfully chosen additions can beautifully complement its decadent profile without overwhelming its natural deliciousness.
- A Light Dusting of Powdered Sugar: For a touch of simple elegance, a delicate dusting of powdered sugar over the top adds a beautiful visual contrast and a subtle sweetness that melts on the tongue.
- A Cloud of Homemade Whipped Cream: A generous dollop of light, airy, and unsweetened or lightly sweetened homemade whipped cream provides a refreshing and creamy counterpoint to the pie’s richness. Its cool, ethereal texture is a classic and highly recommended pairing.
- A Small Scoop of Premium Vanilla Ice Cream: For those who appreciate a delightful warm-cold contrast, a modest scoop of high-quality vanilla ice cream, allowed to soften slightly and melt into a slice of slightly warmed pie, is pure bliss. The simplicity of the vanilla perfectly highlights the complexity of the chocolate.
While tempting, it’s best to resist the urge to douse this pie in heavy caramel or additional chocolate sauces. Its inherent richness is best savored and complemented by lighter accompaniments that allow its true chocolate flavor to shine.
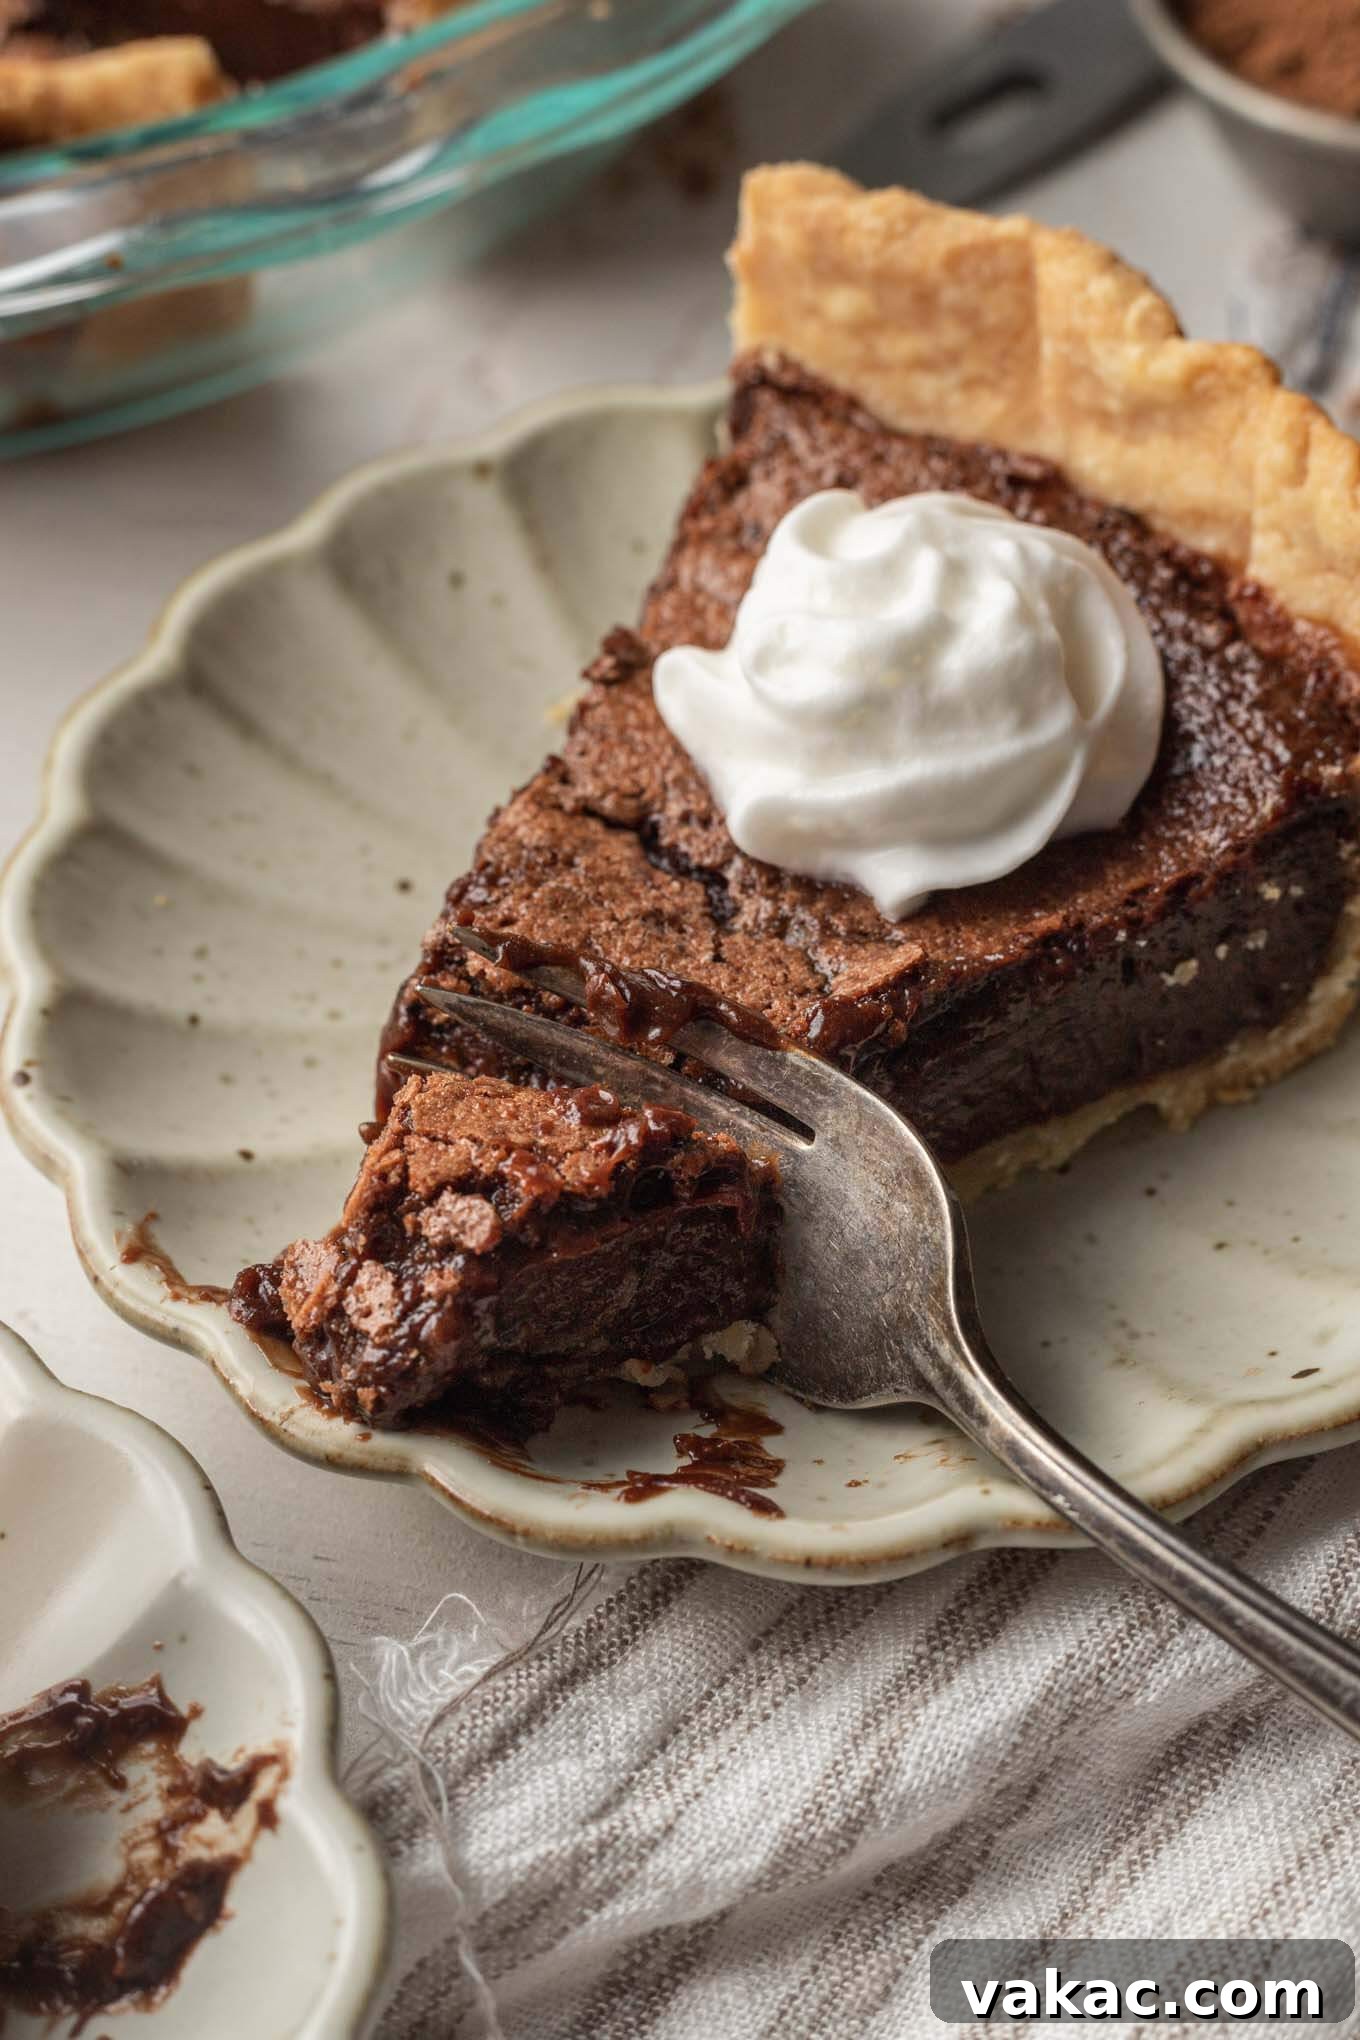
How to Confidently Determine When Your Pie Is Done
Determining the perfect doneness for a custard-based pie like chocolate chess pie can be a bit challenging, as the traditional toothpick test often used for cakes isn’t an accurate indicator here. The key lies in understanding and recognizing a specific “jiggle” in the pie’s center.
My strongest recommendation is to gently wiggle the pie plate (with oven mitts, of course!) while it’s still in the oven, or carefully remove it and give it a very gentle shake. What you’re looking for is for the edges of the pie to appear set and firm, while the very center still exhibits a slight, almost imperceptible, jiggle. Think of the consistency of a very firm gelatin or a soft-set custard – it should move as one, but not be liquidy. If the entire pie is still liquid and wavy, it definitely needs more baking time. Conversely, if it’s completely firm with no movement at all, it might be slightly overbaked, which can lead to a drier texture.
This delicate central jiggle is the perfect cue, signaling that the filling has cooked sufficiently to form its structure but hasn’t become dry or rubbery. The residual heat within the pie, combined with the subsequent mandatory cooling period on your counter (approximately two hours) and then in the refrigerator (another two to three hours), will allow the filling to continue setting up perfectly. This crucial rest period is what transforms that slight jiggle into the iconic dense, fudgy-custard texture that makes chocolate chess pie so incredibly beloved and perfectly sliceable.
Storage and Freezing: Keeping Your Decadent Pie Fresh
Proper storage is paramount to maintaining the exquisite taste and luxurious texture of your homemade chocolate chess pie. Given its rich, custardy filling, refrigeration is a mandatory step to ensure freshness and food safety.
- Refrigeration: Once the pie has completely cooled to room temperature (as instructed in the recipe), it must be refrigerated. To keep it fresh and prevent it from drying out or absorbing unwanted odors from the fridge, cover the pie tightly with plastic wrap. Alternatively, you can transfer individual slices or the entire pie to an airtight container. Stored properly in the refrigerator, your delicious chocolate chess pie will remain fresh and enjoyable for up to 4 to 5 days.
- Freezing for Longer Enjoyment: For extended storage, chocolate chess pie freezes remarkably well, allowing you to enjoy a slice of Southern comfort whenever the craving strikes. To freeze, ensure the pie is entirely cooled down to room temperature. Wrap the pie (either whole or in individual slices) tightly first with a layer of plastic wrap, then with a layer of heavy-duty aluminum foil to create a protective barrier against freezer burn. For an extra layer of protection, you can place the wrapped pie in a large freezer-safe bag or container. It can be stored in the freezer for up to 2 to 3 months without significant loss of quality. When you’re ready to savor it, simply transfer the frozen pie to the refrigerator and allow it to thaw overnight. Once thawed, it can be served chilled directly from the fridge or allowed to come to room temperature before serving, depending on your preference.
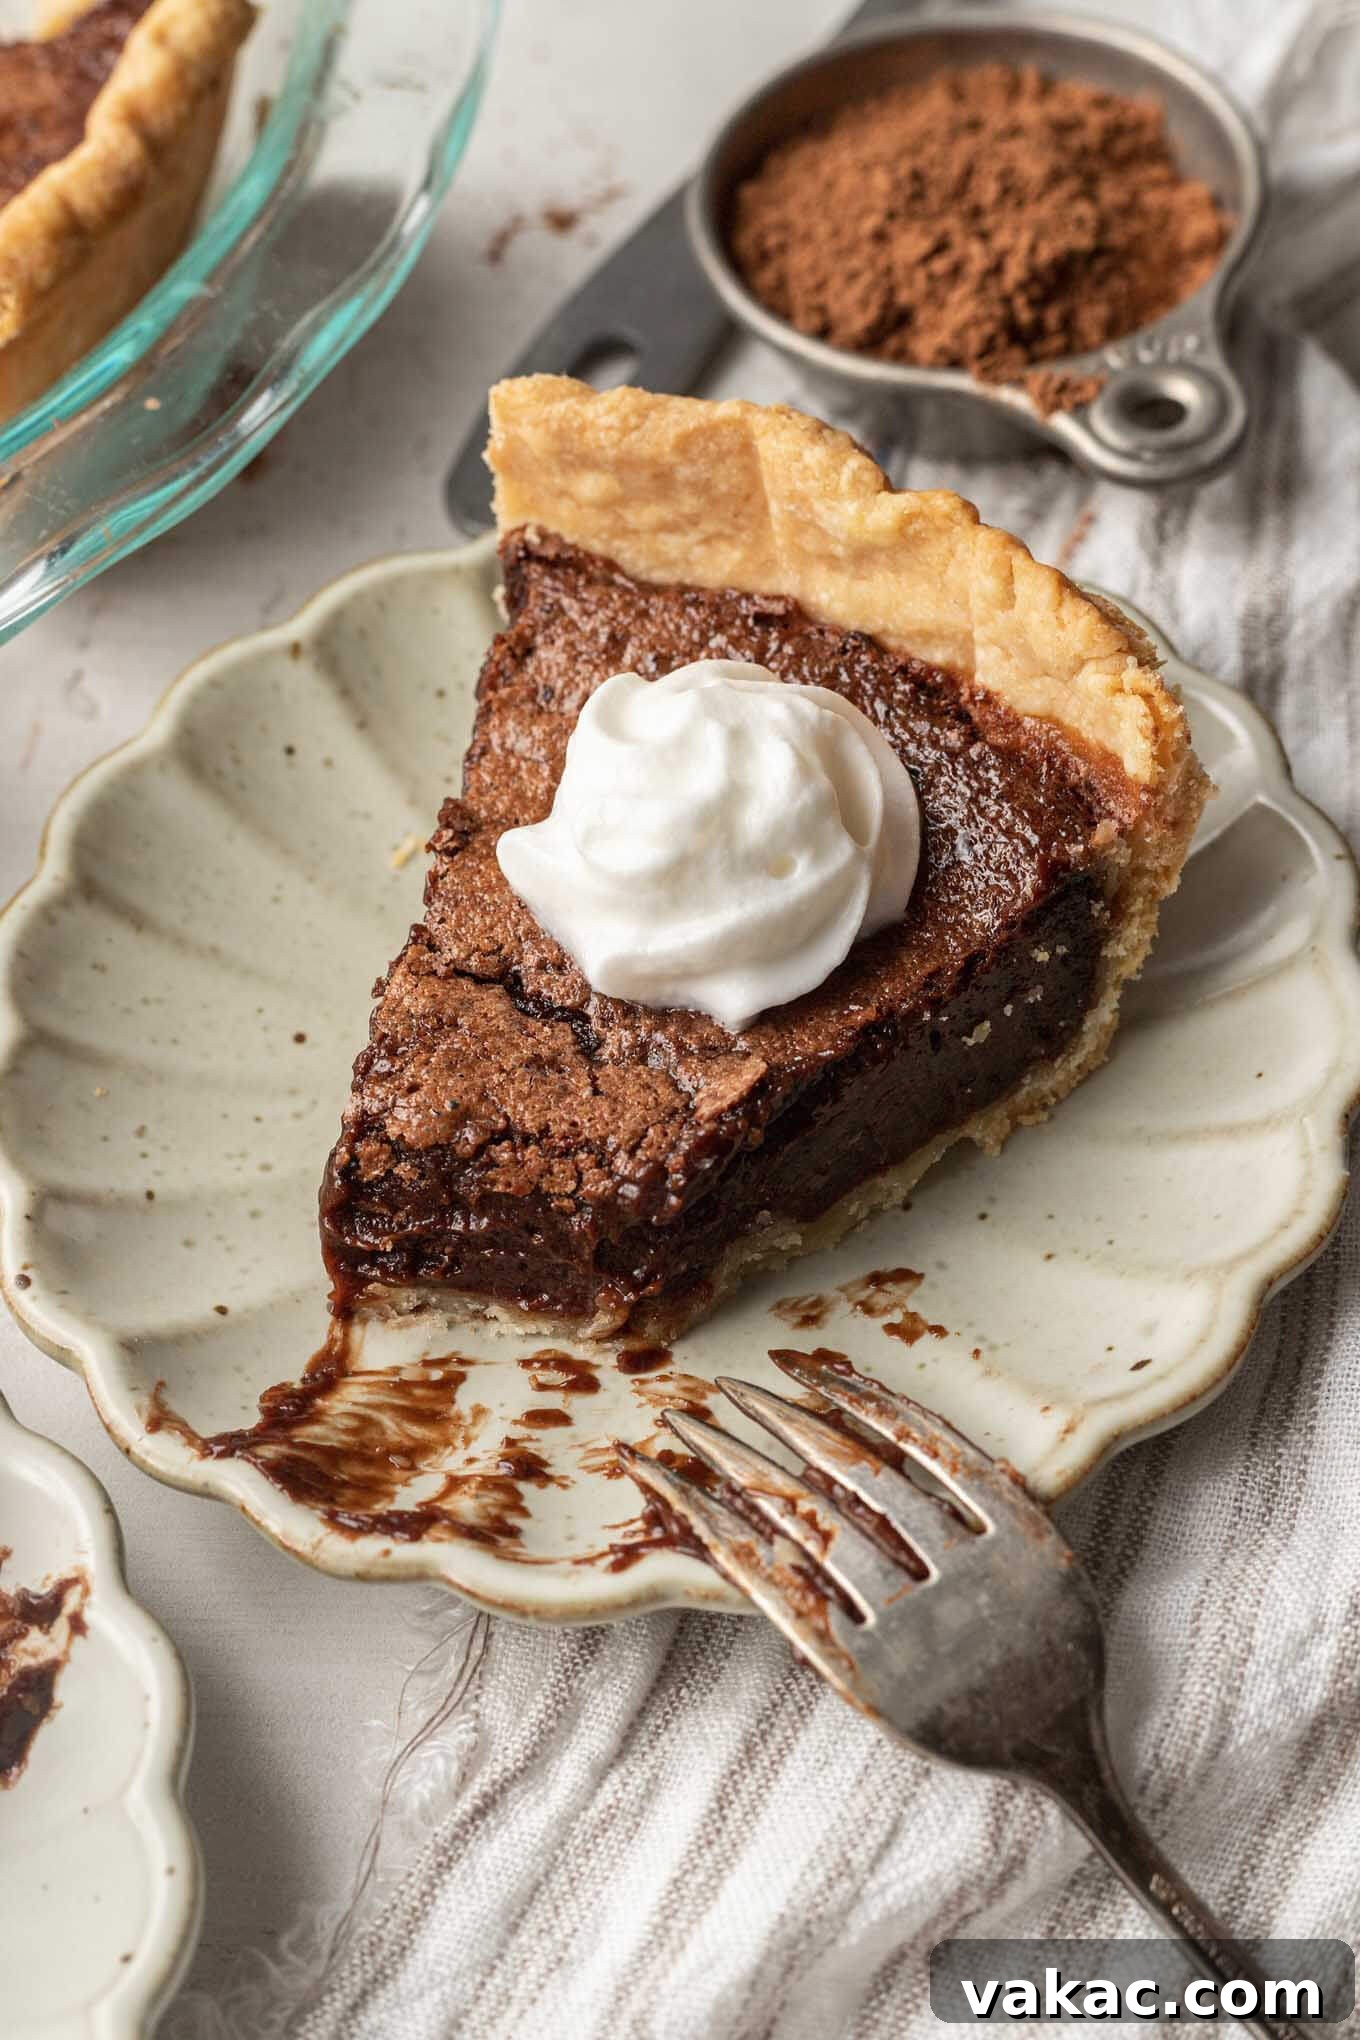
Expert Baking Tips for a Flawless Chocolate Chess Pie
Achieving a perfect, mouth-watering chocolate chess pie is within reach for any baker. Here are some expert tips to help you along the way, ensuring a flawless result every time:
- Gentle Egg Incorporation is Key: This is one of the most critical steps for texture. Always lightly beat the whole eggs and egg yolks separately in a small bowl before adding them to the chocolate mixture. Then, gently fold or whisk them into the main batter until just combined. The crucial part is to avoid overmixing. Excessive agitation of the eggs can introduce too much air, which can lead to a tougher, slightly rubbery filling rather than the desired smooth, dense, and fudgy consistency.
- Espresso Powder Alternatives: If you find yourself without instant espresso powder, don’t let it stop your baking! You can easily substitute it with an equal amount of instant coffee powder. Both achieve the same goal of deepening the chocolate flavor without imparting a coffee taste. If you prefer, you can also omit it entirely, though the espresso powder truly makes a noticeable difference in the richness of the chocolate.
- Protecting the Crust Edges: Pie crusts, especially delicate homemade ones, can have a tendency to brown more quickly than the filling needs to cook. If you notice the edges of your crust browning excessively before the pie filling is fully set, don’t worry. Simply cover the exposed edges loosely with a pie crust shield or create a makeshift shield using strips of aluminum foil. This clever trick shields the edges from direct heat, allowing the filling to bake perfectly without any risk of the crust burning.
- Room Temperature Ingredients: For almost all baking recipes, using room temperature ingredients, particularly eggs and butter, is highly beneficial. They emulsify and combine more smoothly with other ingredients, creating a more uniform and consistent batter, which translates to a better final texture in your pie. Plan ahead and take your eggs and butter out of the fridge about 30-60 minutes before you start baking.
- Patience with Cooling is Paramount: As emphasized, proper and complete cooling, followed by refrigeration, is not an optional step. The pie continues its setting process during these crucial hours. Rushing this stage will result in a pie that is too soft, difficult to slice cleanly, and won’t have the desired fudgy, dense texture. Your patience will truly be rewarded with perfect, elegant slices.
- Invest in Quality Cocoa: Since chocolate is the hero of this pie, the quality of your cocoa powder directly impacts the final flavor. Investing in a good quality unsweetened cocoa powder, whether natural or Dutch-processed, will make a noticeable difference in the depth and richness of your pie.
More Decadent Pie Recipes to Discover!
If you’ve thoroughly enjoyed the process of baking this rich chocolate chess pie and are eager to explore more delightful creations, you’ll love these other fantastic pie recipes:
- Chocolate Cream Pie: A silky, creamy classic topped with whipped cream.
- French Silk Pie: An incredibly airy and rich chocolate mousse pie.
- Pecan Pie: A timeless Southern favorite with a gooey, nutty filling.
- No-Bake Peanut Butter Pie: A quick and easy creamy, dreamy peanut butter dessert.
- Sweet Potato Pie: A soulful Southern staple, perfectly spiced and comforting.
Recipe Video
Recipe video will be embedded here.
Chocolate Chess Pie
Rated 5 out of 5 stars by 2 reviewers.
Prep Time: 30 mins
Cook Time: 55 mins
Chill Time: 4 hrs
Total Time: 5 hrs 25 mins
Buttery pie crust is filled with a gooey chocolate filling in this homemade chocolate chess pie recipe. This classic Southern pie is a must for any family gathering or holiday party!
Ingredients (Servings: 8 slices)
- 1 pie crust (homemade or store-bought)
- 1 ¾ cups (350 grams) granulated sugar
- ½ cup (45 grams) unsweetened cocoa powder
- 3 tablespoons (25 grams) cornstarch or cornflour
- 1 teaspoon instant espresso powder
- ¼ teaspoon salt
- 1 (5-ounce) can evaporated milk (NOT sweetened condensed milk)
- ¼ cup (60 grams; ½ stick) unsalted butter, melted and slightly cooled
- 2 teaspoons pure vanilla extract
- 2 large eggs, at room temperature
- 2 large egg yolks, at room temperature
Instructions
- To prepare the pie crust: Preheat the oven to 400°F (204°C).
- Roll out the pie dough to about 12-inches in diameter. Carefully transfer to a 9-inch pie plate, gently fit it in the dish, and trim any excess dough from the edges or tuck it under.
- Place the pie plate in the refrigerator and allow the dough to chill for 15 to 20 minutes while the oven is preheating.
- Once the oven is preheated, remove the pie plate from the refrigerator, decorate the edges, and line the dough with parchment paper or foil, making sure to cover the bottom and the sides. Fill with pie weights or beans, making sure to press them up against the sides as well.
- Bake with the pie weights for 15 minutes or until the edges of the crust start to lightly brown. If using a store-bought pie crust, you may need to reduce the baking time slightly.
- Remove from the oven, carefully remove the parchment paper (or foil) and the pie weights. Return to the oven to bake for 5 to 6 more minutes or until the bottom of the crust is set.
- Remove from the oven and set aside to cool slightly on a wire rack while you prepare the filling.
- To make the filling: Reduce the oven temperature to 350°F (180°C).
- In a large mixing bowl, whisk together the sugar, cocoa powder, cornstarch, espresso powder, and salt.
- Add the evaporated milk, melted butter, and vanilla extract and mix until just combined.
- In a separate mixing bowl, lightly beat the eggs and egg yolks together, then mix them into the batter until just combined. Make sure not to over mix the batter otherwise the filling may turn out rubbery.
- Pour the filling into the partially baked pie crust.
- Bake for 30 to 35 minutes or until the pie is mostly set, but slightly jiggly in the center.
- Remove from the oven and cool completely to room temperature, about 2 hours. Cover and refrigerate for 2 to 3 more hours before slicing into the pie.
Notes
Storage Instructions: Pie may be covered tightly or stored in an airtight container in the fridge for up to 4 days.
Freezing Instructions: Wrap tightly with plastic wrap and freeze in a large freezer bag for up to 3 months. Thaw overnight in the refrigerator.
Cuisine: American
Course: Dessert
Author: Danielle Rye
Did you make this recipe?
Mention @livewellbakeoften on Instagram or tag #livewellbakeoften.